
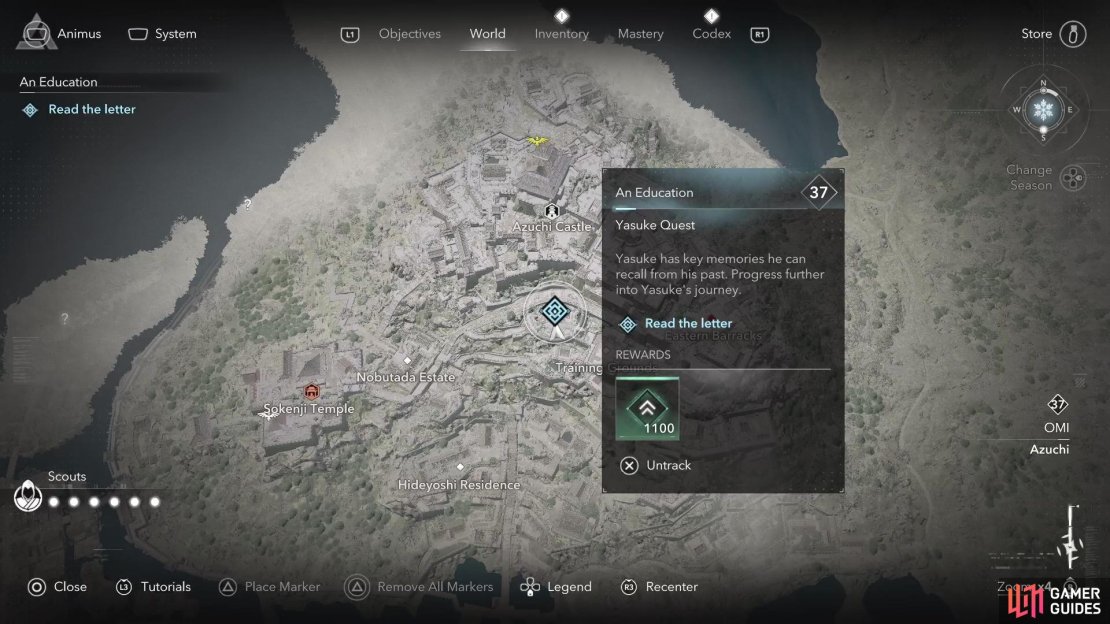
In order to progress in some of the Shinbakufu members’ missions in Assassin’s Creed: Shadows, you will need to complete quests specific to one of the two playable characters. After fully unlocking Yasuke, you will unlock two exclusive missions for him, Lady of Whispers and An Education. Oddly enough, both will have you visit the Azuchi sub-region of Omi, and will dive into the past for Yasuke. This page will focus on guiding you through the quest, An Education, where you gain some insight on the training that Yasuke performed under Nobutsuna sensei.
An Education Location
If you’ve done Lady of Whispers, then you already know where to go, as this quest will be in the same area. If not, then you need to journey to the Azuchi sub-region in Omi. This will be found towards the southeastern portion of the region, moreorless north of Naoe’s village in Iga. Specifically, you’re looking for the Training Ground area of the Azuchi castle area, so you’ll have to head up the stairs a good bit to reach it. If you haven’t discovered the location yet, you should get close enough to see the question mark appear.

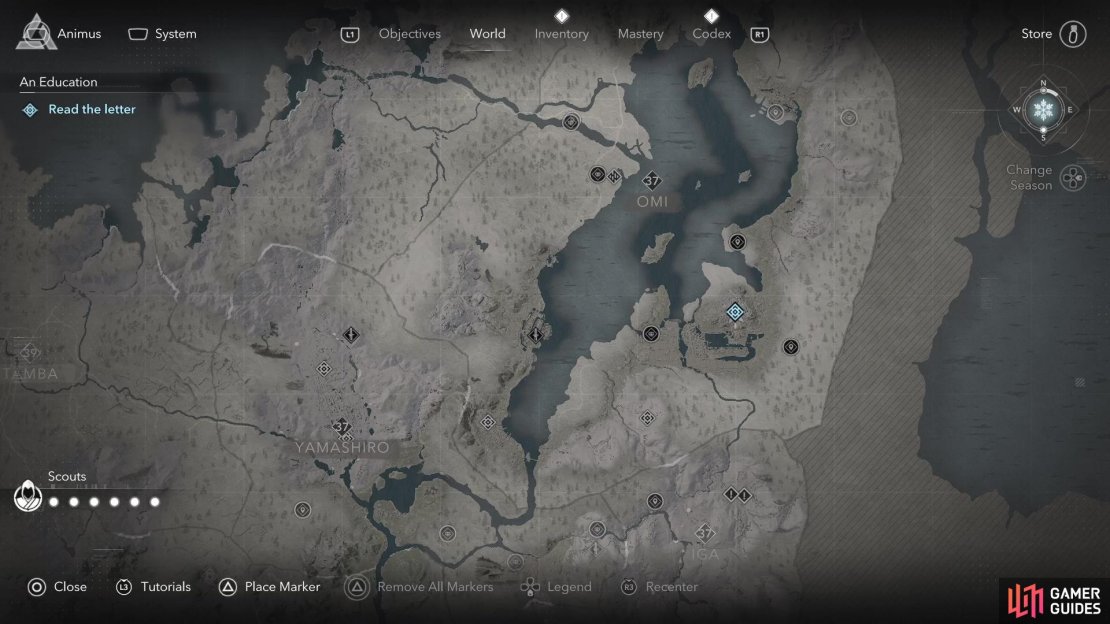

(1 of 3) An Education will begin in the Azuchi sub-region of Omi.
Once you’ve found the Training Ground, enter the first building you see to locate a letter on the desk. You will need to read this letter, so approach it to take a glance, which will trigger a flashback and some cutscenes.
Nobutsuna Sensei Walkthrough
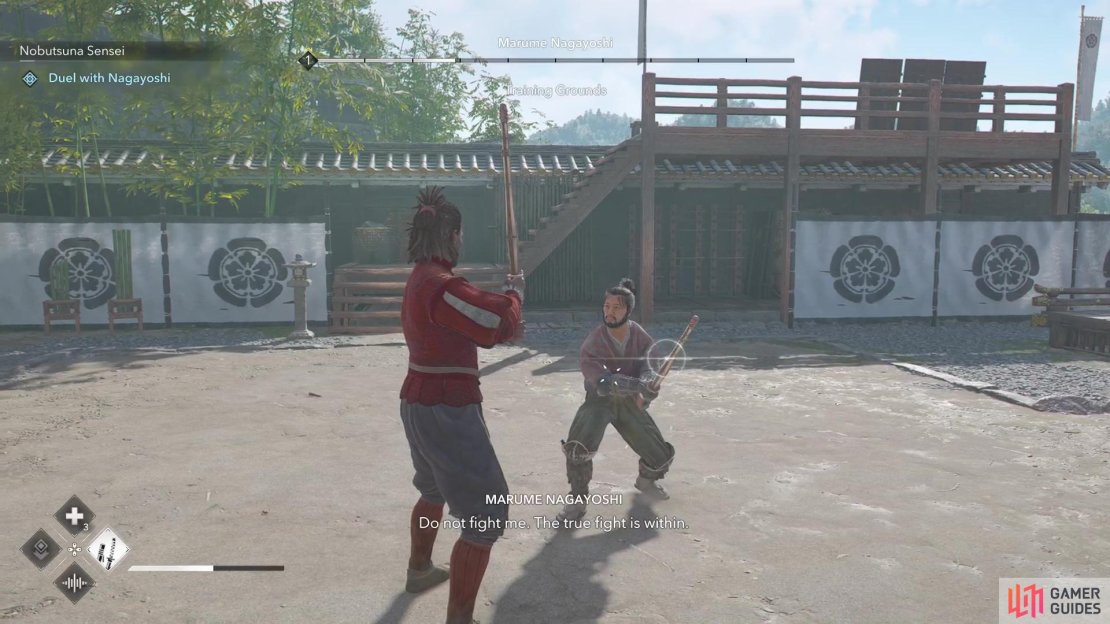
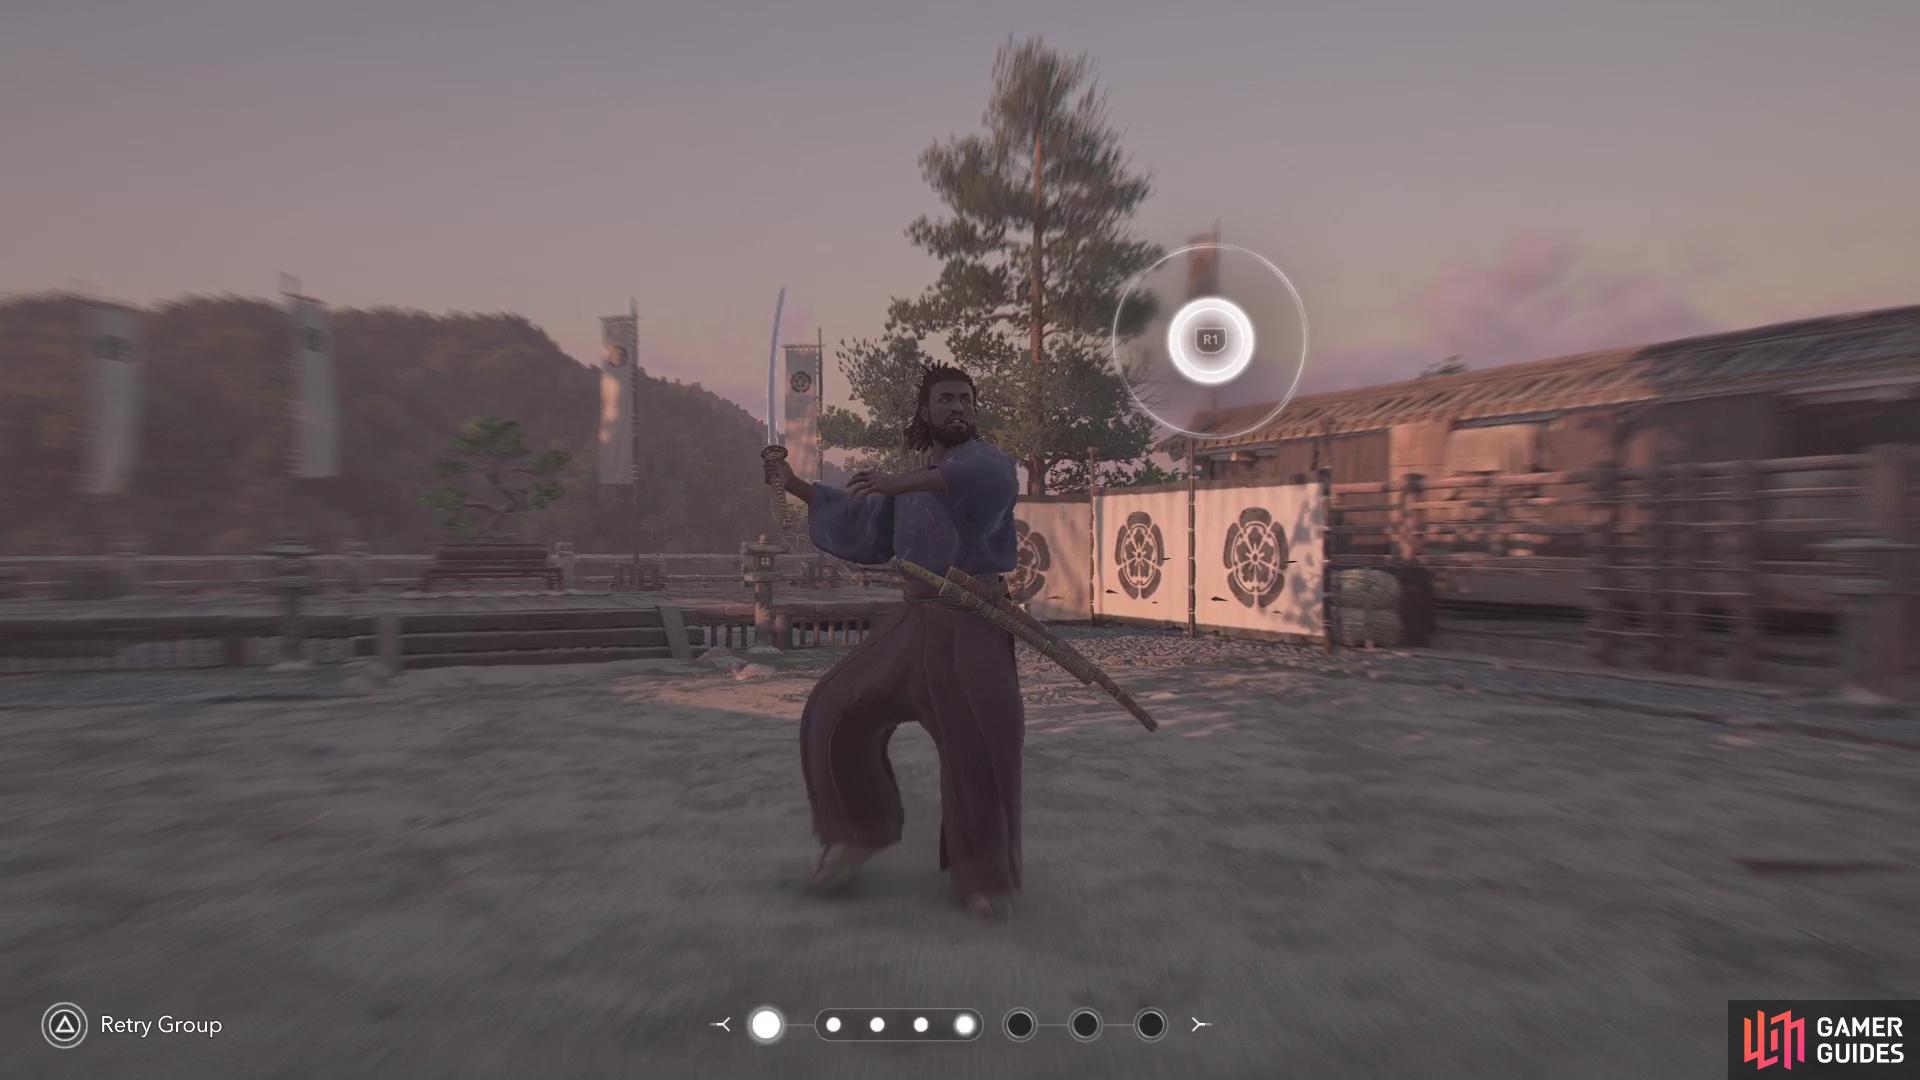
Note that the quest name changes here, but it’s still essentially An Education, so we’ll stick with it. When you regain control, follow the retainer to another cutscene. After all is said and done, you’ll be forced to show off your skills, by fighting Marume Nagayoshi, said retainer from earlier. As you’ll soon realize, you won’t have your usual kit here, and Marume isn’t some pushover. Despite that, use the beginnng of the practice fight to get used to the sparring partner’s moves. He has a particularly quick double attack, with both hits being unblockable.
Outside of that, he will also have a three-hit unblockable combo that’s a little slower in execution, as well as a two-hit normal combo. You also don’t have much in the way of Rations here, since it is a flashback, meaning you’ll have to be extra careful. After the mock battle is over, watch the following scenes and walk down the stairs for another one. You will get into another fight here, with a Rival Student, who should pretty much go down with one or two combos of your own.
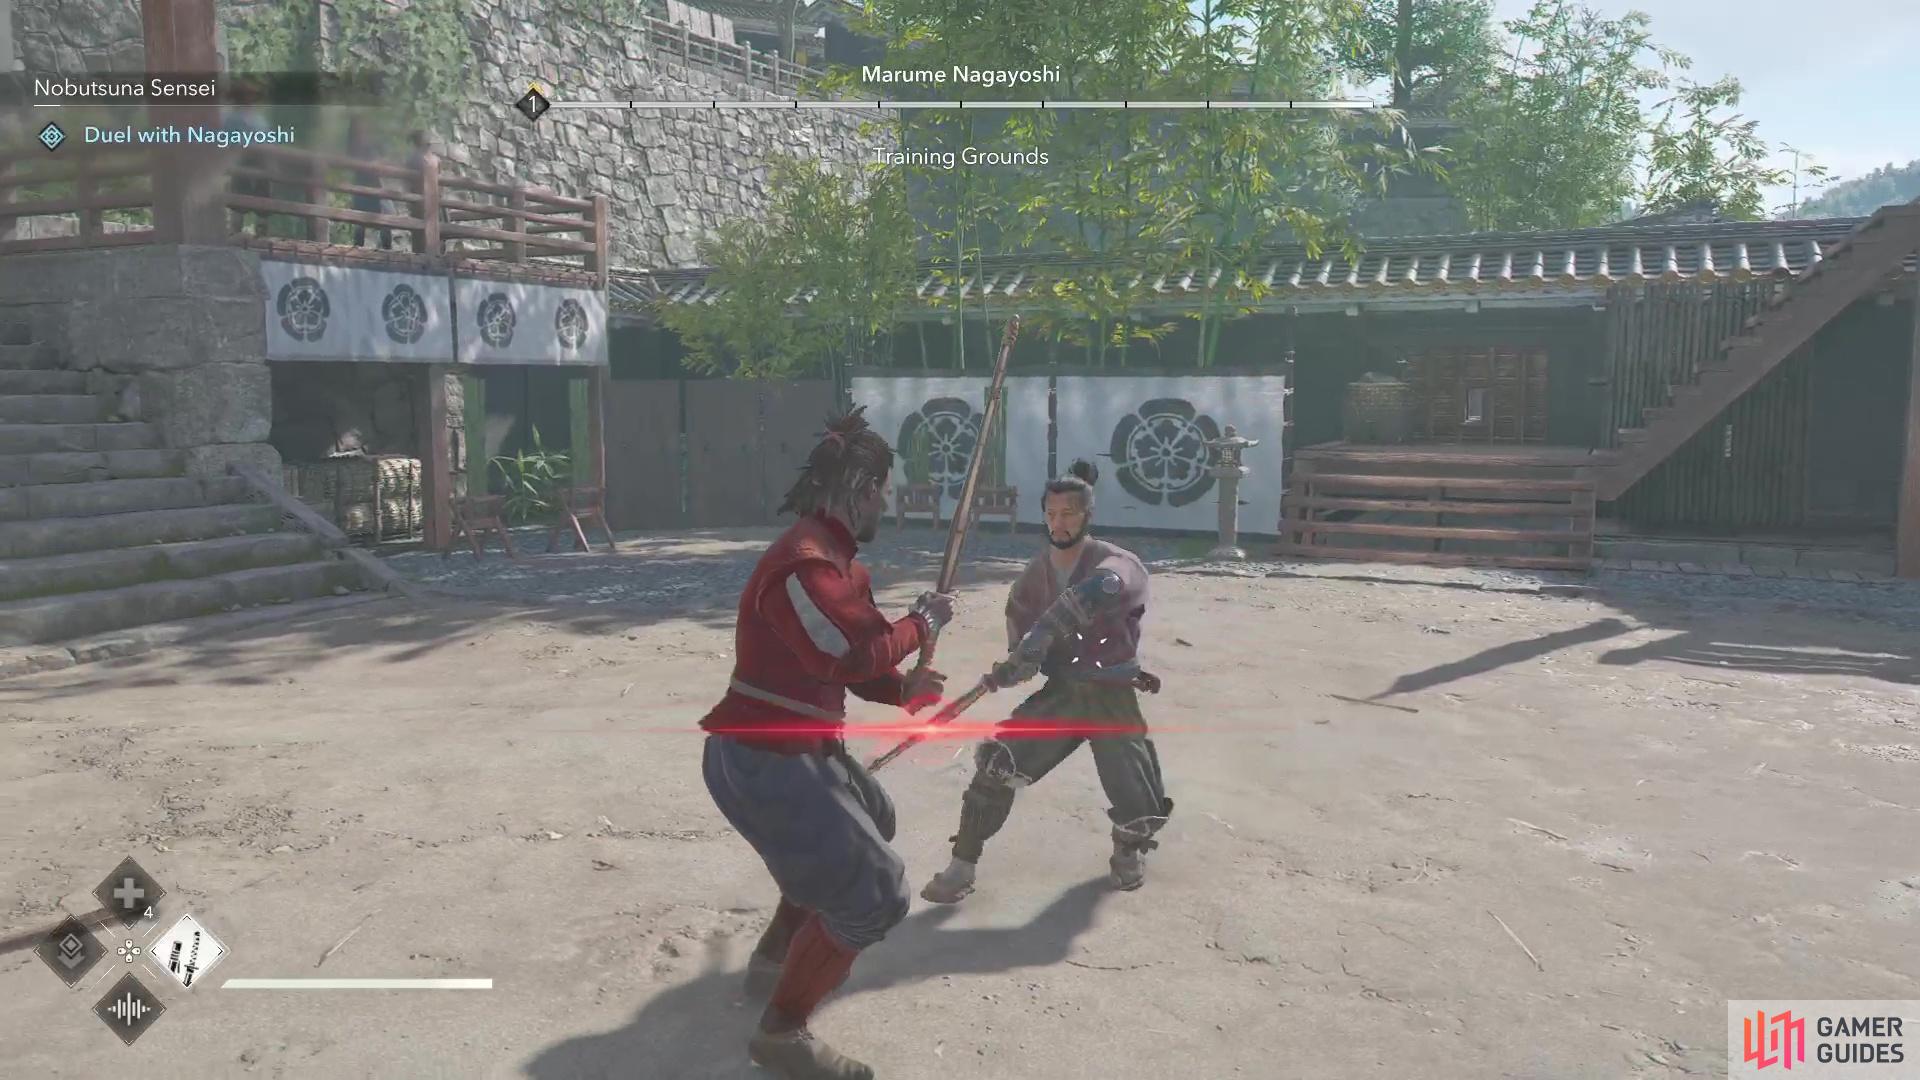

(1 of 3) Nagayoshi has a quick one-two combo of unblockable attacks.
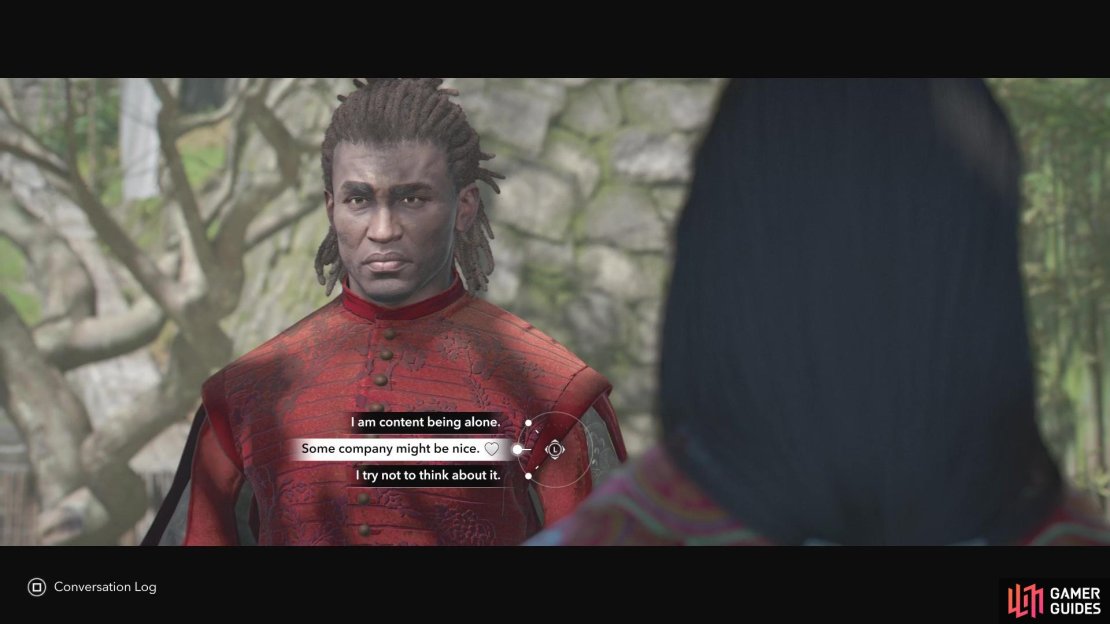
In the next scene, you’ll be introduced to Lady Oichi, Oda Nobunaga’s younger sister. When you get a dialog choice, the middle option, “Some company might be nice, will allow you to flirt with Oichi. Outside of that, there will be more cutscenes that follow, including a training montage for Yasuke.
Chase the Suspicious Man
While you’re relaxing, you notice that someone is spying on you. Before you have a chance to do anything, he runs away, so you decide to give chase. While he is quite quick, there is a marker above his head, so you can easily keep track of him with that. You also won’t have to go too far, since he’ll stop at some barracks. Some more scenes will follow, with you then having to follow Nagayoshi to the training grounds to meet with Nobutsuna, although it turns out to be Lady Nene instead.
There are a lot more scenes that occur here, with some dialog choices, although none of them really do much to change the outcome of the quest. Eventually, you will be forced to perform a Kata, which is one of the side activities exclusive to Yasuke. If you haven’t done any of them yet, then this will be the first one and it can be a little confusing.
How to Perform a Kata
The Kata is similar to Naoe’s Kuji-Kiri, where you have to press specific buttons as they appear on screen, but it’s a little different in how it’s laid out. There will be sets of button presses, represented by the dots at the bottom of the screen. You will see that there are three different button inputs that contribute to the Kata. If you see a circle with a little line at the top, then you have to hold down that button and release it once it’s full. Should a button appear that doesn’t have anything moving, then you just have to press it once. The last type is similar to the previous, but a circle will move inward, so wait until it’s inside the smaller circle to press it.
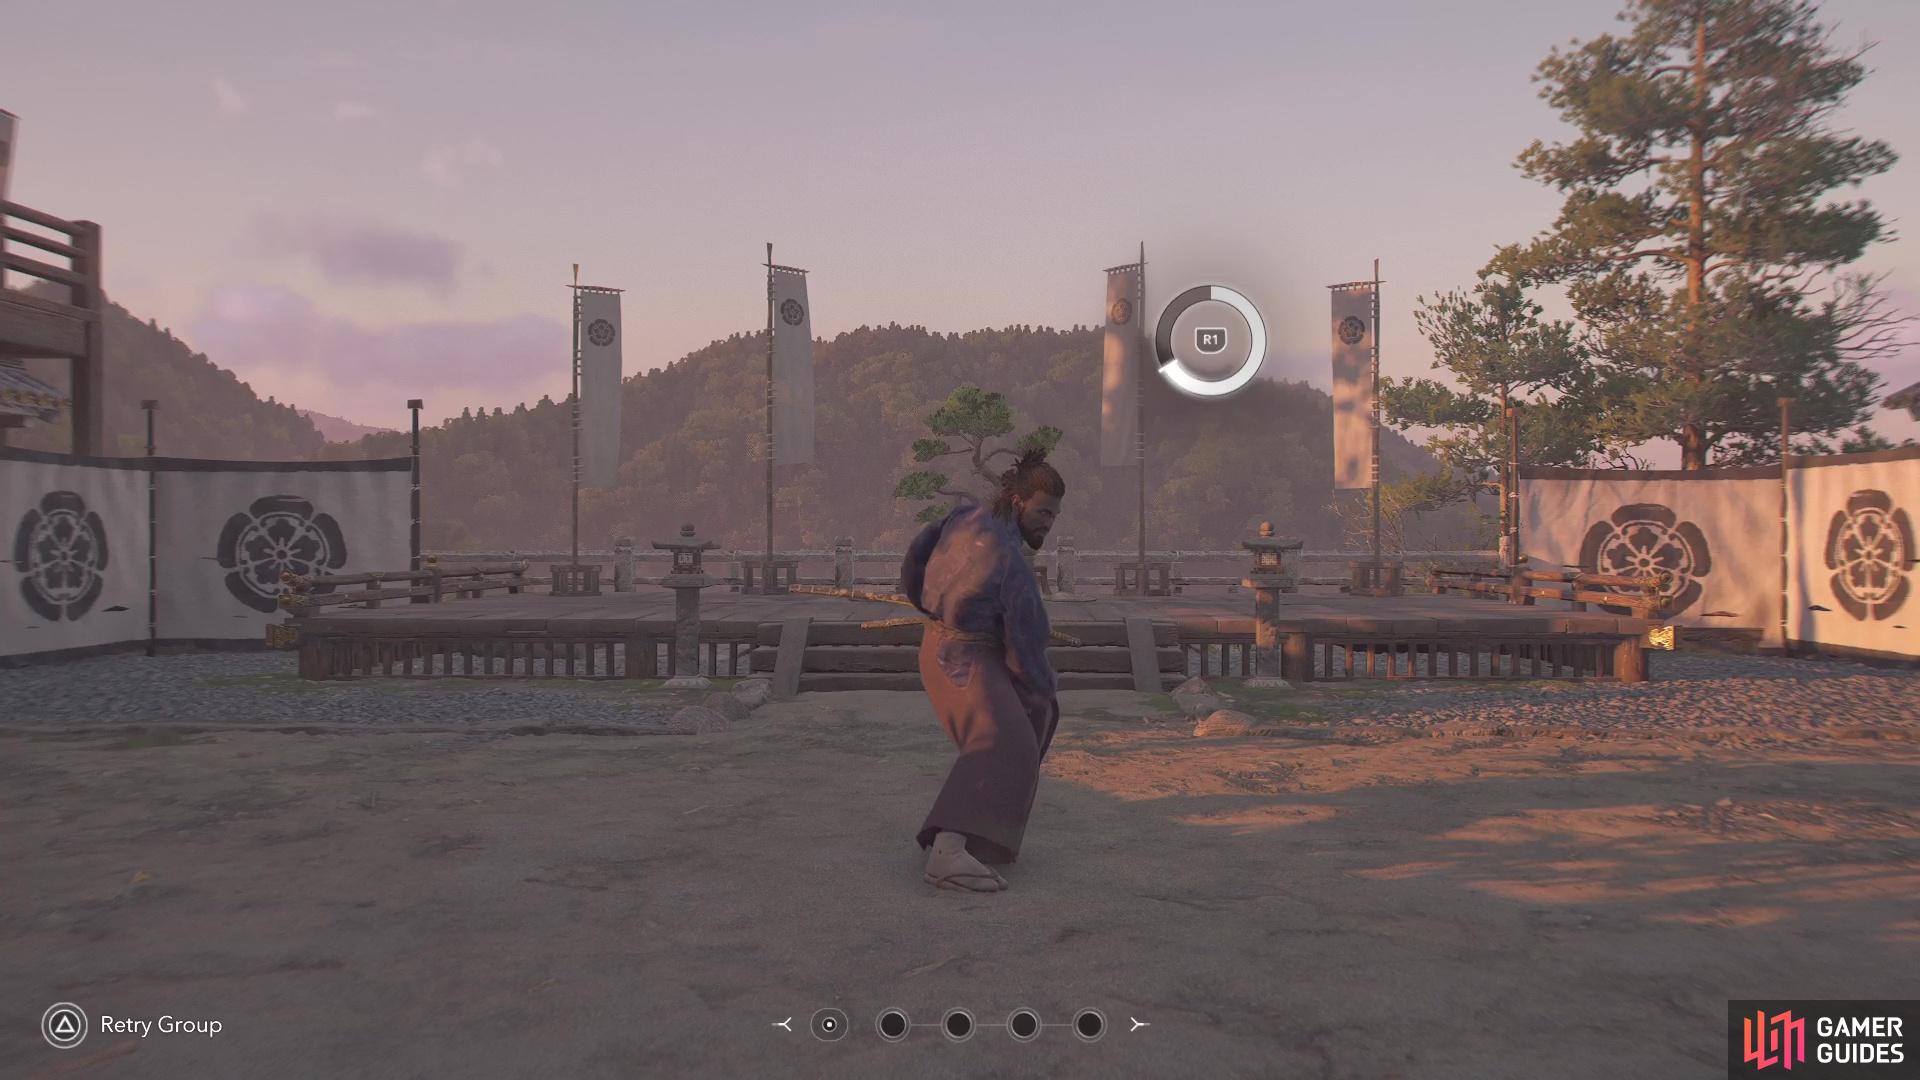
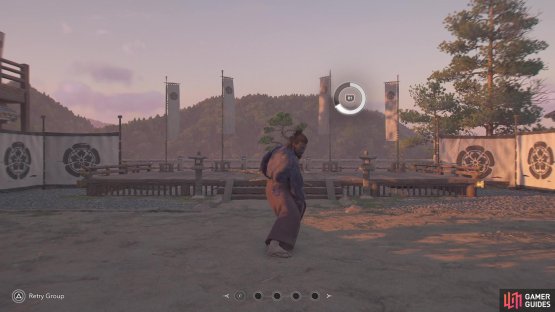
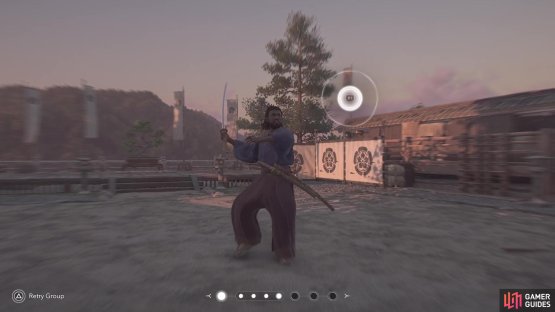
(1 of 2) Make sure you pay attention to the input type during the Kata.
Make sure you pay attention to the input type during the Kata. (left), If you fail during an input, you’ll have to start over from the beginning of that set. (right)
Should you fail on a button input, then you will have to redo that group. Overall, though, most of them are simple and it’s only really the final one (group of six inputs) that can be difficult. The final two inputs will require you to hold a button (and release it), while also timing the press of another button. Once you get it finished, watch the following scenes and you will be transported to the final bit here.
Kill Masatoyo’s Students
The fight here will be three-on-one, so you’re at quite a disadvantage, especially since you don’t have your full loadout. In fact, you only really have your Rations and basic attacks. Thankfully, the three students only have three health segments each, but they like to use a lot of unblockable attacks. That means you’ll be stuck with having to dodge a lot, and when you time it so one is vulnerable, another will likely try to strike you down.
Now, they do have some normal strikes, as well as the blue combo ones, so make sure to keep an eye out for those and block/parry them. Try to focus on a single enemy here until they are dead, which will make the ensuing enemies much easier, since you won’t have to divert your attention from one to another. When they are all dead, there will be some more scenes.
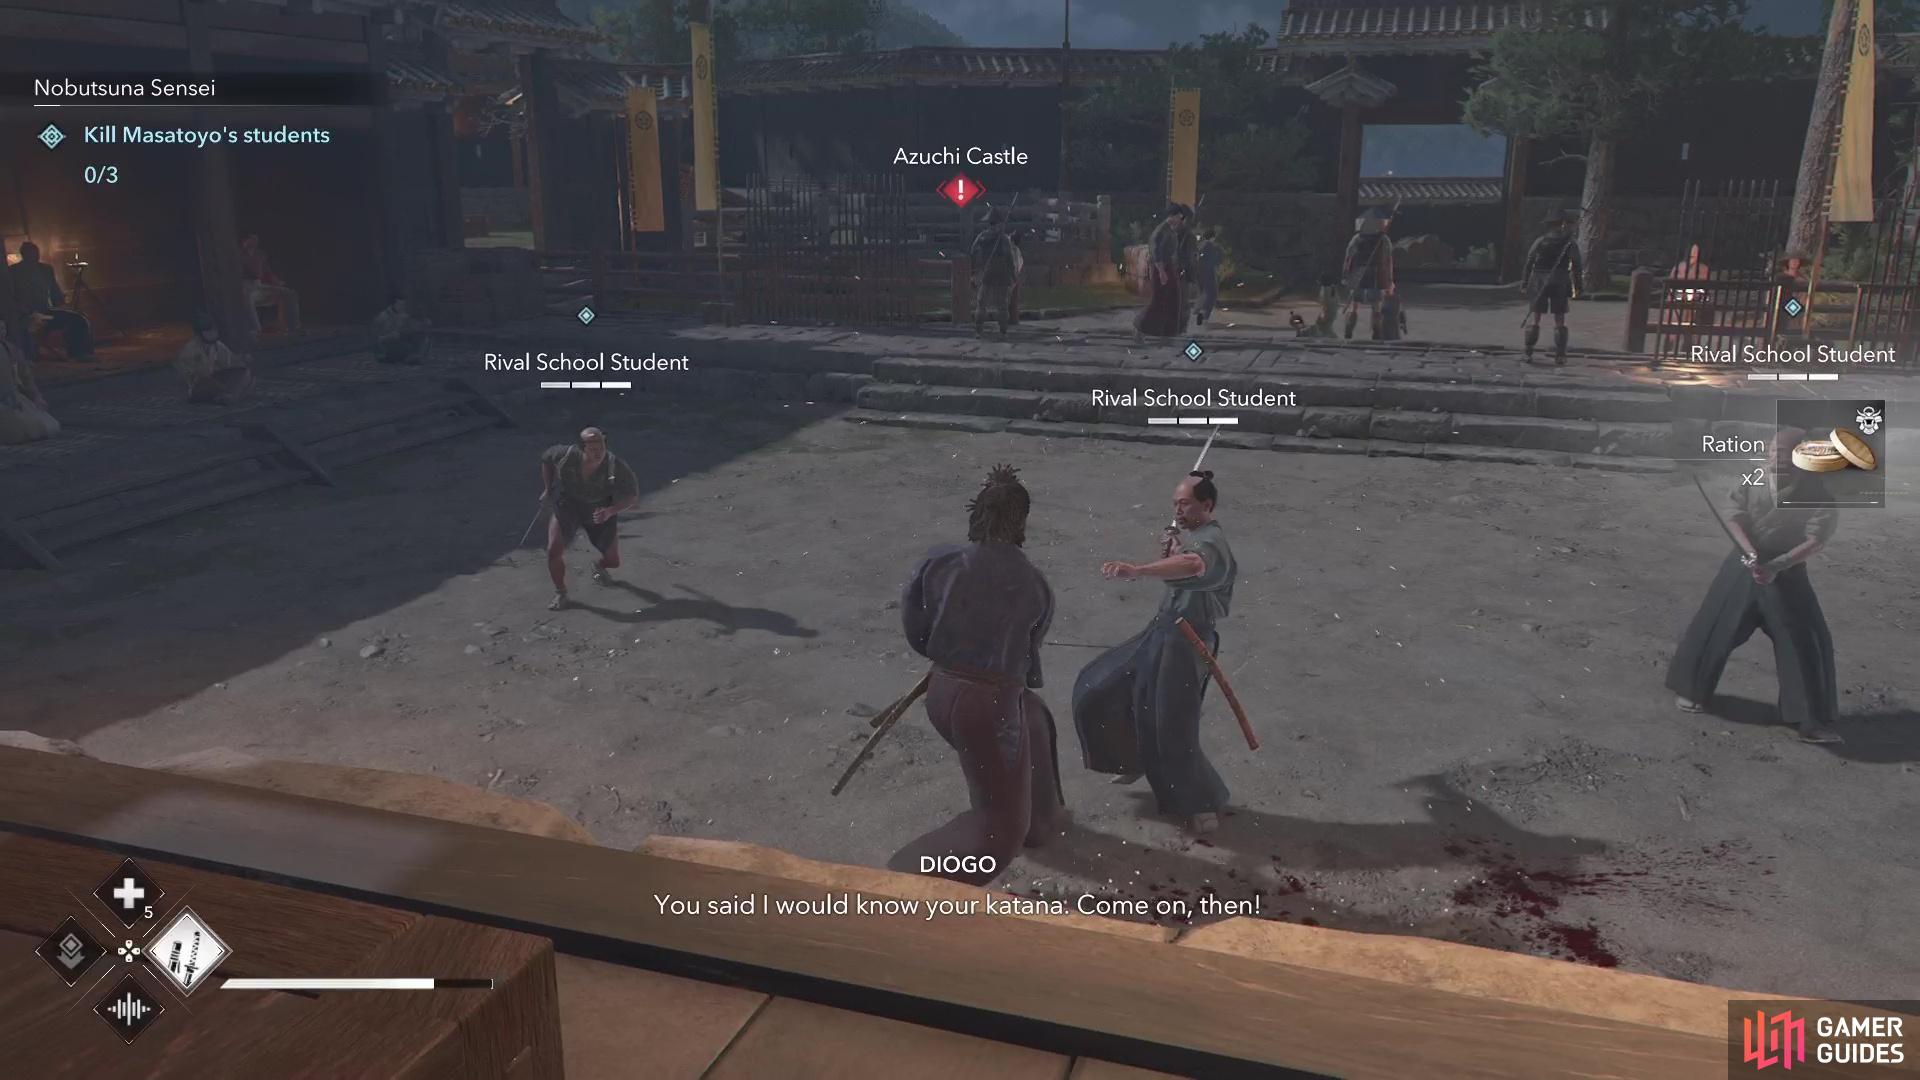

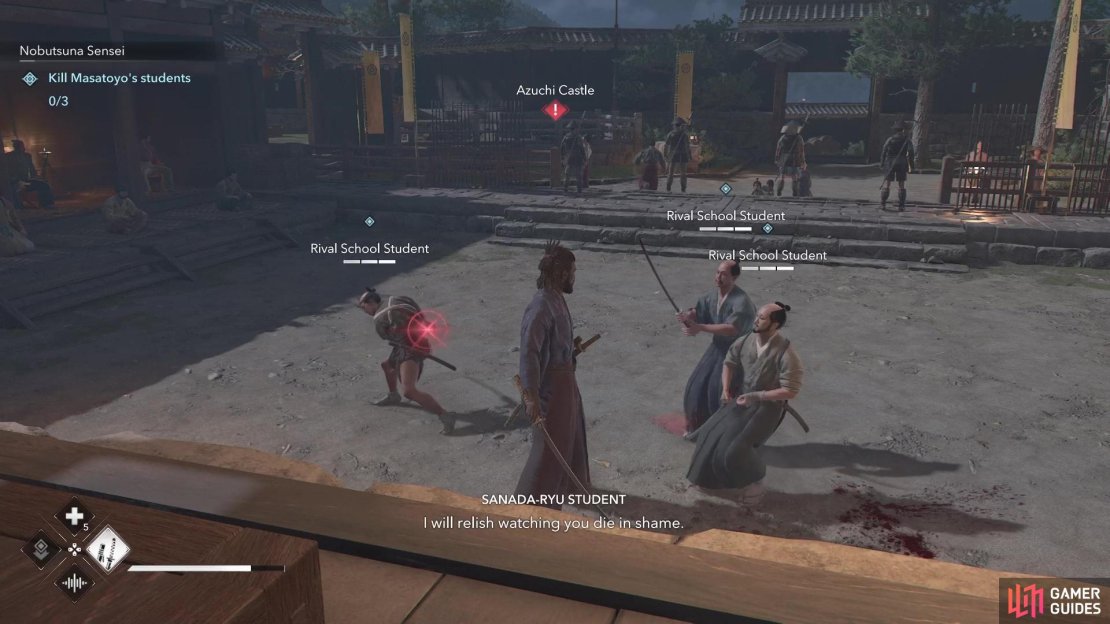
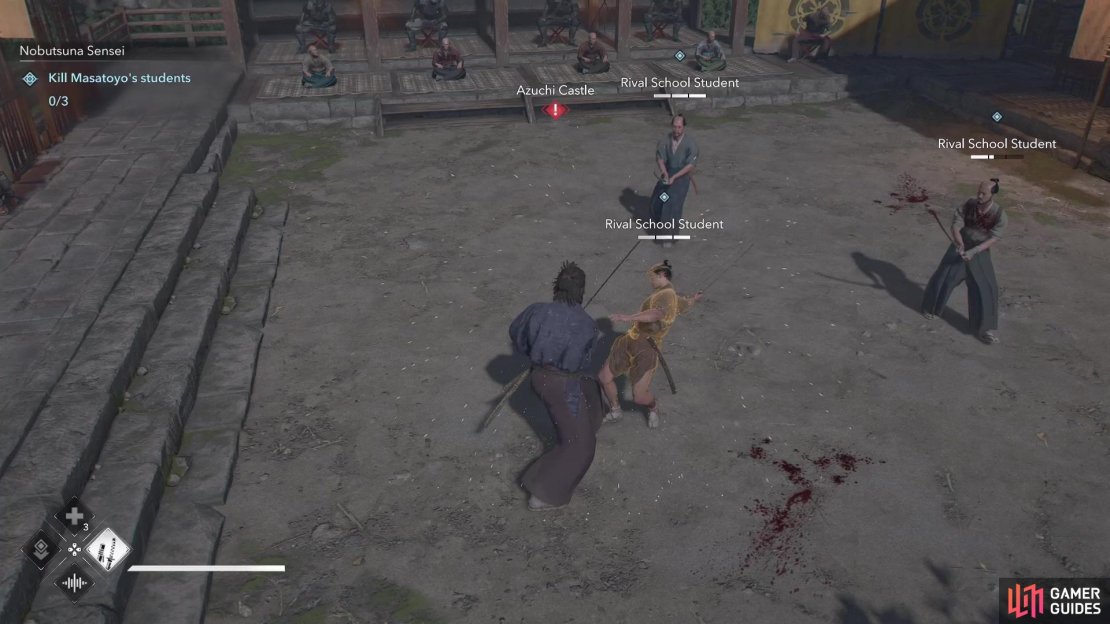
(1 of 3) You’ll have to face three enemies at once in the final bit of the quest.
As with the prior choices, if you see anymore pop up, don’t worry about it and pick whichever you want. This will bring you to the end of the quest and back to the present day. Note that if you haven’t done so before, completing this quest will unlock the following quests:
- The Corrupt Daikan
- Nobutsuna’s Students
- Lords of Azuchi
- A Talk With a Lady
No Comments