Description
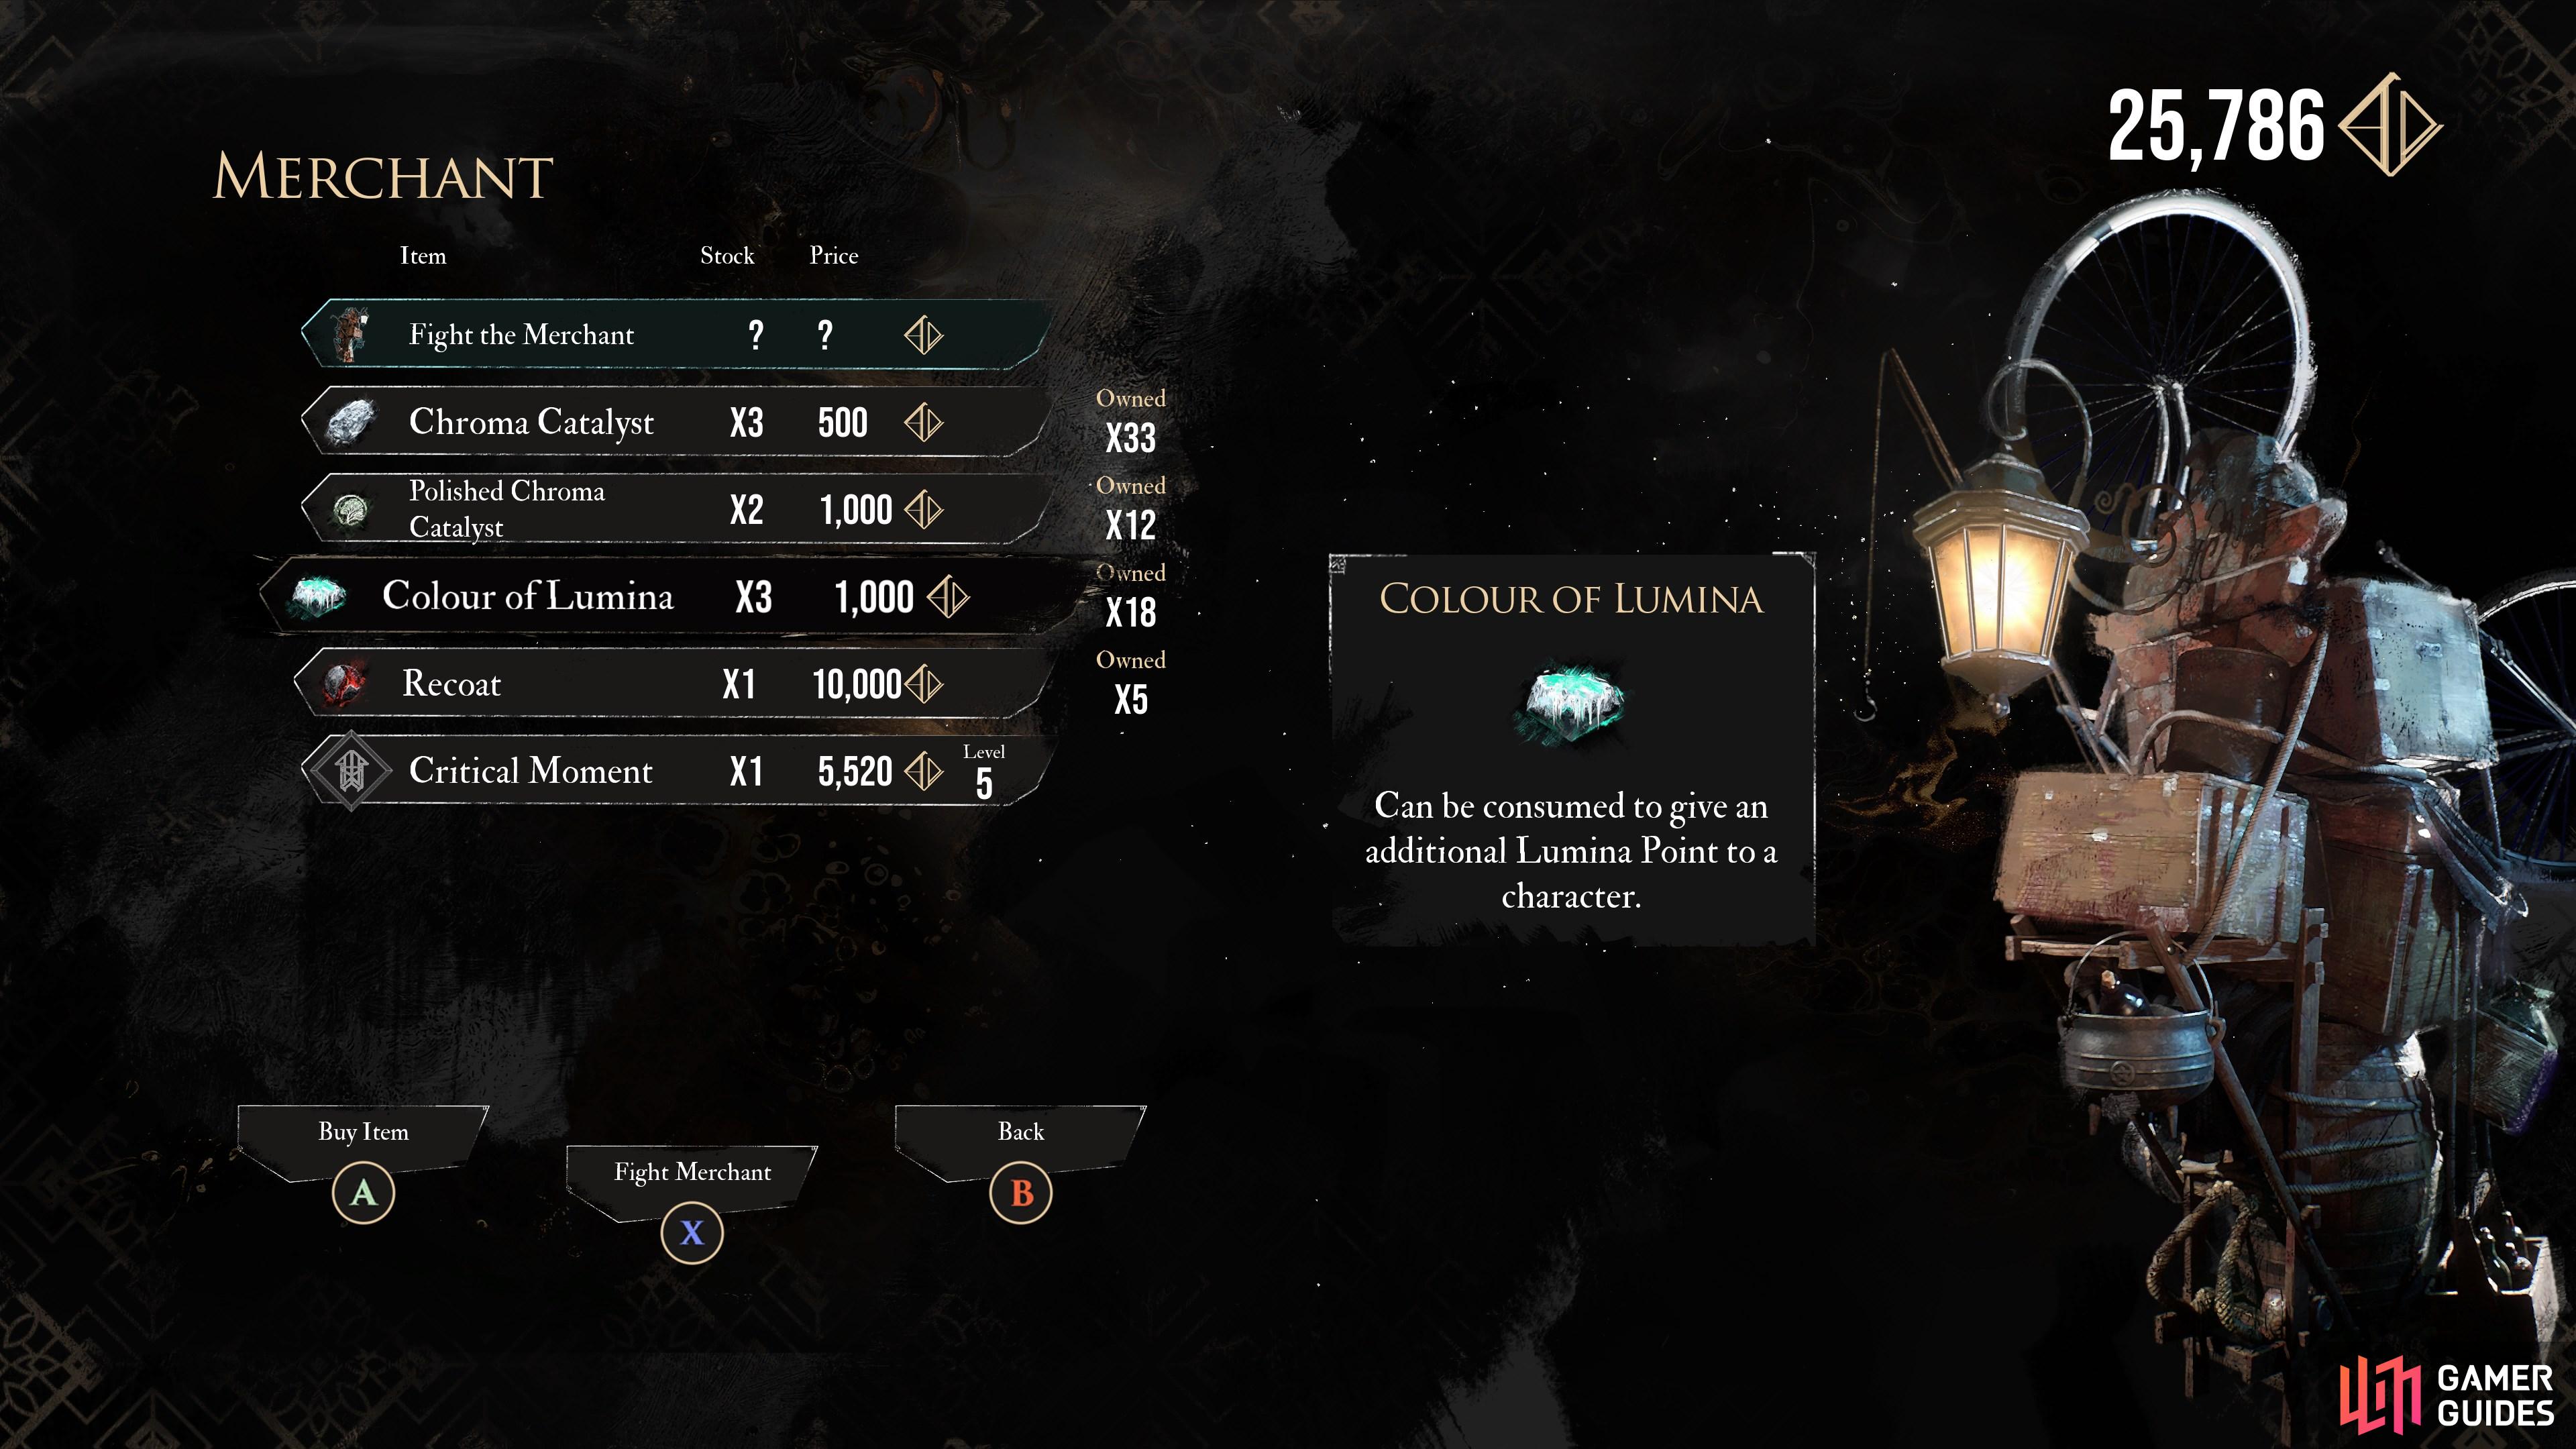
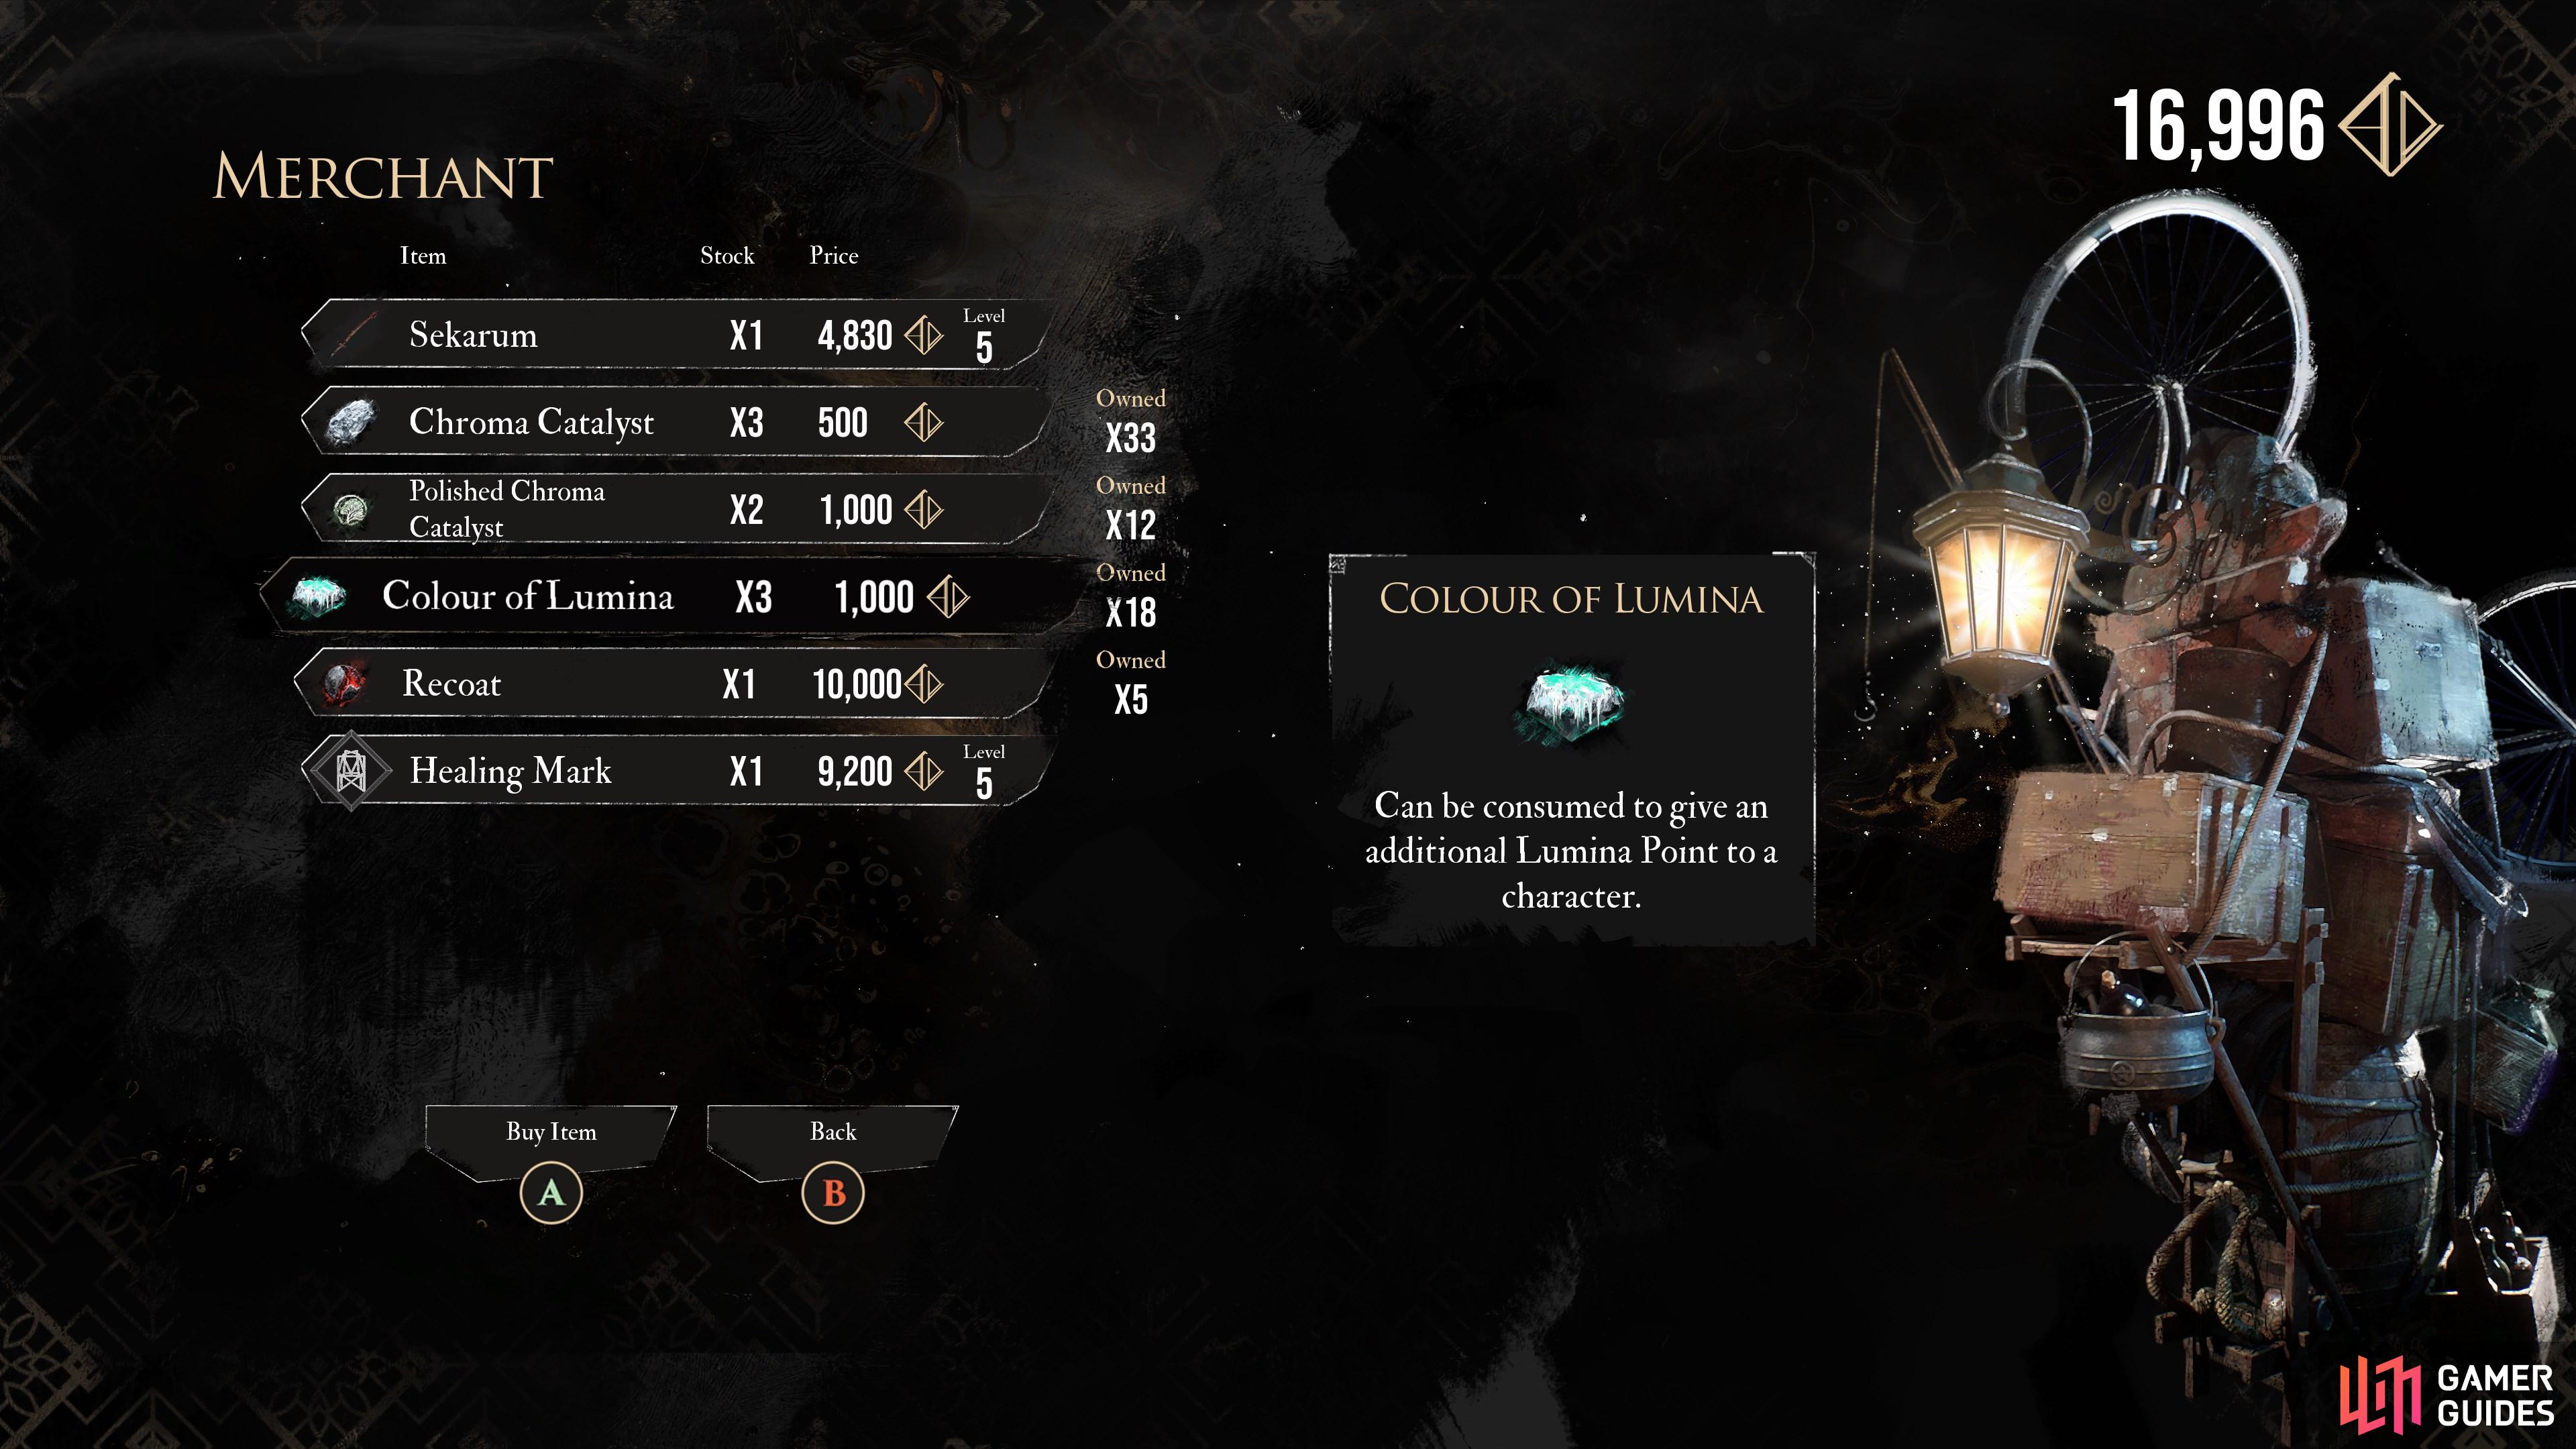
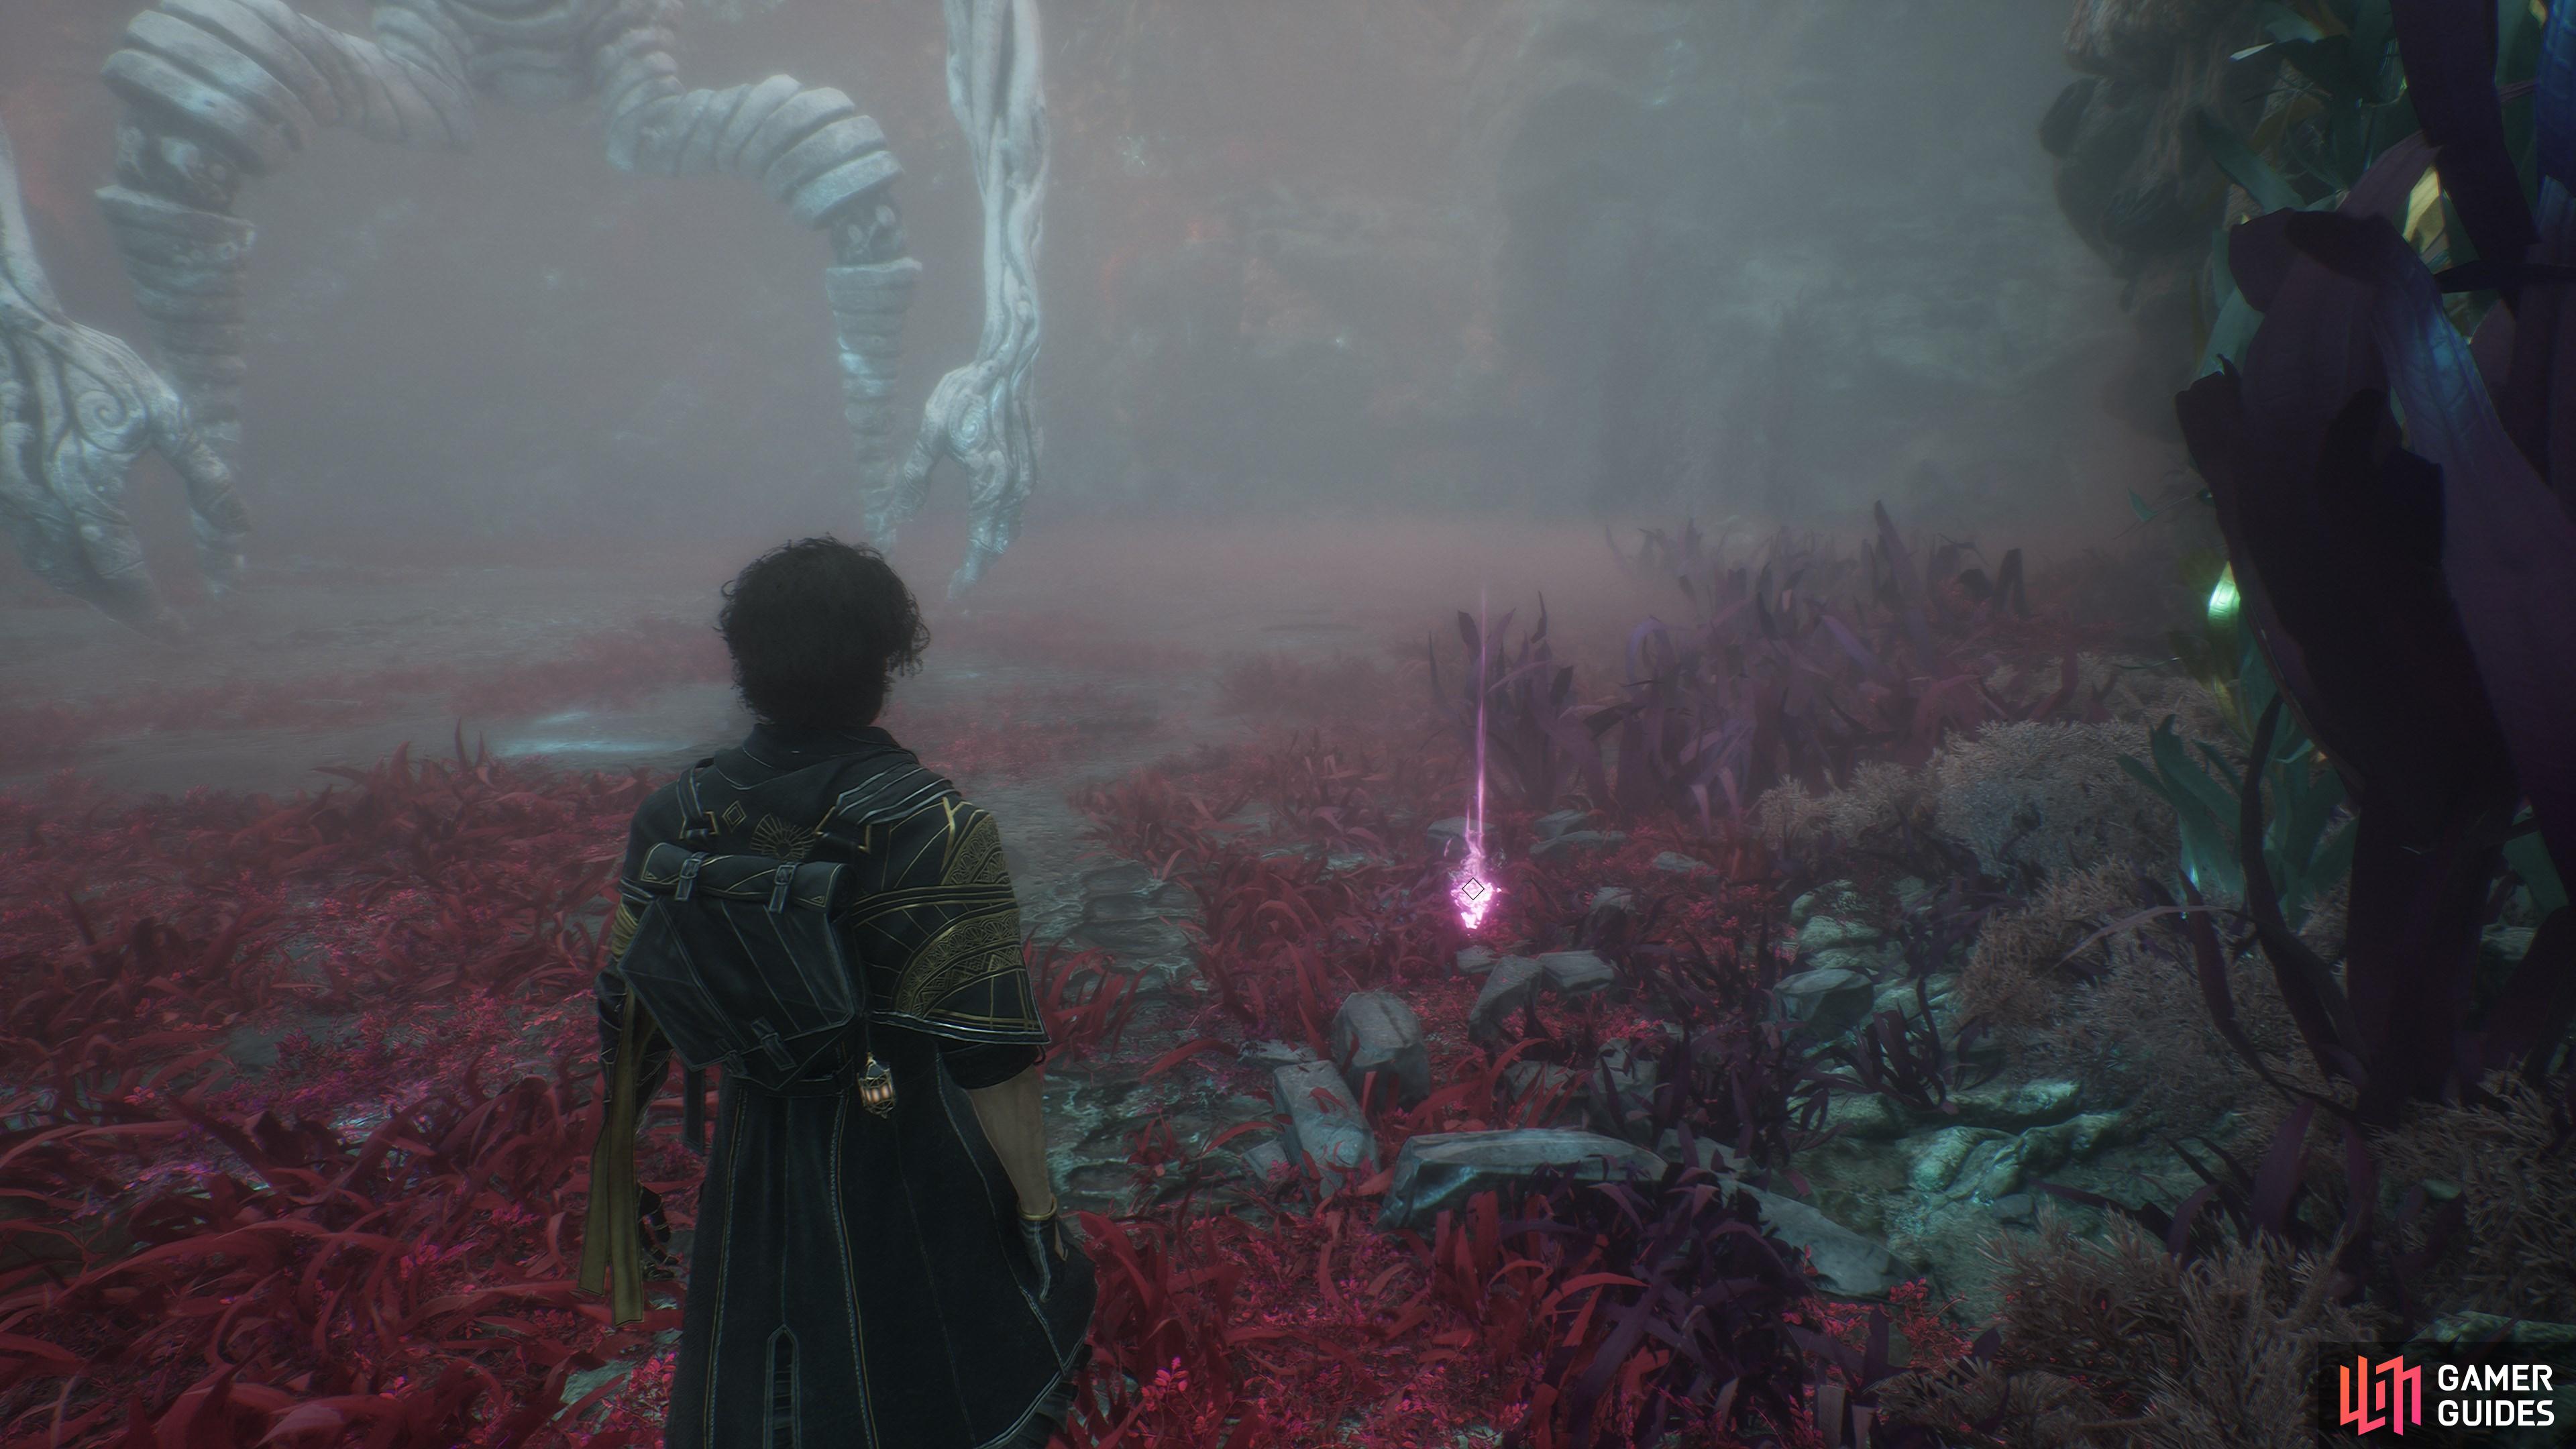
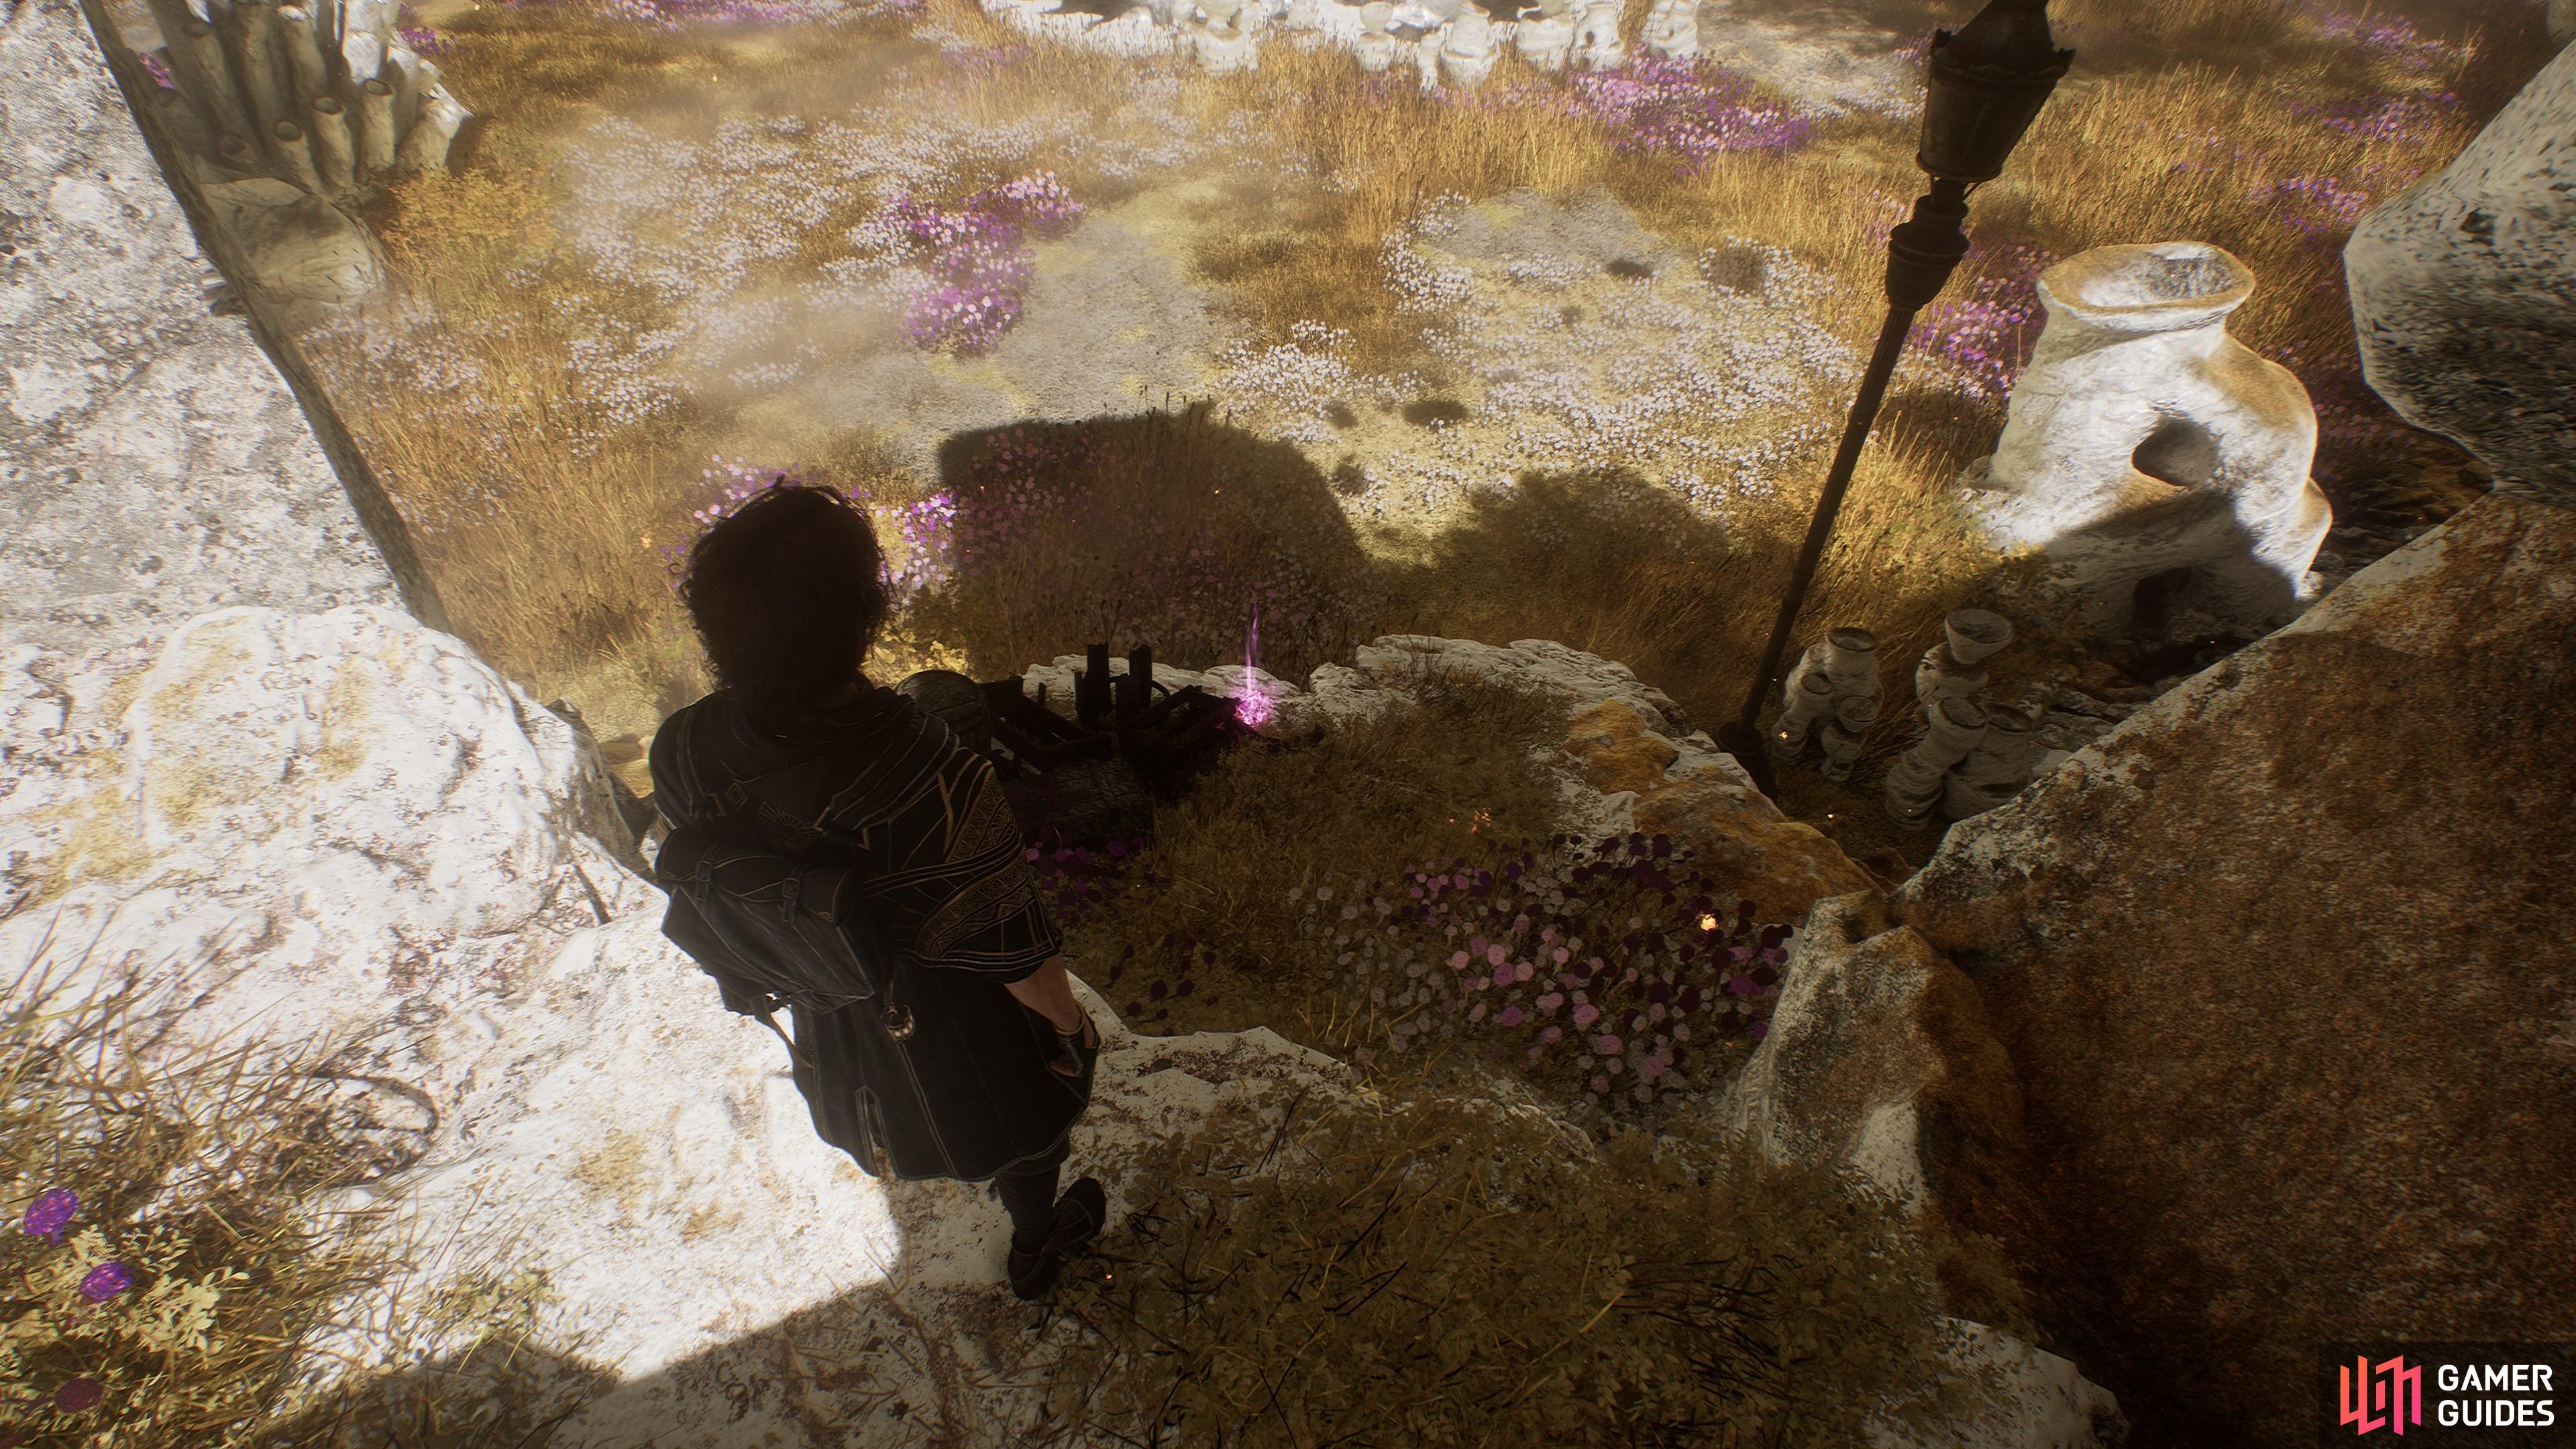
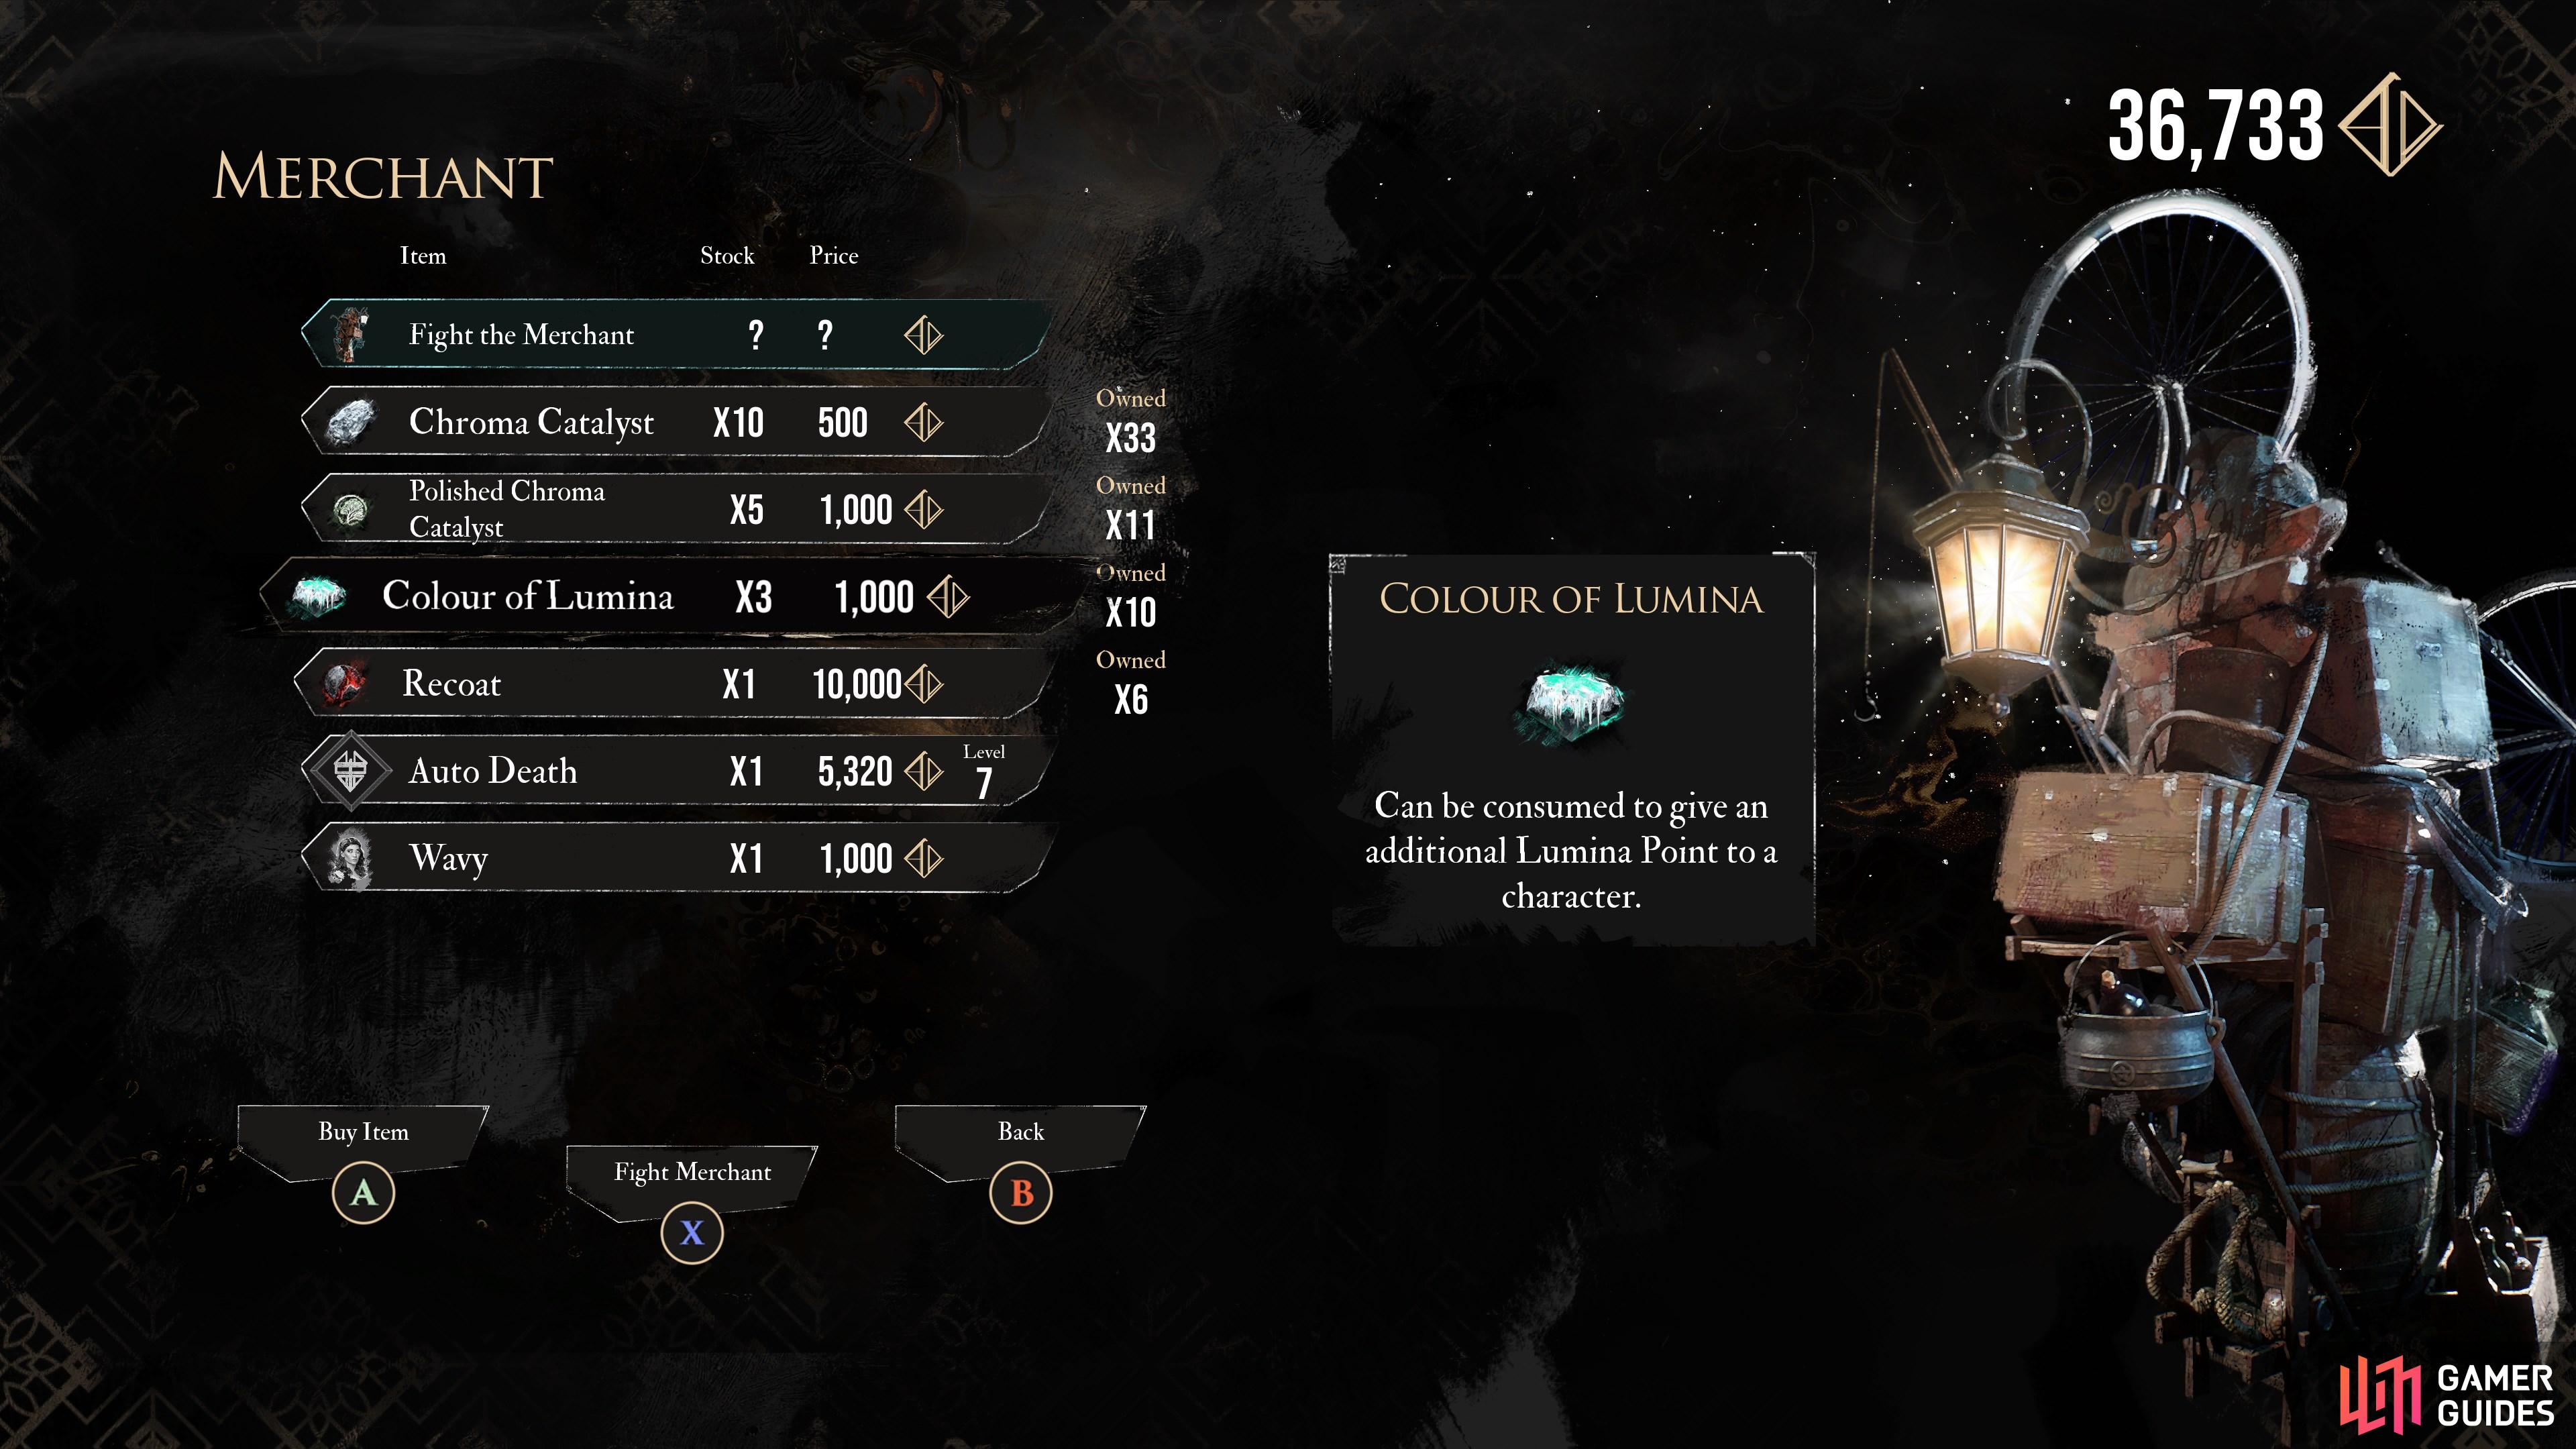
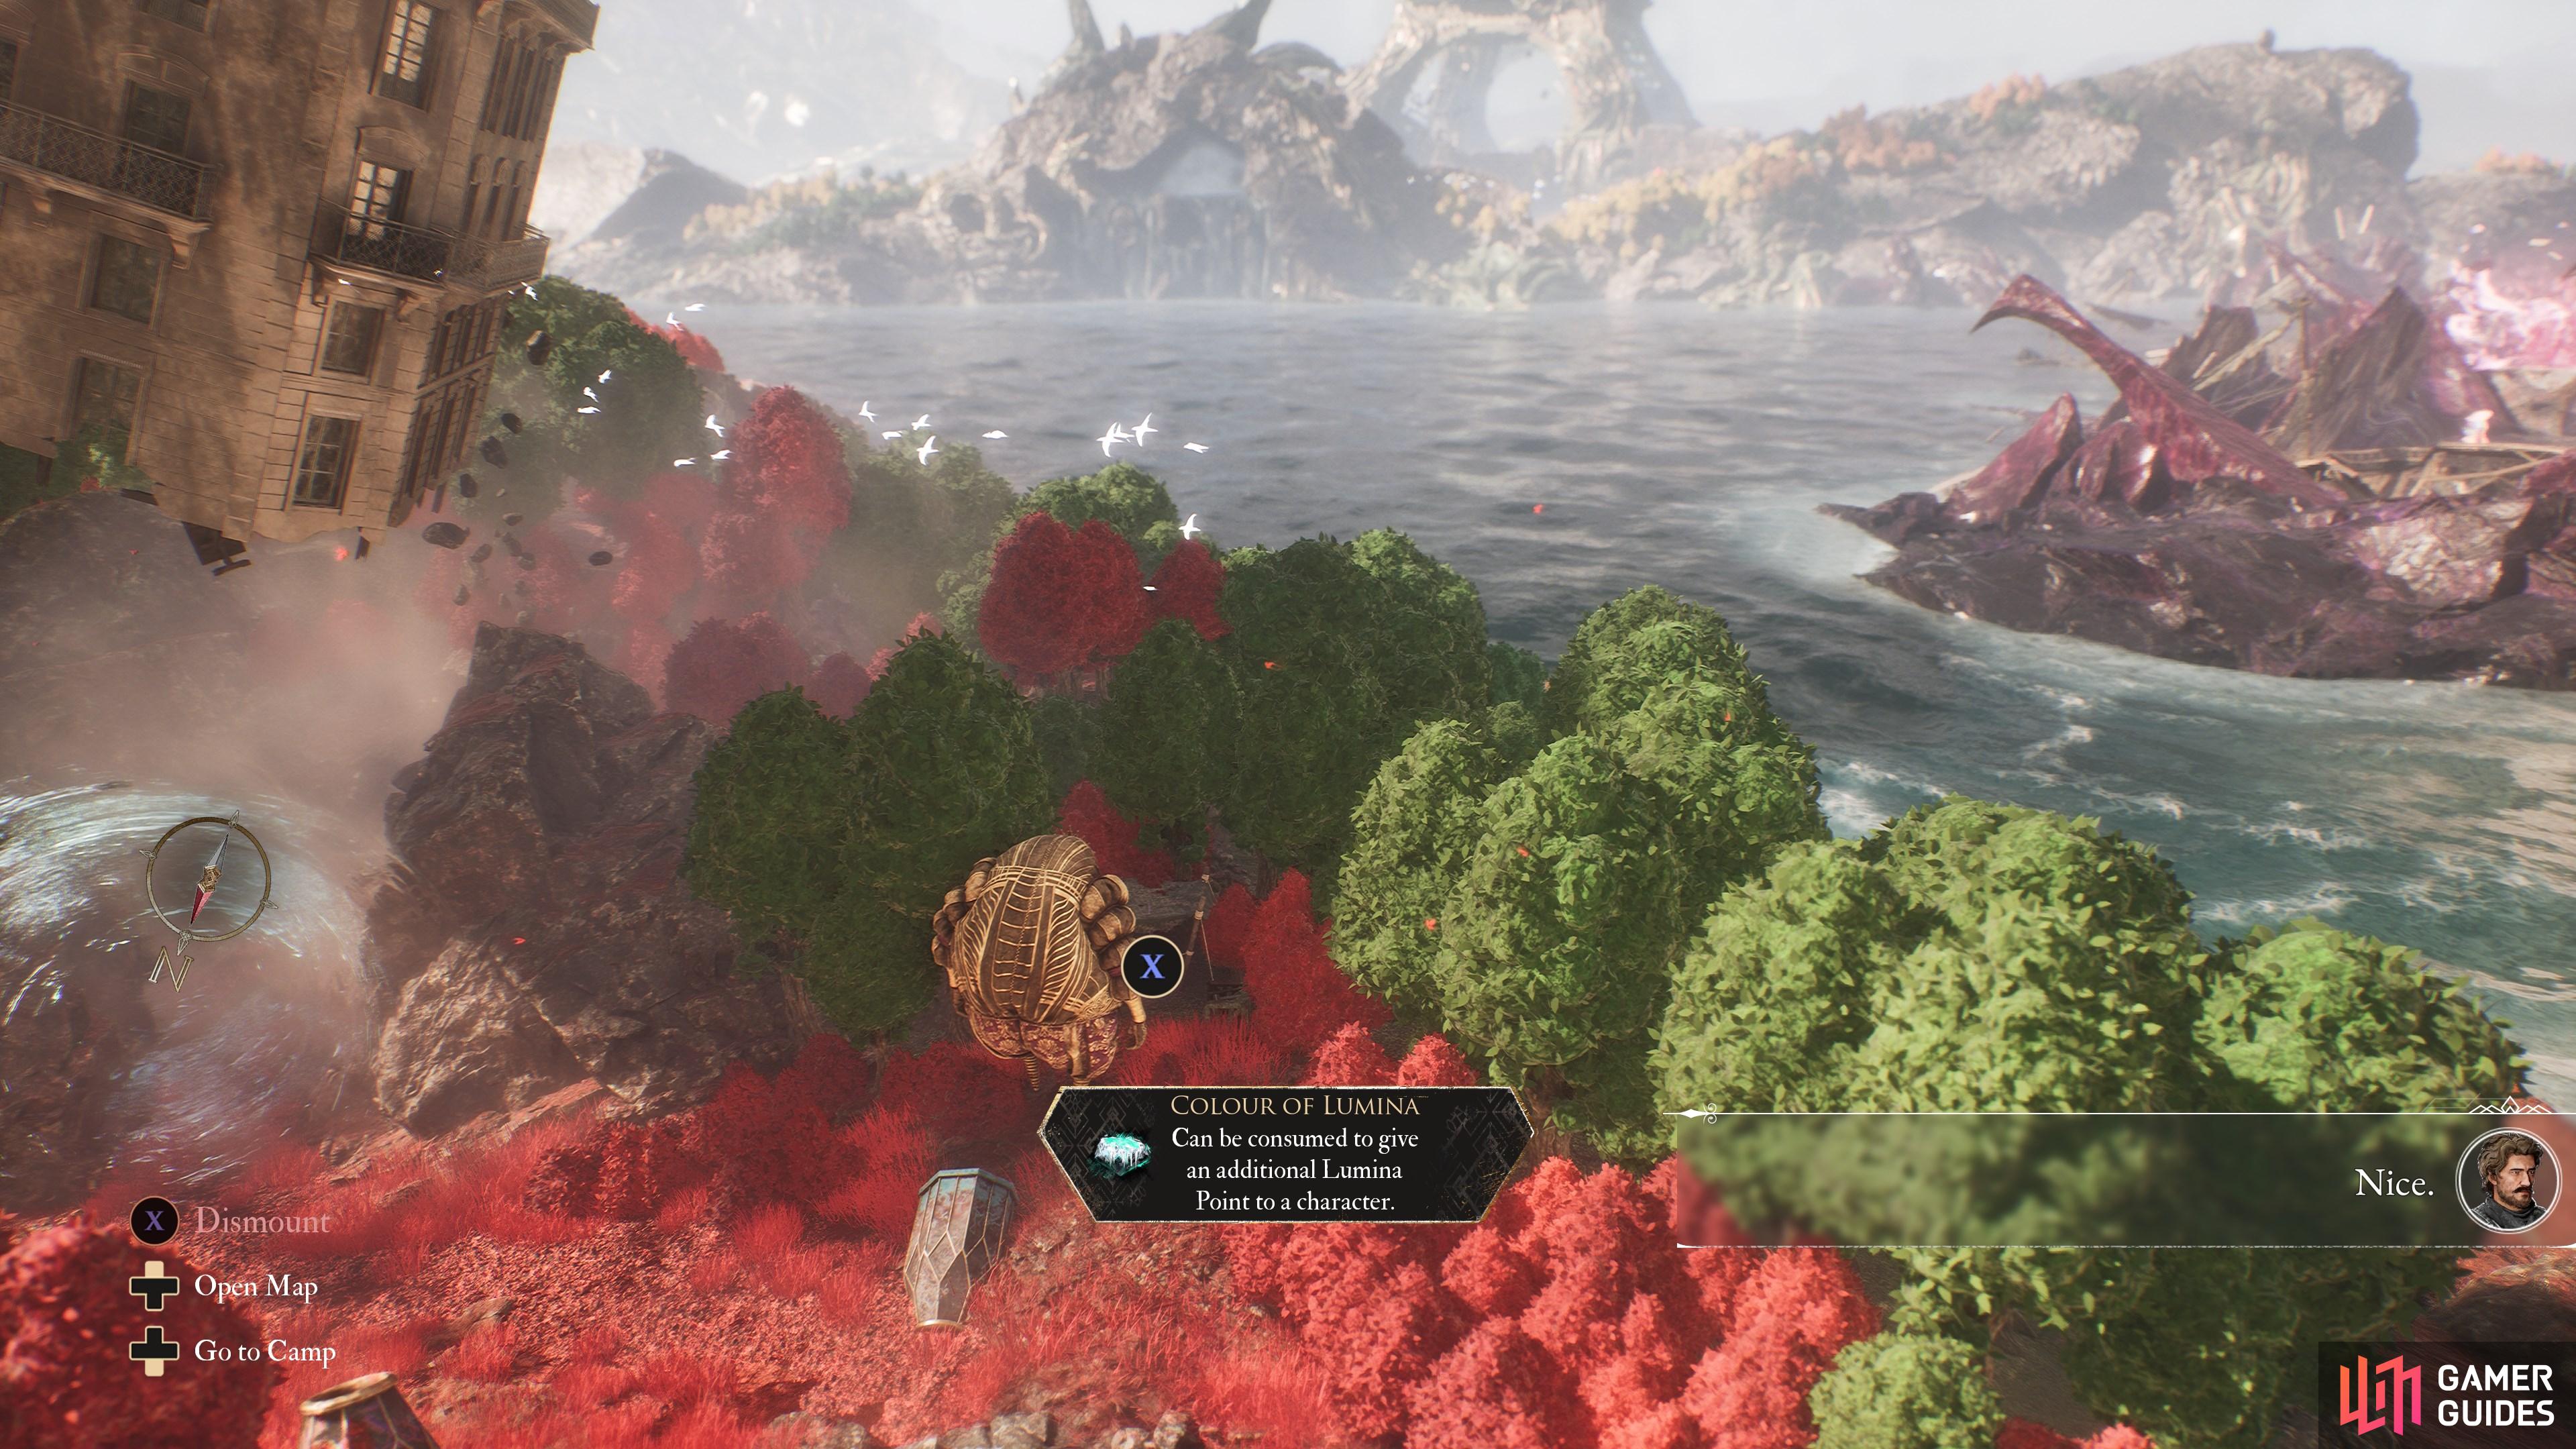
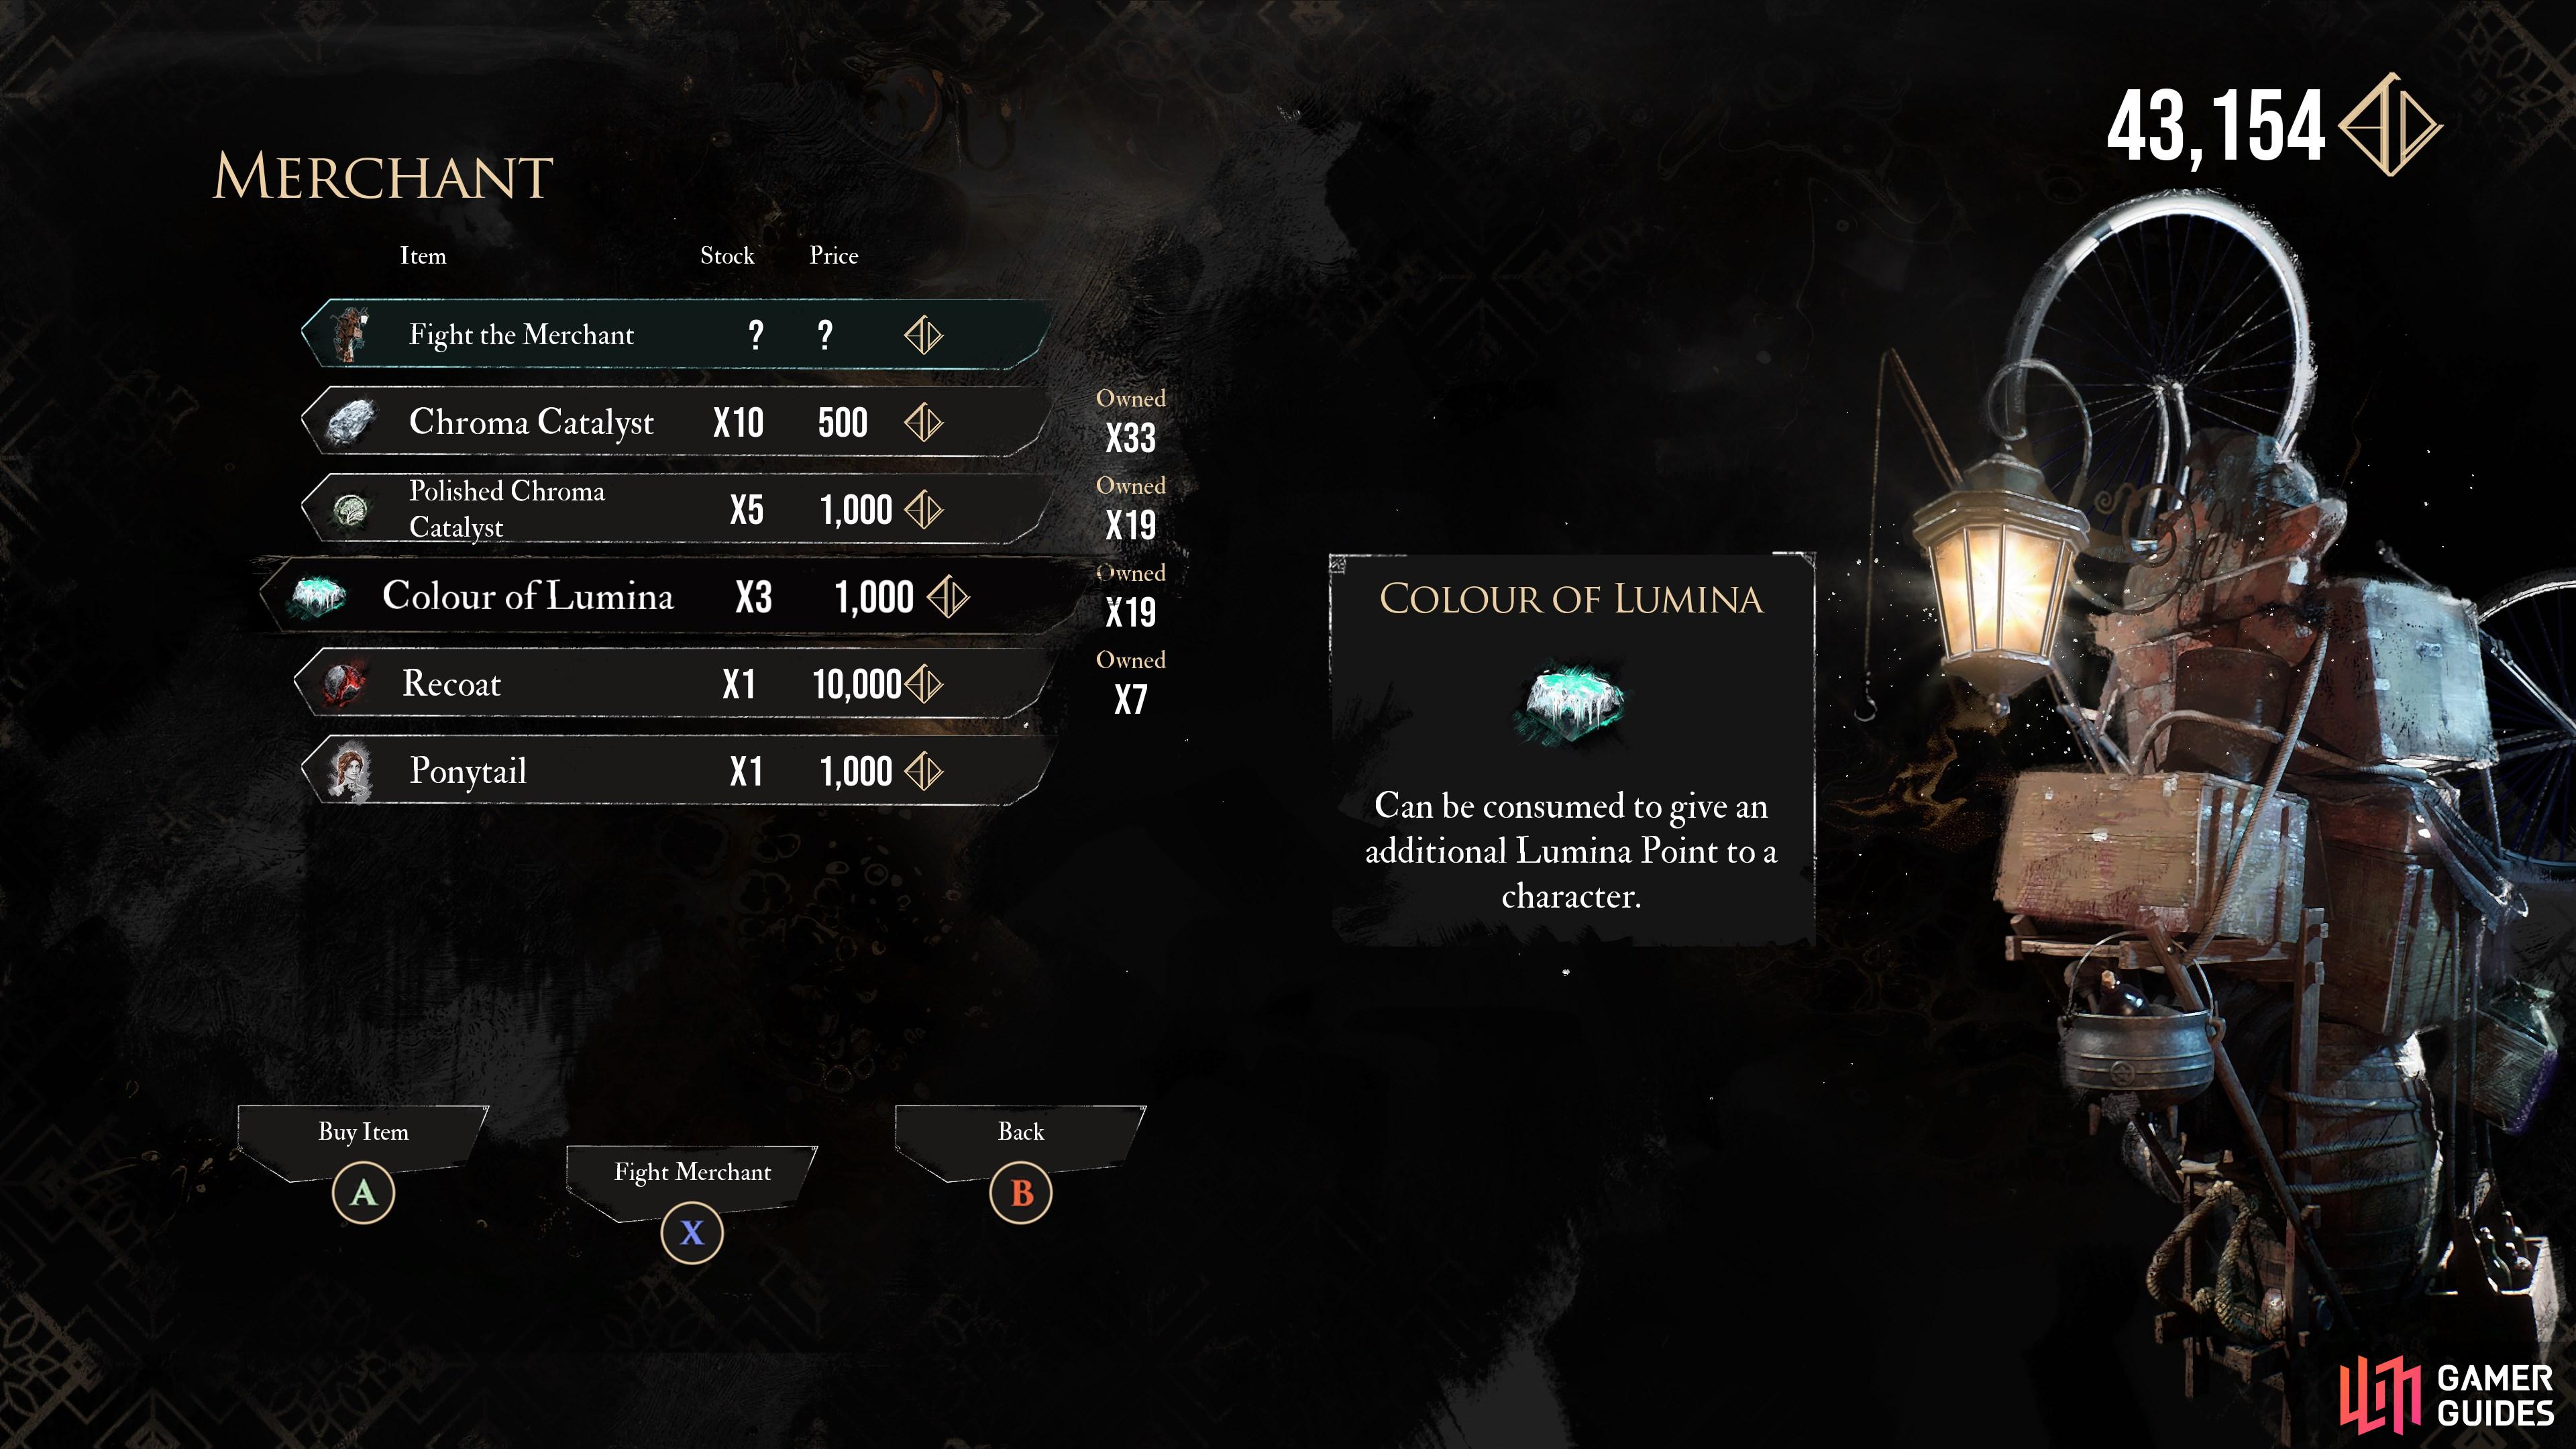
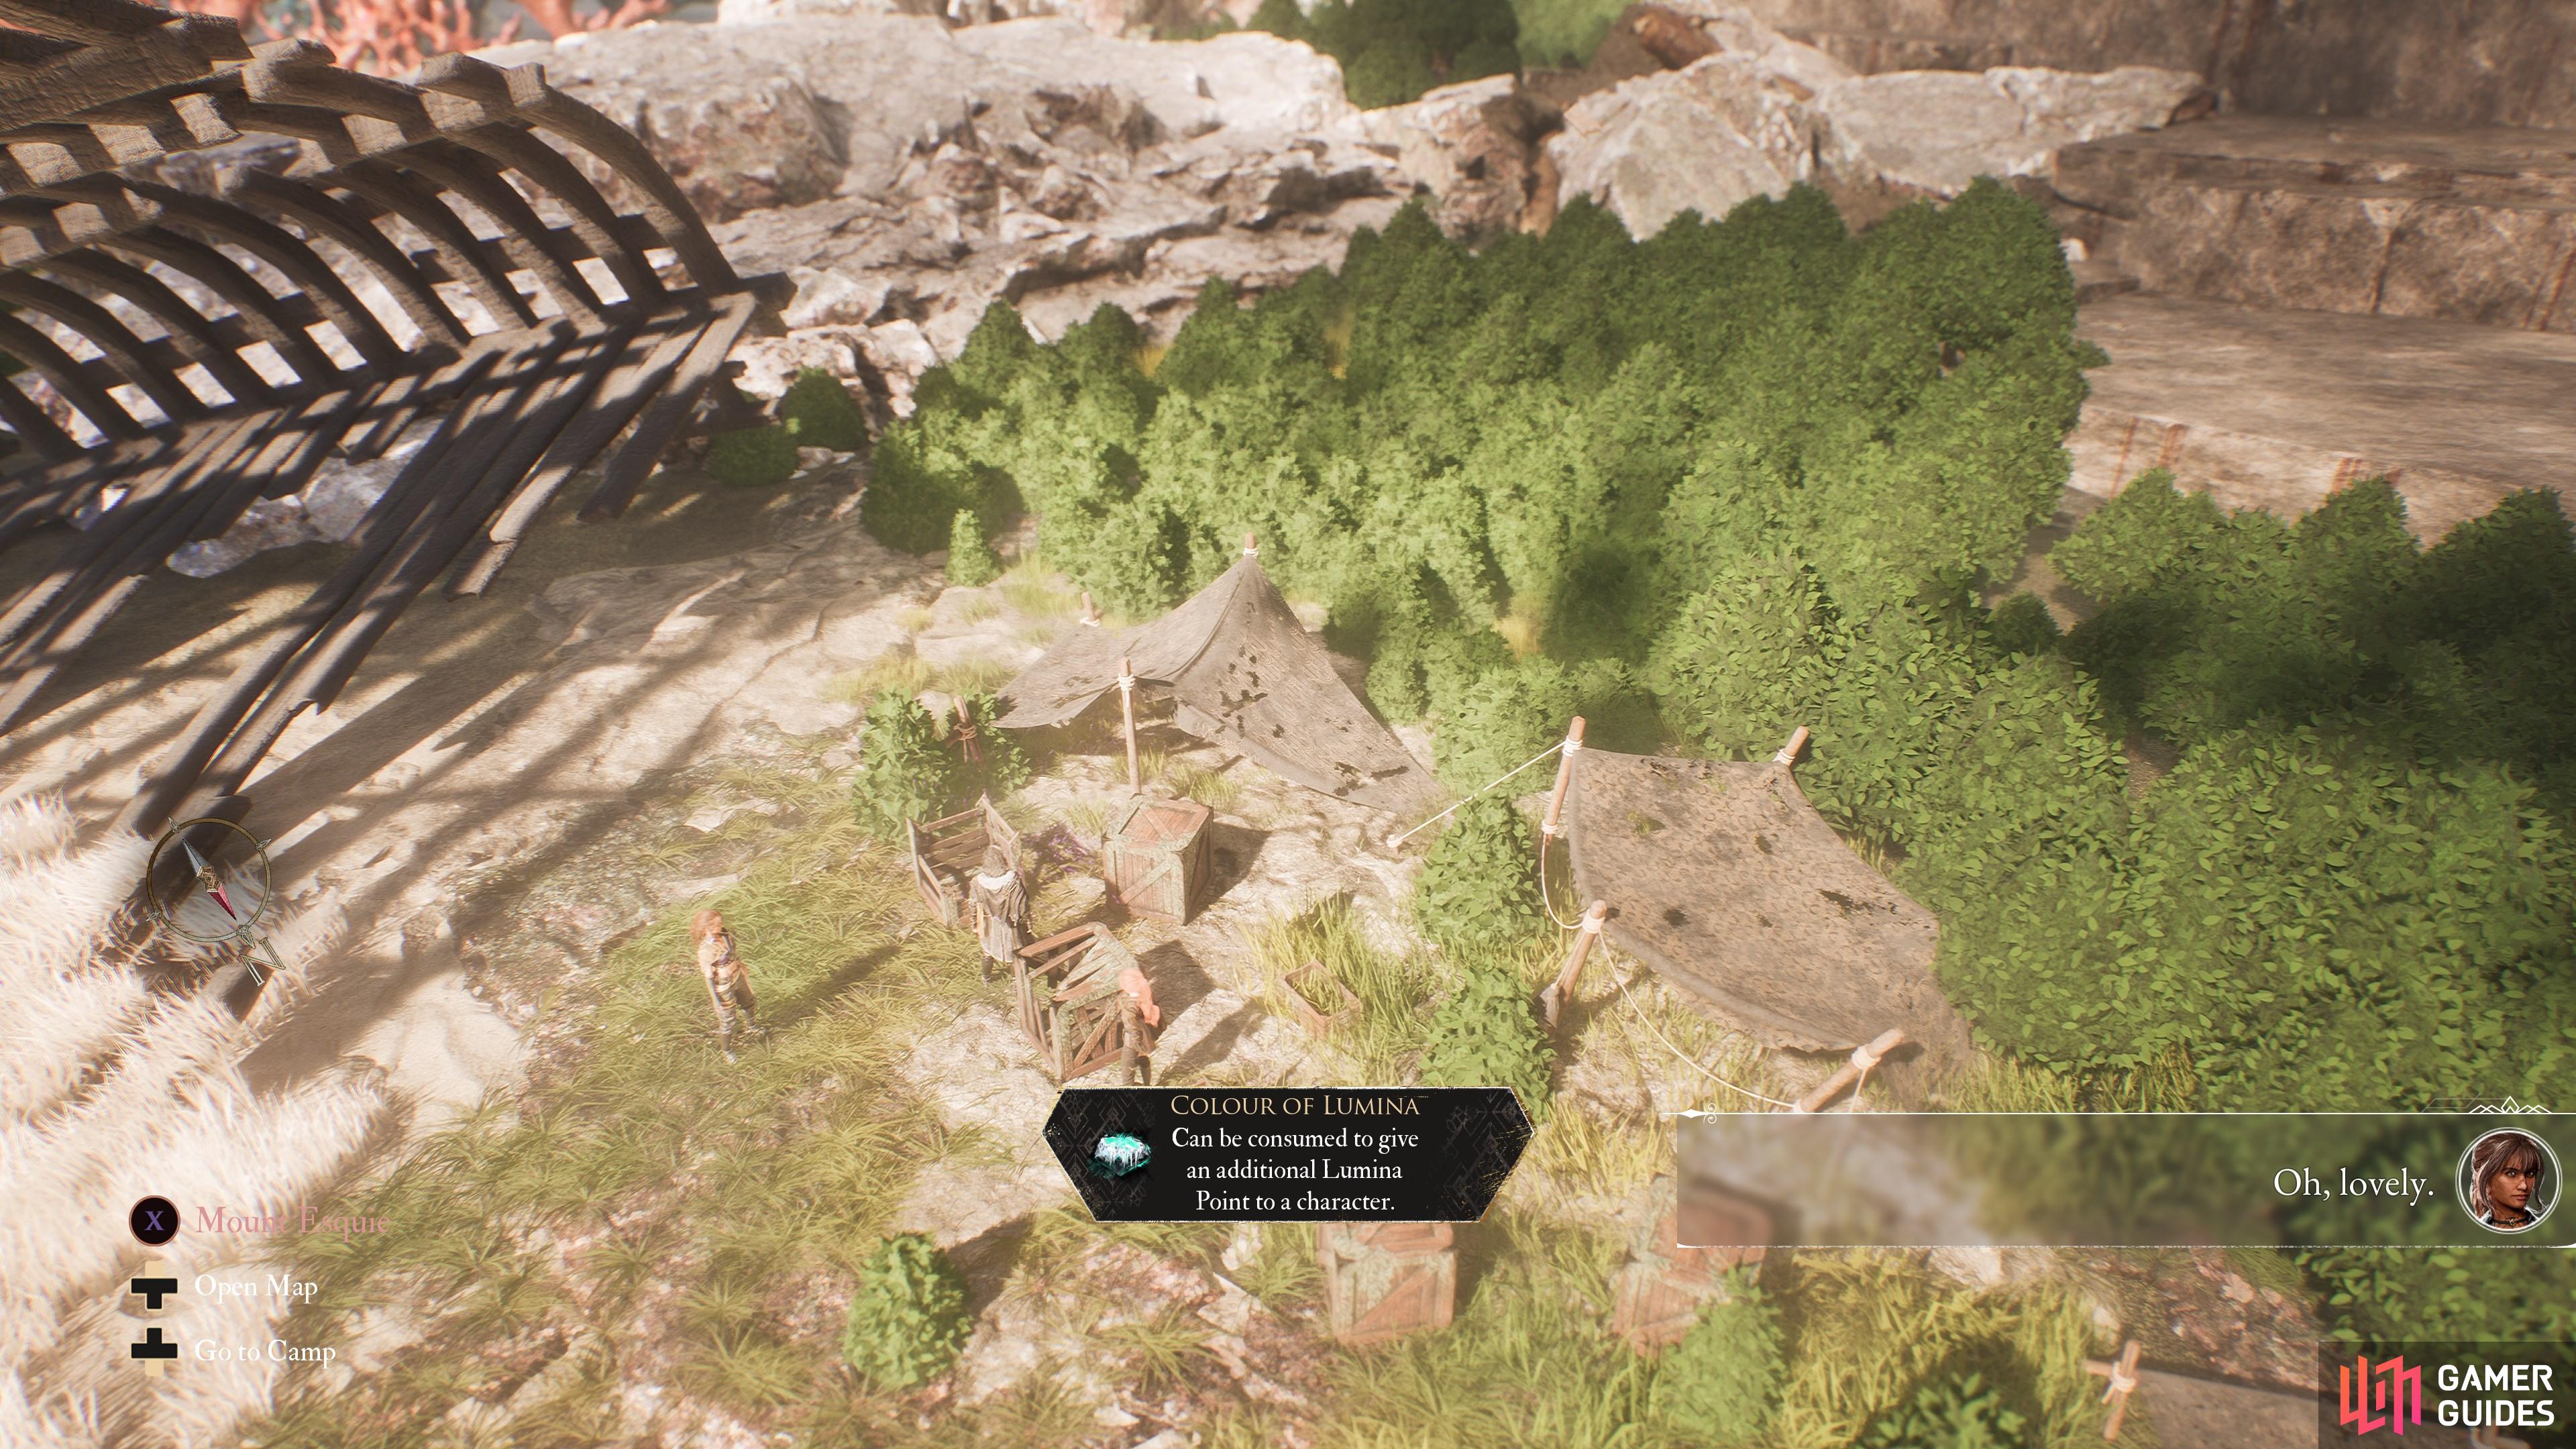
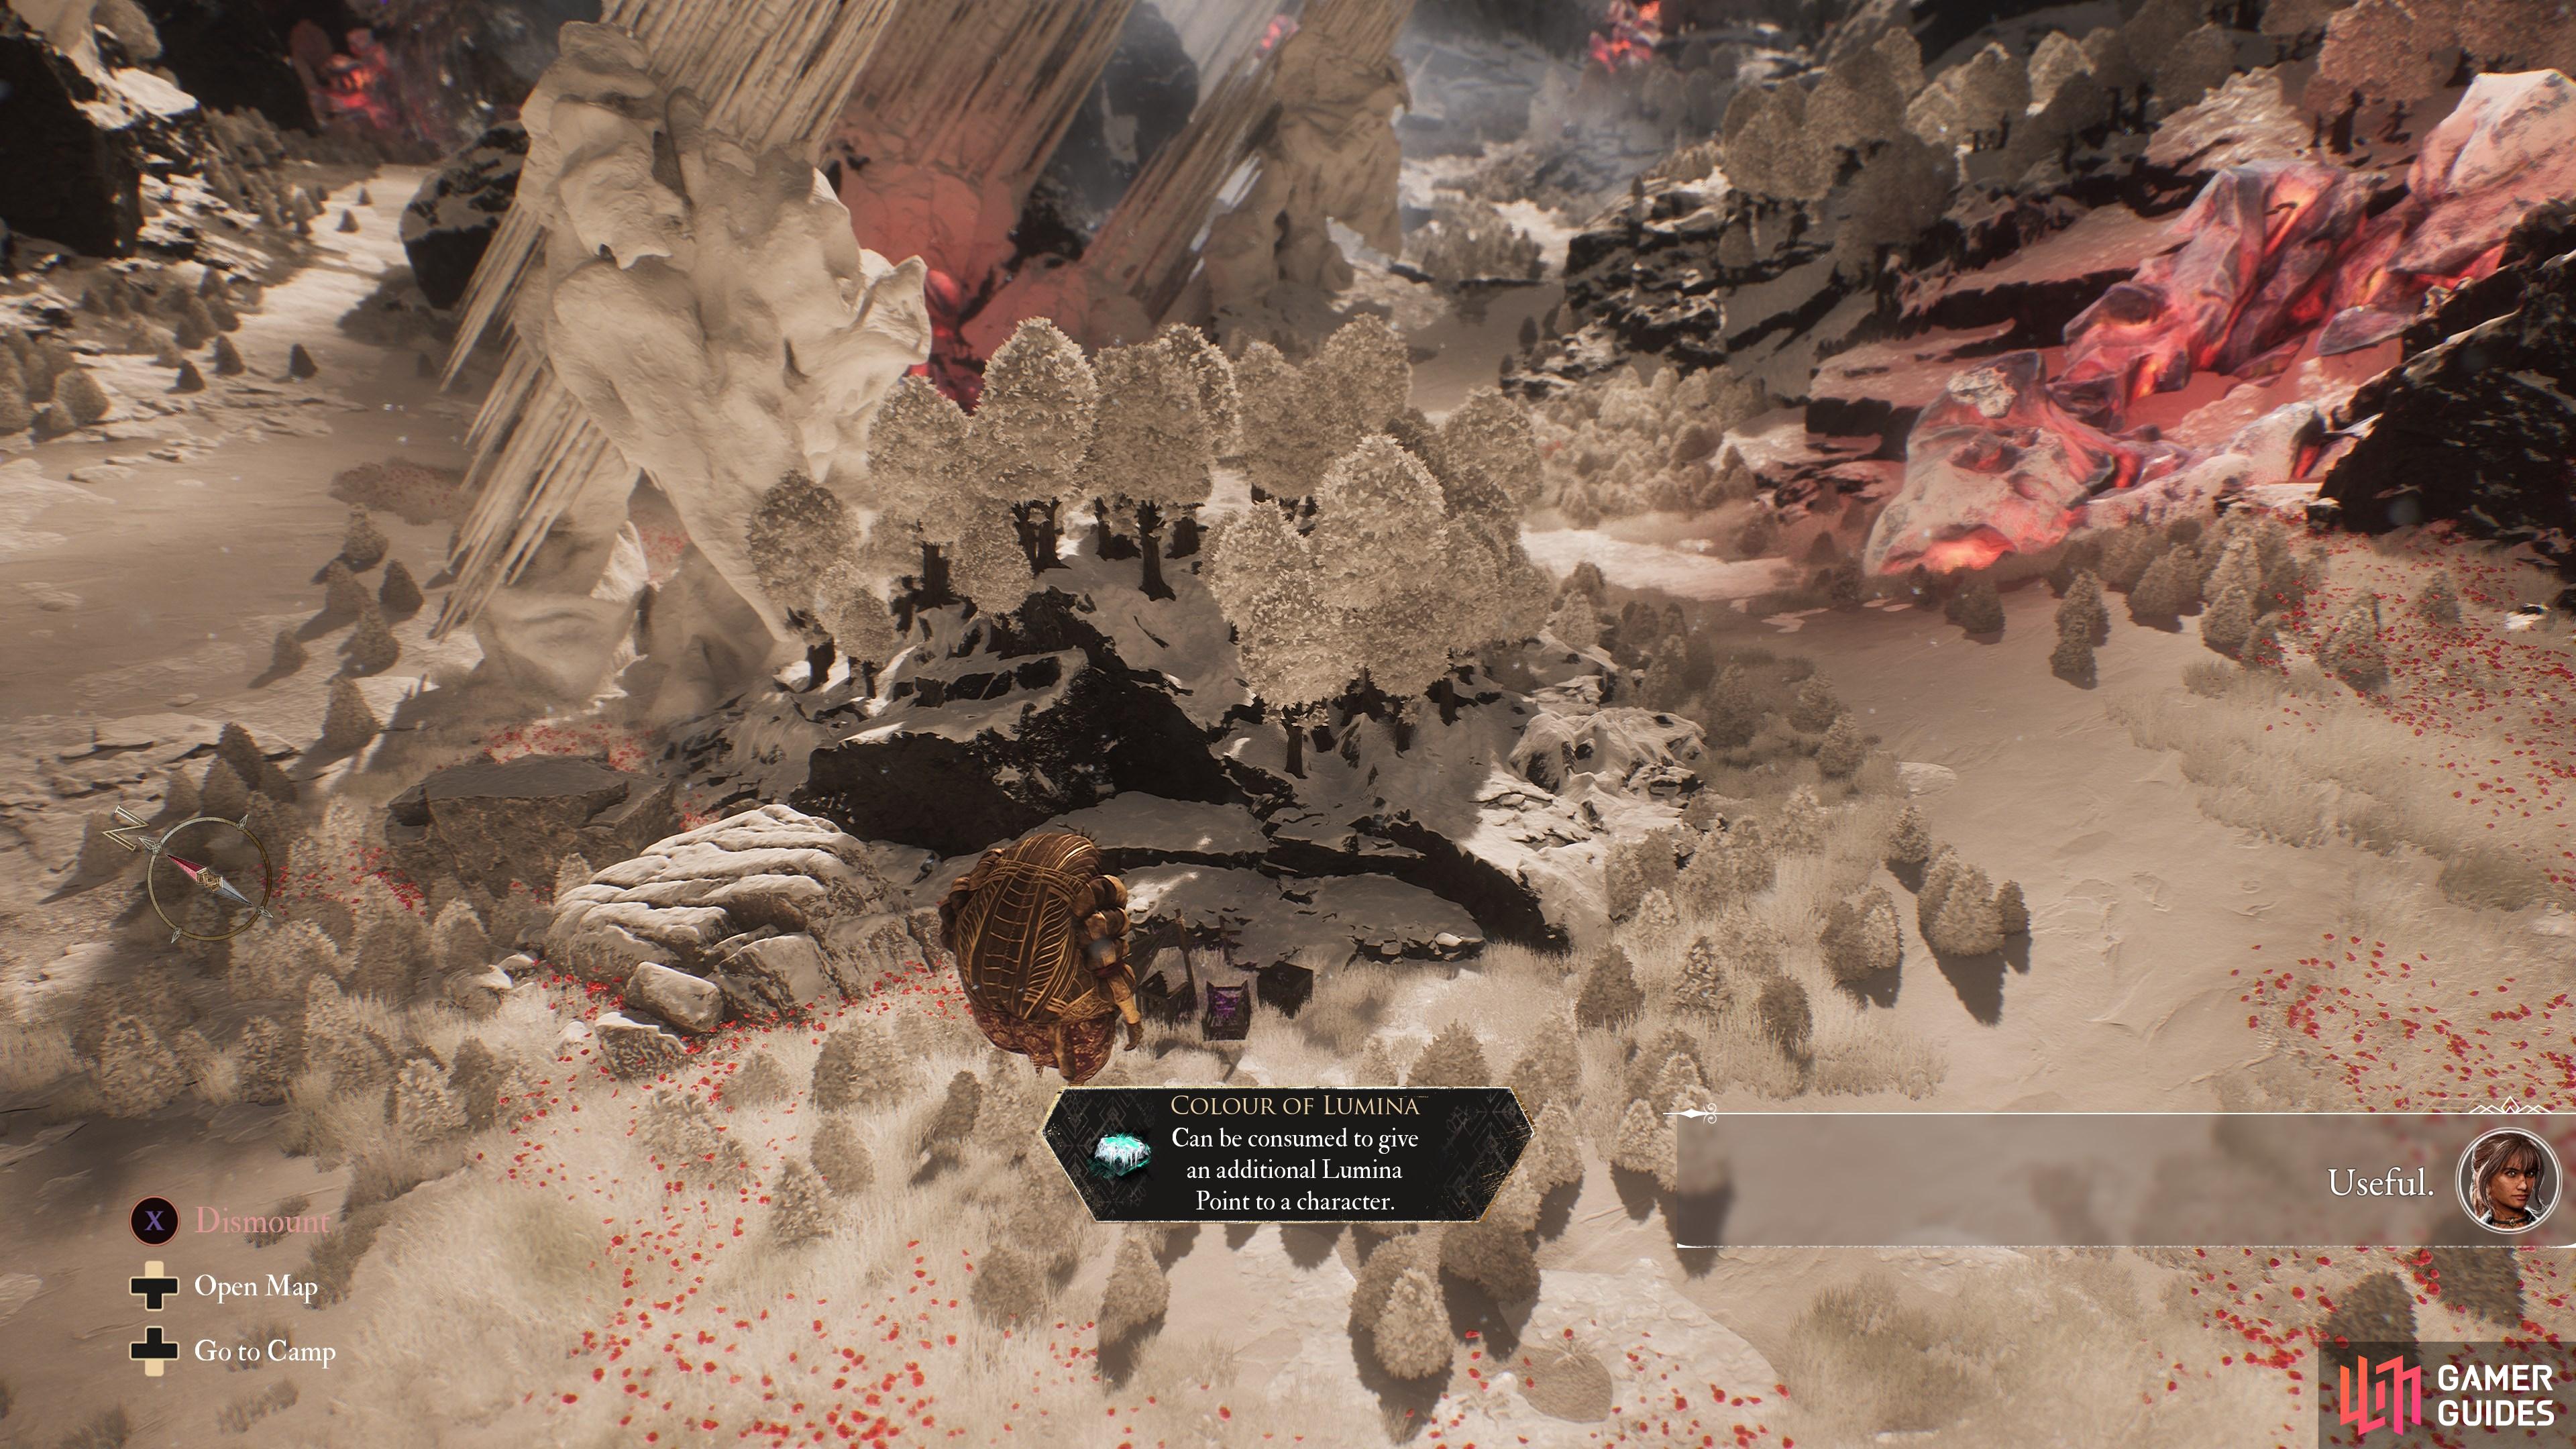
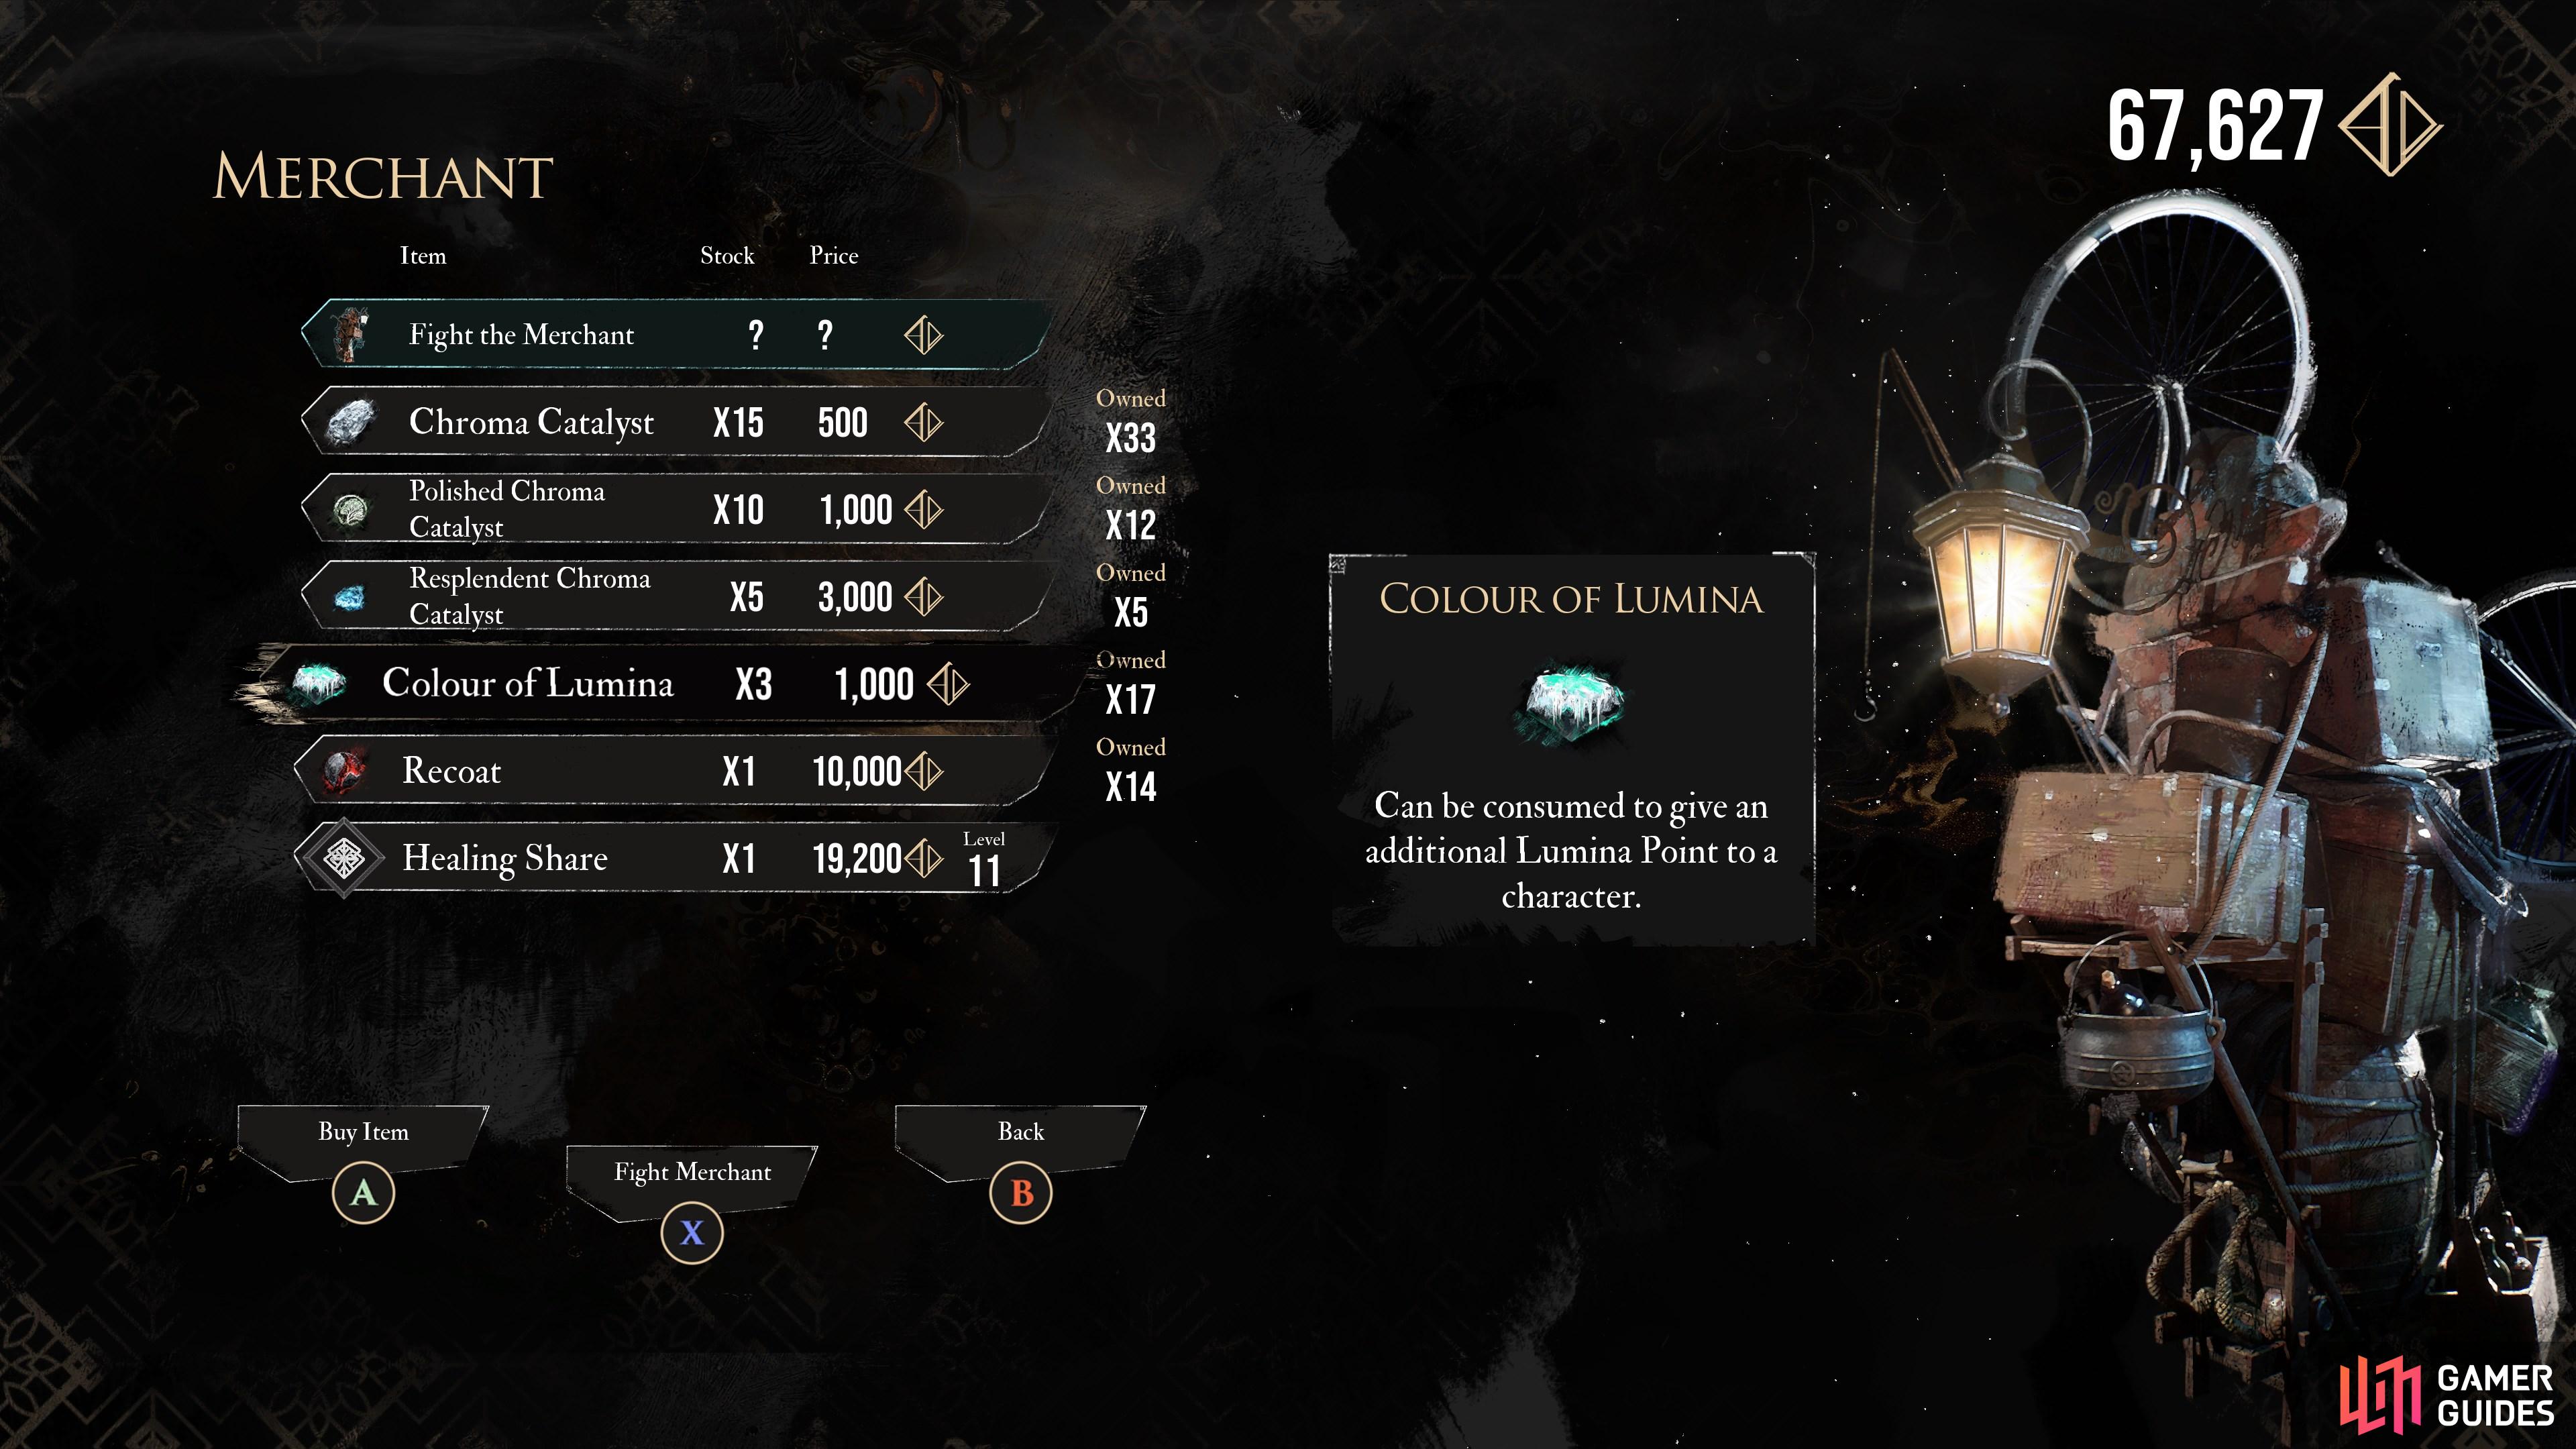
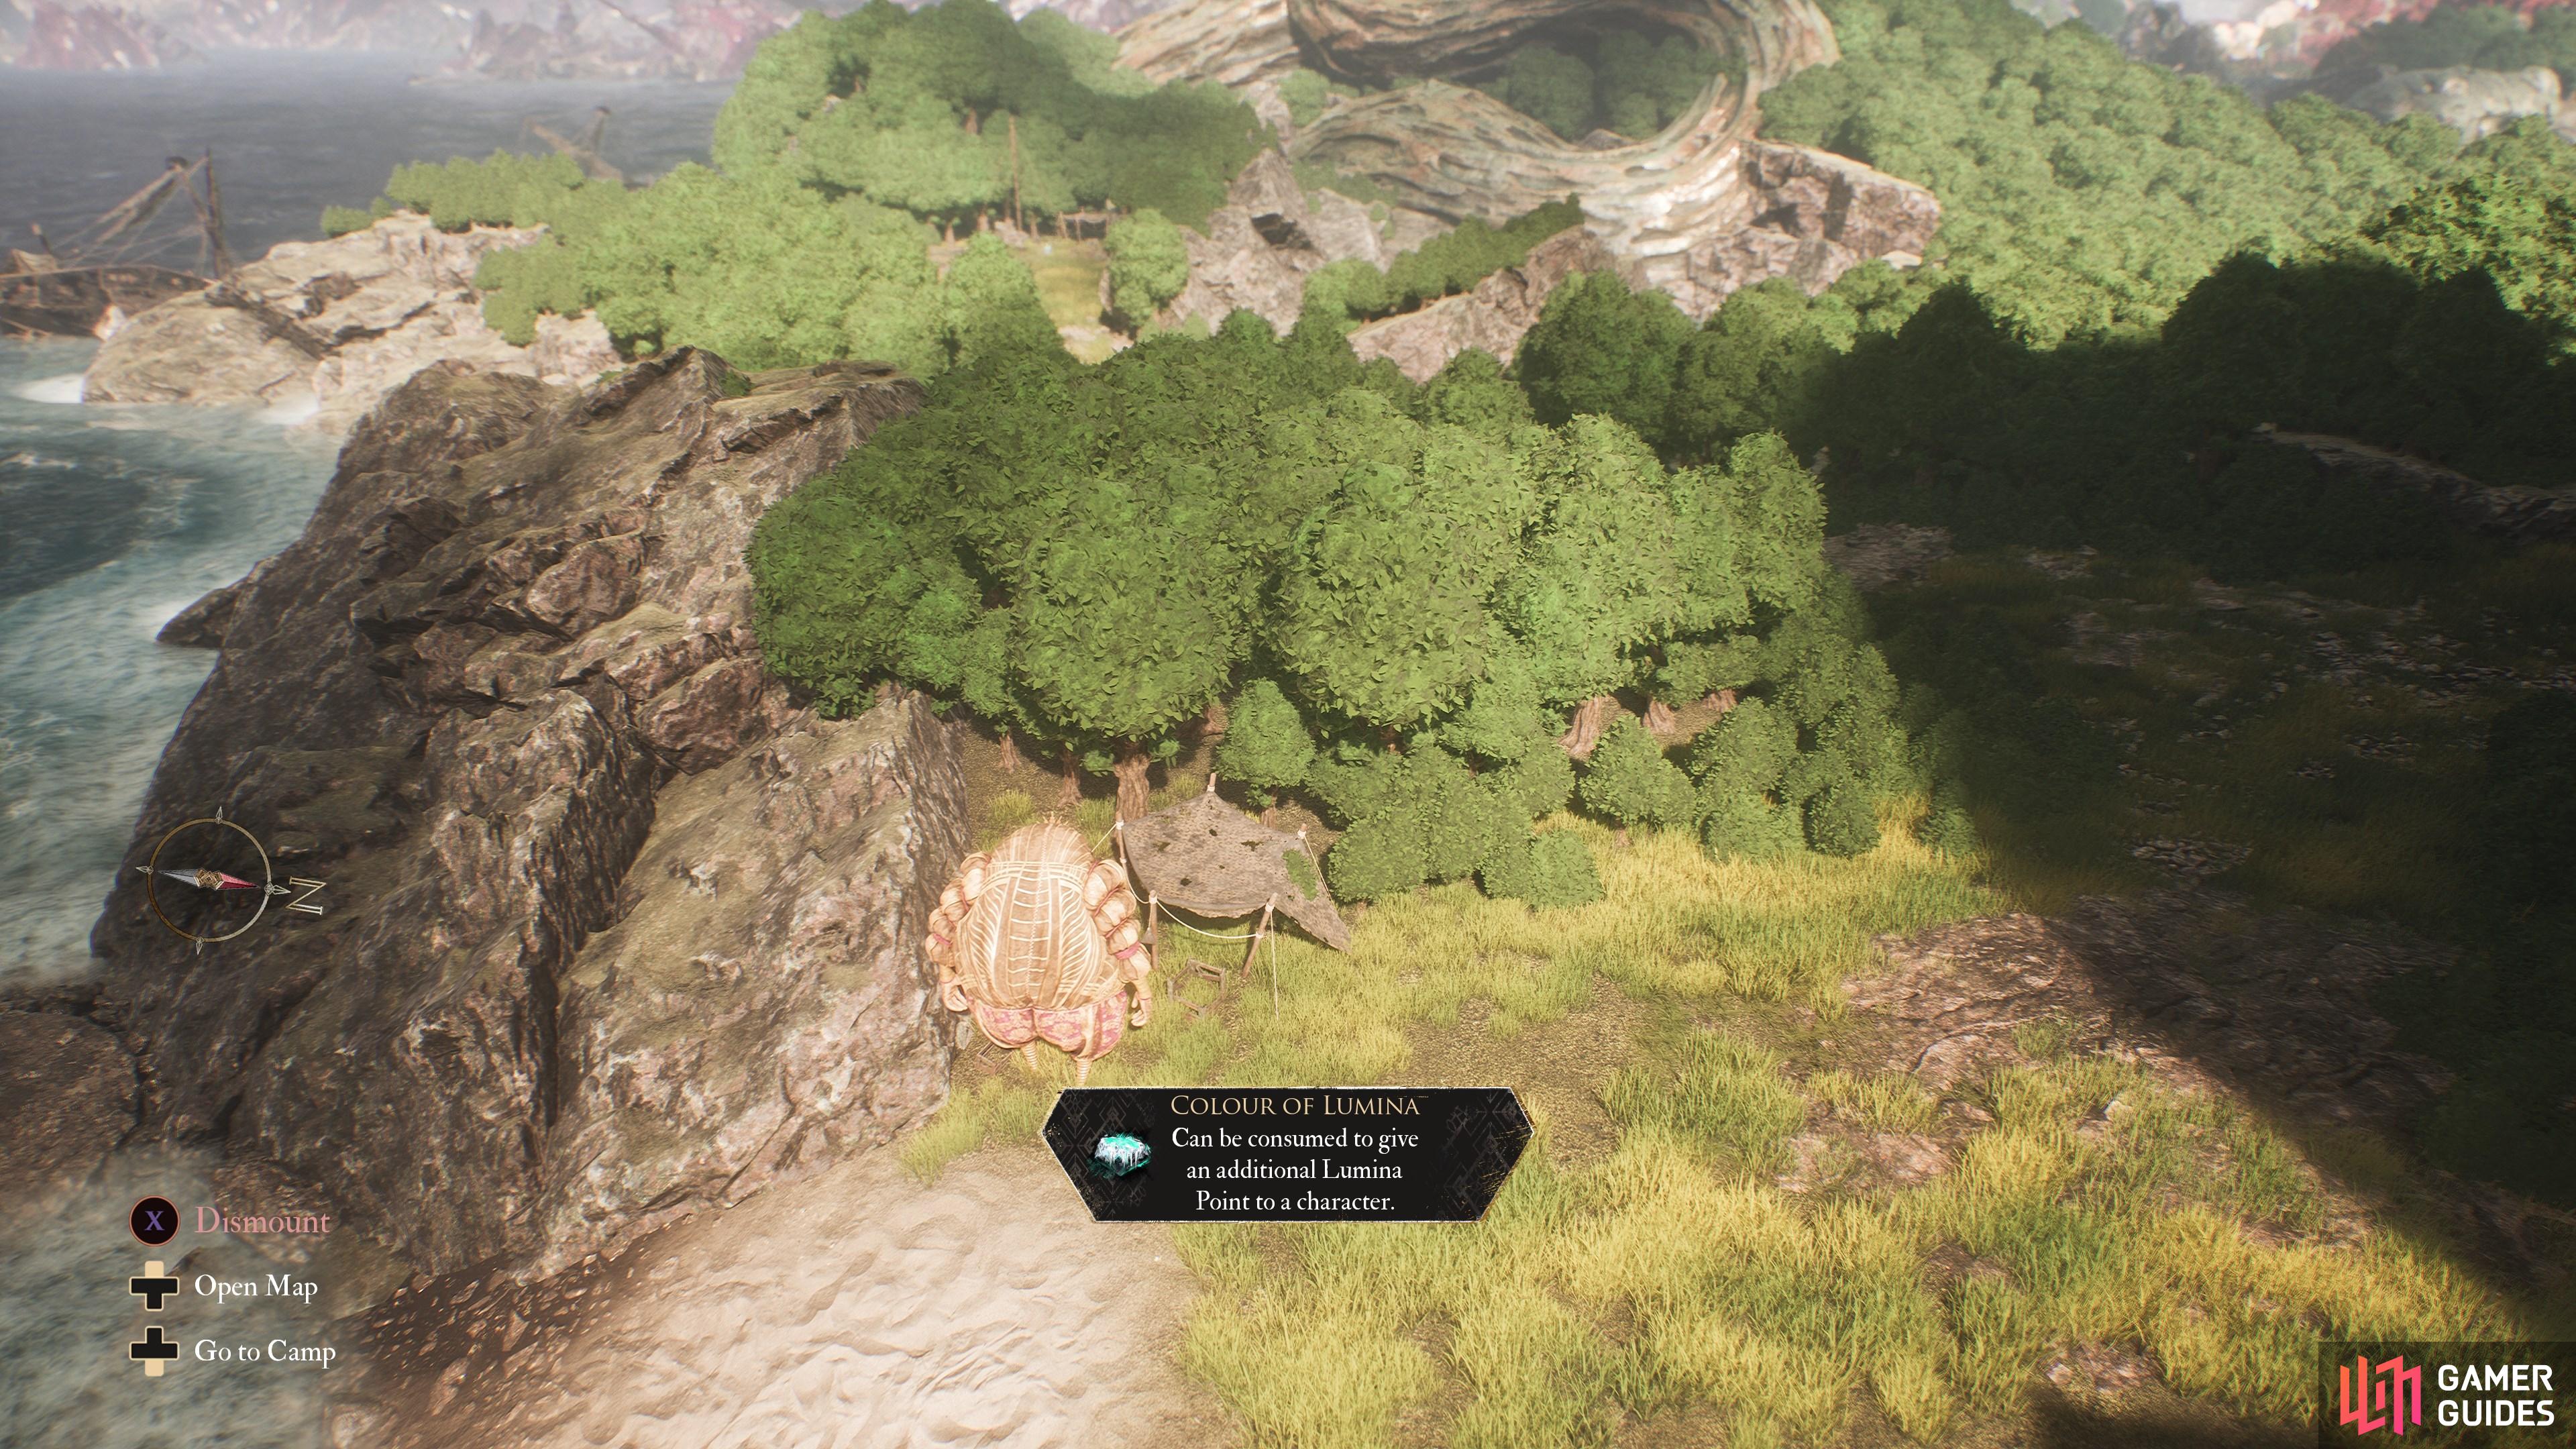
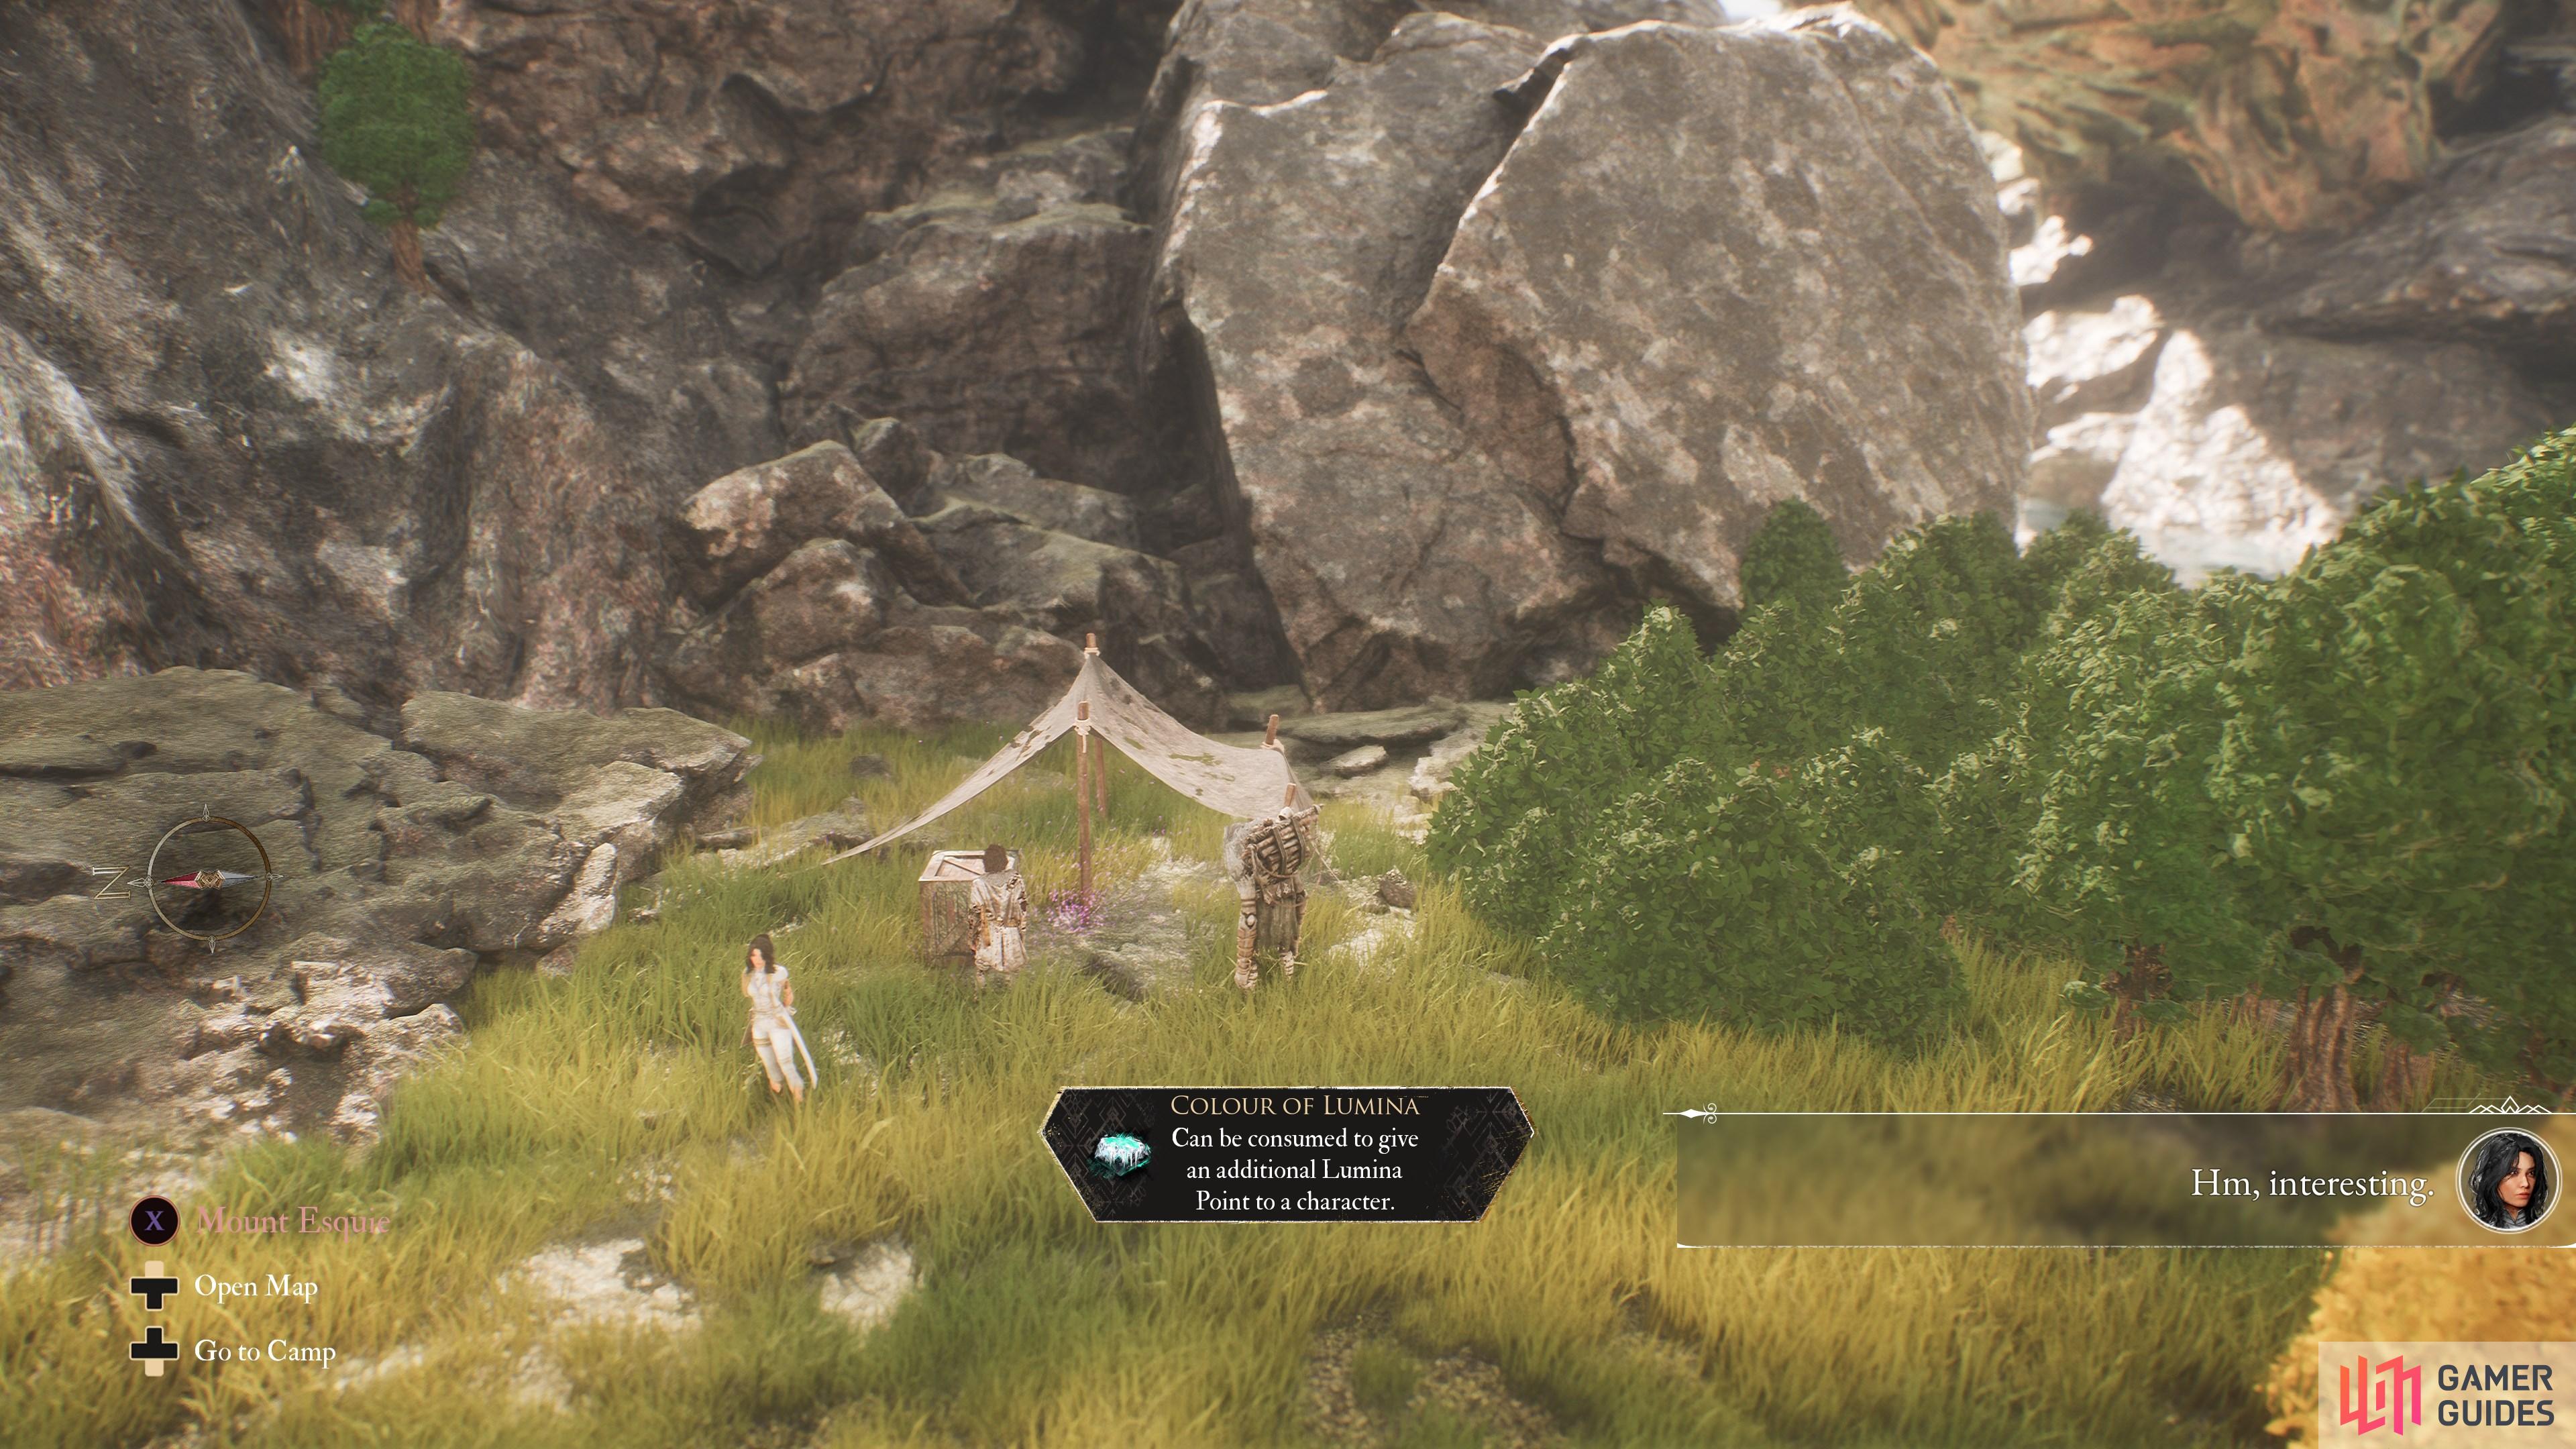
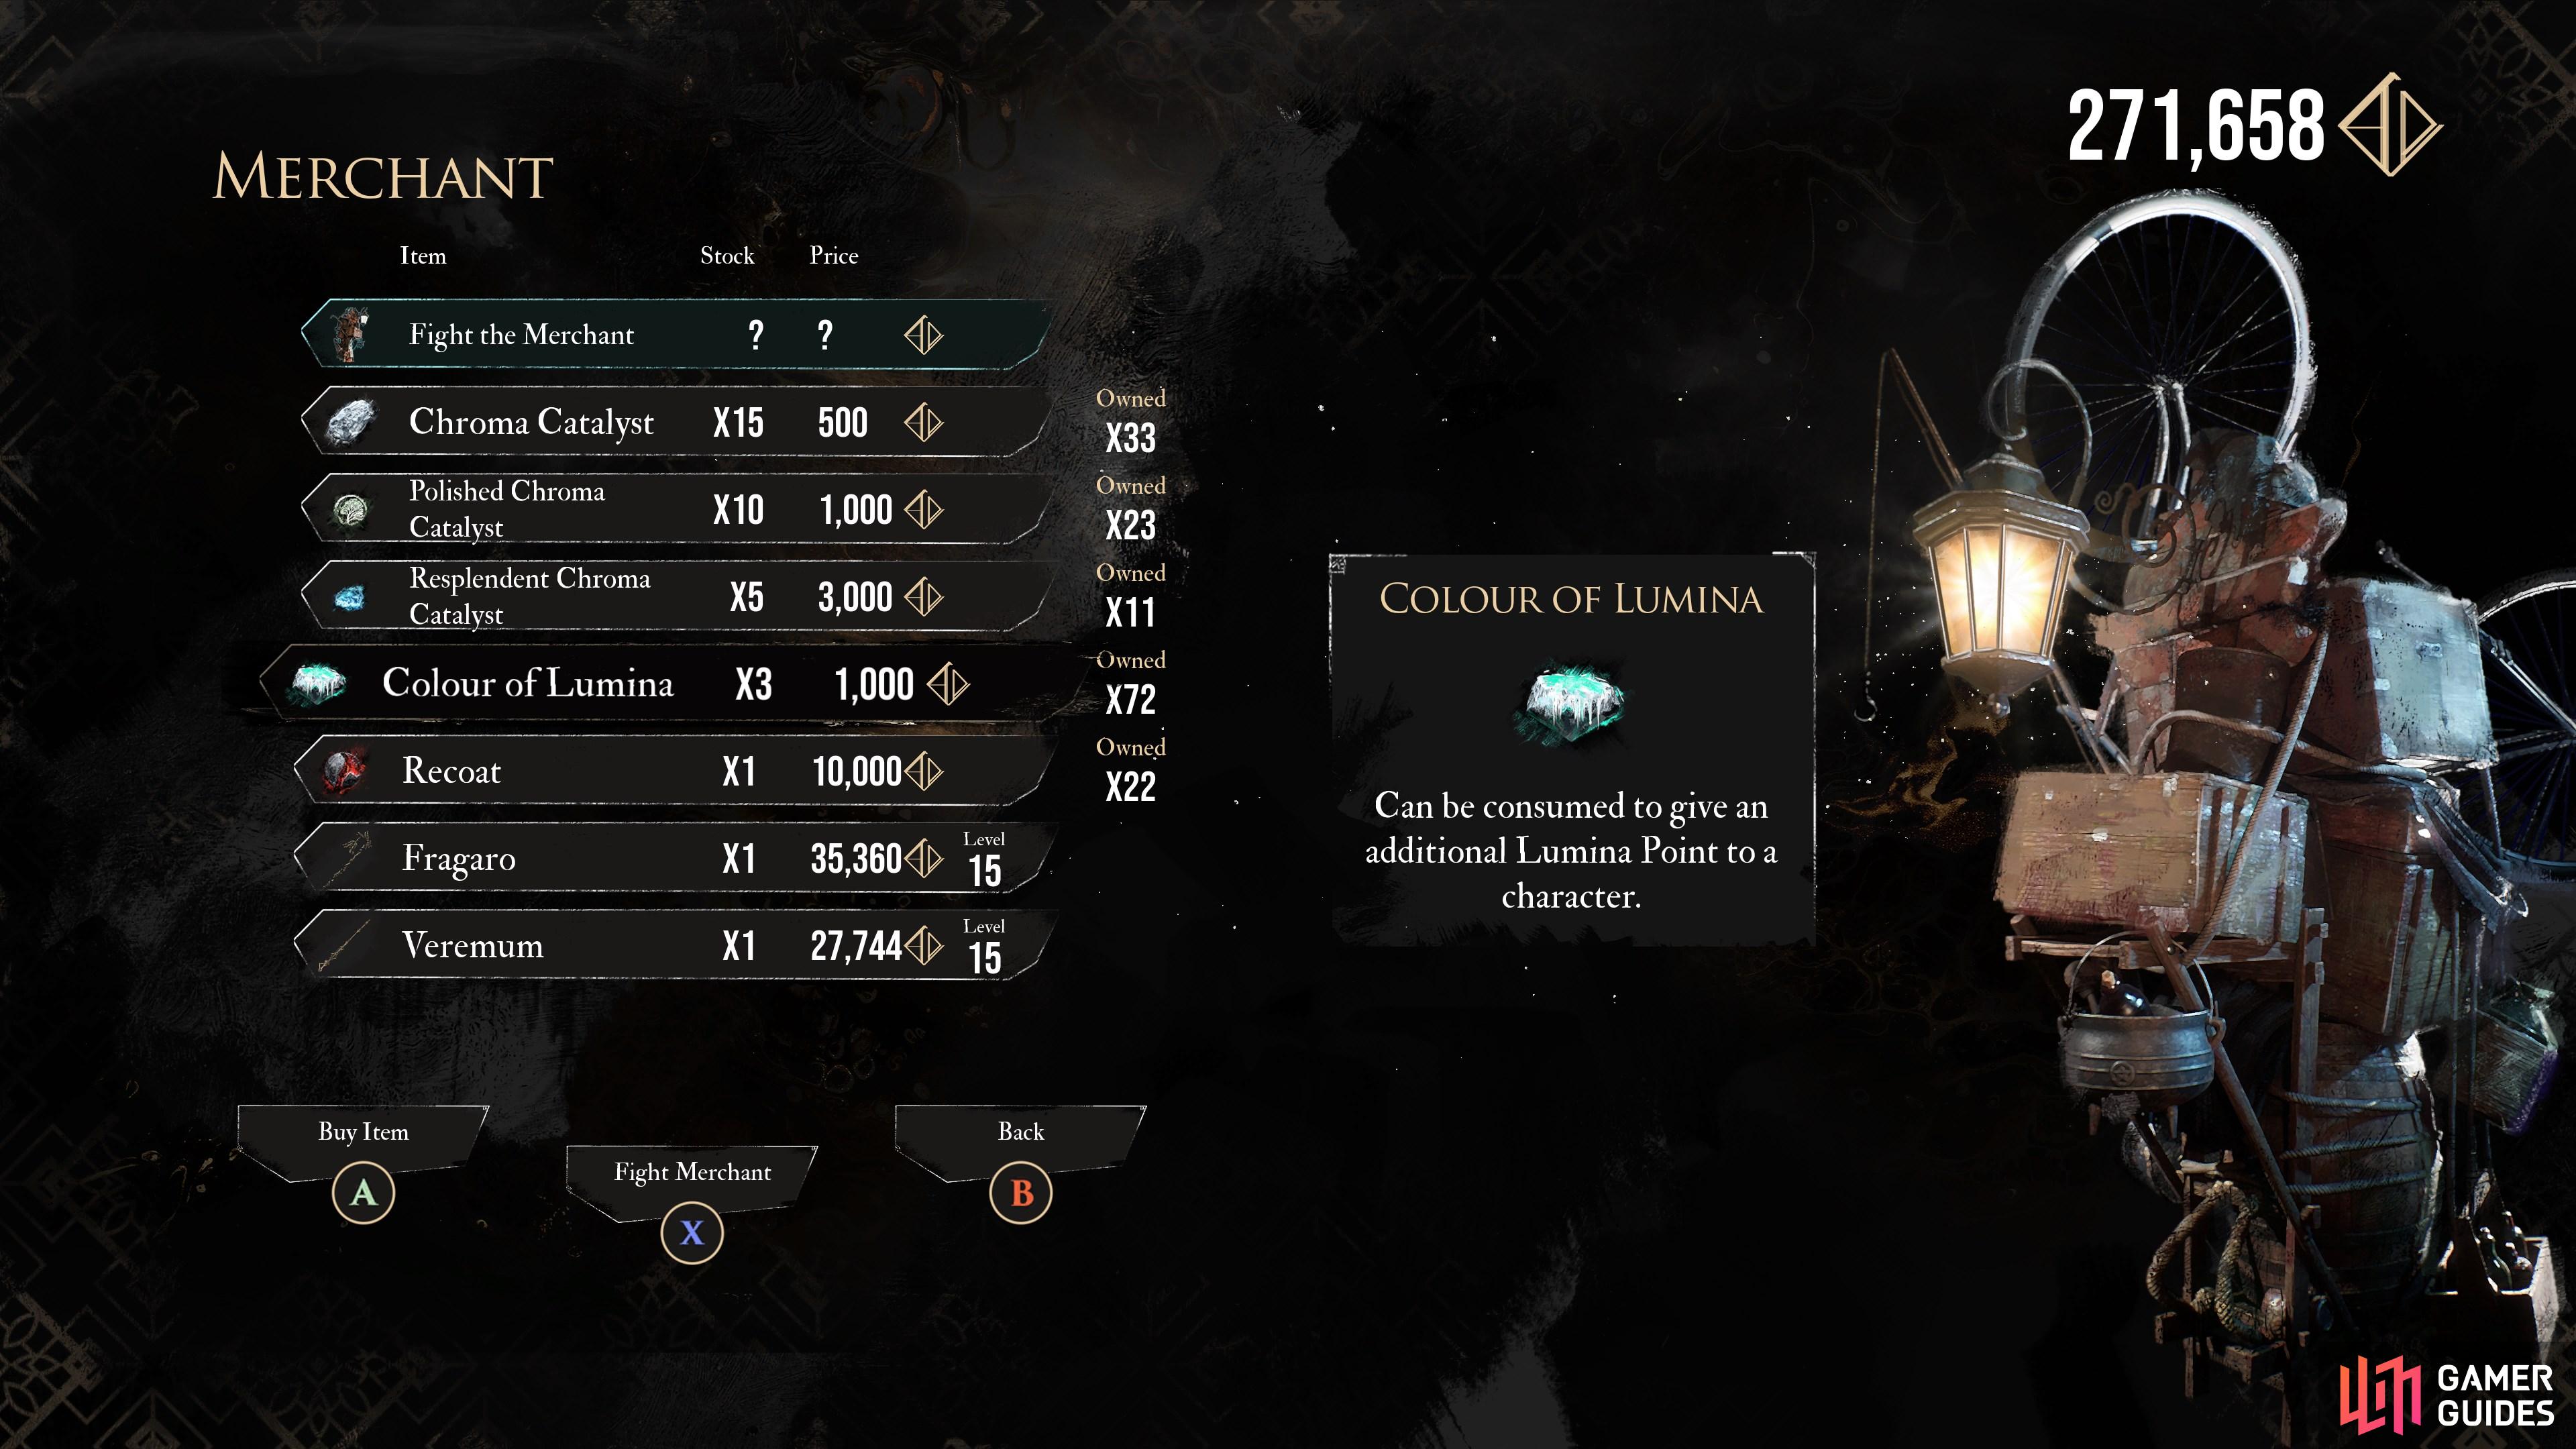
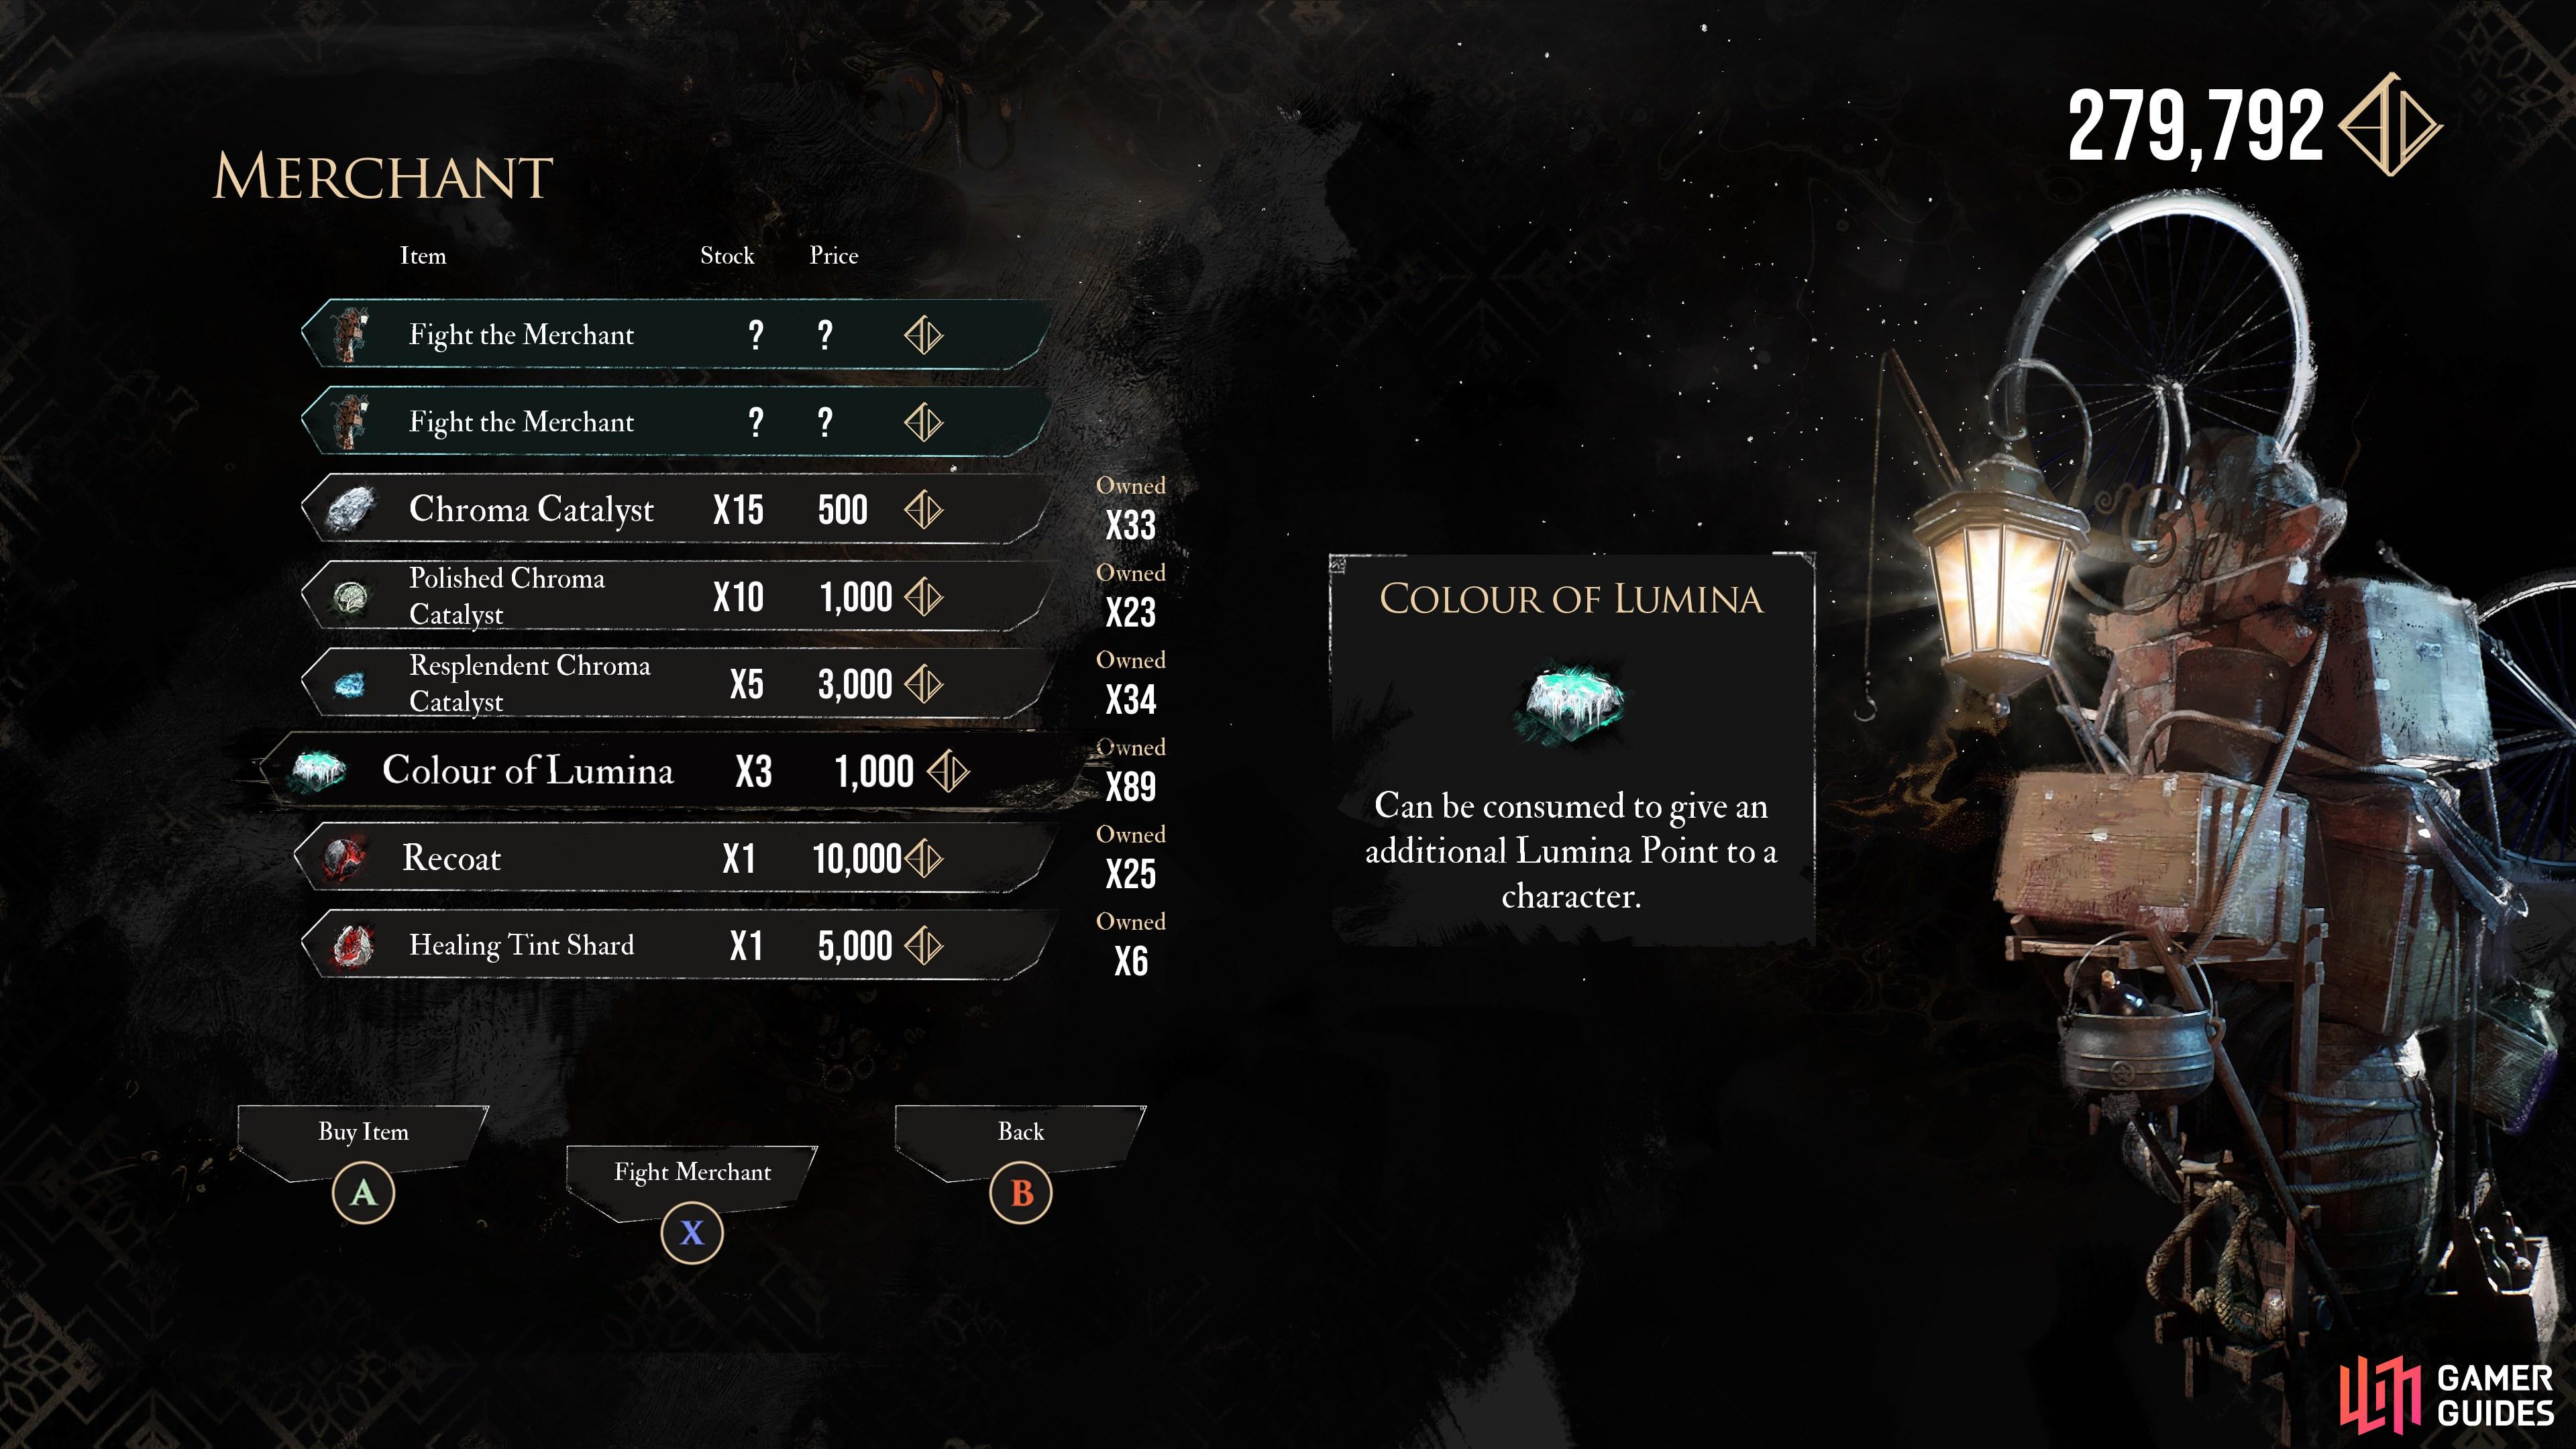
Can be consumed to give an additional Lumina Point to a character.
Found At
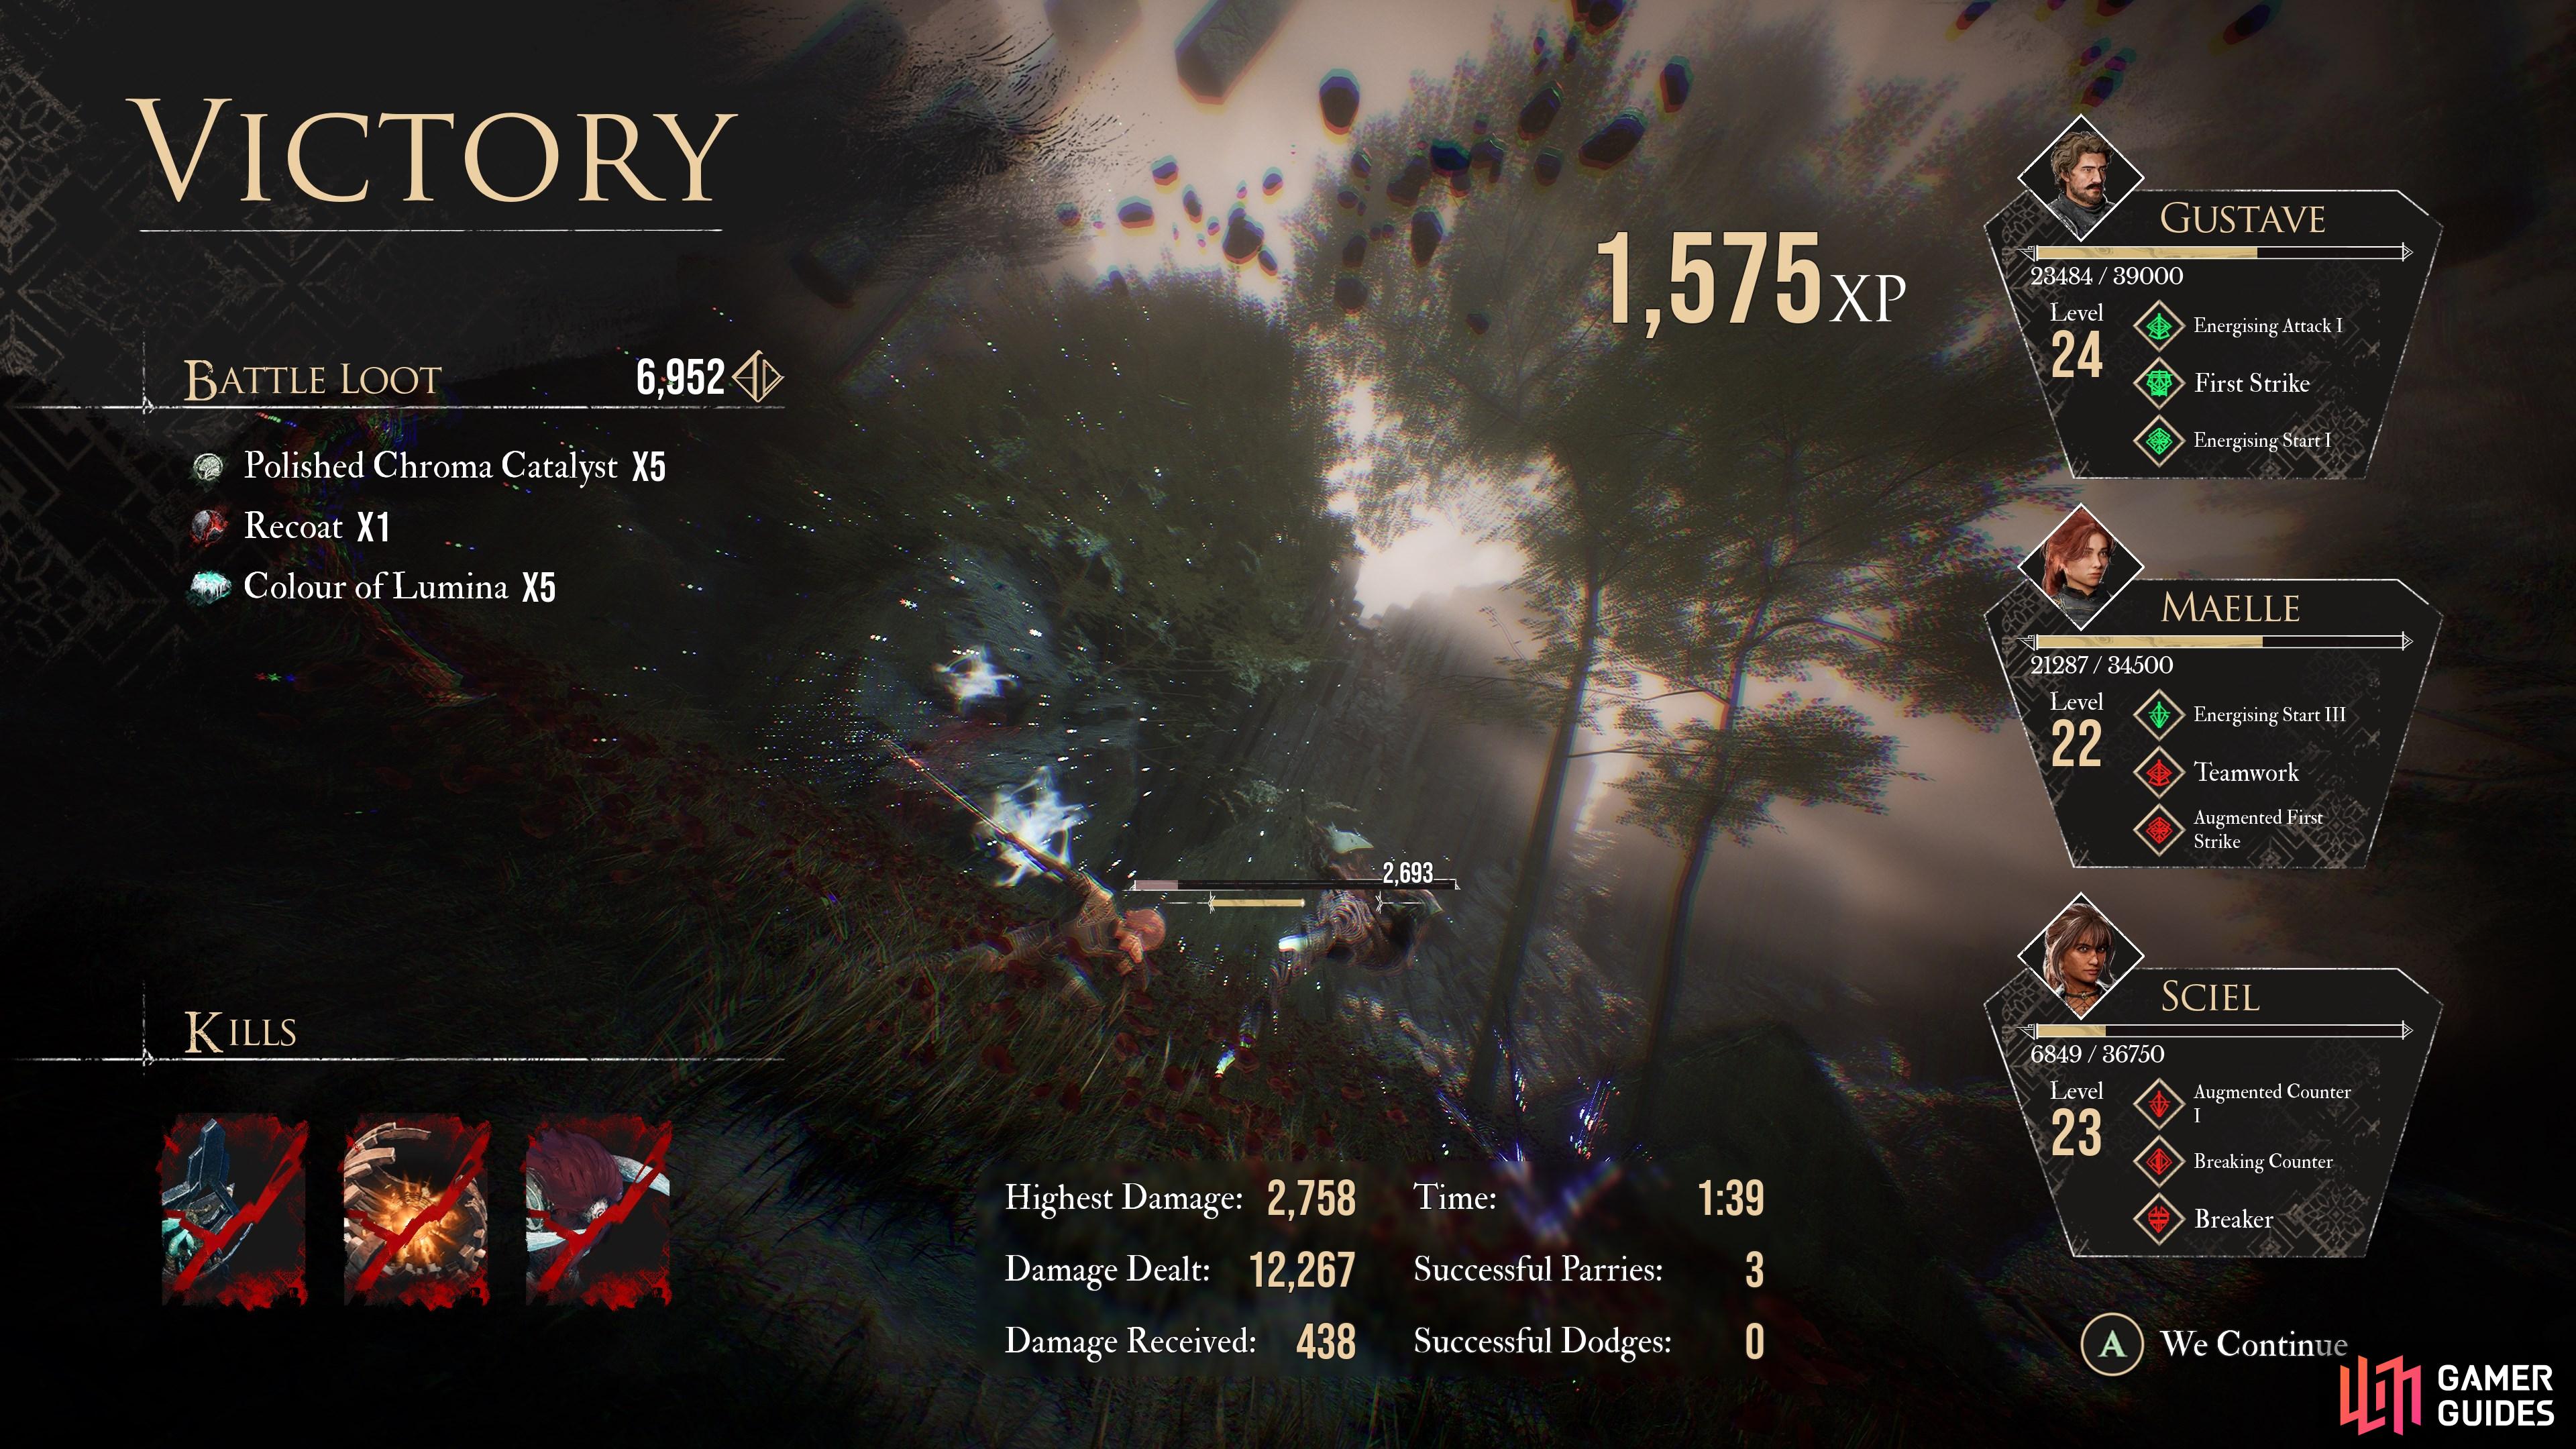
Looted From
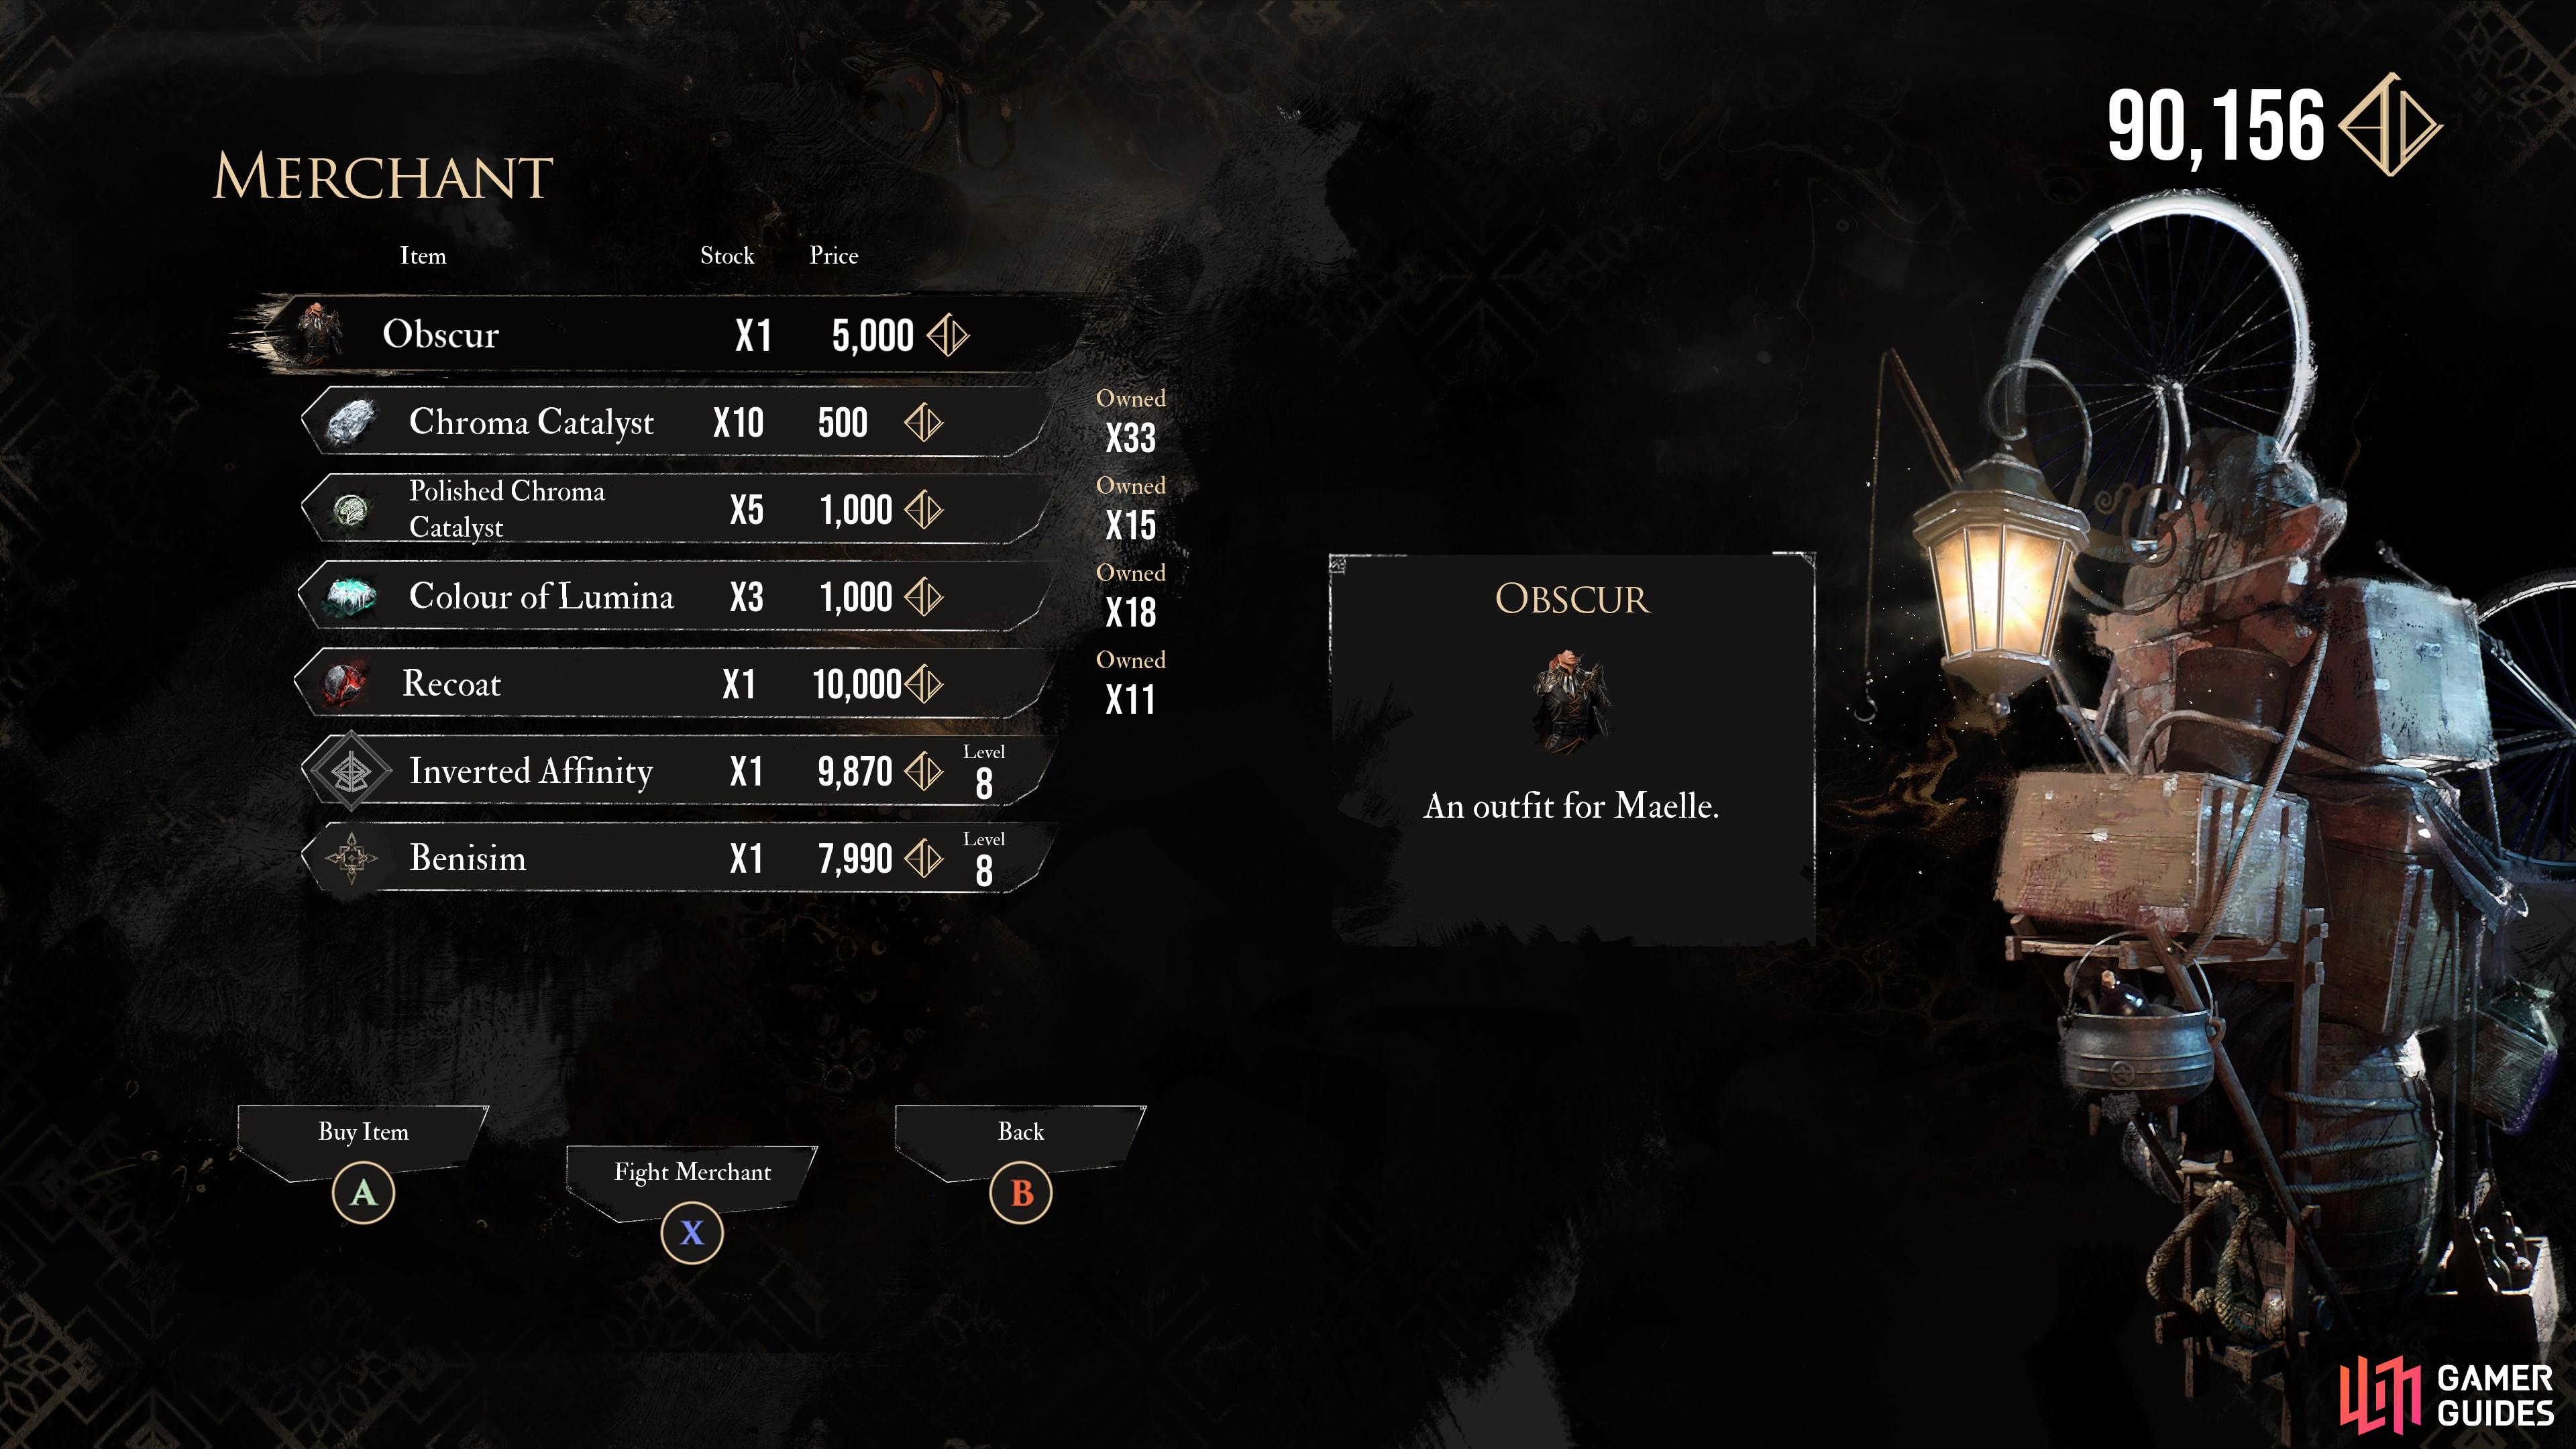
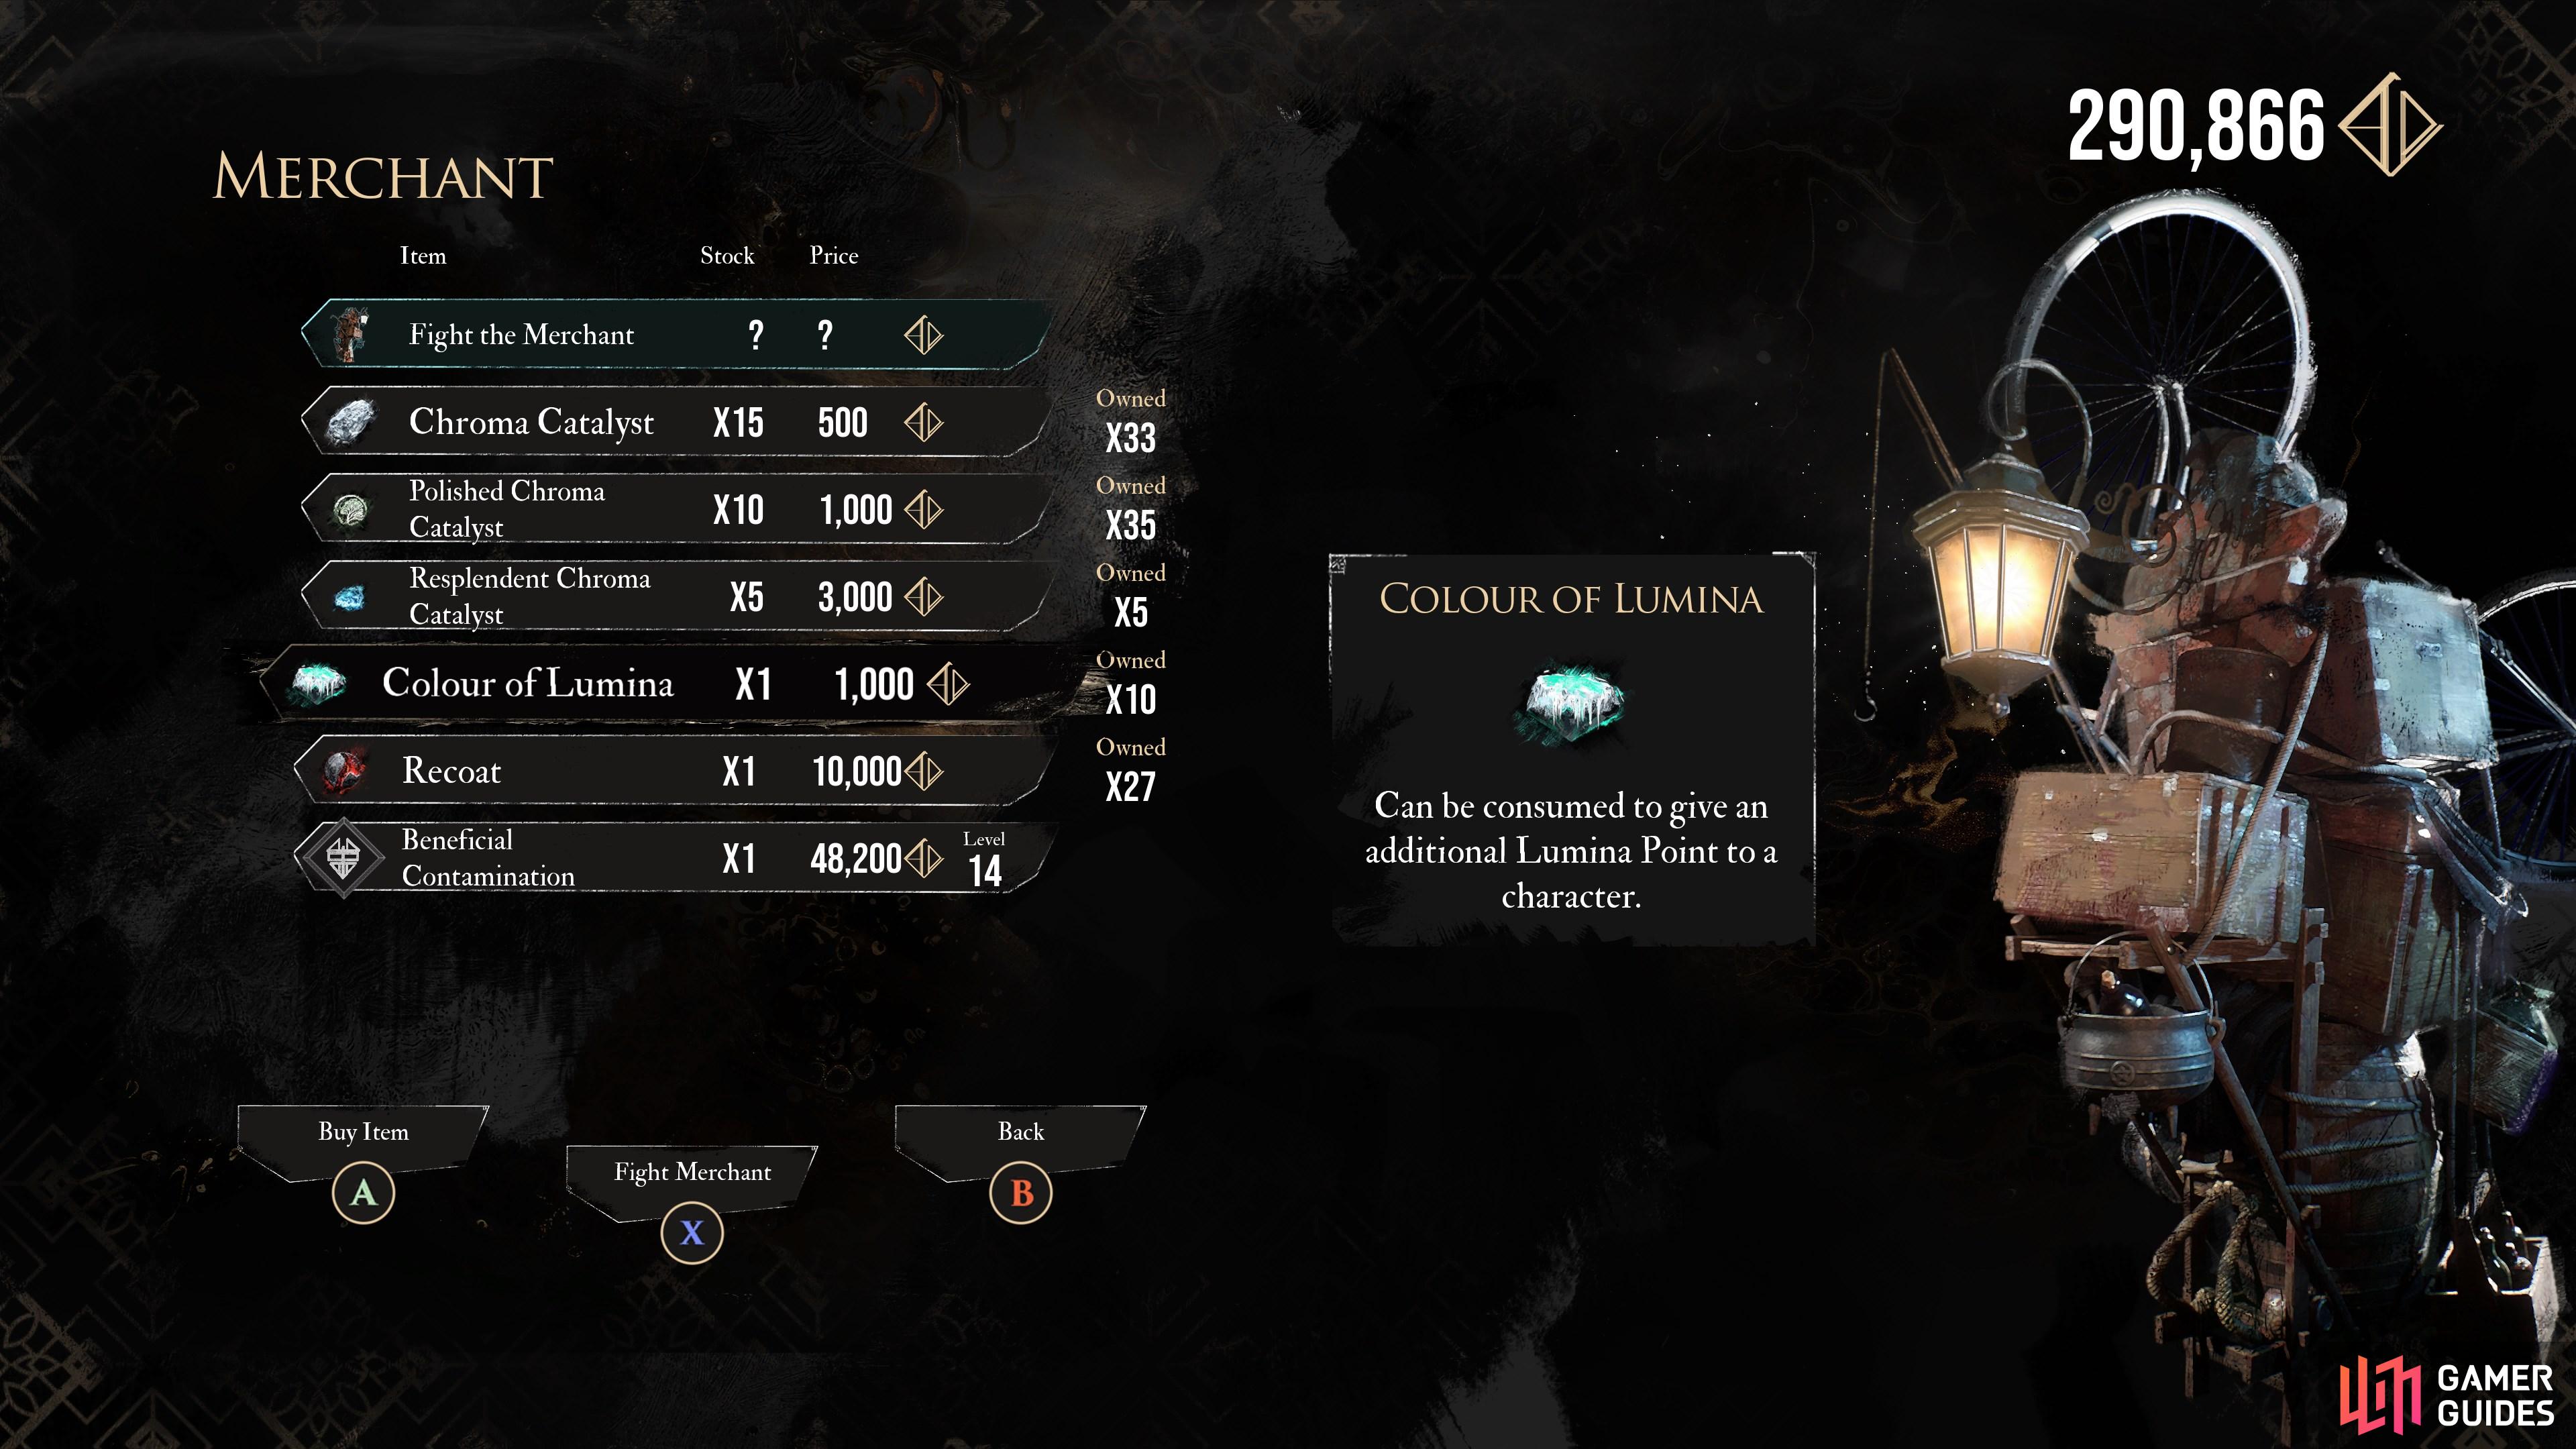
Bought From
How to Use
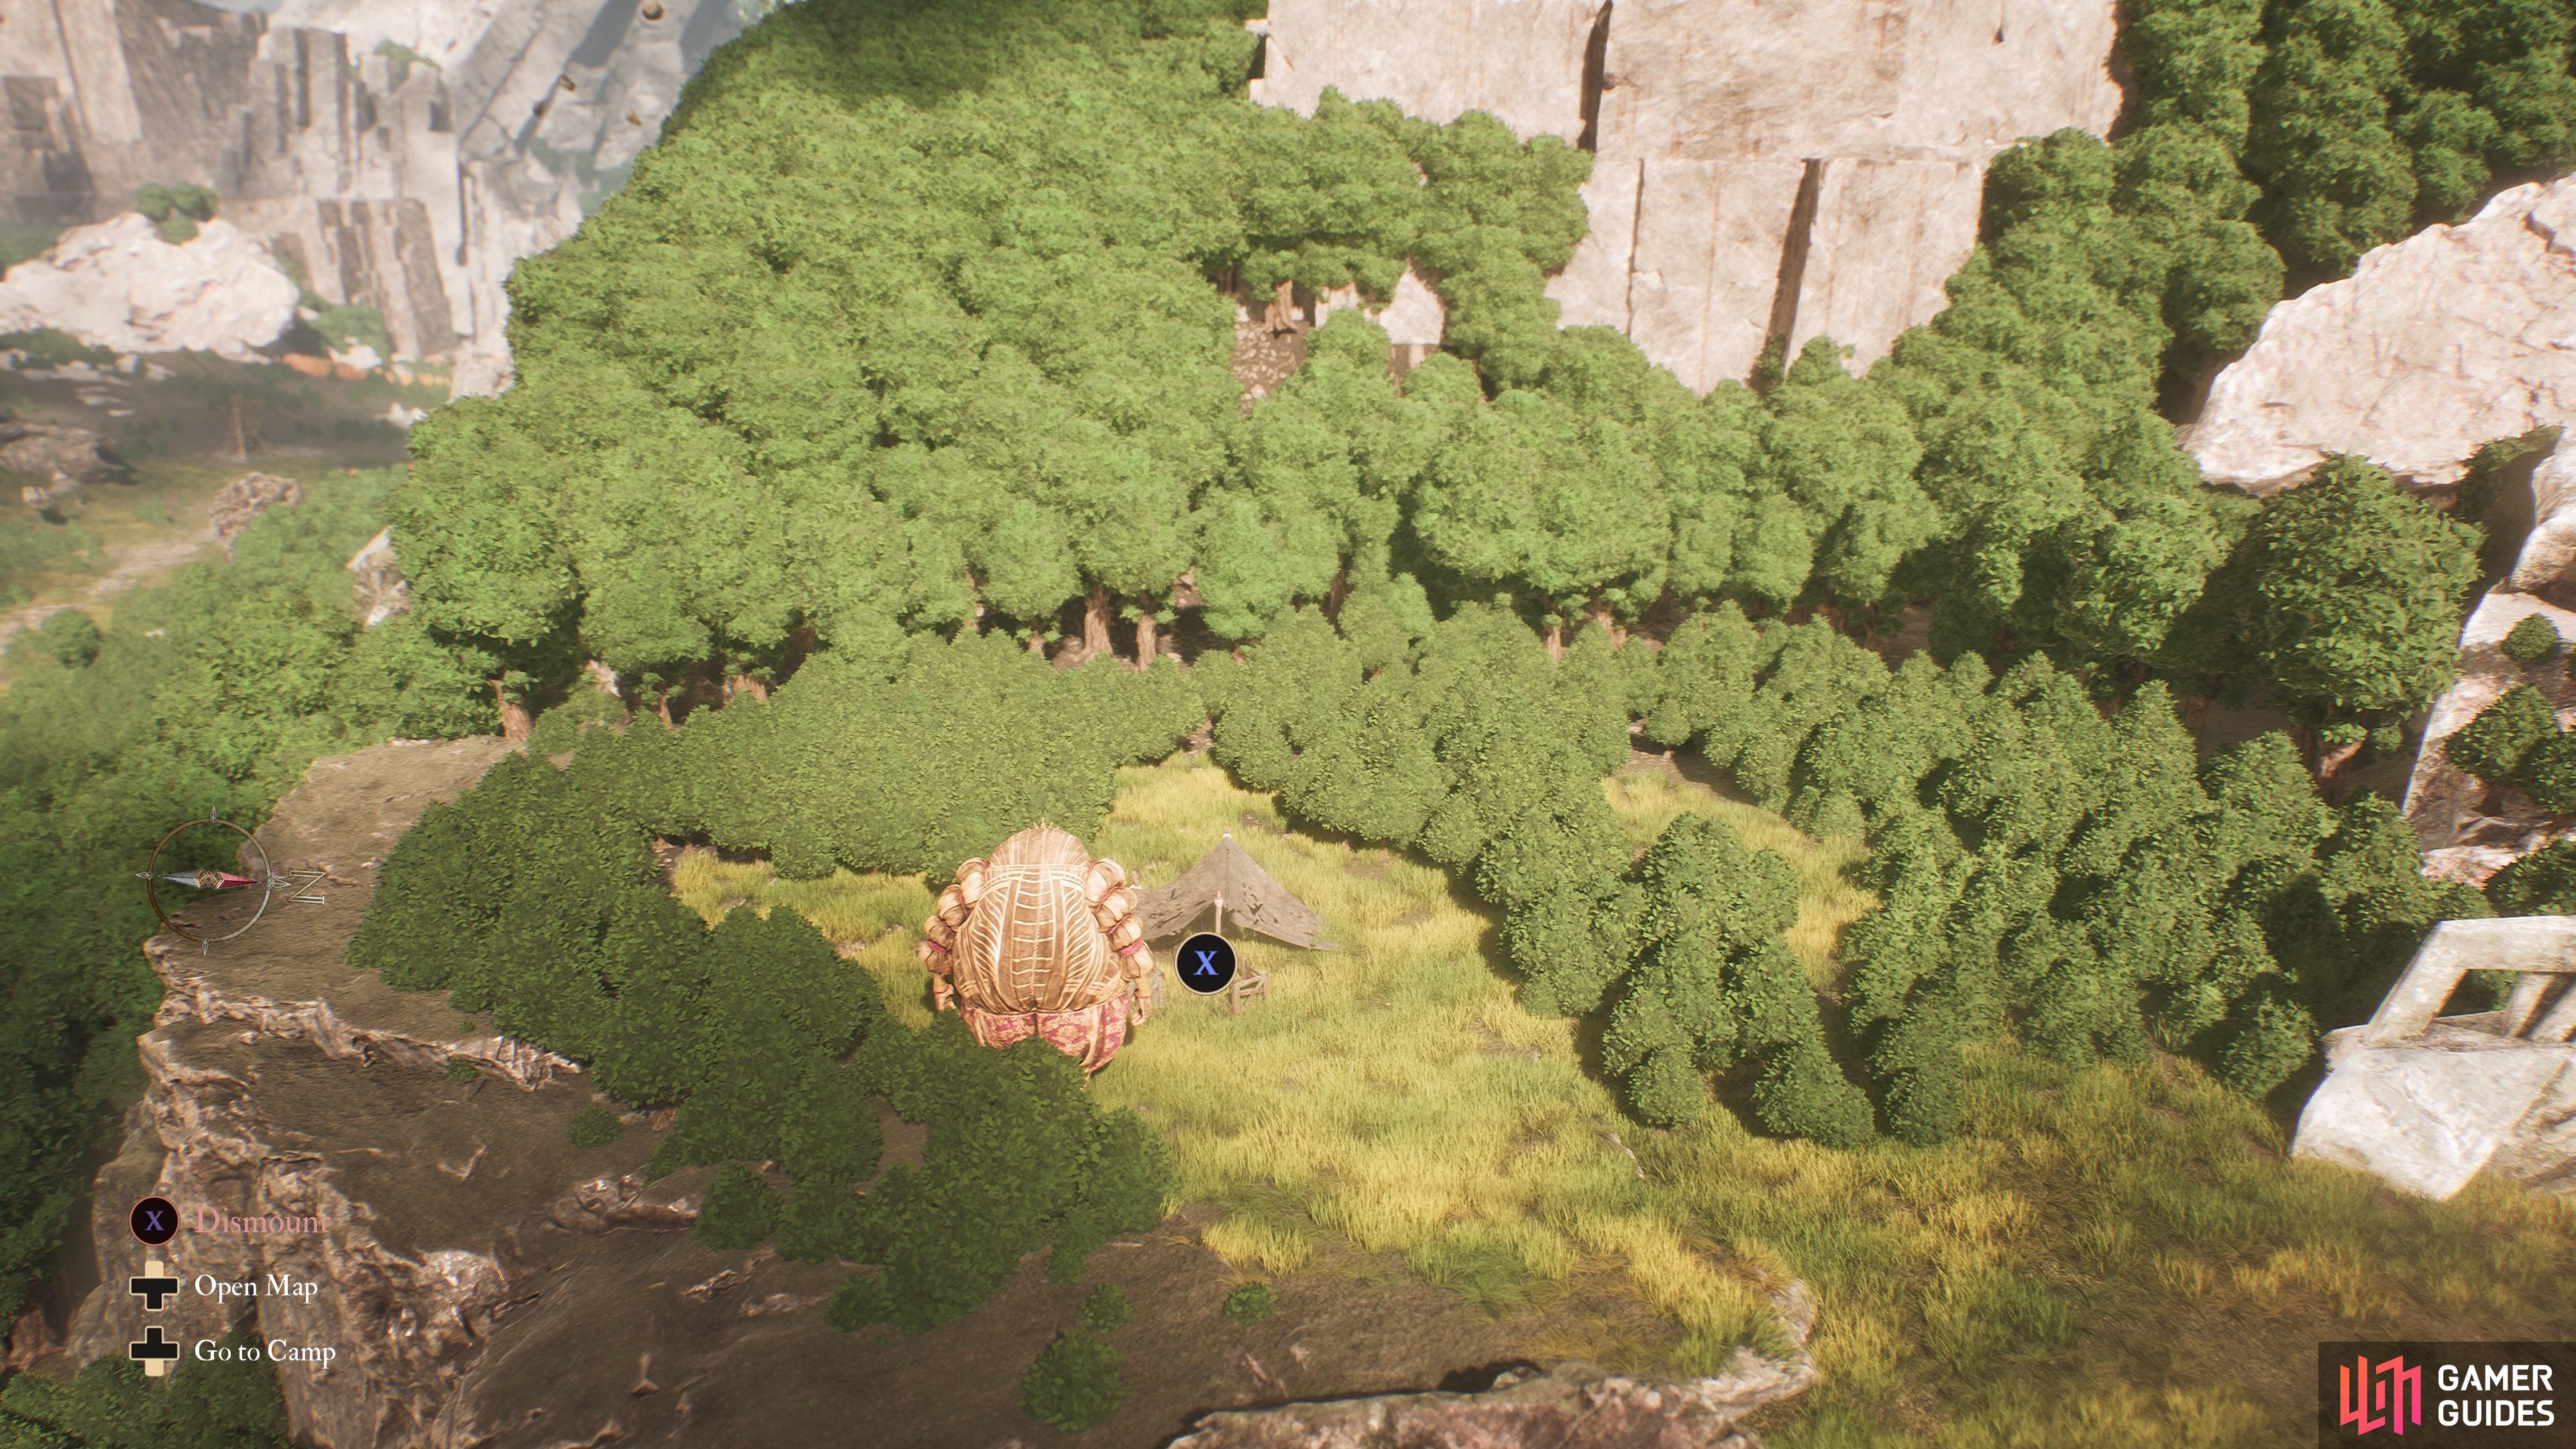
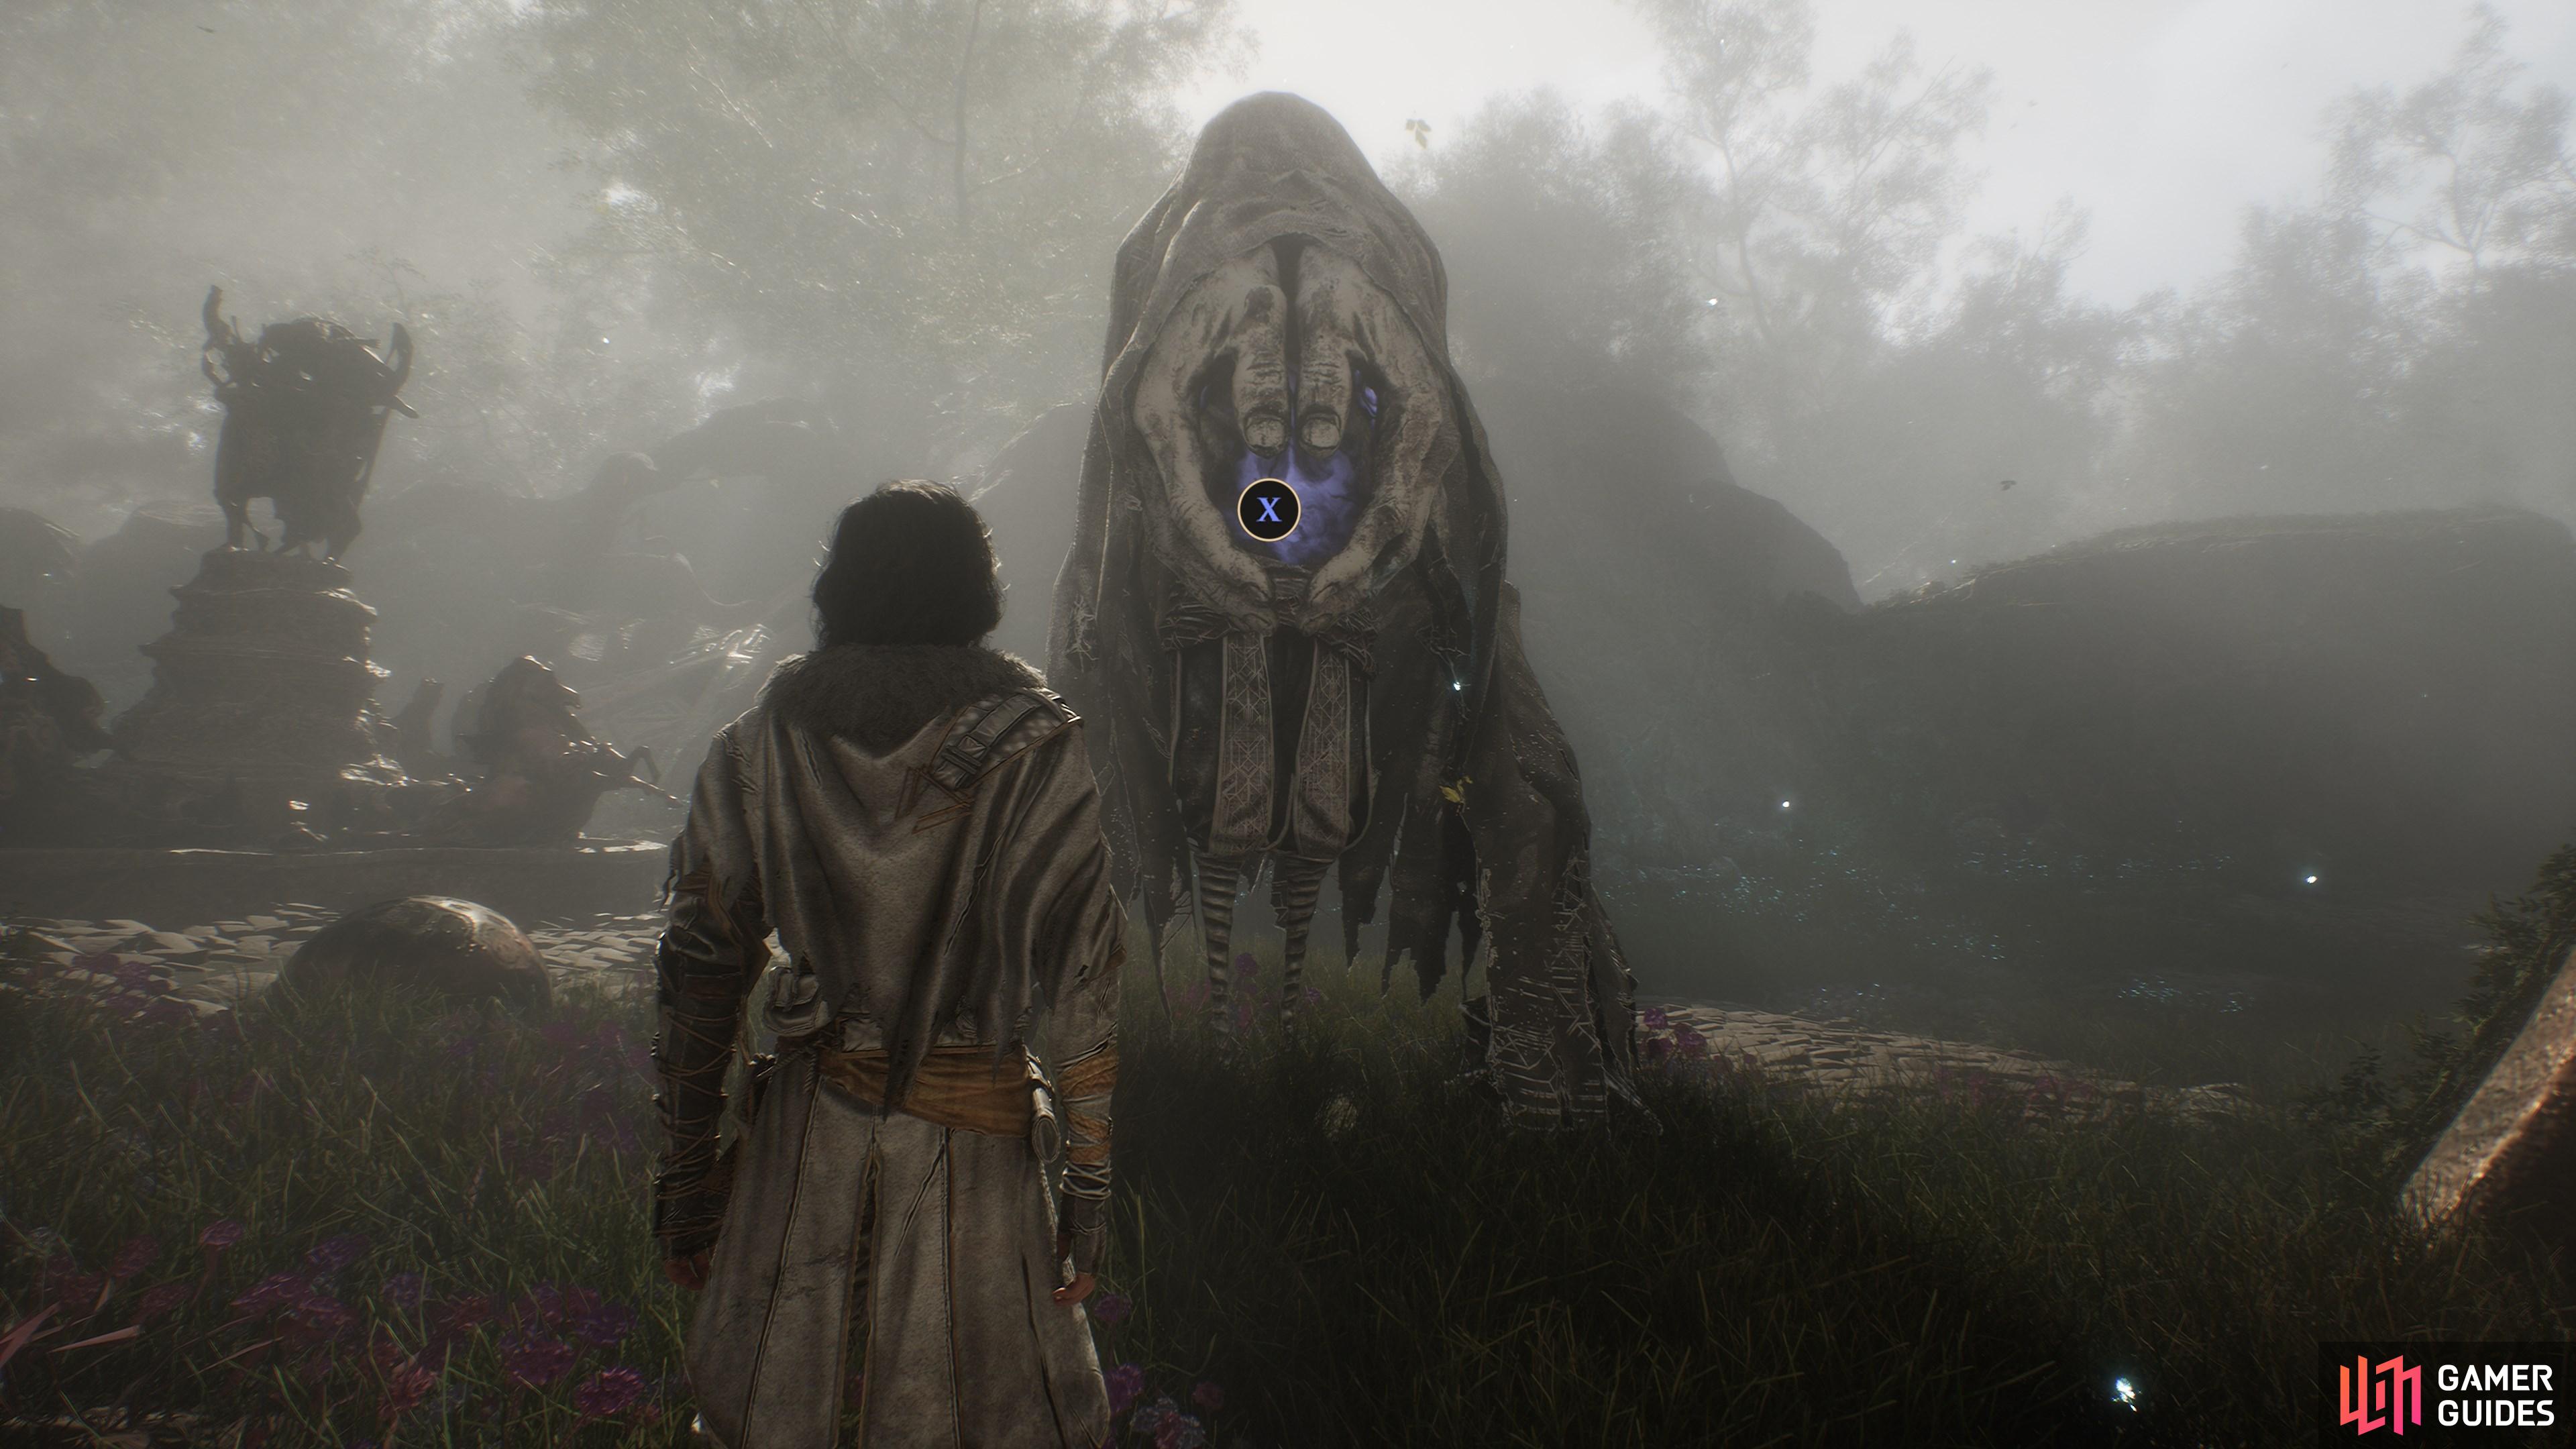
To use ![]() Colour of Lumina items you will need to clear the
Colour of Lumina items you will need to clear the ![]() Flying Waters dungeon, after which the Curator will take up residence in a cave at your camp. Talk to the Curator and pick the option [Upgrade Expedition Resources]. You can then select which character you would like to spend your Colour of Lumina resources on.
Flying Waters dungeon, after which the Curator will take up residence in a cave at your camp. Talk to the Curator and pick the option [Upgrade Expedition Resources]. You can then select which character you would like to spend your Colour of Lumina resources on.
Interactive Map Locations
1. The Continent
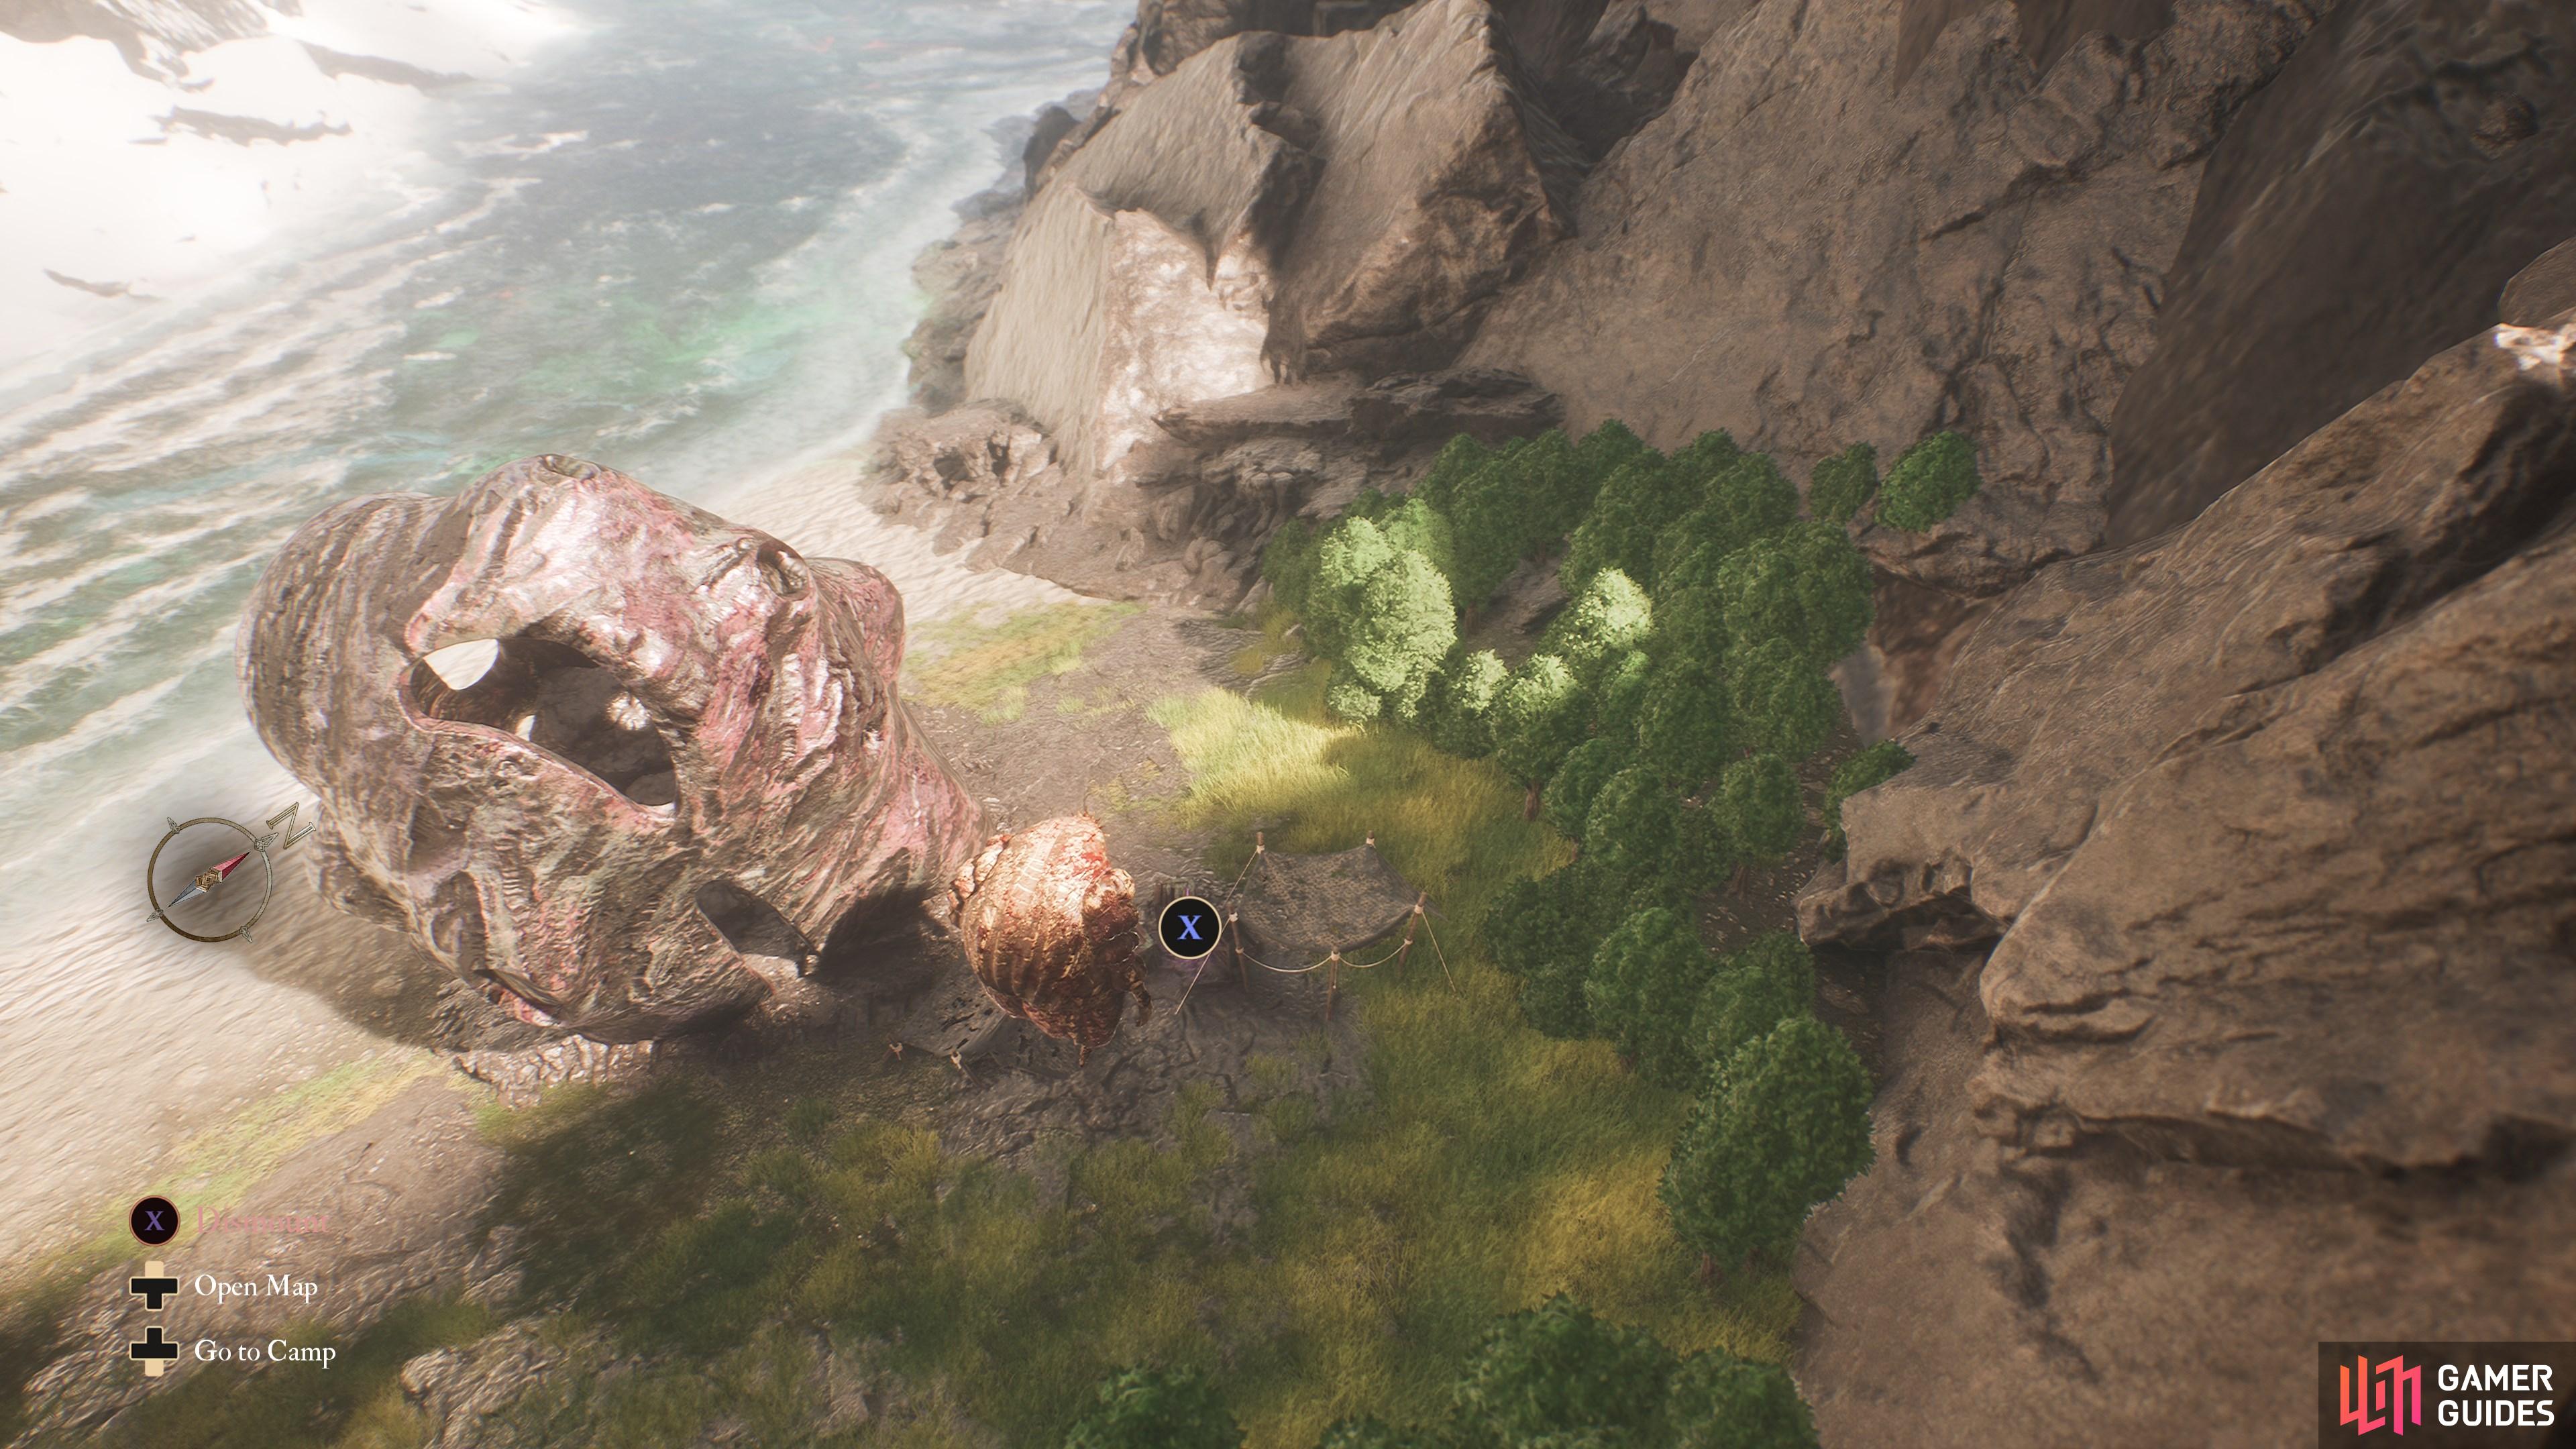
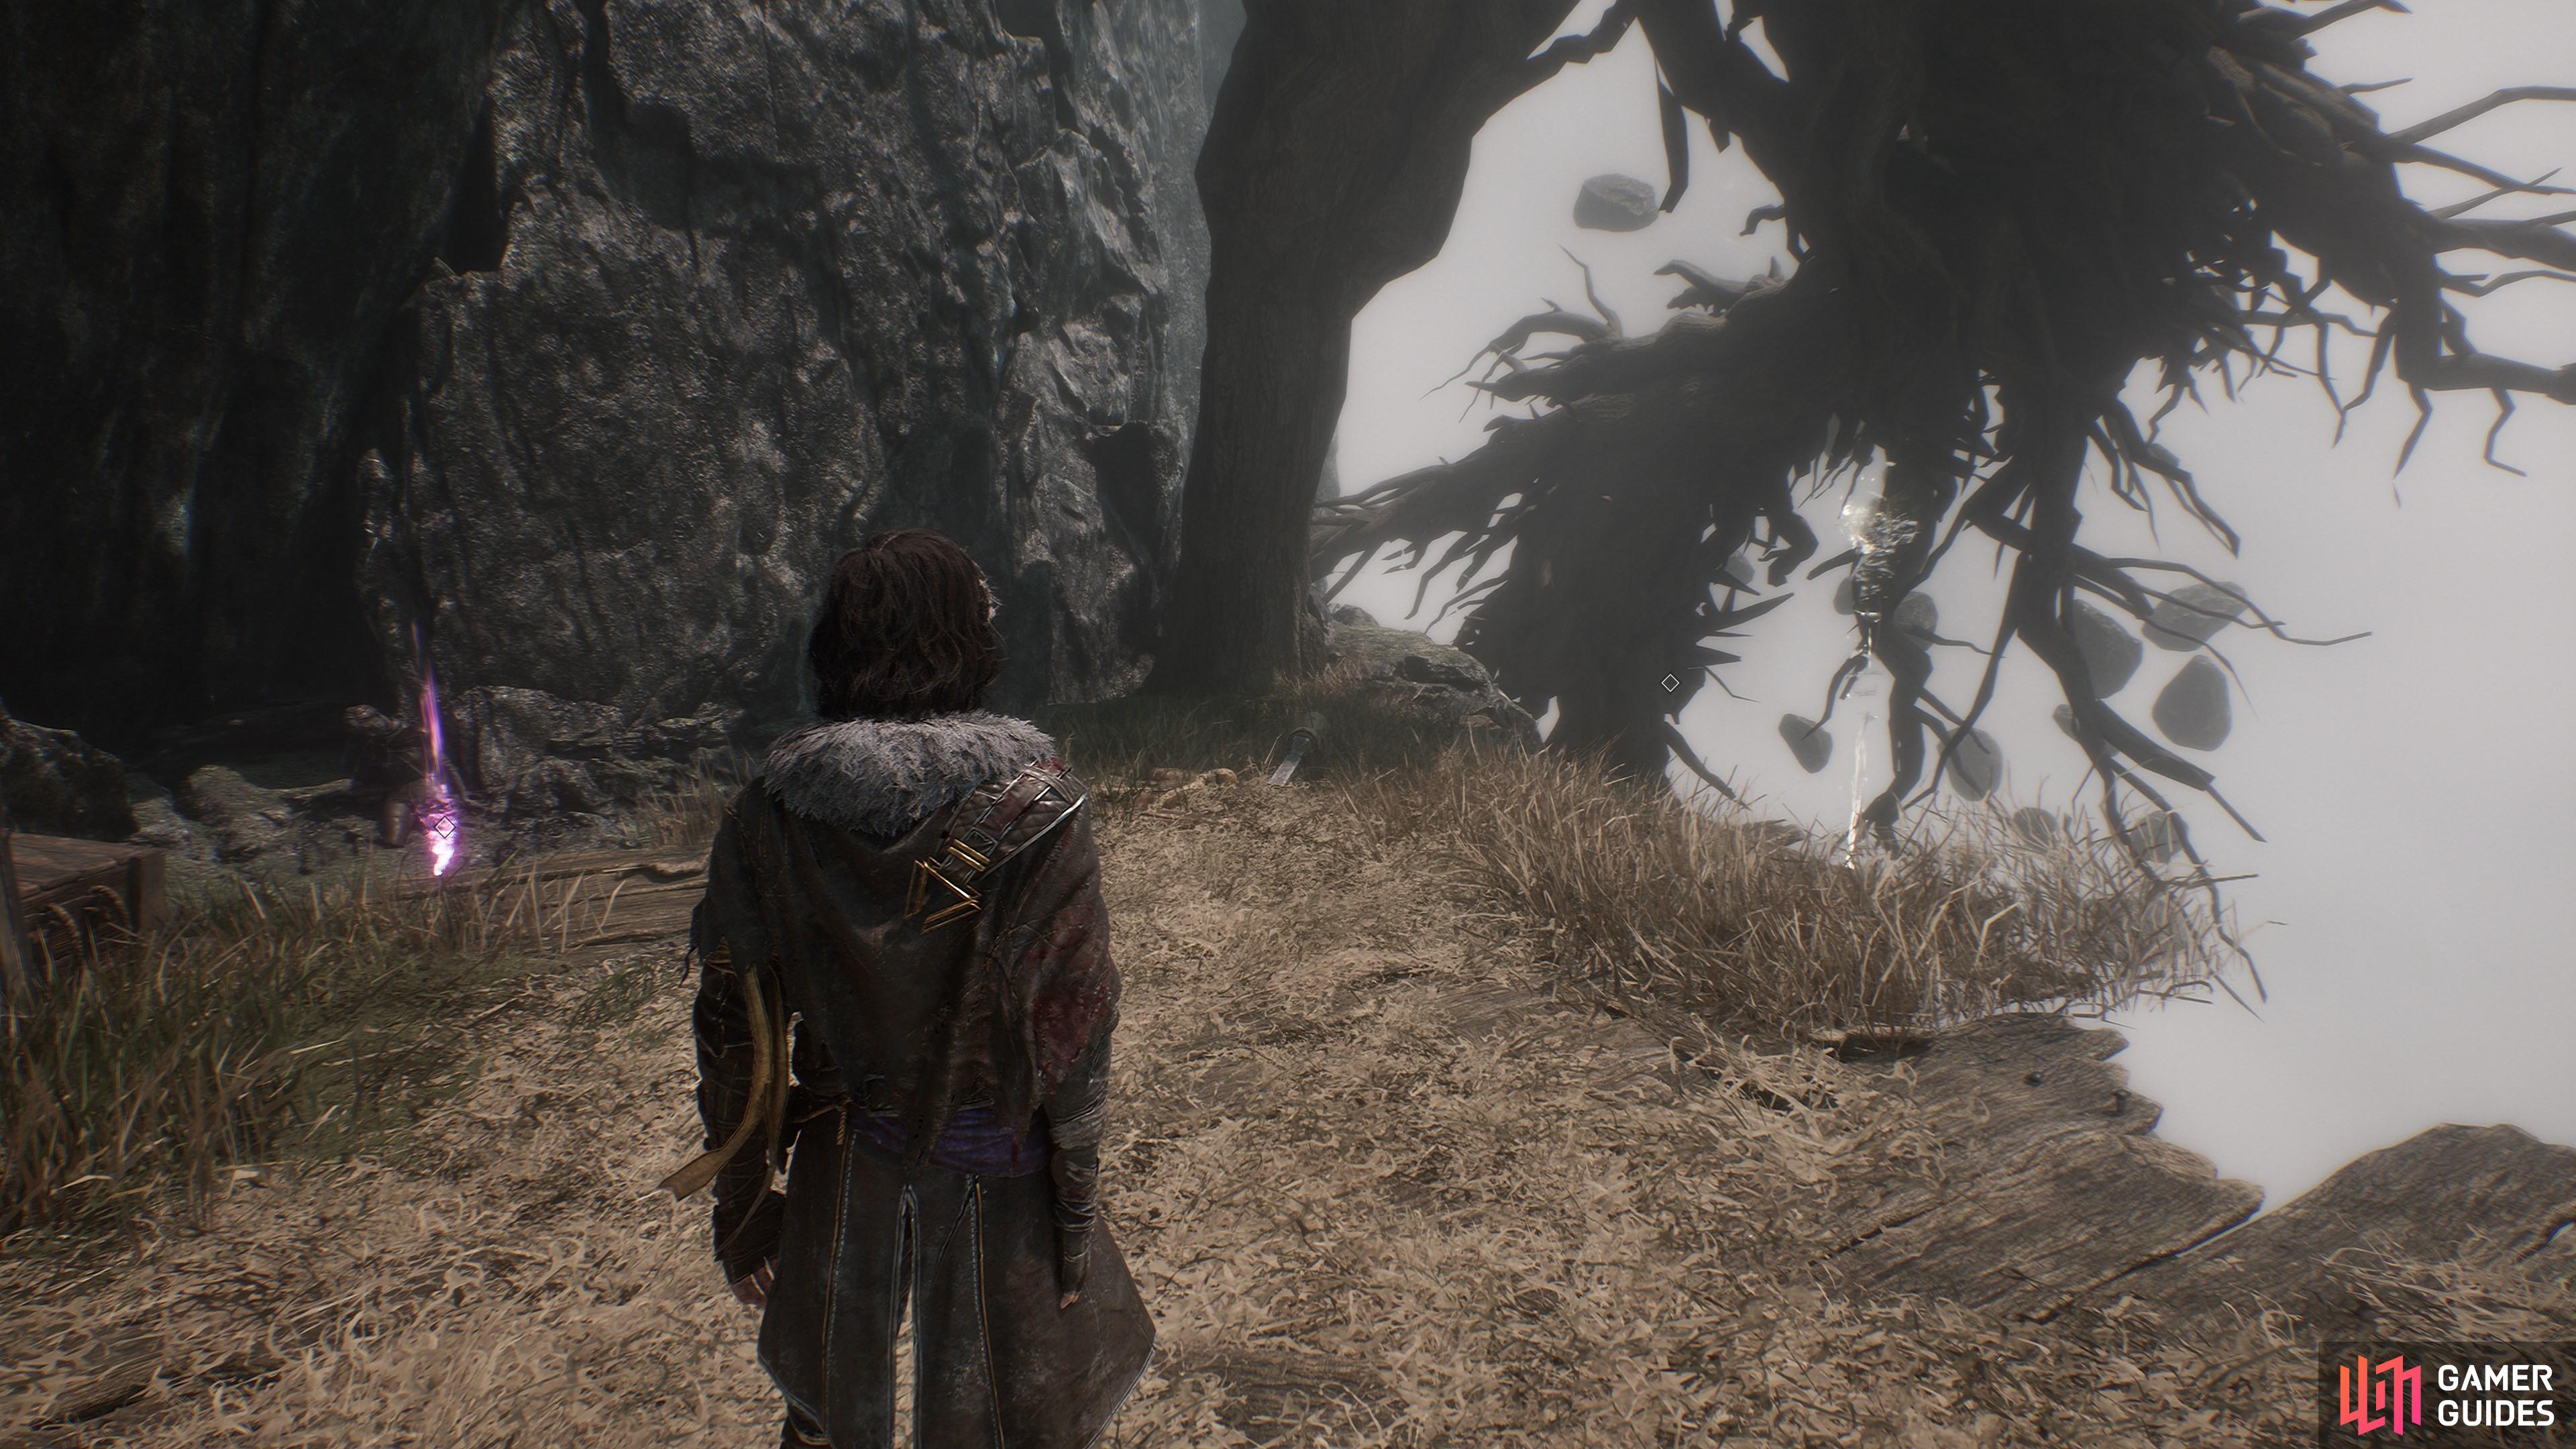
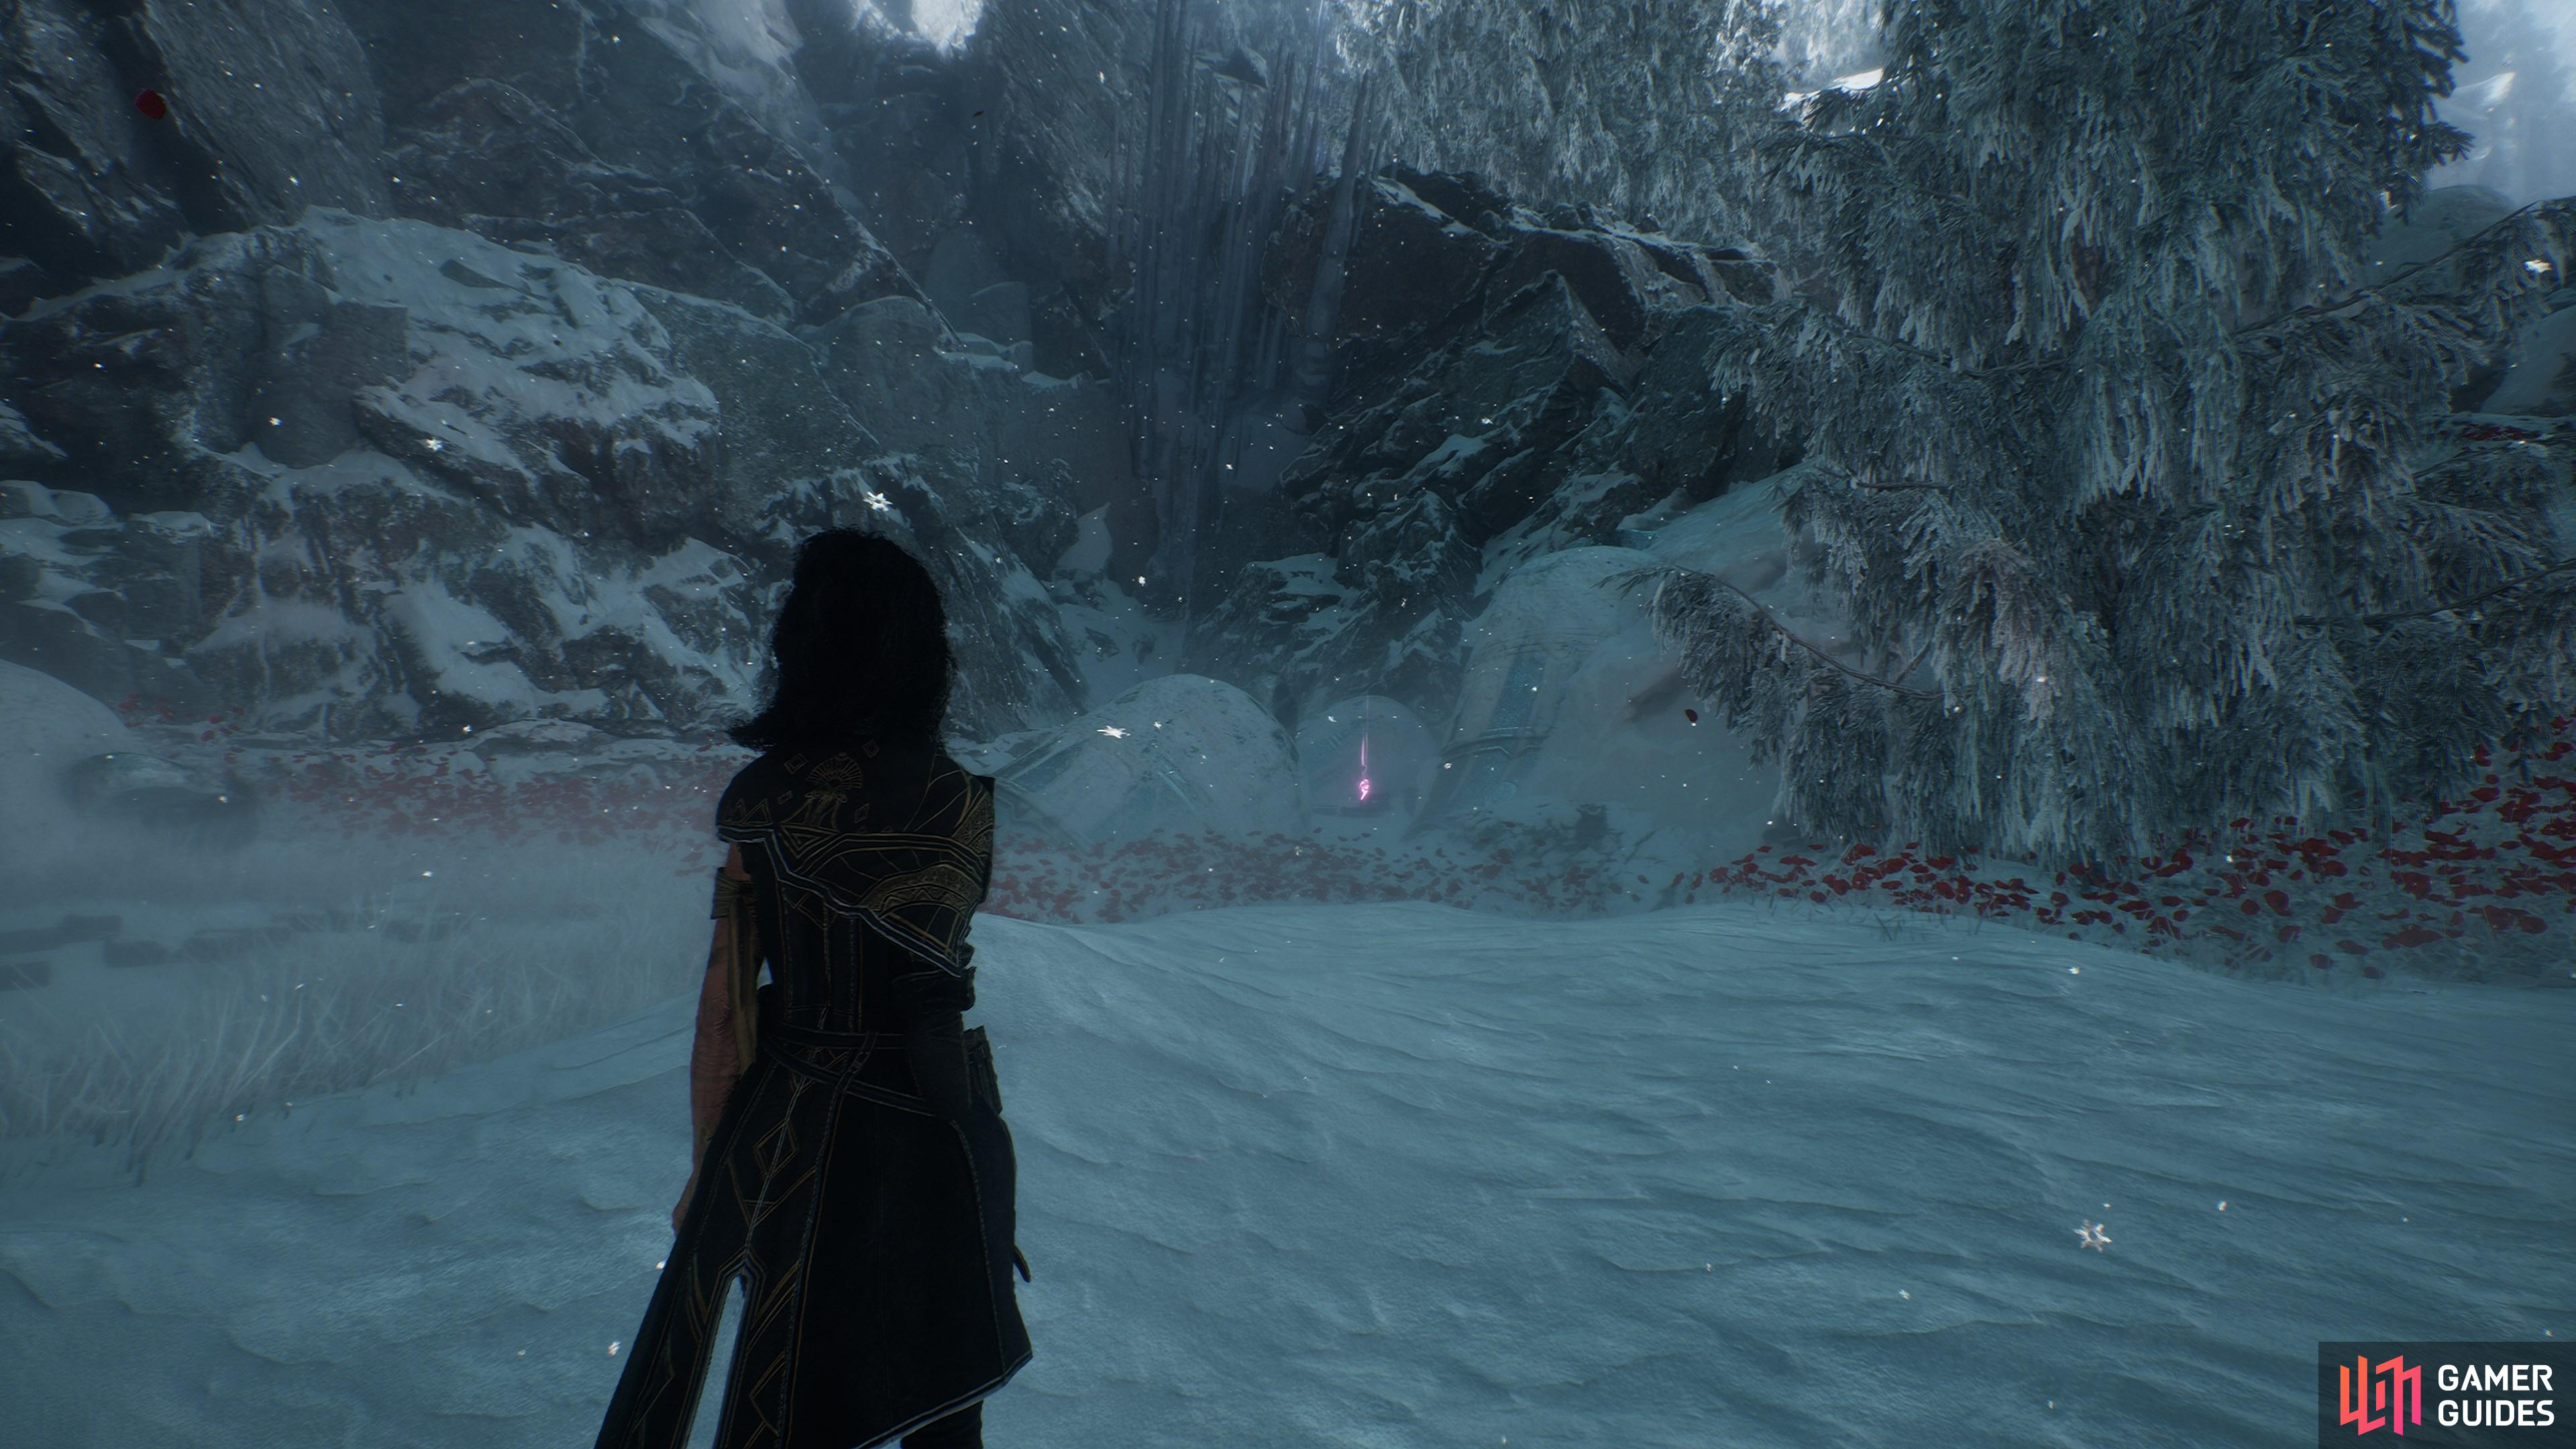
Next to a tree on a cliff edge to the right of the Meadows Corridor flag.
2. The Continent
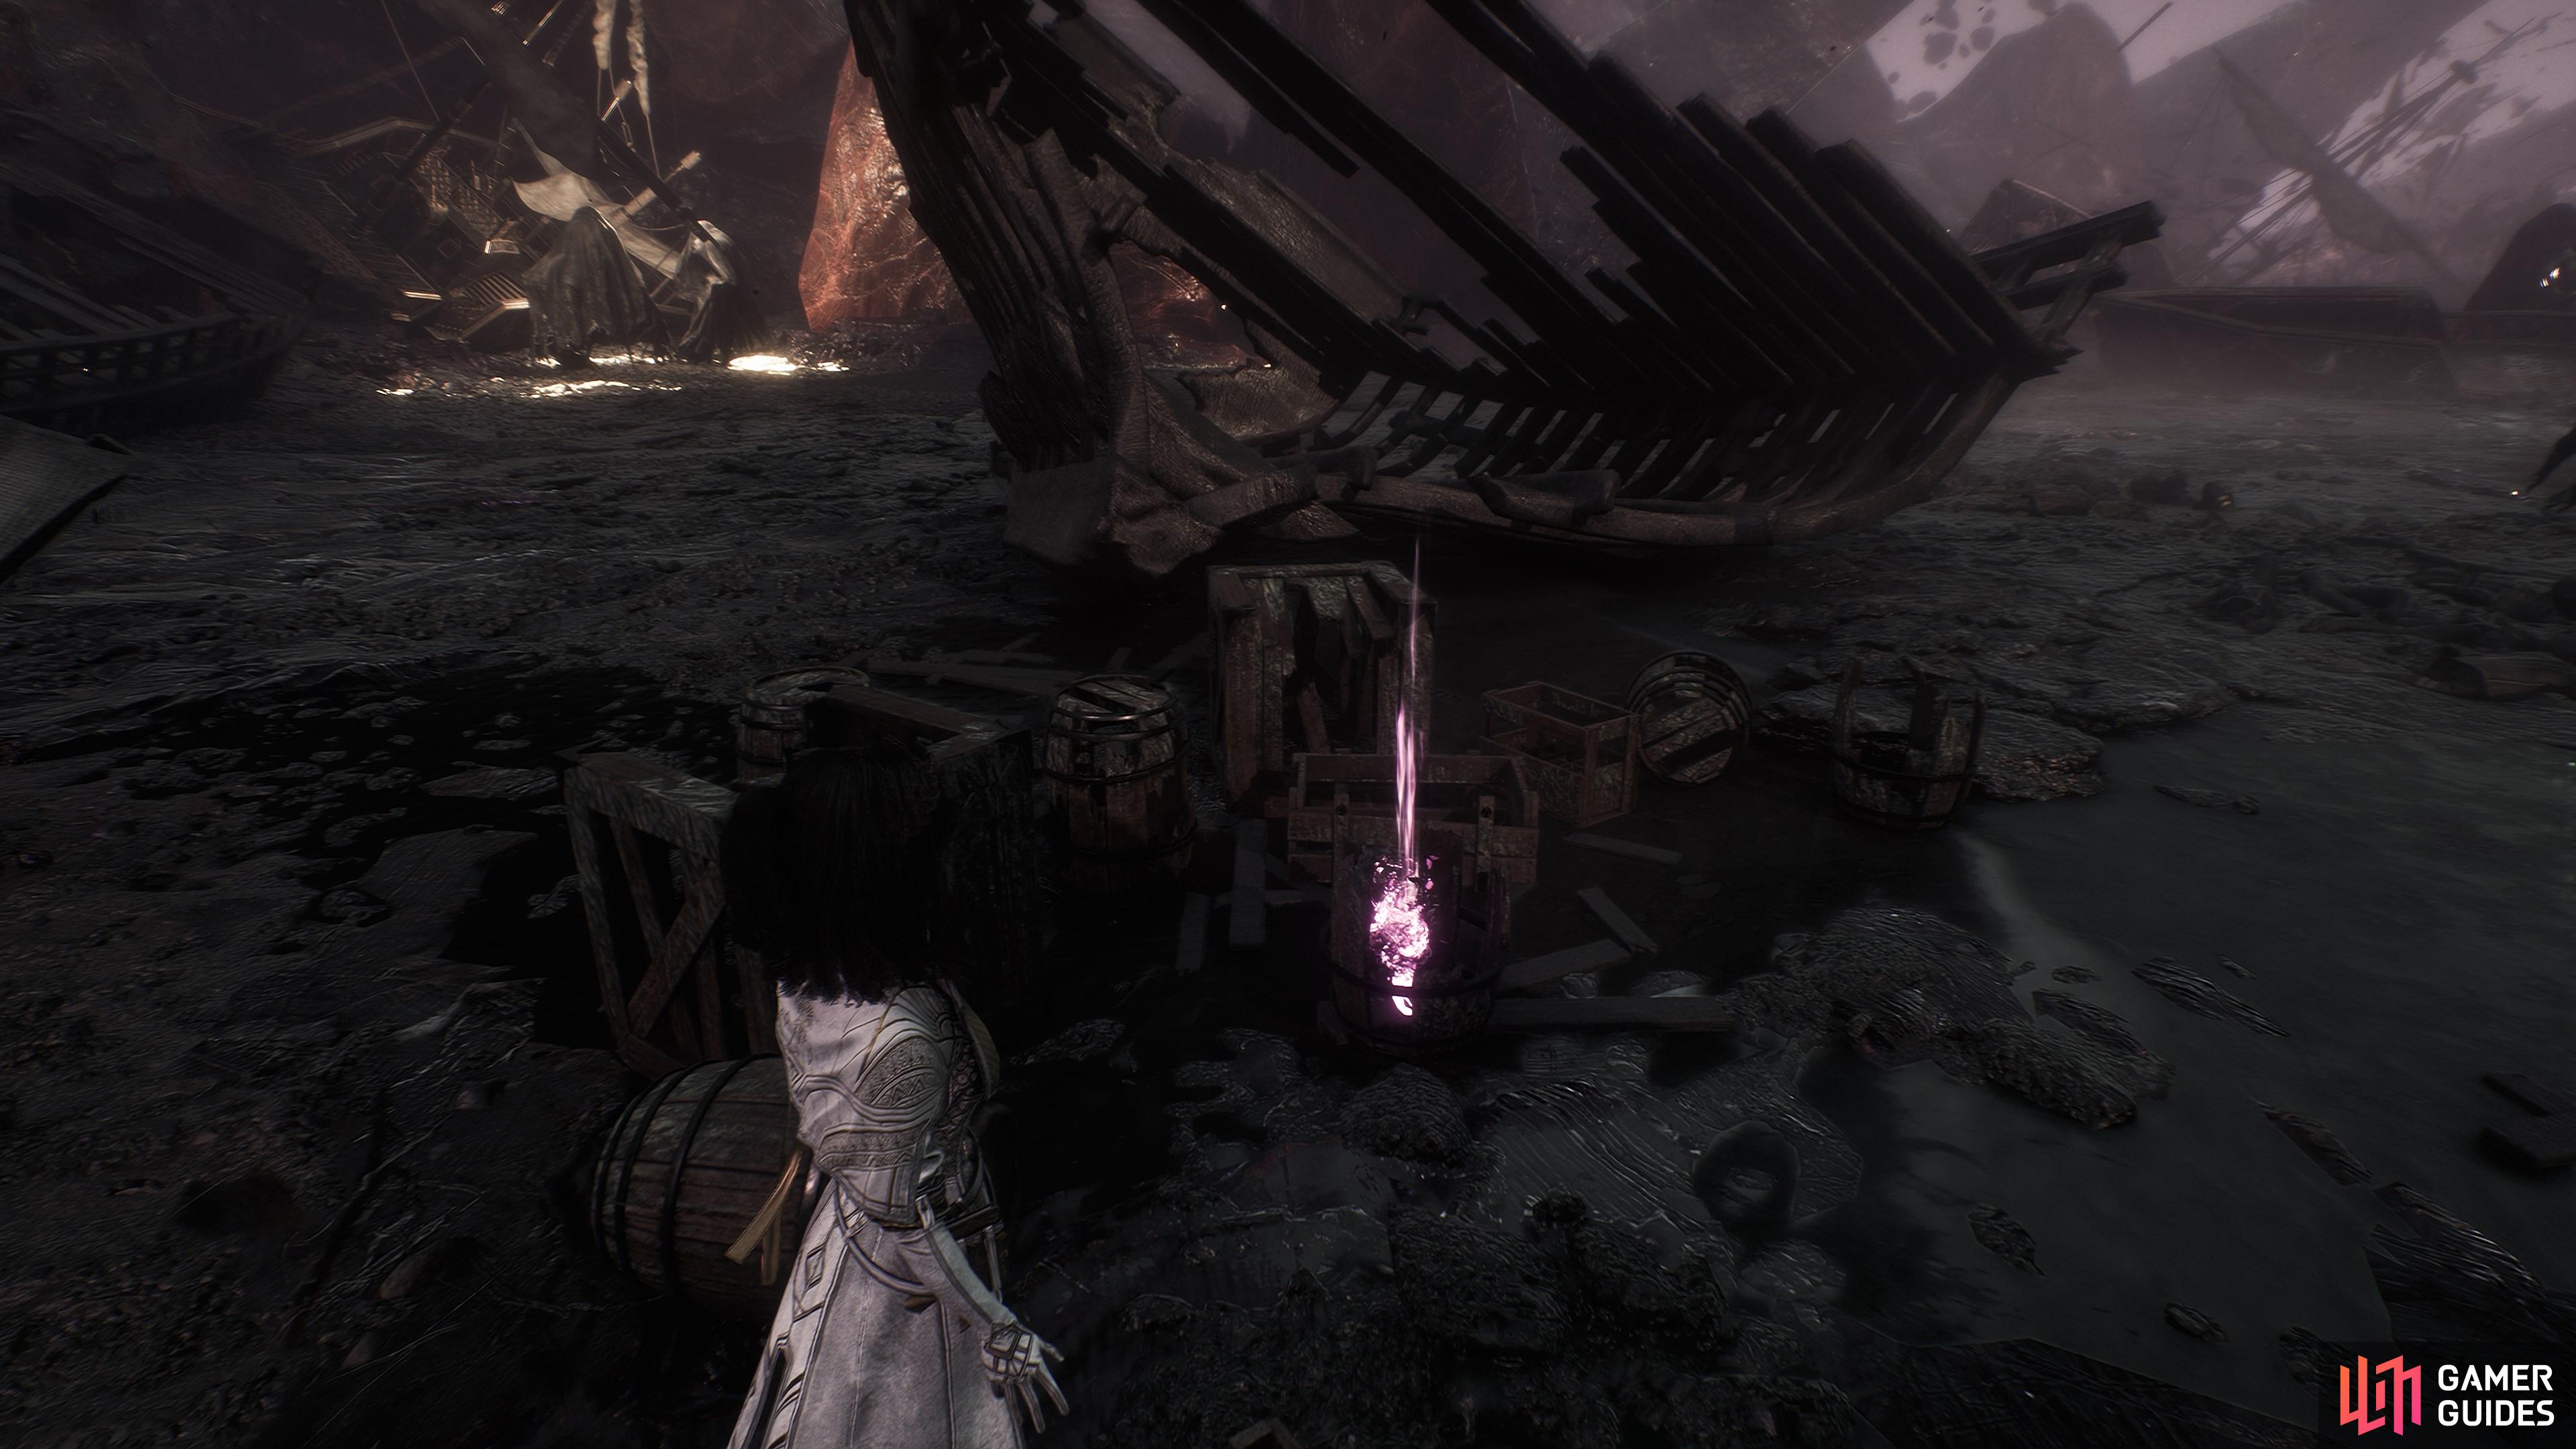
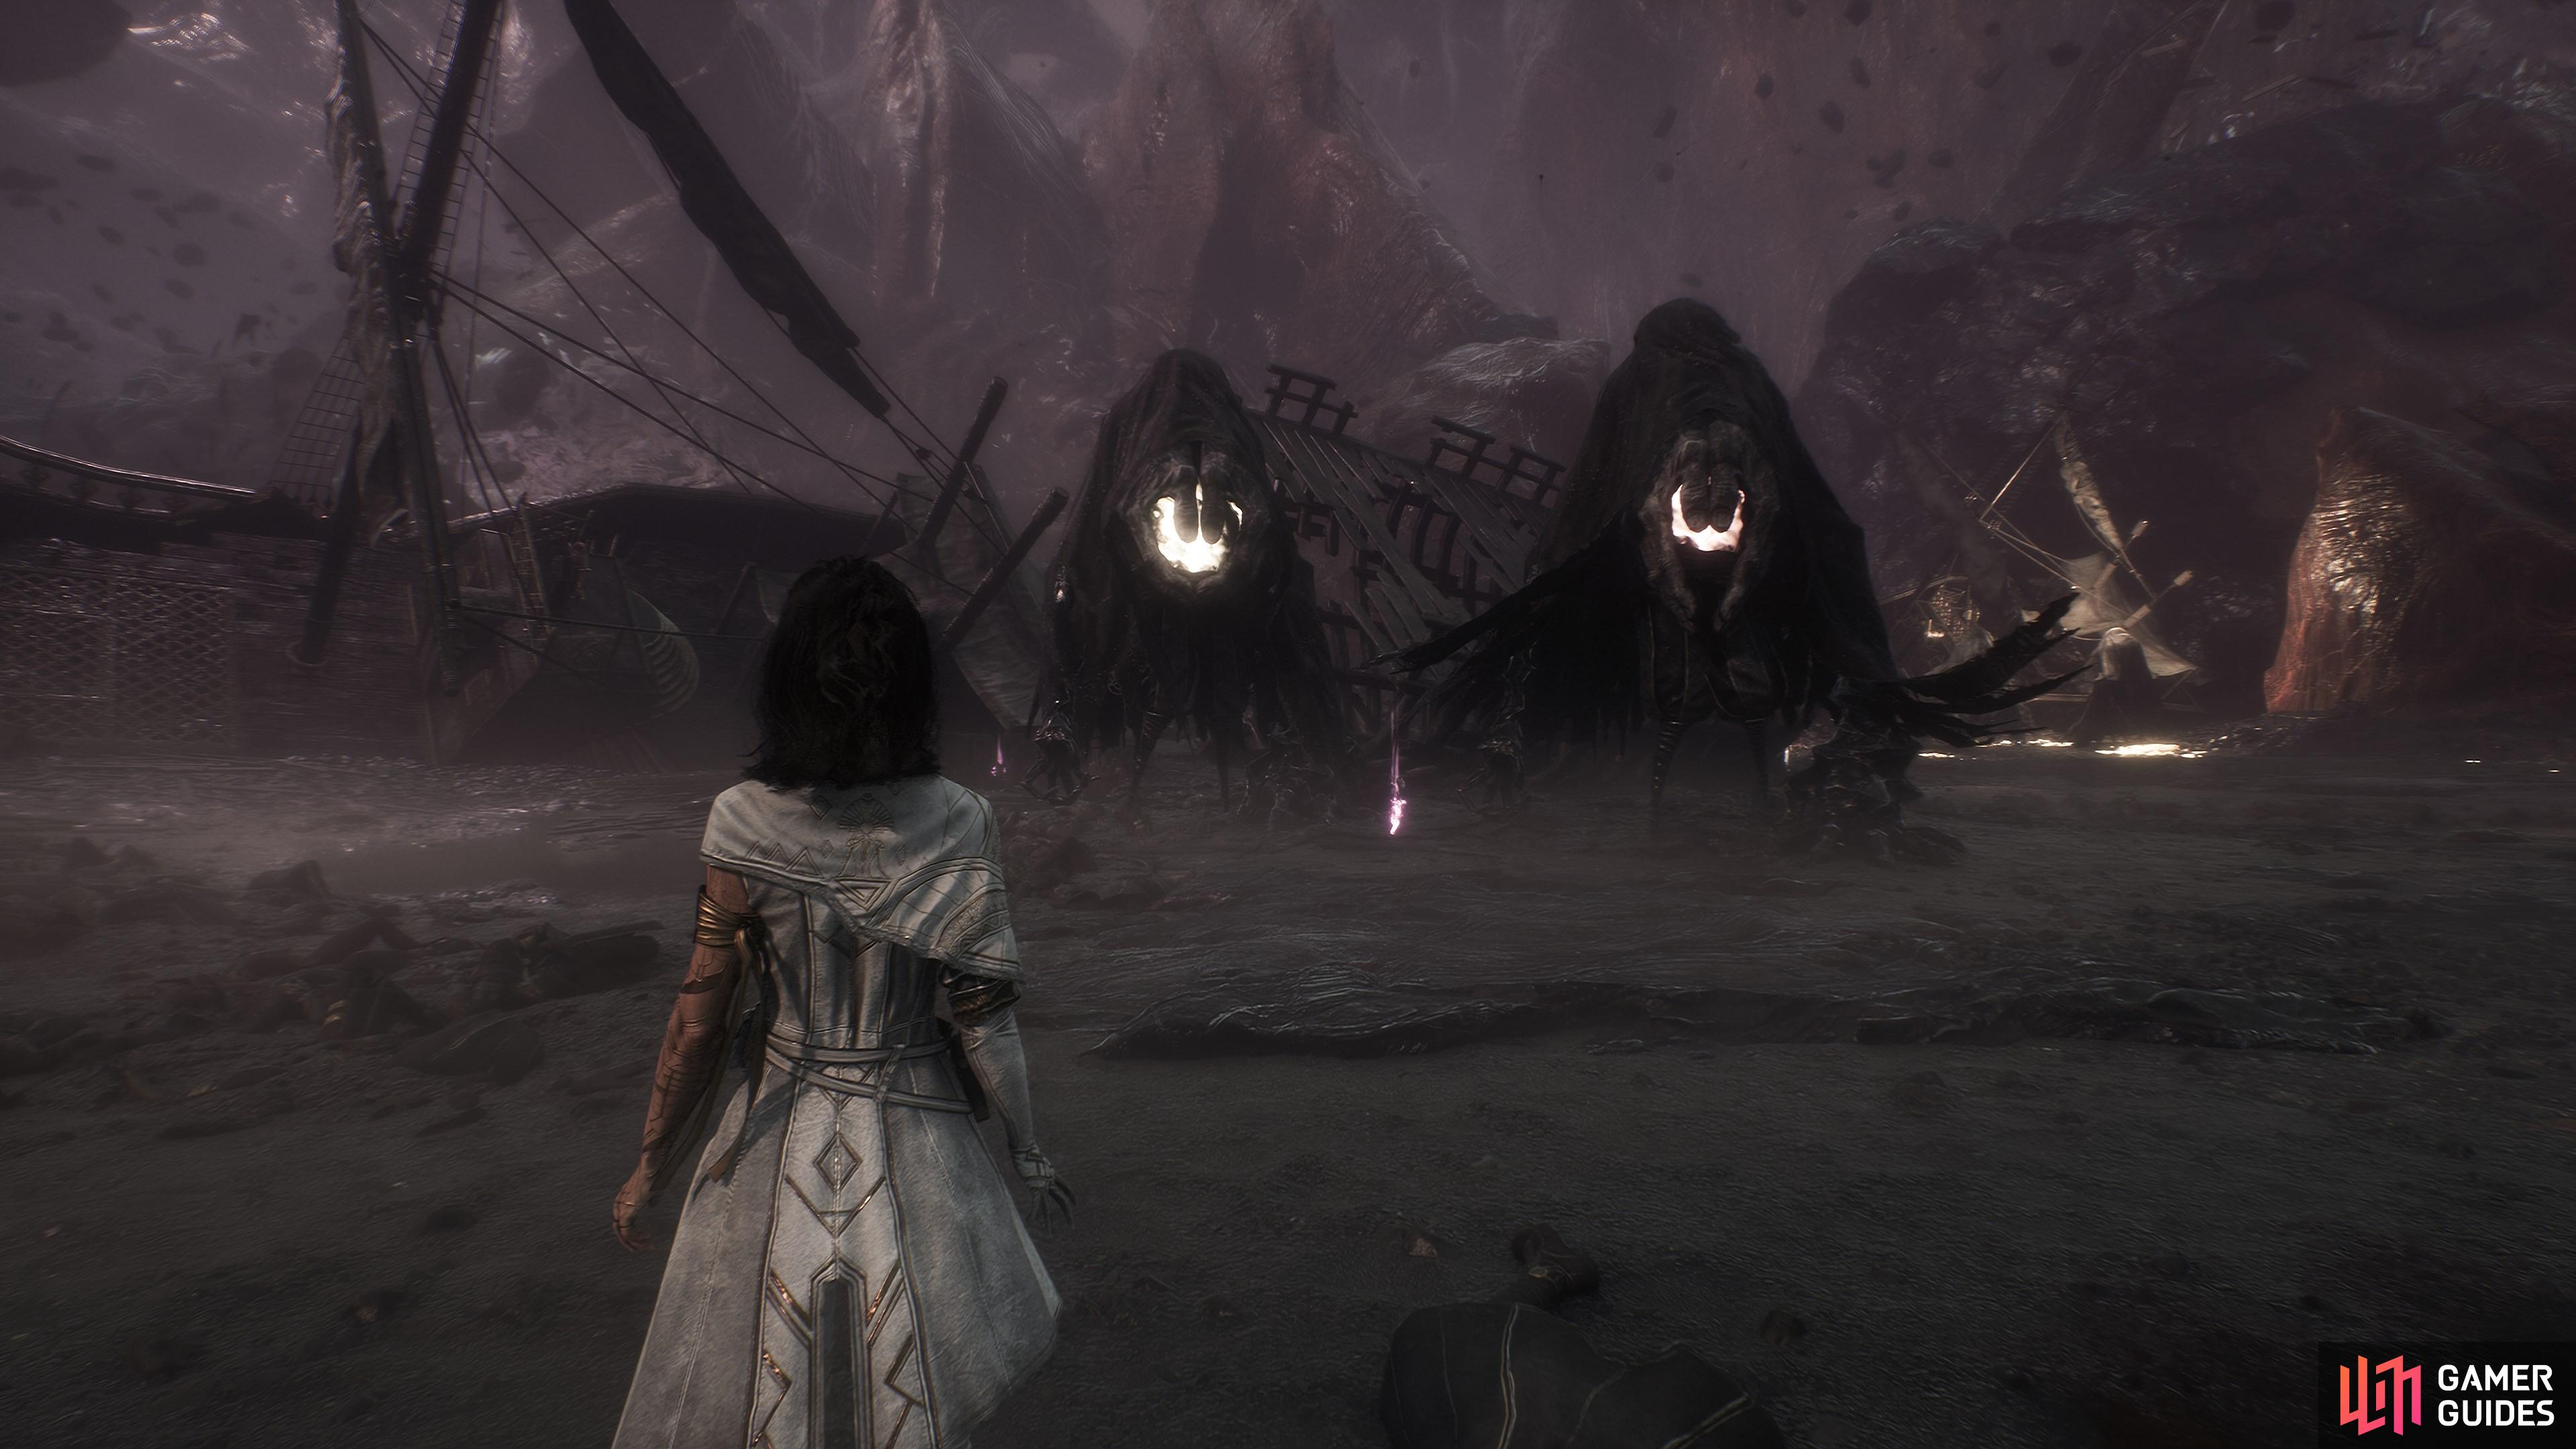
Just past where the location of your first fight with two Abbest.
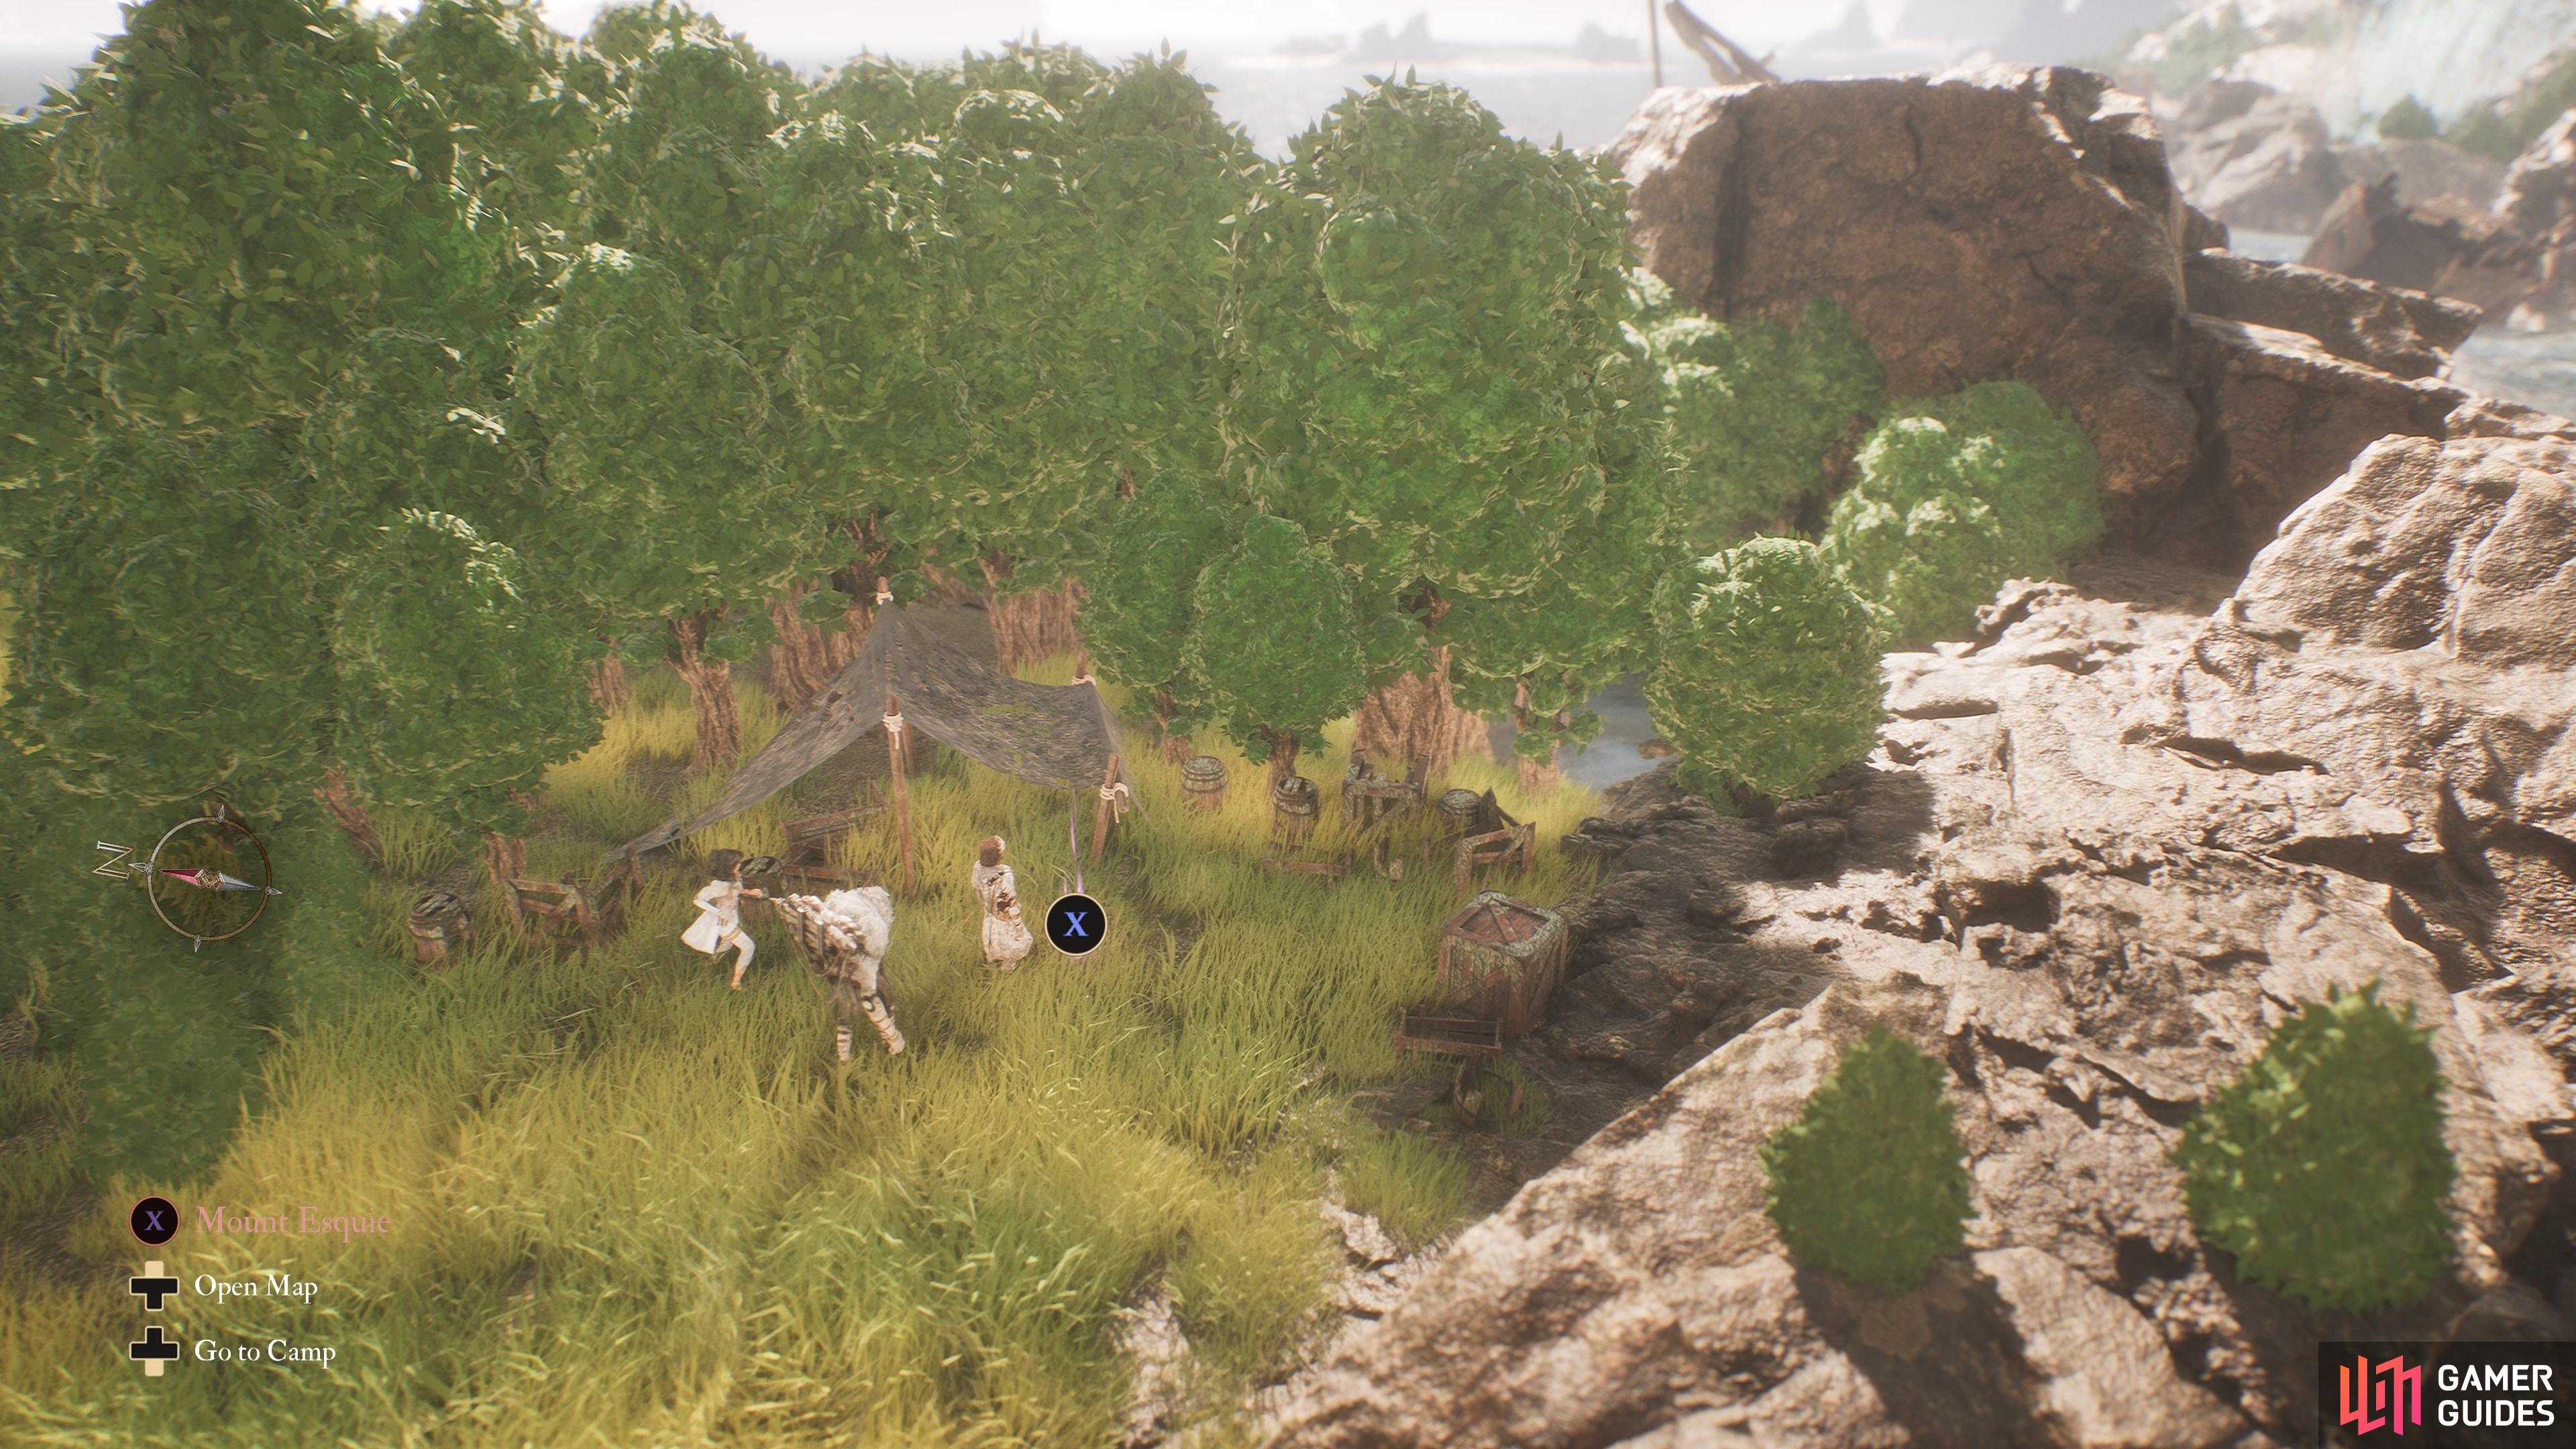
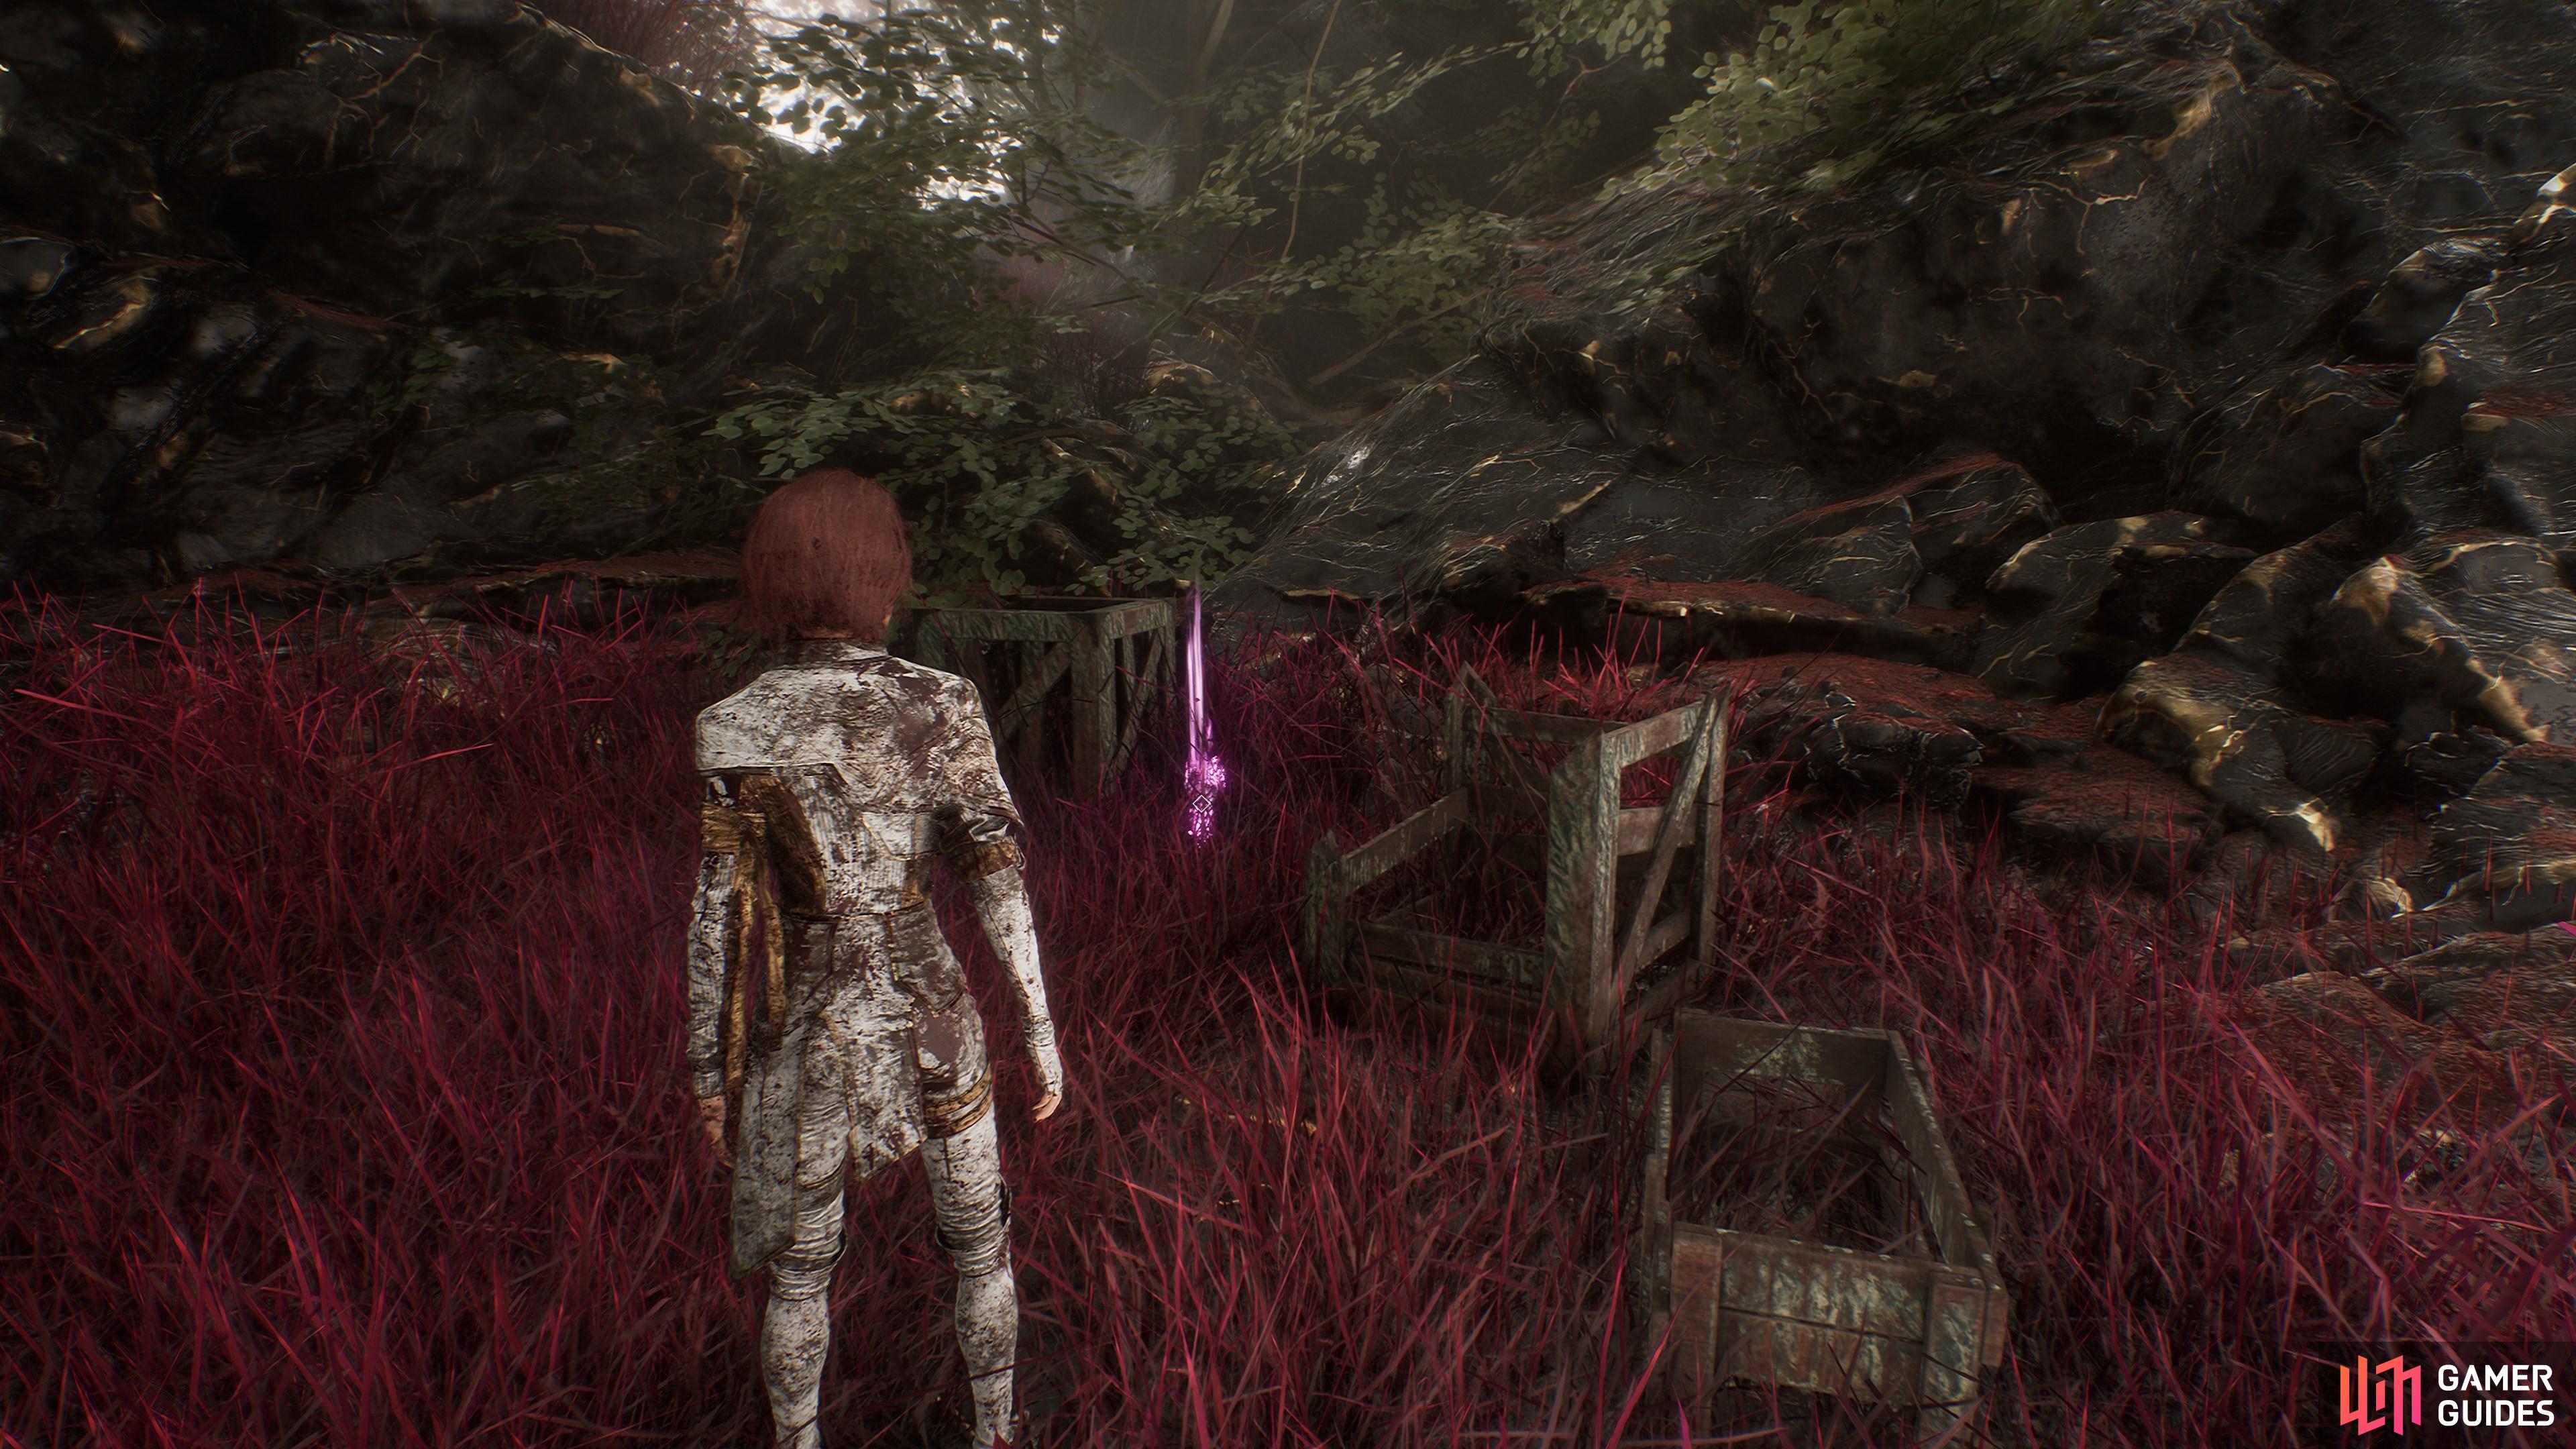
3. The Continent
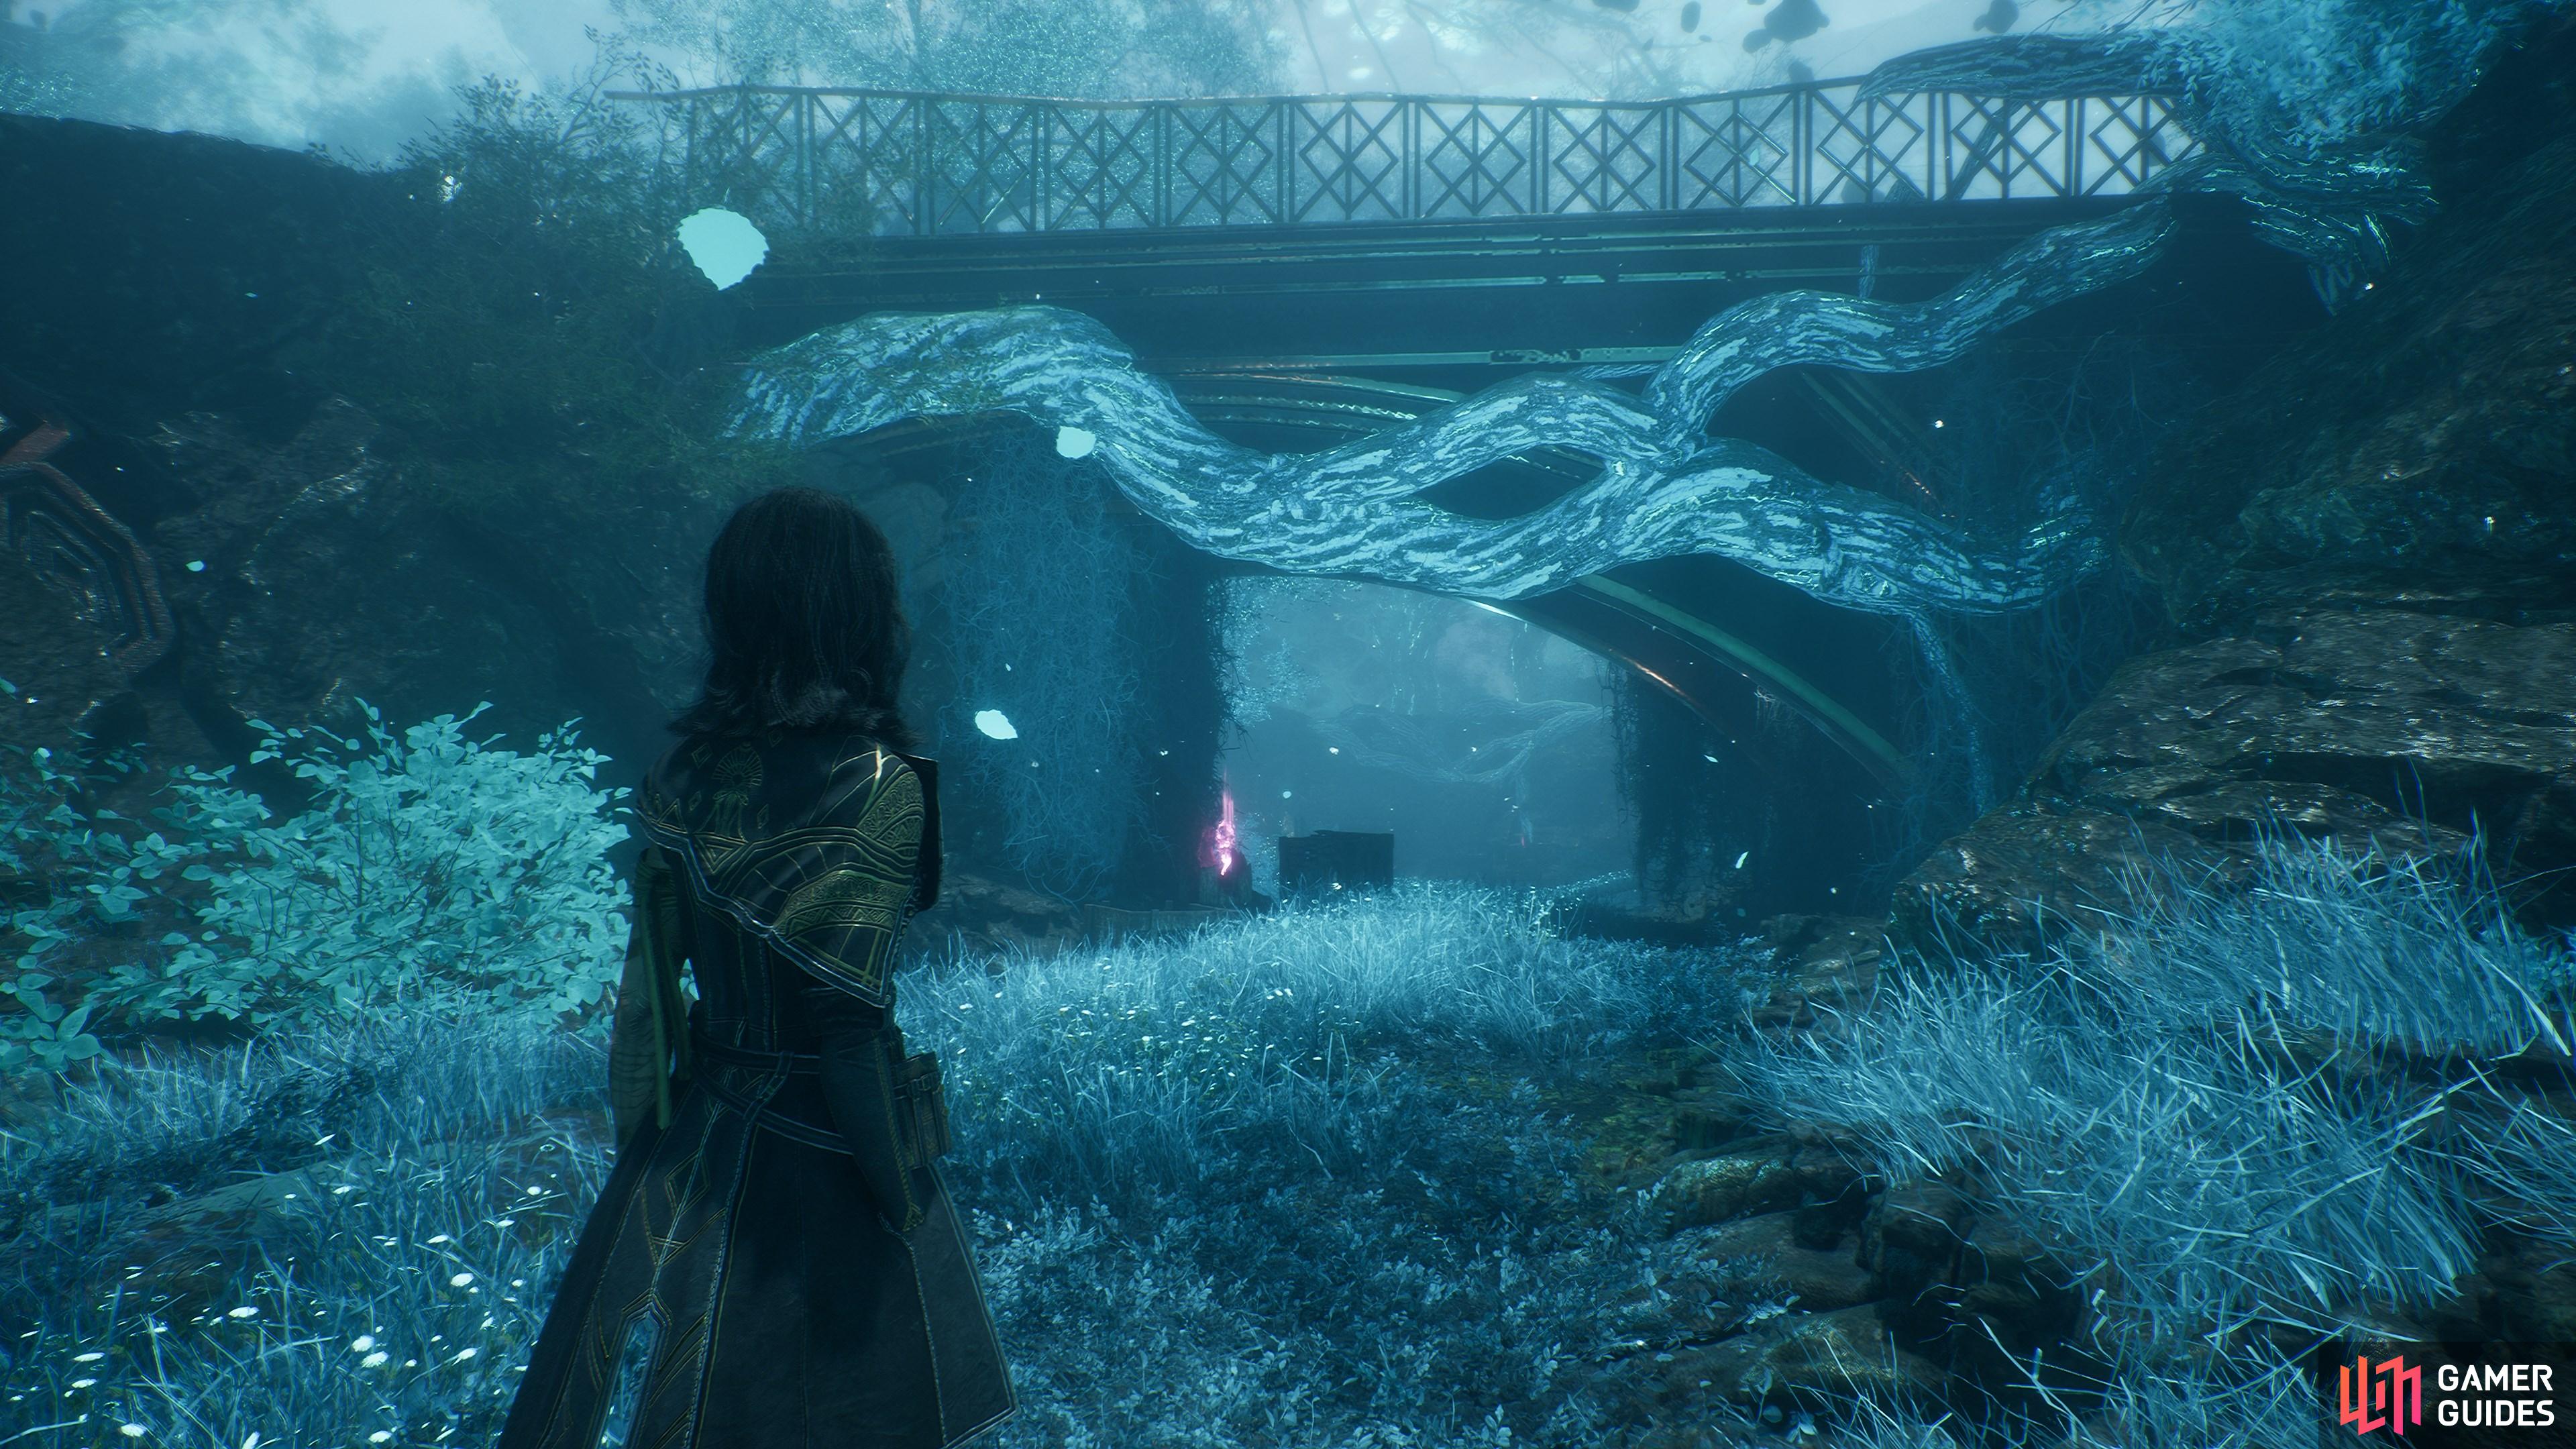
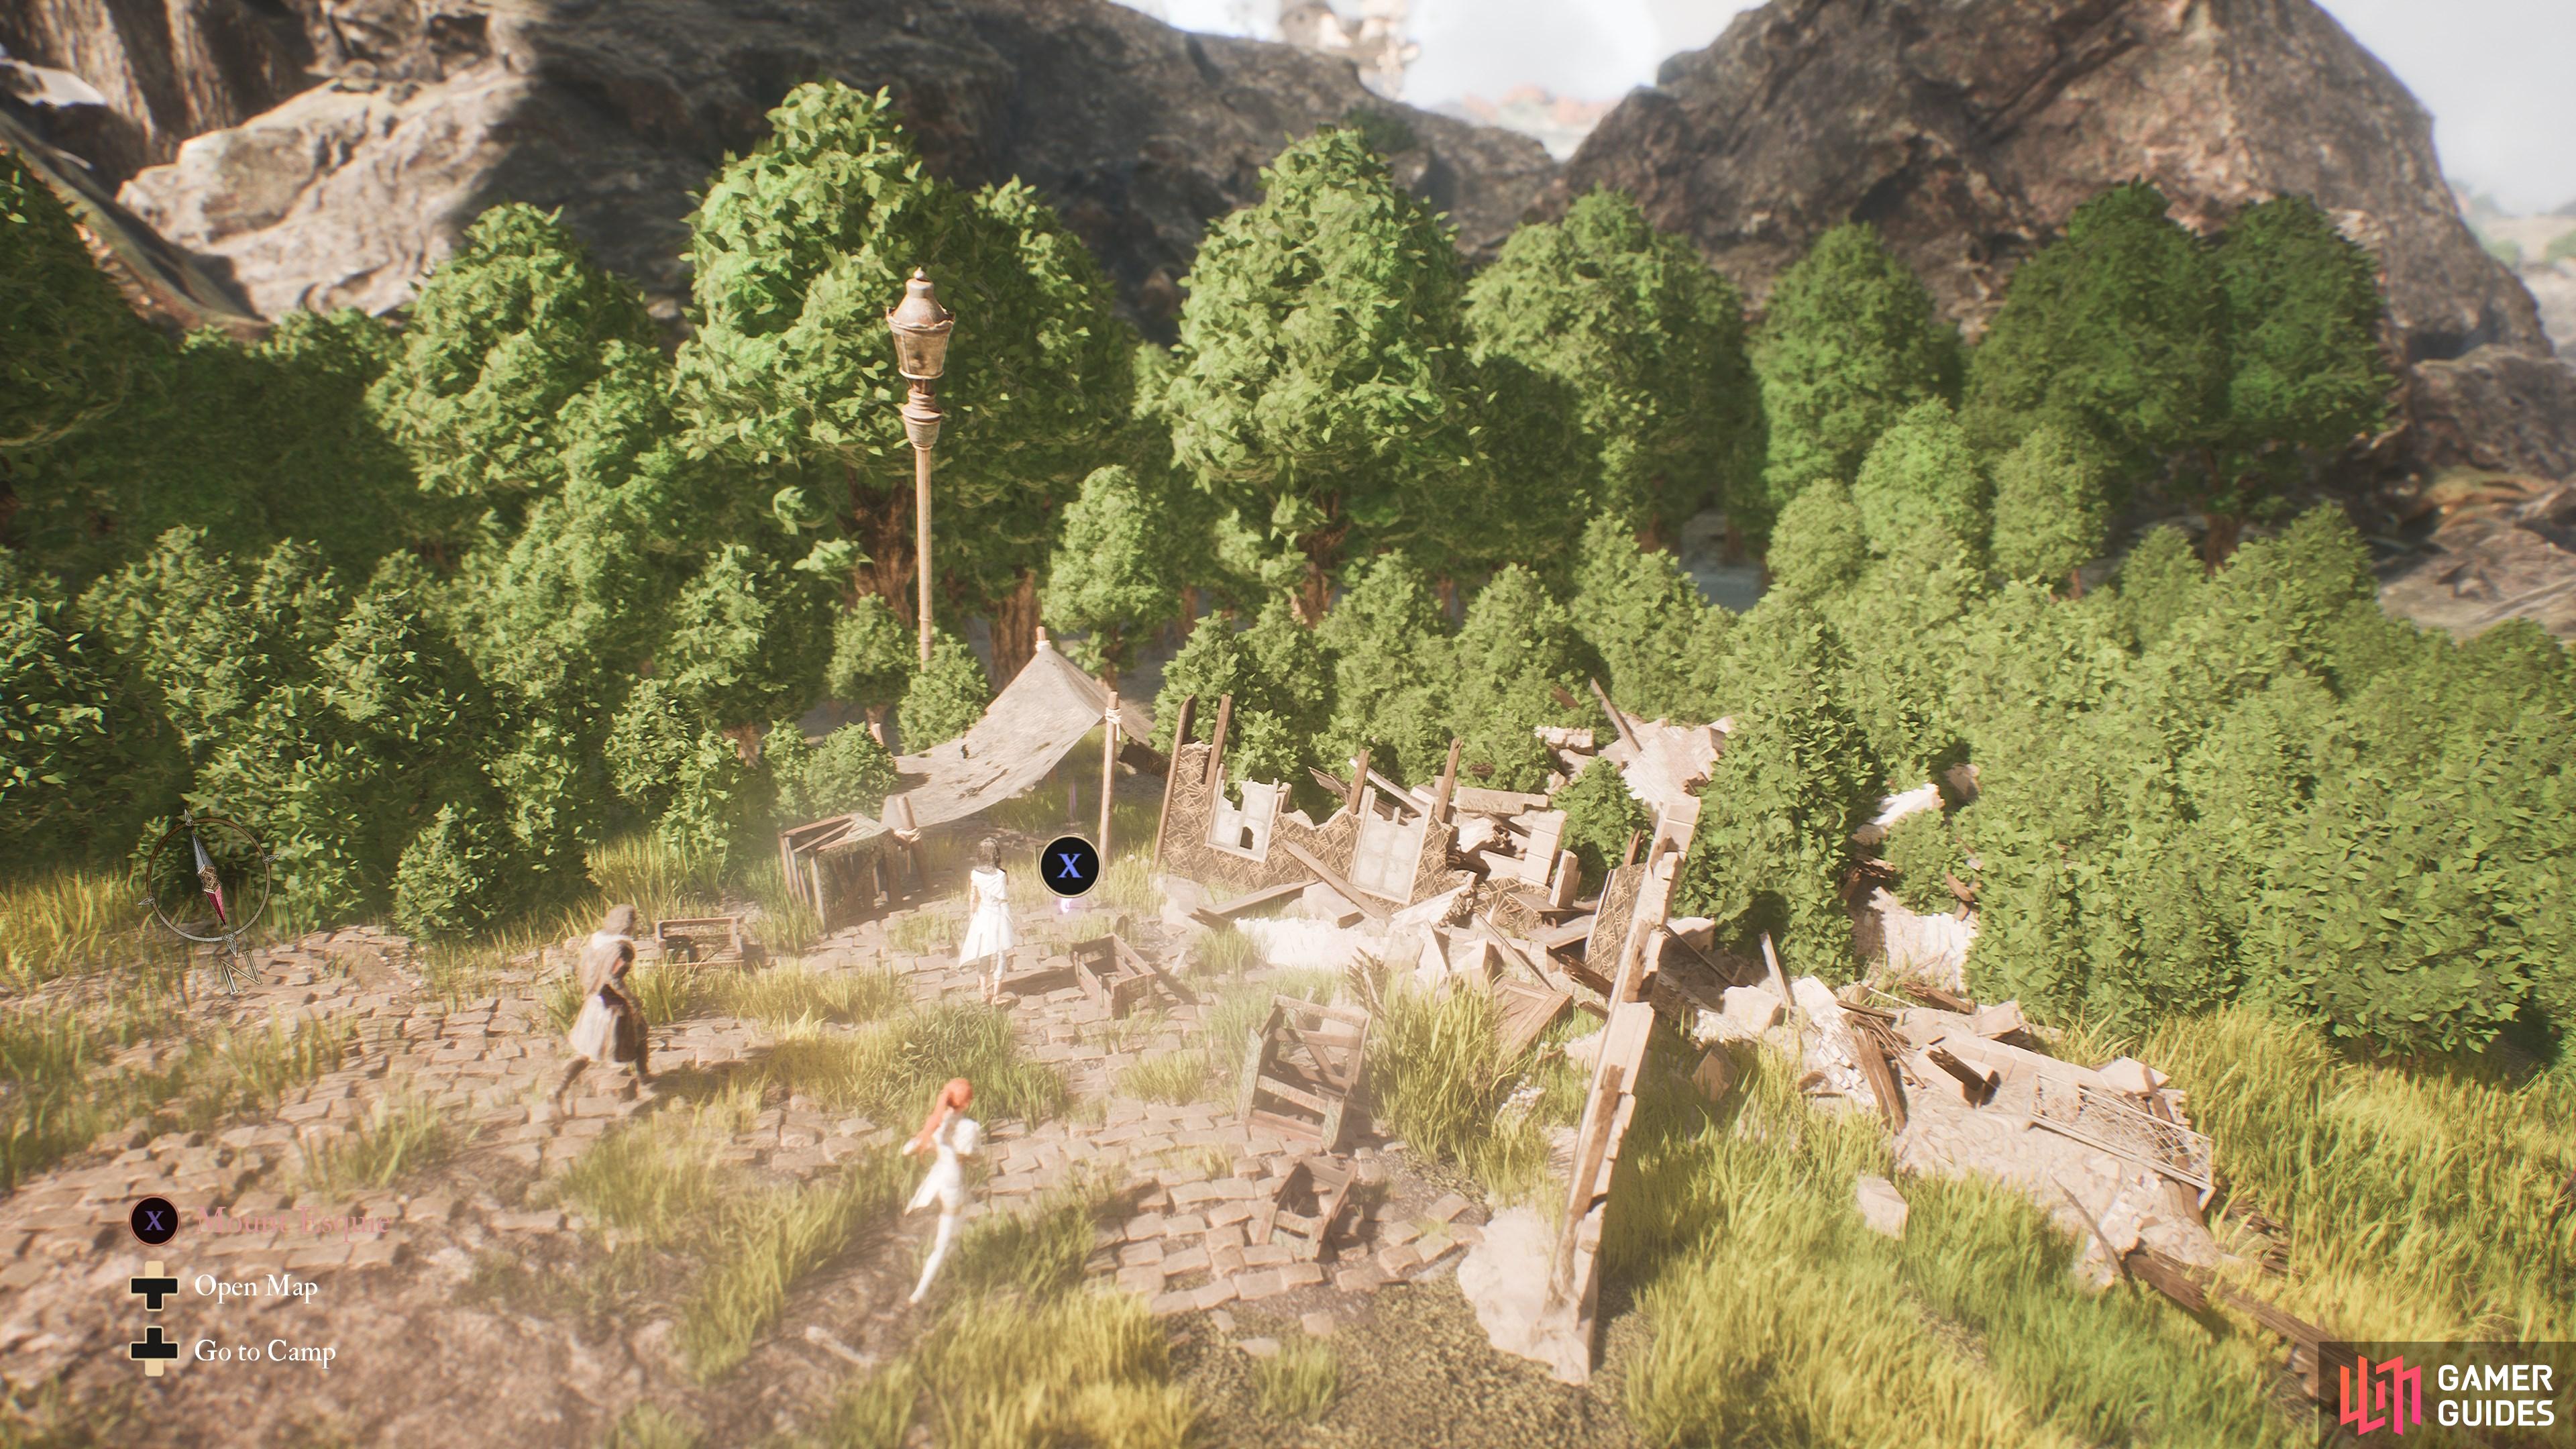
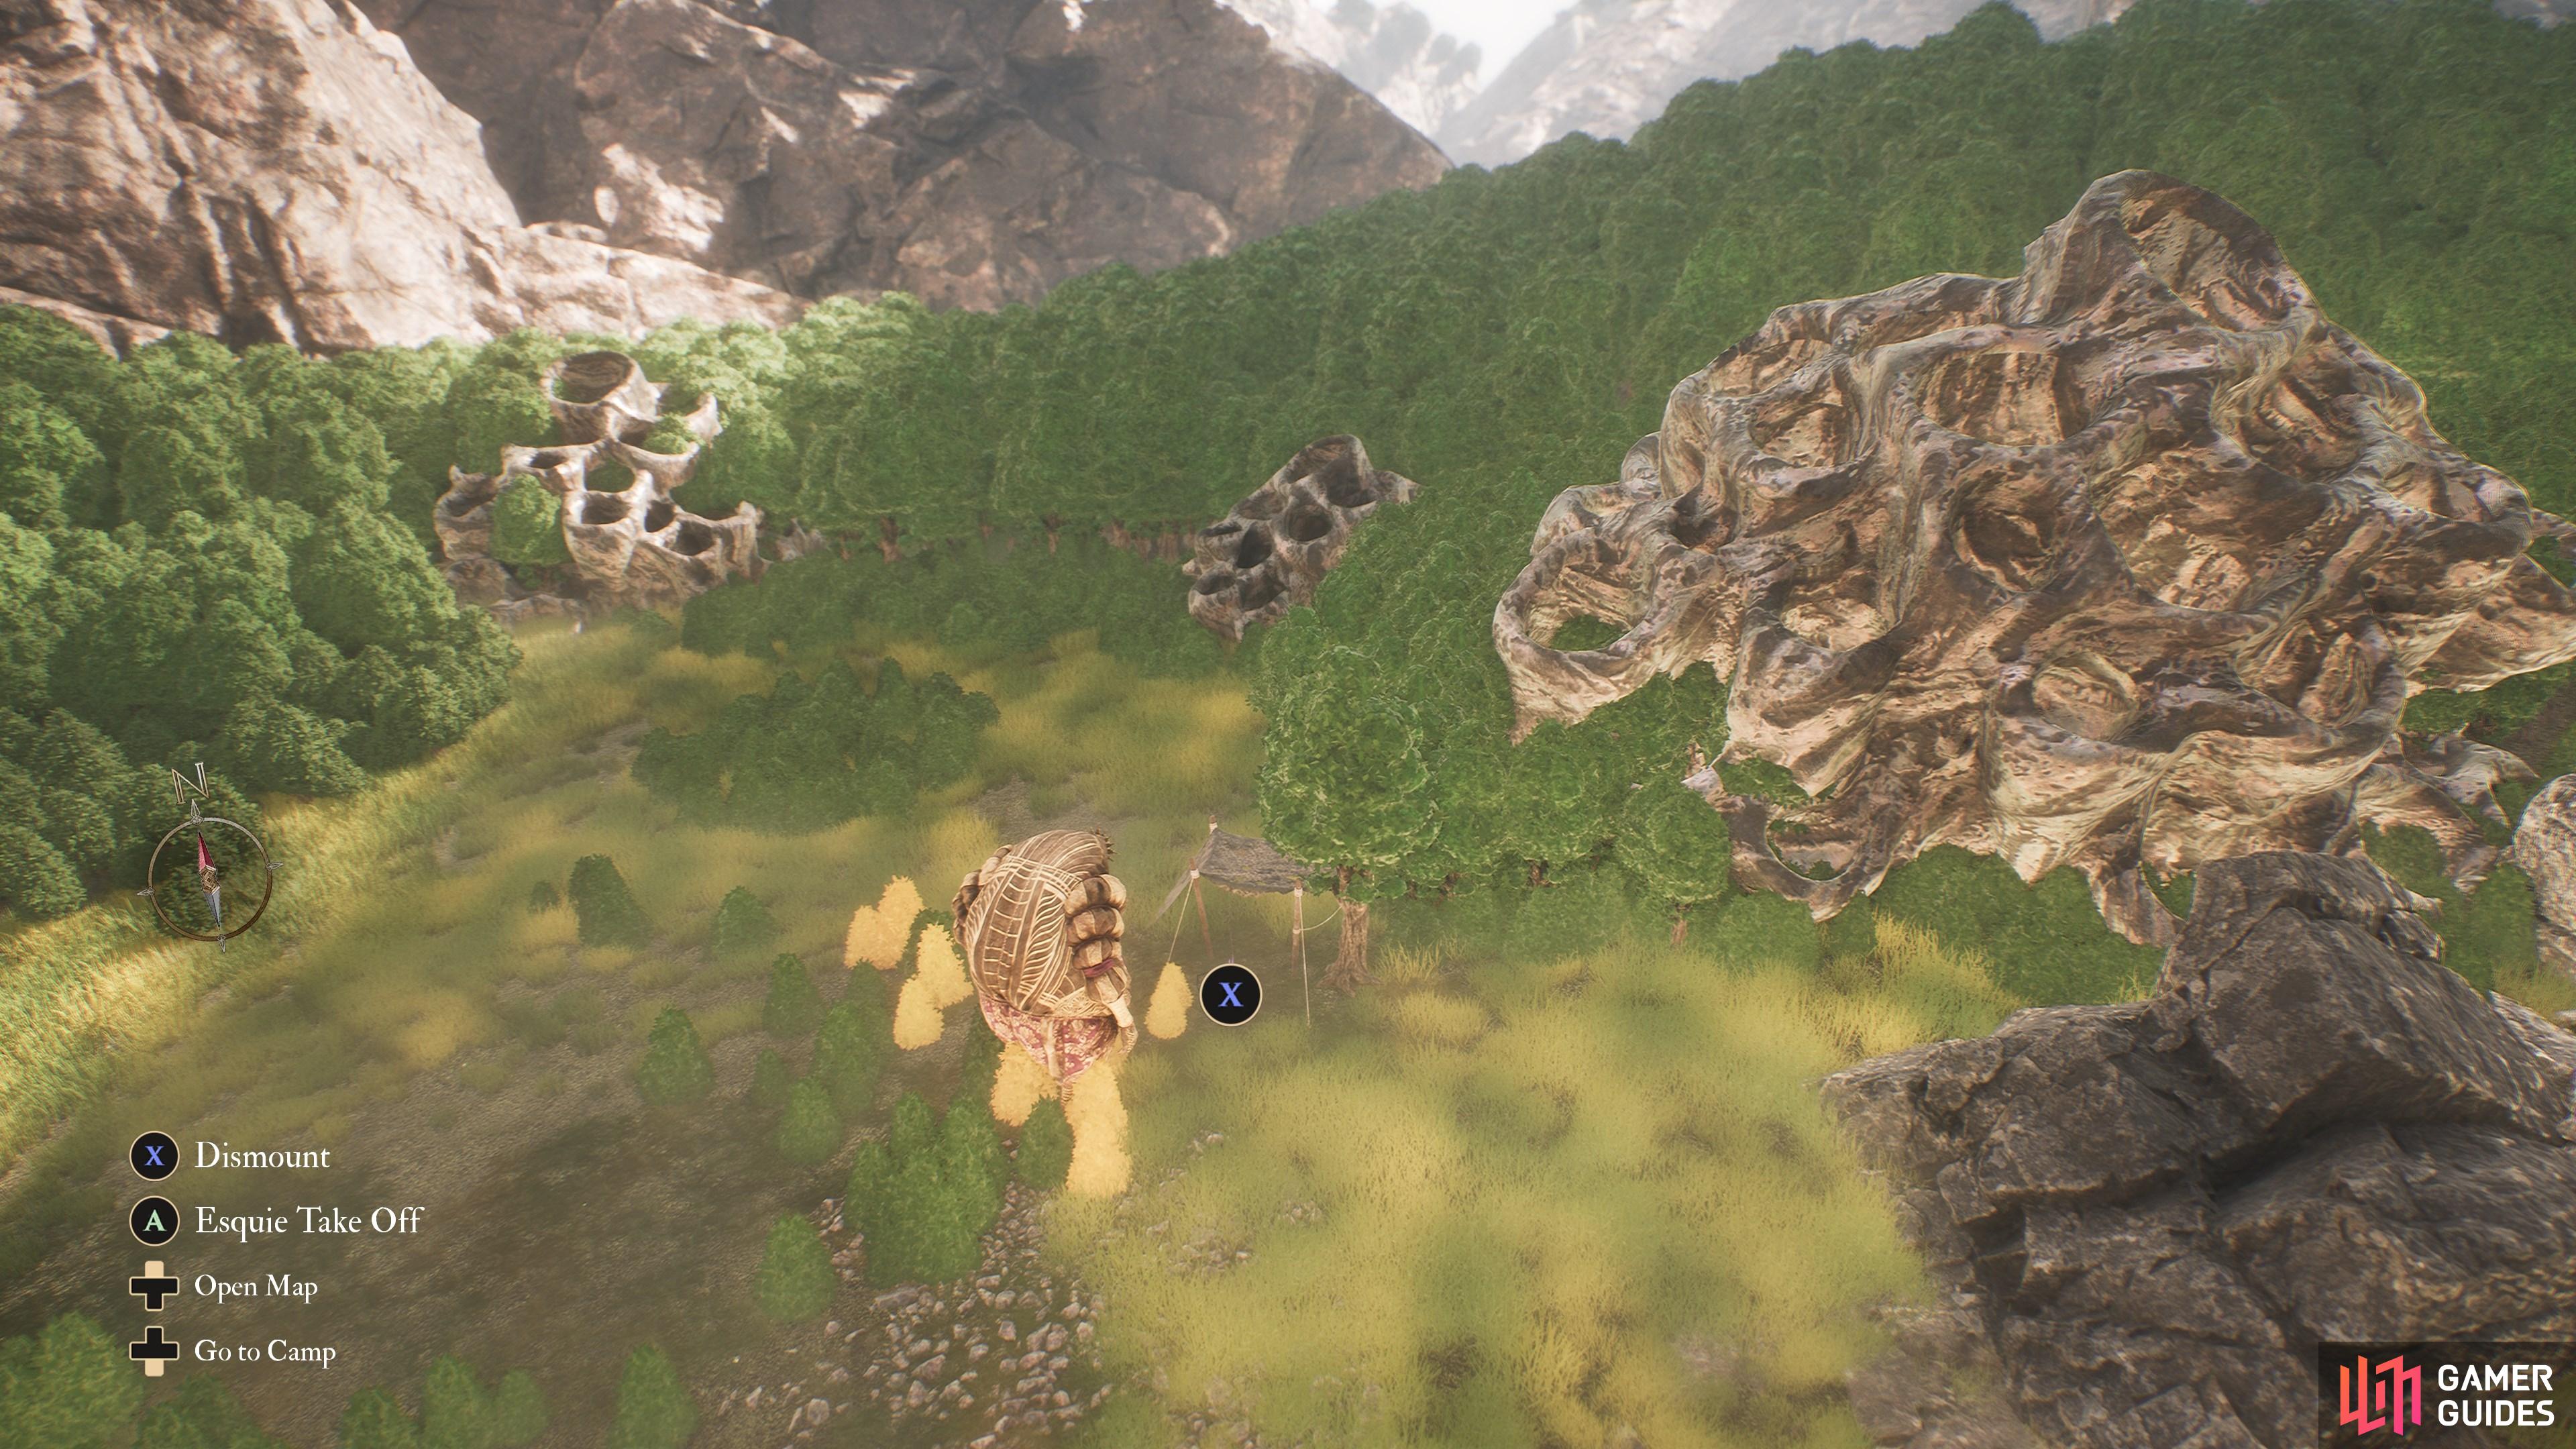
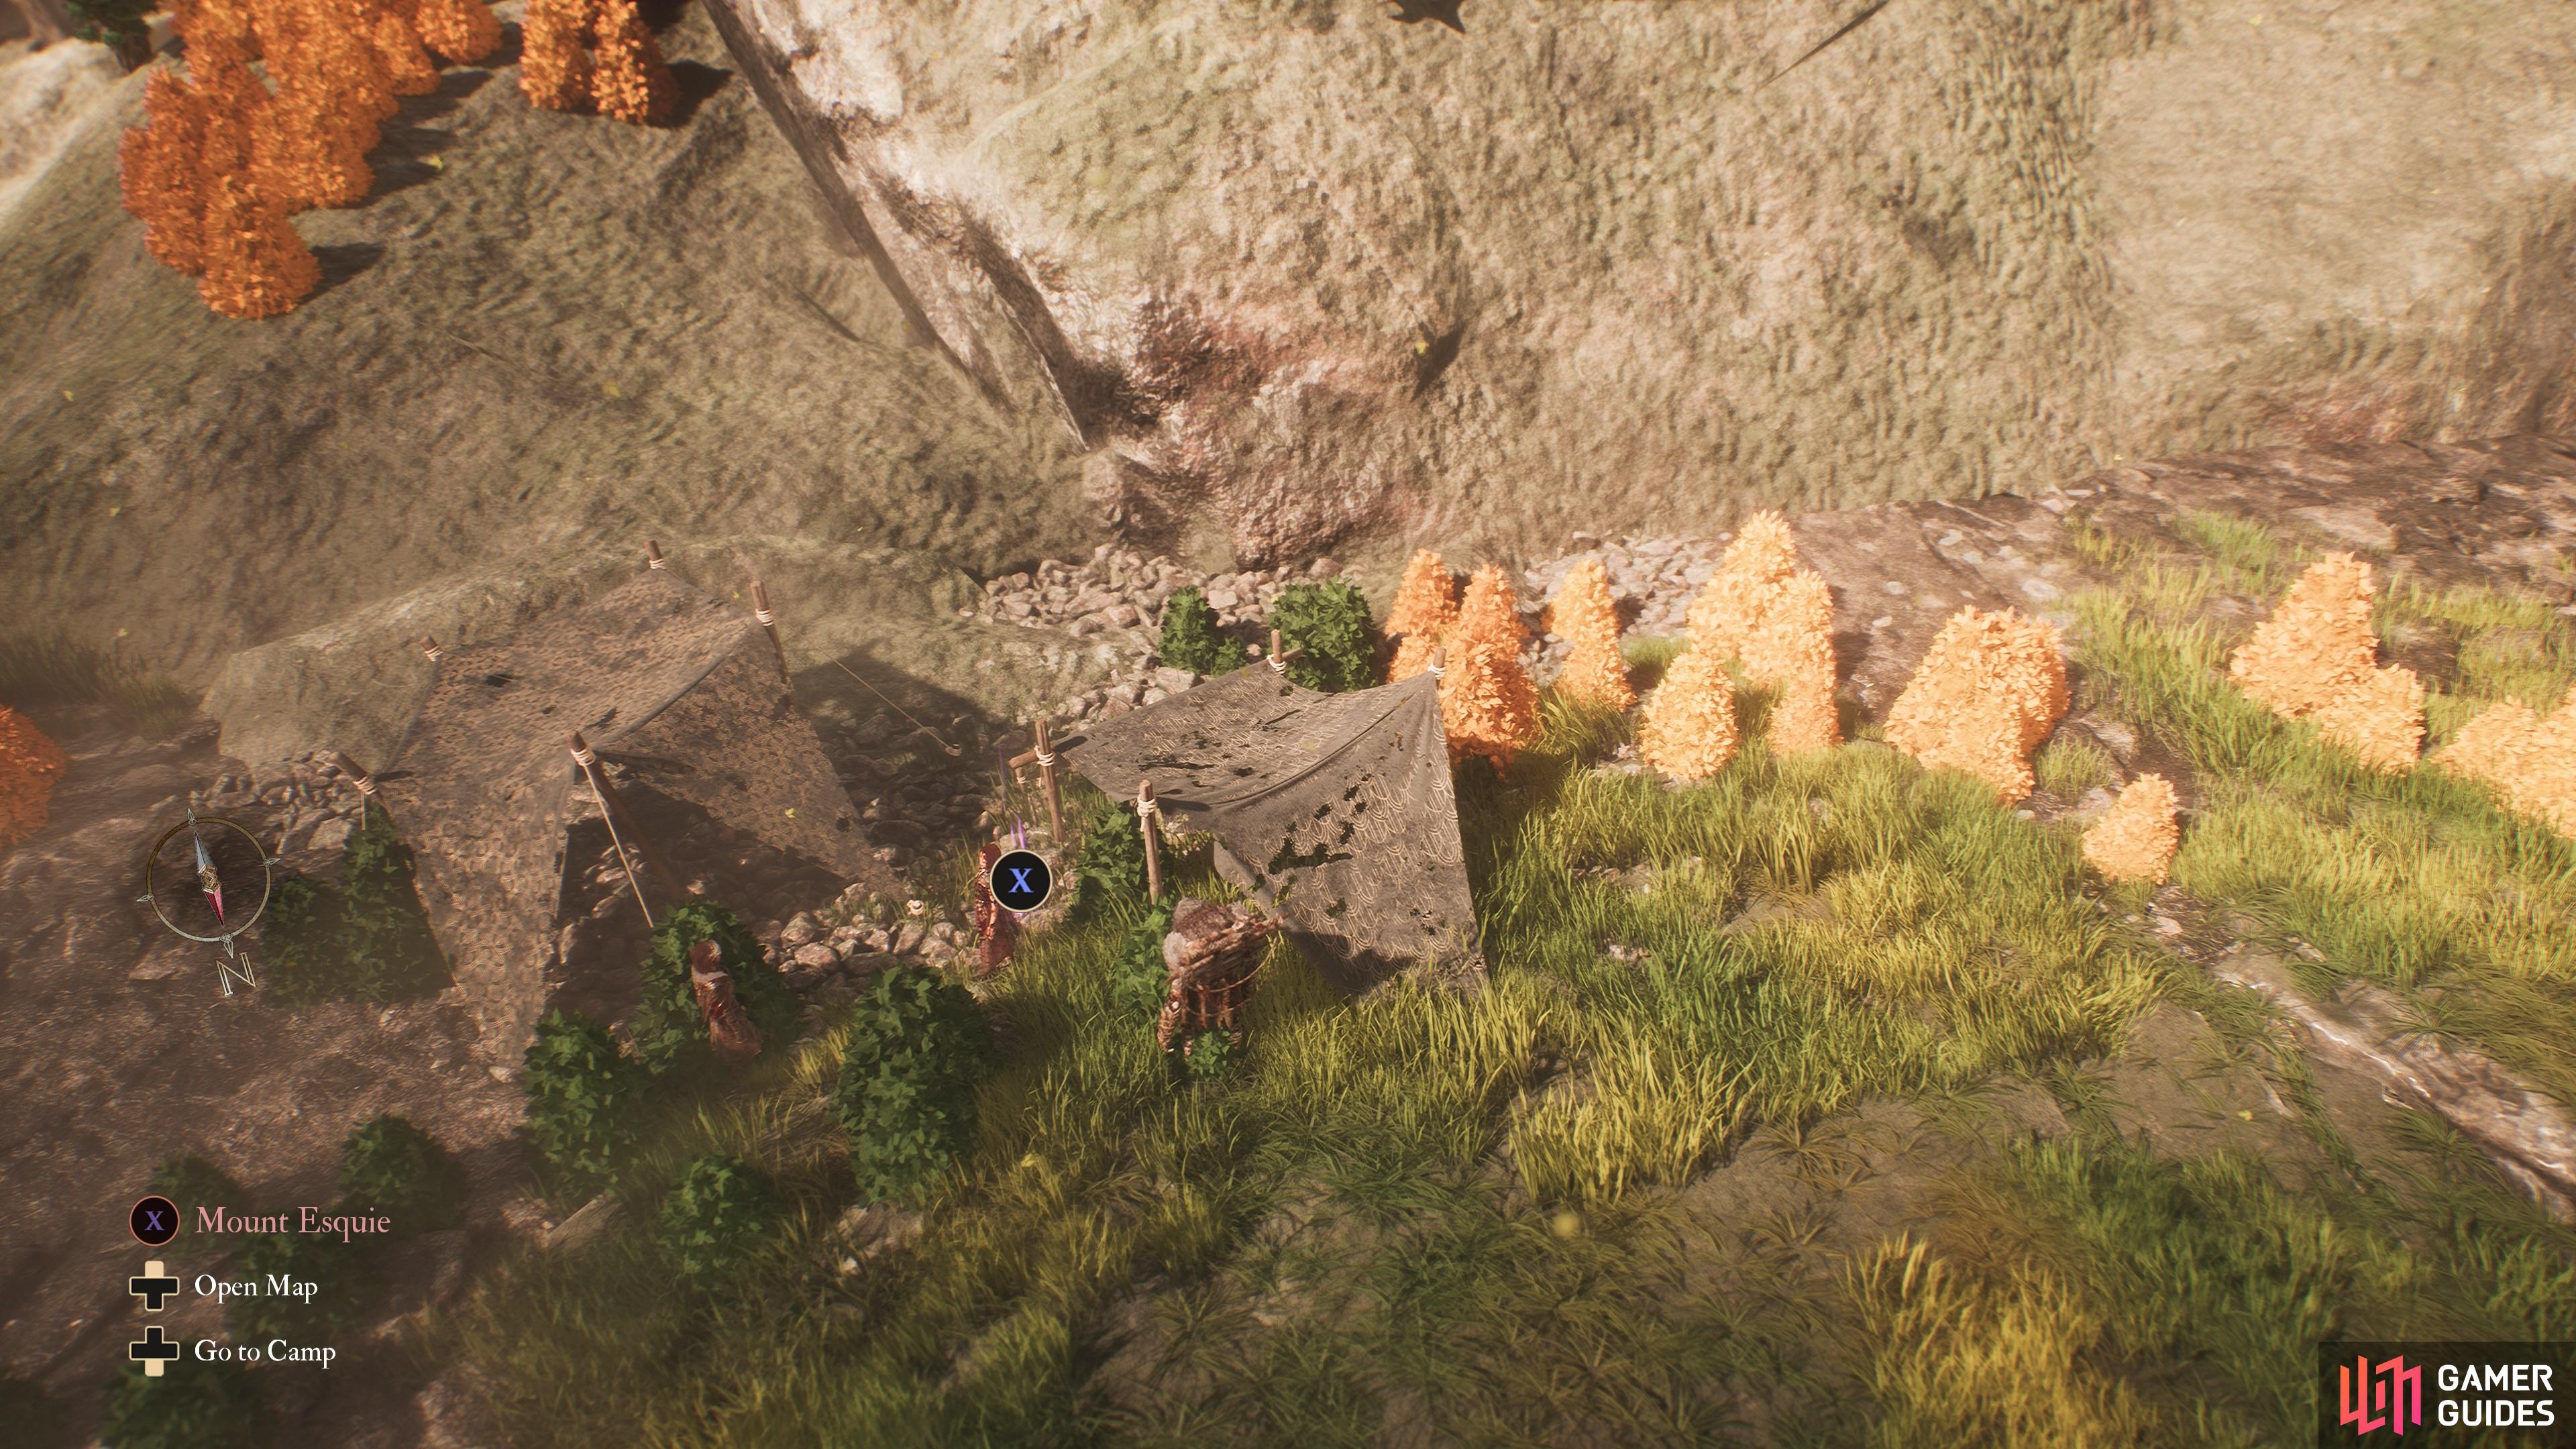
Under the bridge in the lower area past the Abandoned Expeditioner’s Camp flag.

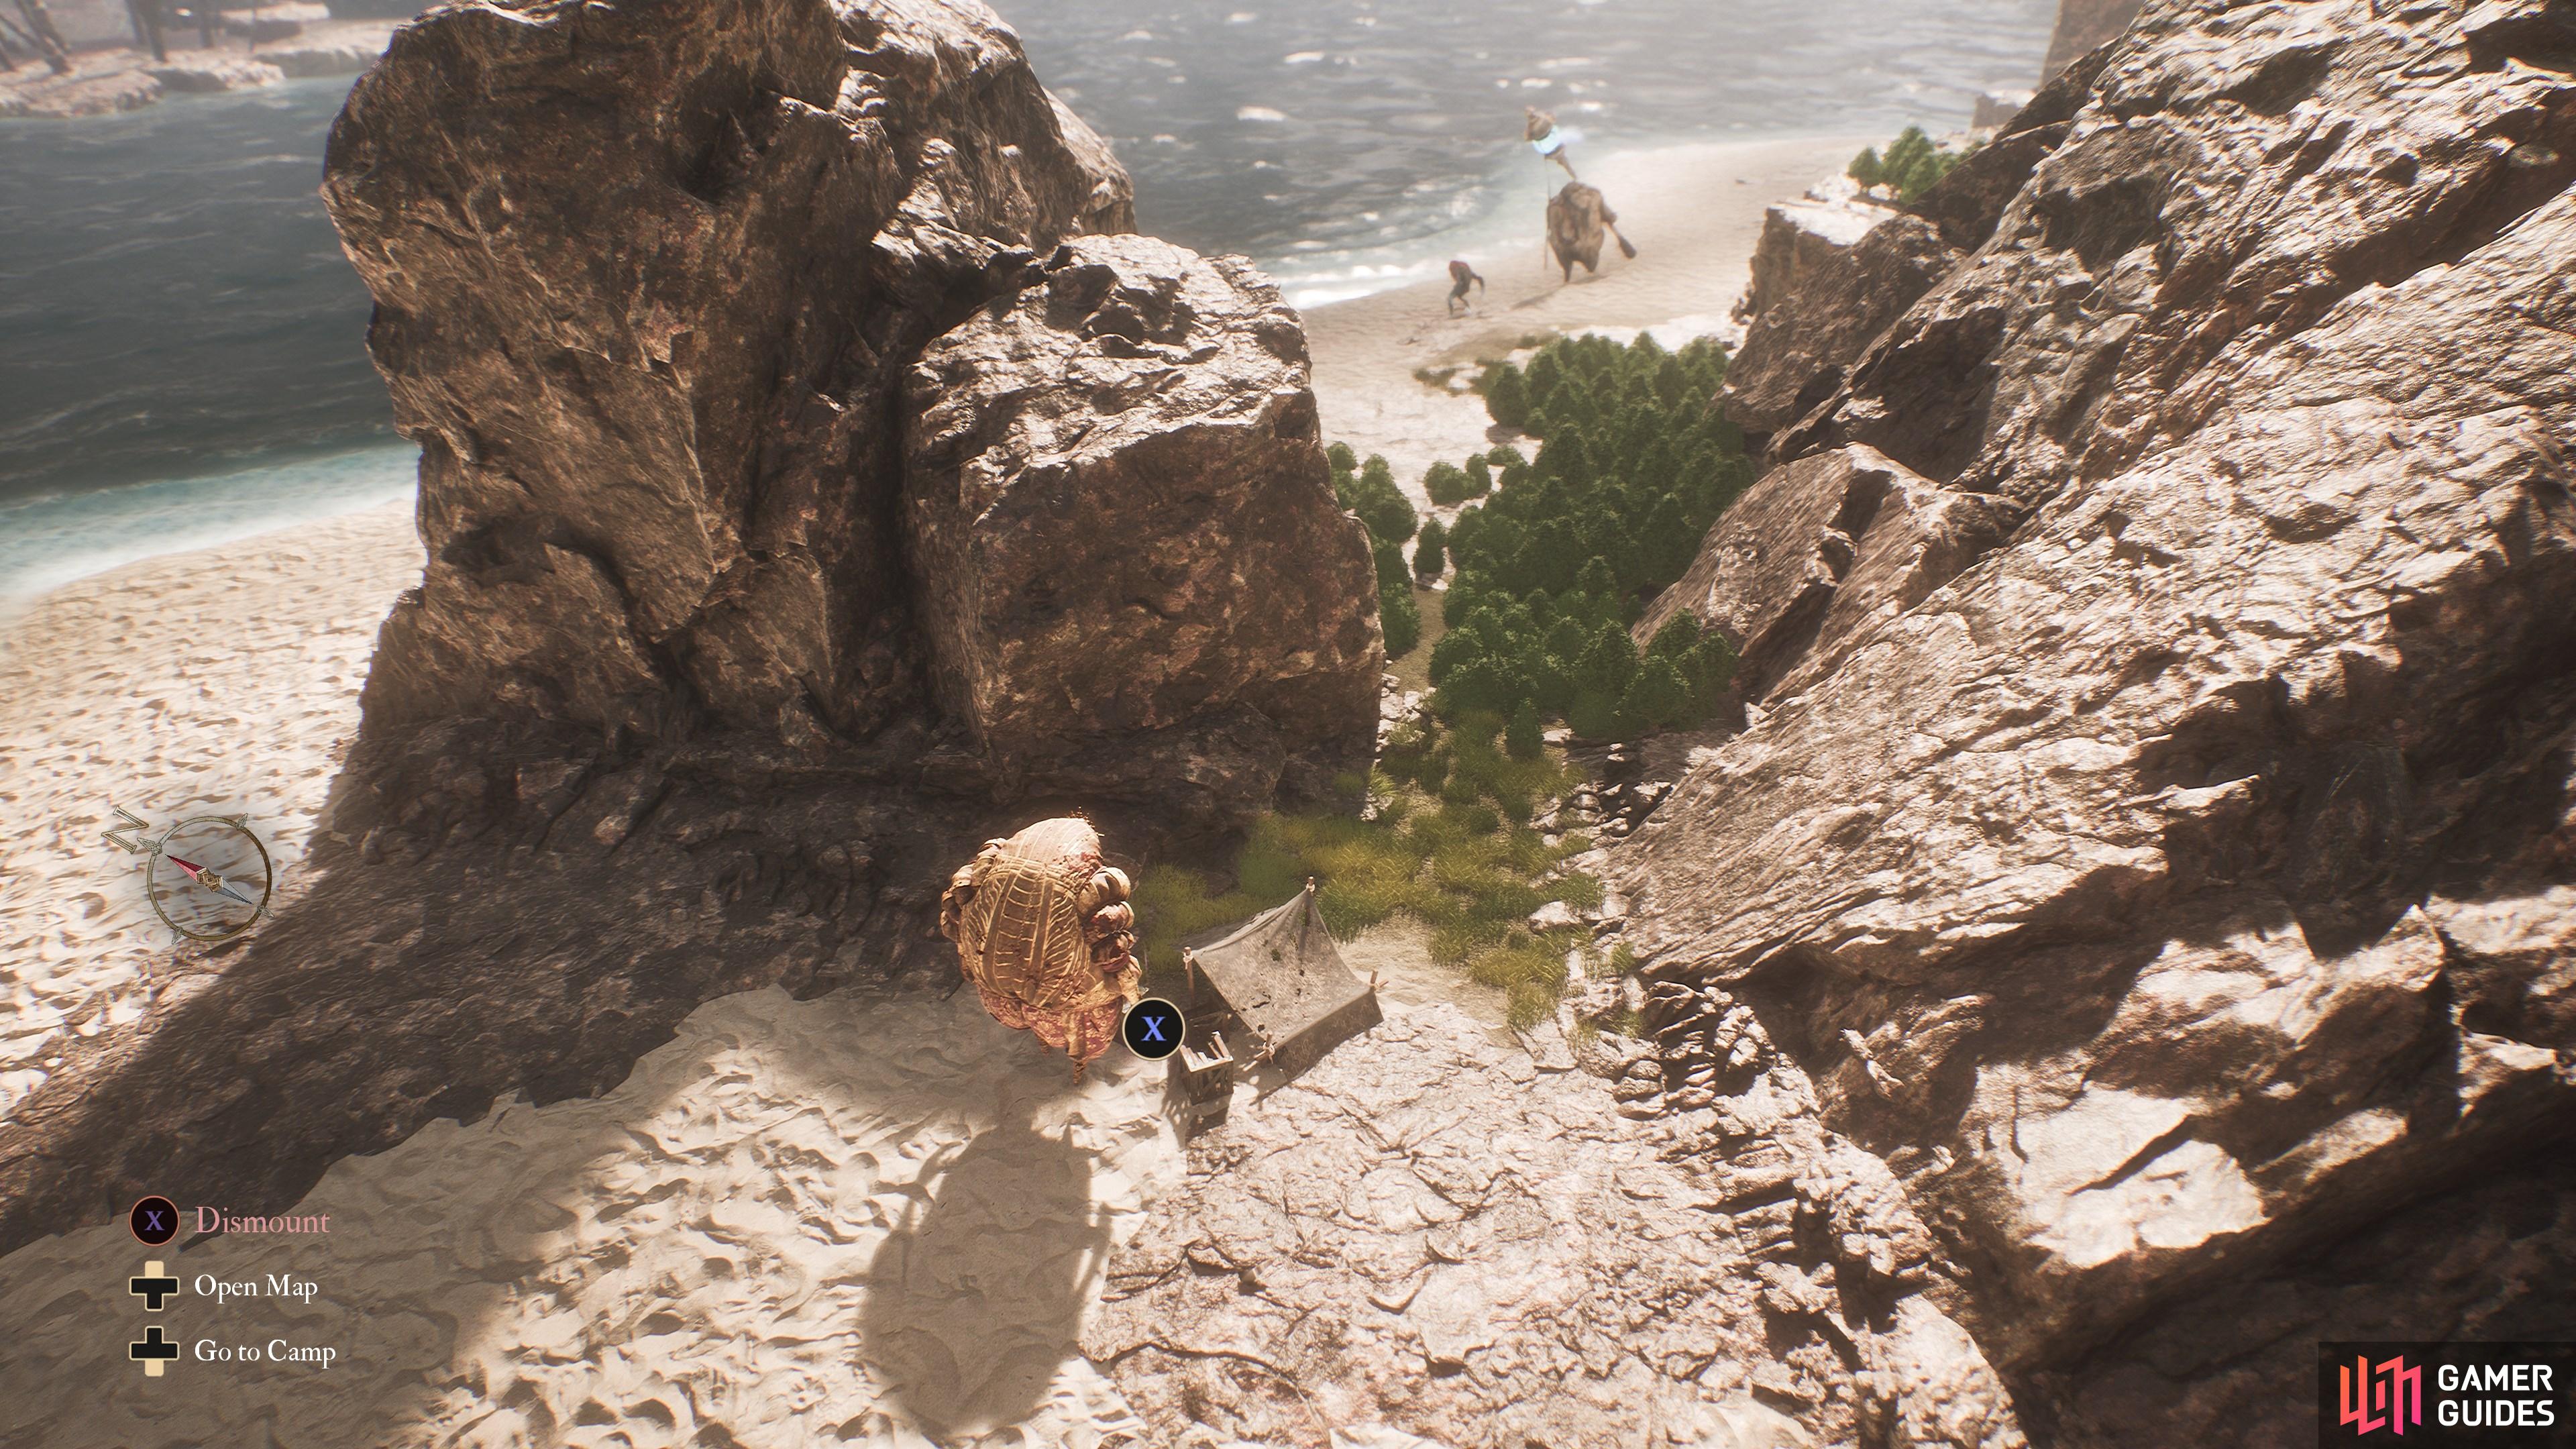
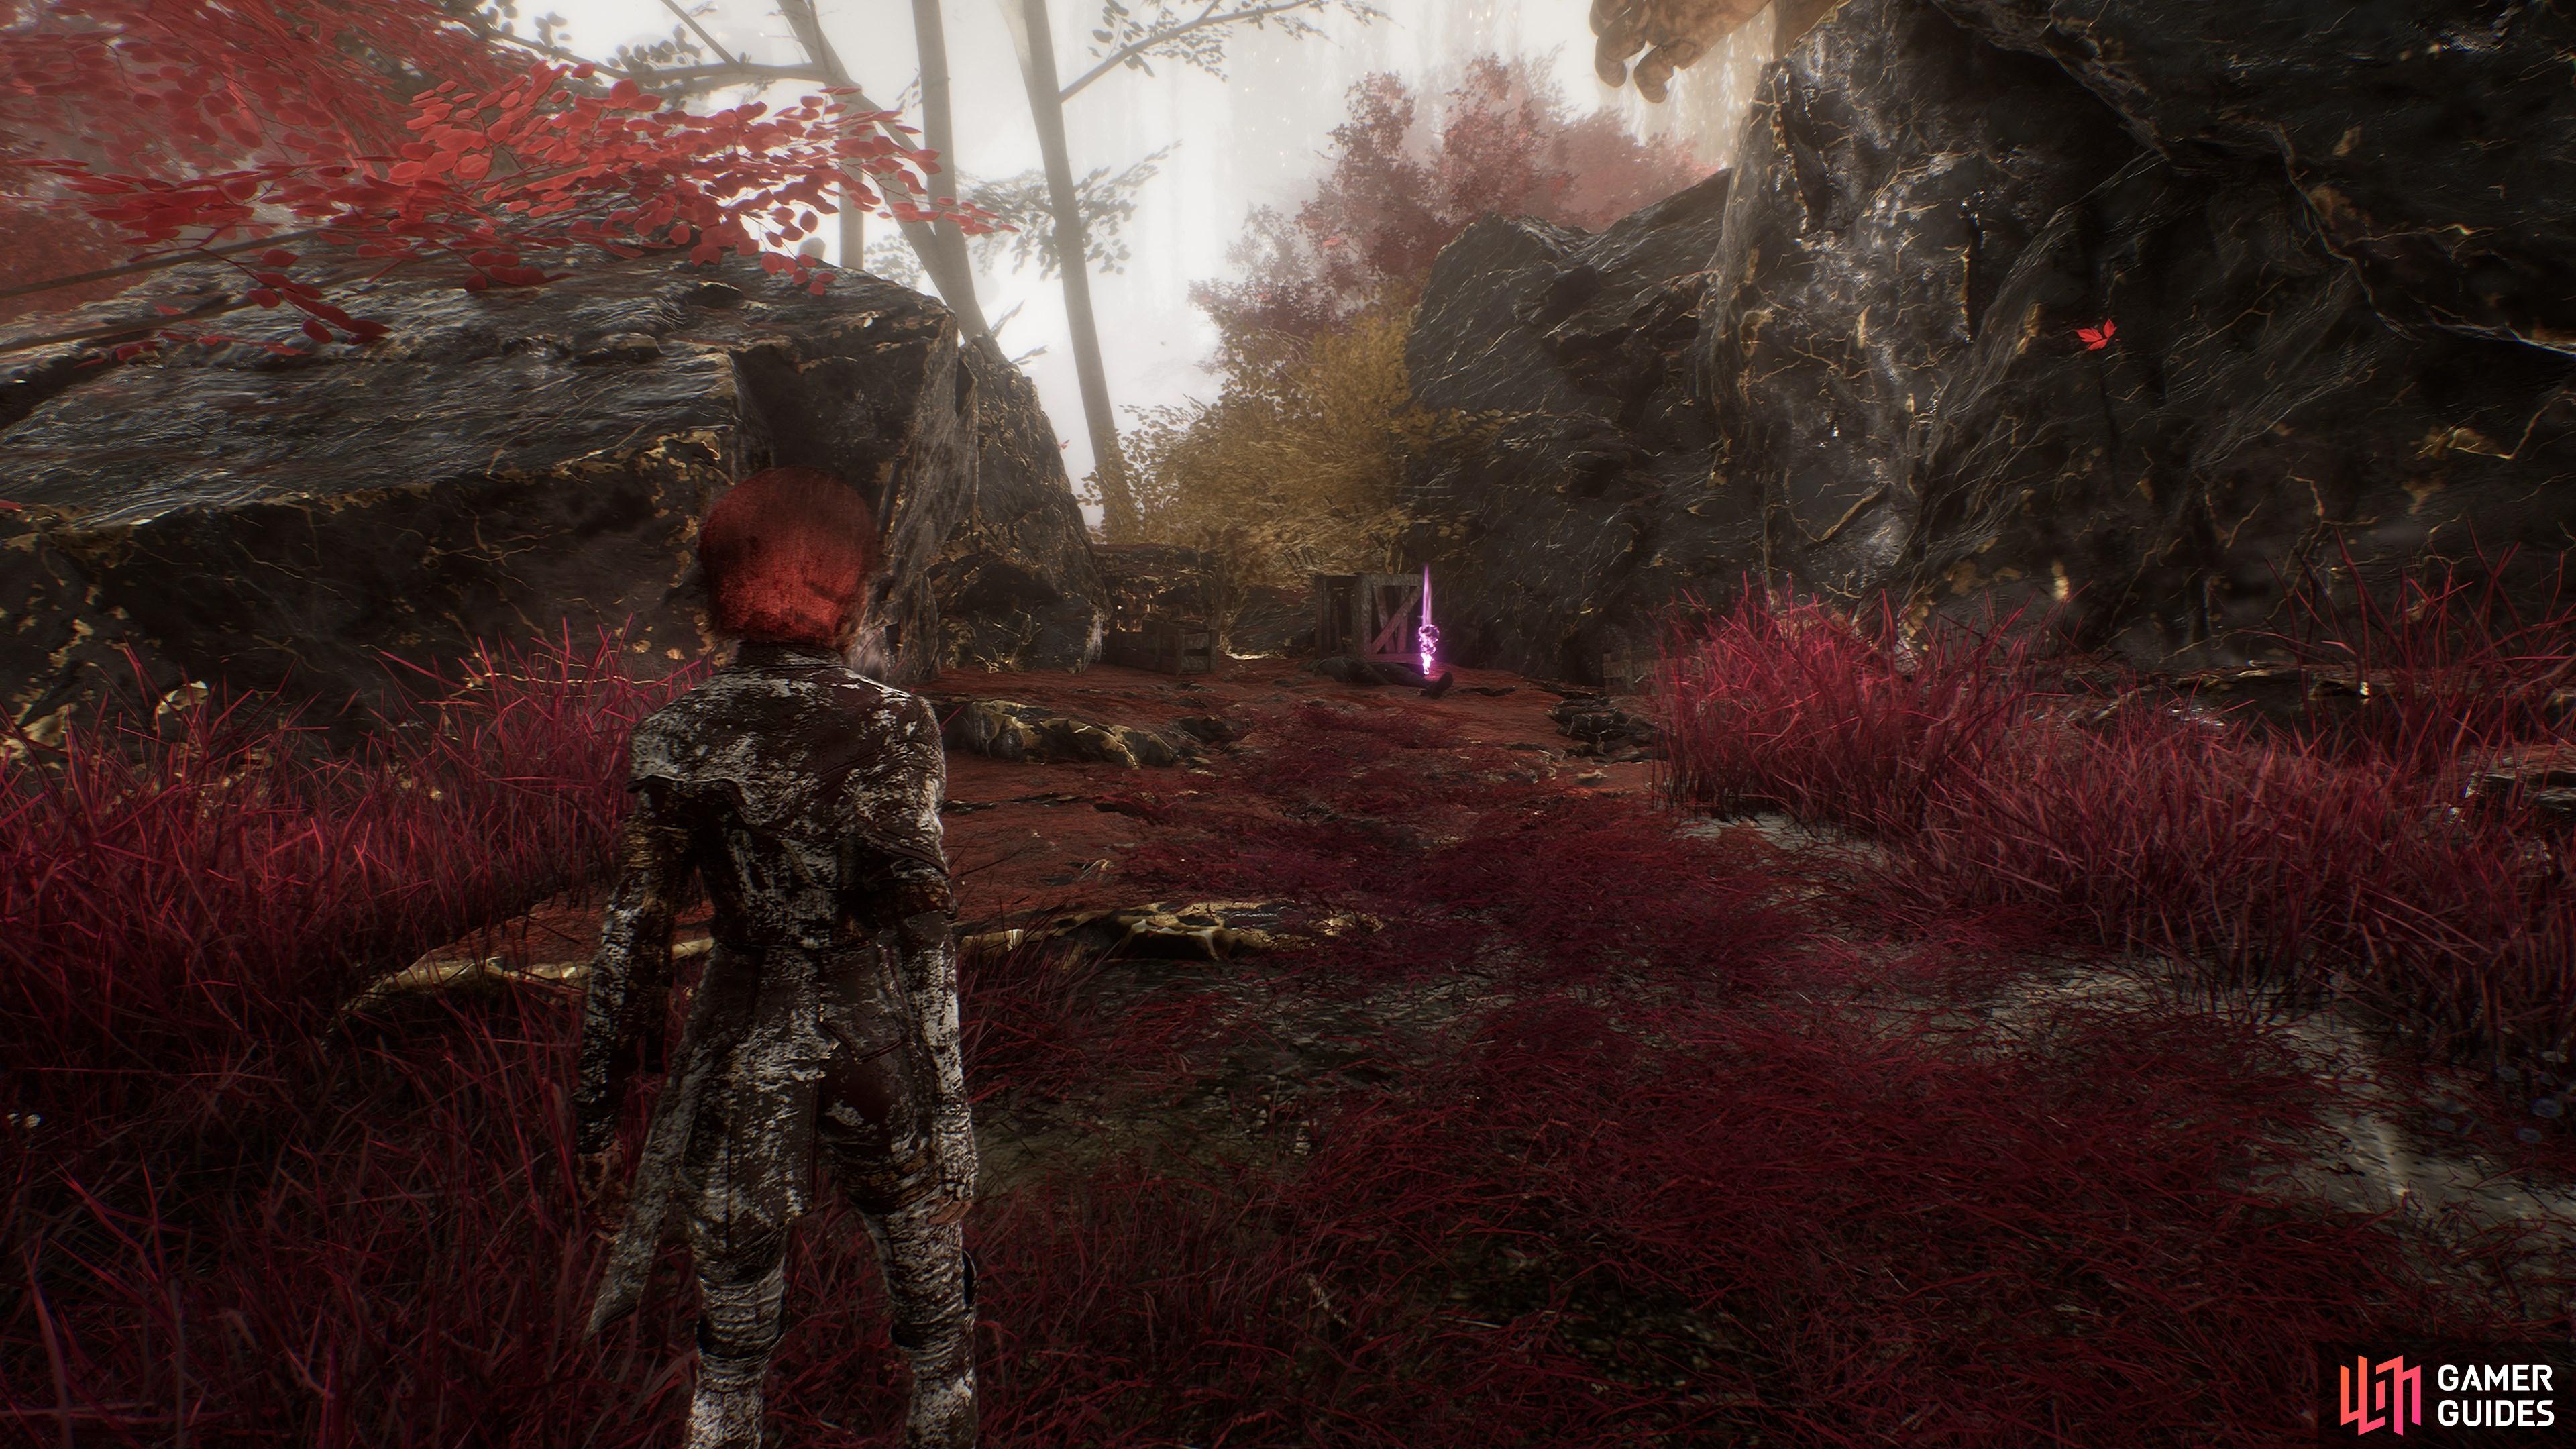
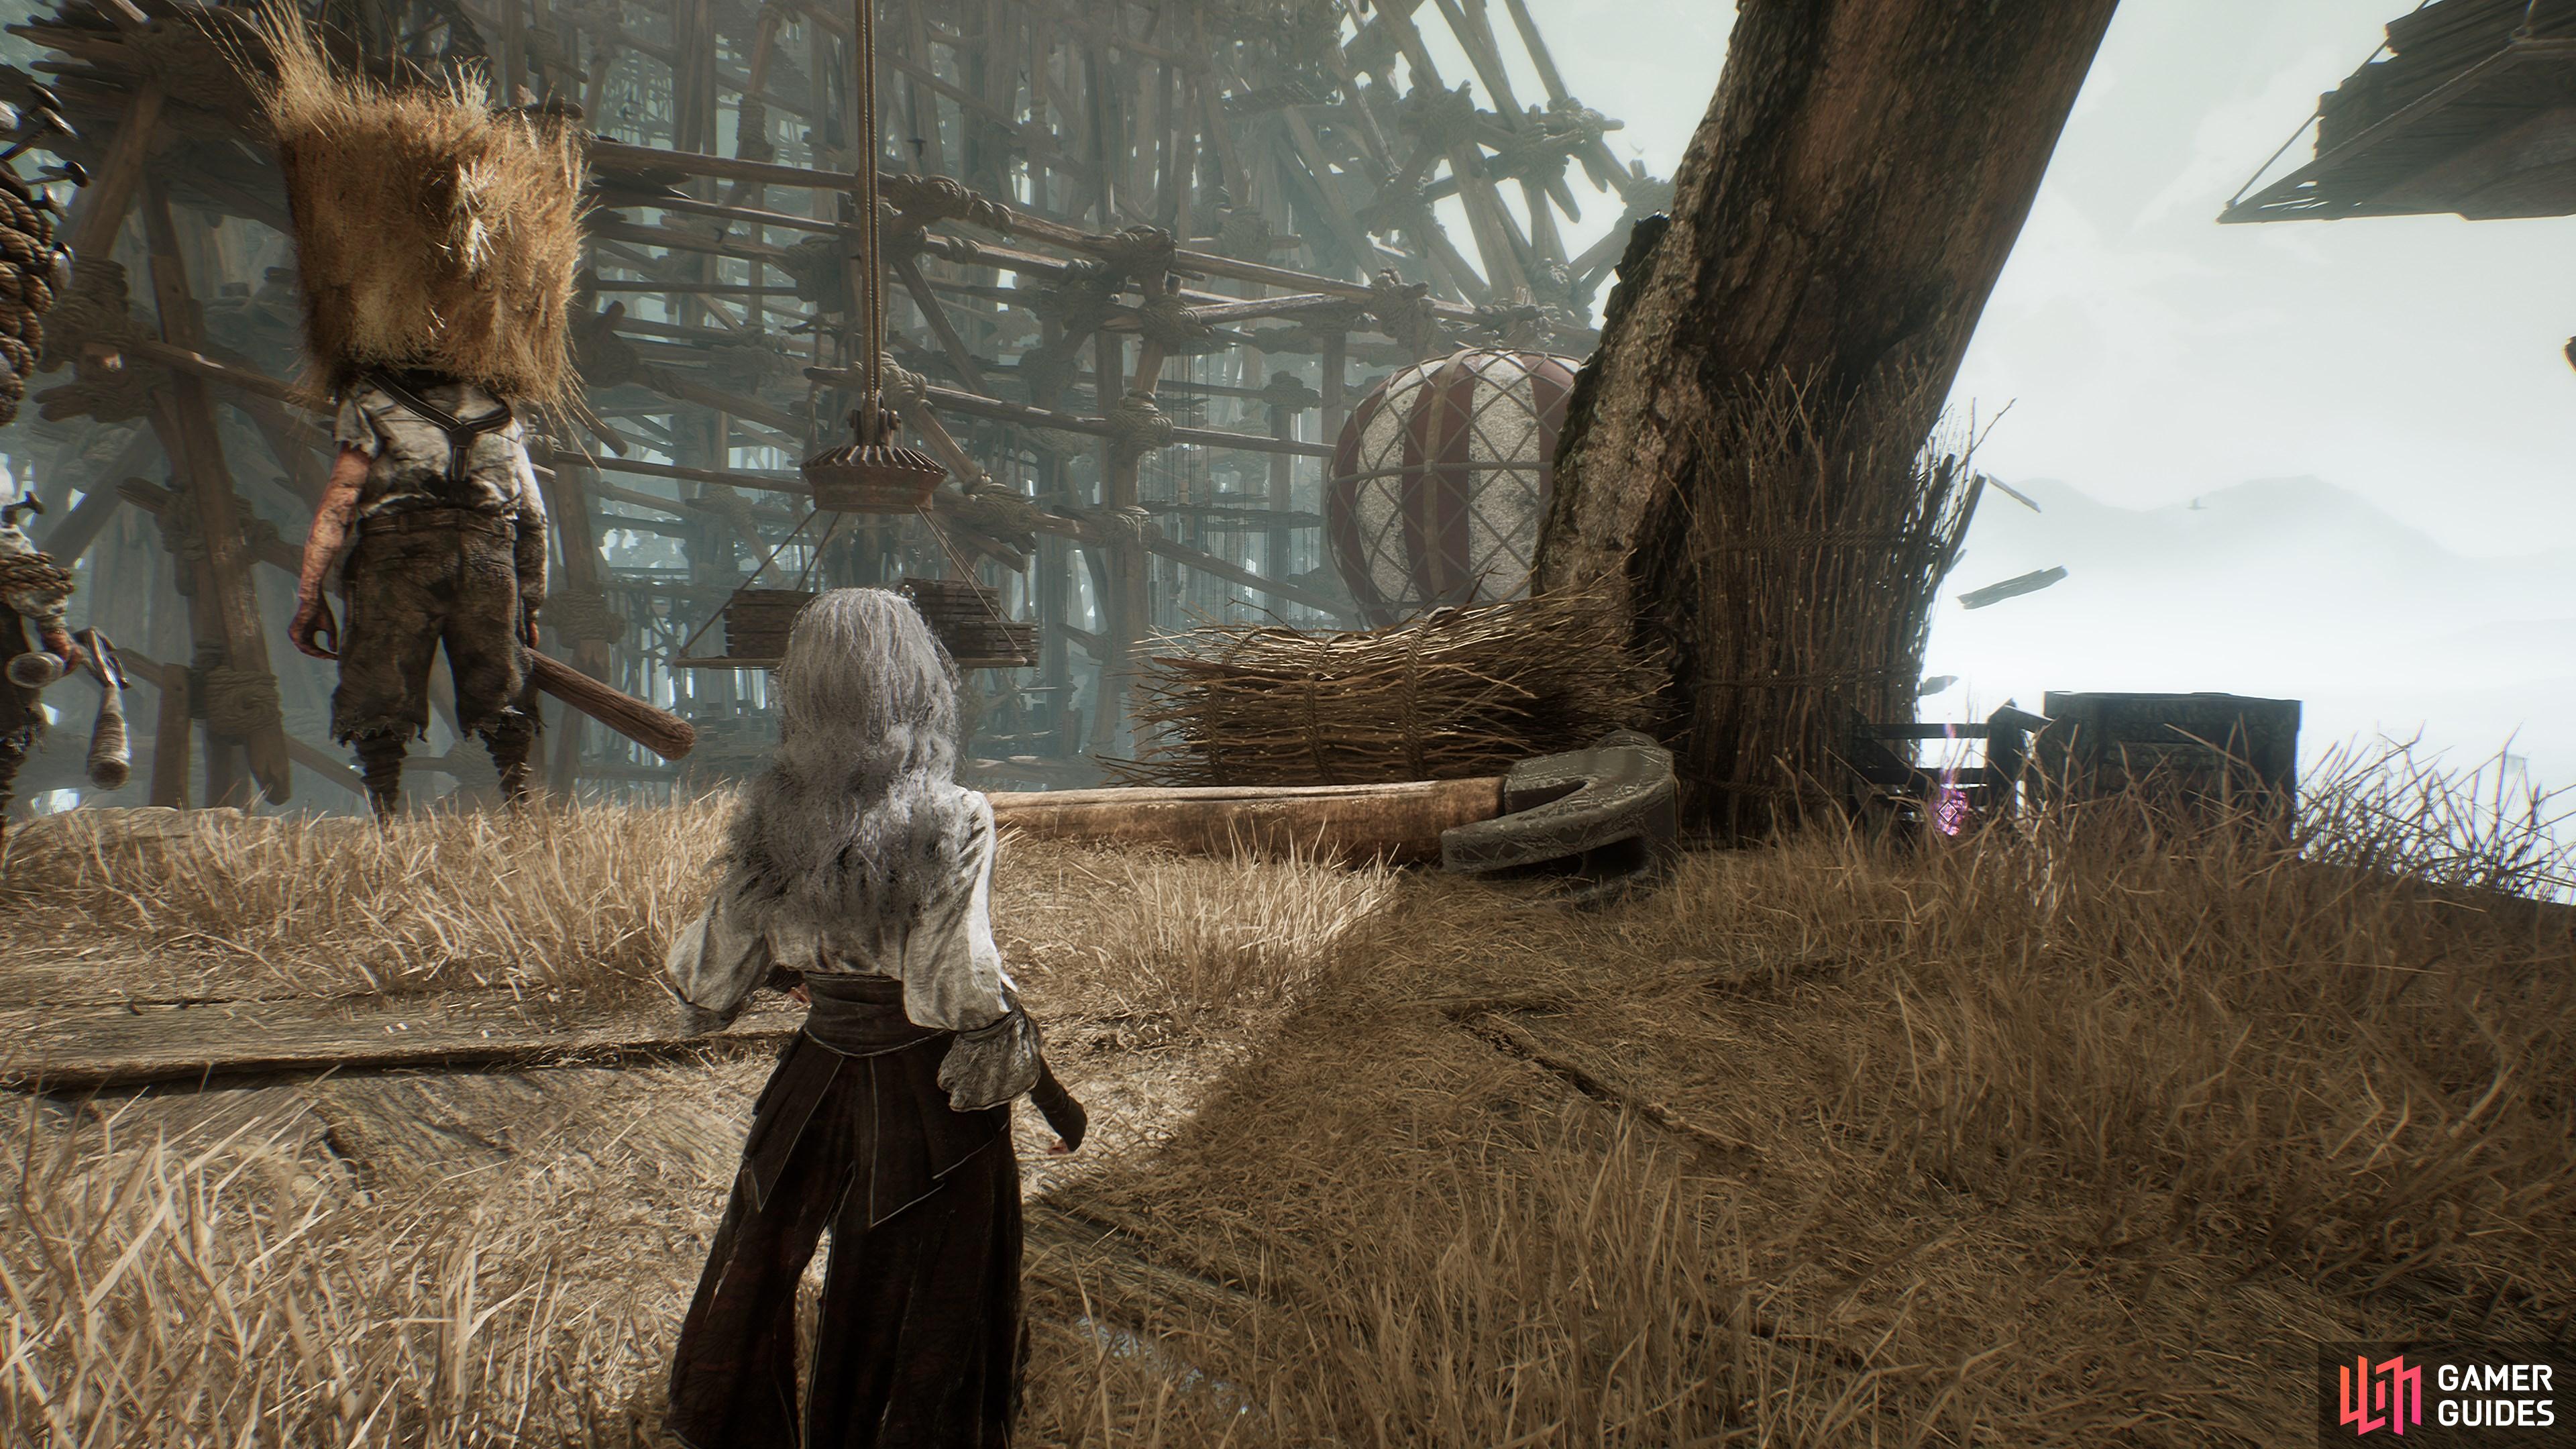
4. The Continent
To the left of the red “33” message past The Indigo Tree, there is a rope you can climb down. Follow the path at the bottom to find this.

9. The Continent
Guarded by a Luster on the left side of the area past the Coral Cave flag.
10. The Continent
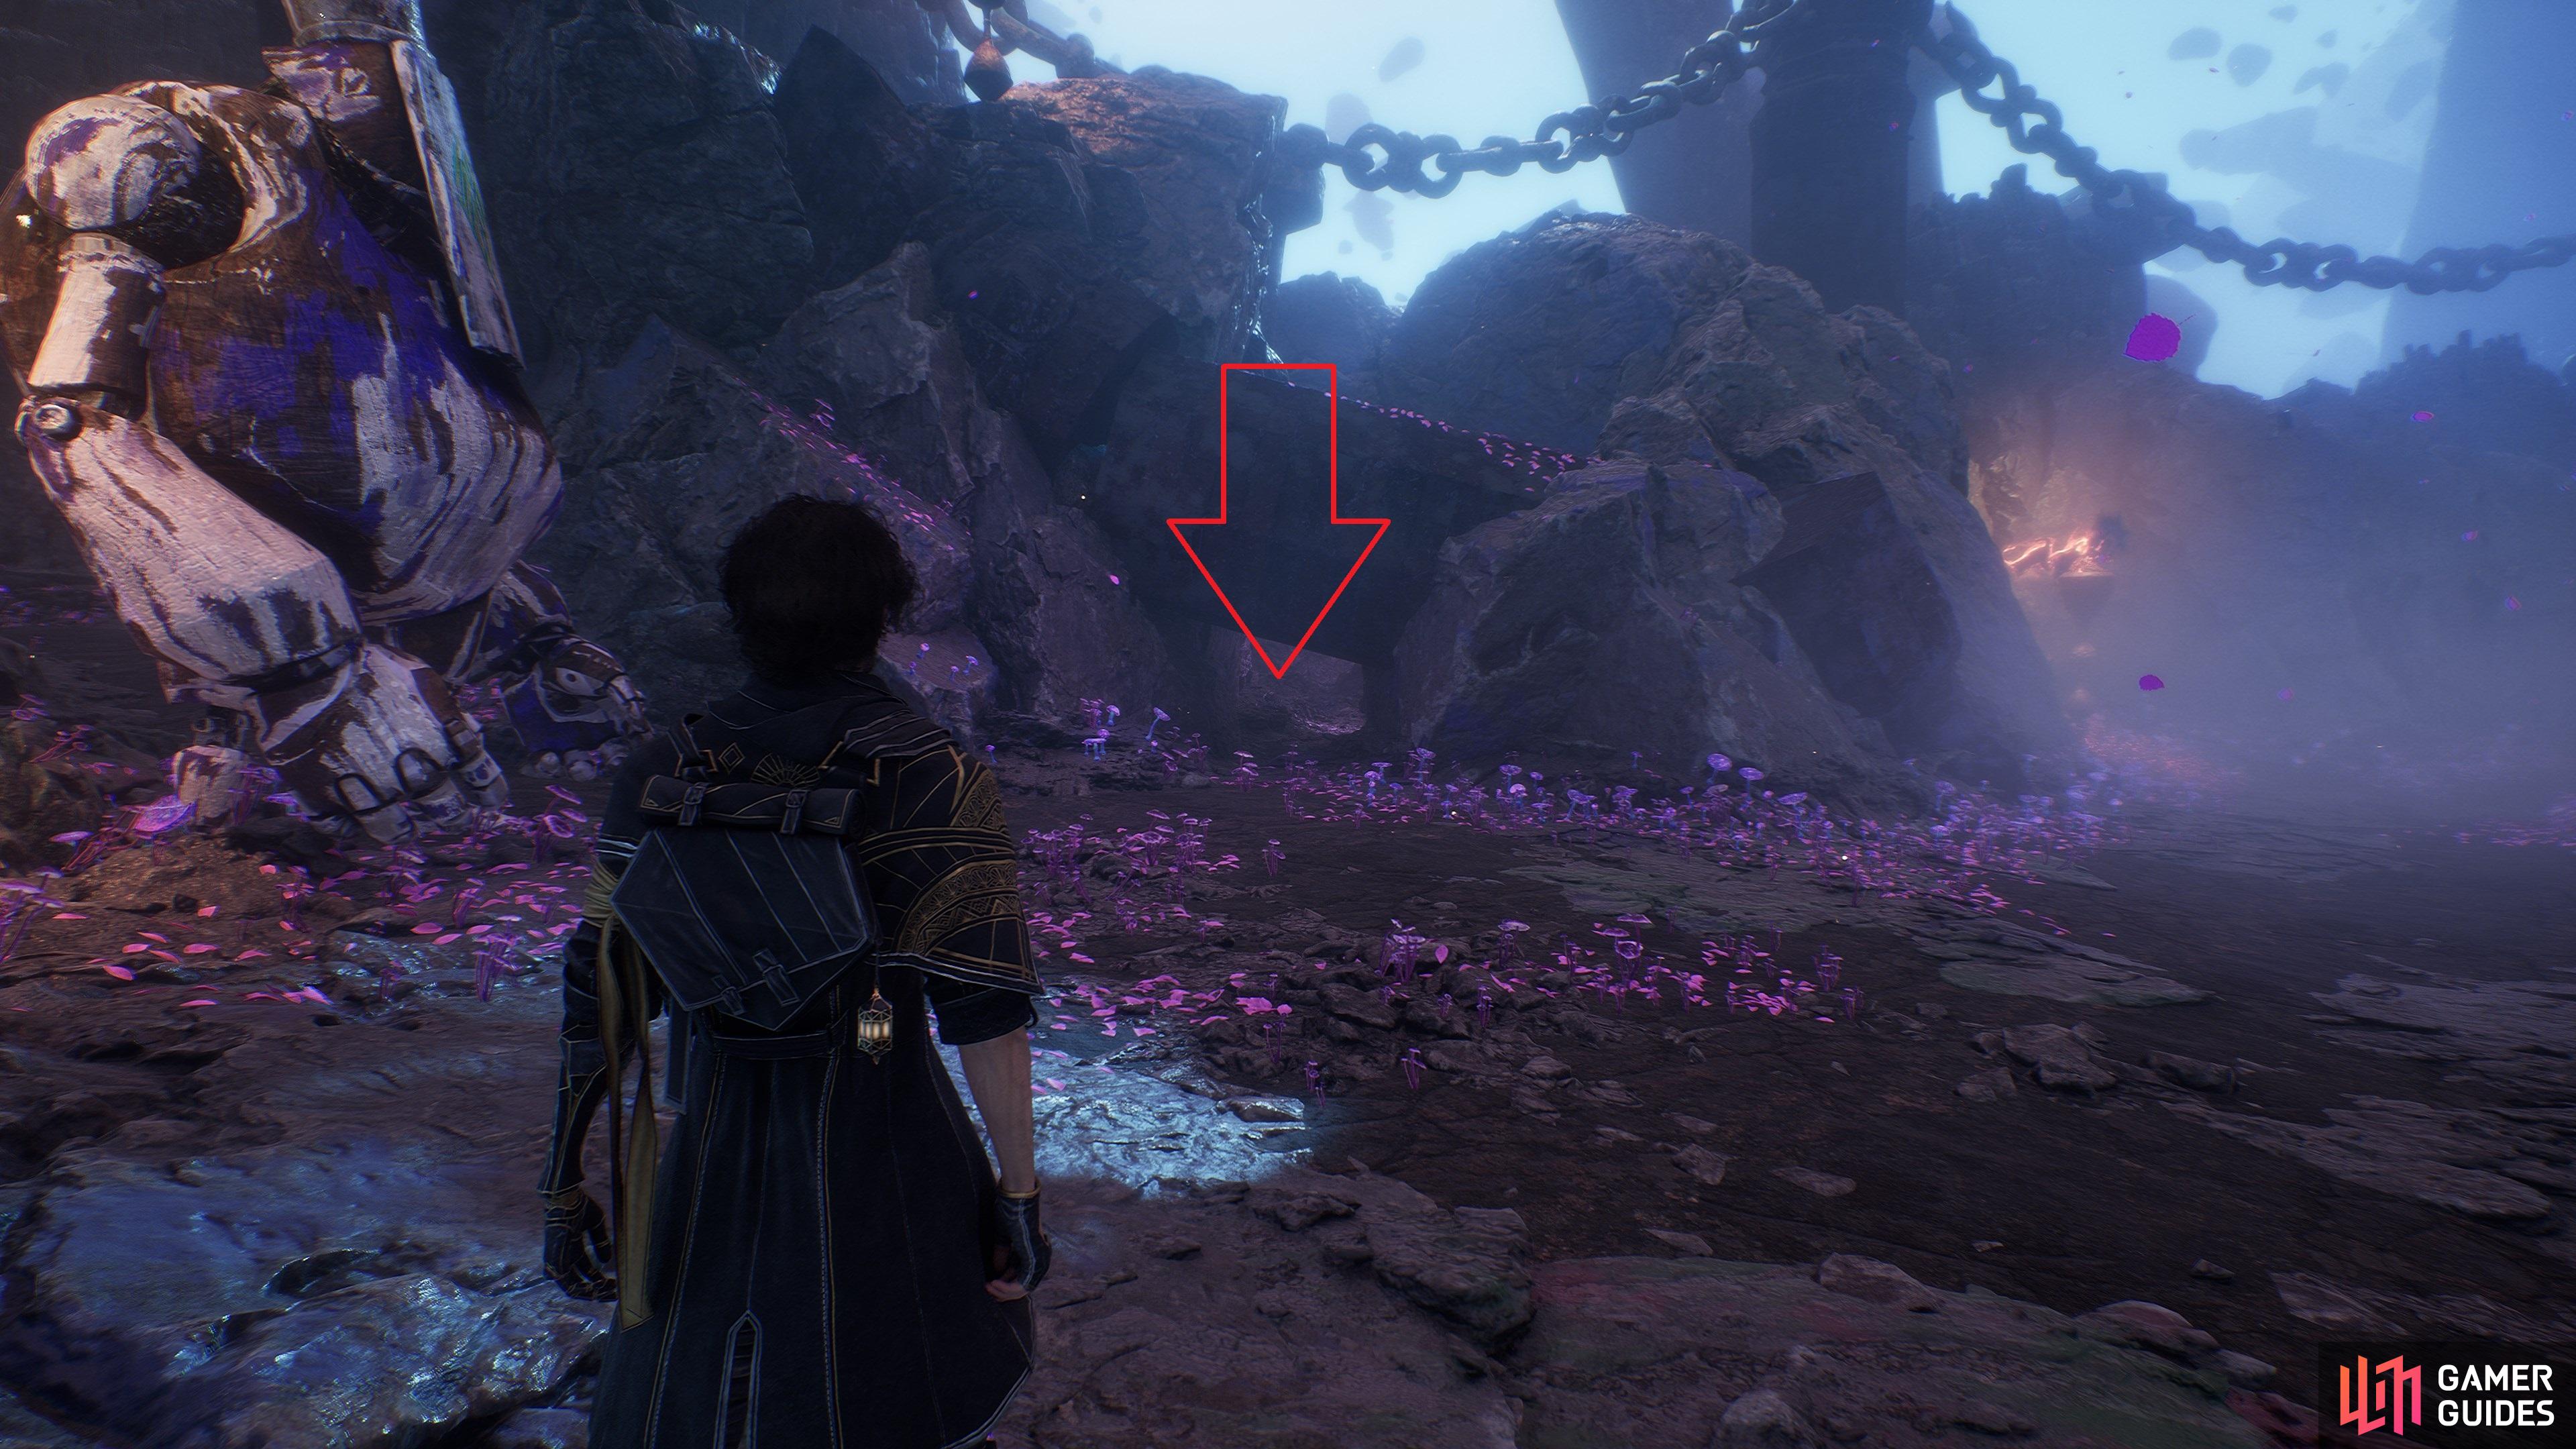
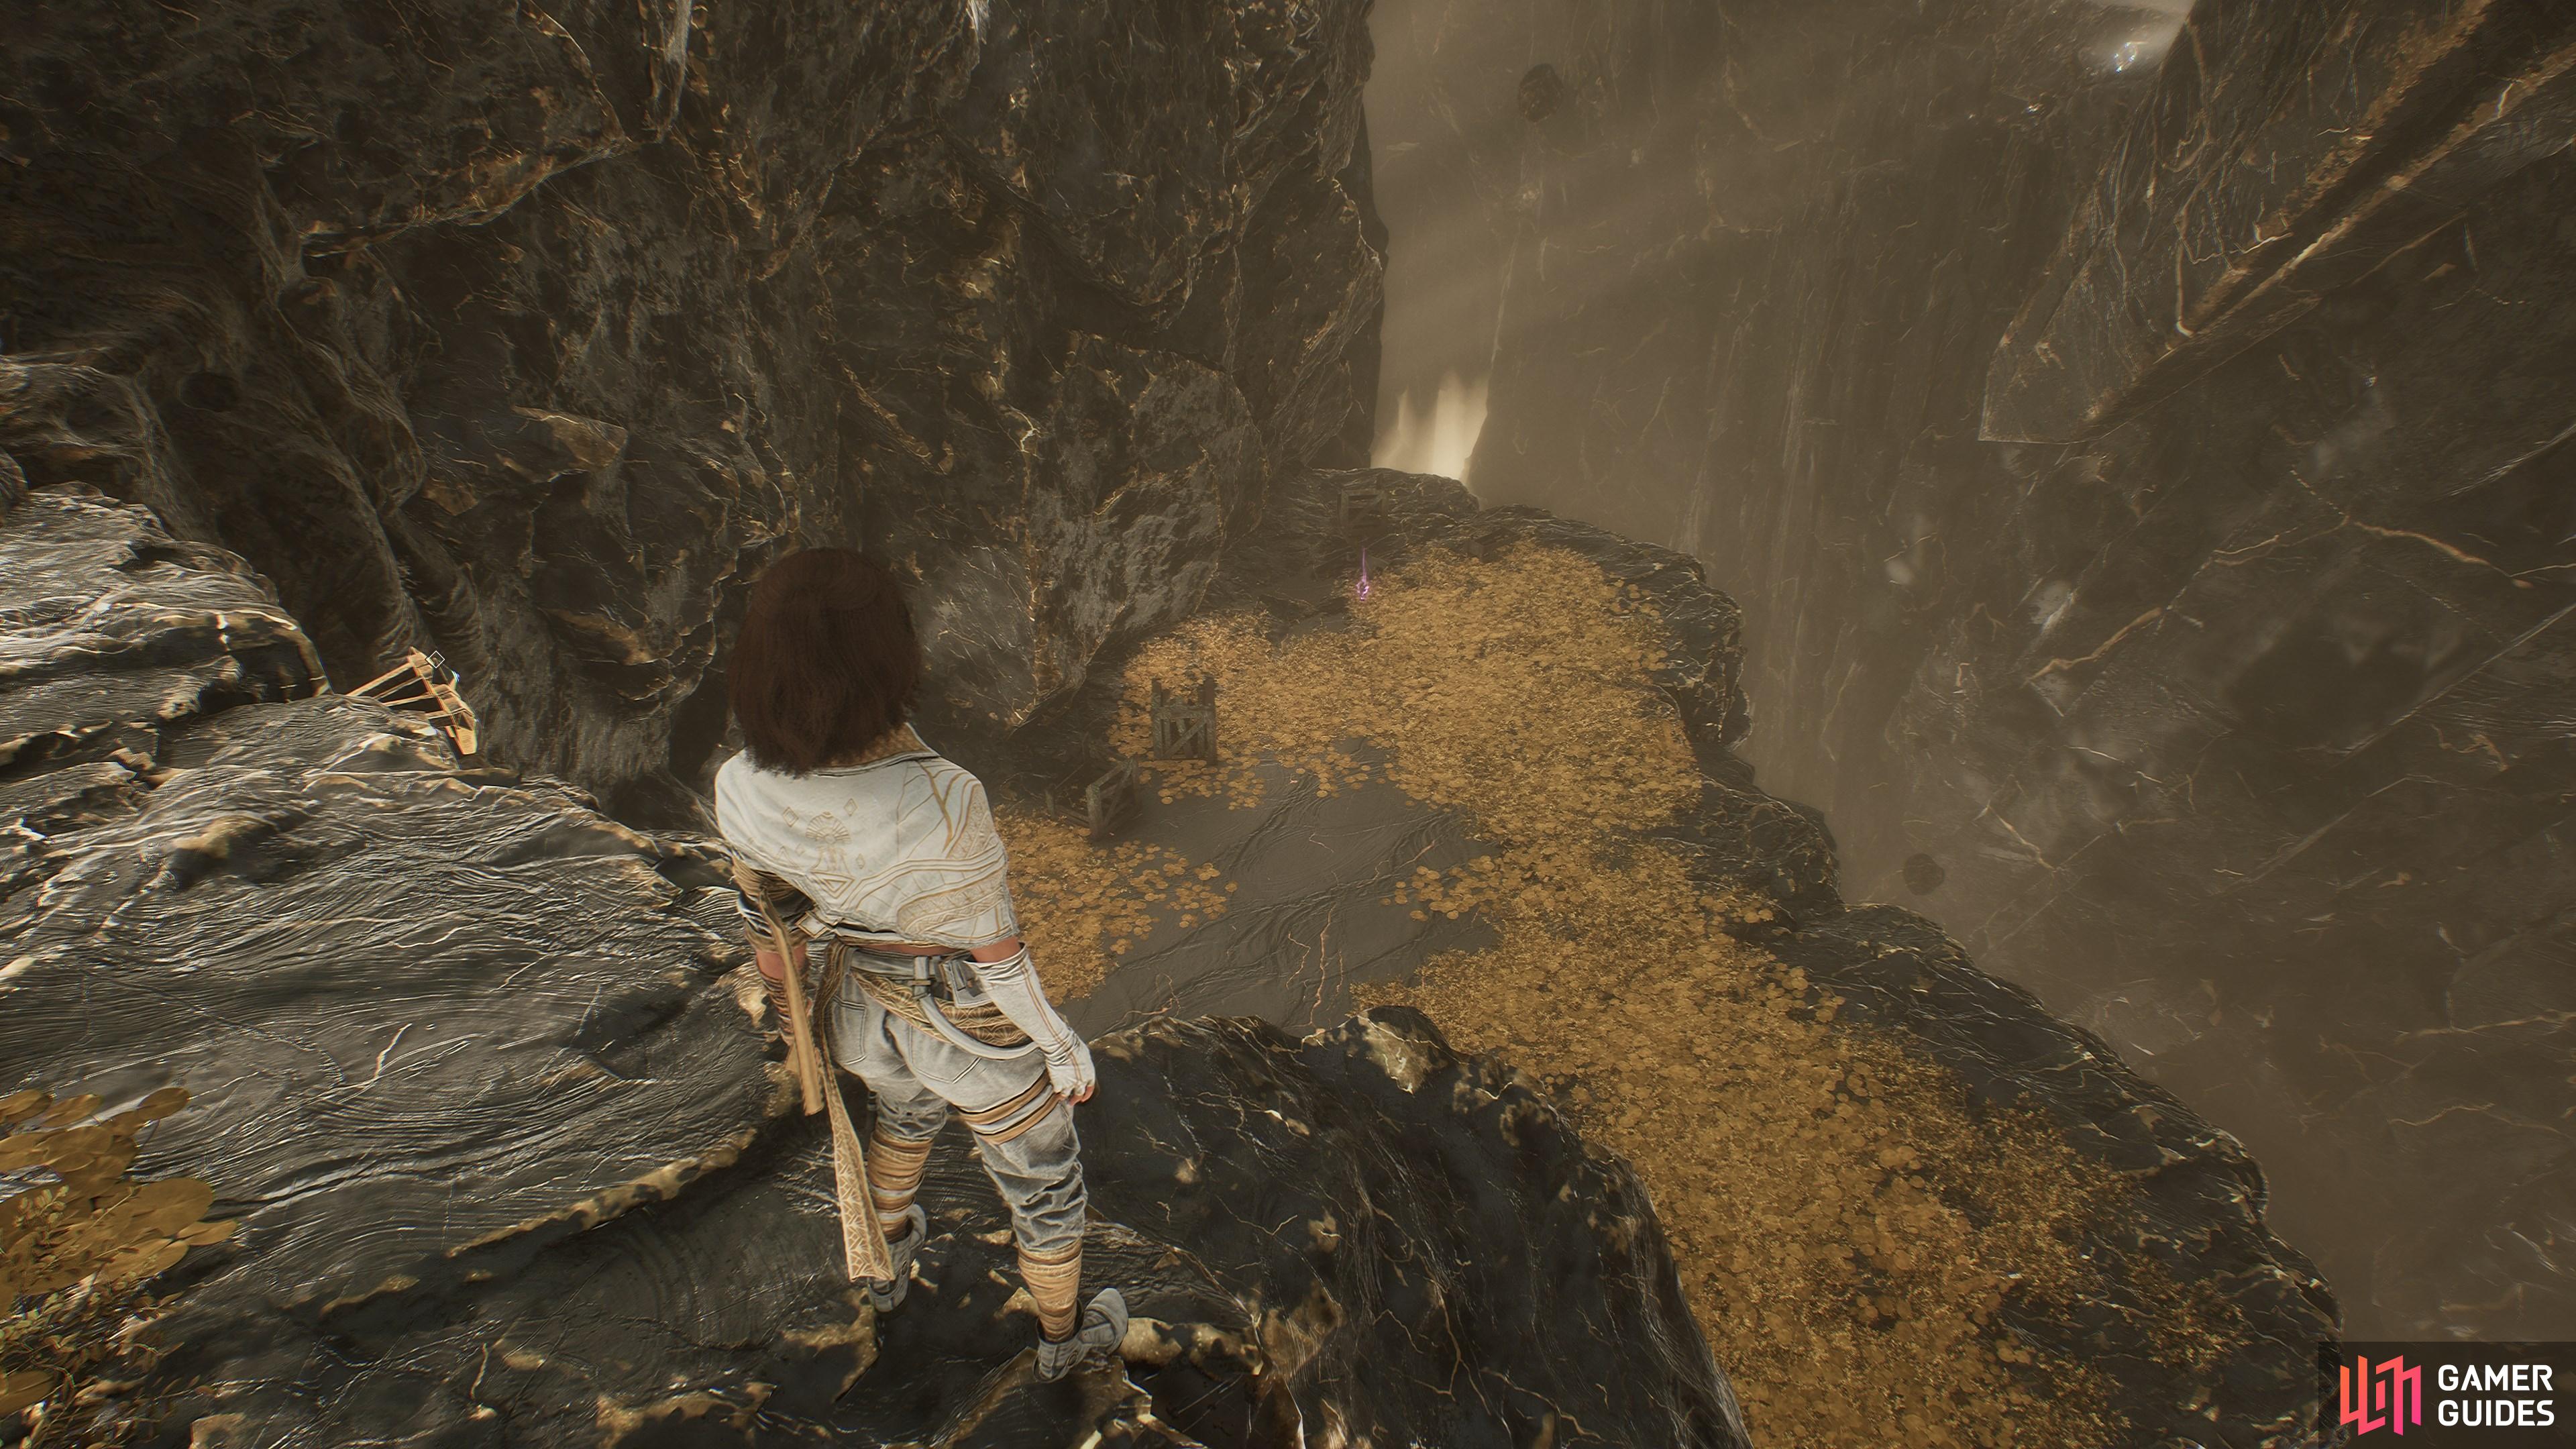
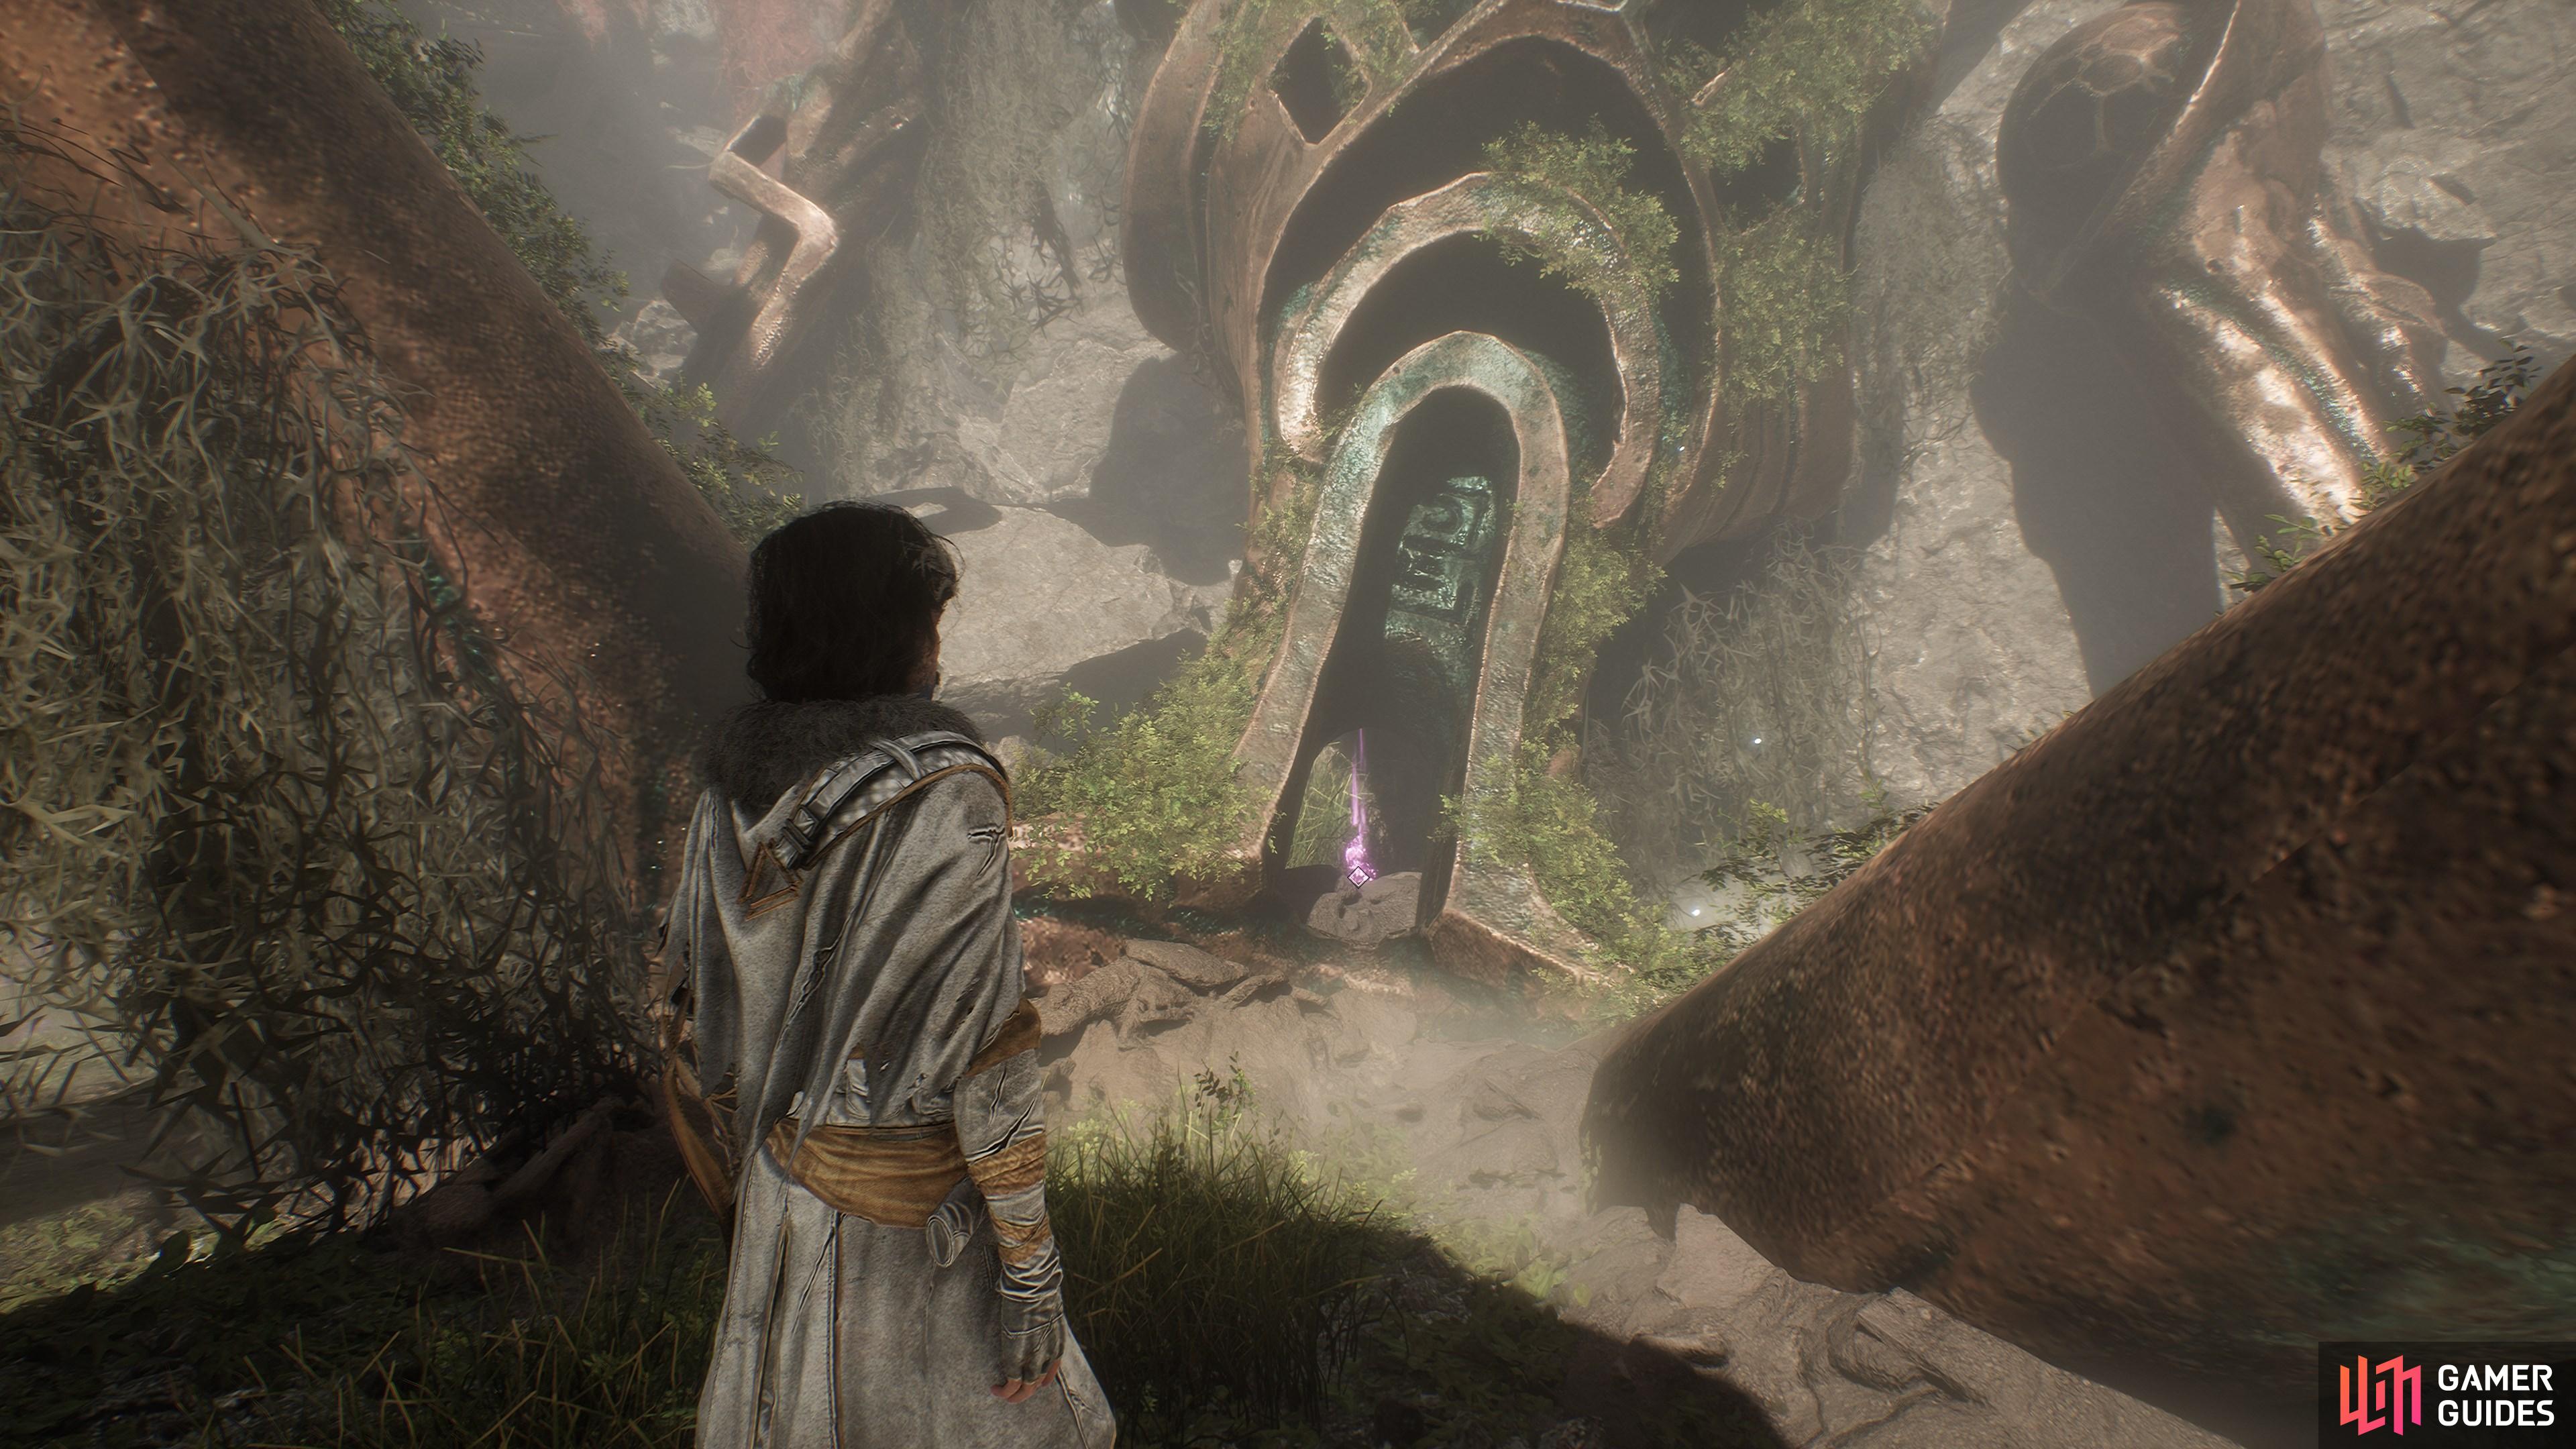
Hug the right wall past the ![]() Coral Cave flag until you find an ominous red hole in the ground. Climb down the hand holds then use your grapple to reach this area.
Coral Cave flag until you find an ominous red hole in the ground. Climb down the hand holds then use your grapple to reach this area.
Platform up the pillars on the far side to find this.
12. The Continent
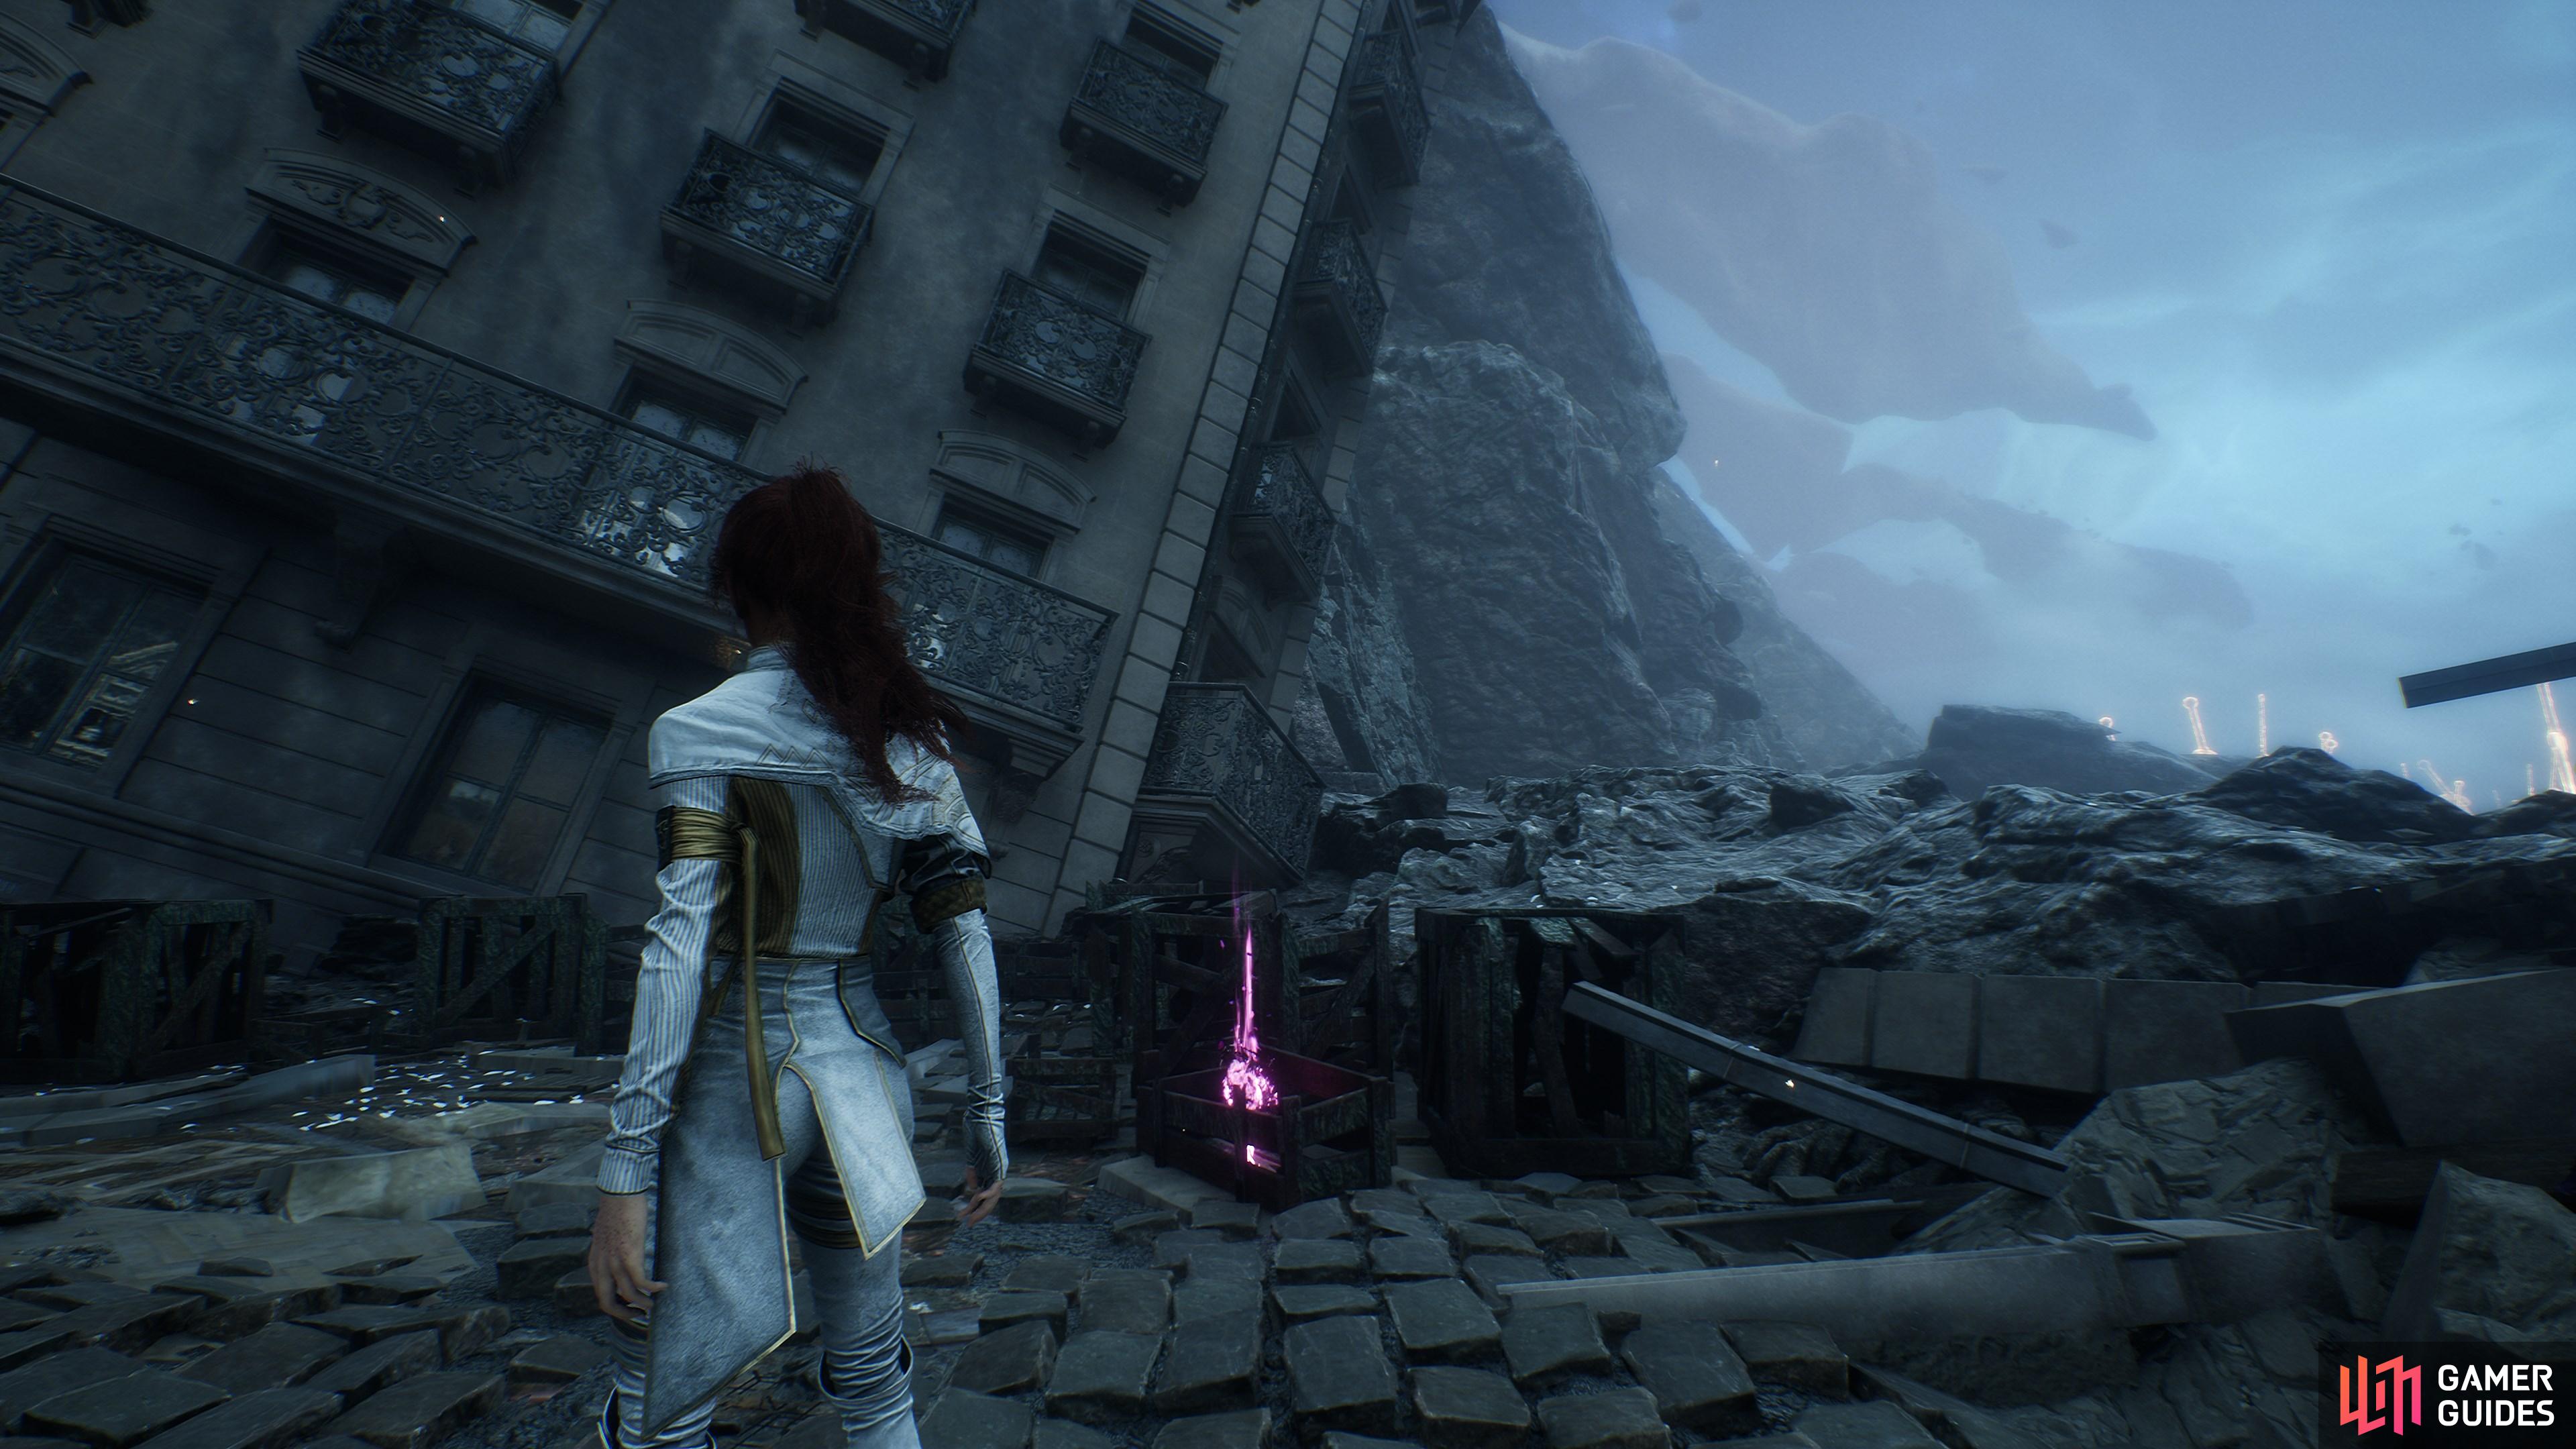
On a rocky outcrop behind the big building in the center of the Lumieran Streets area.
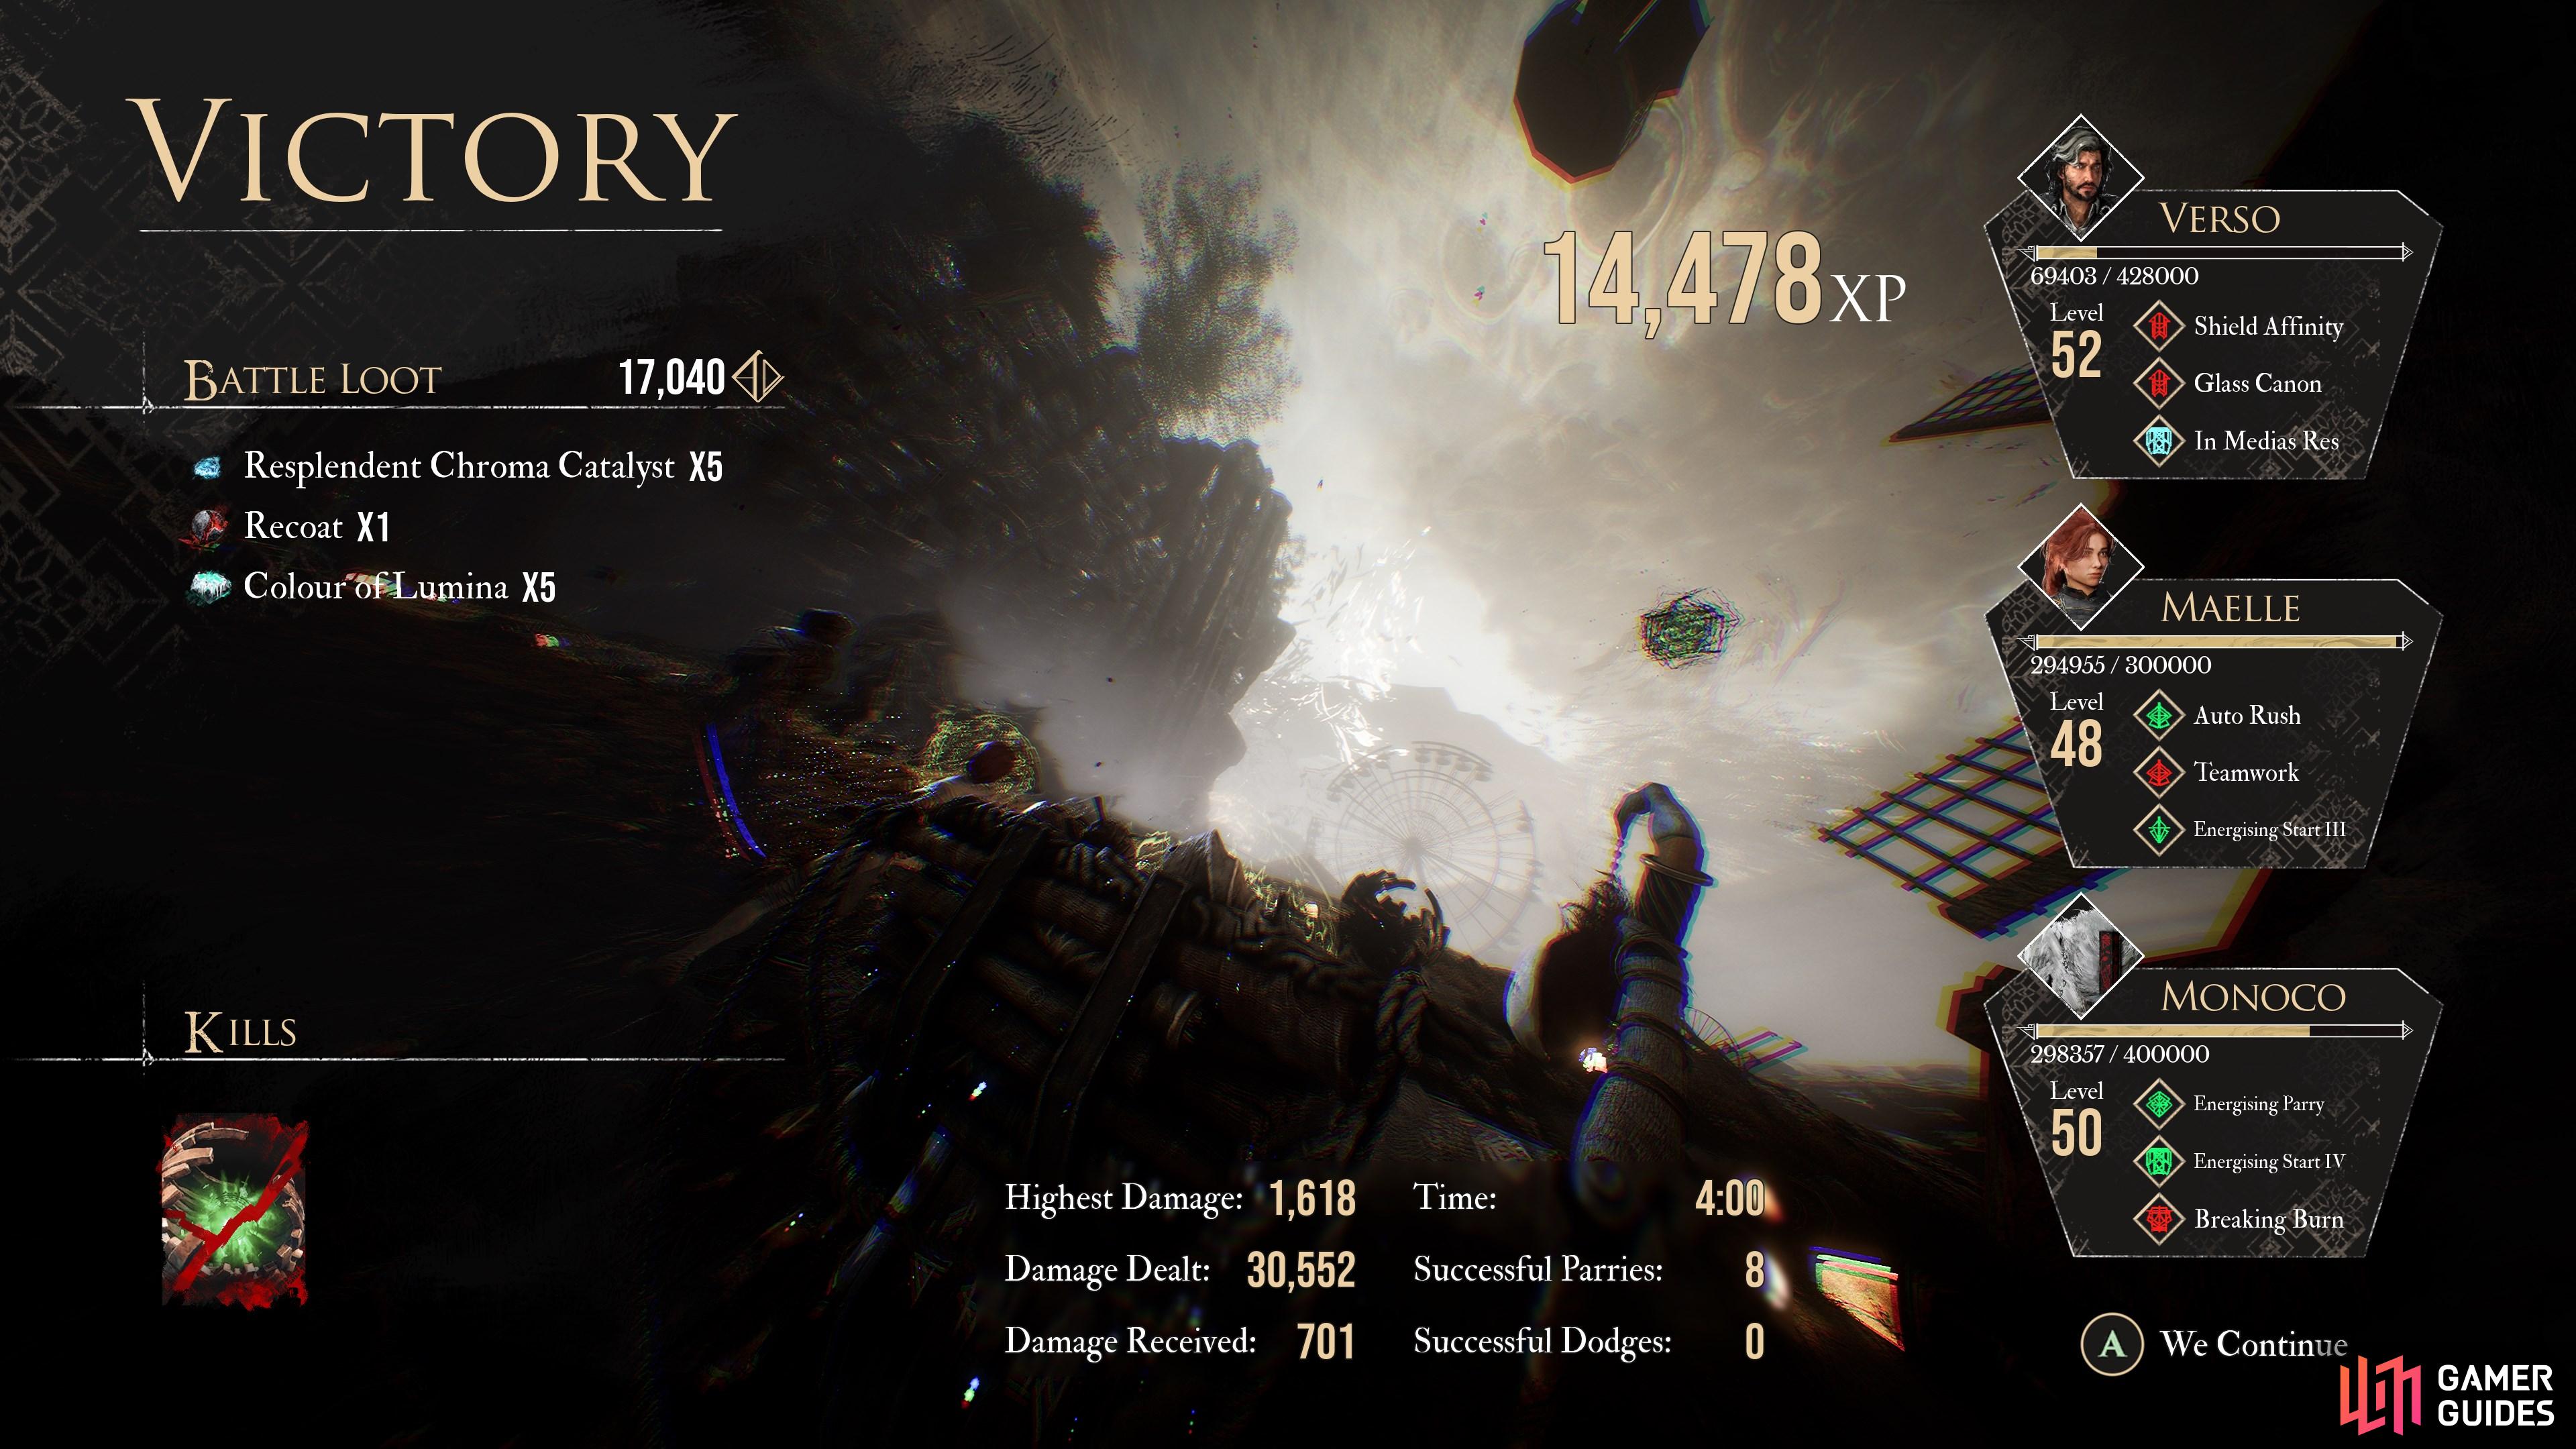
13. The Continent
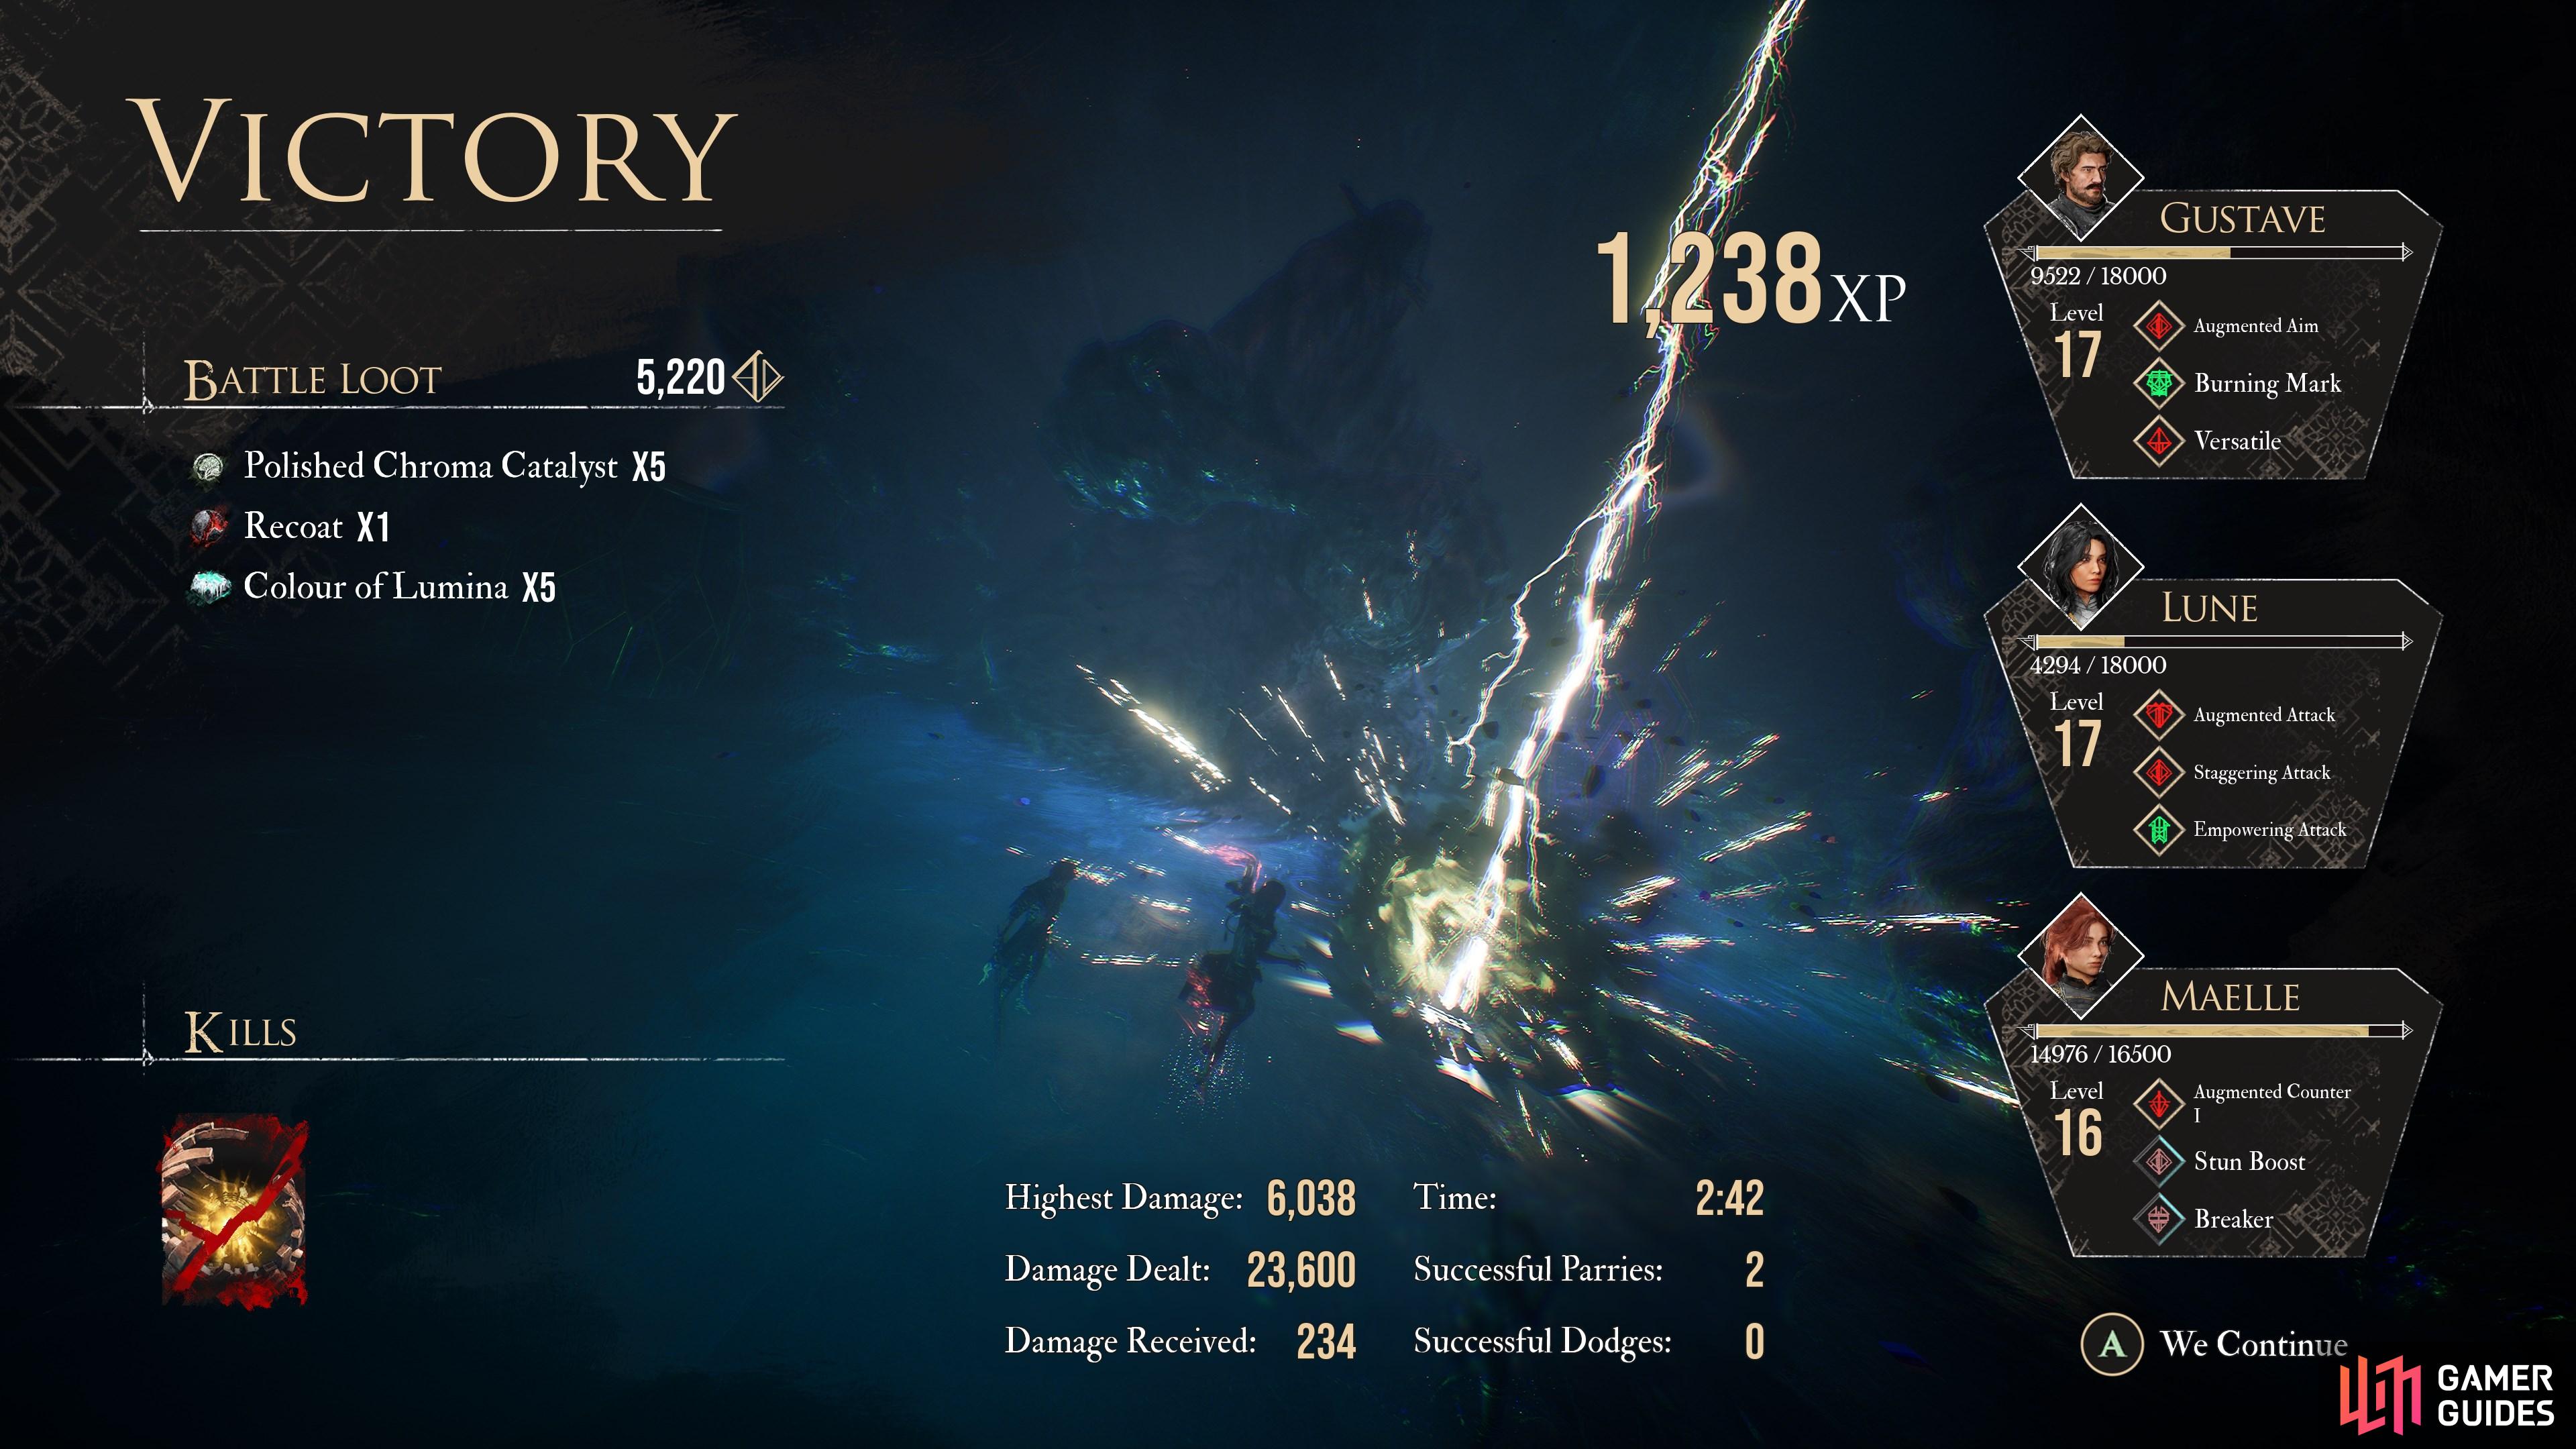
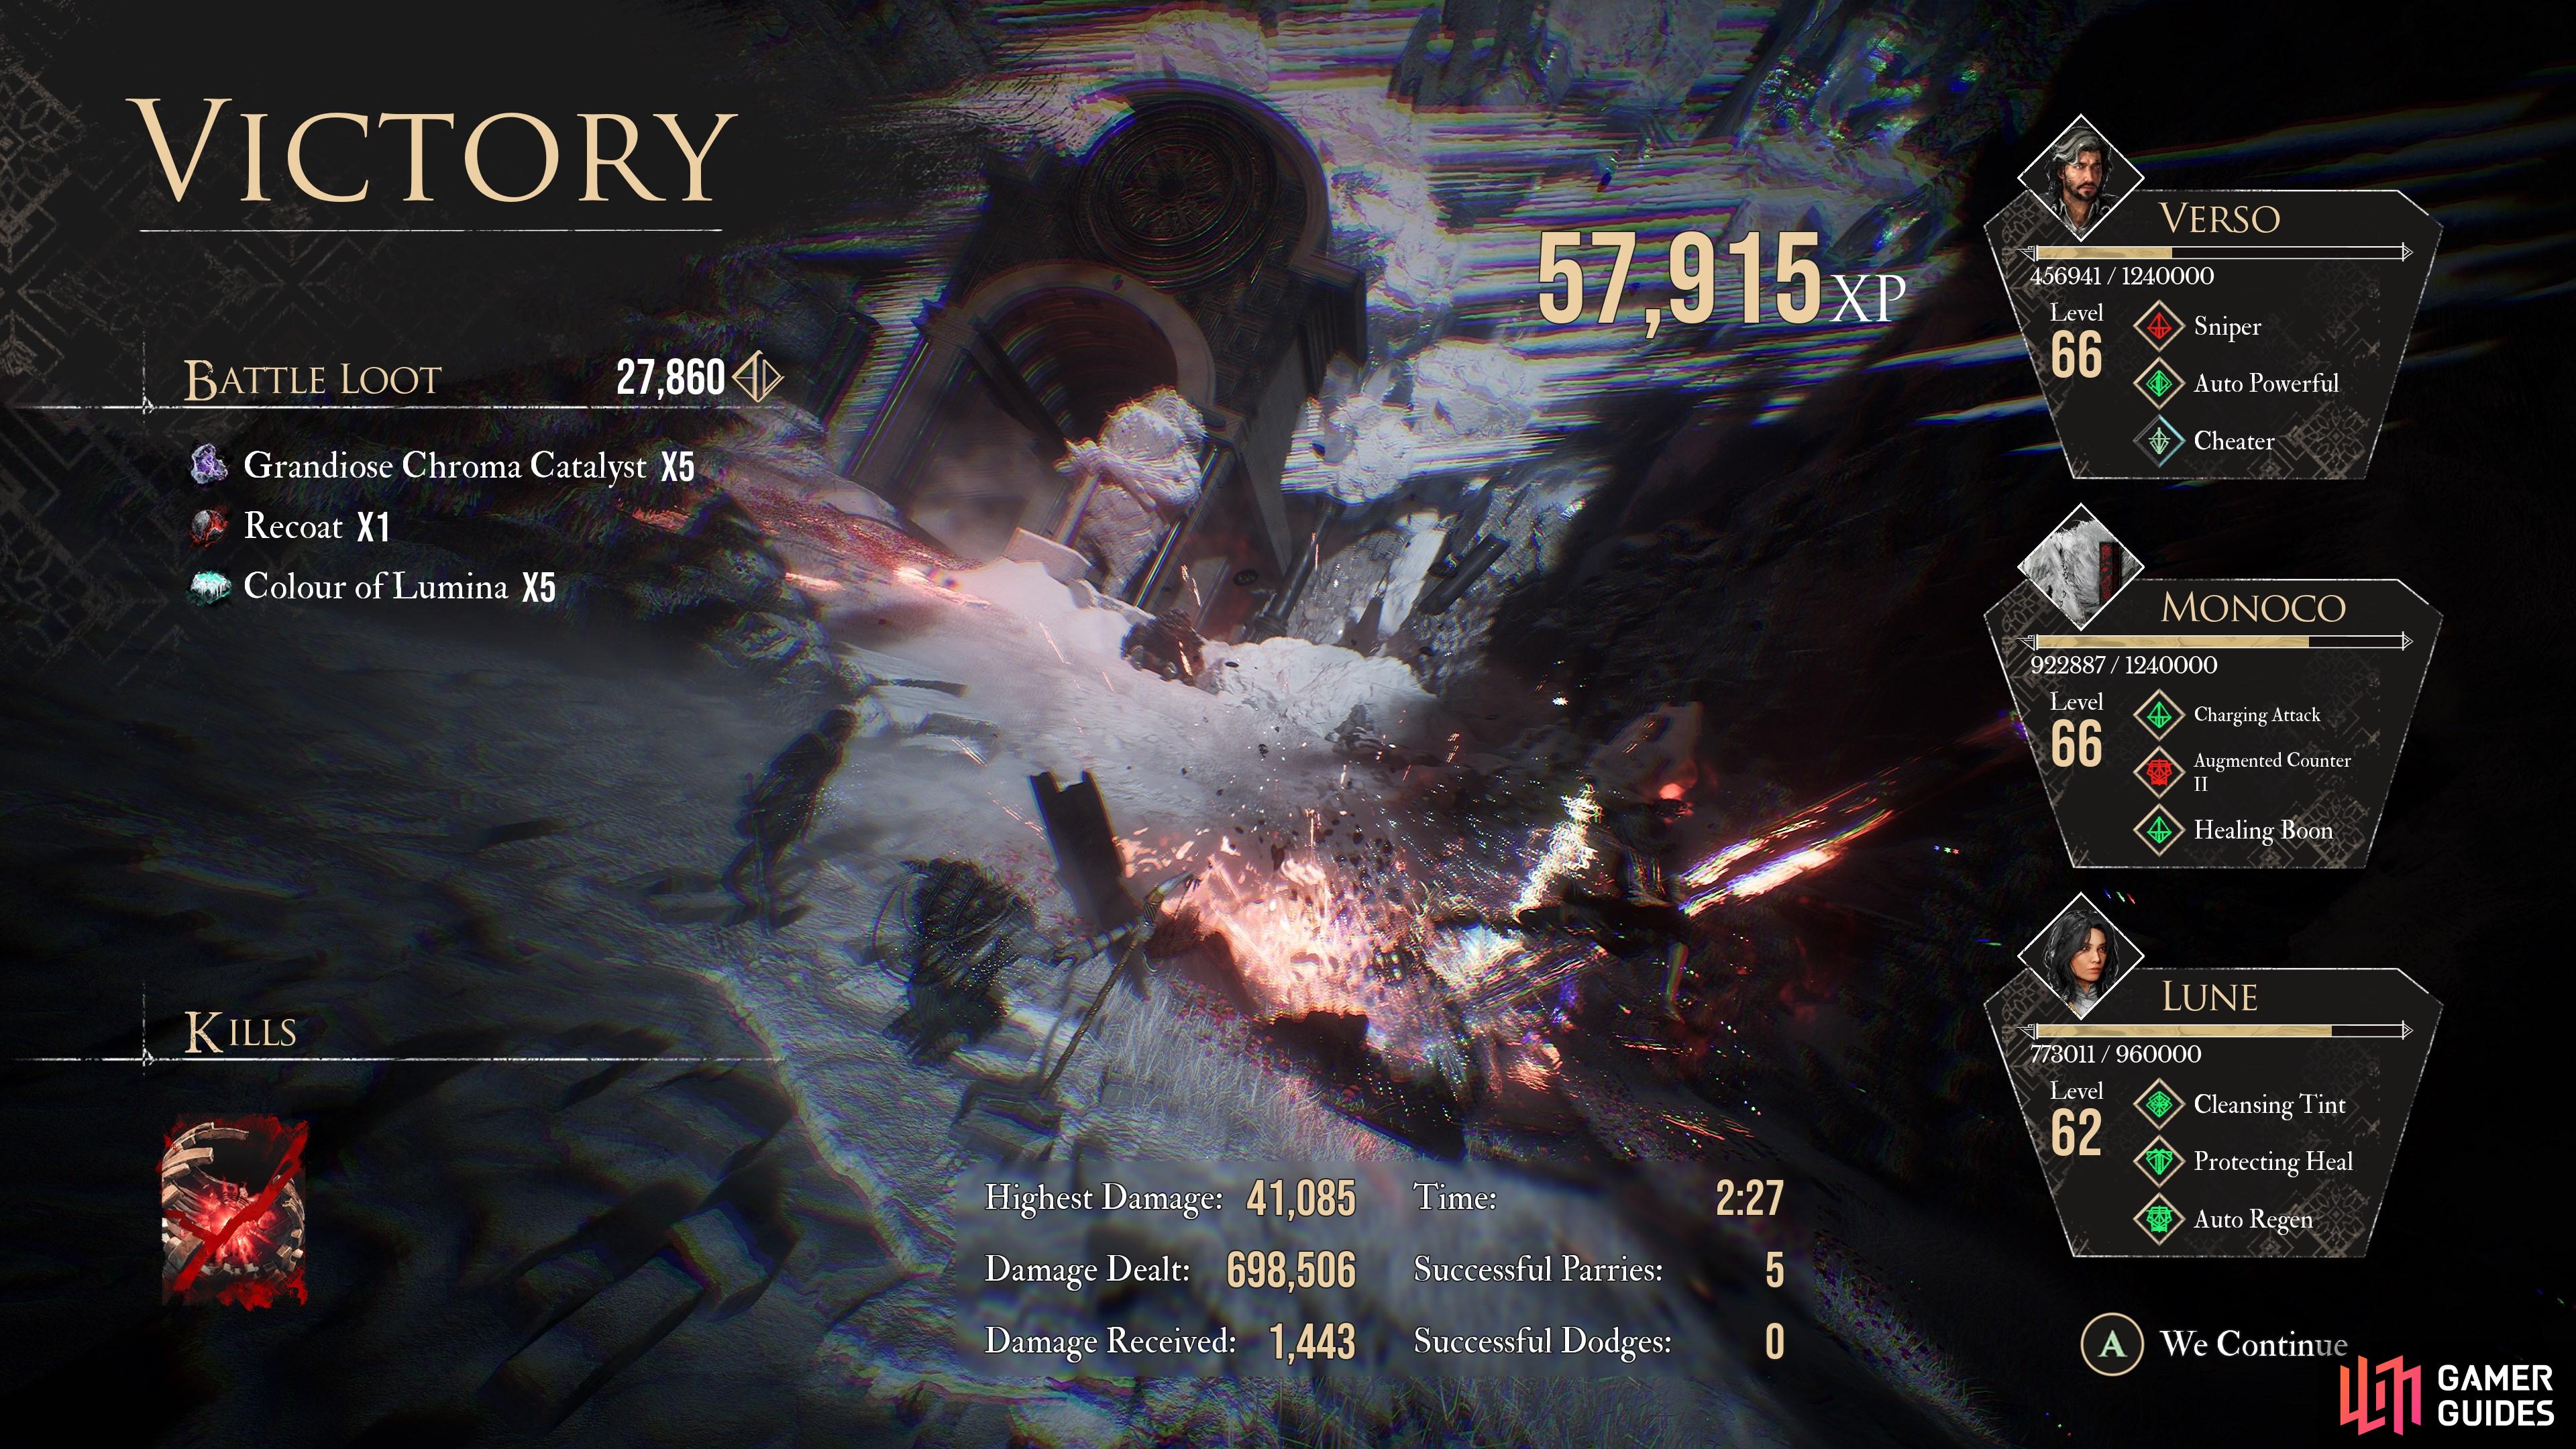
5x ![]() Colour of Lumina are dropped by Chromatic Lancelier when defeated.
Colour of Lumina are dropped by Chromatic Lancelier when defeated.
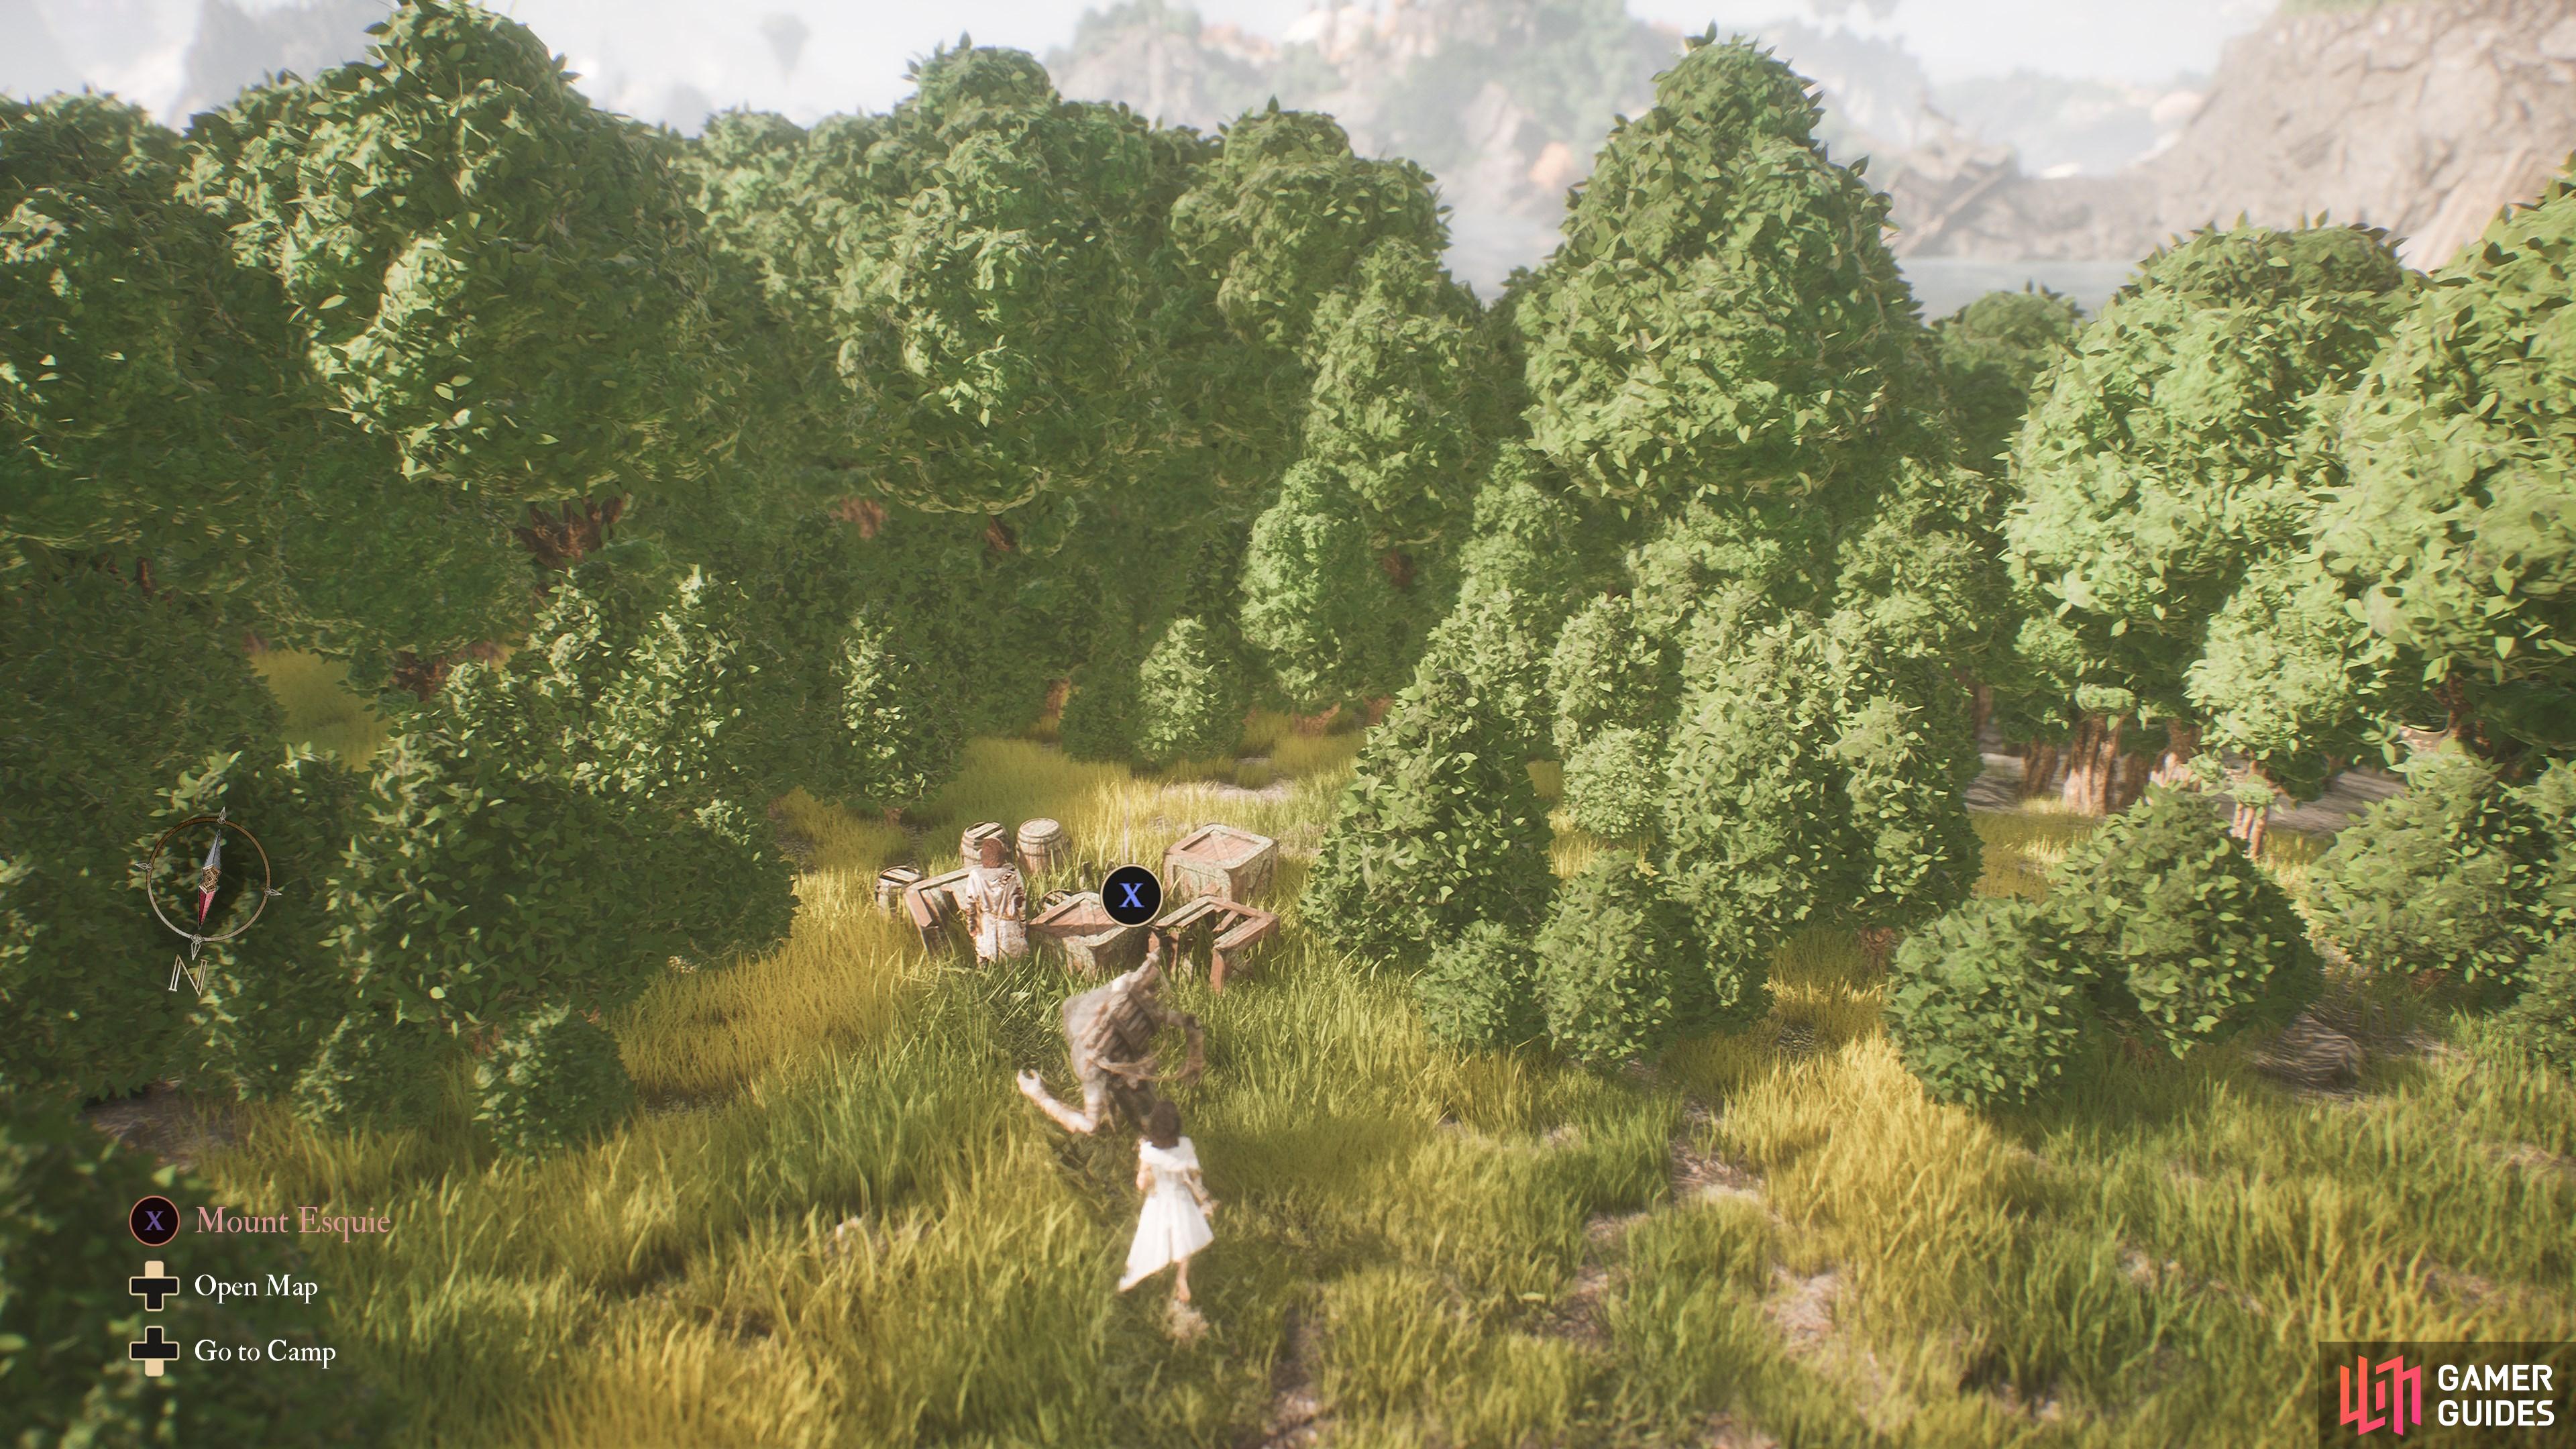
16. The Continent
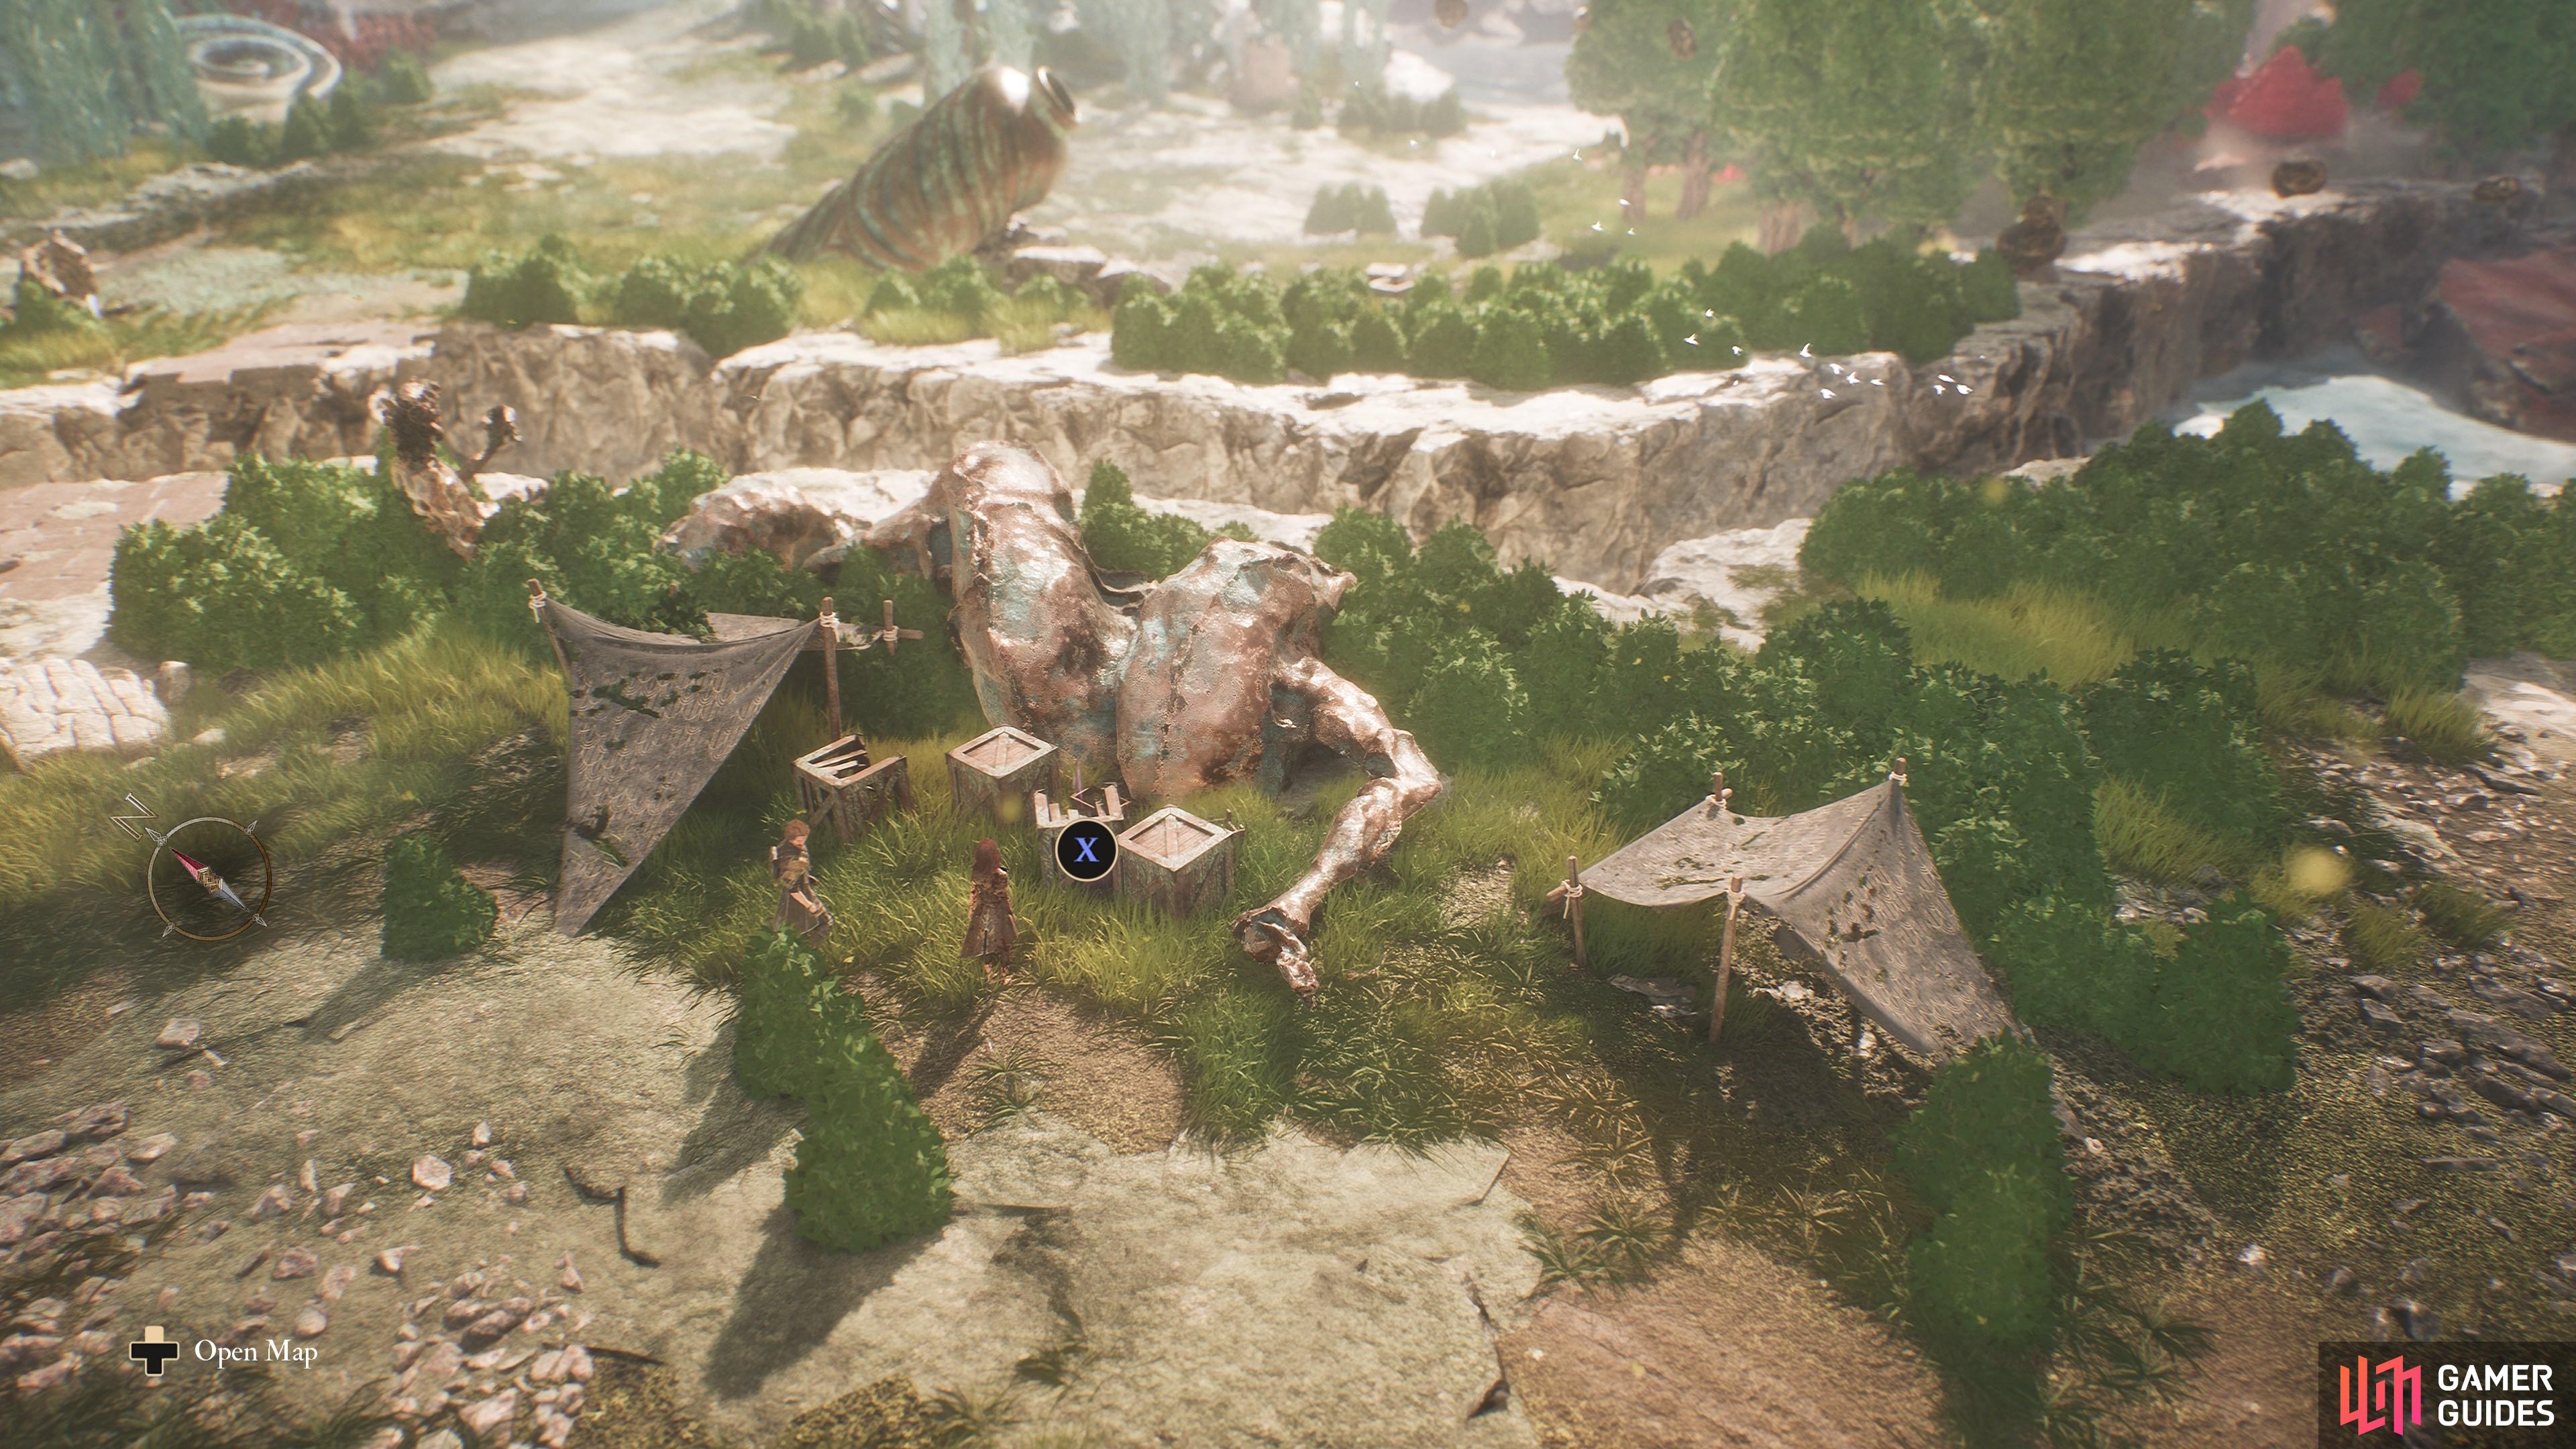
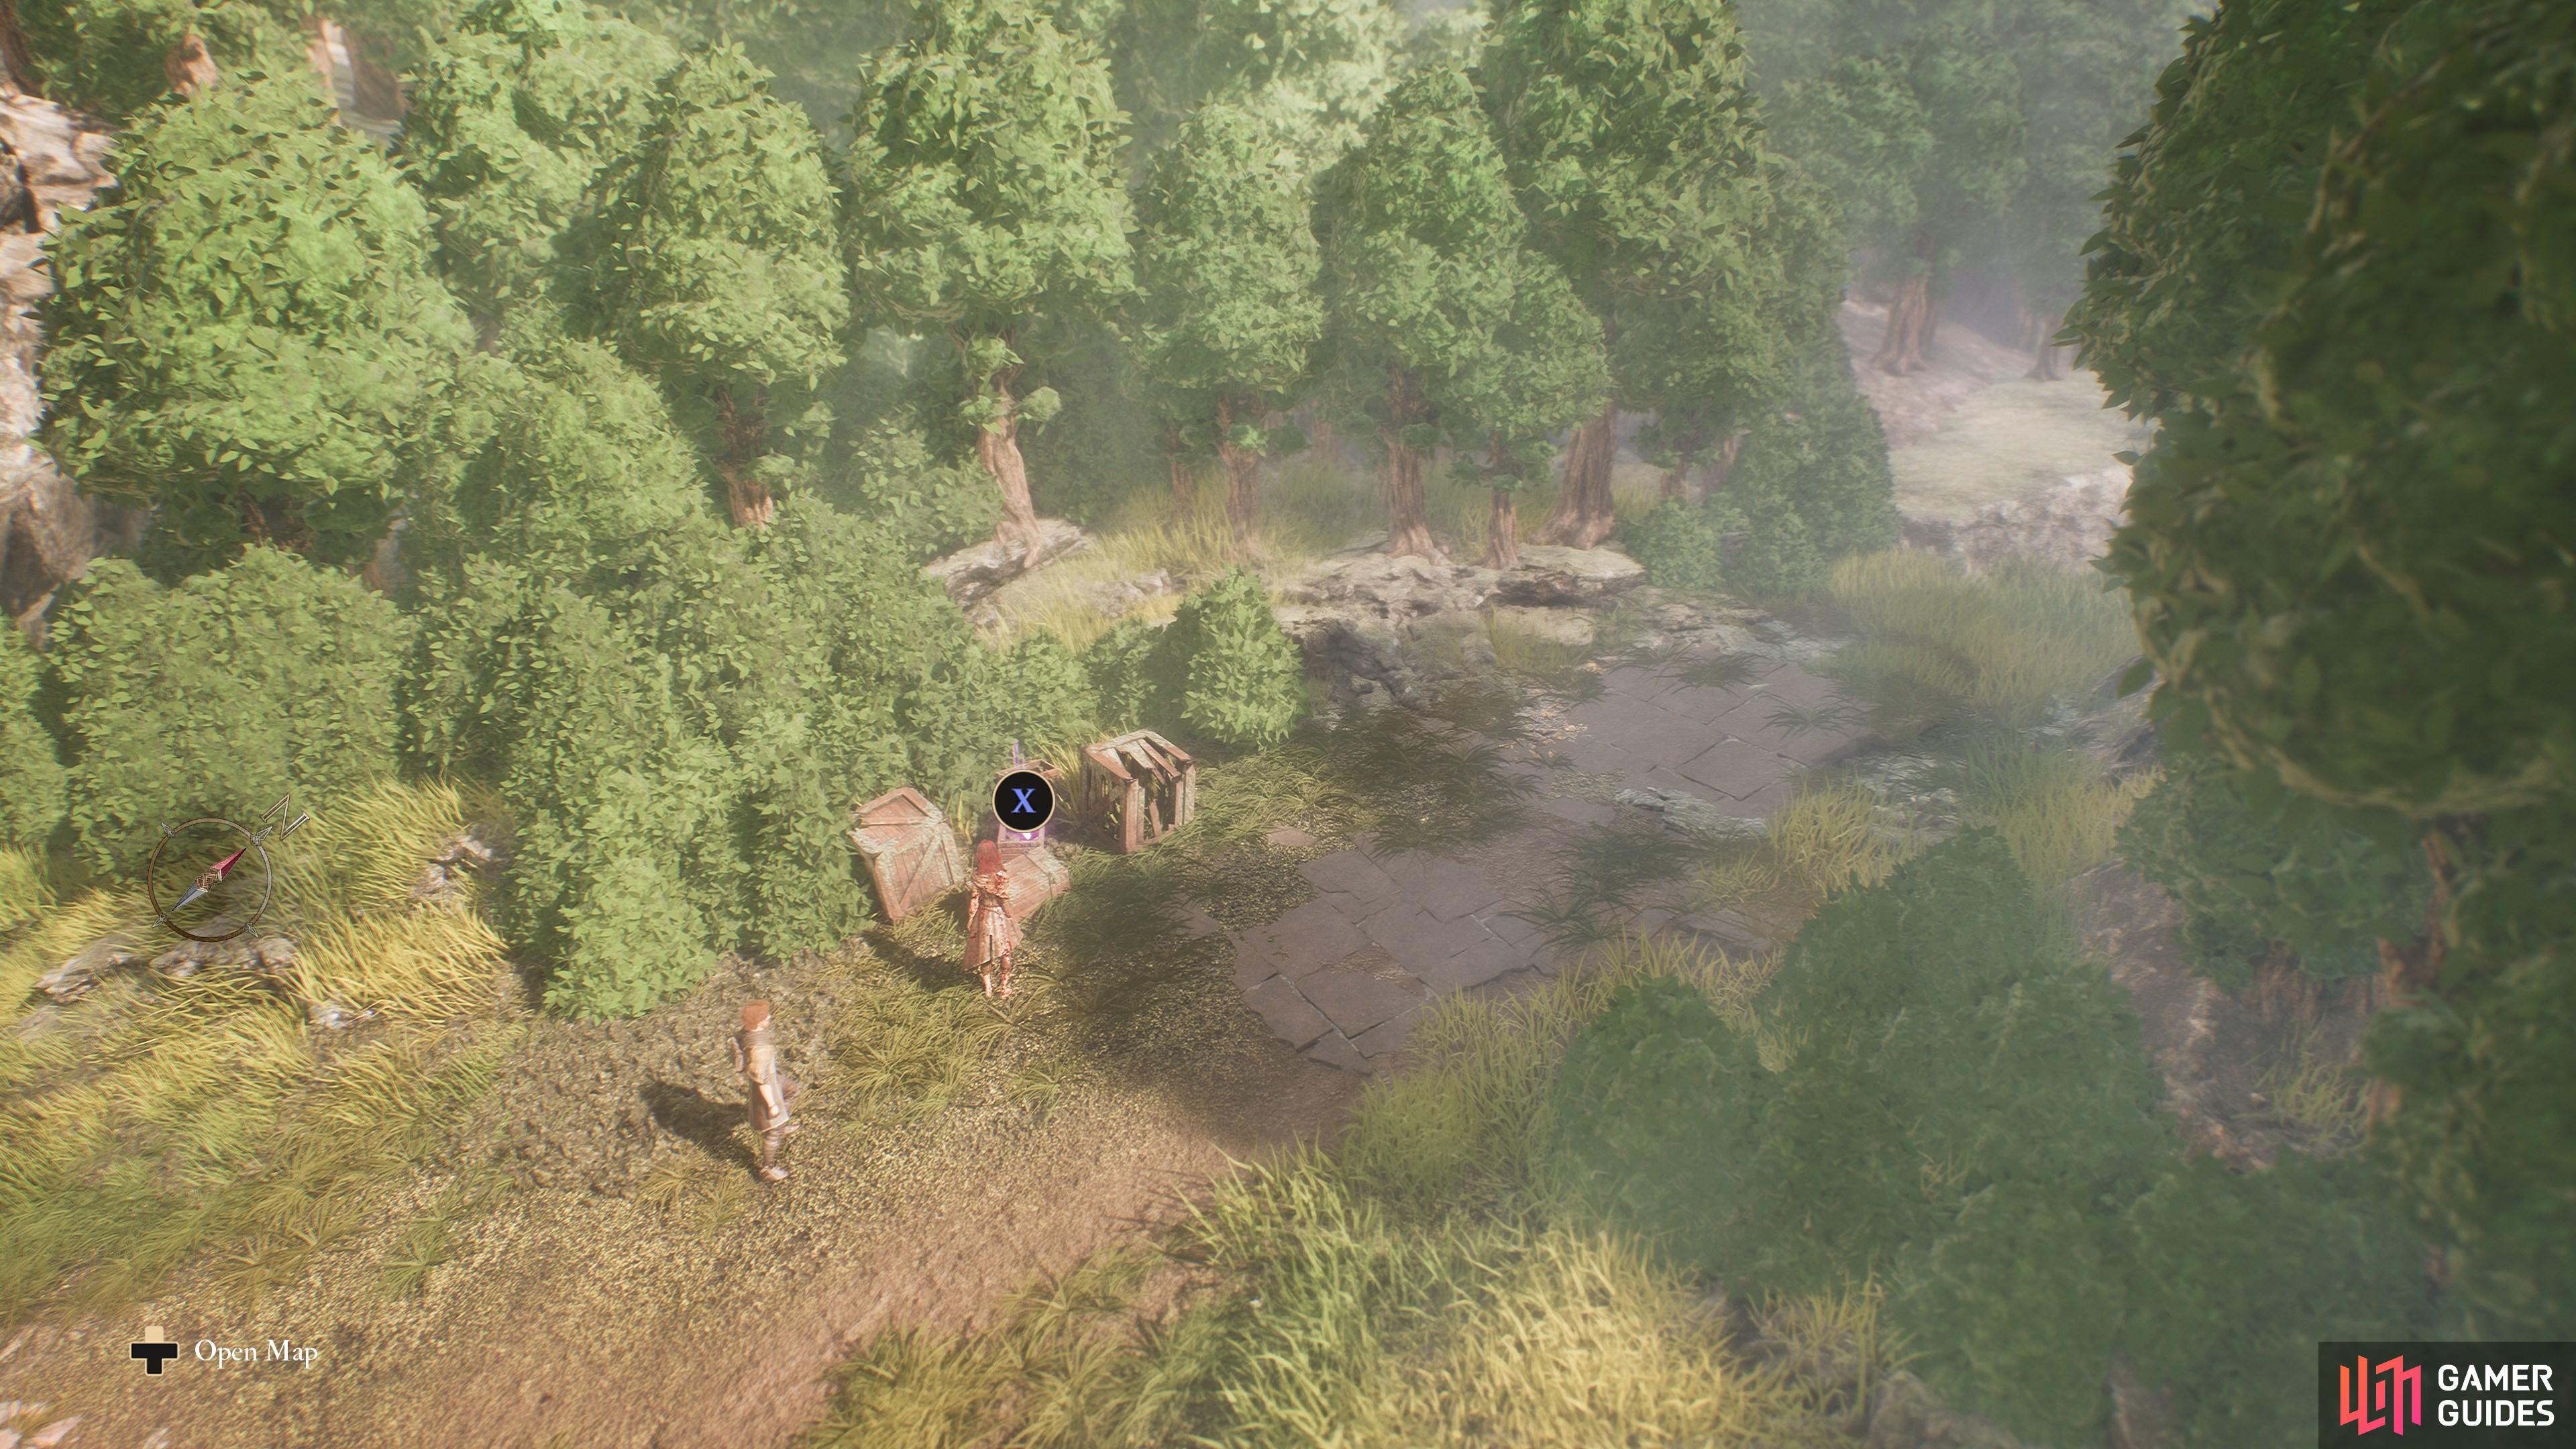
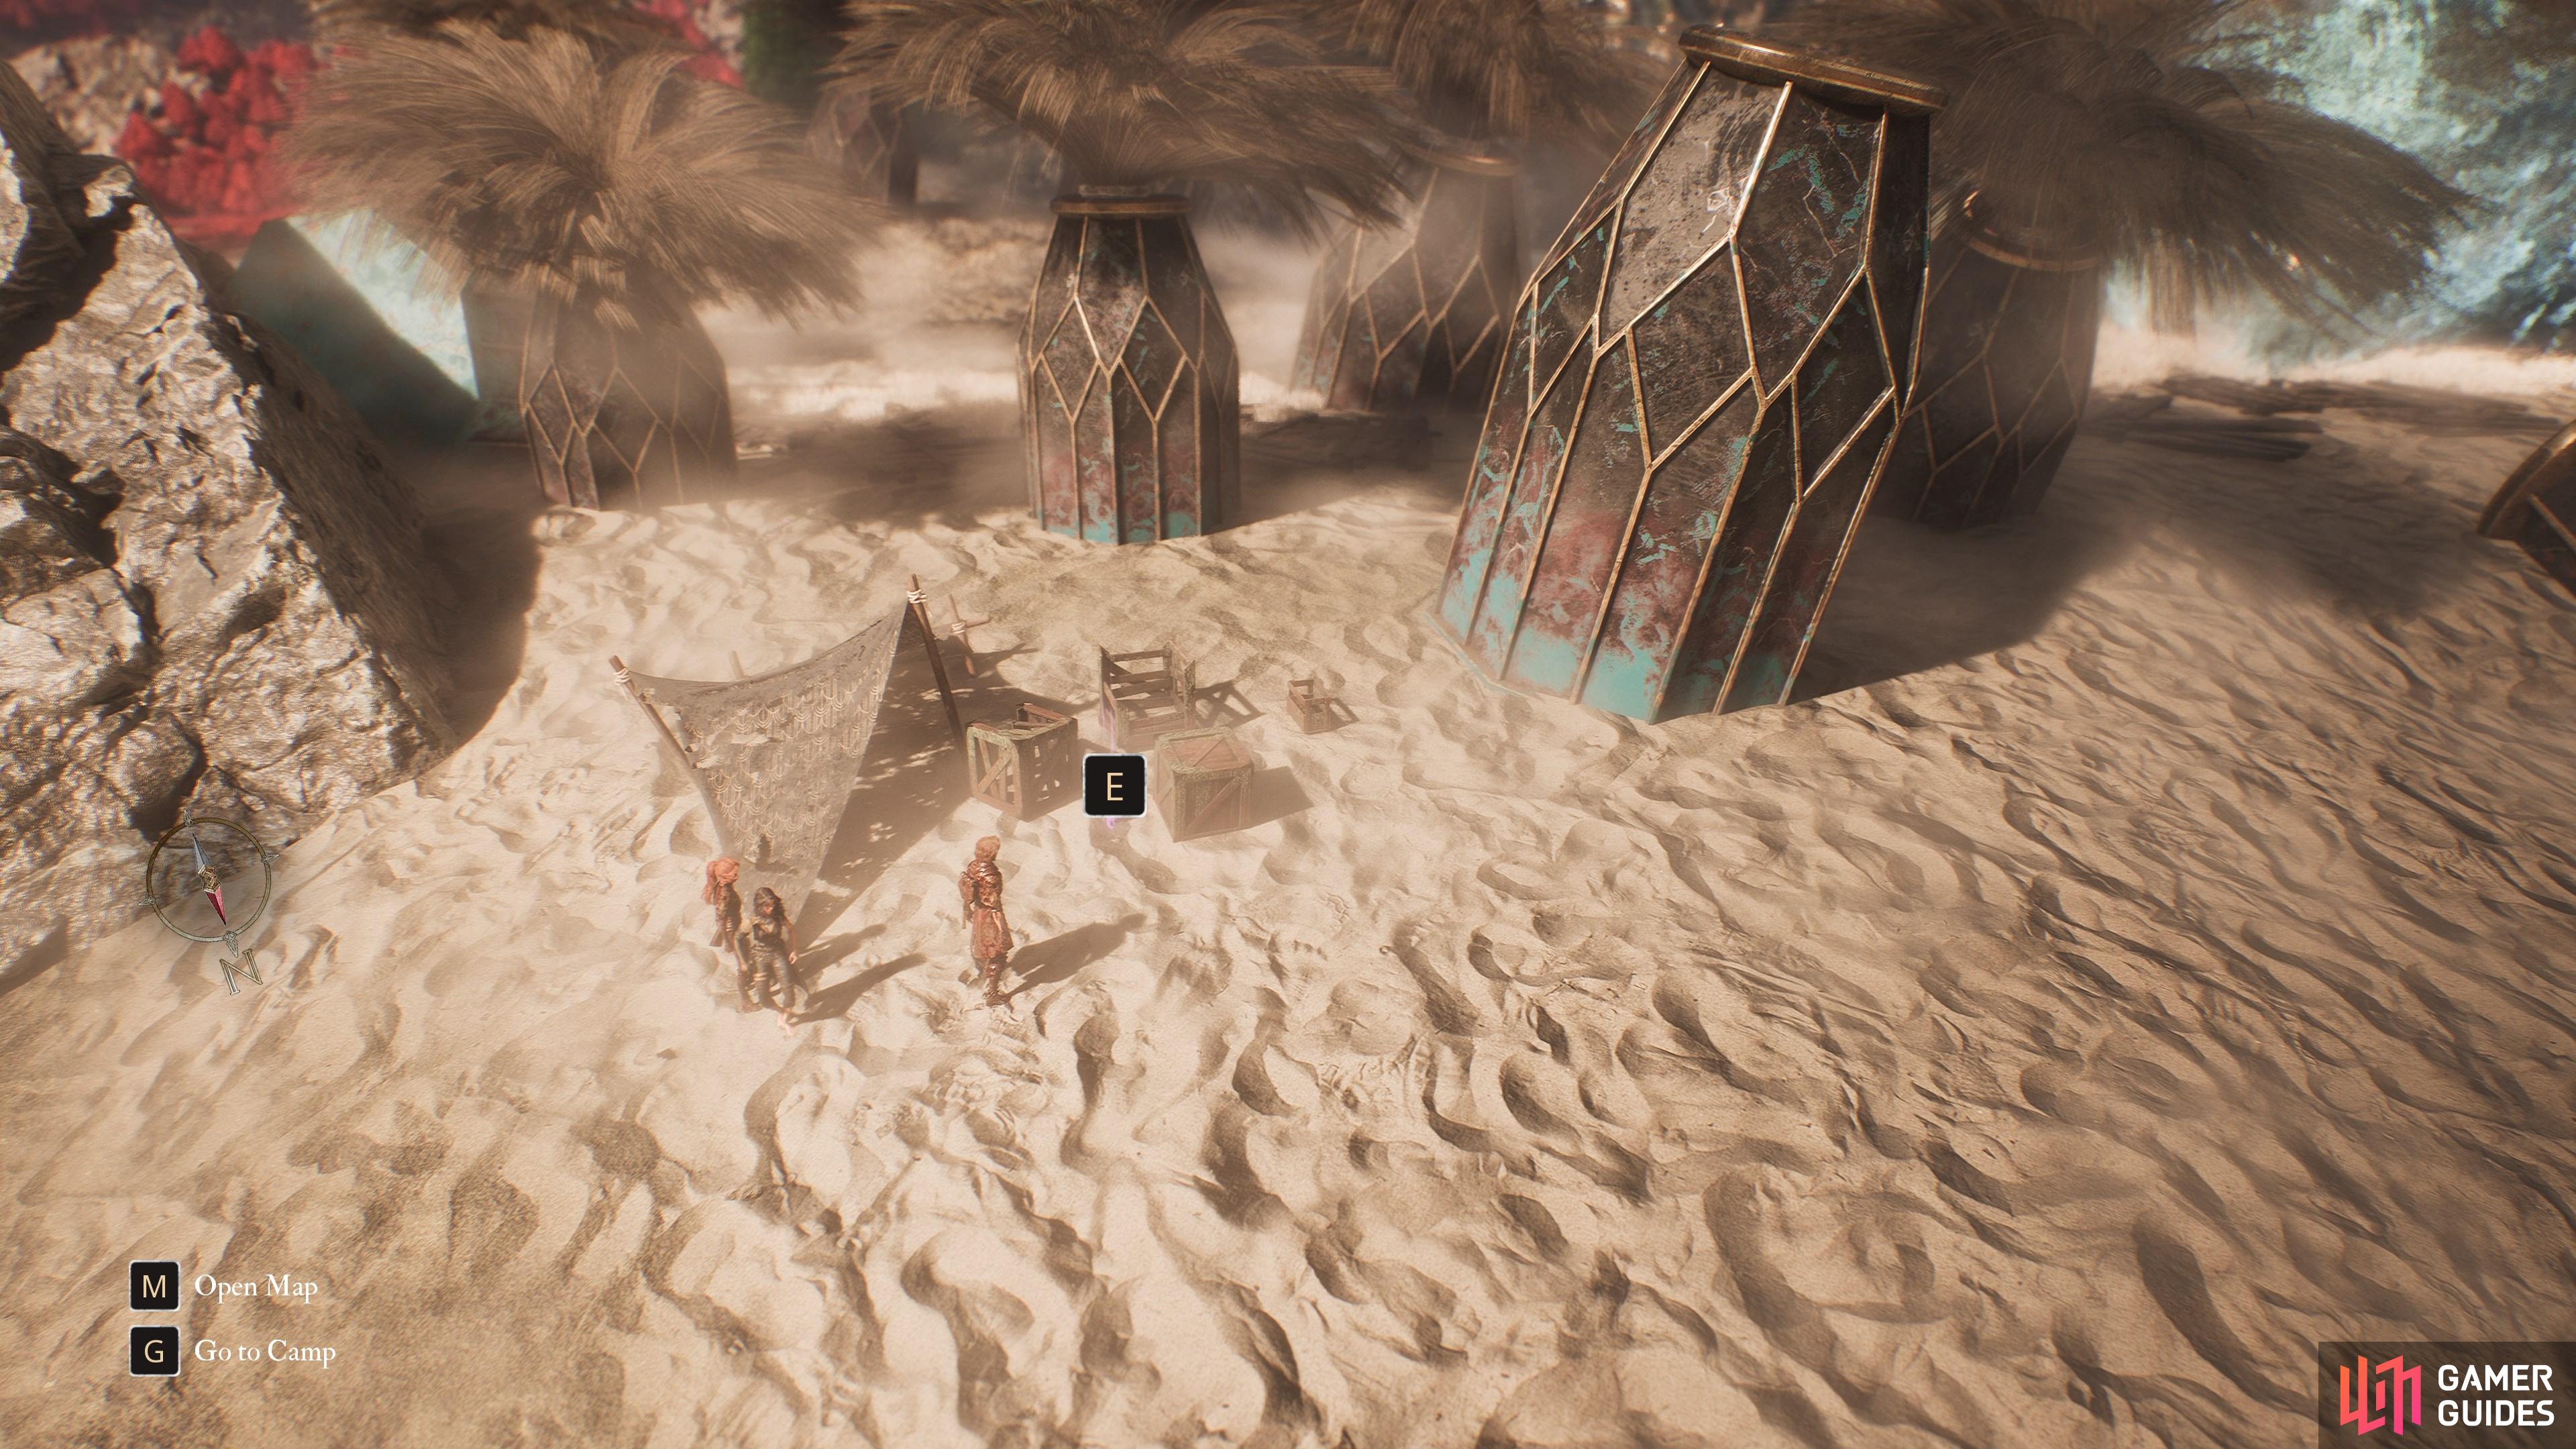
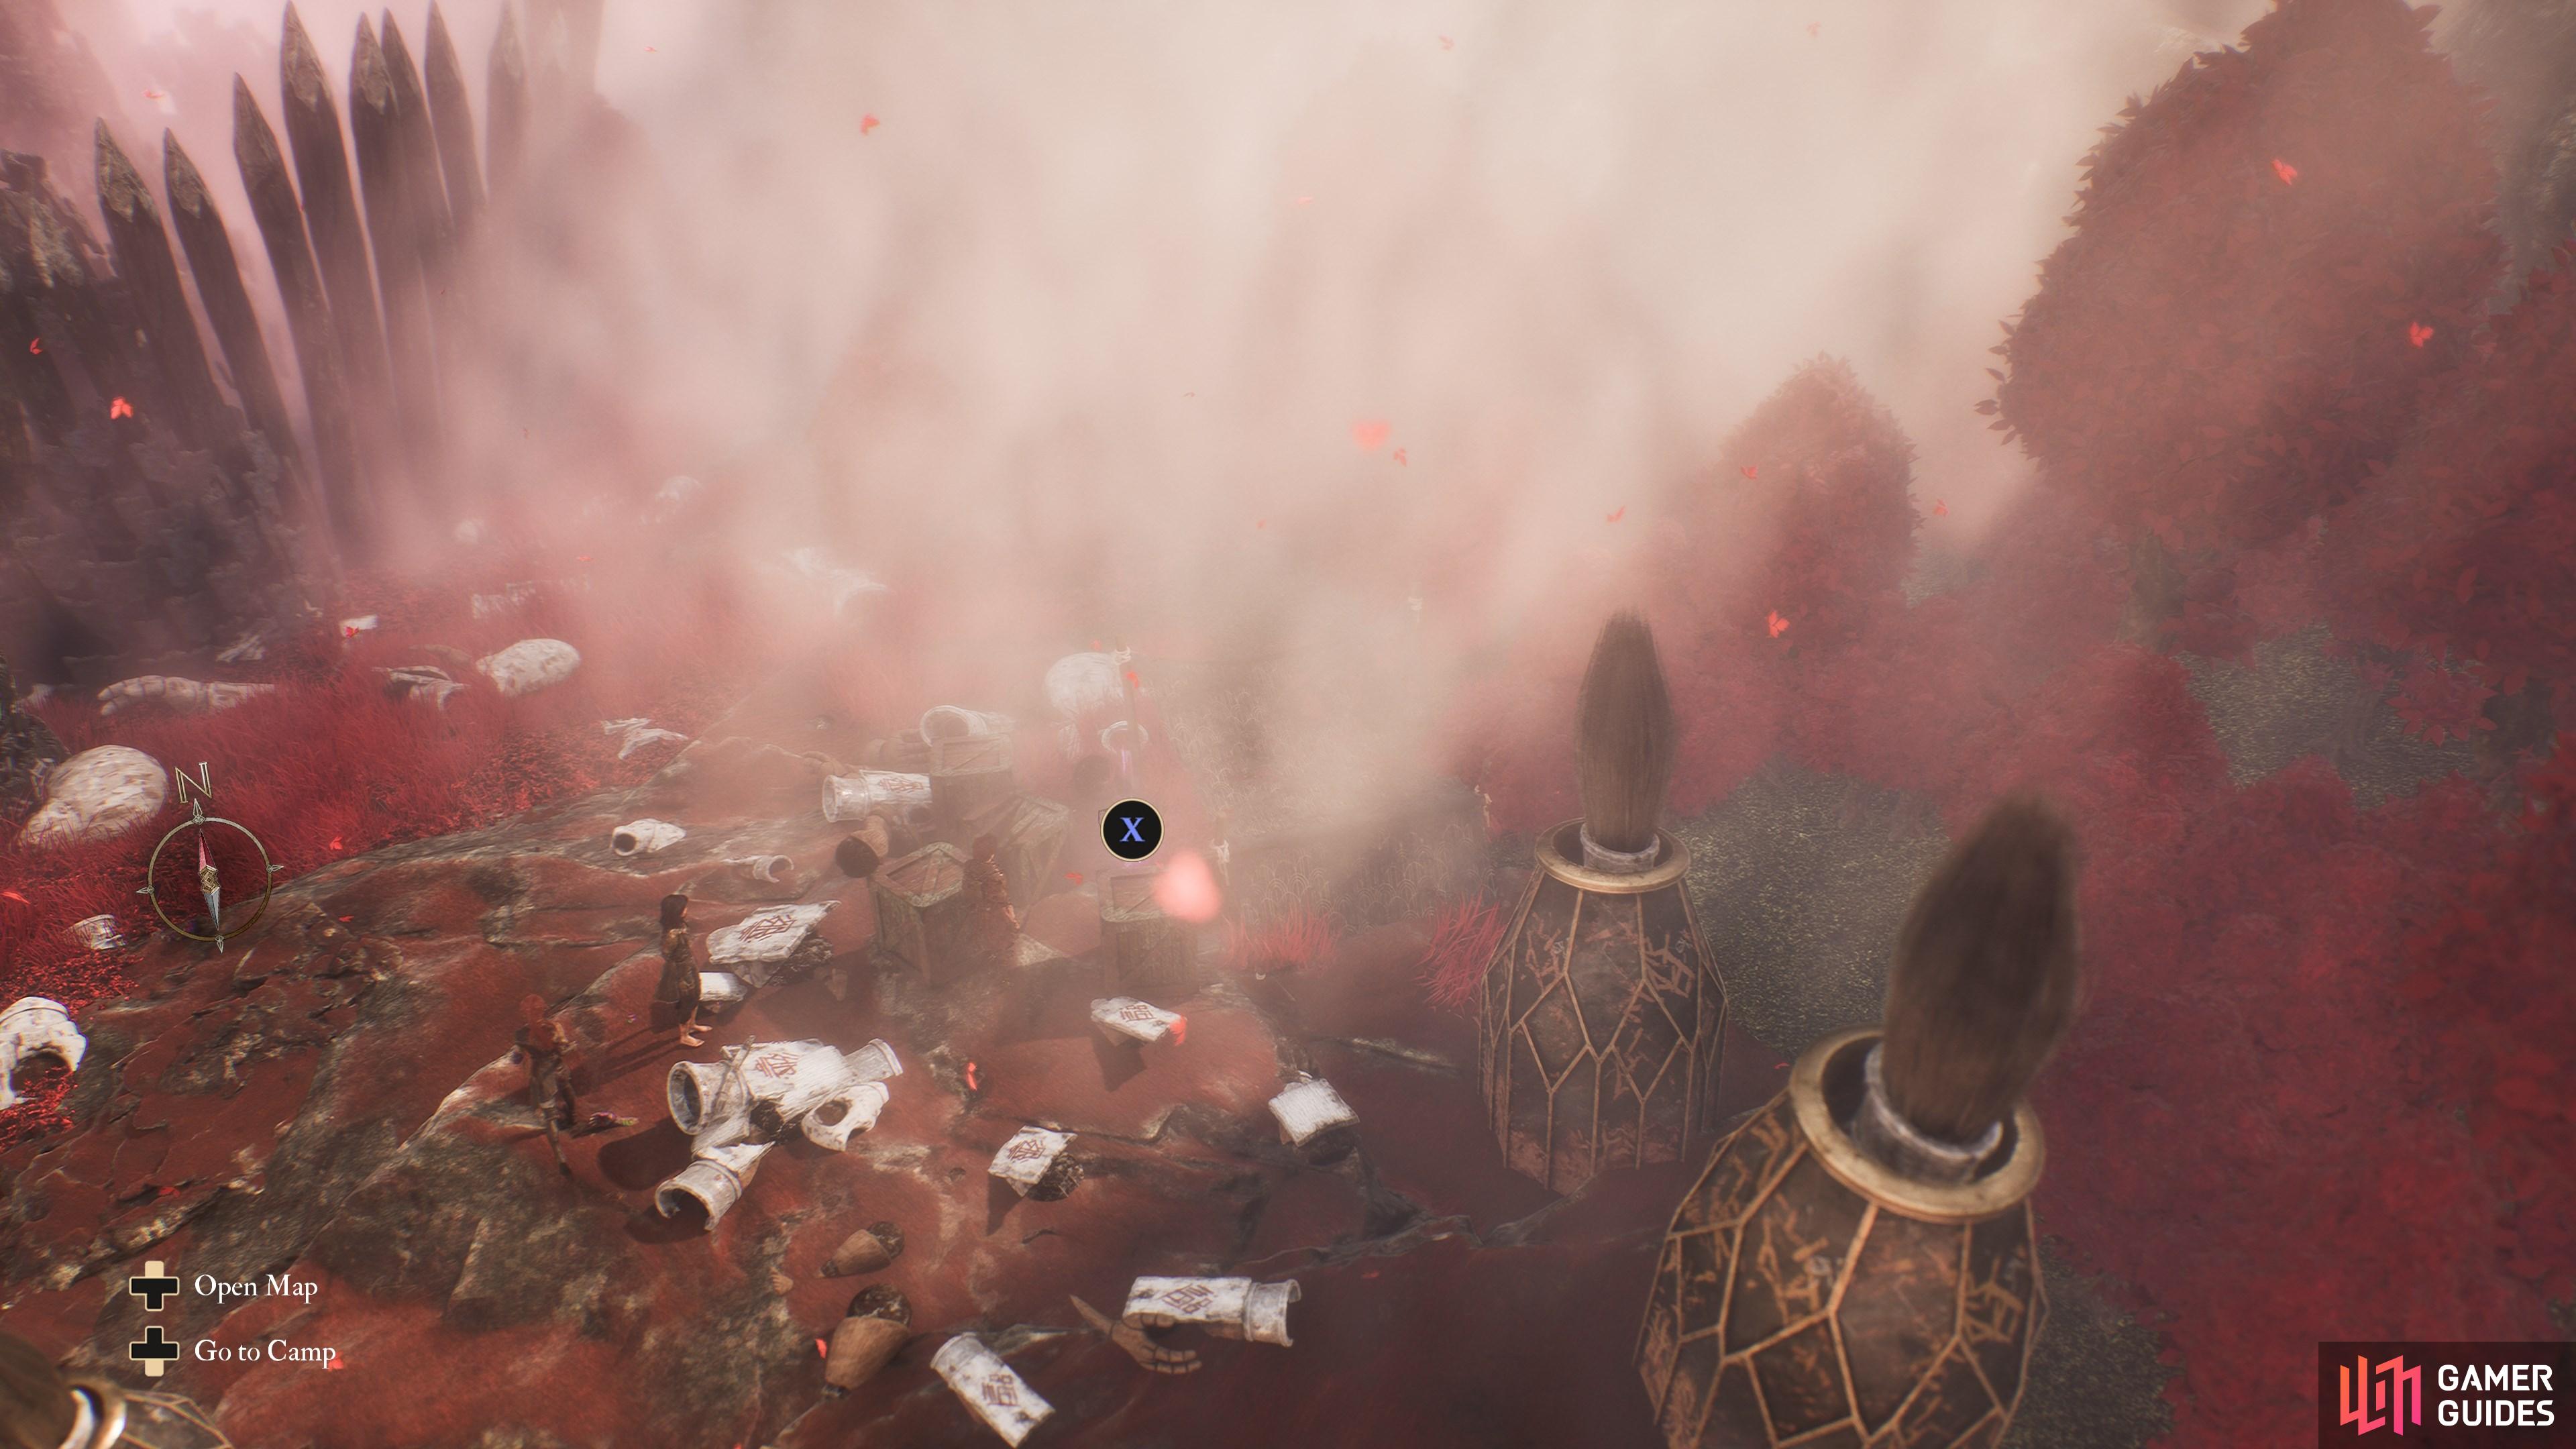
Overworld Map: Among the crates behind the standing Nevrons. Take them out and grab it.
18. The Continent
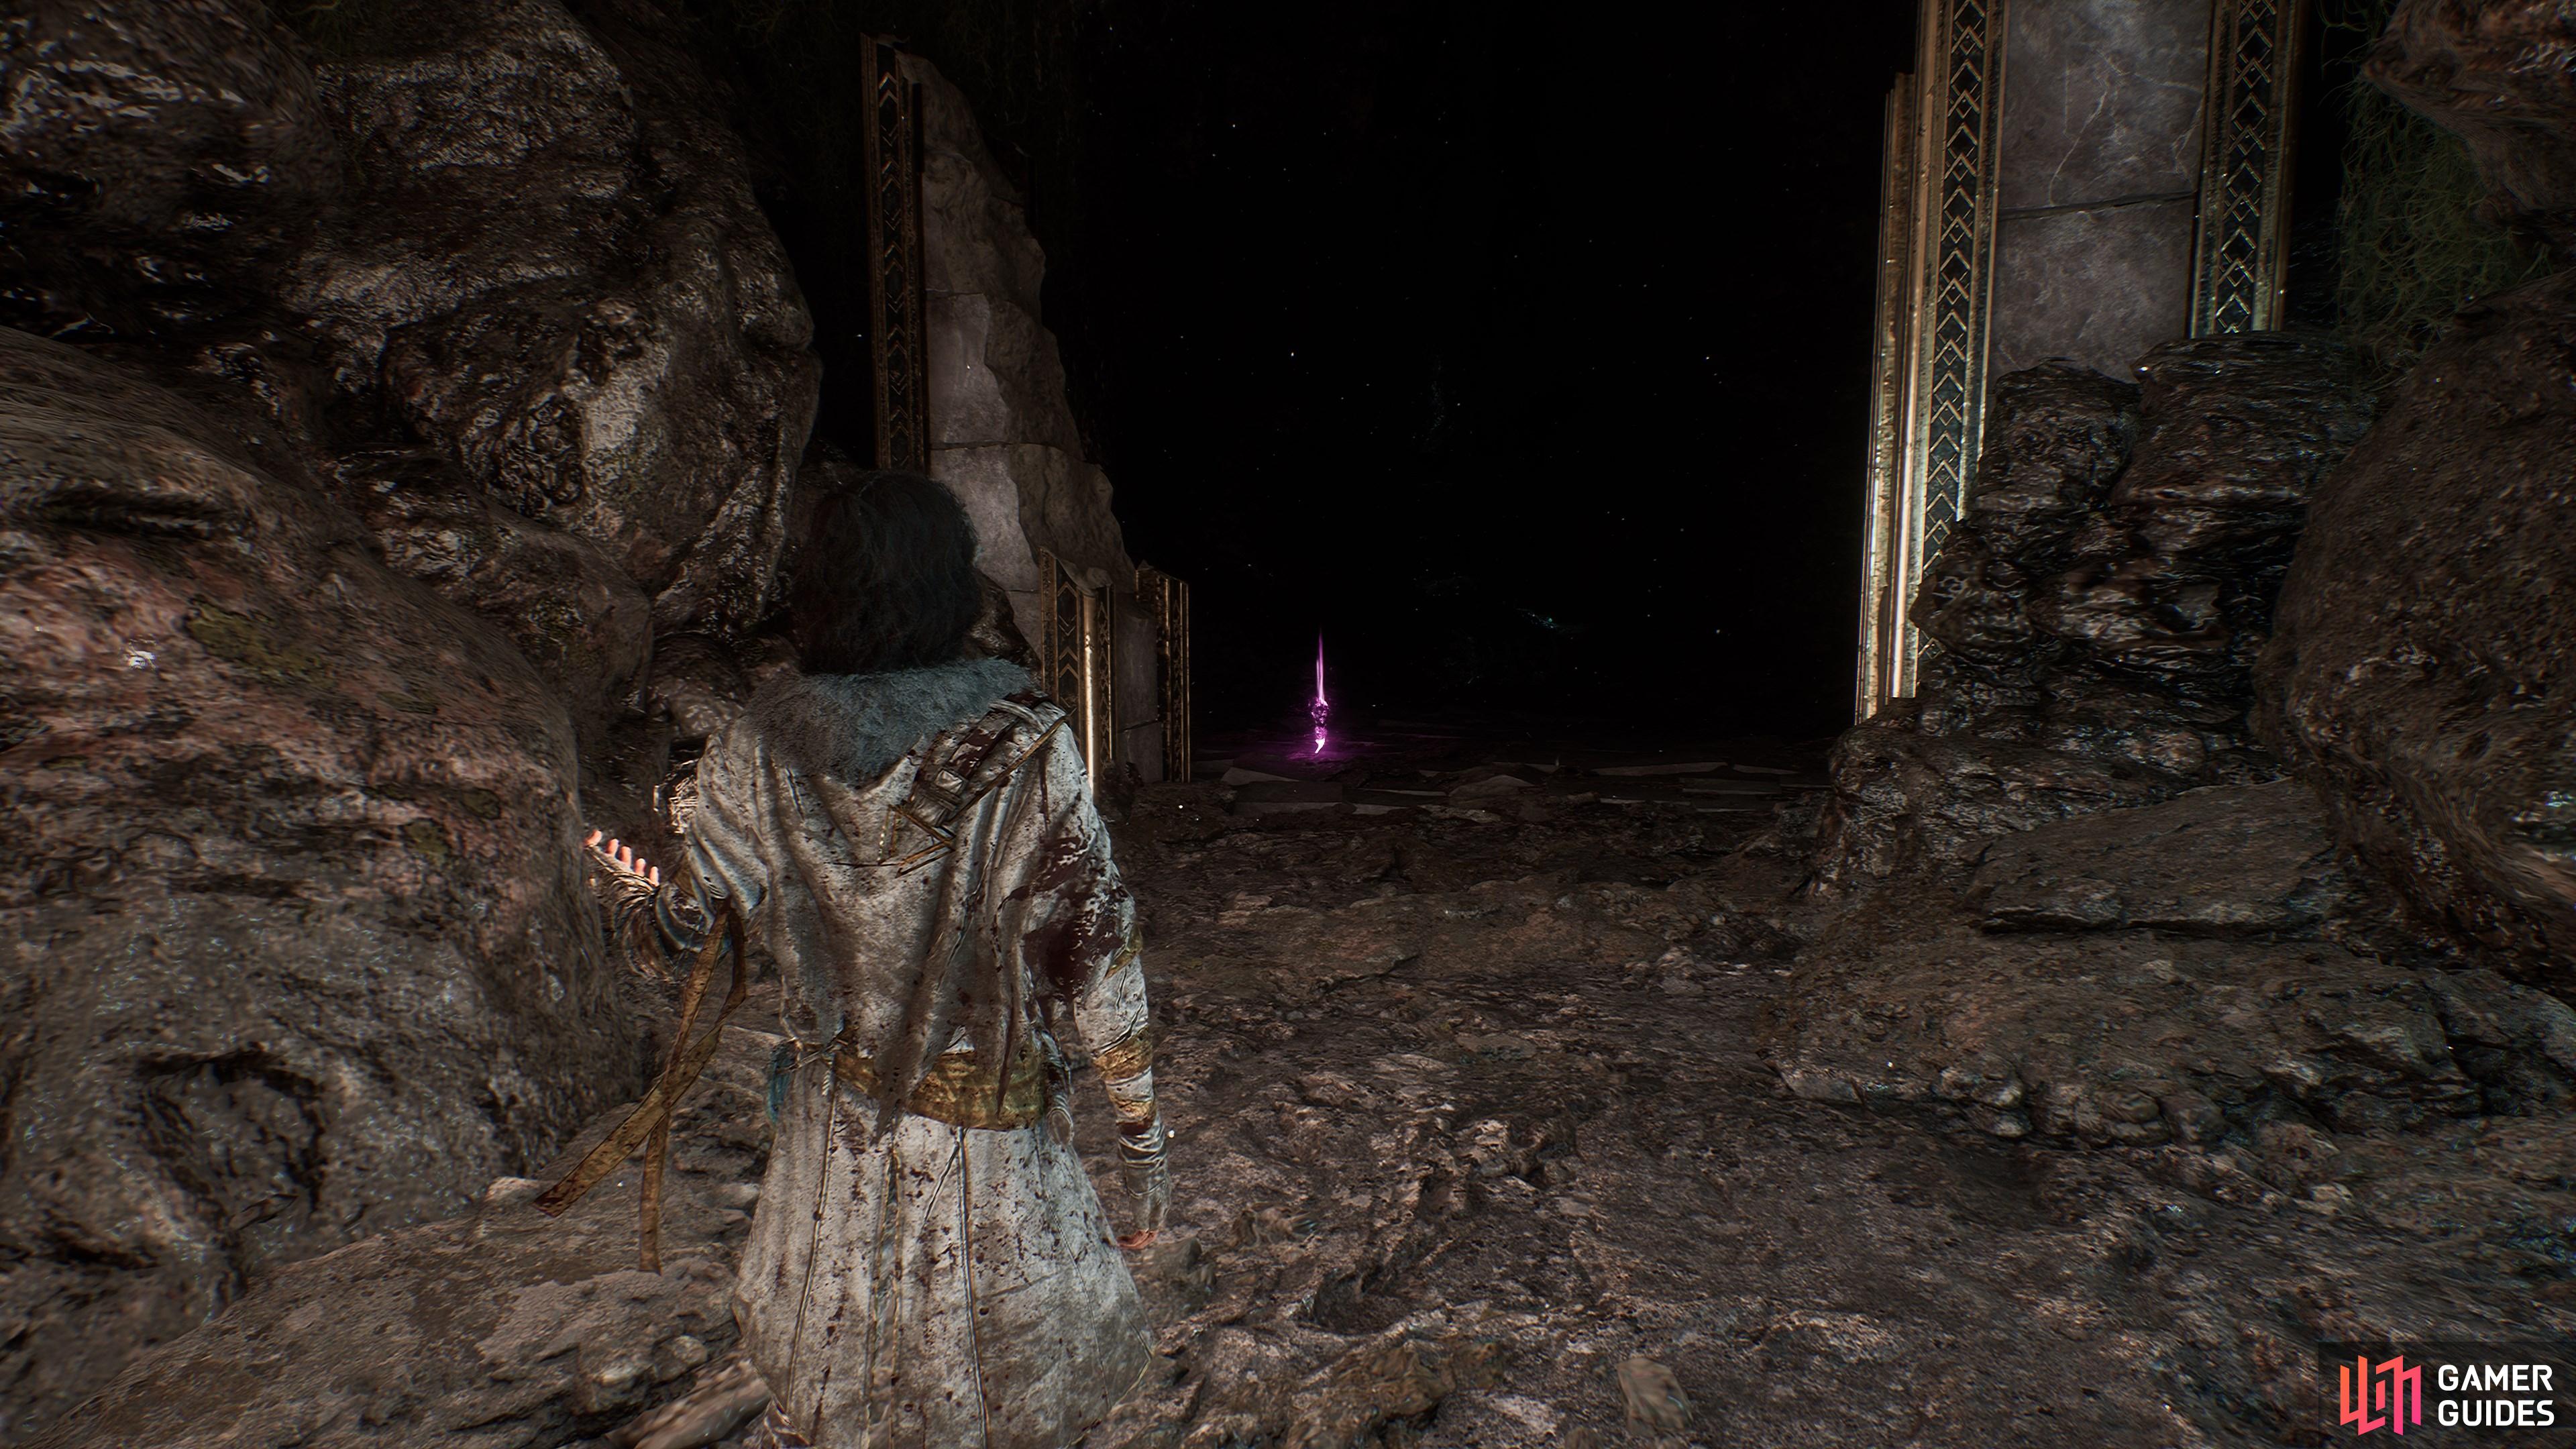
Climb the rope in the pitch-black cave in the Sanctuary Maze area.
19. The Continent
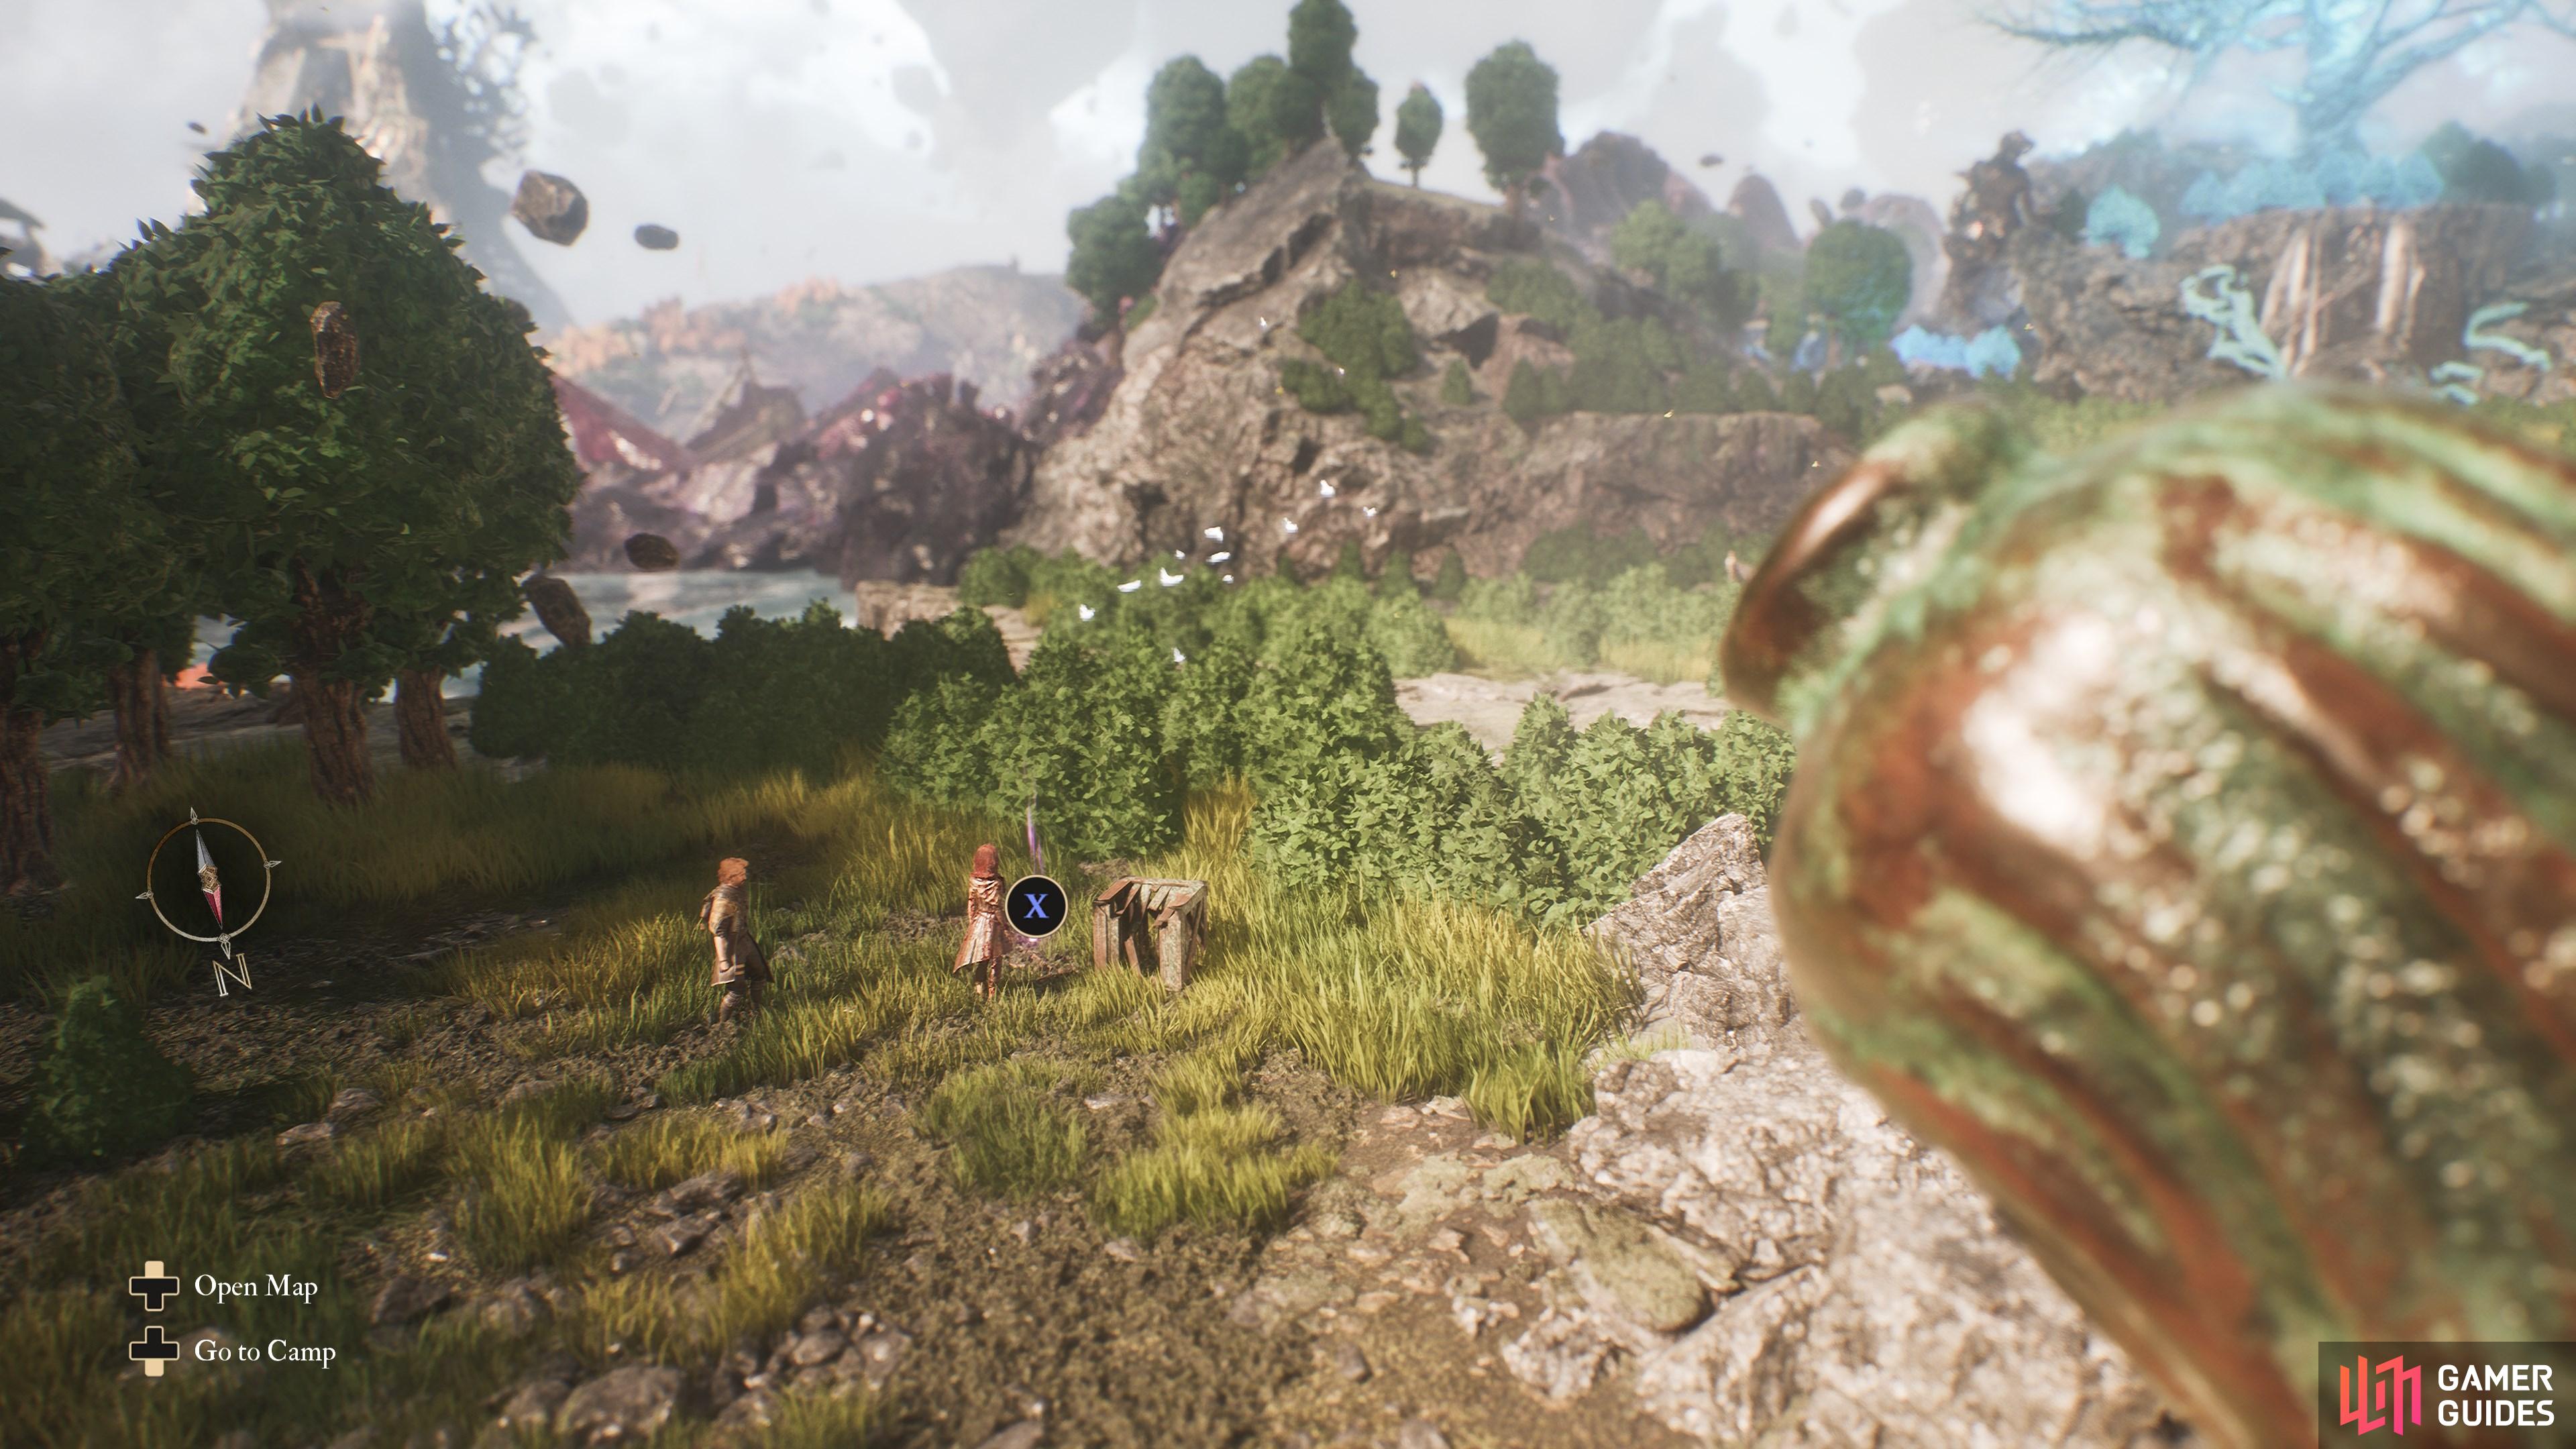
Overworld Map: In a pile of crates outside the Gestral Village. Travel through the Anceint Sanctuary to reach this spot.

20. The Continent
Among the barrels behind the tall Gestral outside the Chef’s hut.
22. The Continent
Available for trade from ![]() Eesda. Go down the shady back-alley at the market and defeat Eesda in combat to unlock him as a trader.
Eesda. Go down the shady back-alley at the market and defeat Eesda in combat to unlock him as a trader.
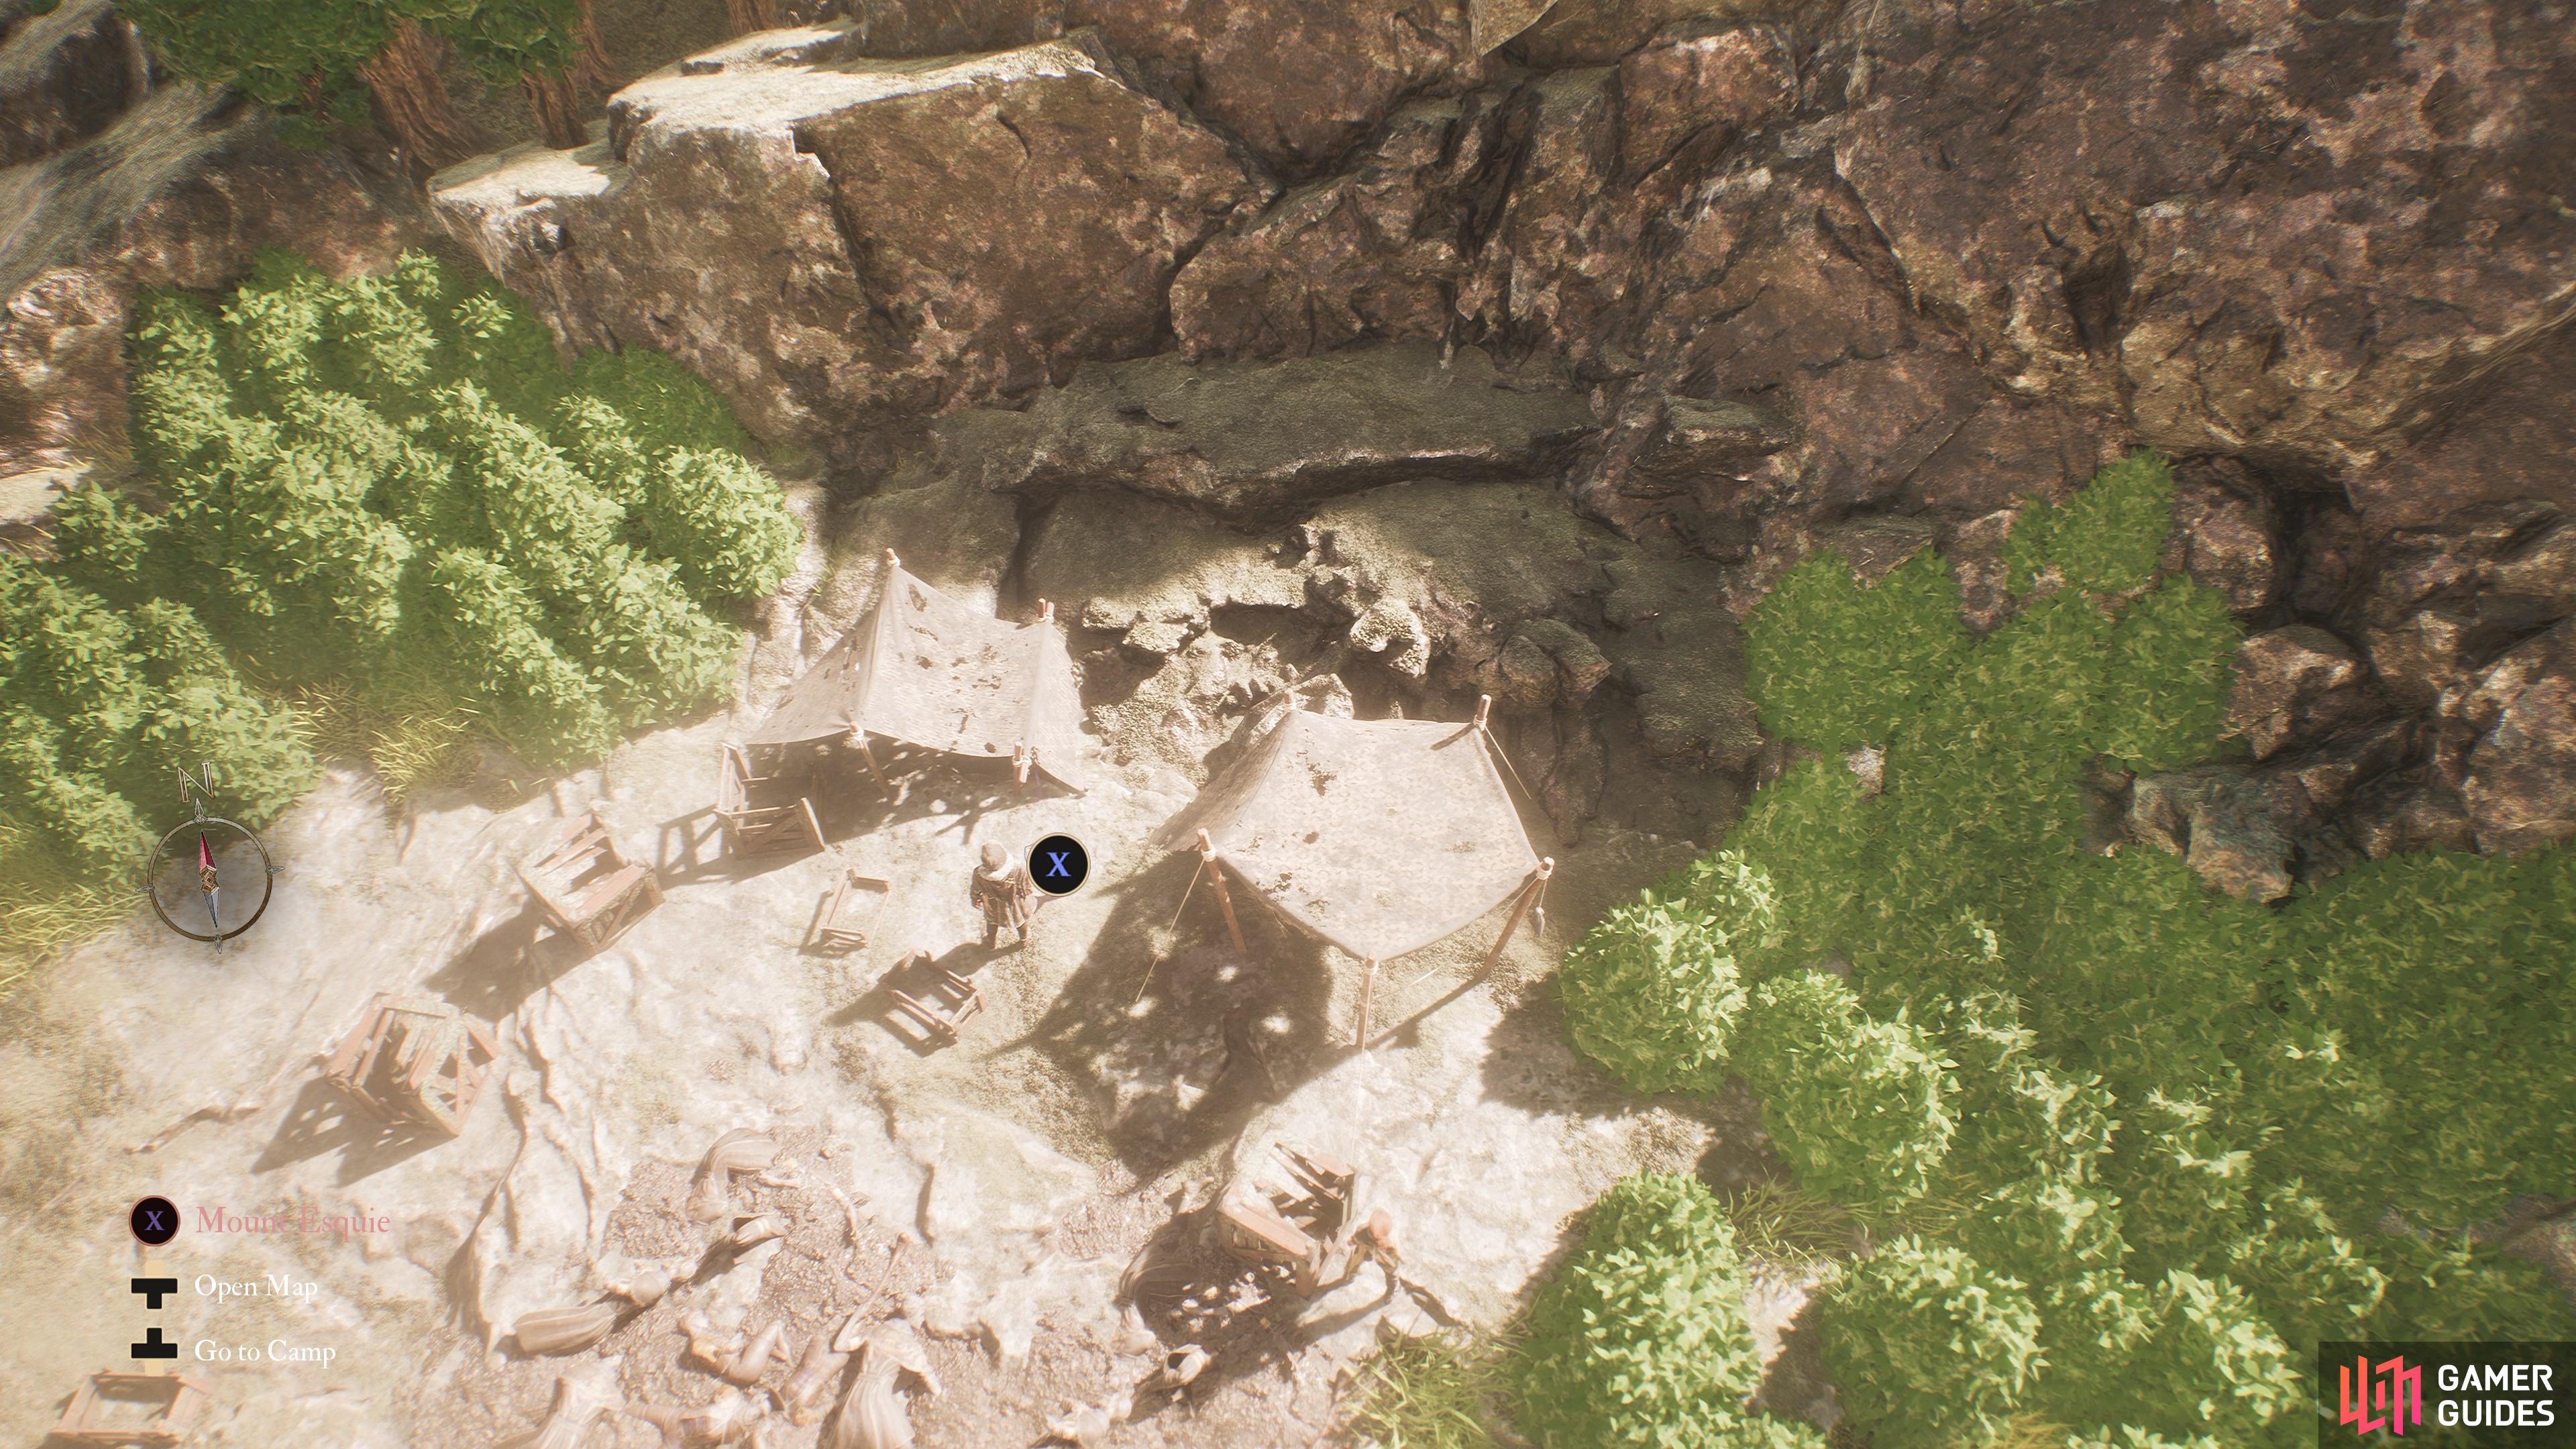
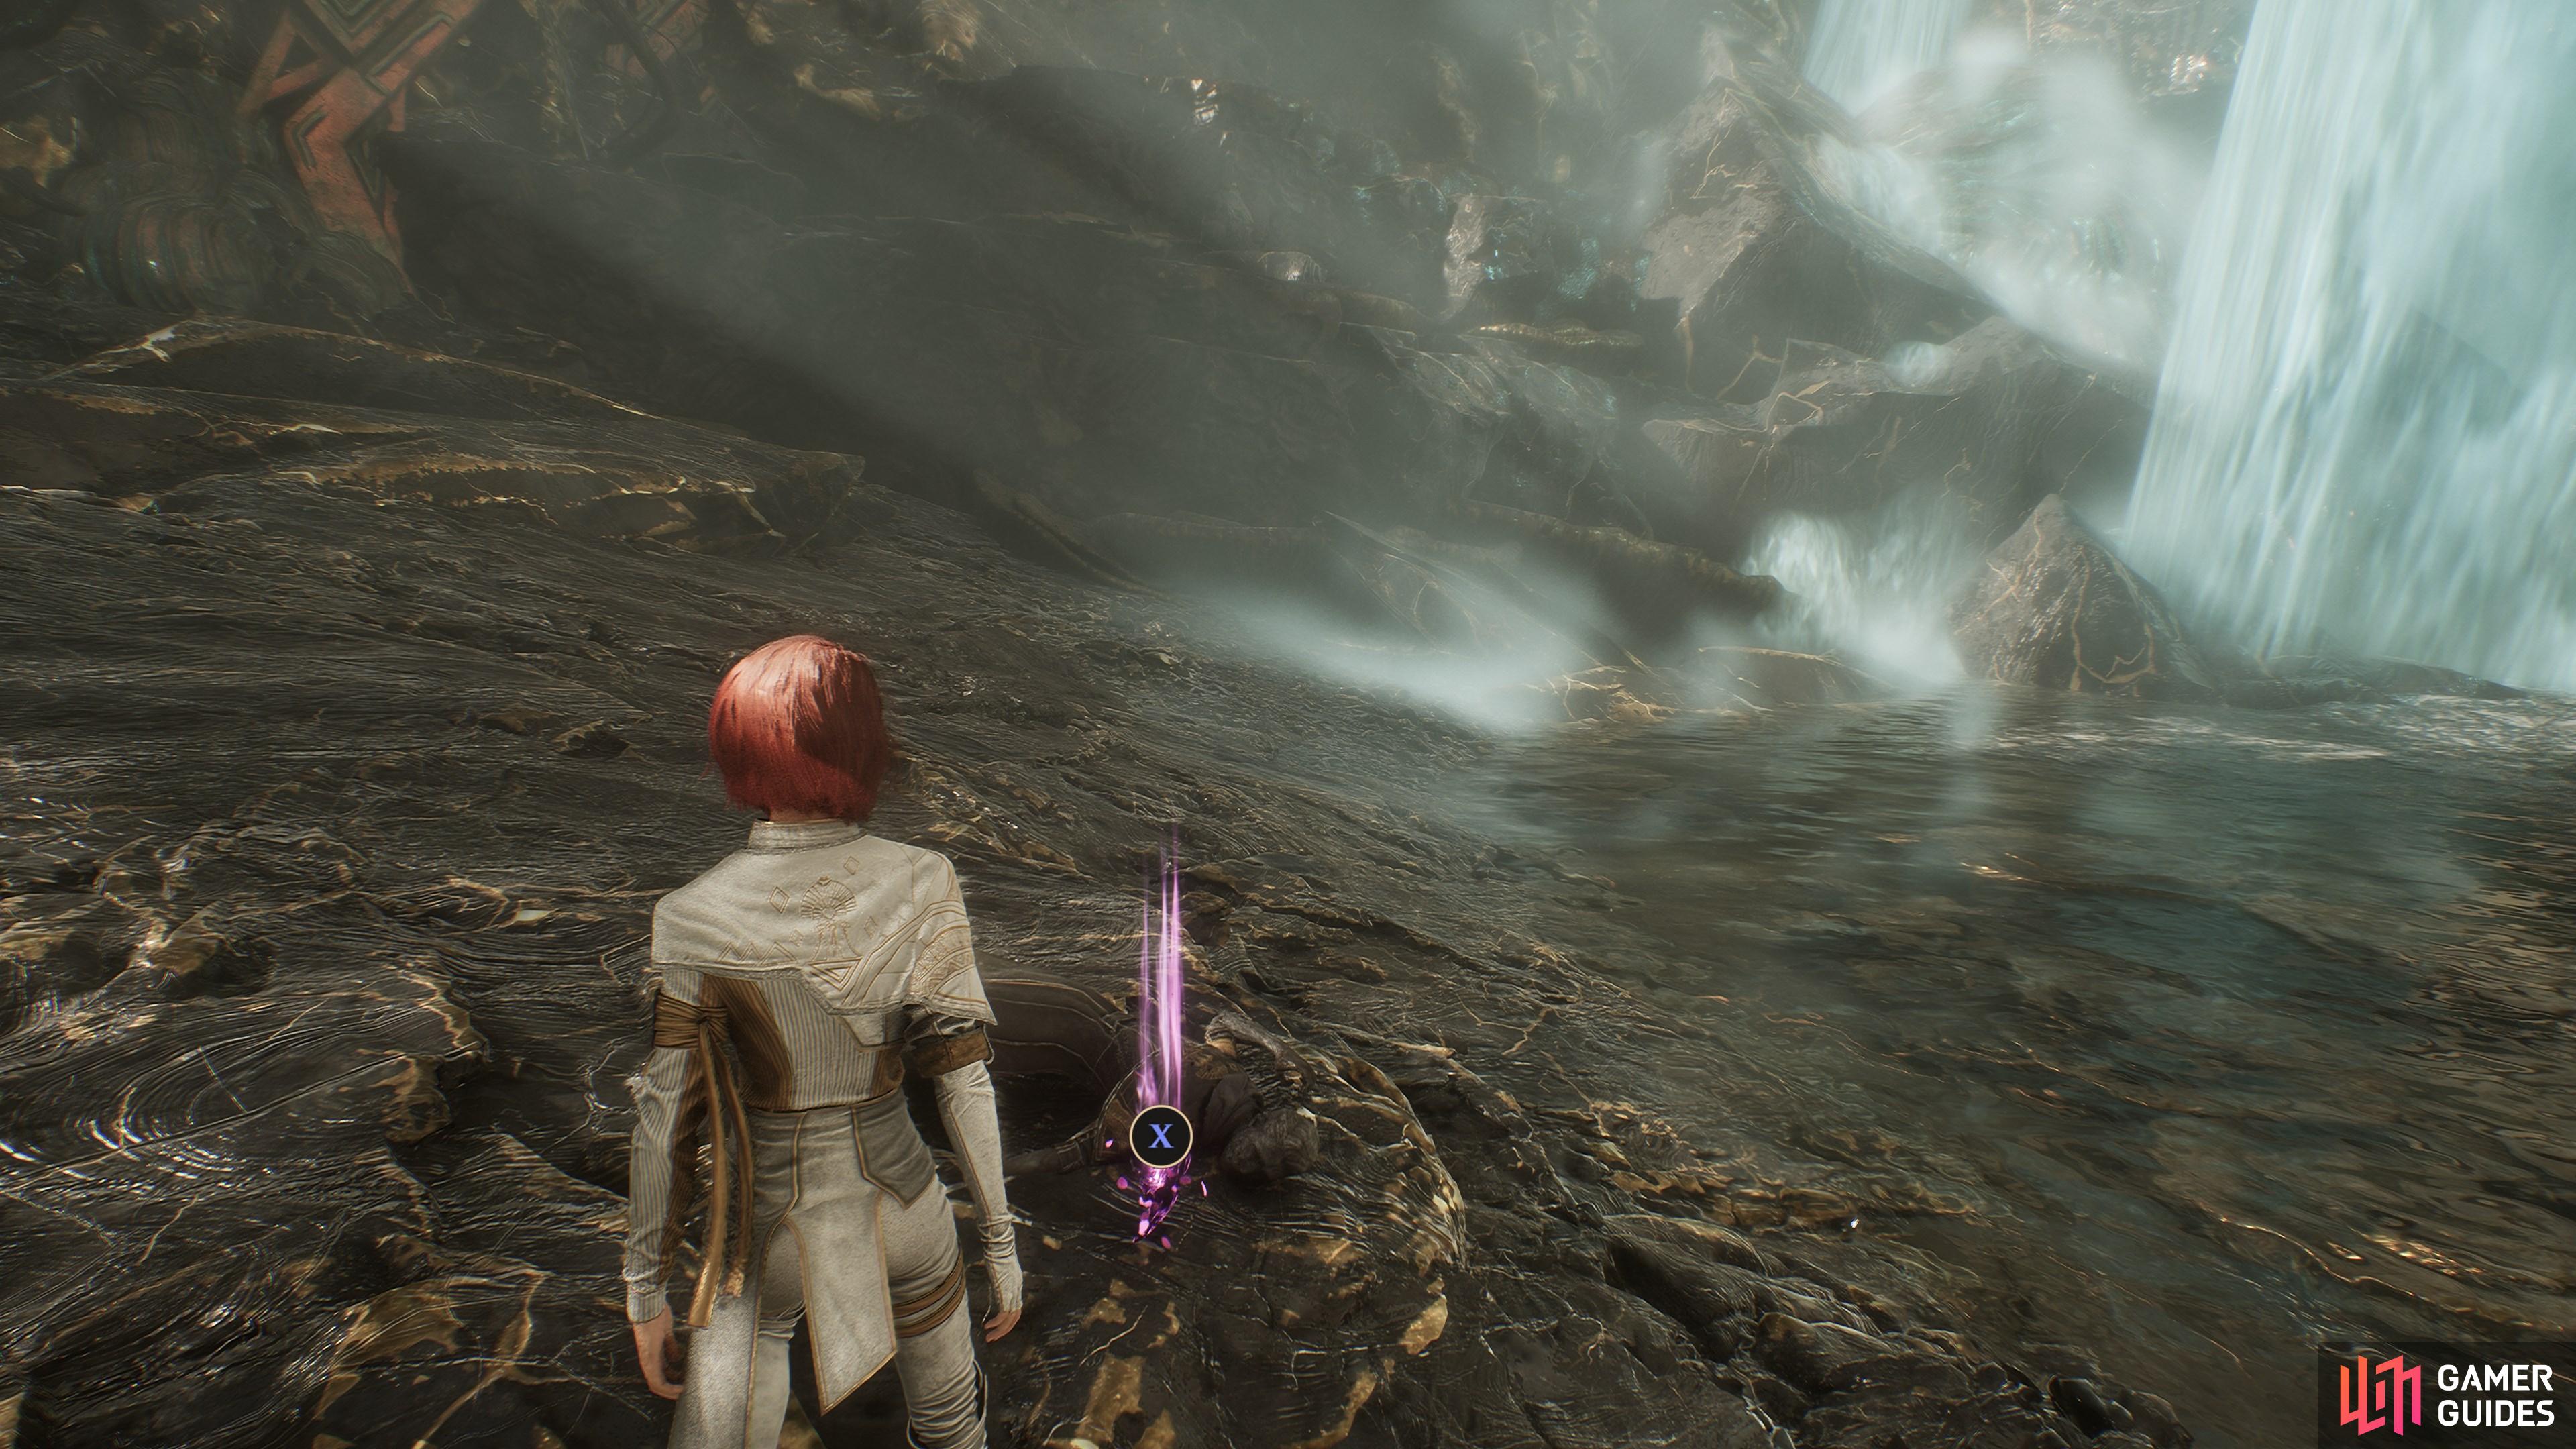
24. The Continent
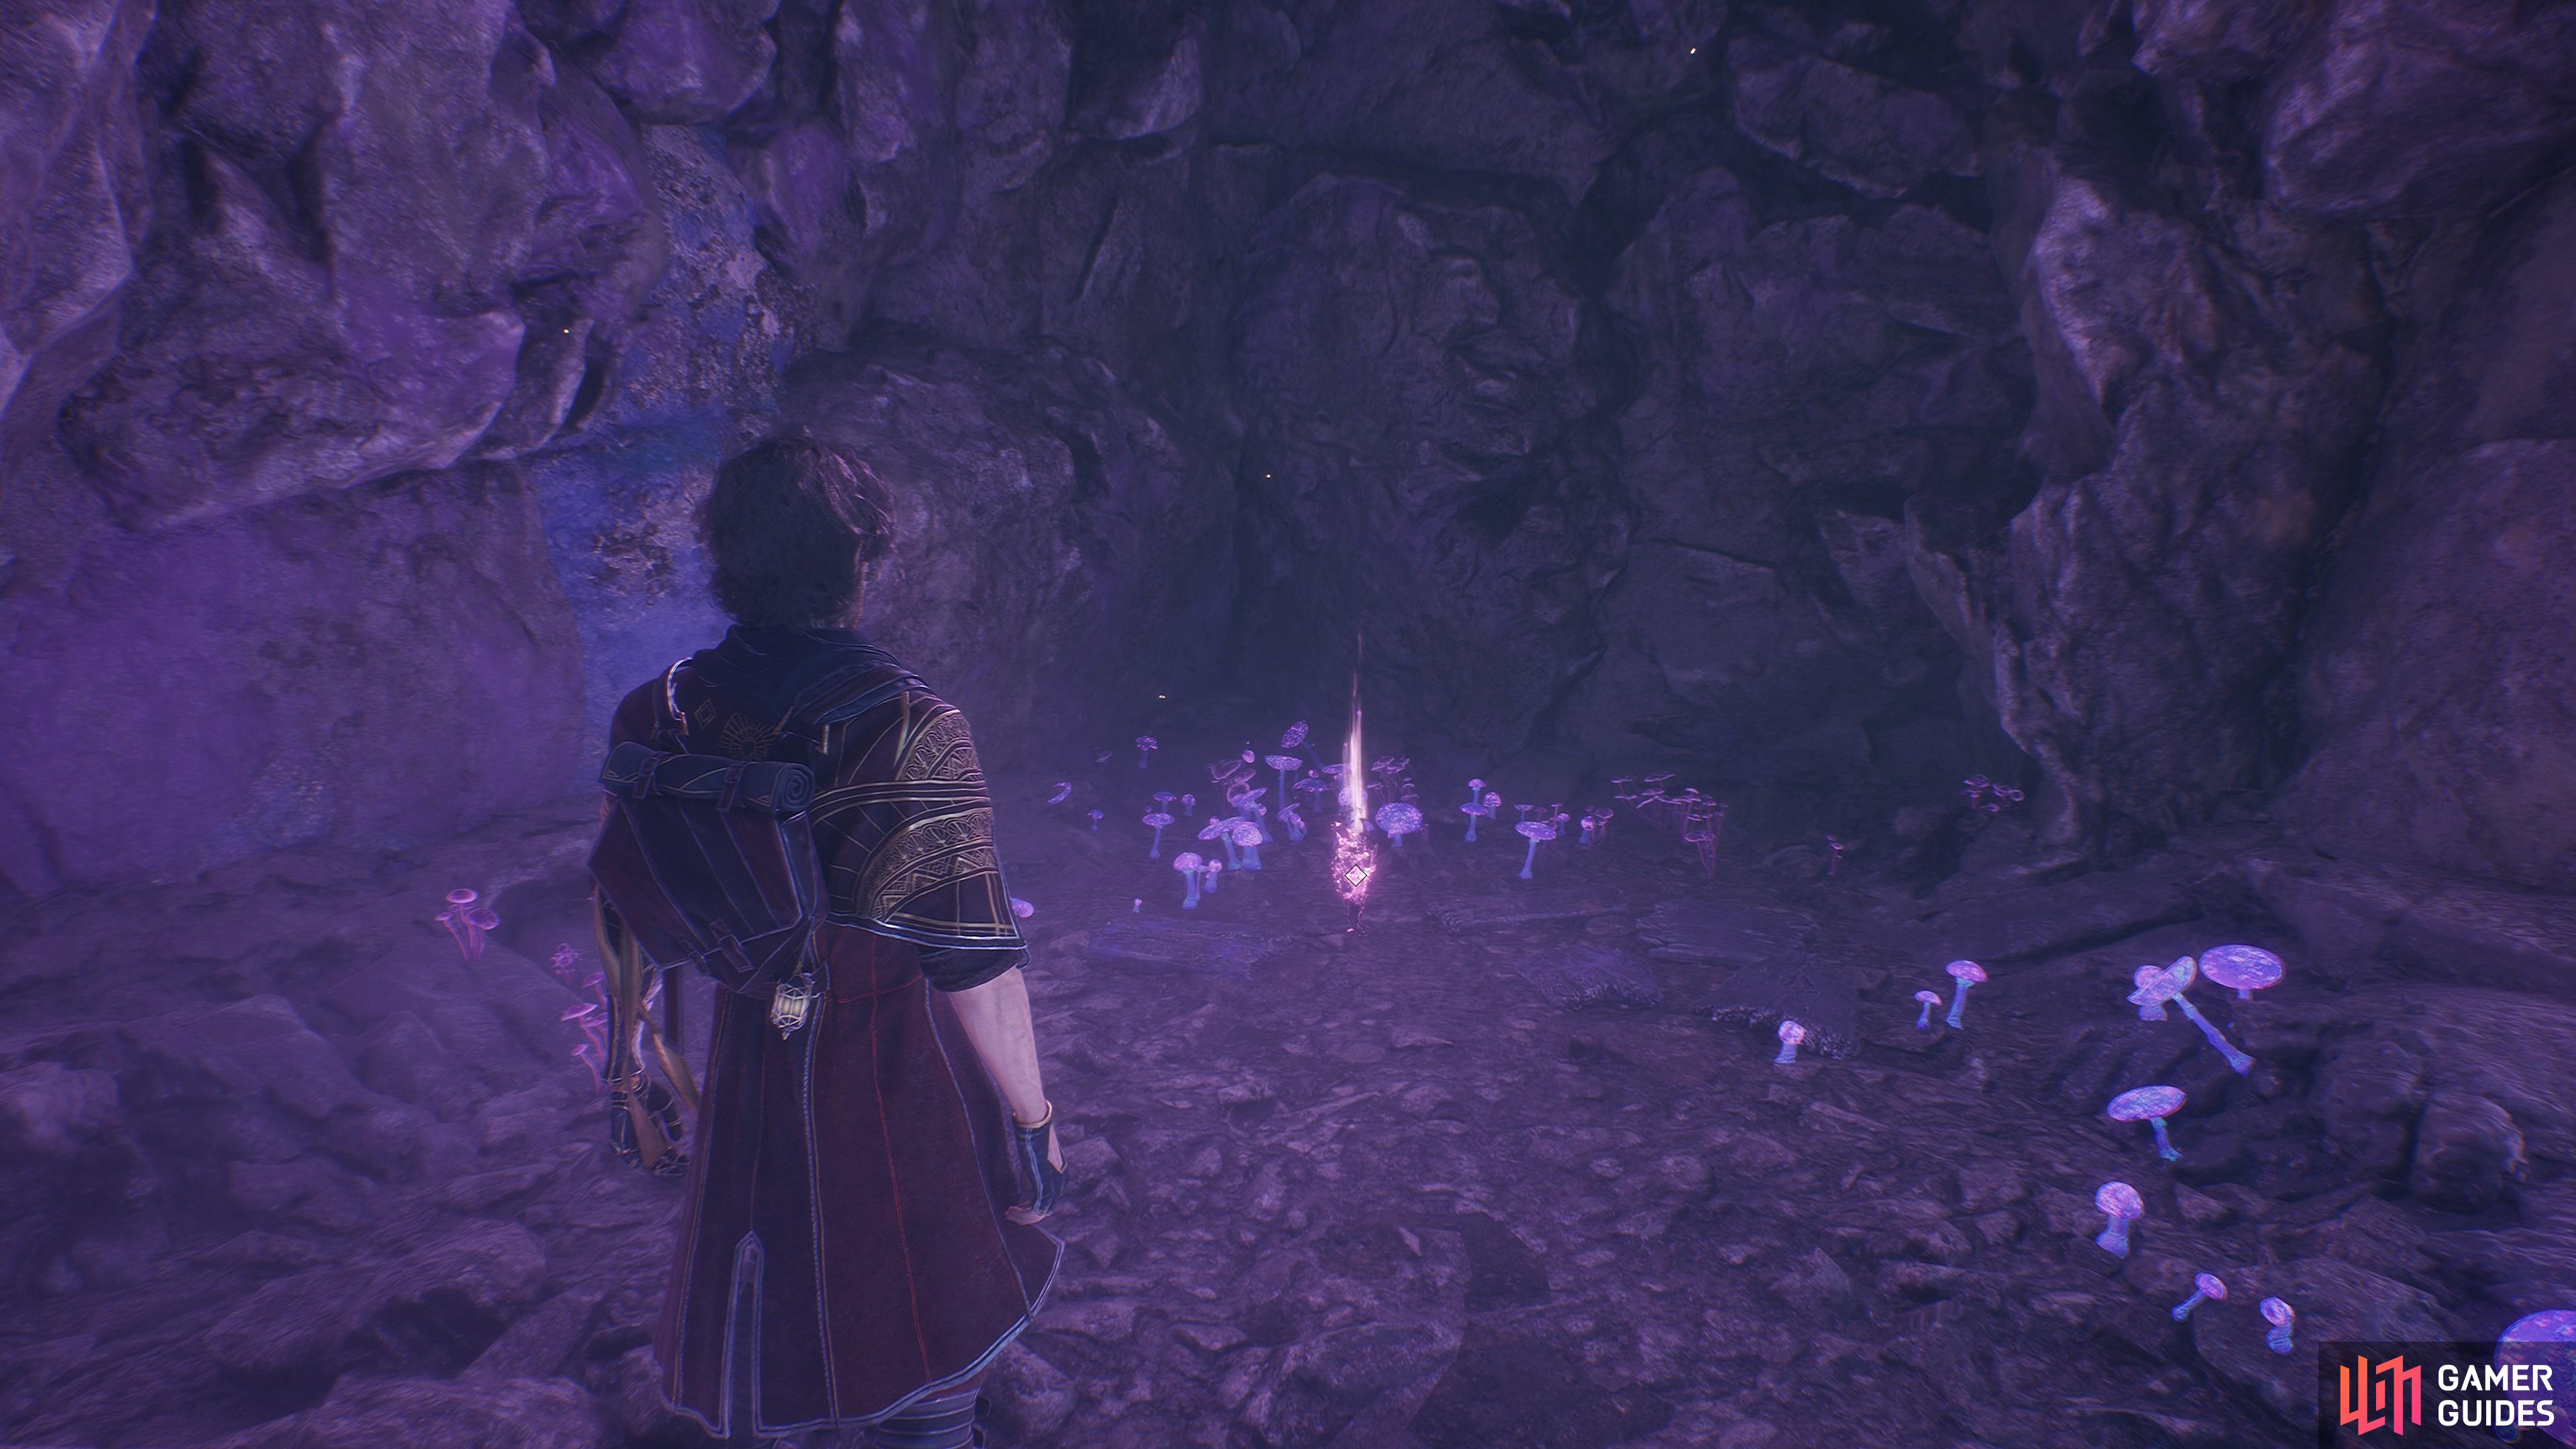
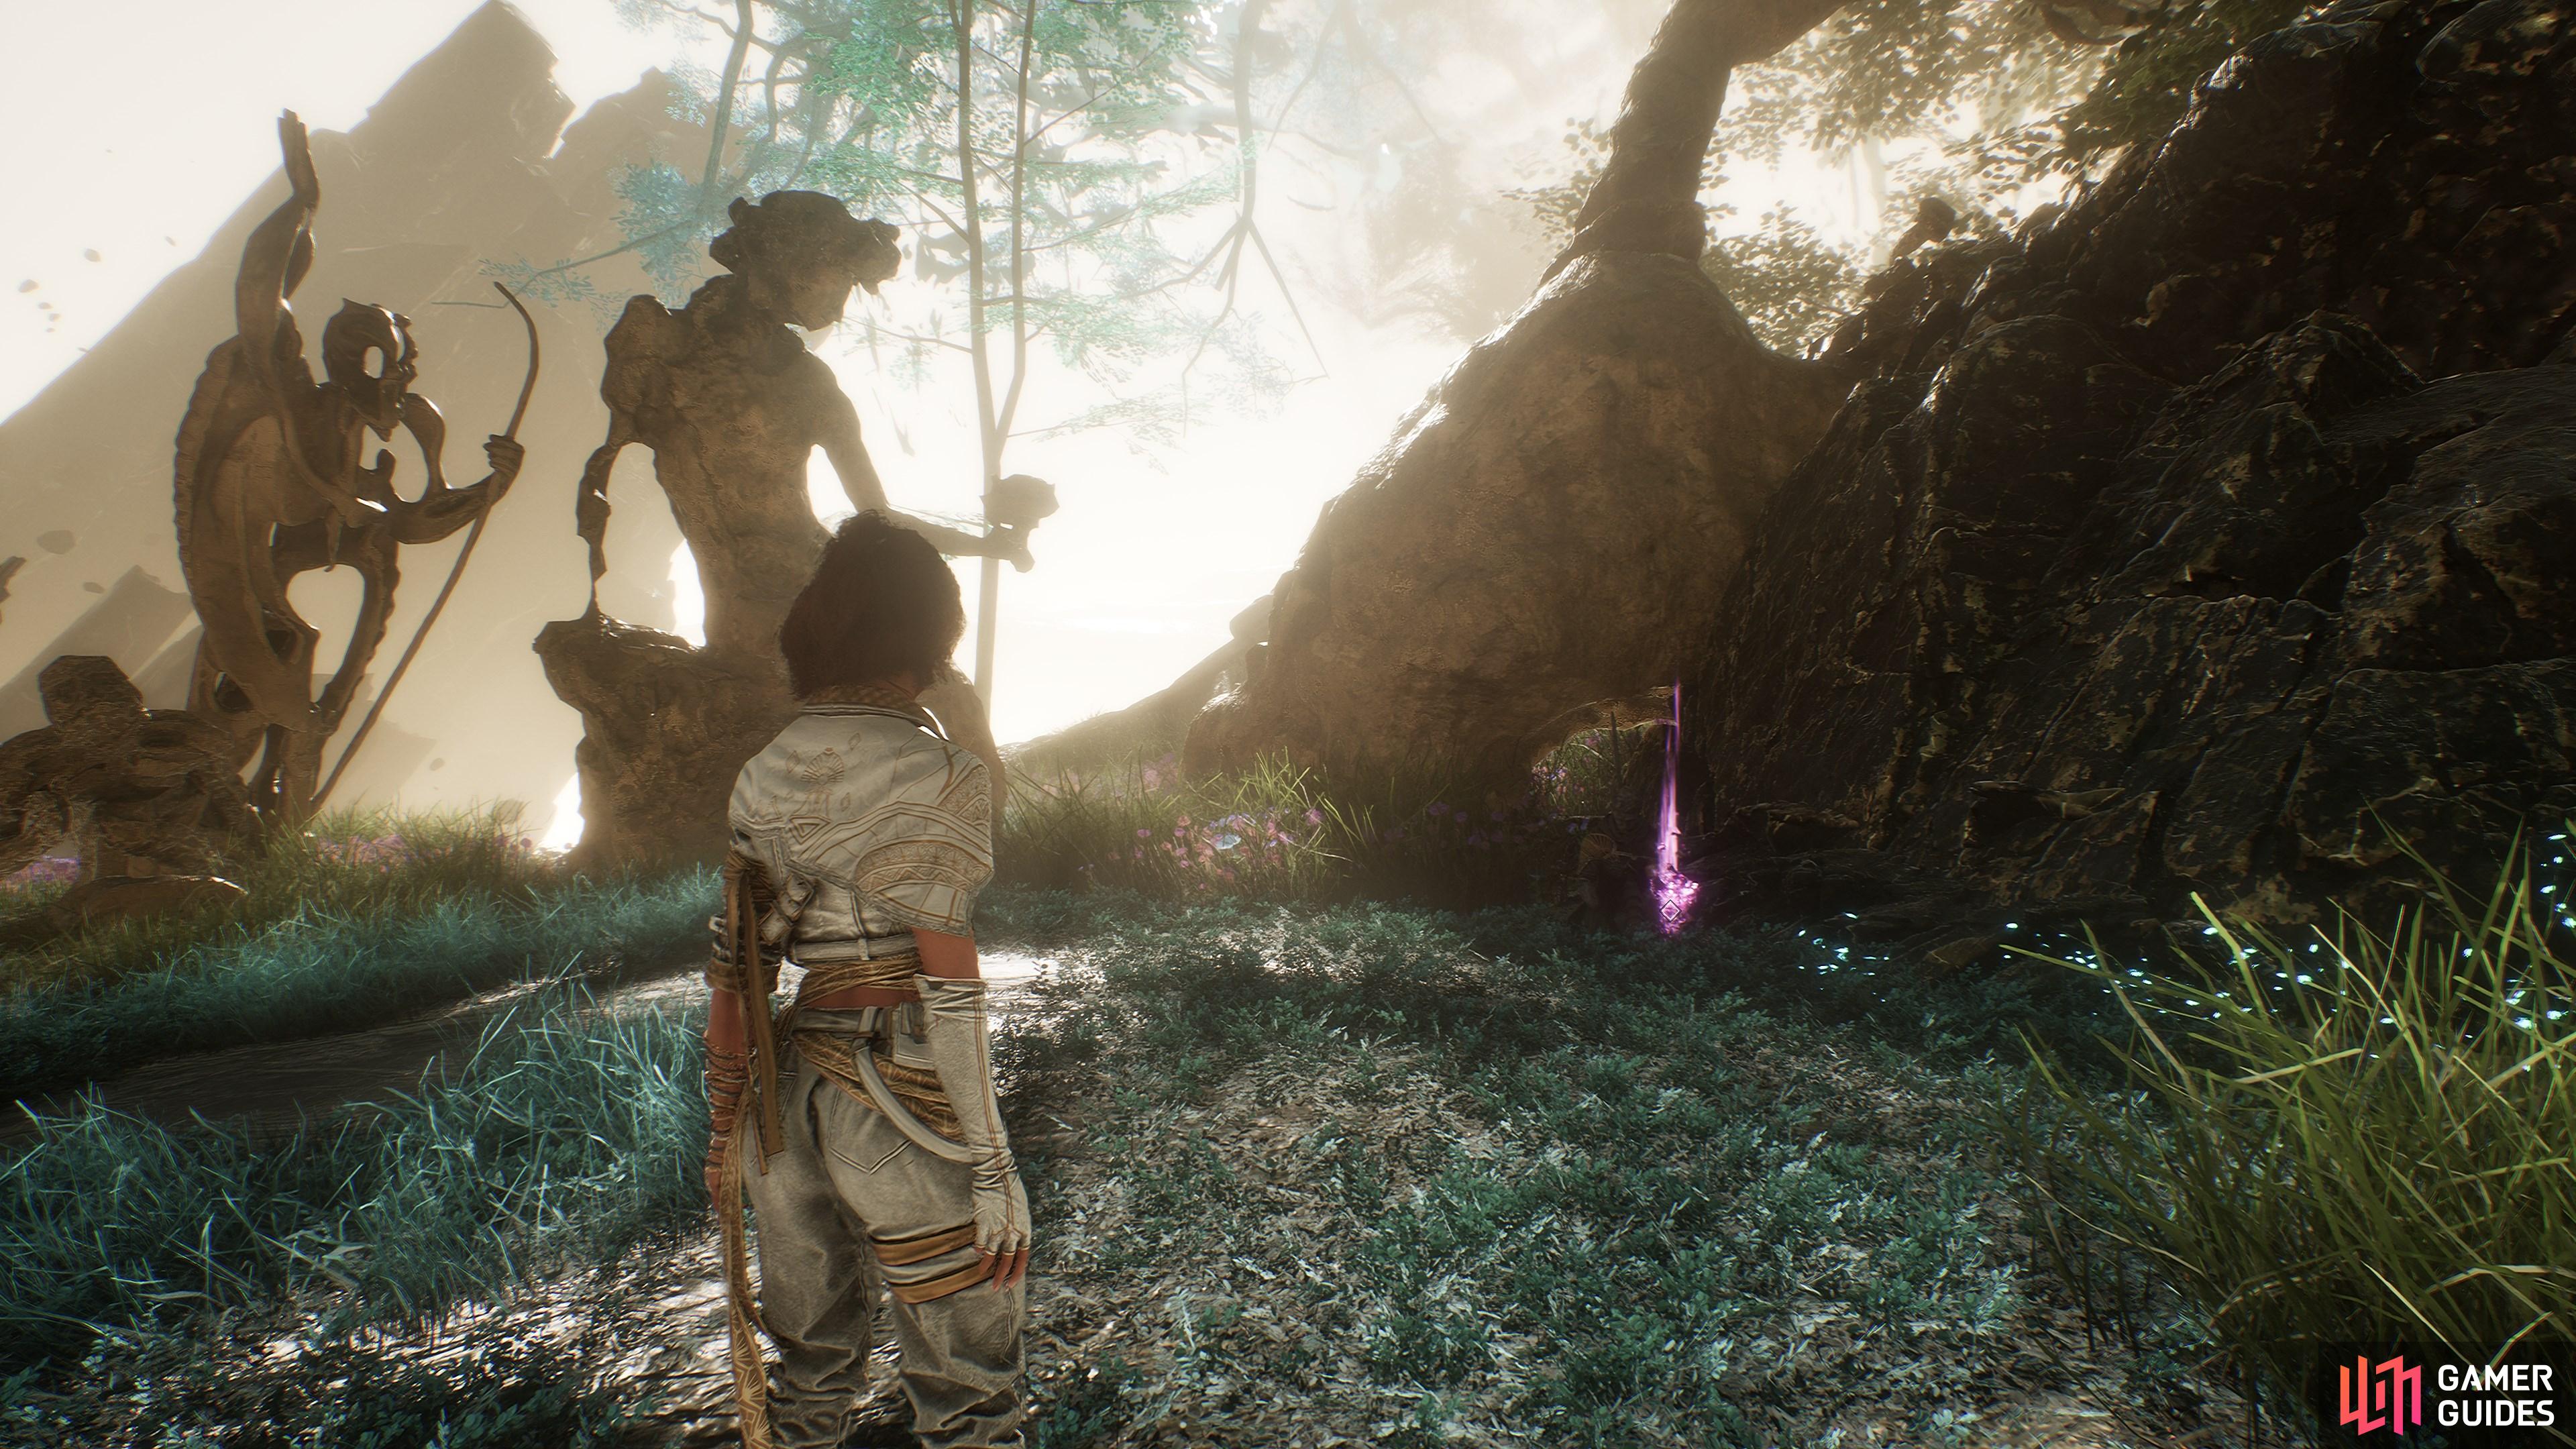
In the cavern you enter after meeting Esquie, grapple over the gap and turn around. Follow the path to find this at the end.
25. The Continent
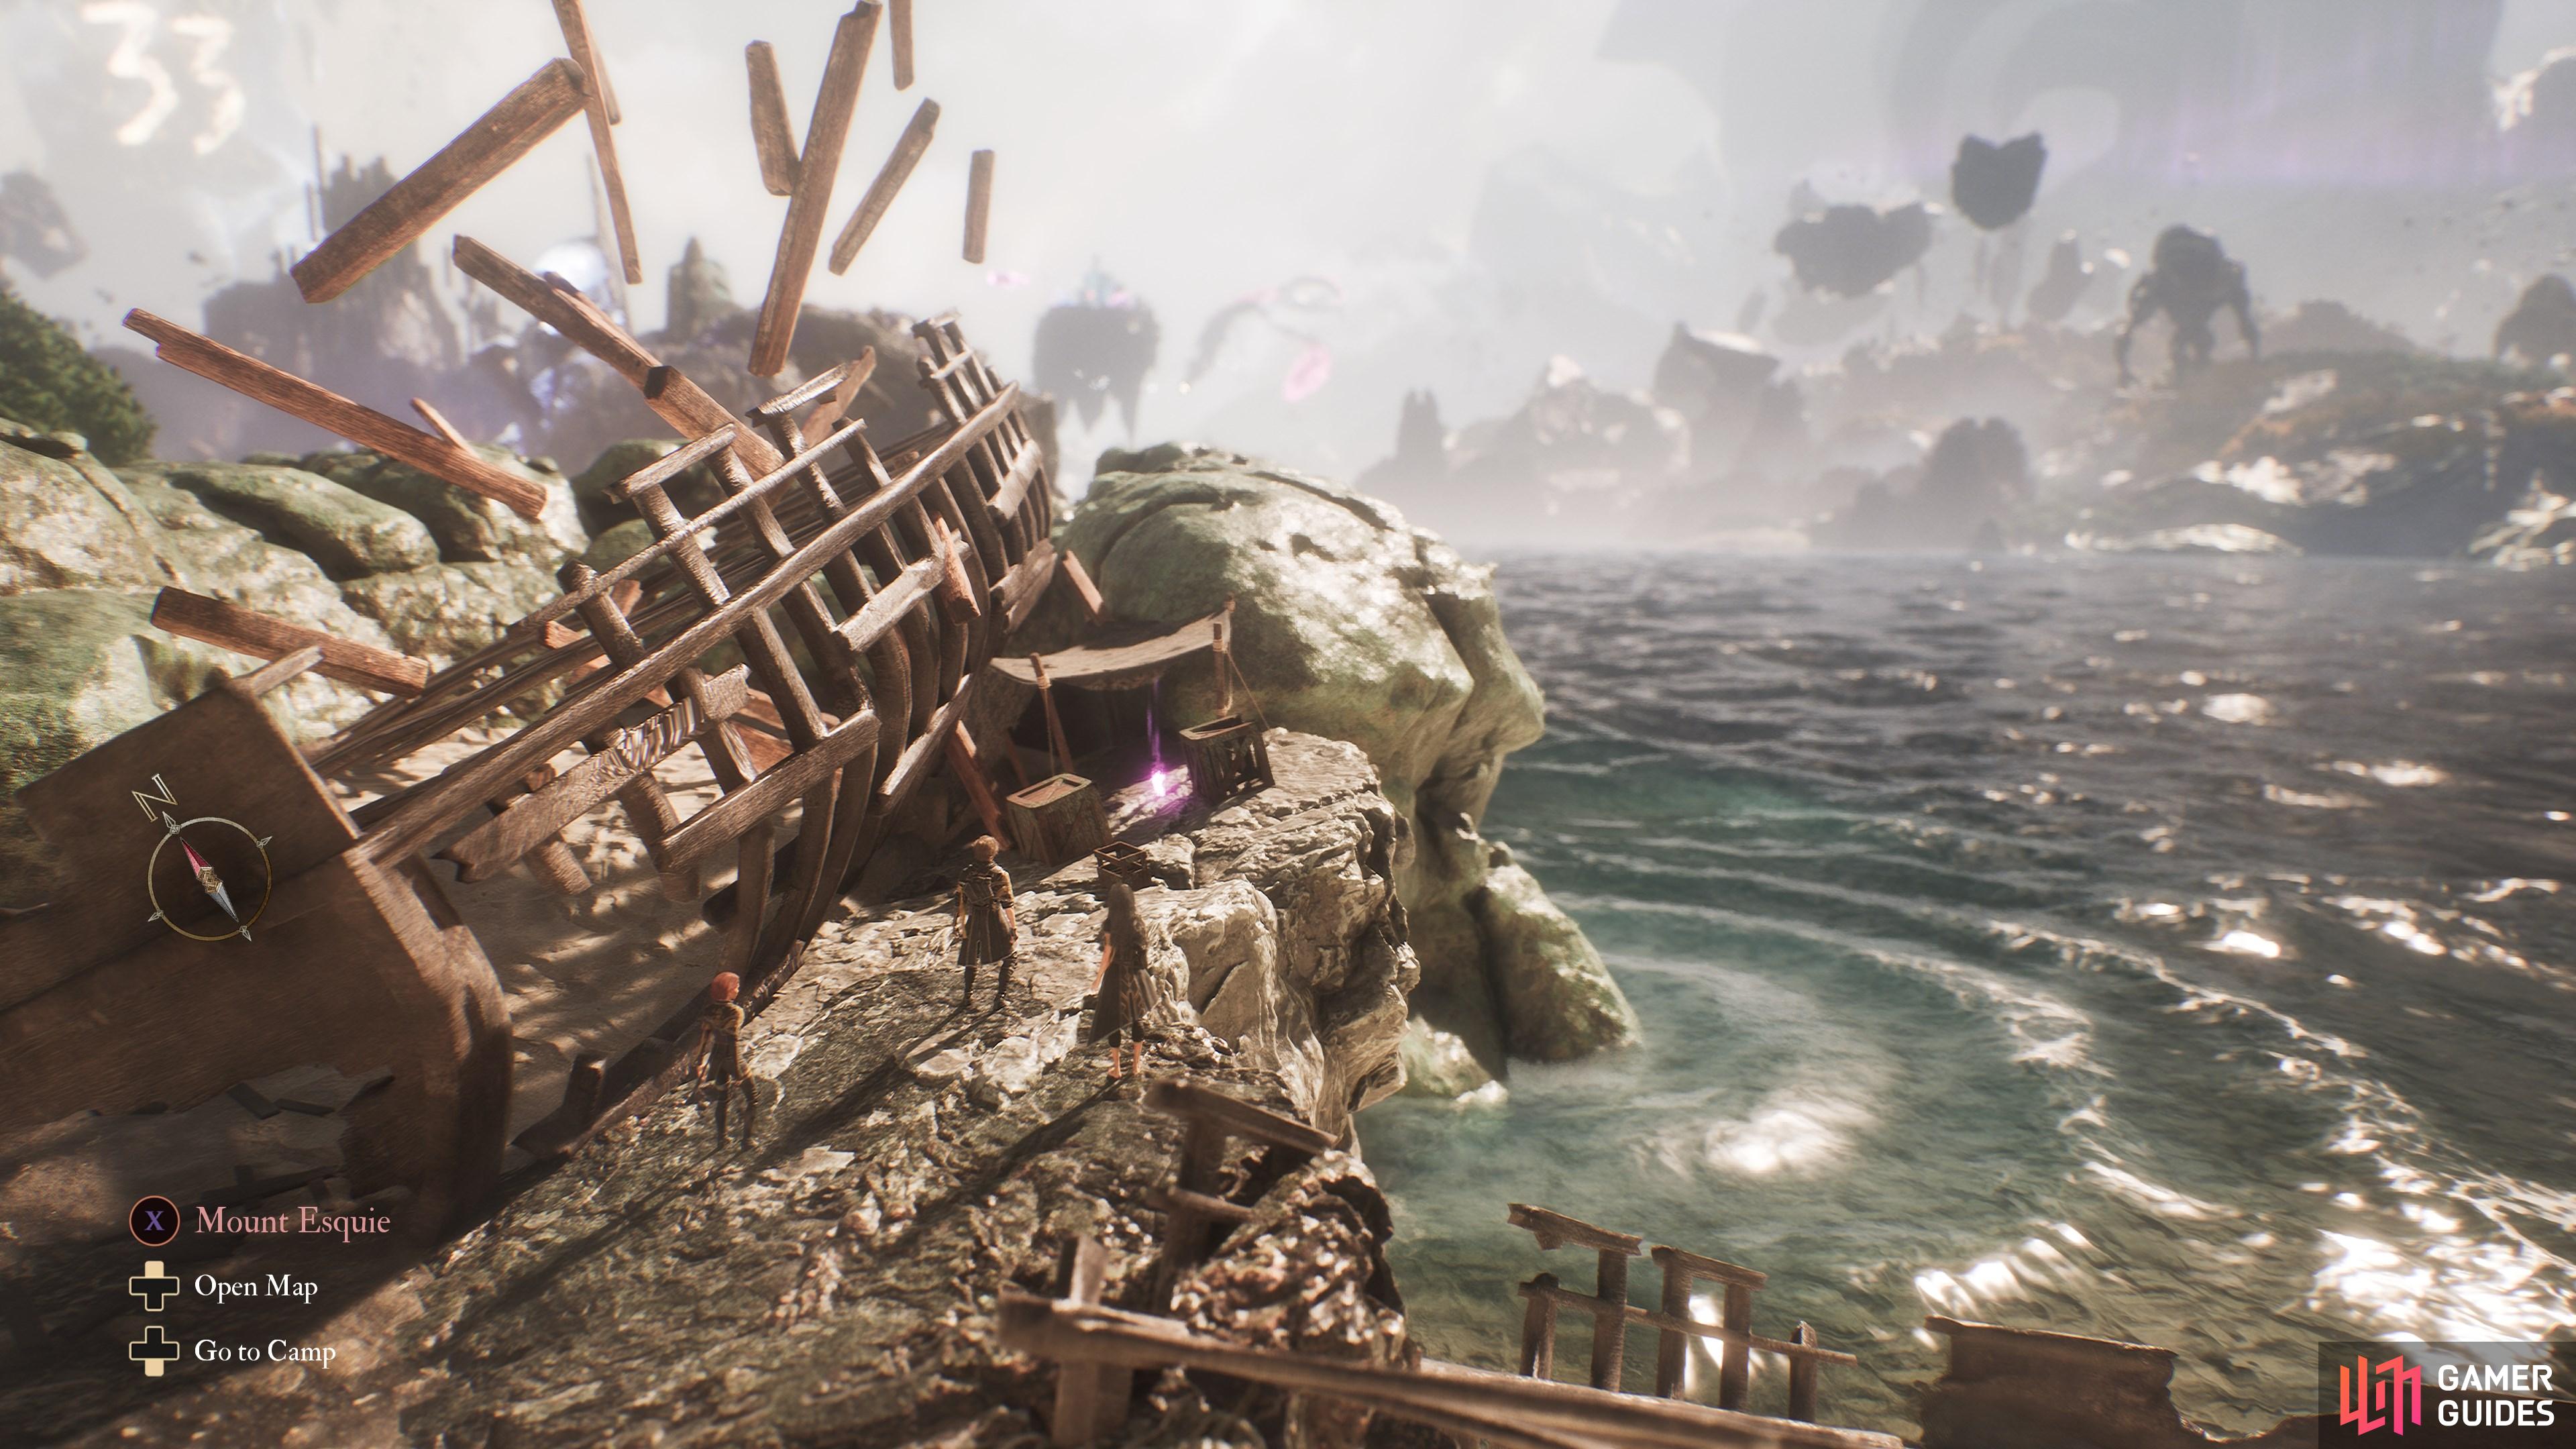
Five obtained as battle loot from the ![]() Pétank (Yellow) in this location. To find it, drop down to the water from the bridge above (there are hand holds to climb back up), on the opposite side to where the
Pétank (Yellow) in this location. To find it, drop down to the water from the bridge above (there are hand holds to climb back up), on the opposite side to where the ![]() Mime is found.
Mime is found.
28. The Continent
Bring Bourgeon the ![]() Bourgeon Skin to complete his request then leave the area. Return to the area and speak to him and the item will materialize in front of him after he has grown.
Bourgeon Skin to complete his request then leave the area. Return to the area and speak to him and the item will materialize in front of him after he has grown.
29. The Continent
At the dead white Nevron holding a blue lantern, look for a grapple point to the left. Grapple up and follow the path around.
32. The Continent
On the rocky path behind the stone golem, just past the ![]() Entrance (Stone Wave Cliffs) flag.
Entrance (Stone Wave Cliffs) flag.
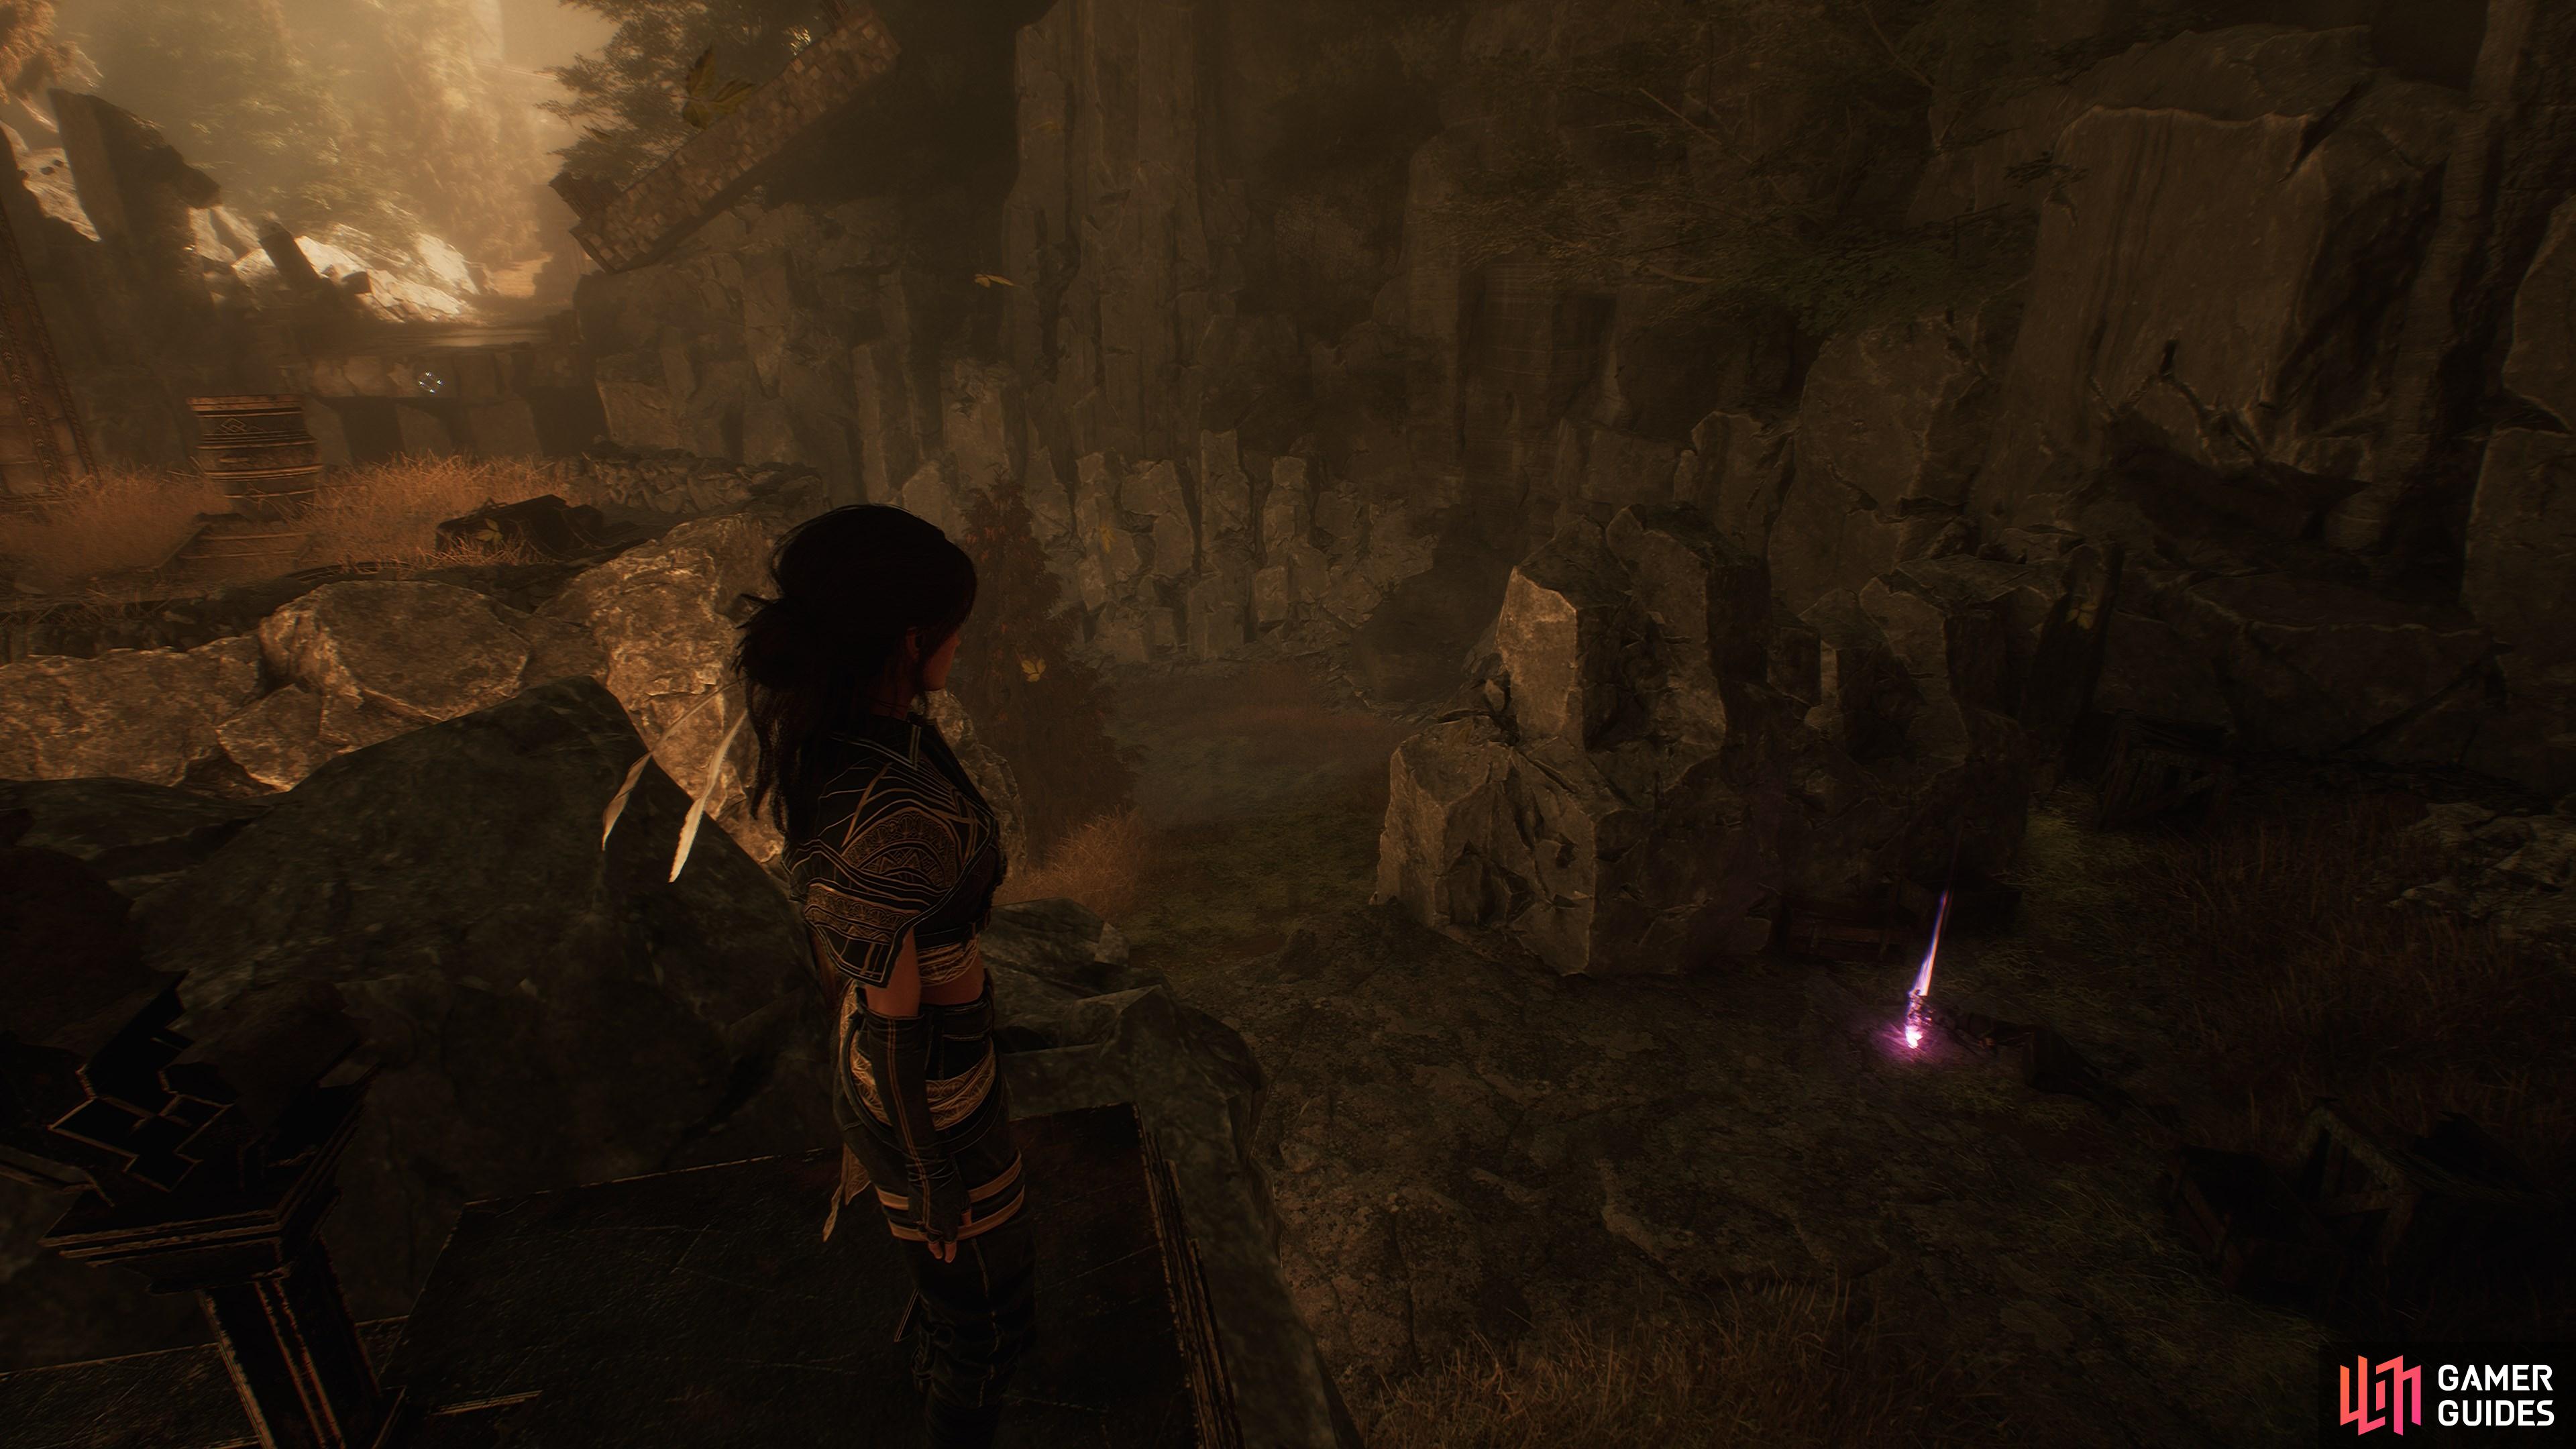
33. The Continent
Found on a cliff after using the first grapple point, just past where the Hexga is stomping around.
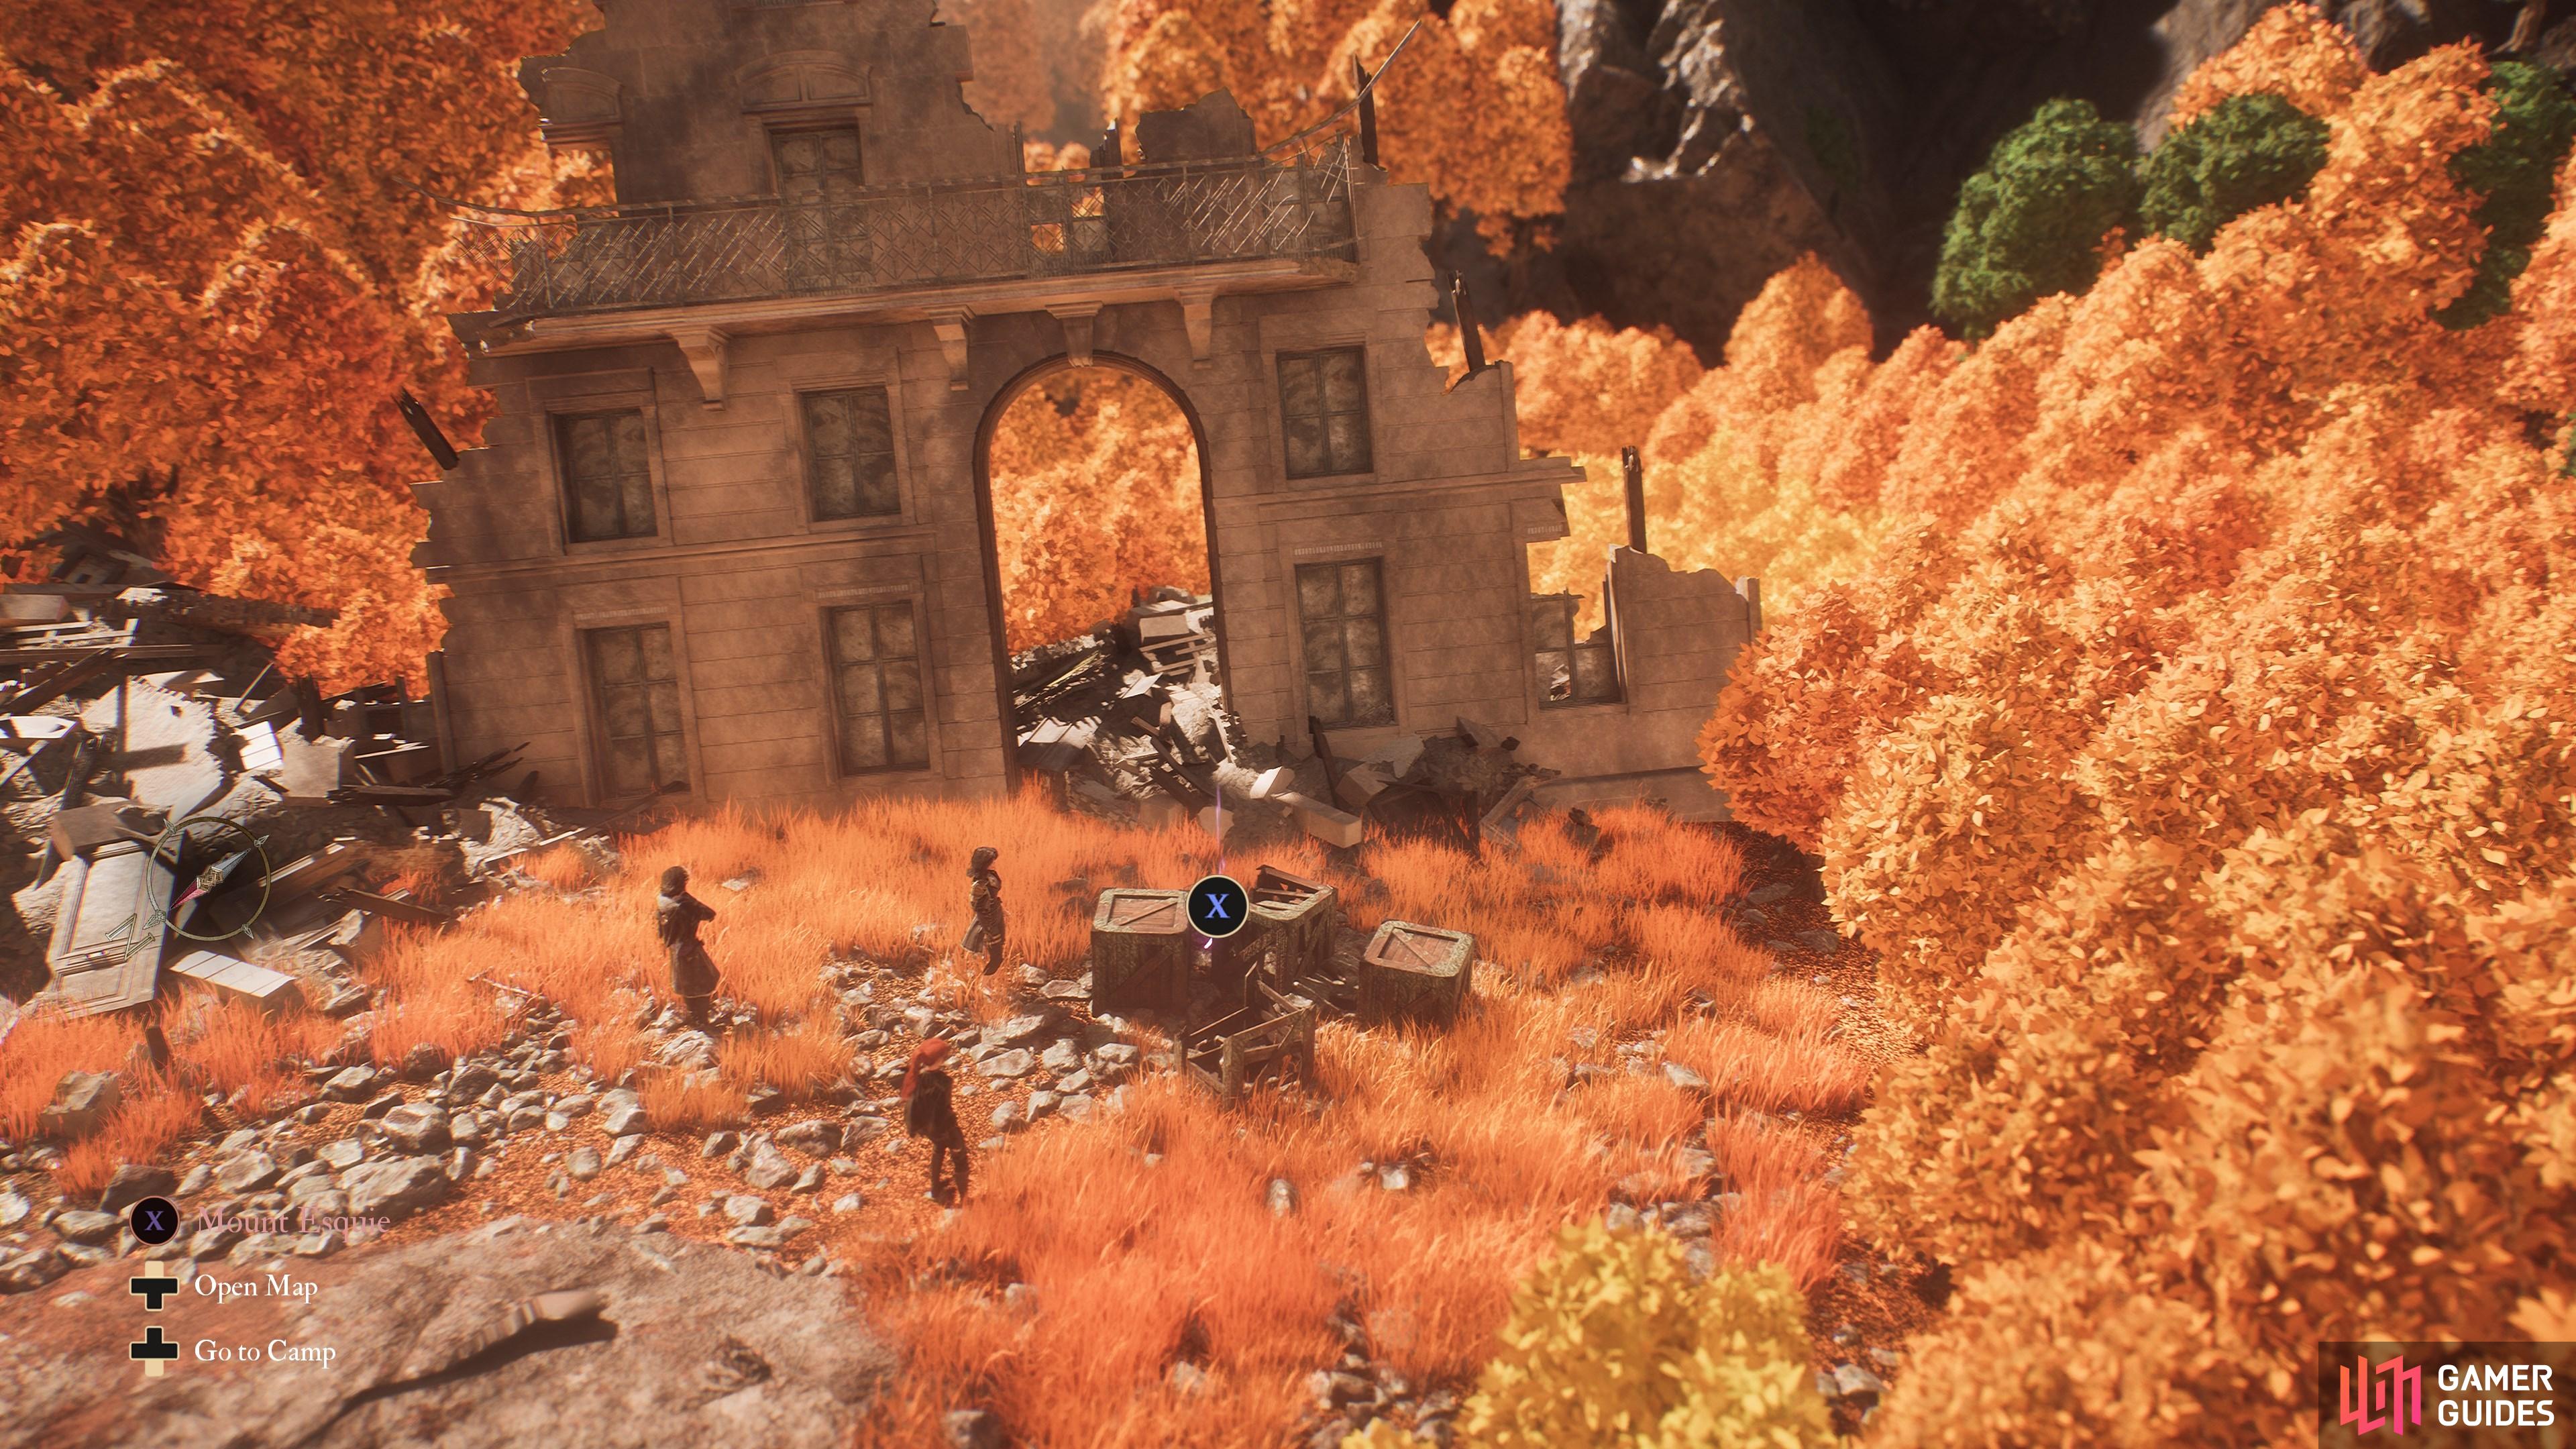
34. The Continent
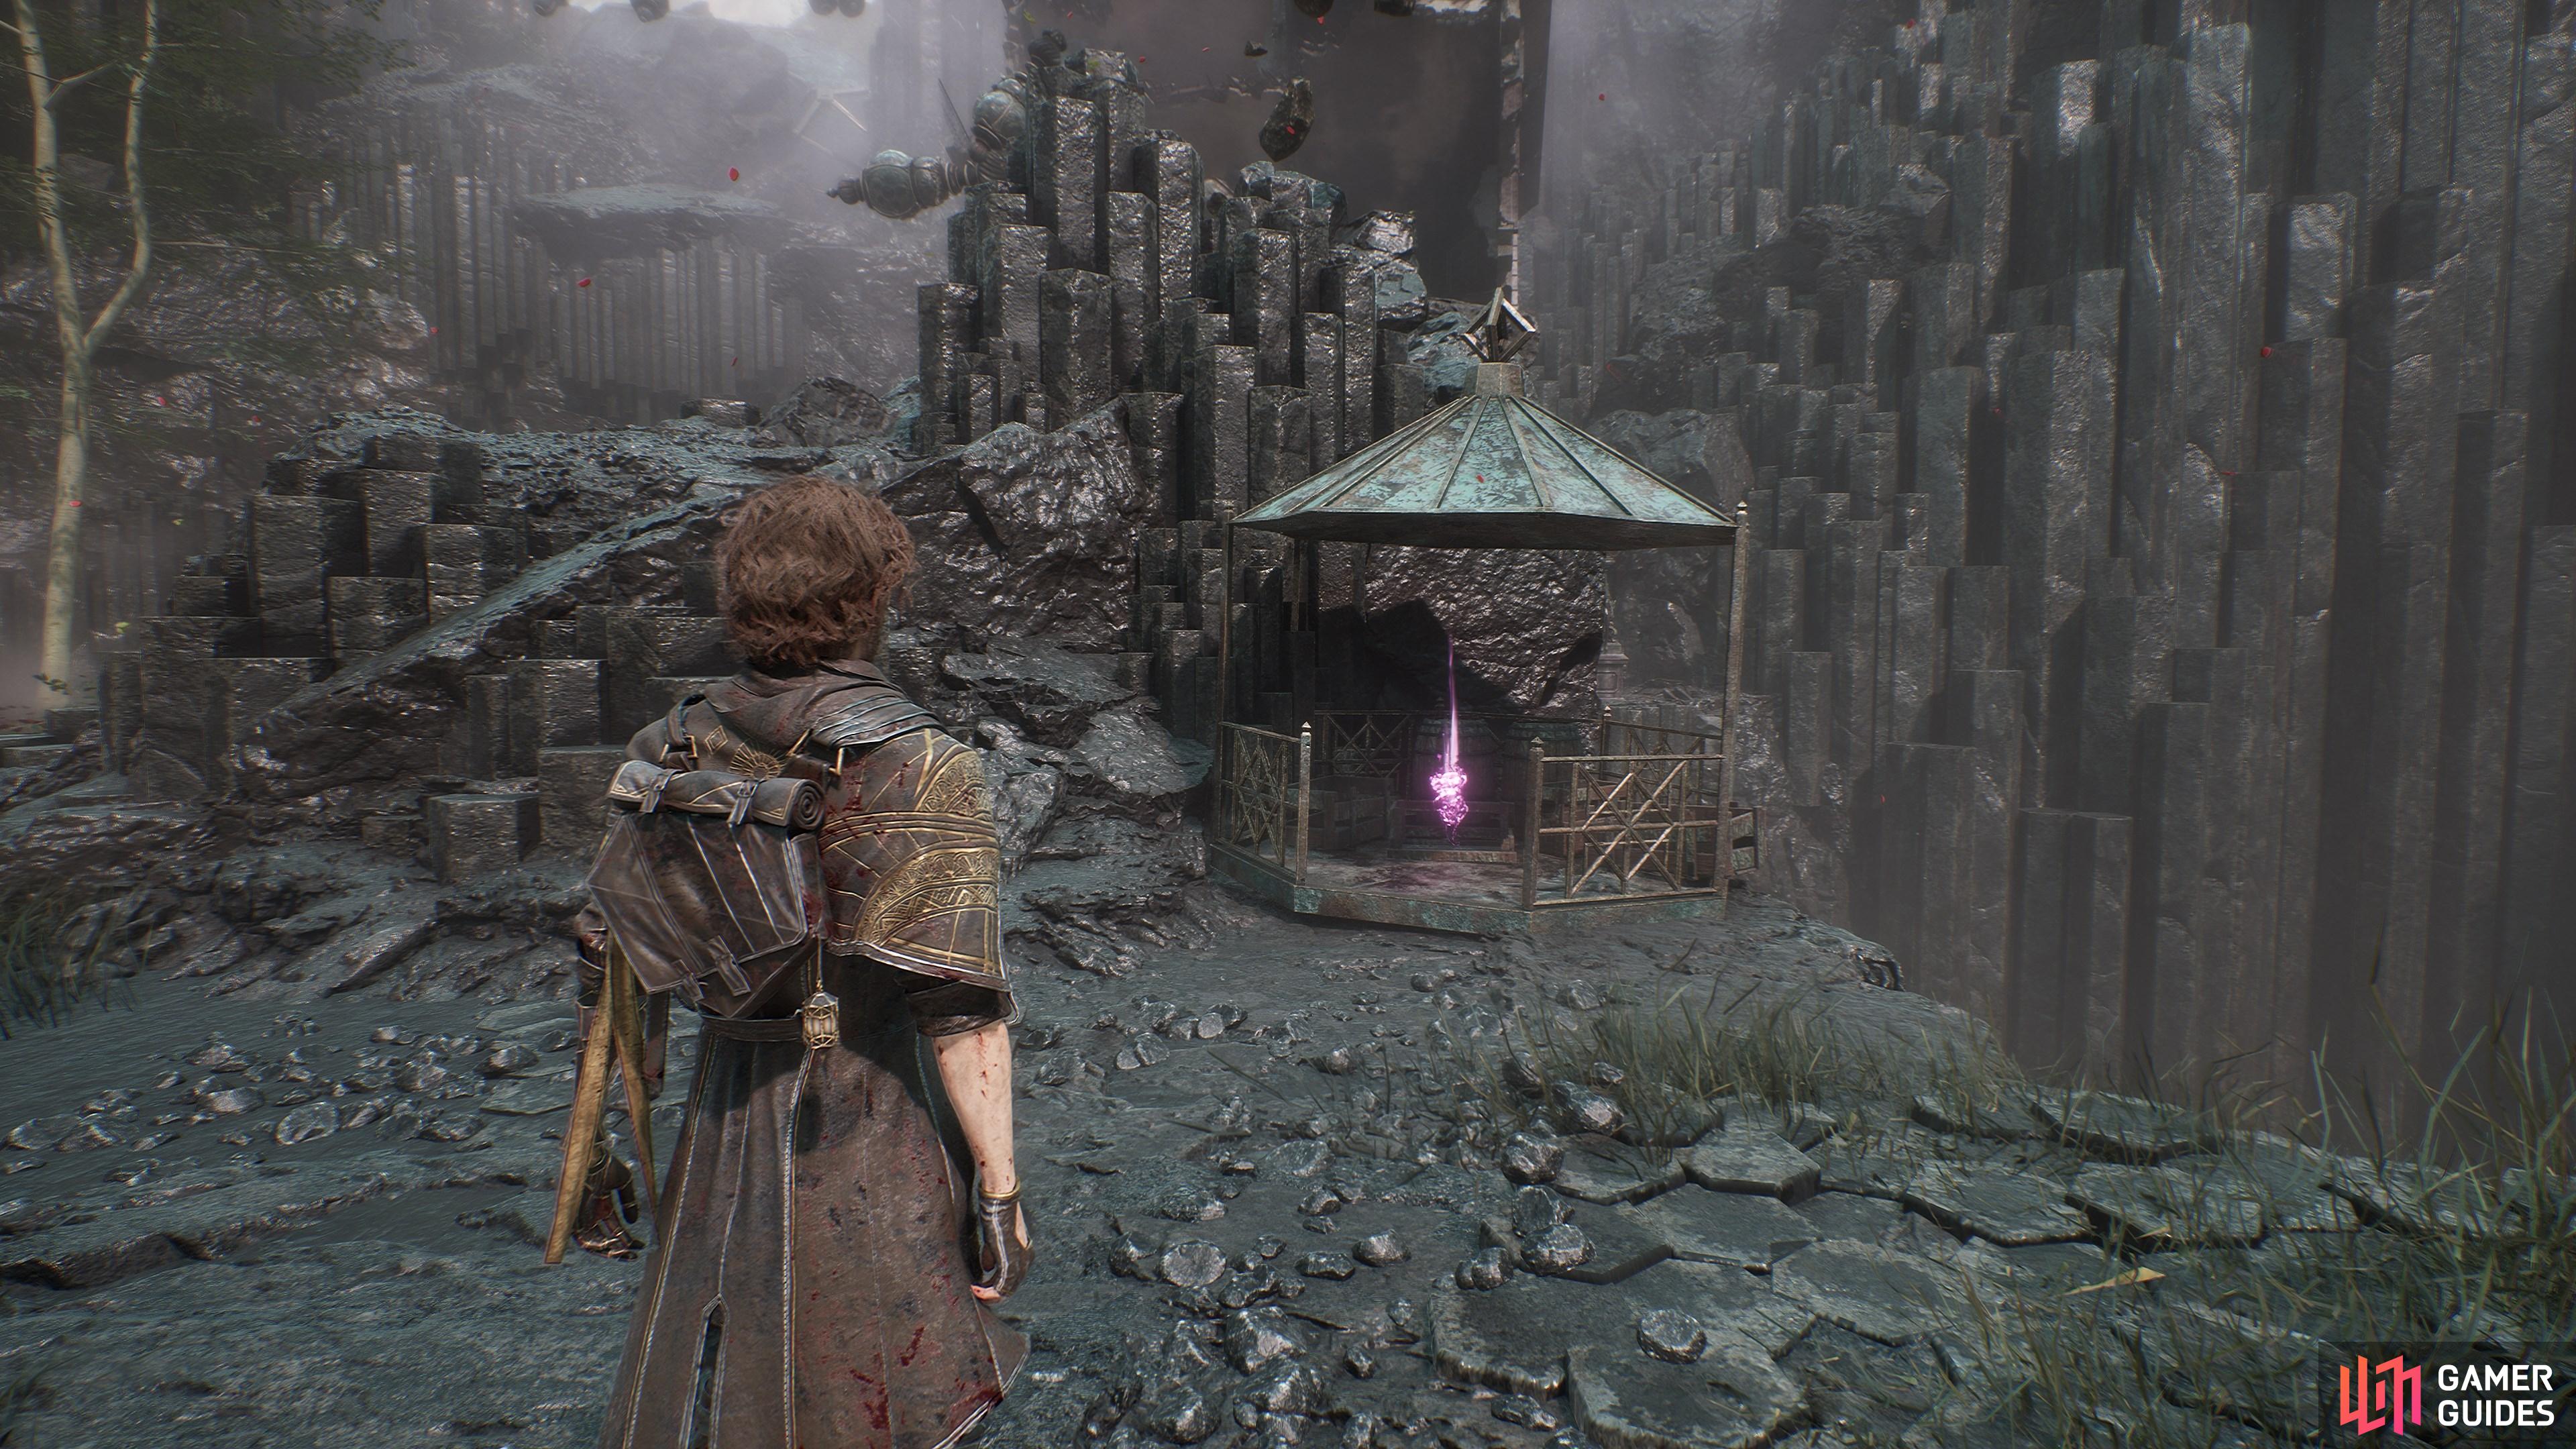
Inside the ruined pavilion in the first area you encounter the ![]() Reaper Cultist enemies.
Reaper Cultist enemies.
35. The Continent
Go downhill from the ![]() Paintress Shrine flag and follow the path around under the stone arch, then hug the right-hand wall until you find a way up to this platform.
Paintress Shrine flag and follow the path around under the stone arch, then hug the right-hand wall until you find a way up to this platform.
37. The Continent
Five obtained in Battle Loot from the Petank. You’ll find it at the ![]() Old Farm.
Old Farm.
38. The Continent
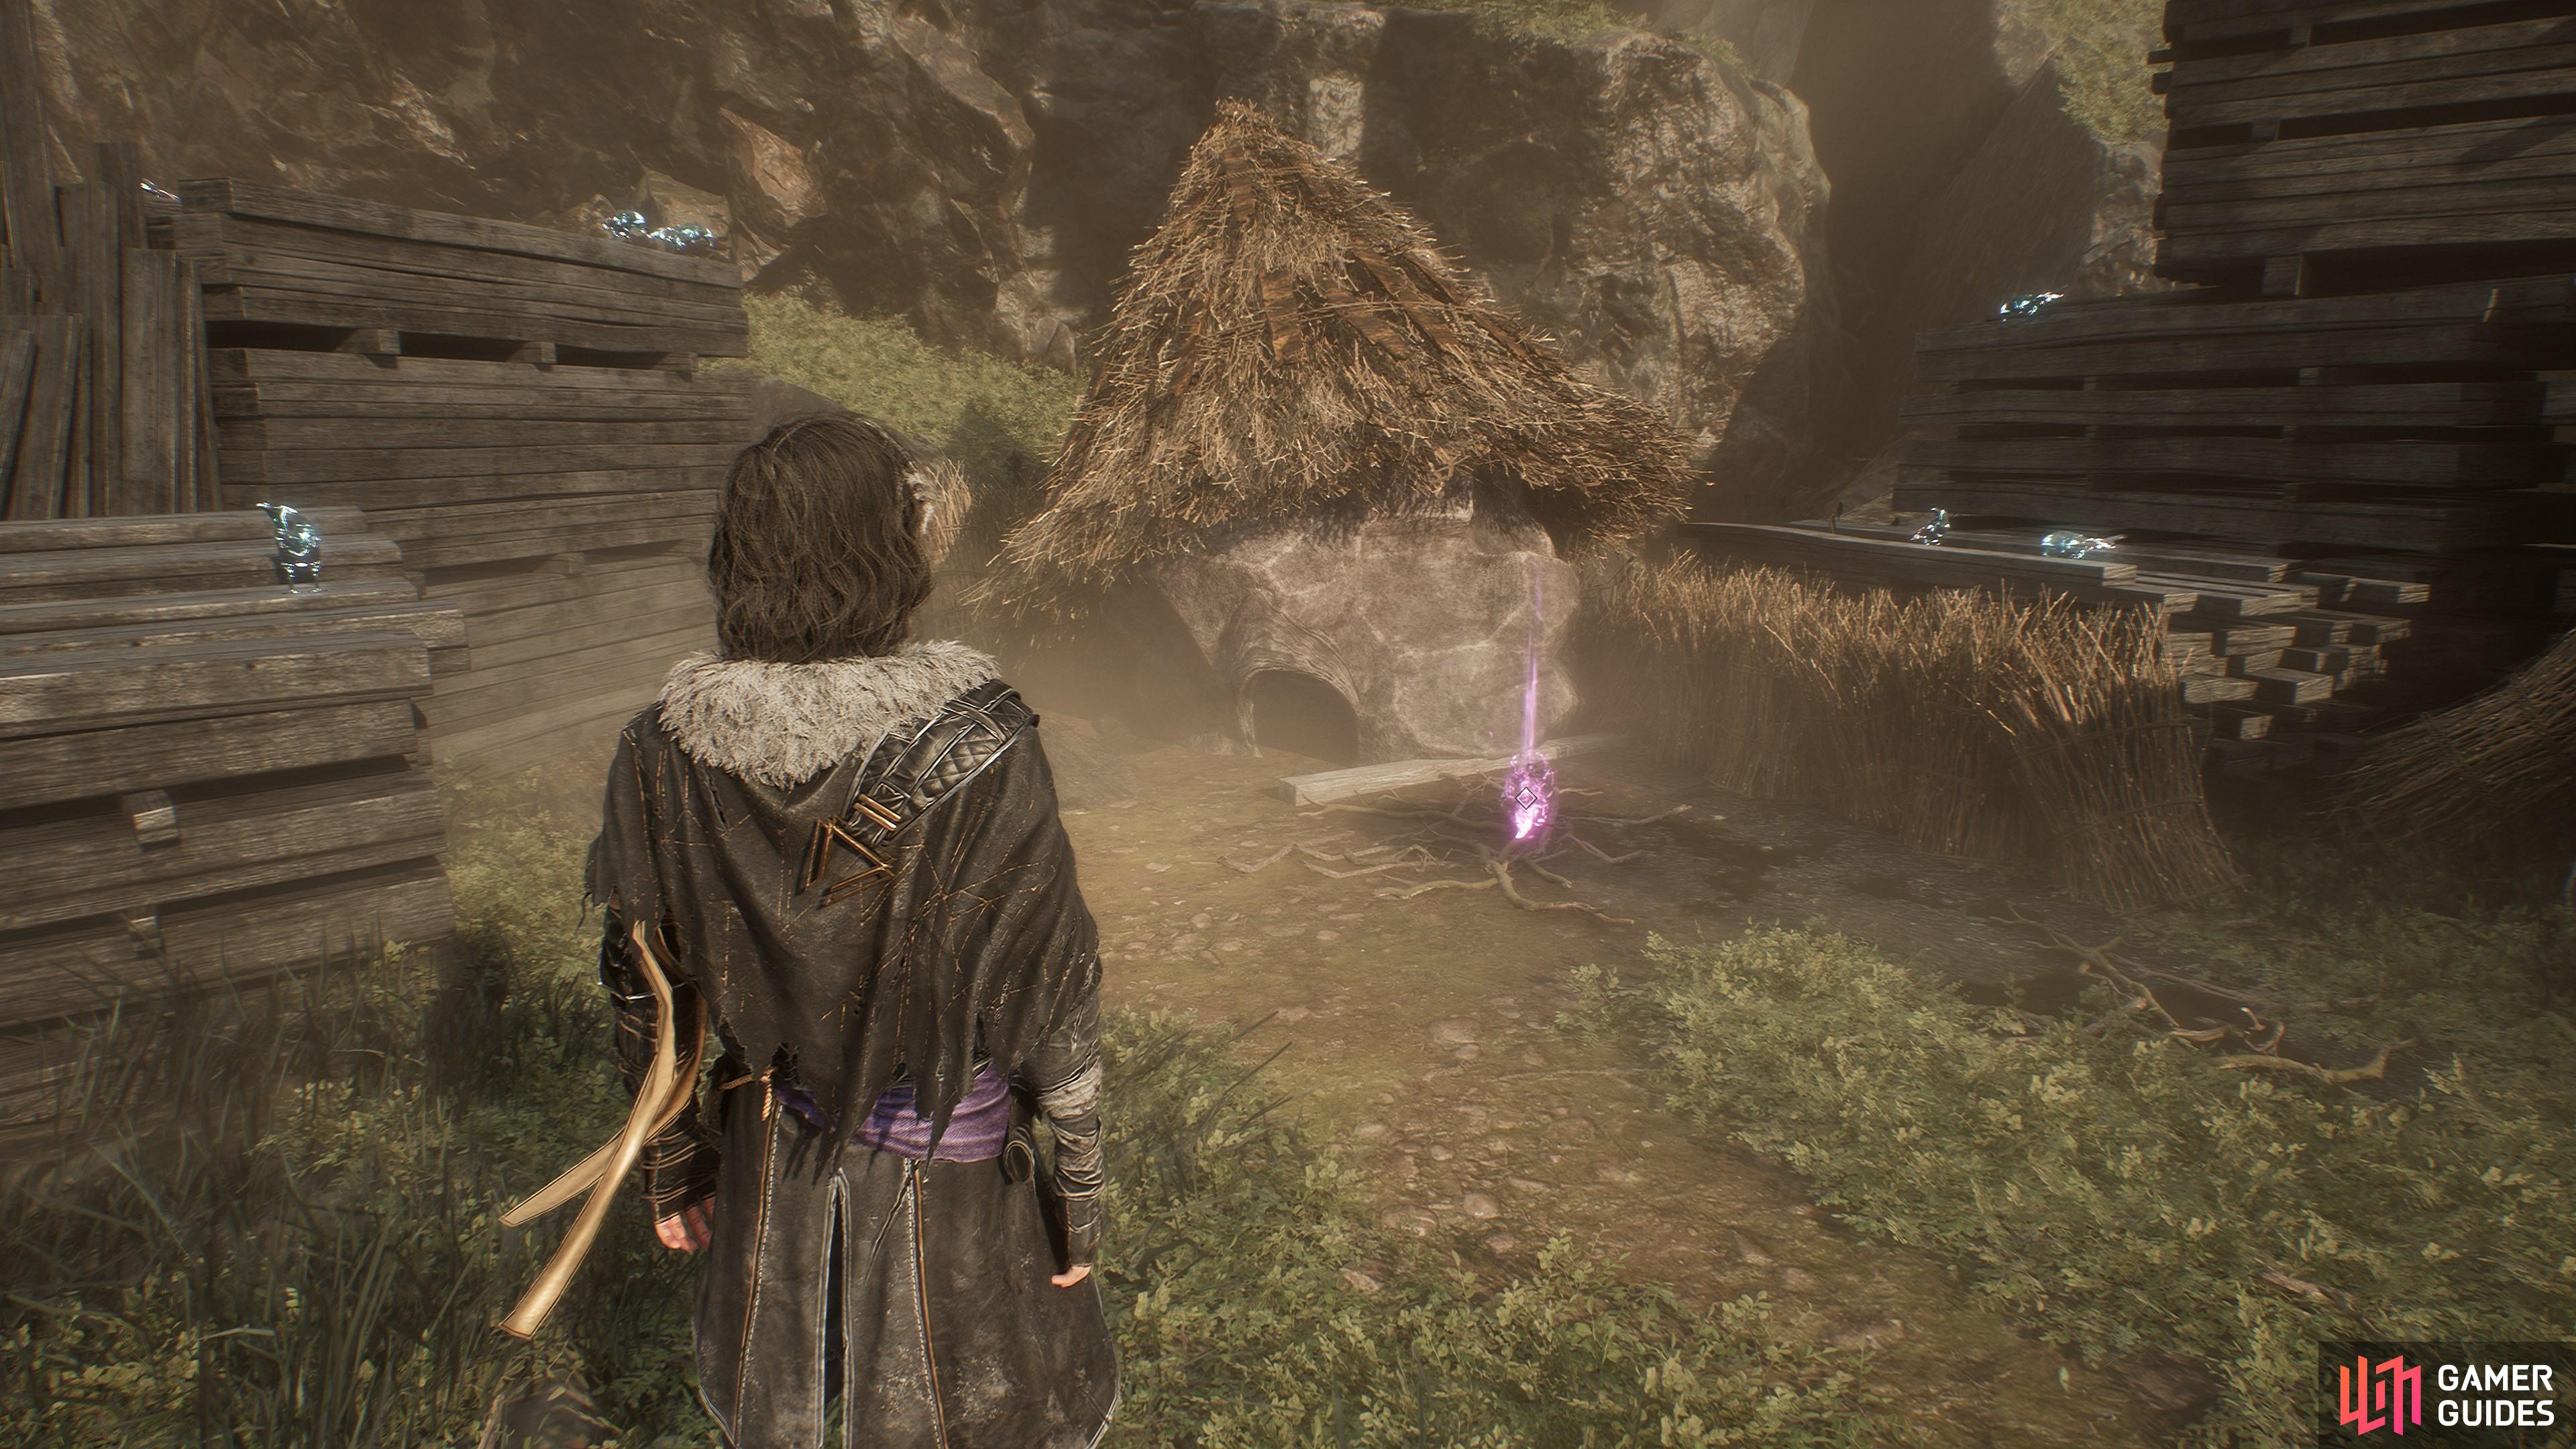
From the ![]() Old Farm flag, go past the three wooden huts and through a tunnel on the righ-hand wall. Look for an opening in the tunnel wall to find this.
Old Farm flag, go past the three wooden huts and through a tunnel on the righ-hand wall. Look for an opening in the tunnel wall to find this.
39. The Continent
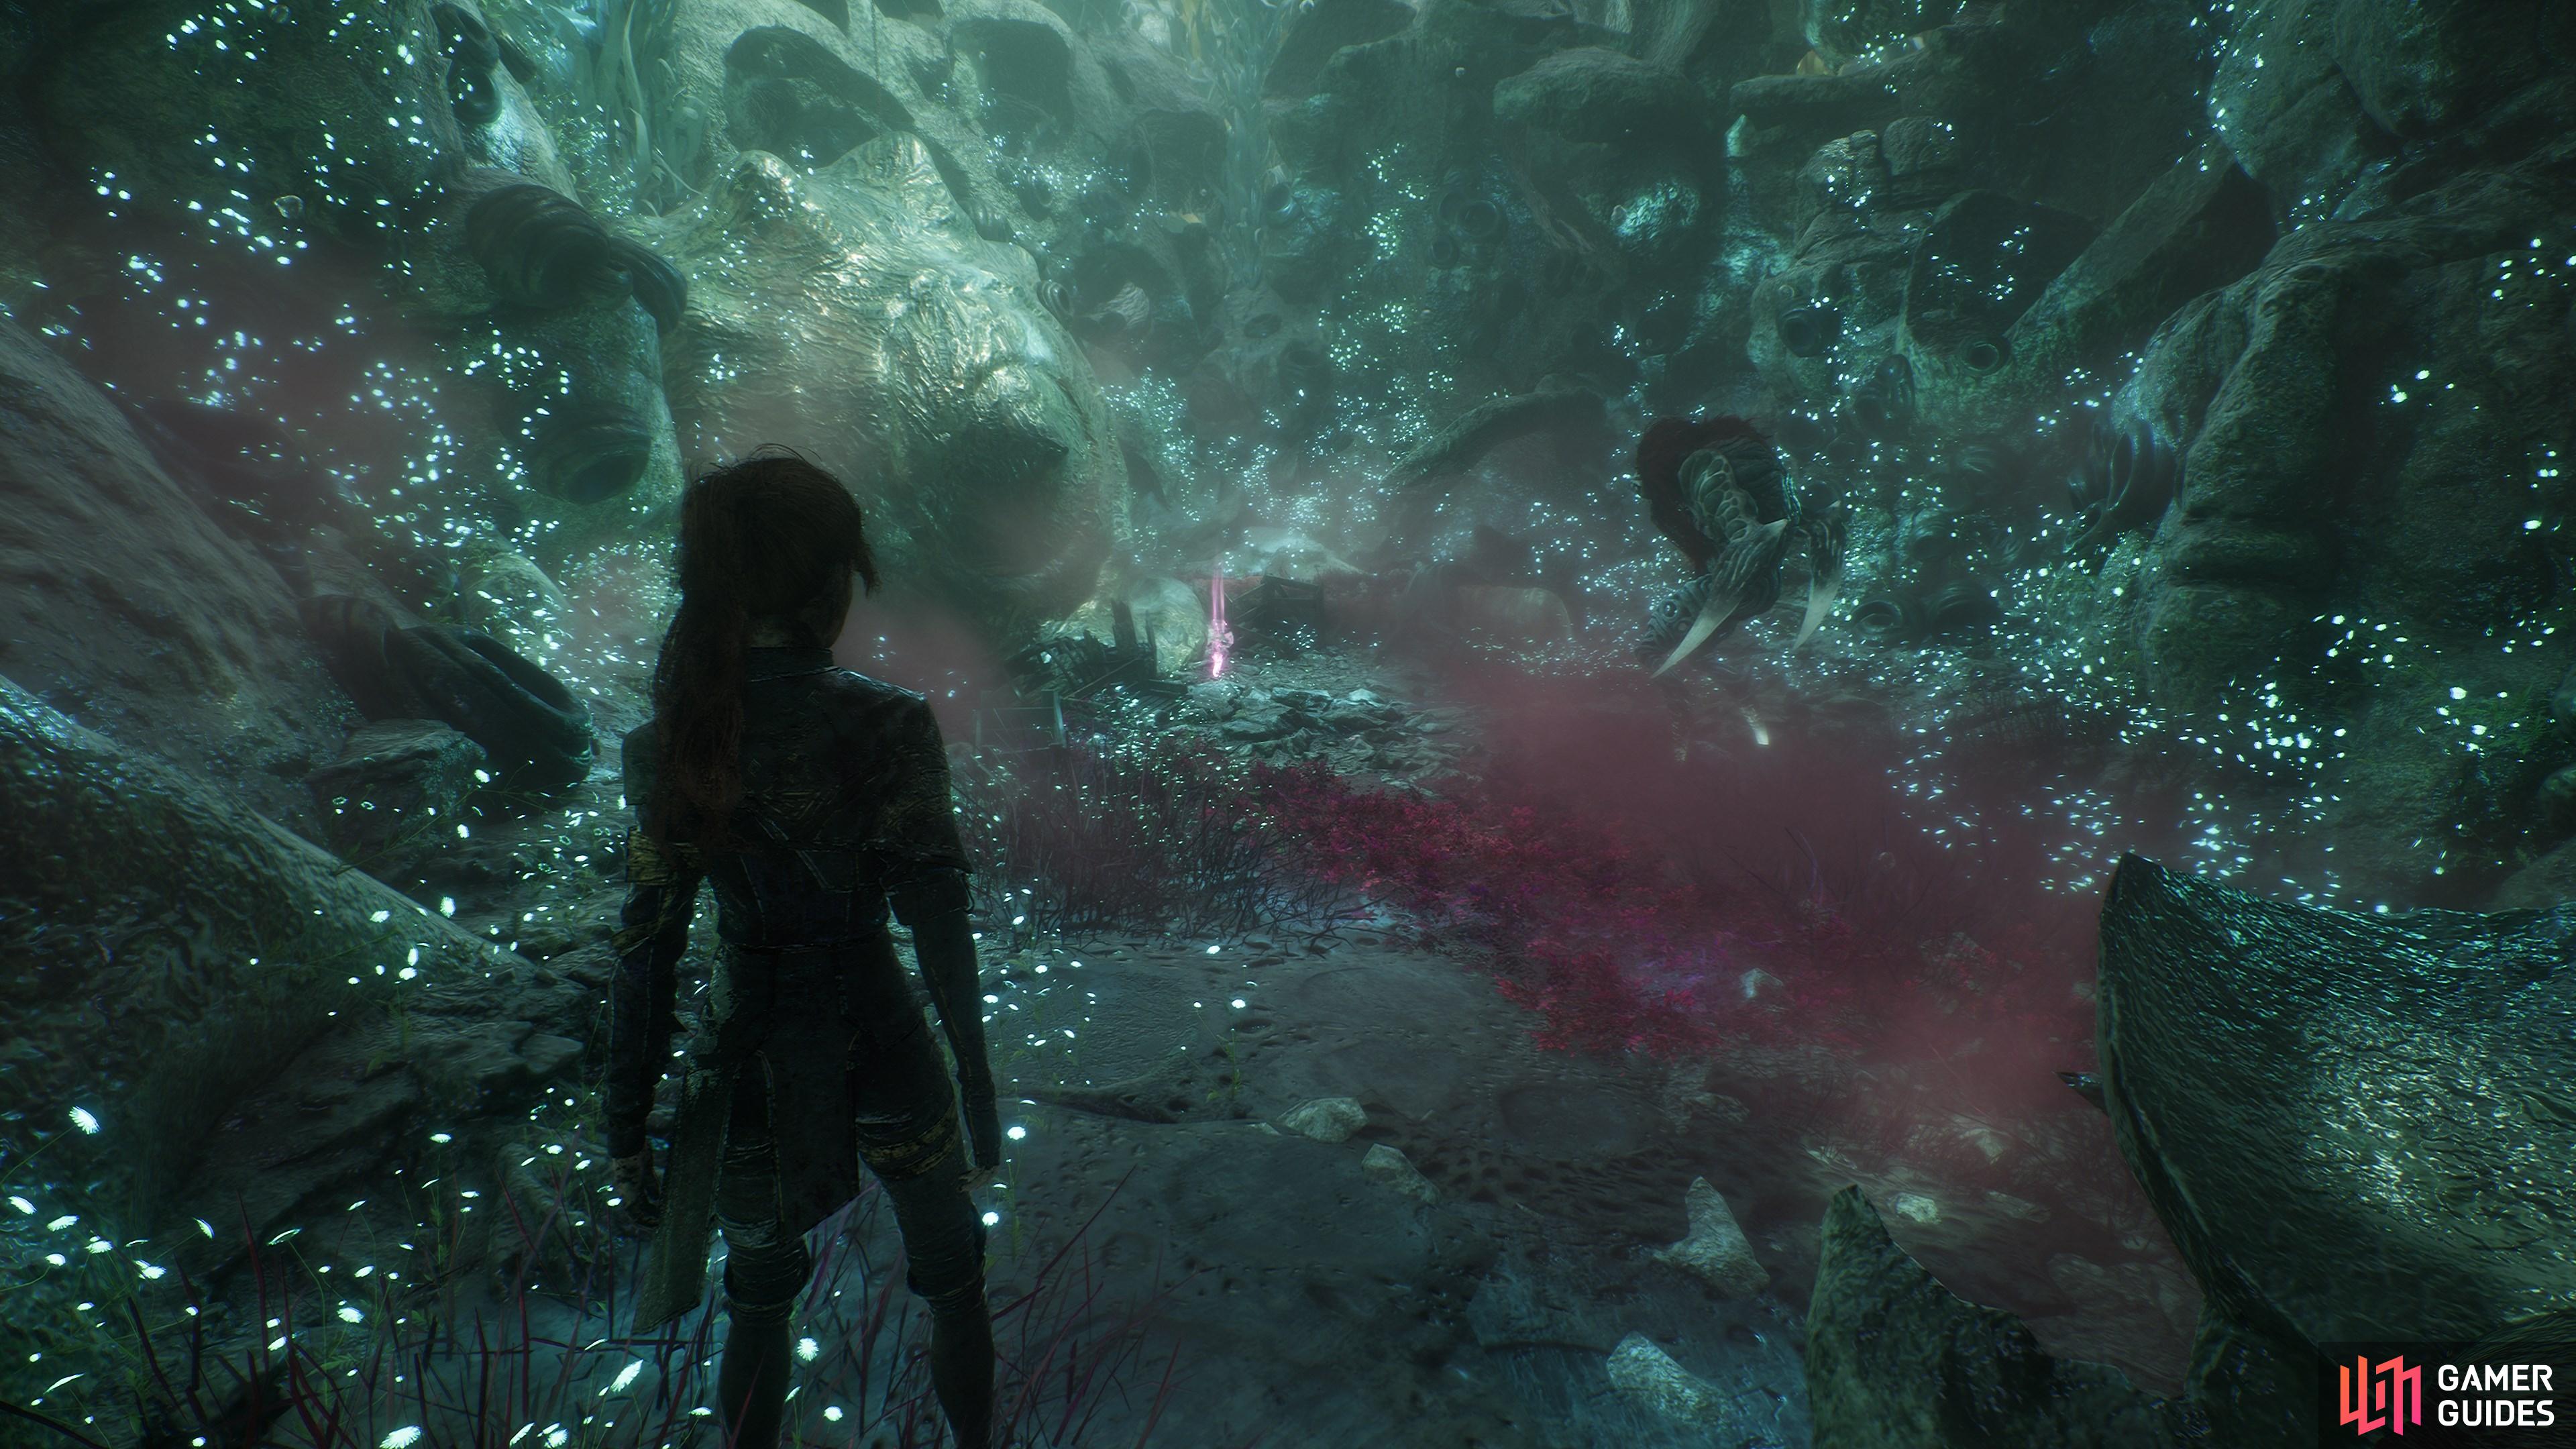
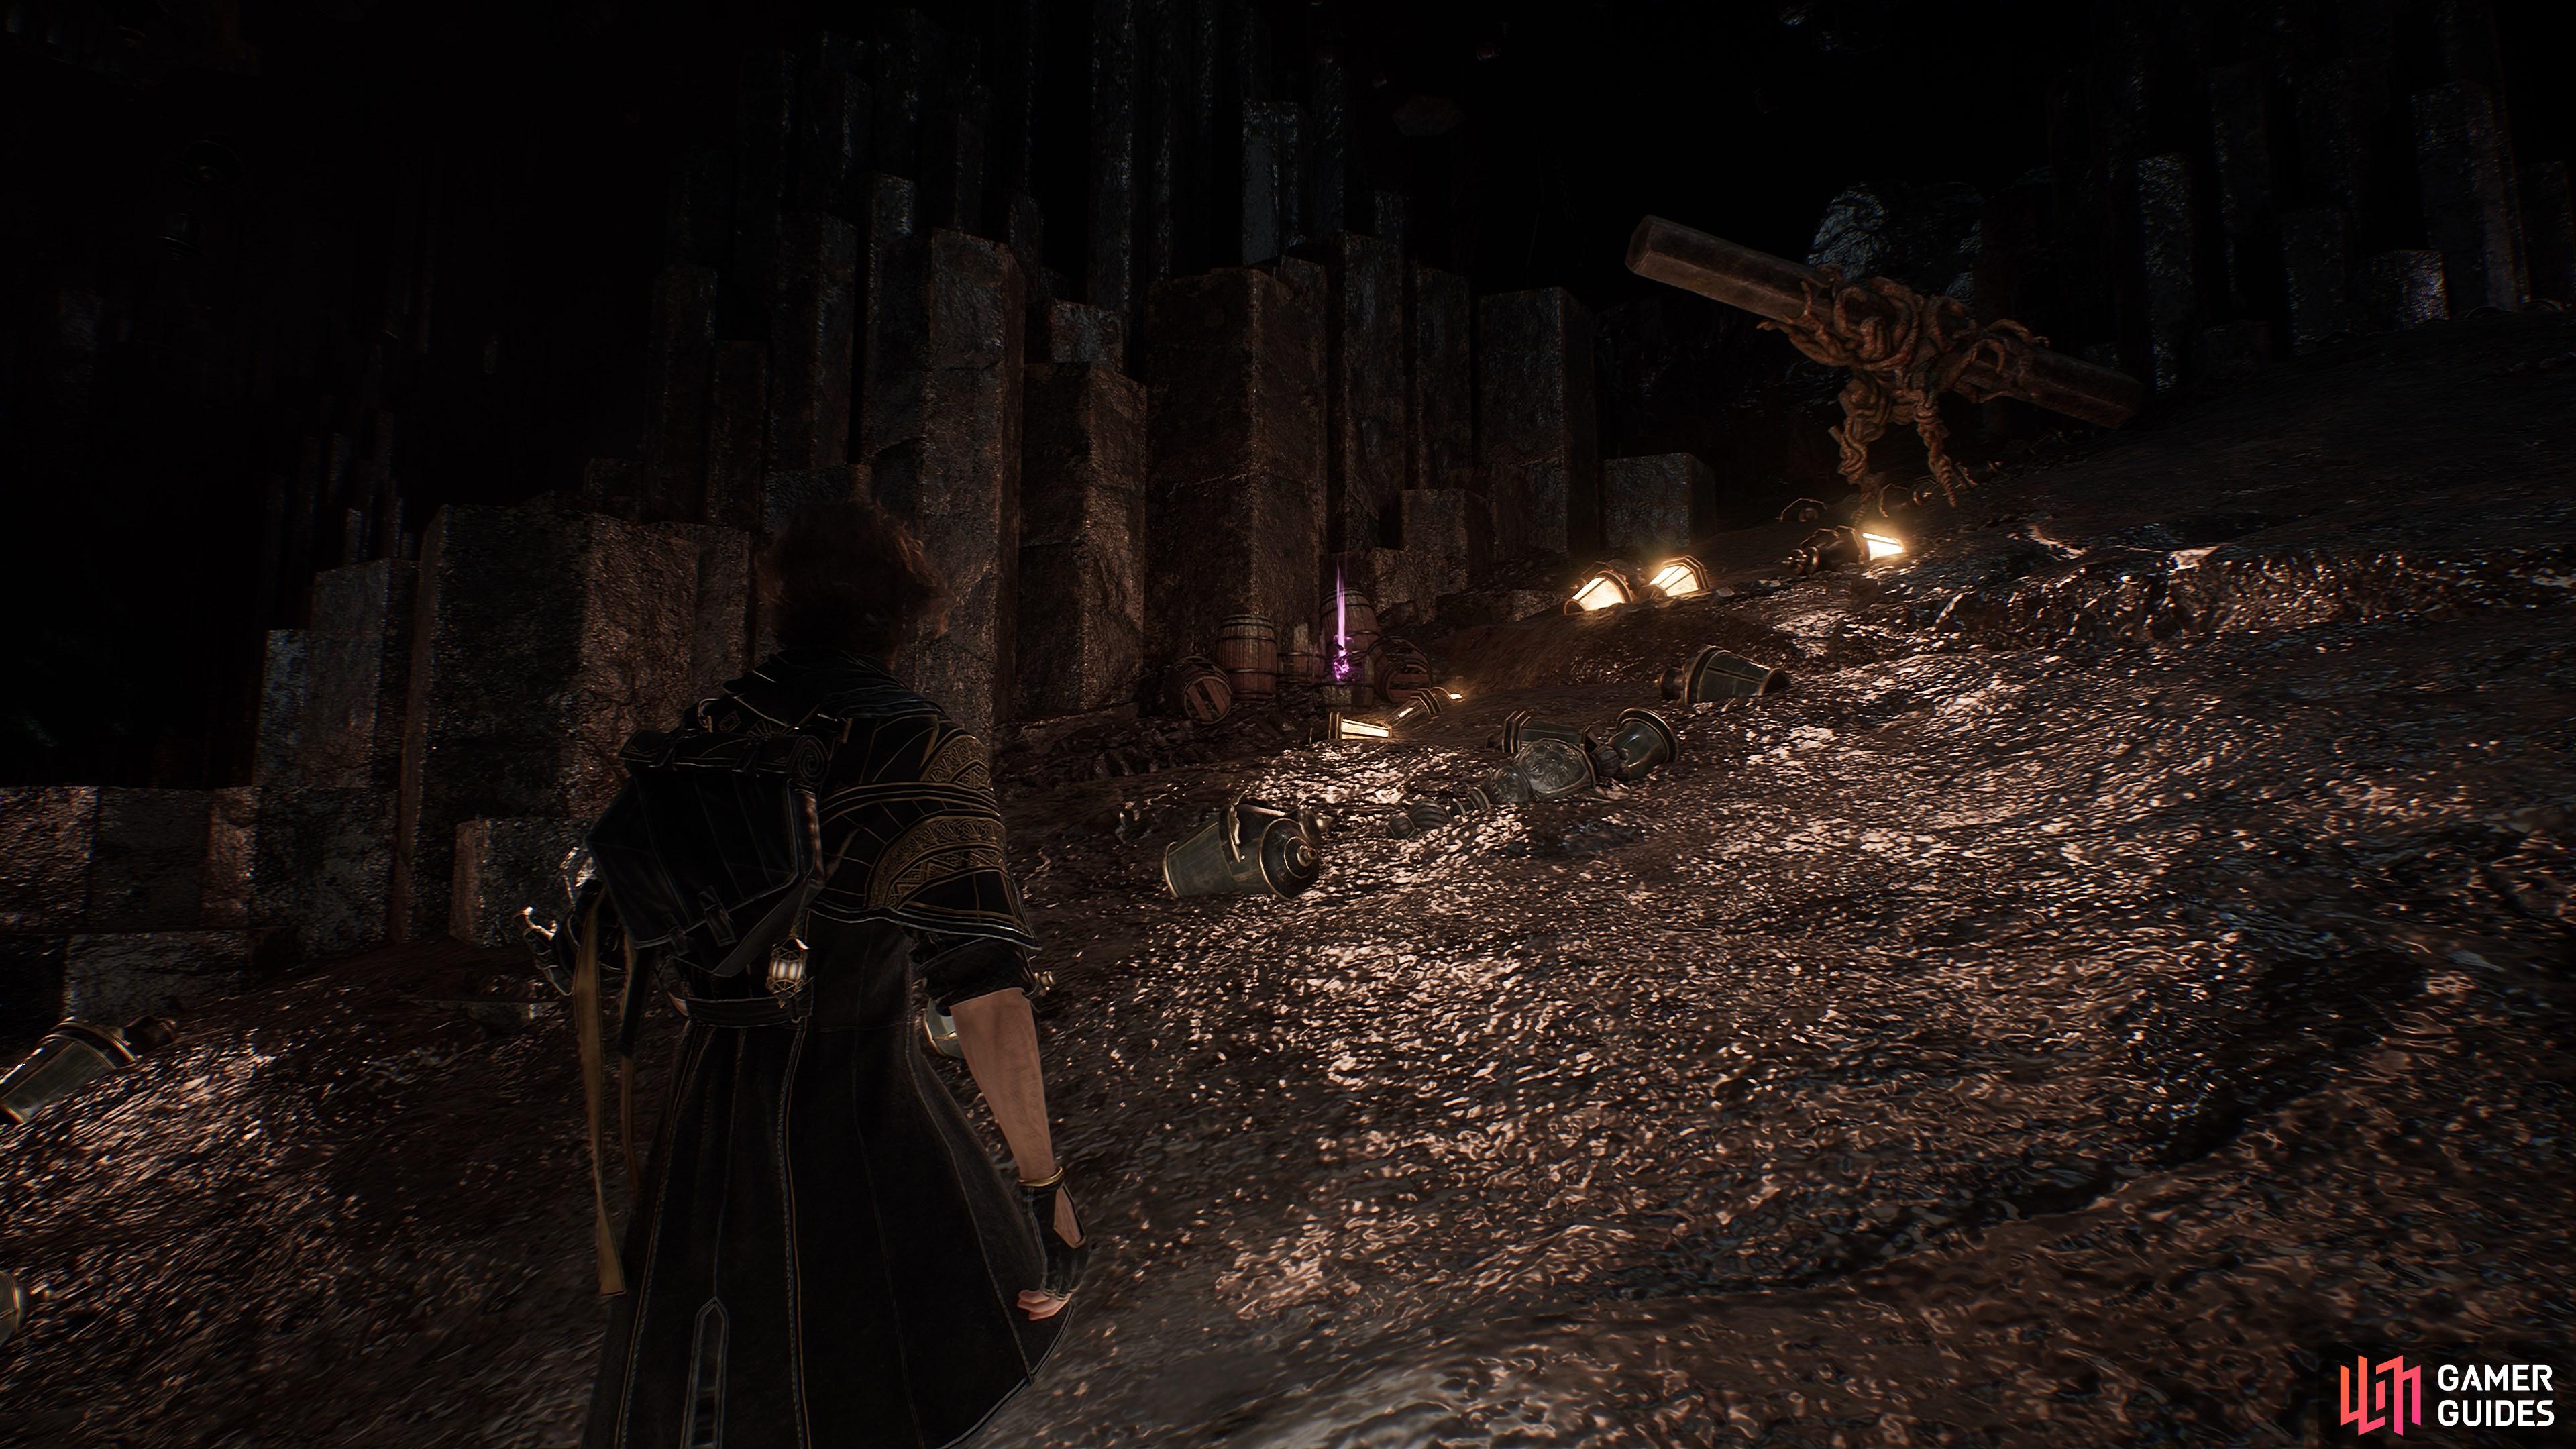
In the ![]() Tide Caverns, look for this near a pile of lanterns. Watch out for the nearby
Tide Caverns, look for this near a pile of lanterns. Watch out for the nearby ![]() Rocher.
Rocher.
40. The Continent
In the ![]() Tide Caverns, against the wall on the right-hand side, just past the patrolling
Tide Caverns, against the wall on the right-hand side, just past the patrolling ![]() Rocher.
Rocher.
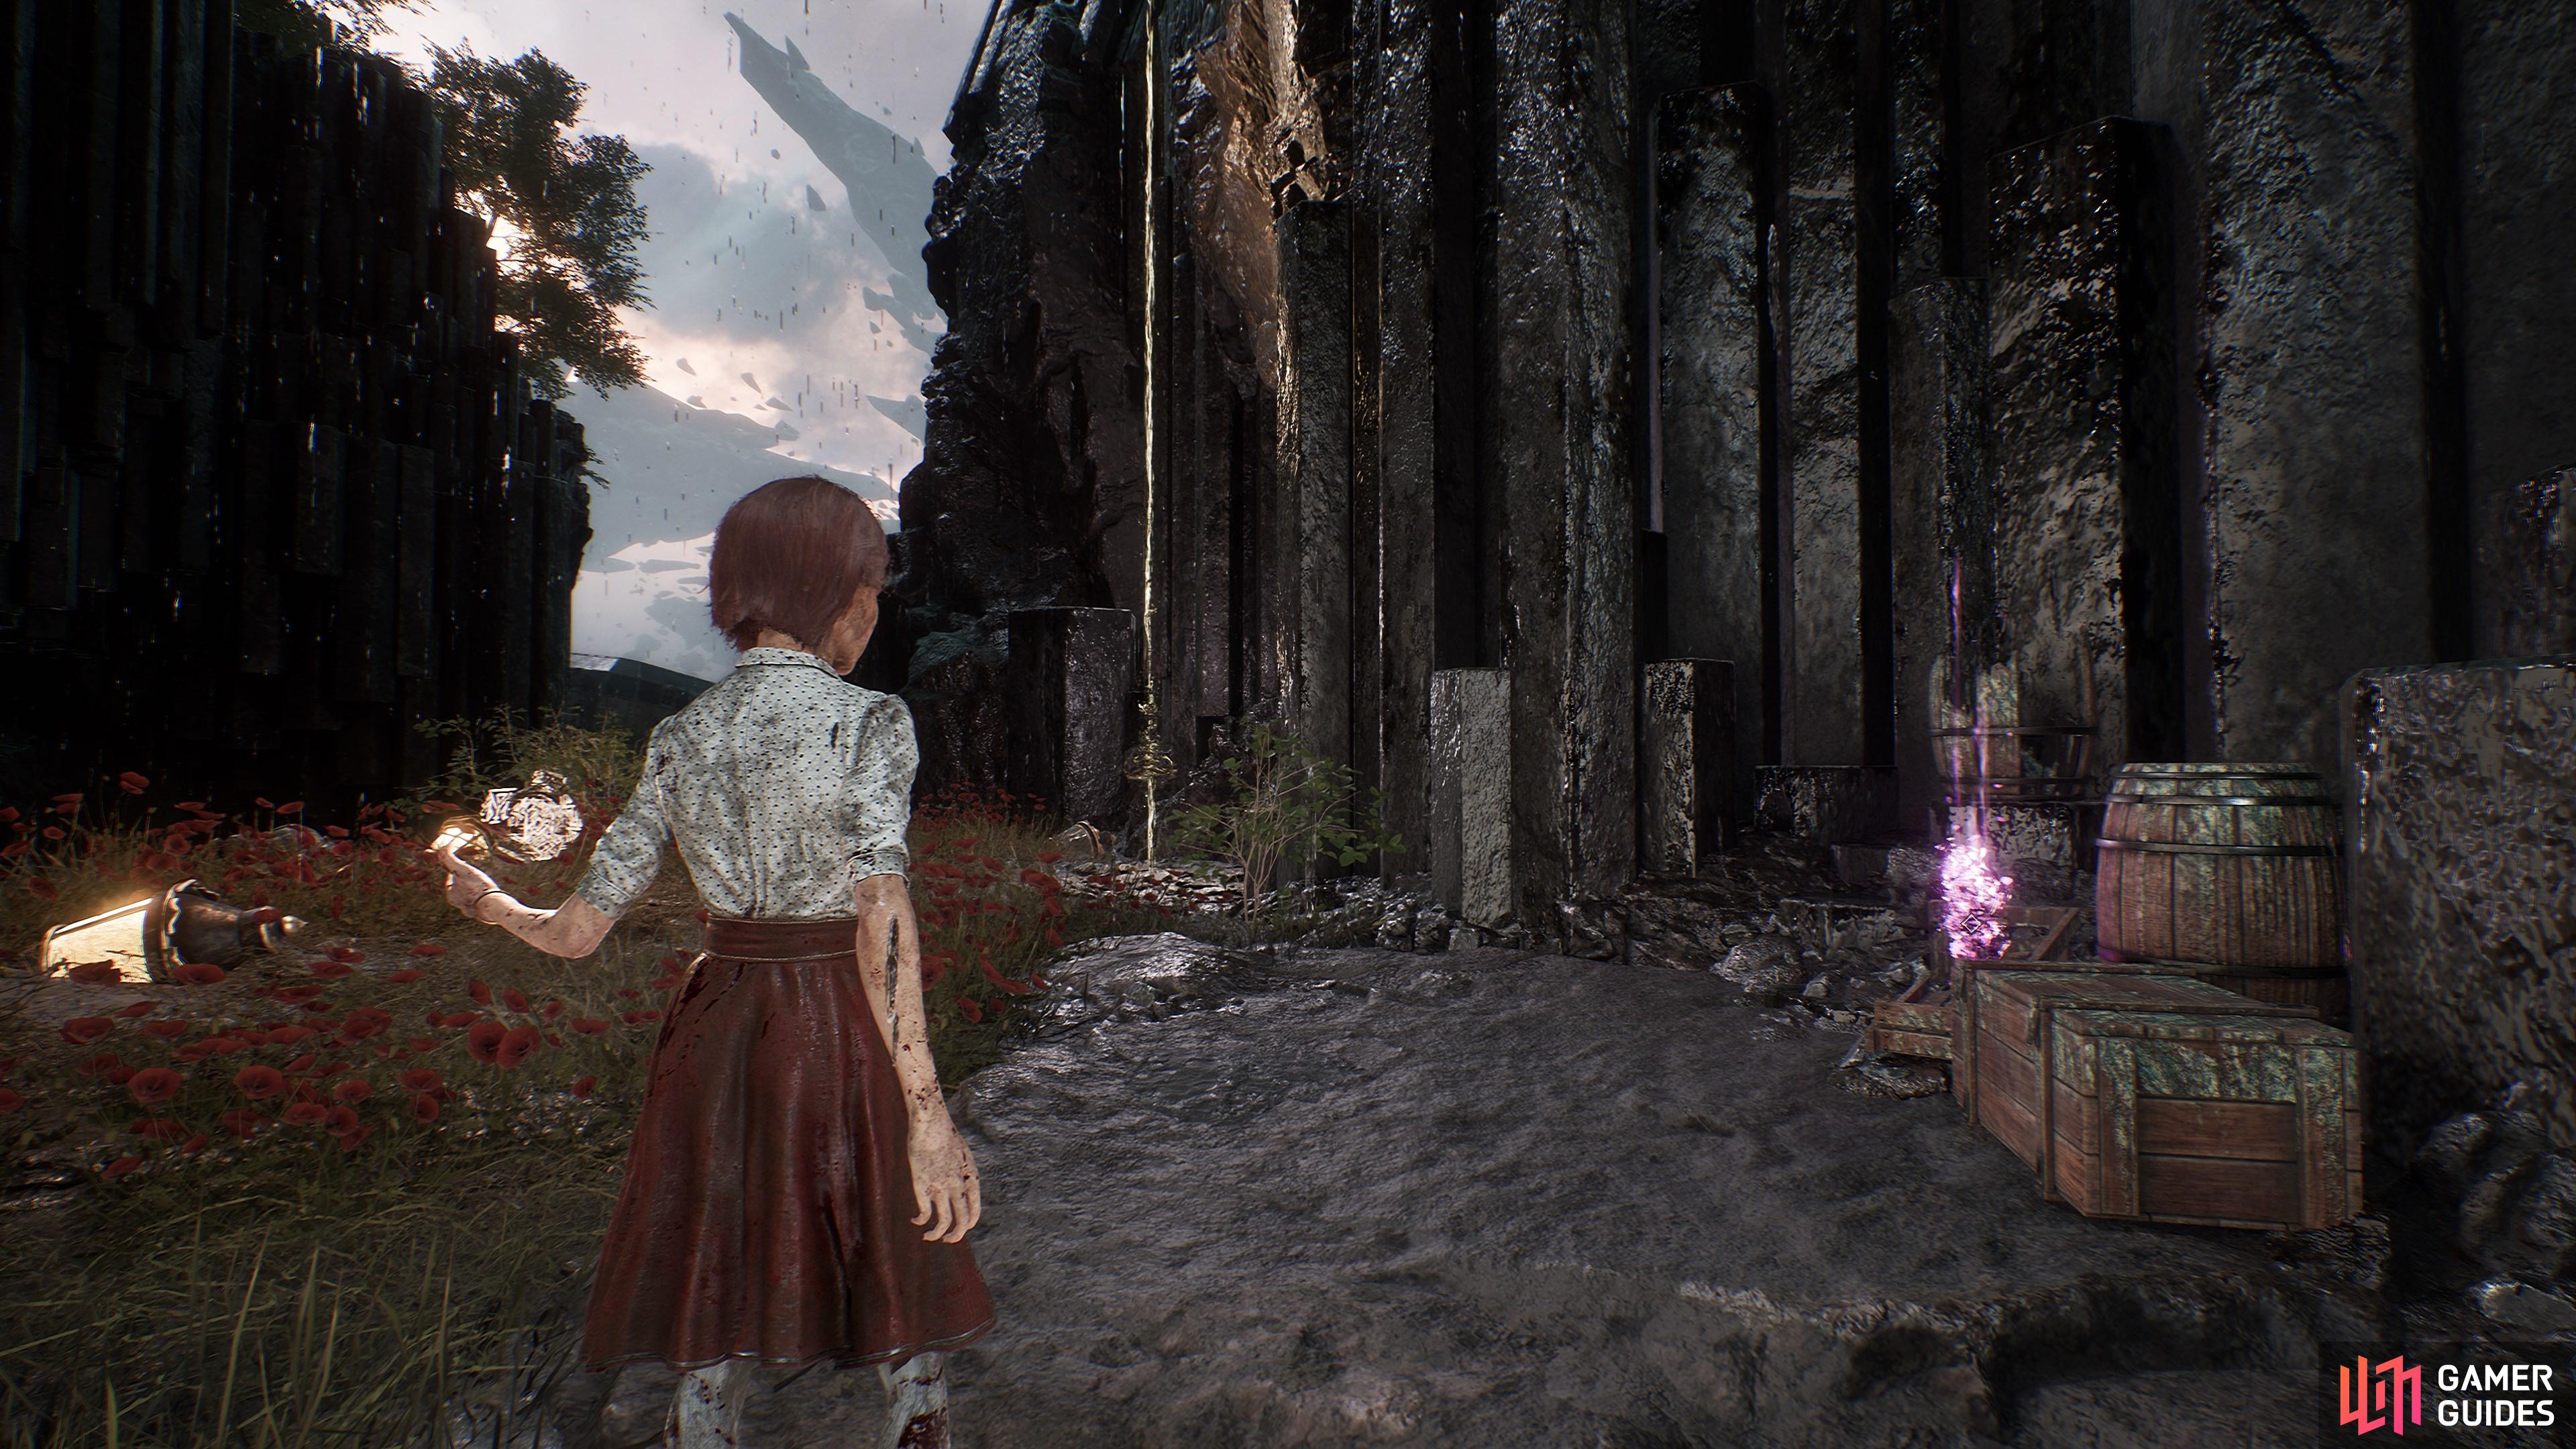
41. The Continent
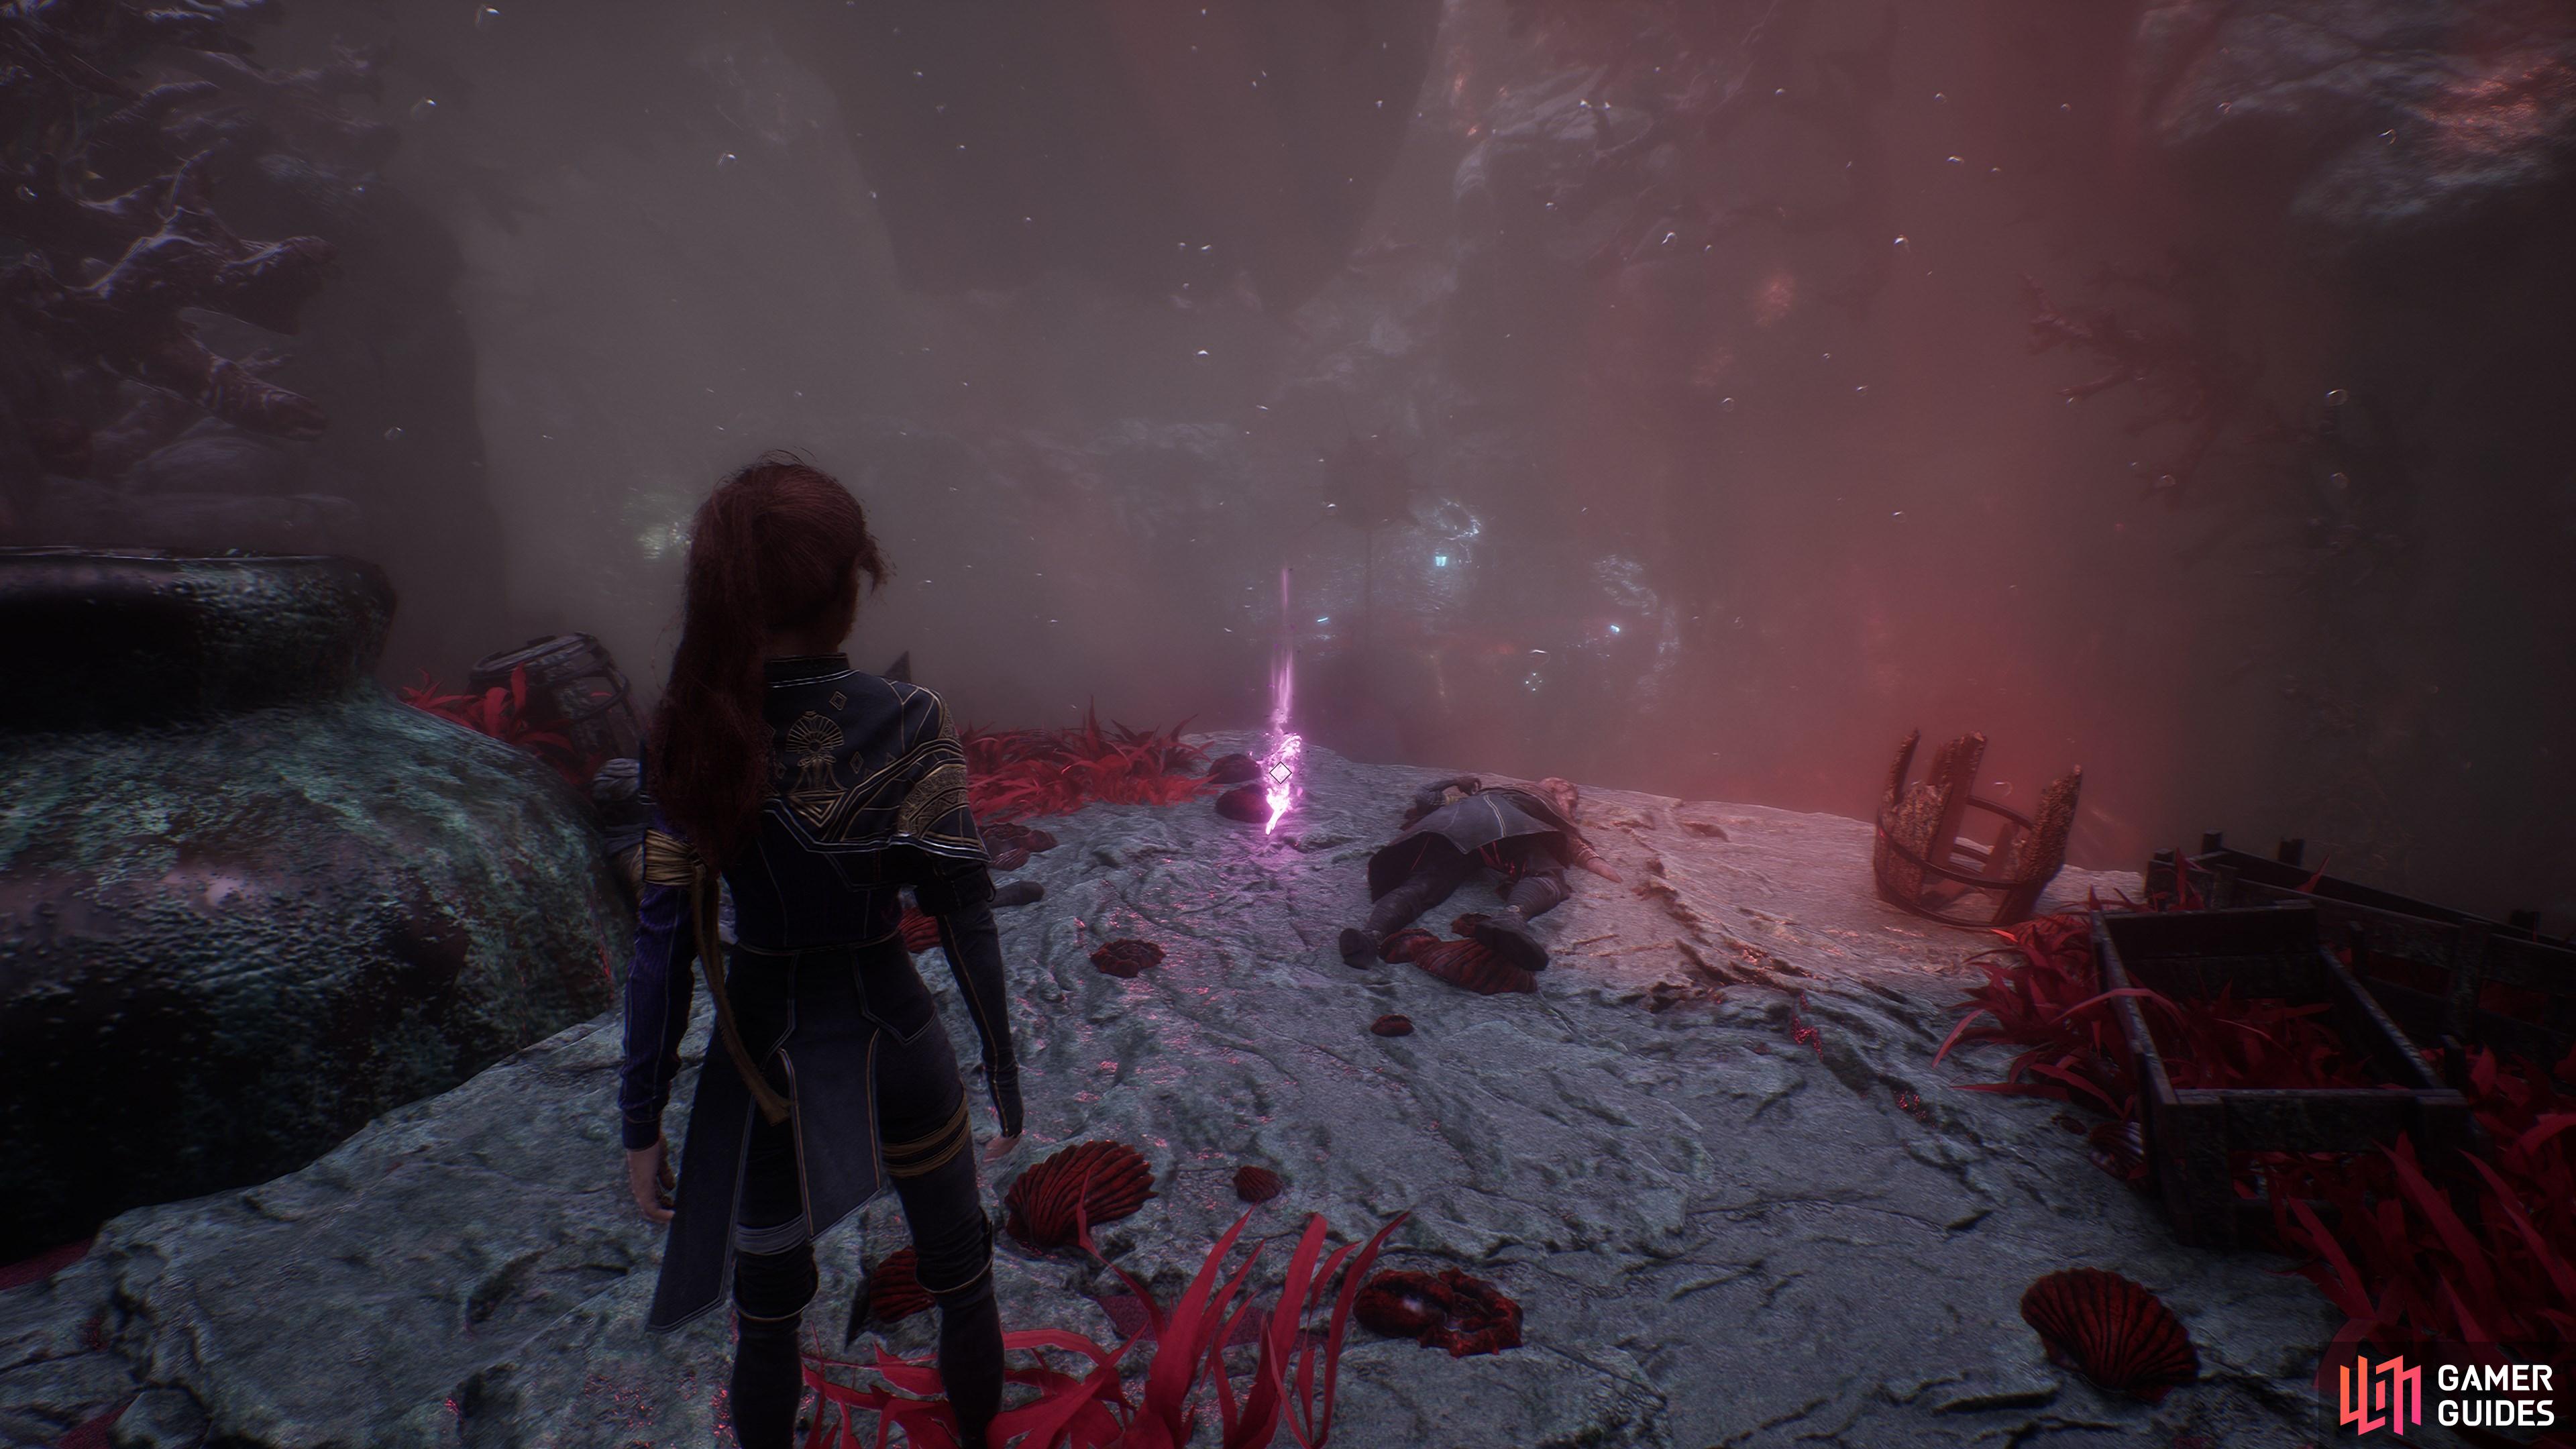
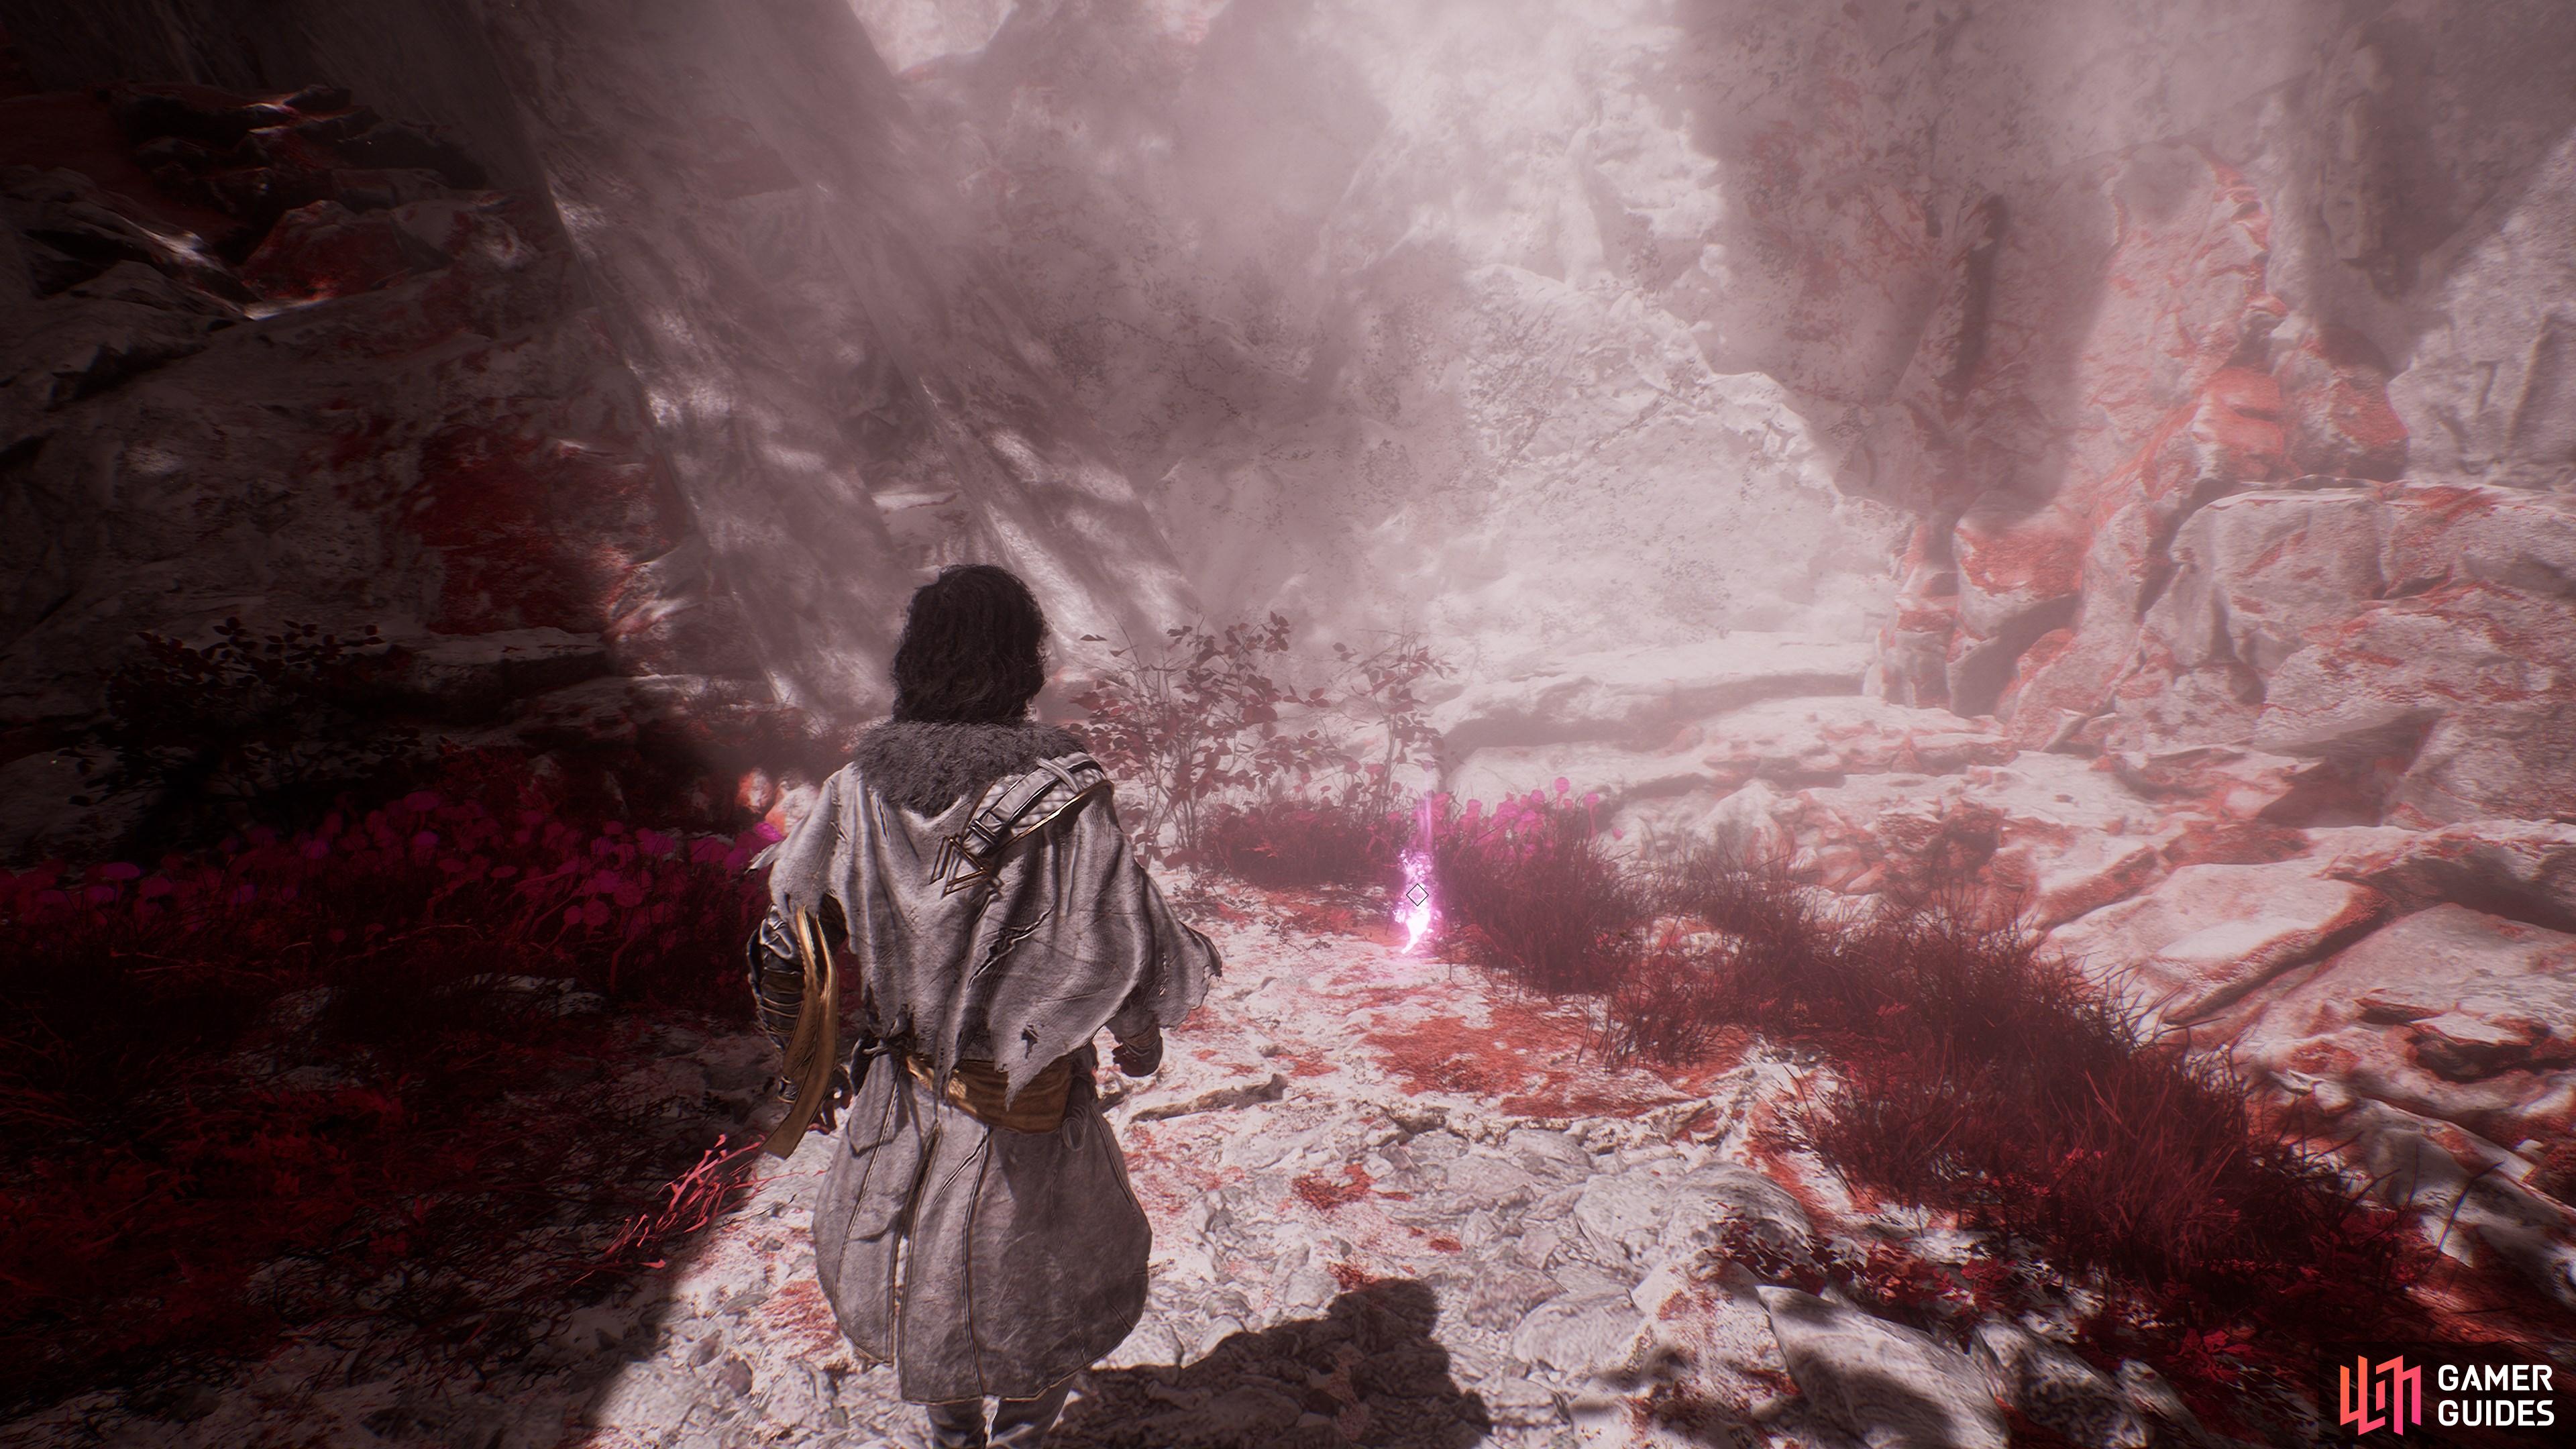
In the ![]() Tide Caverns, go down the long rope then look for a carpet of red flowers on the left. Follow the flowers to a grapple point and zip over. You’ll find this just ahead, by another rope.
Tide Caverns, go down the long rope then look for a carpet of red flowers on the left. Follow the flowers to a grapple point and zip over. You’ll find this just ahead, by another rope.
42. The Continent
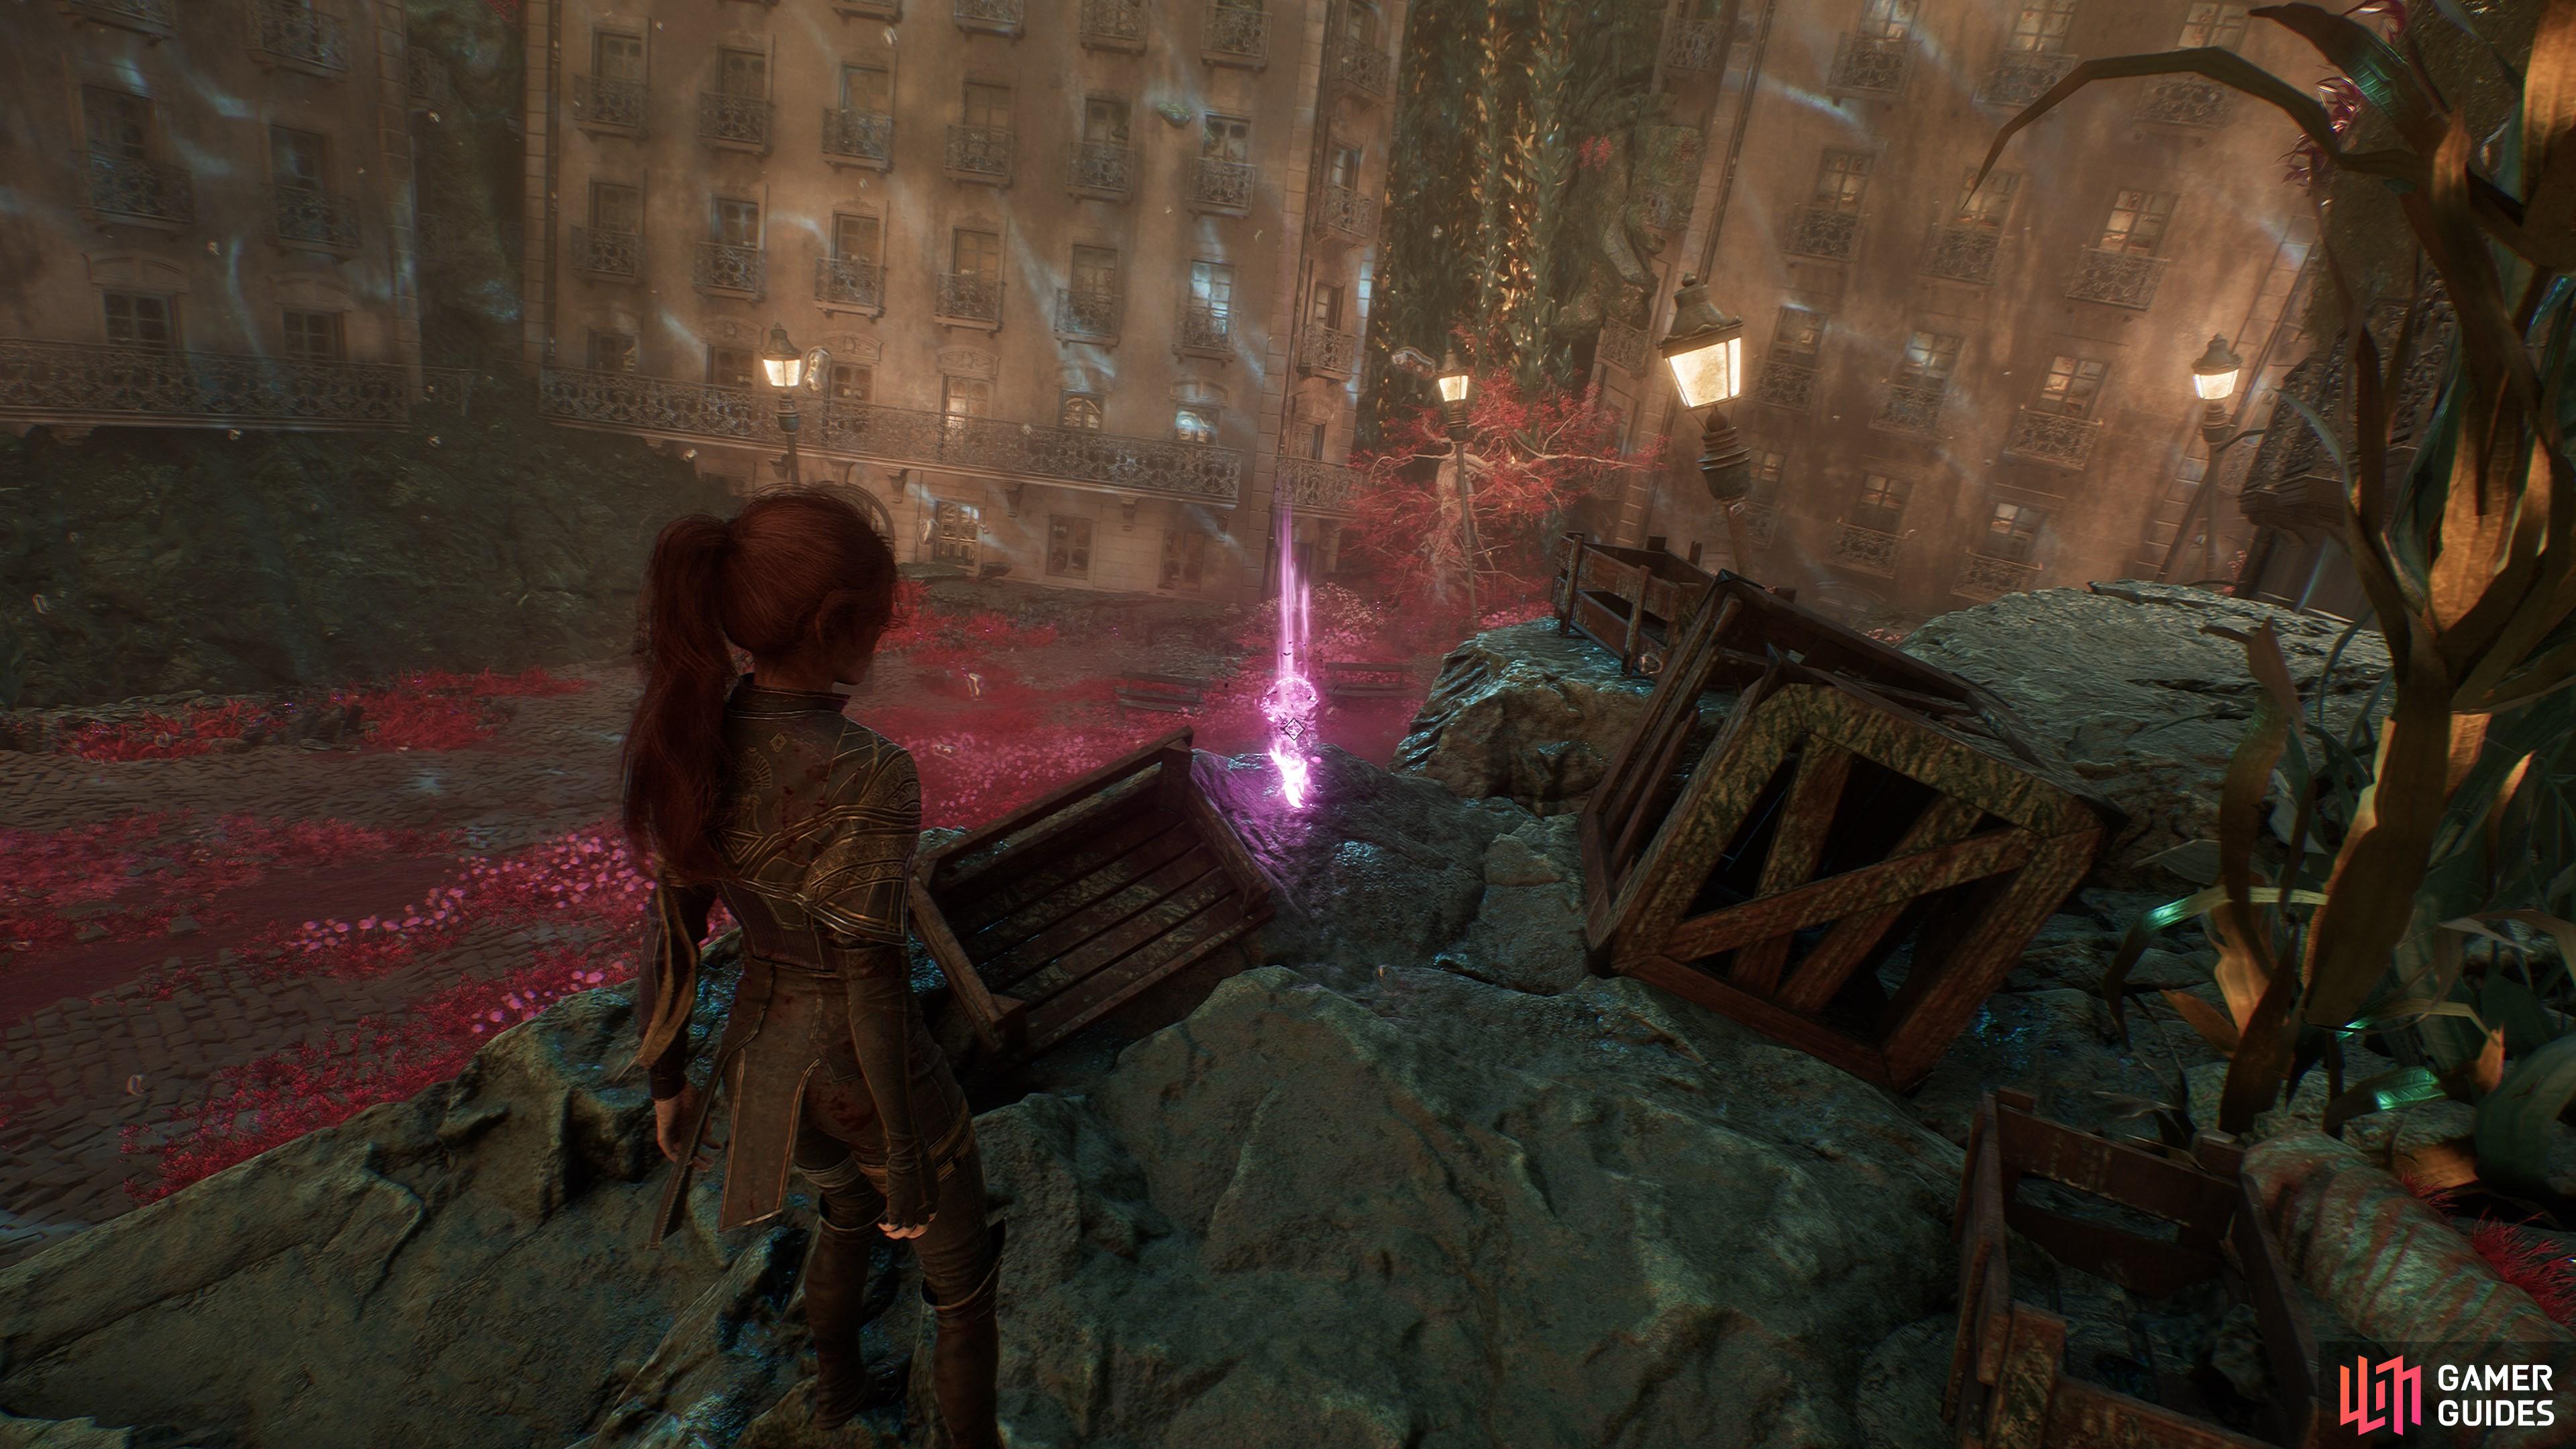
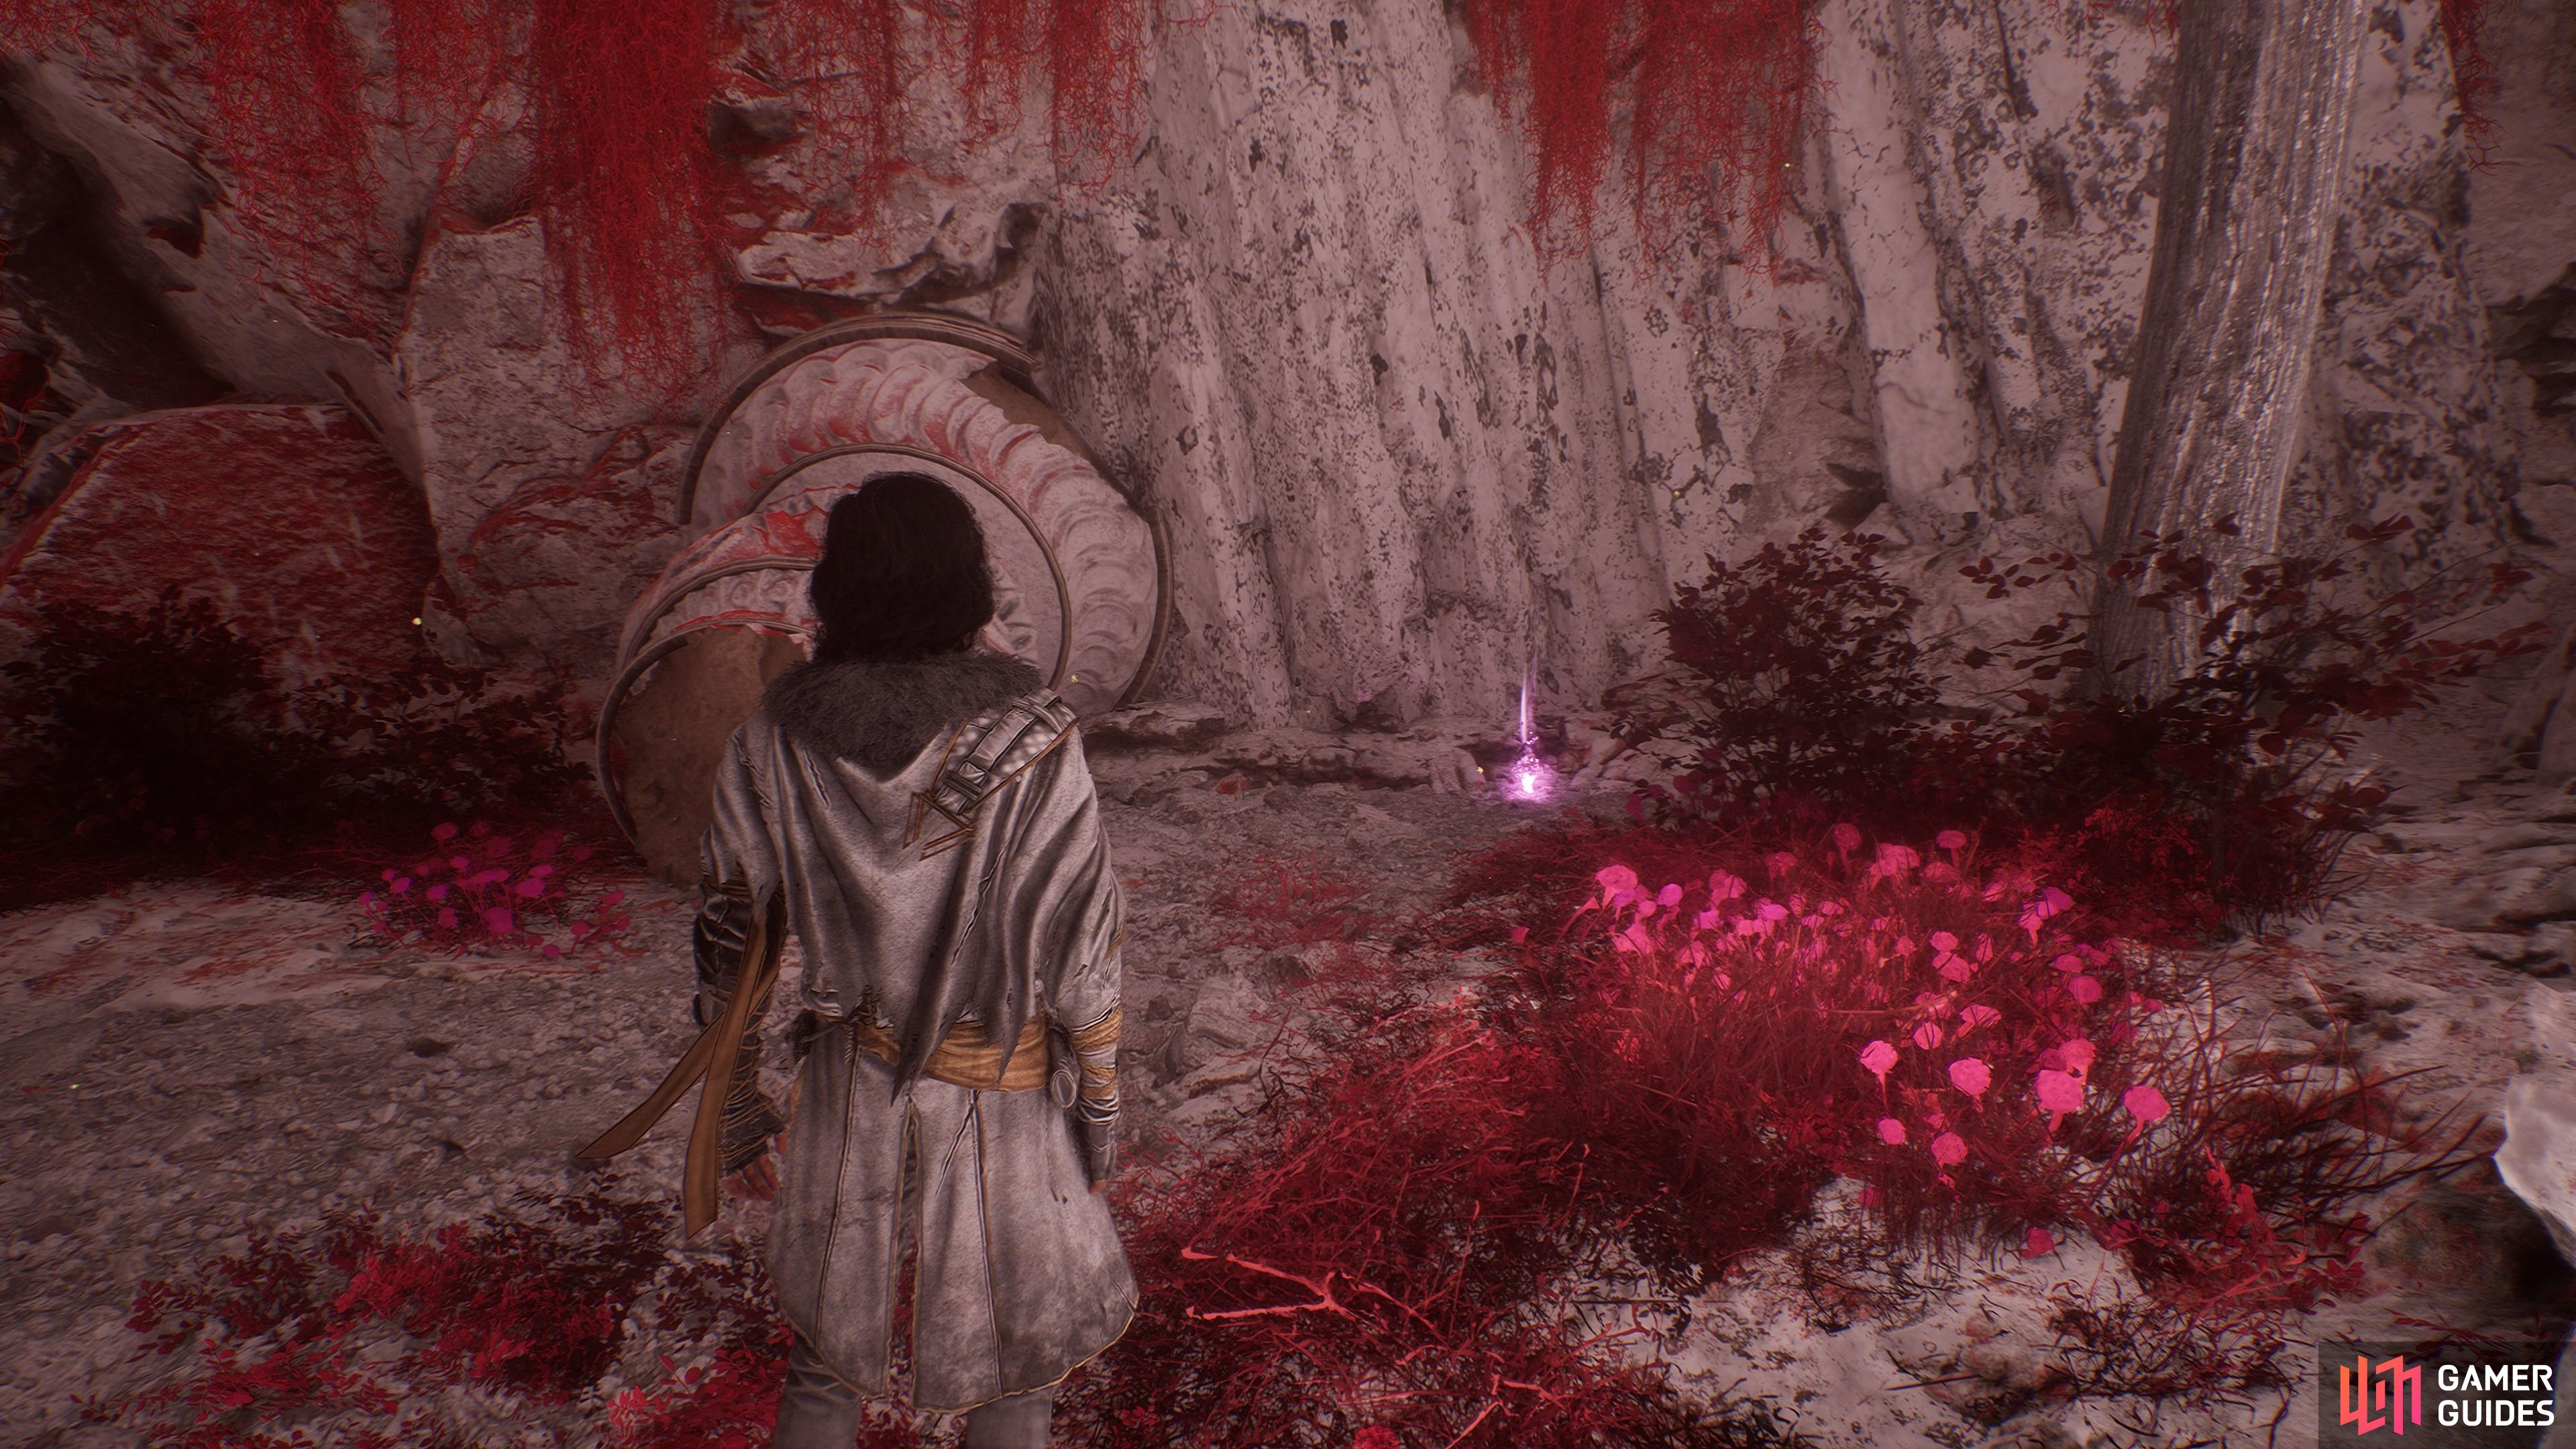
From the ![]() Flooded Buildings flag, follow the path of red flowers and floating lanterns. Look for a rocky outcrop with a climbable wall to the right. Climb up to find this.
Flooded Buildings flag, follow the path of red flowers and floating lanterns. Look for a rocky outcrop with a climbable wall to the right. Climb up to find this.
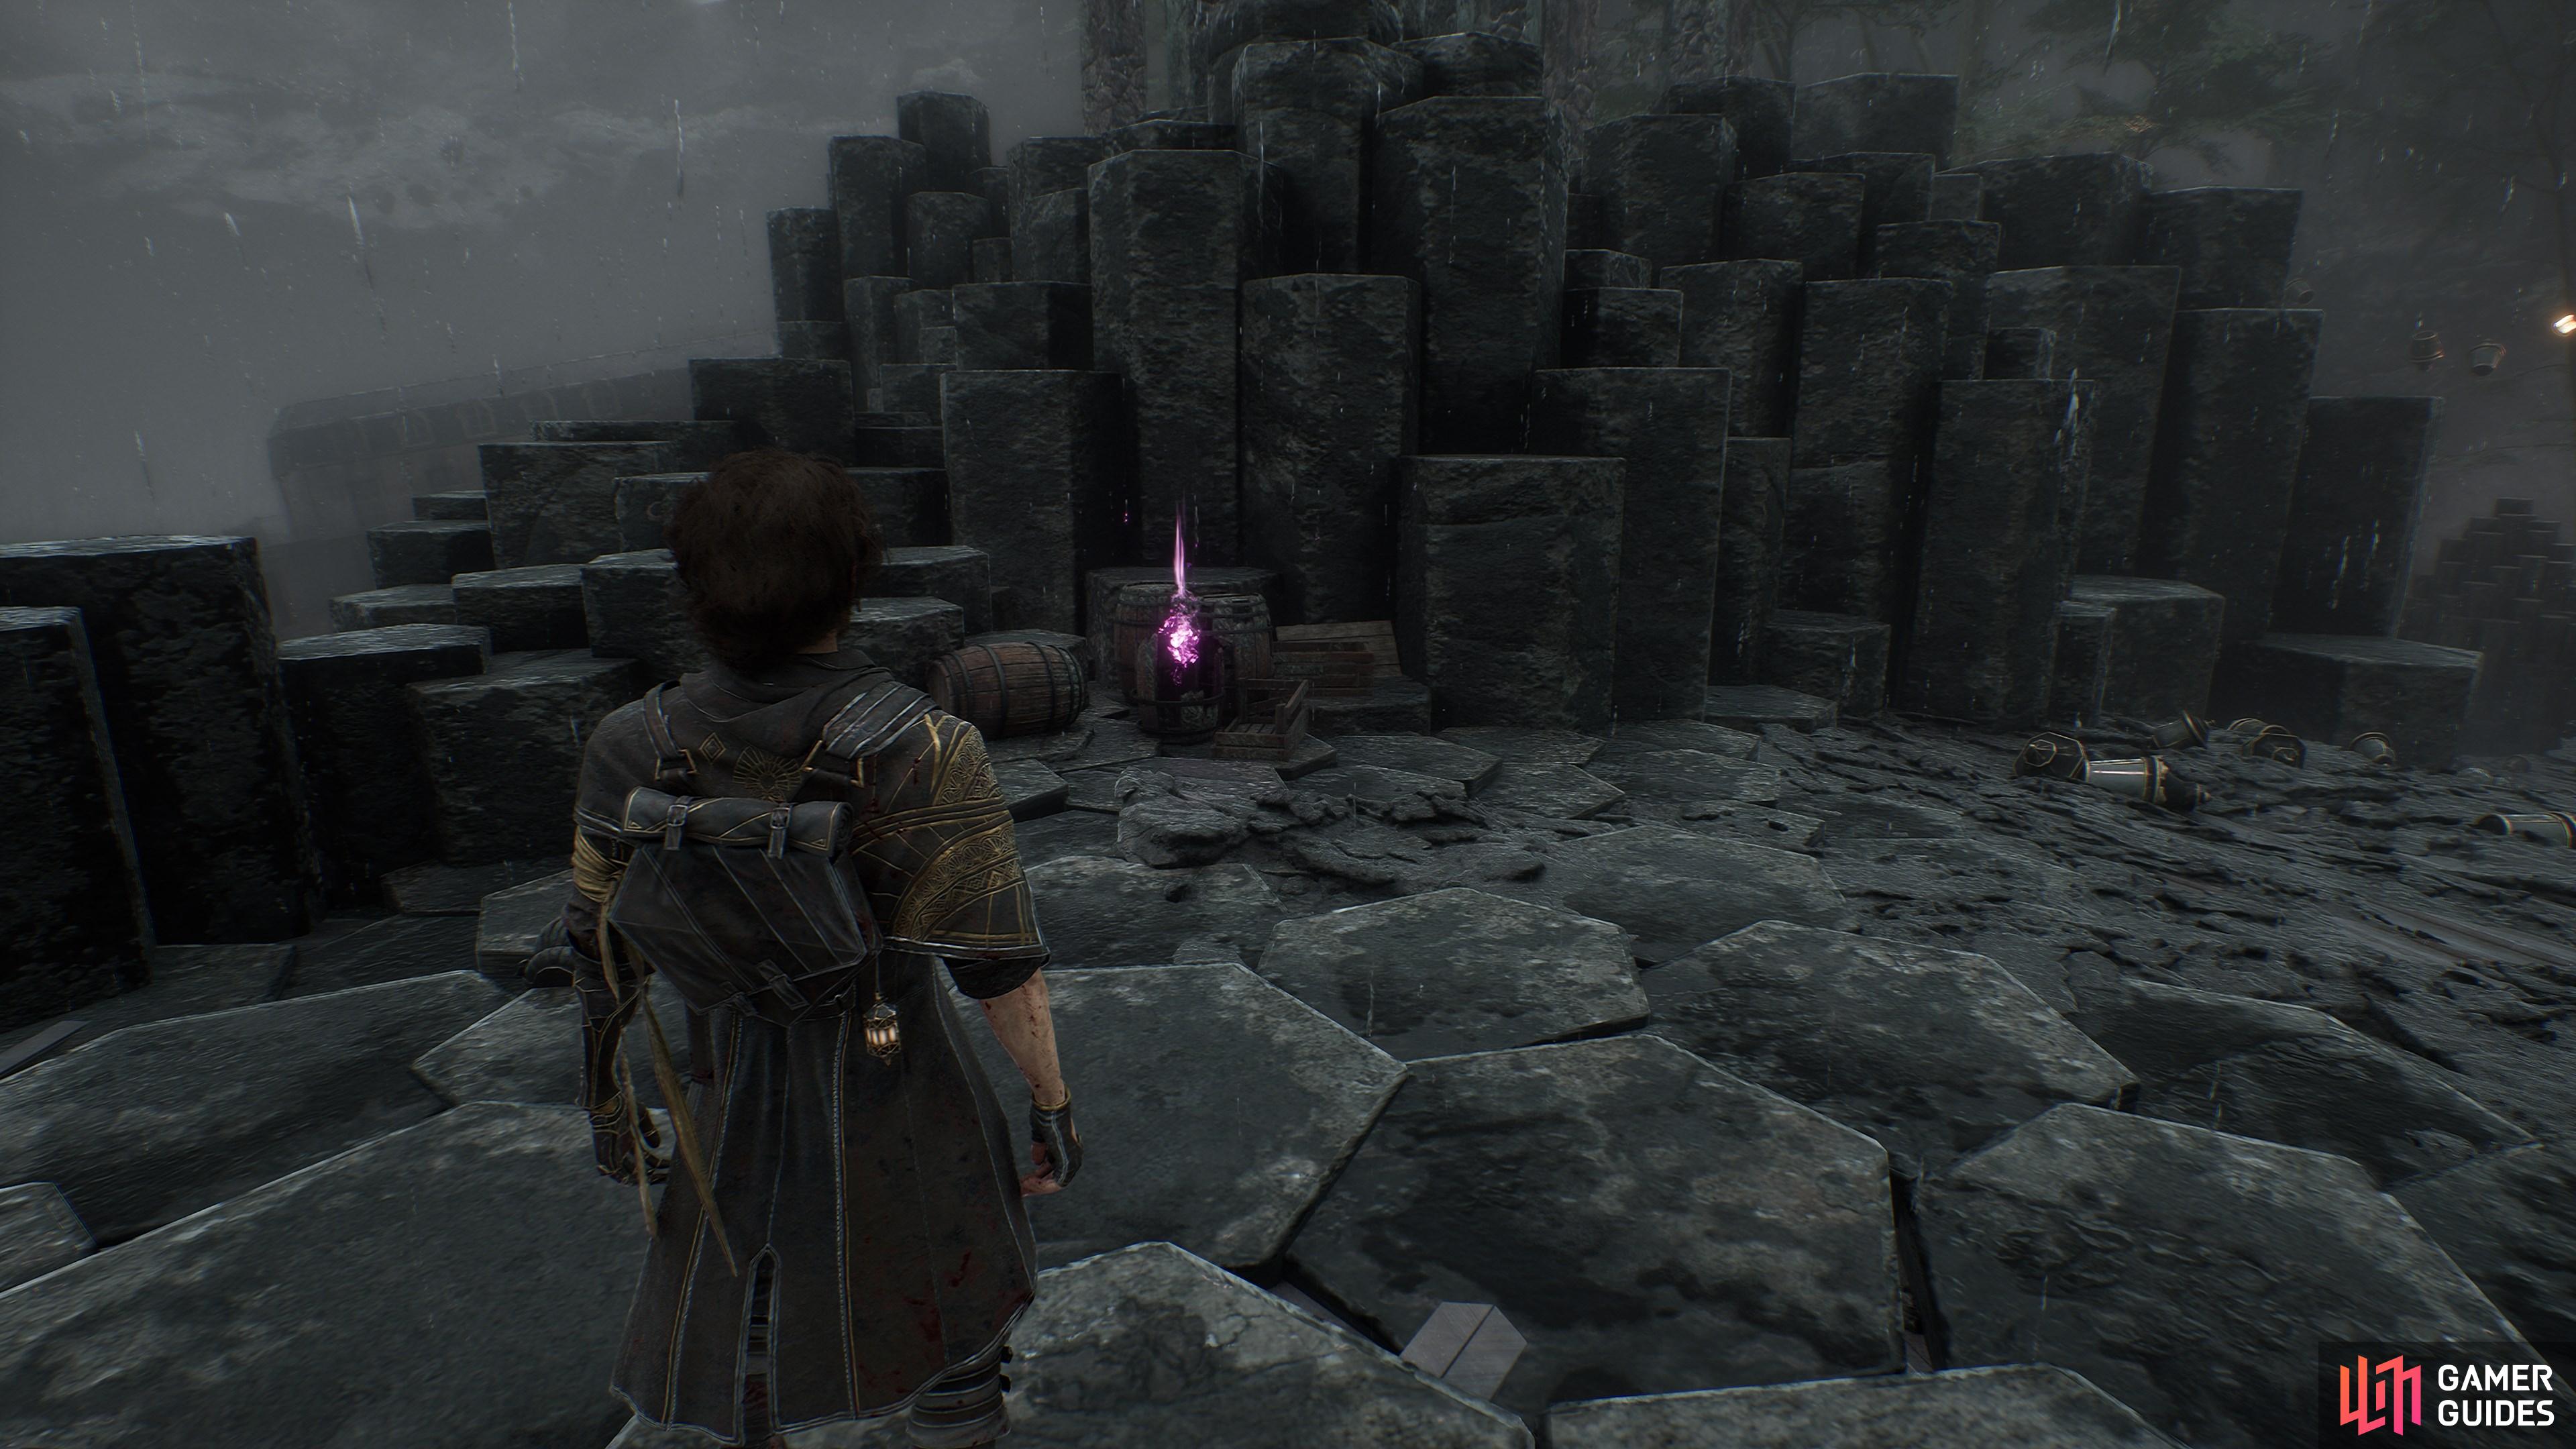
43. The Continent
In the remnants of the ruined house before the second grapple point.
45. The Continent
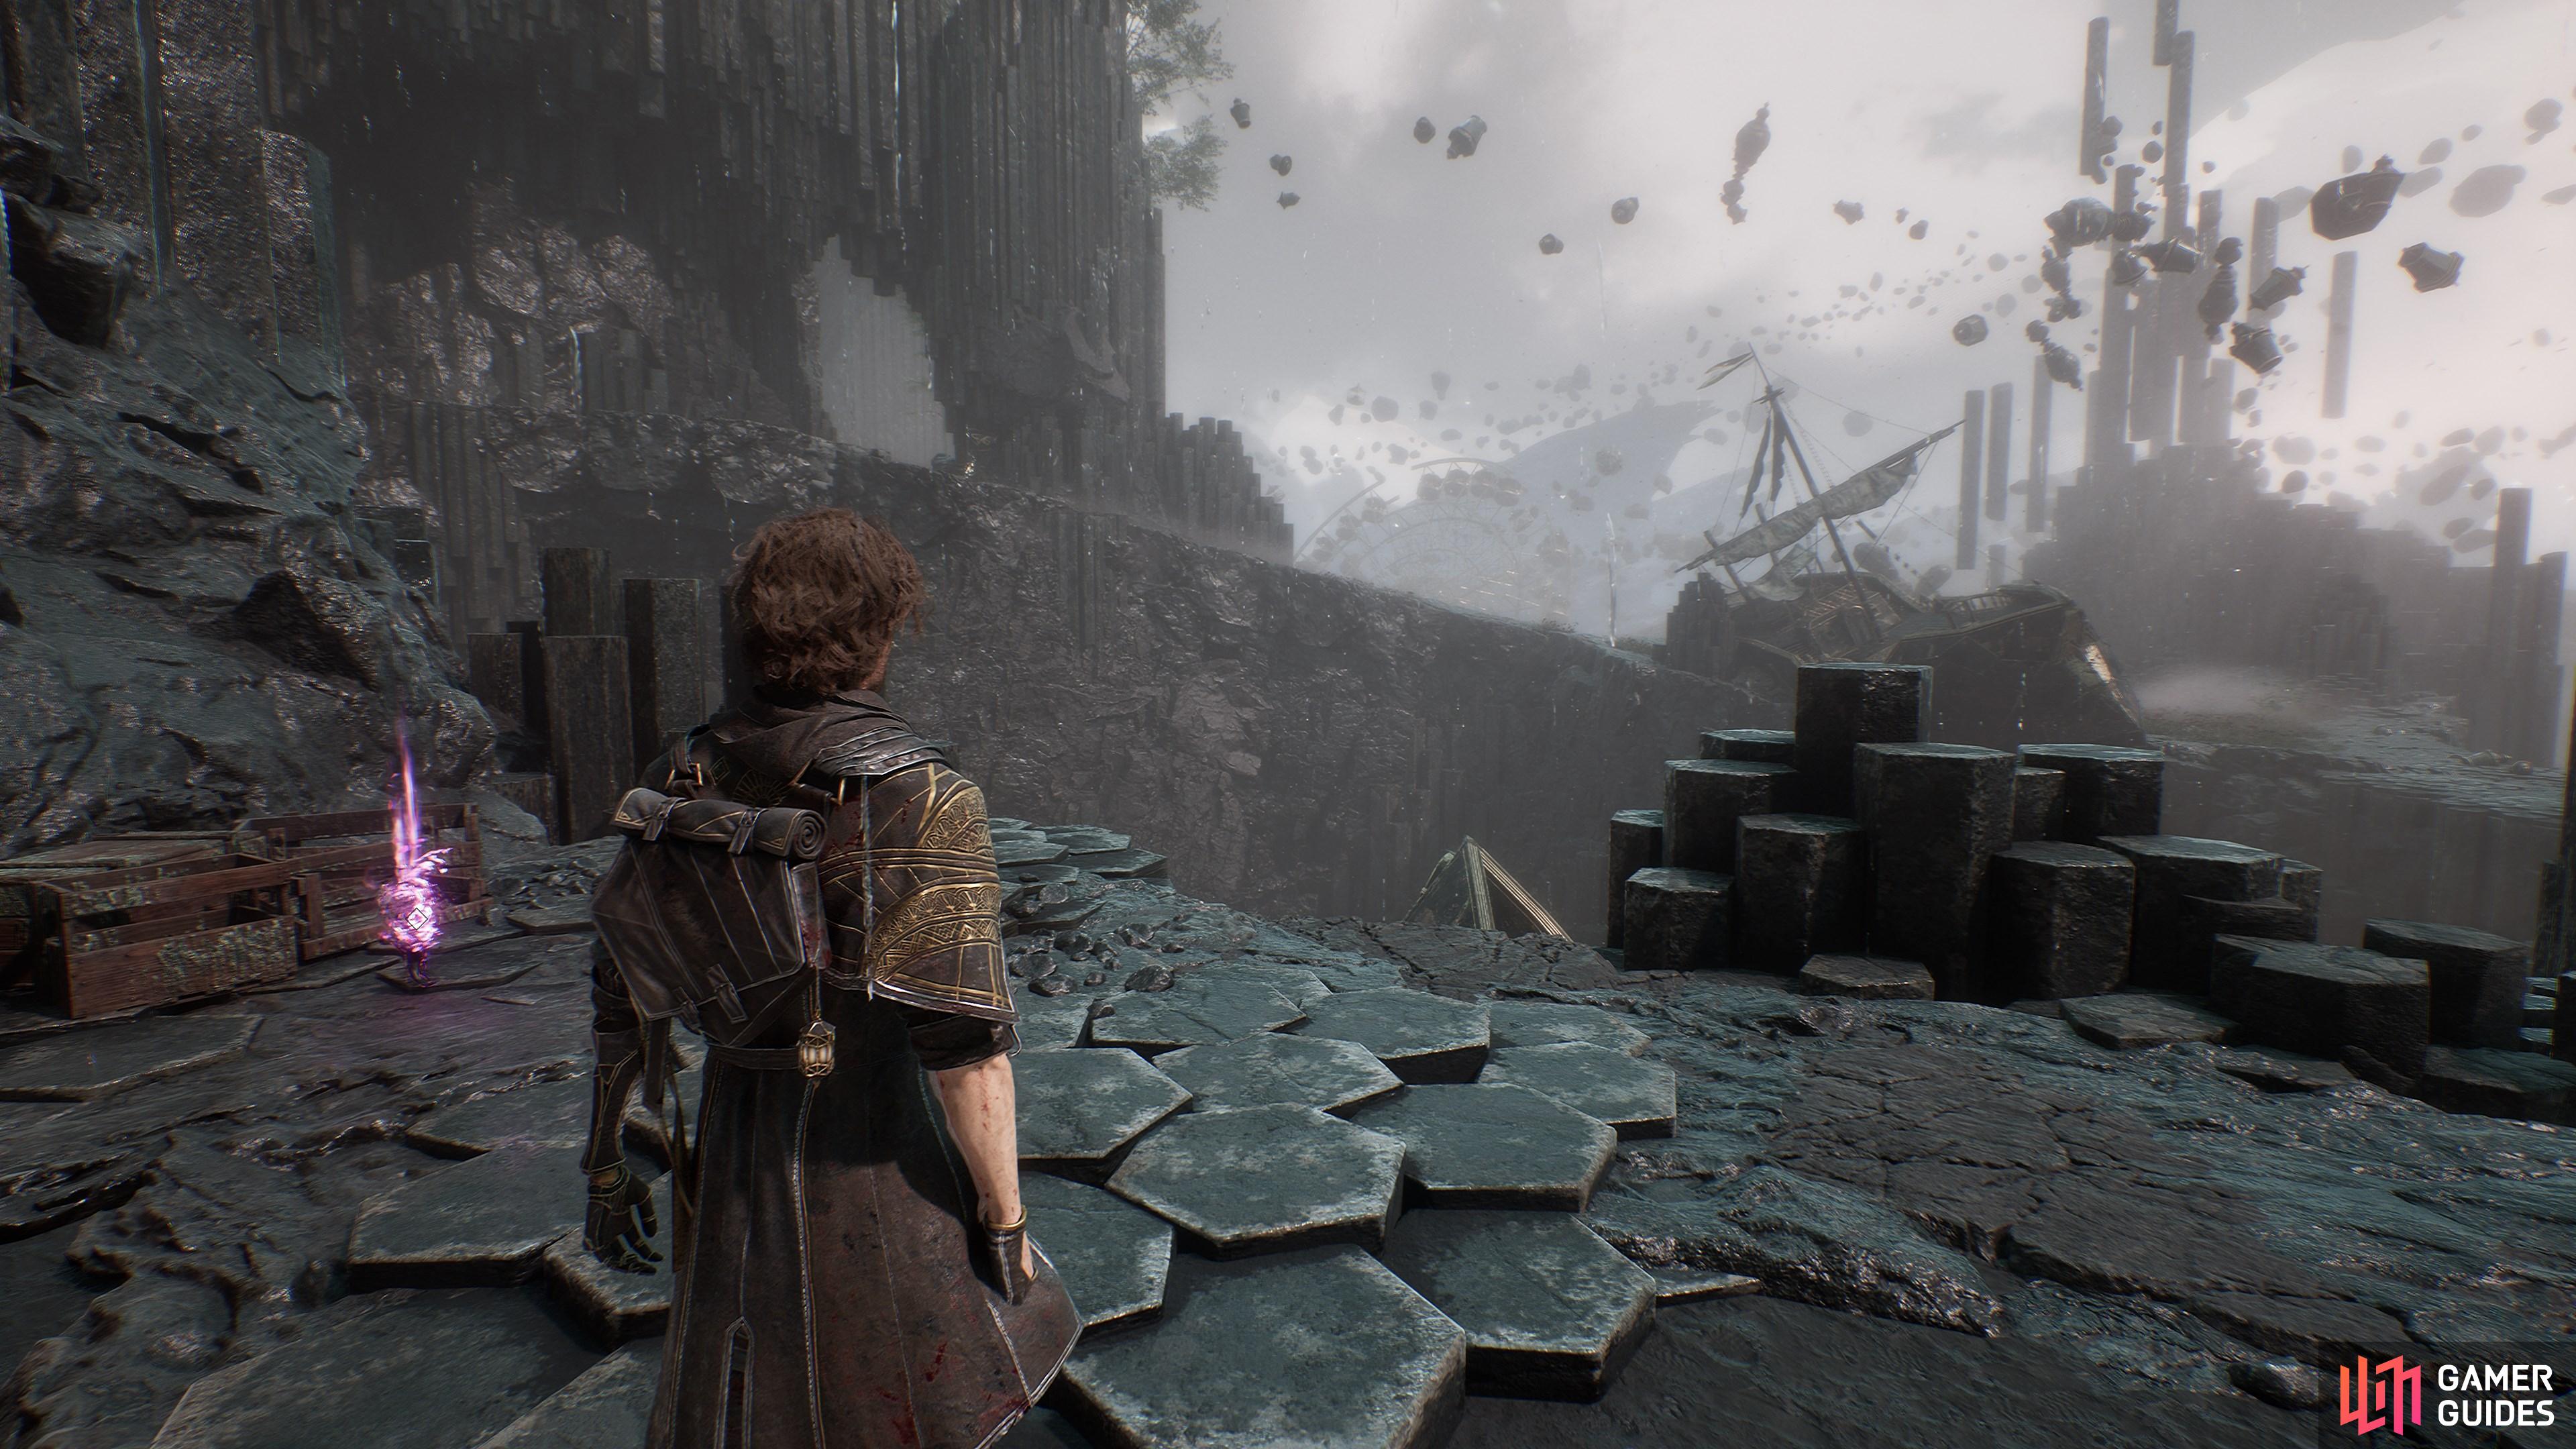
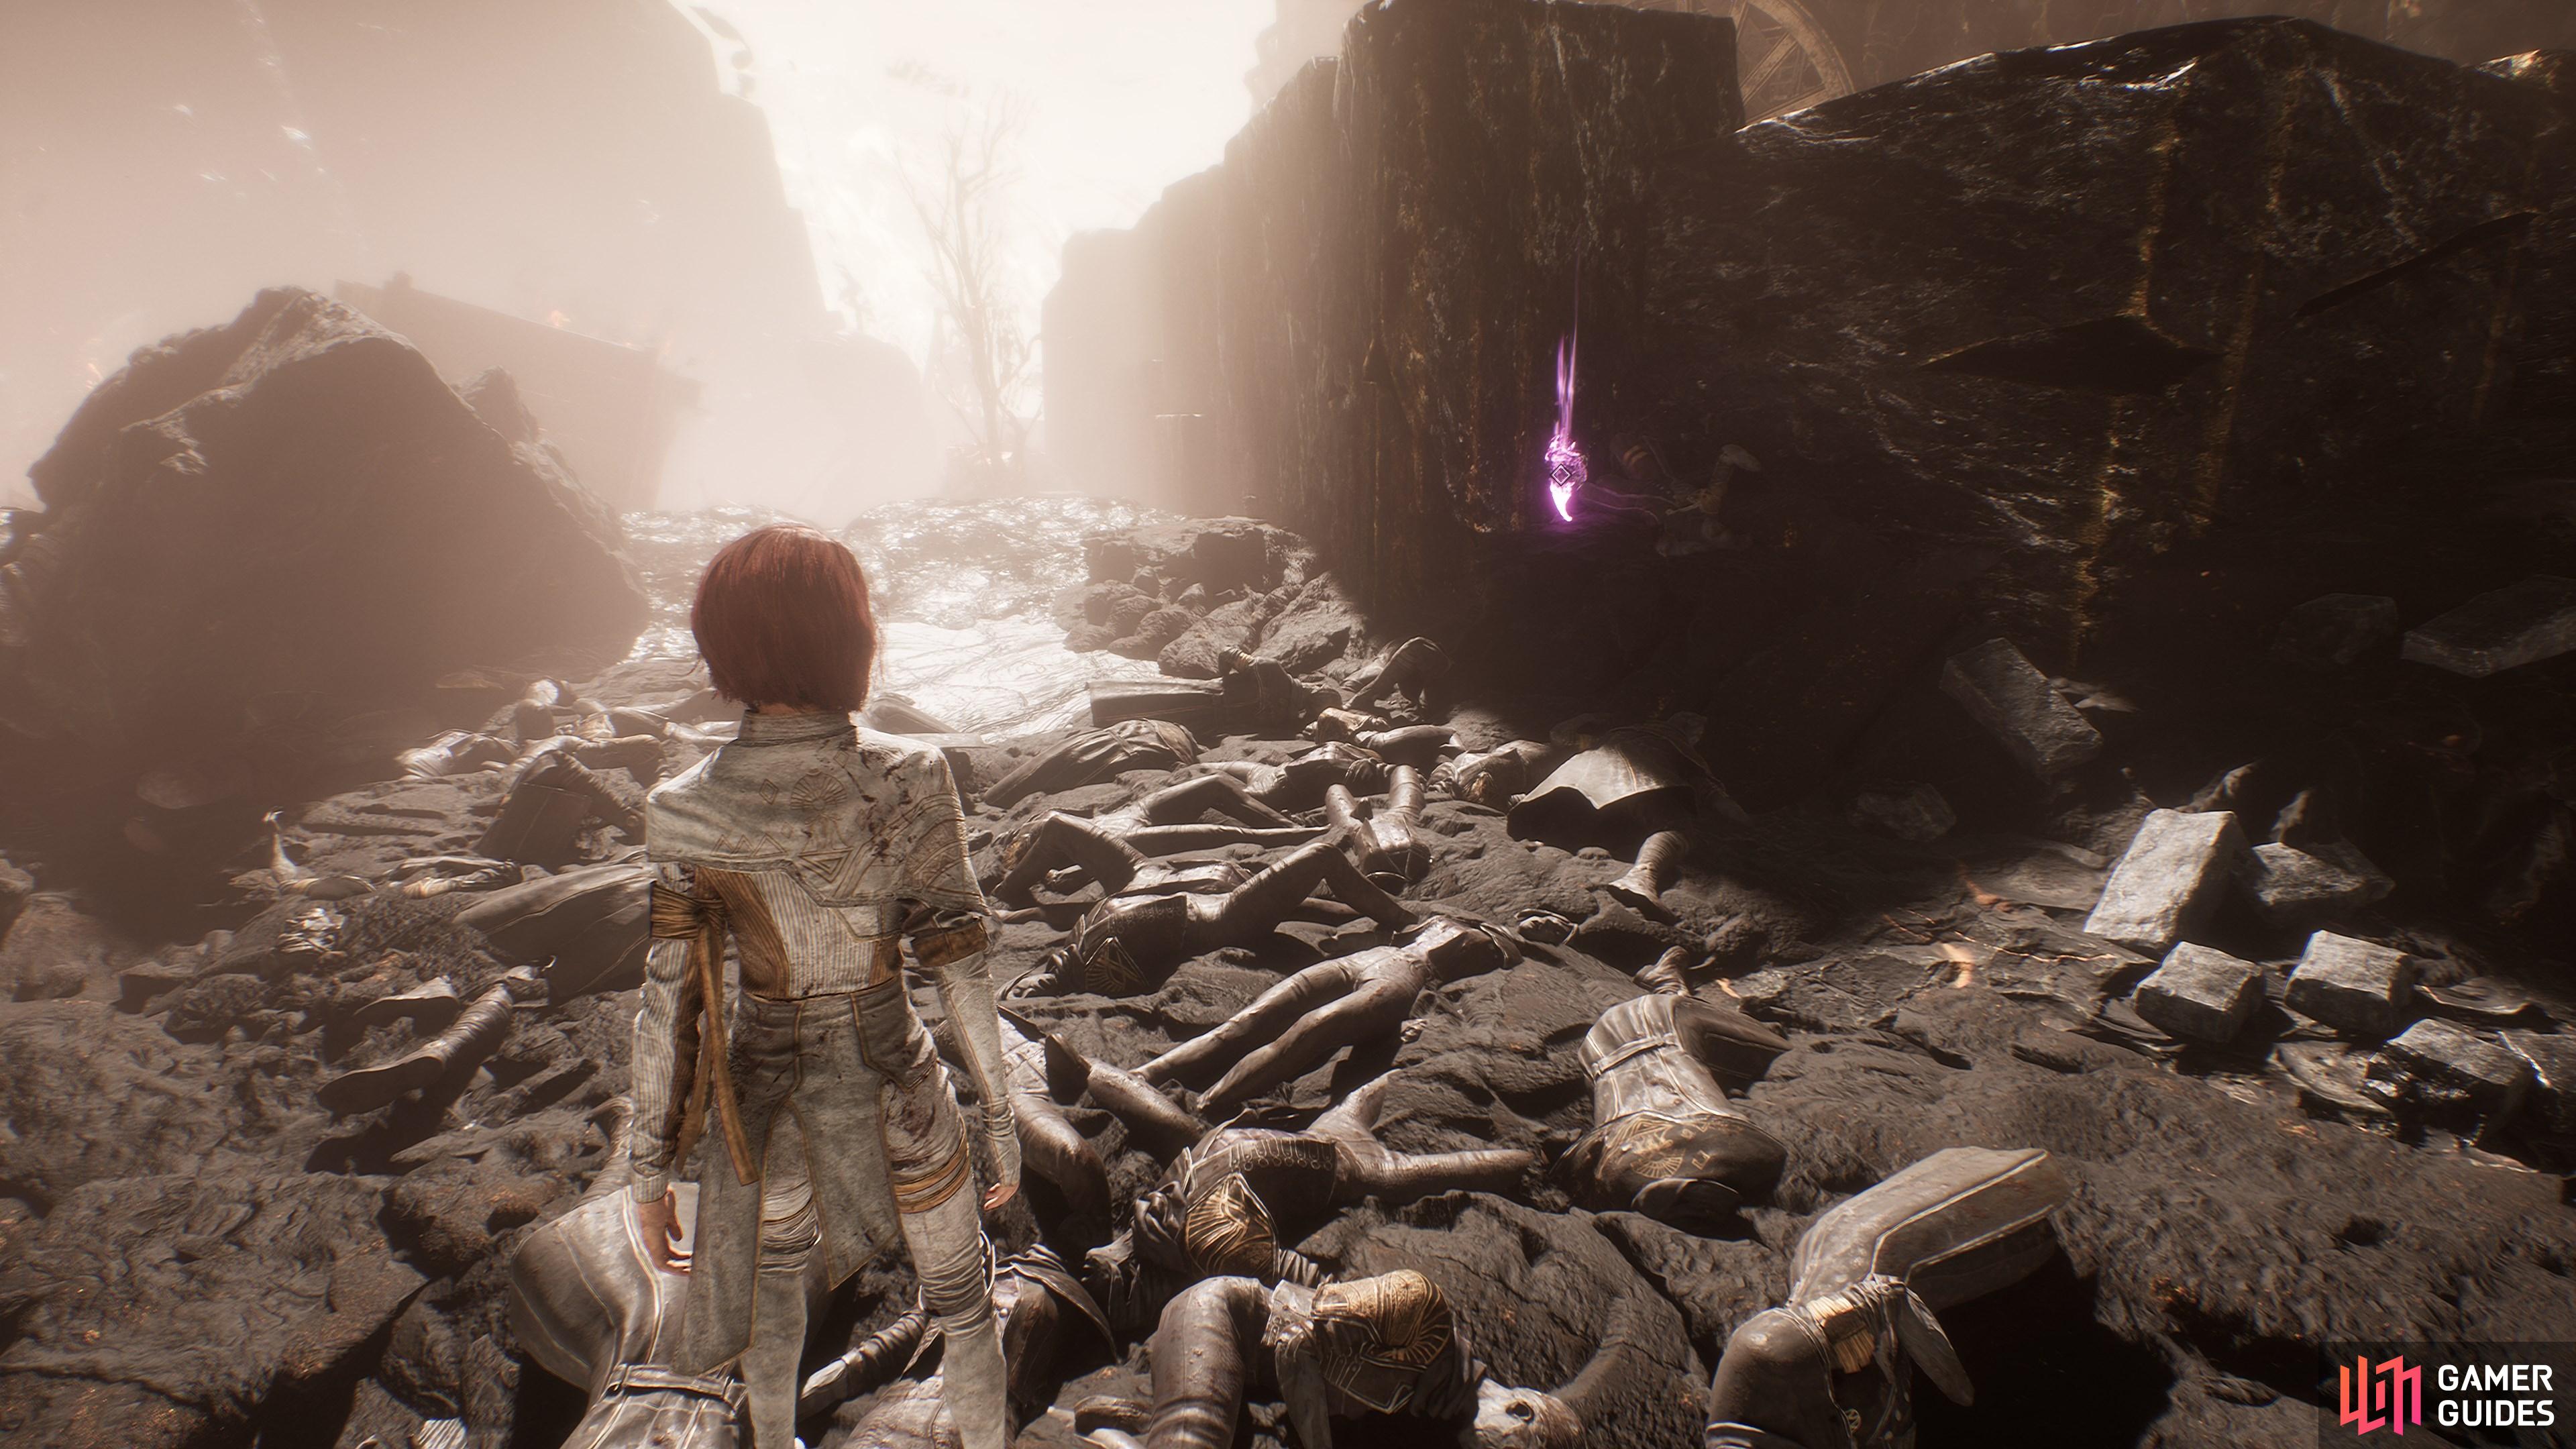
From the main gate, keep to the left-hand side of the battlefield and drop into the trenches. Follow the trench around and you’ll soon find this item.
46. The Continent
In the trenches on the left-hand side of the battlefield, underneath the fallen ![]() Bourgeon.
Bourgeon.
47. The Continent
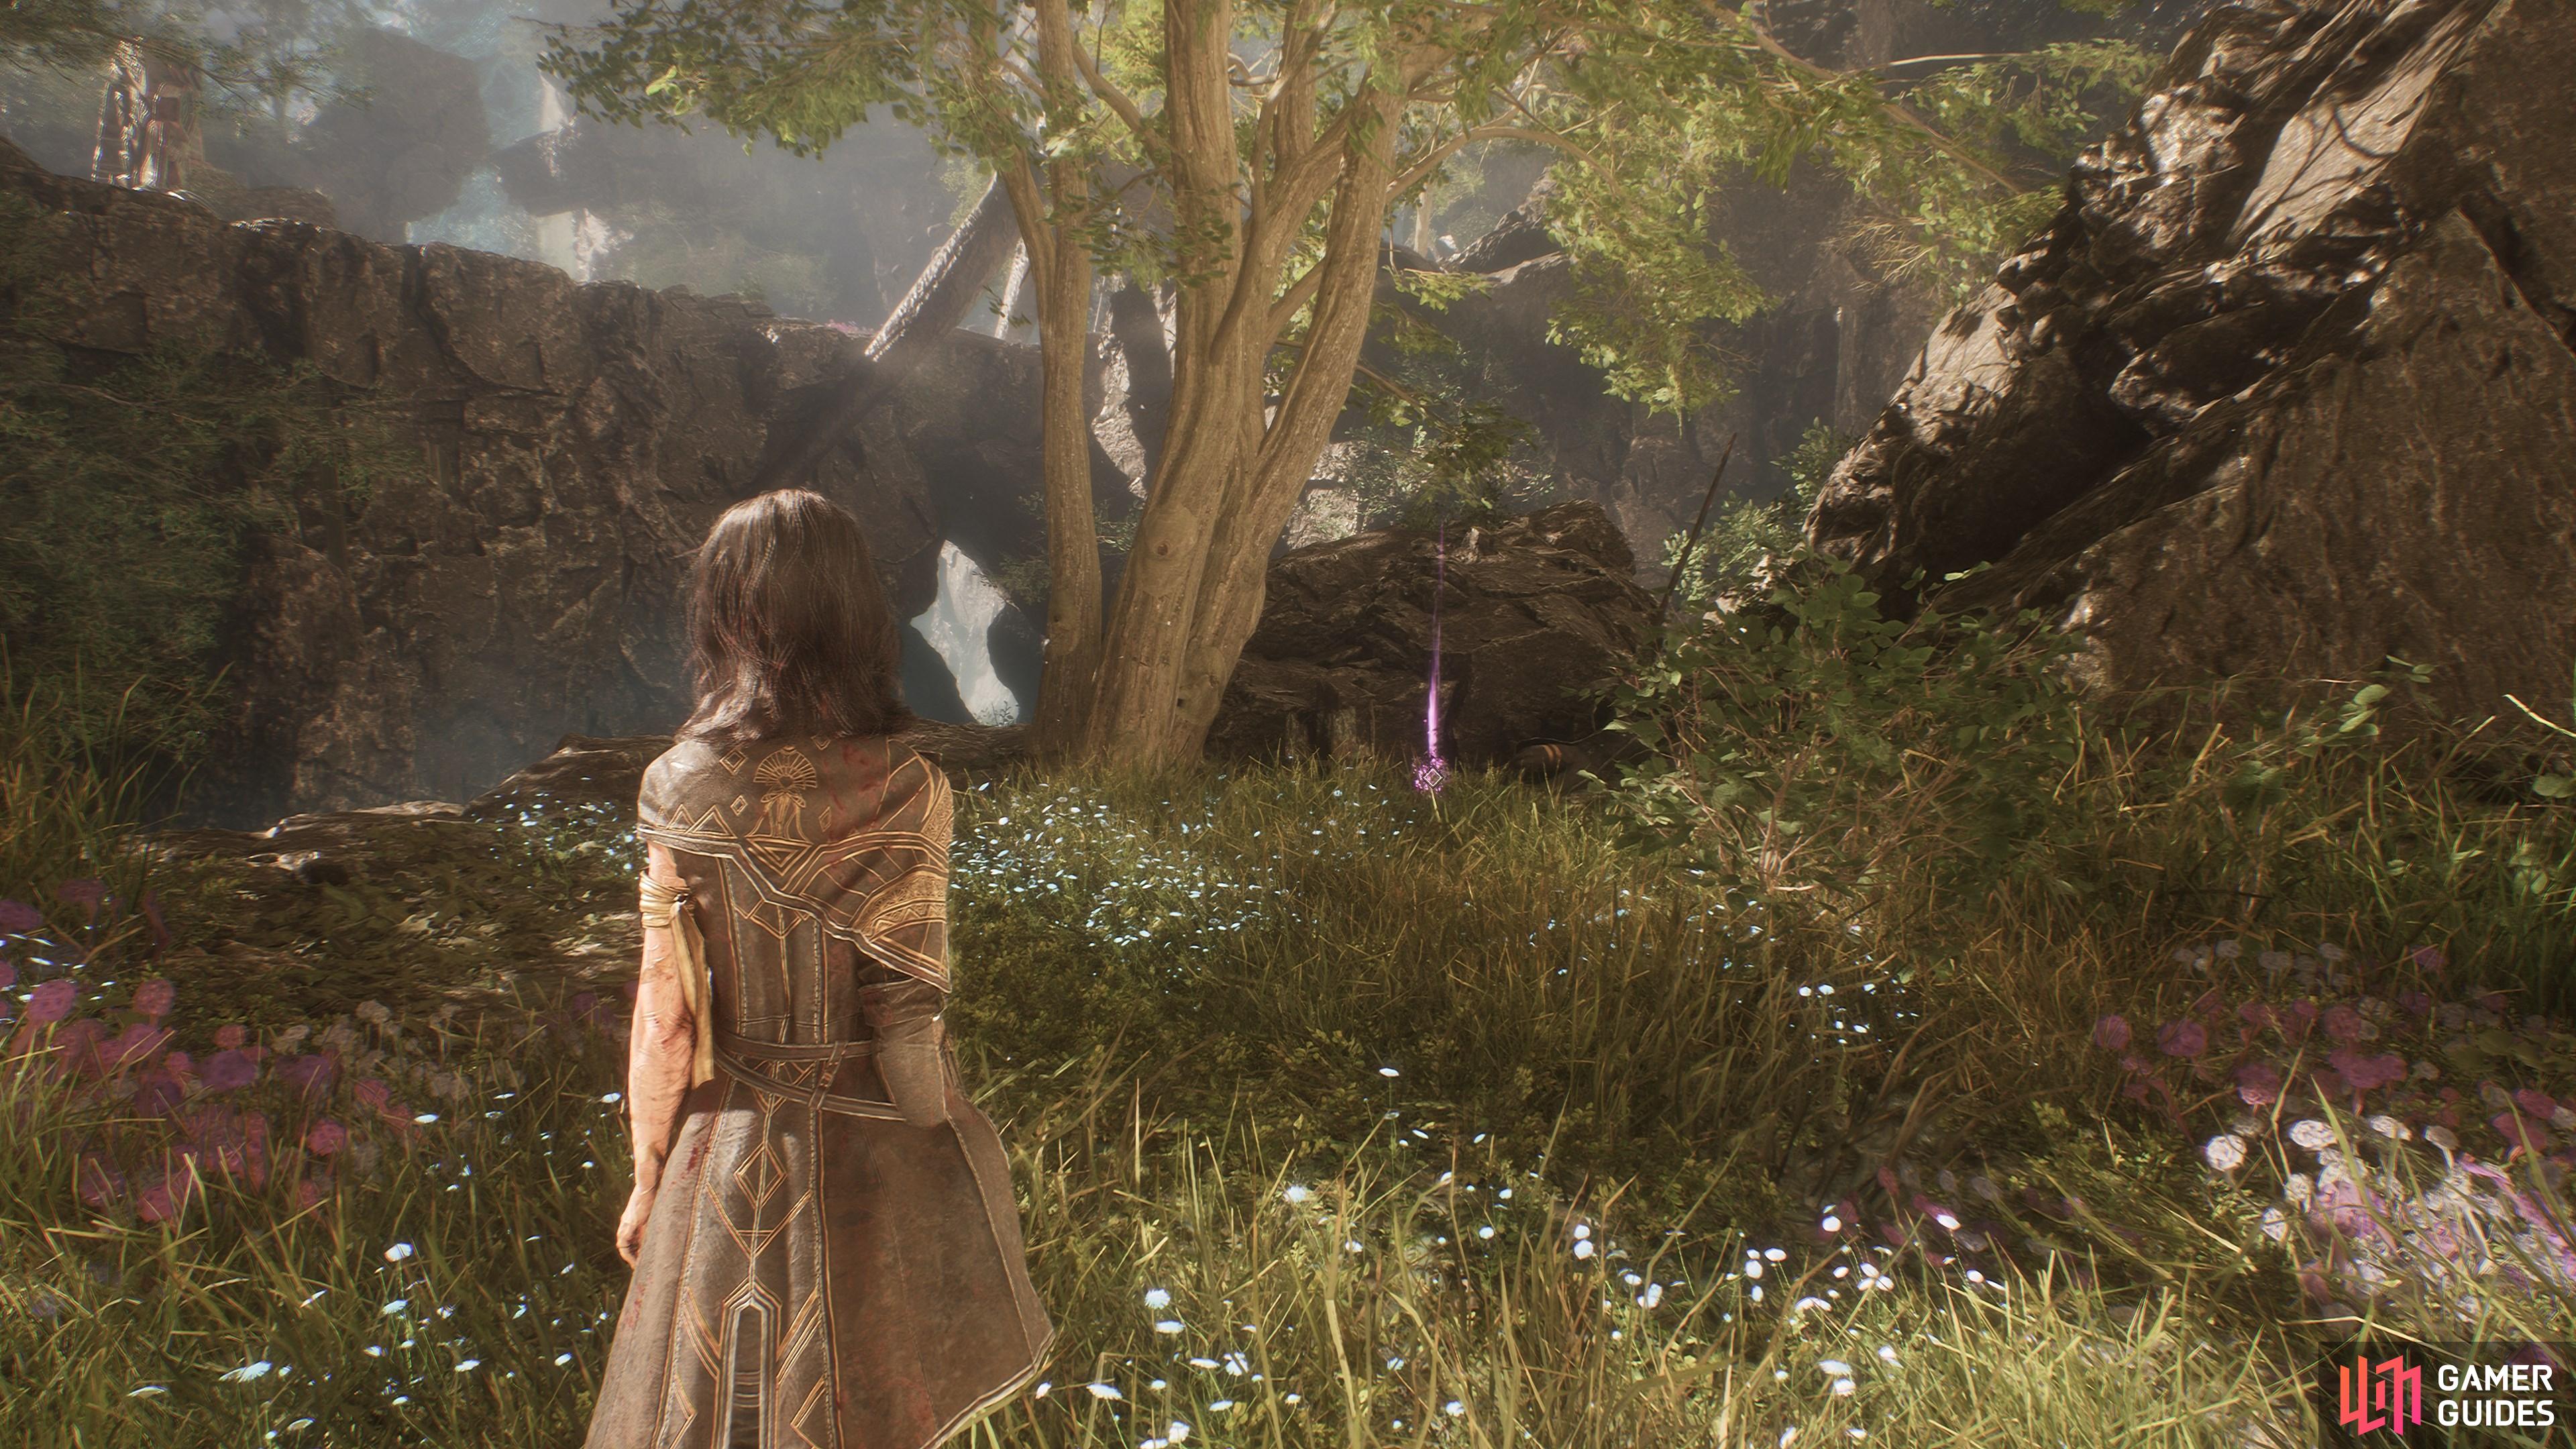
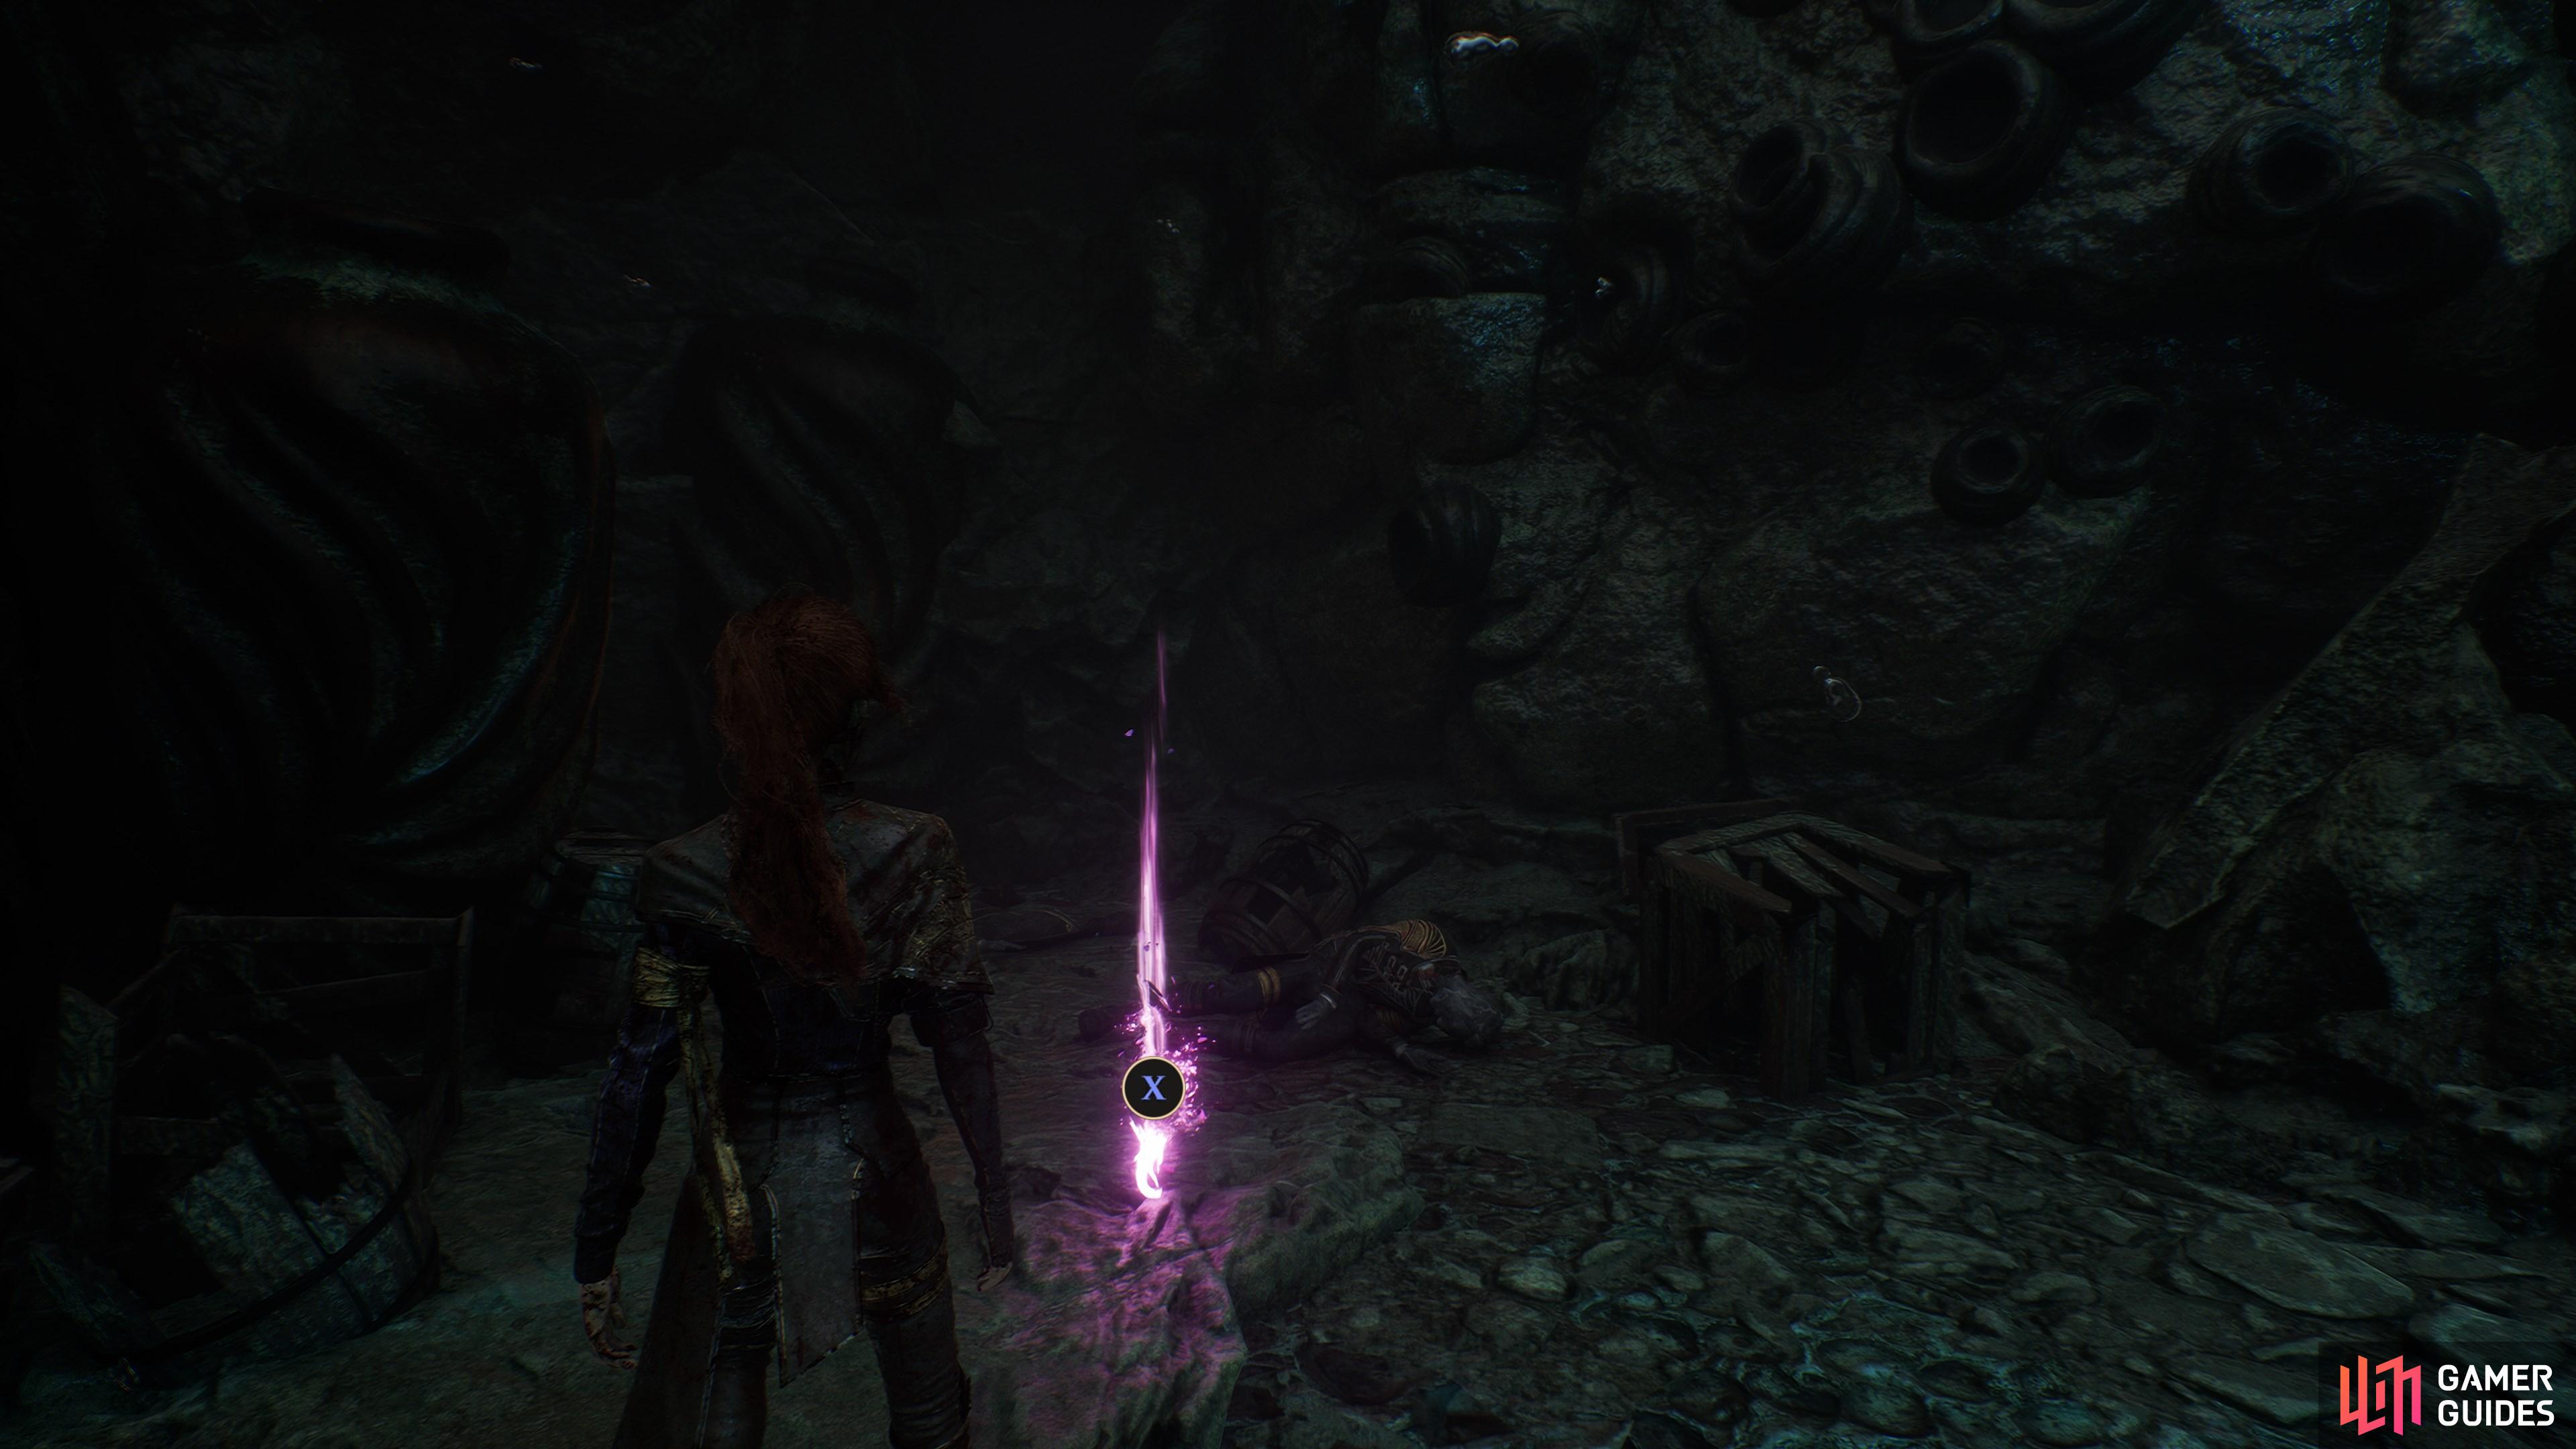
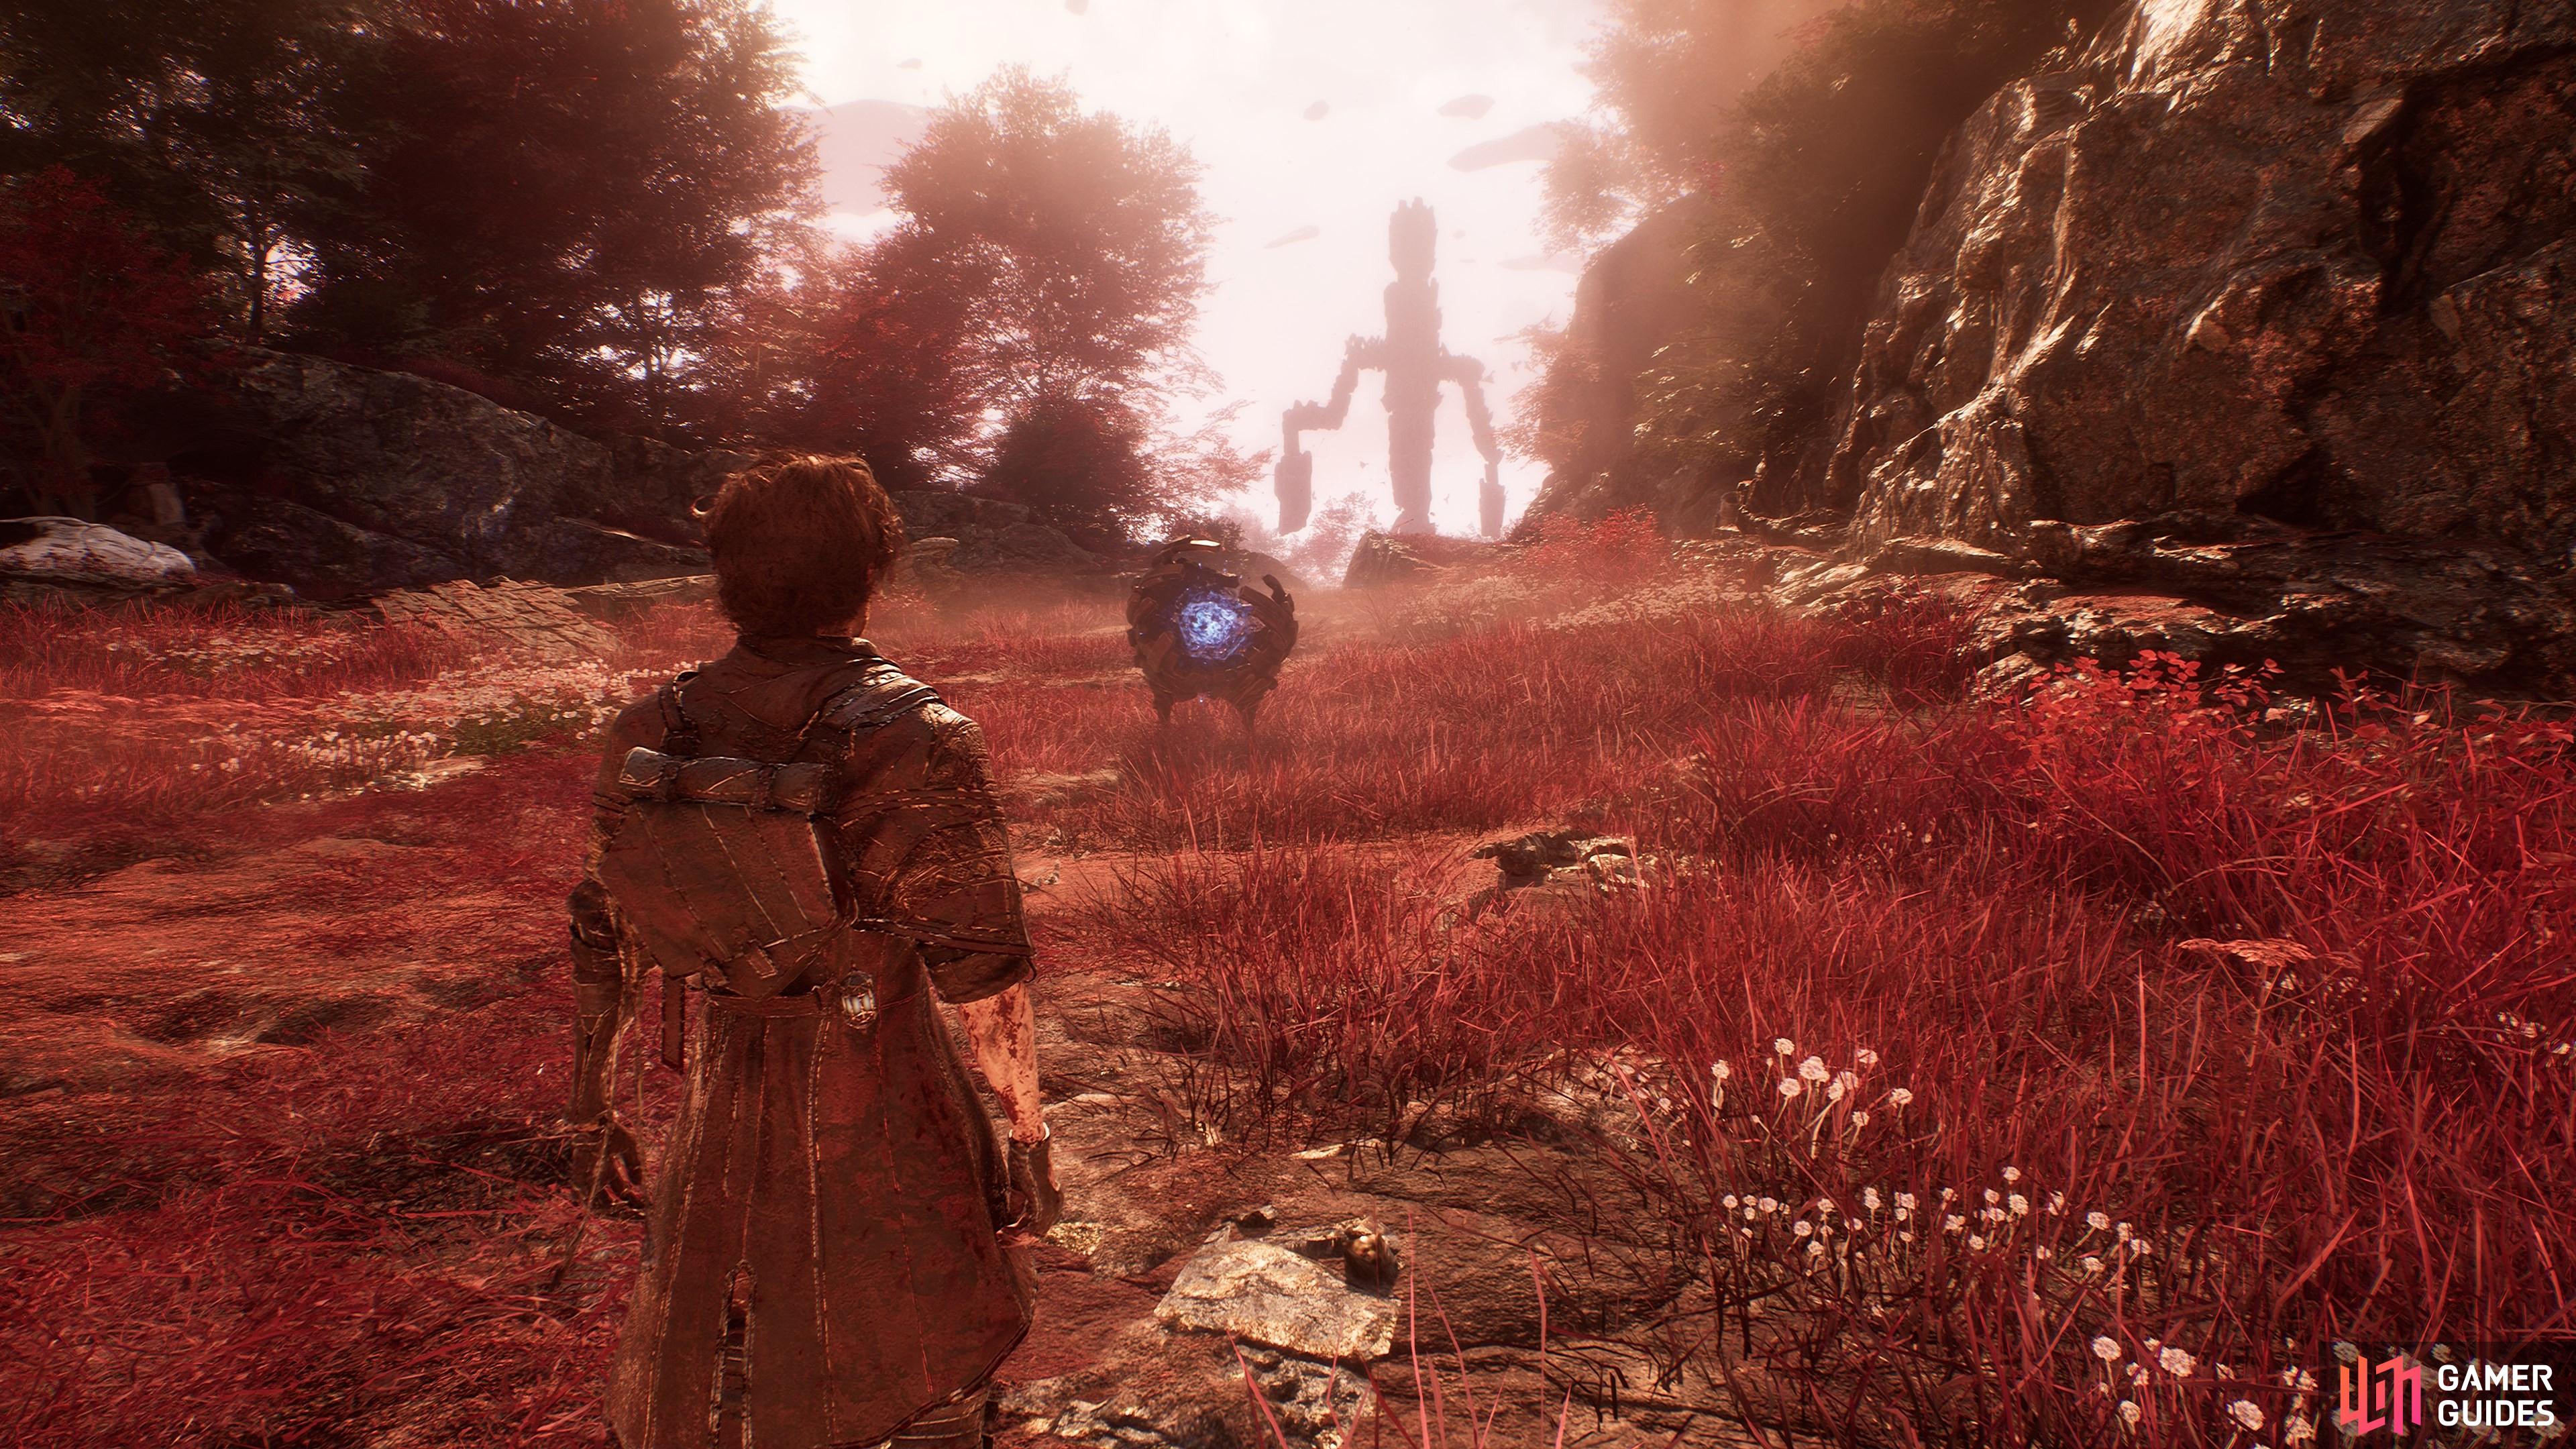
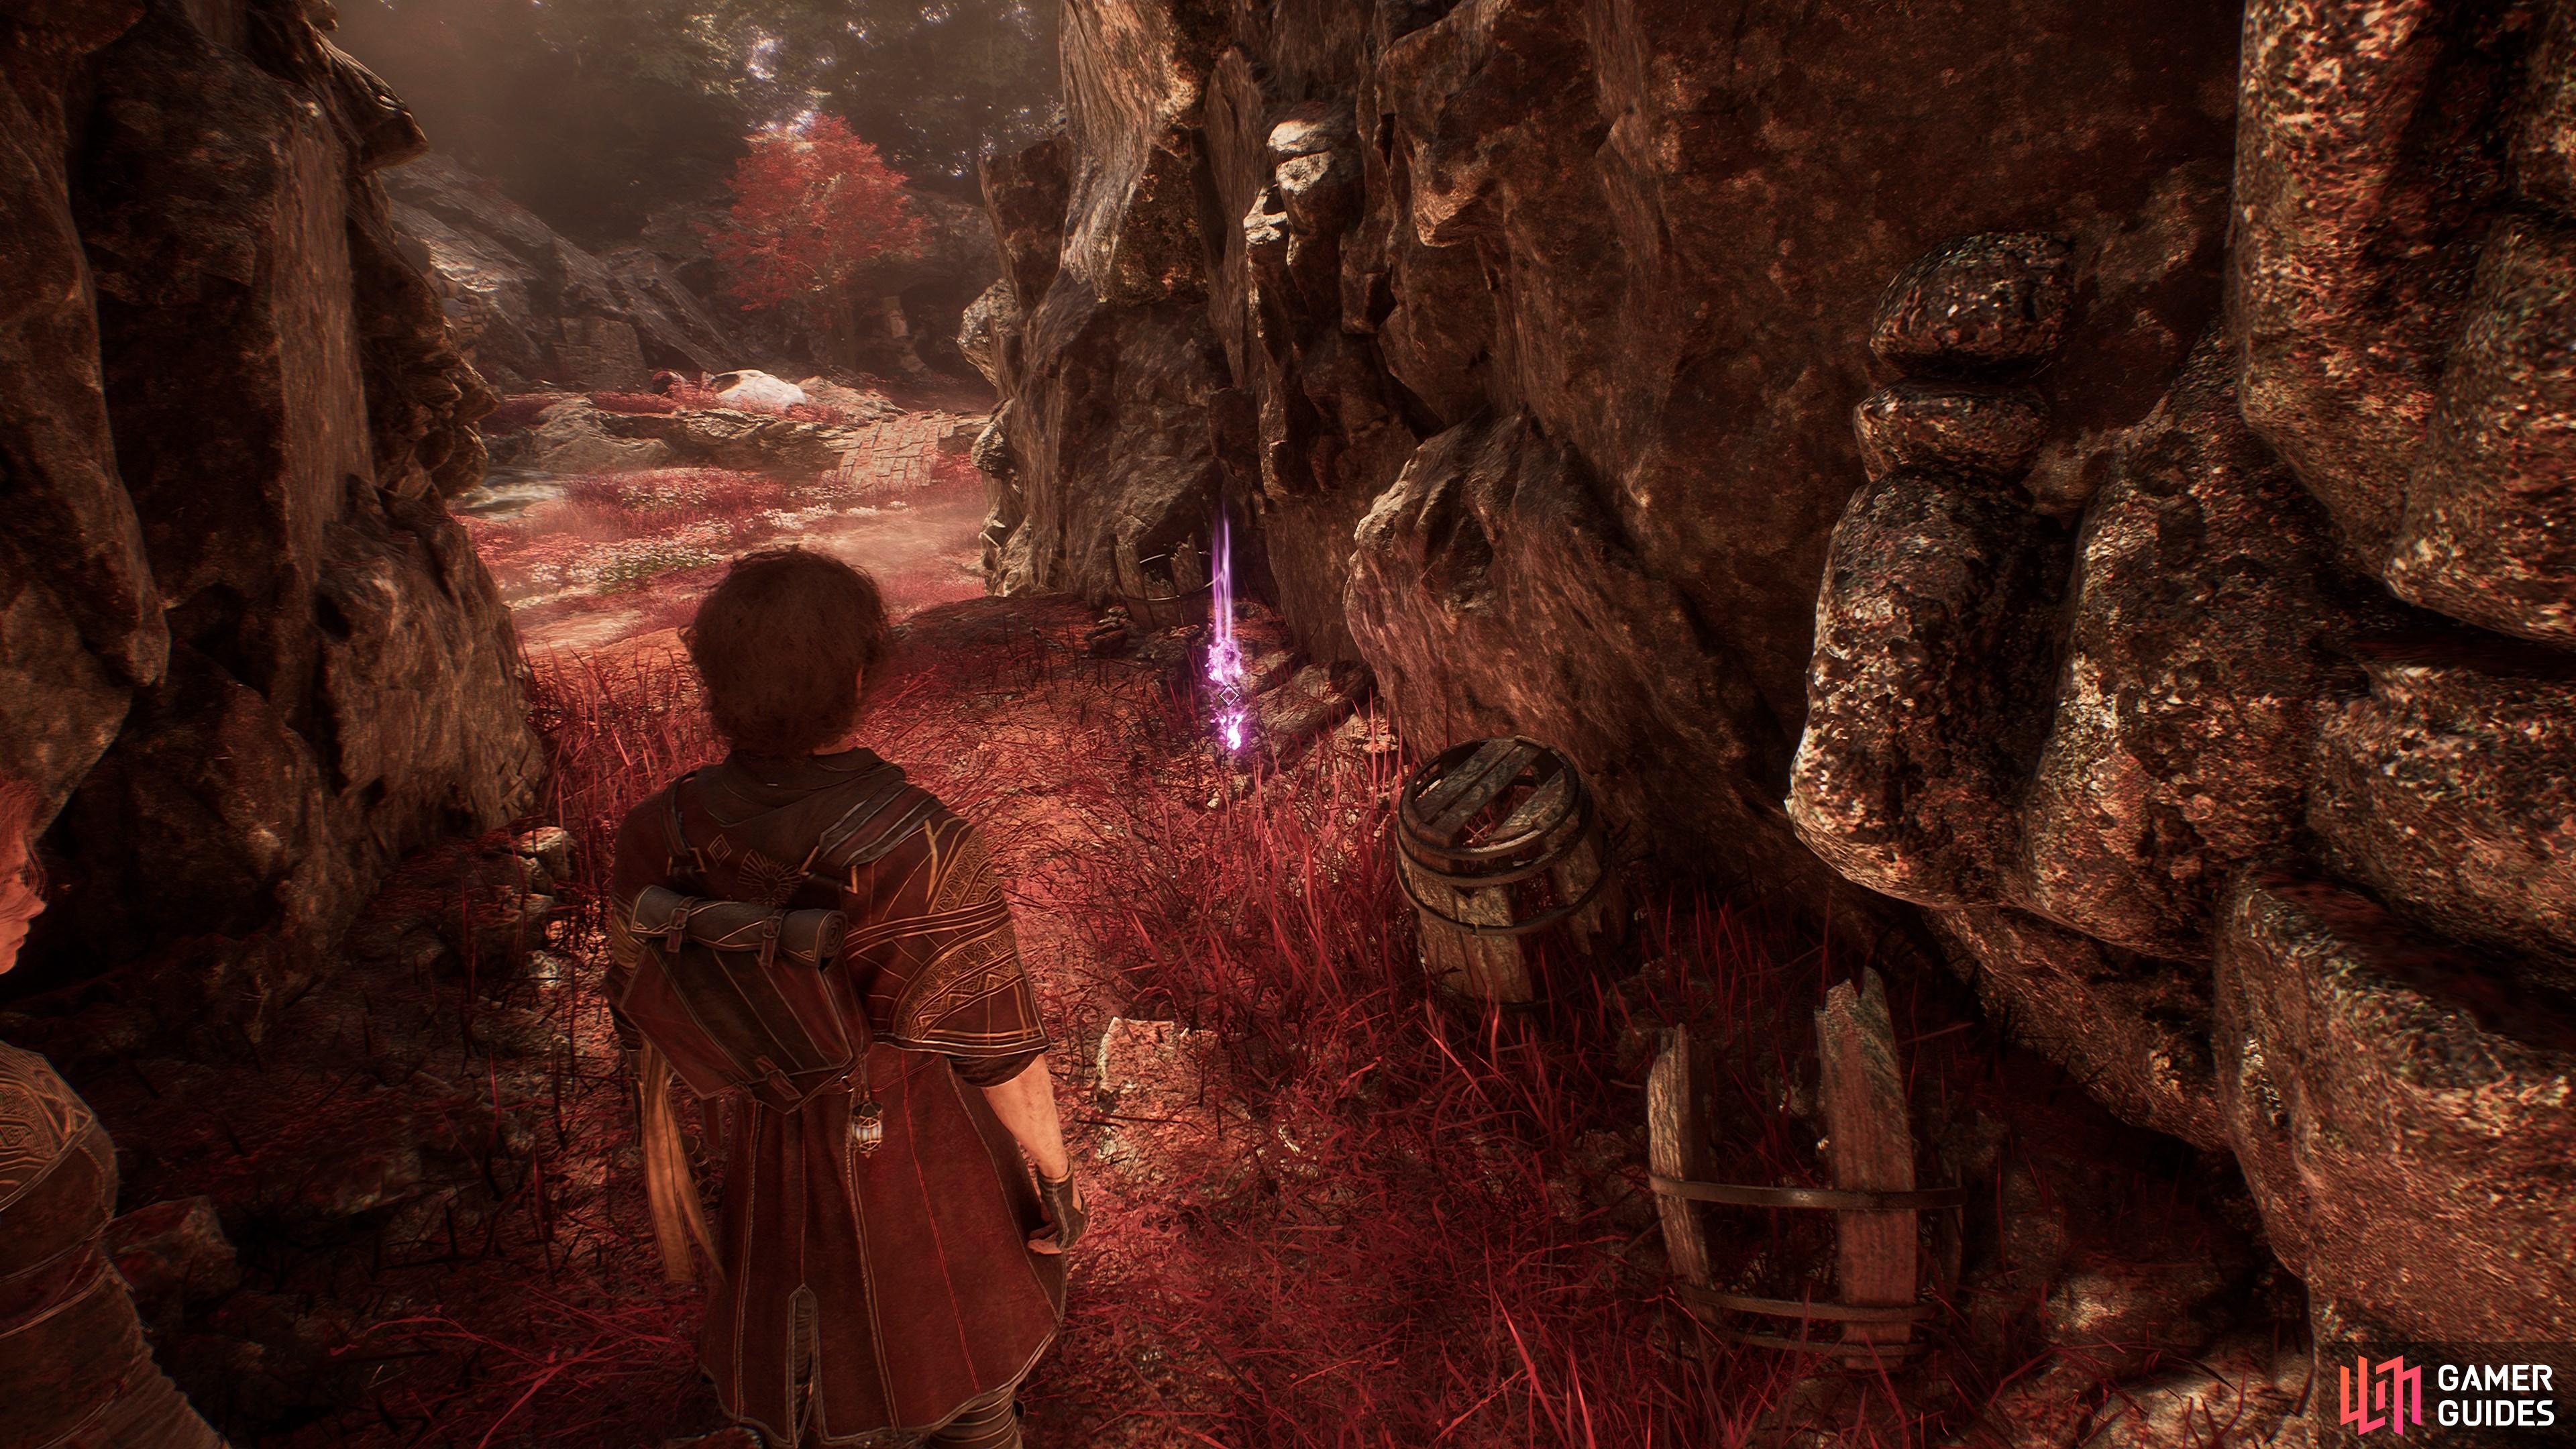
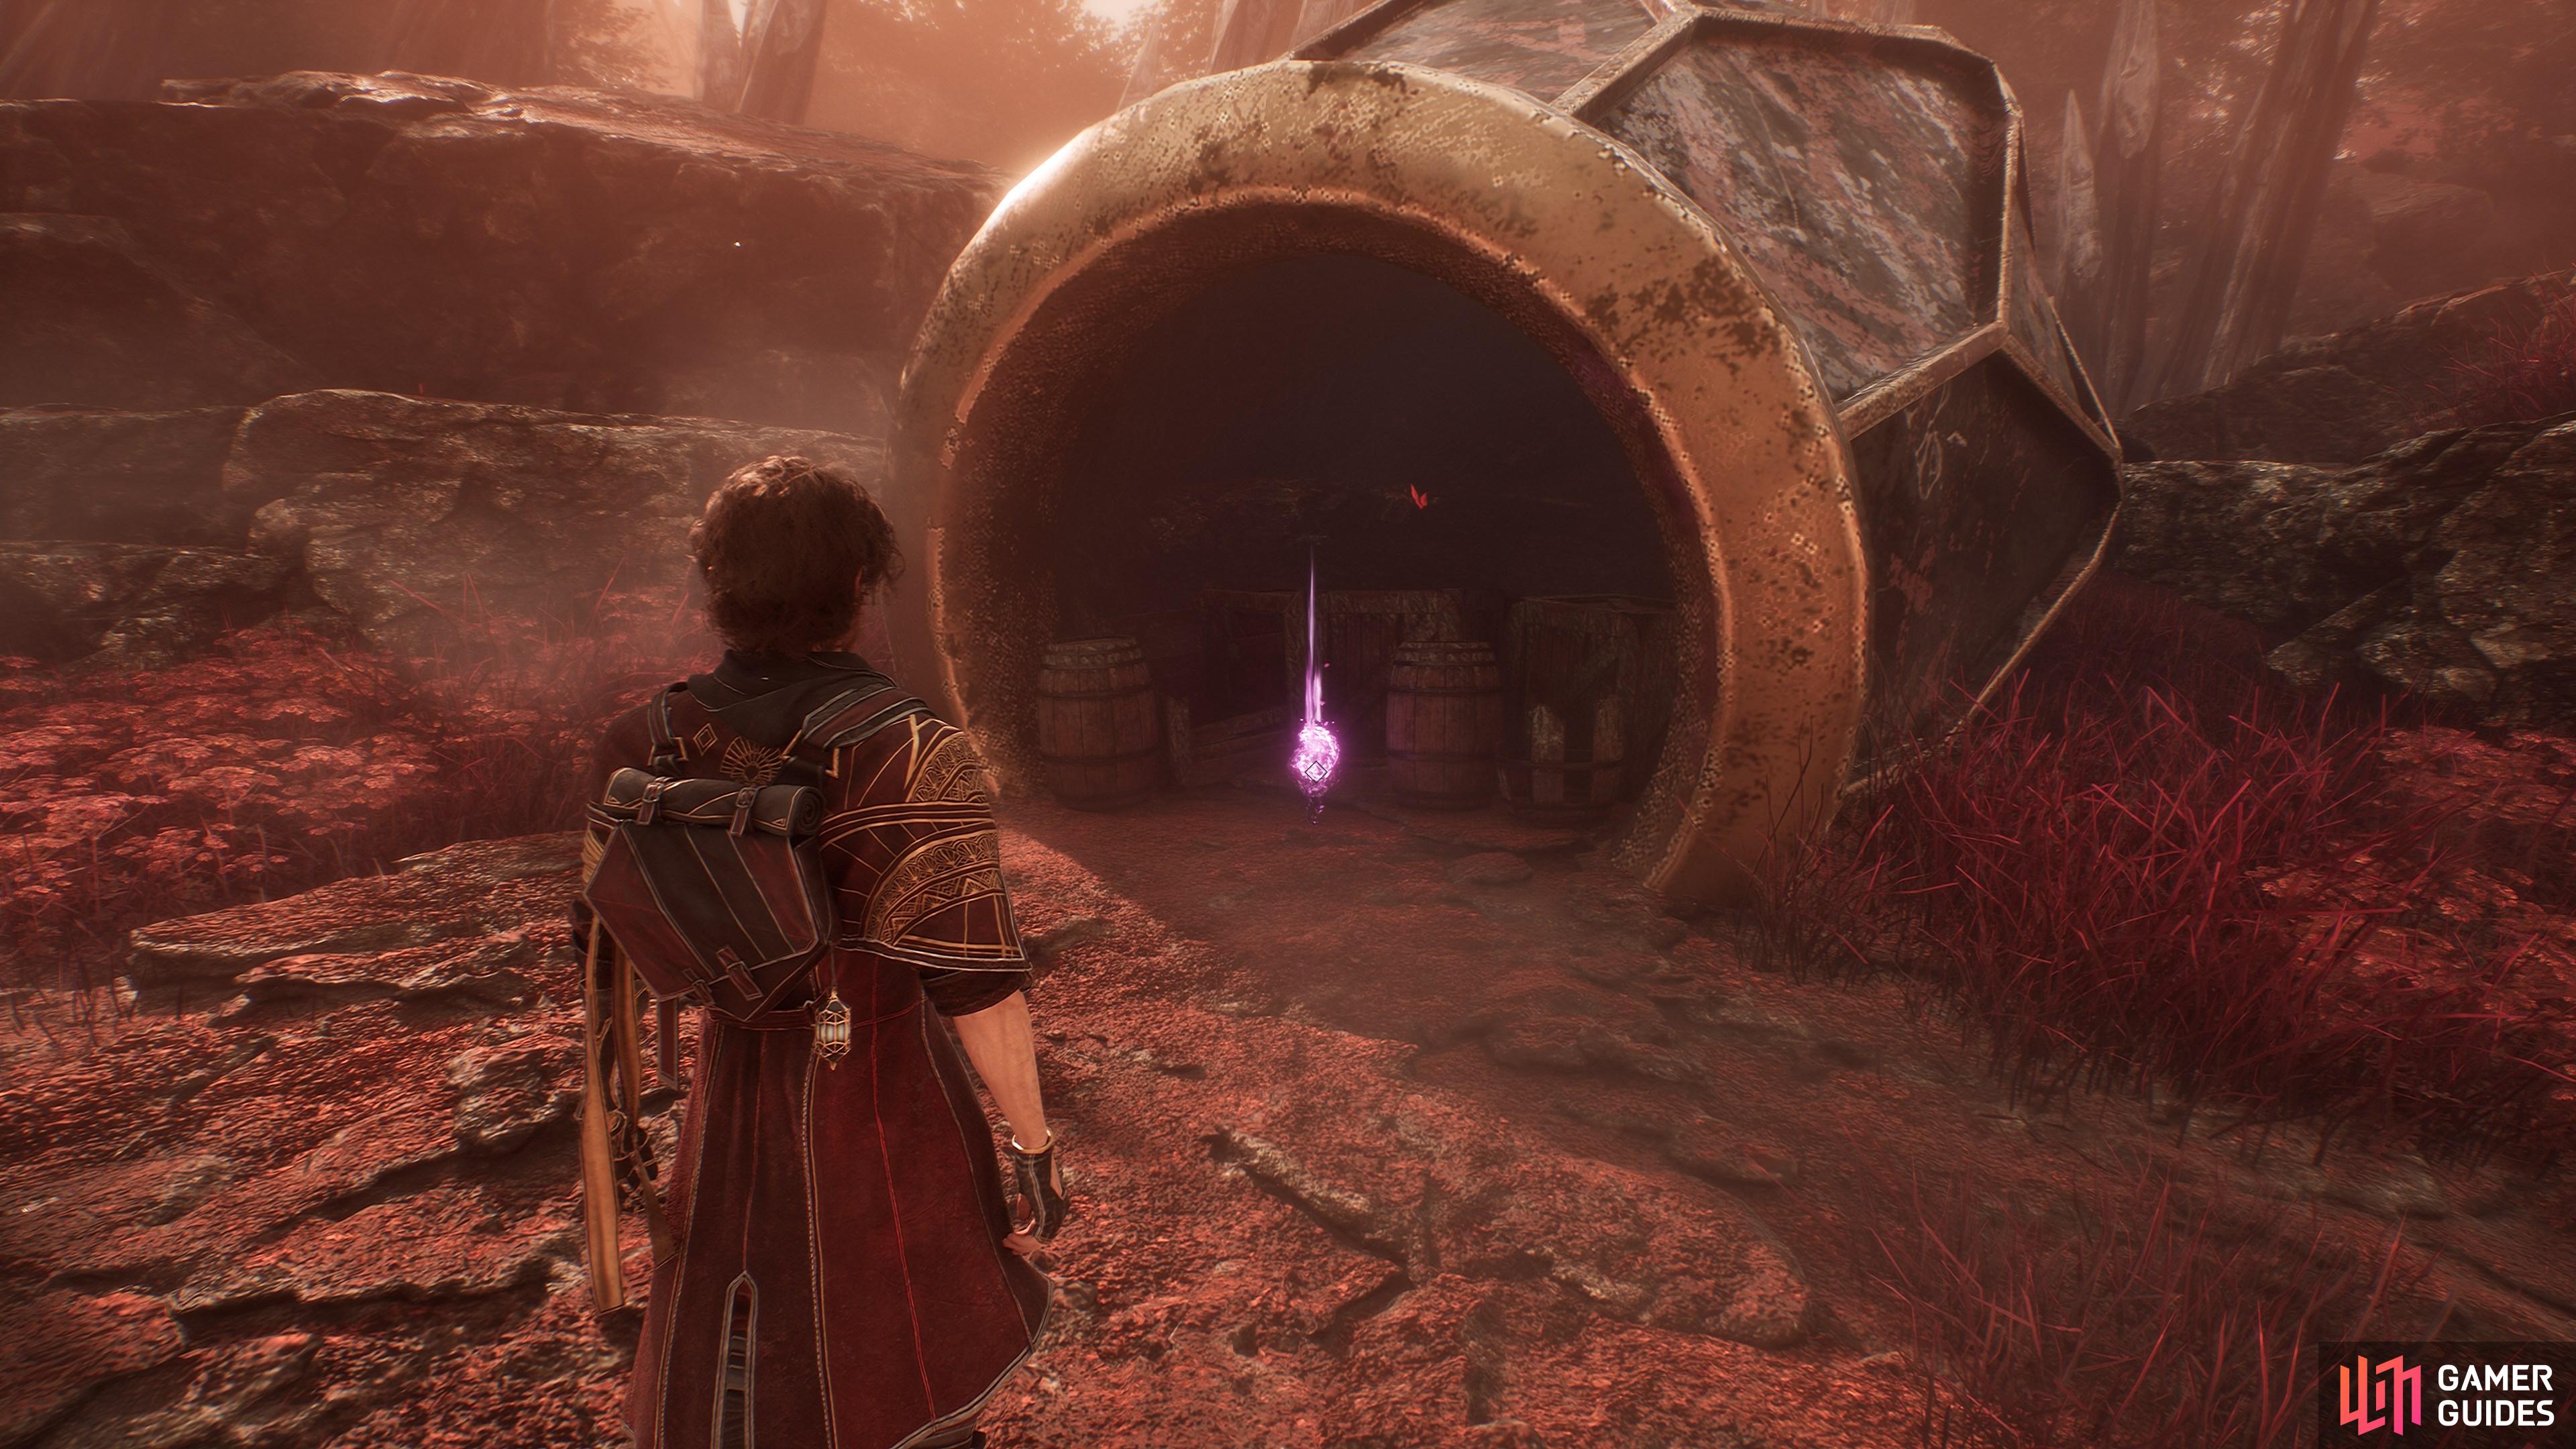
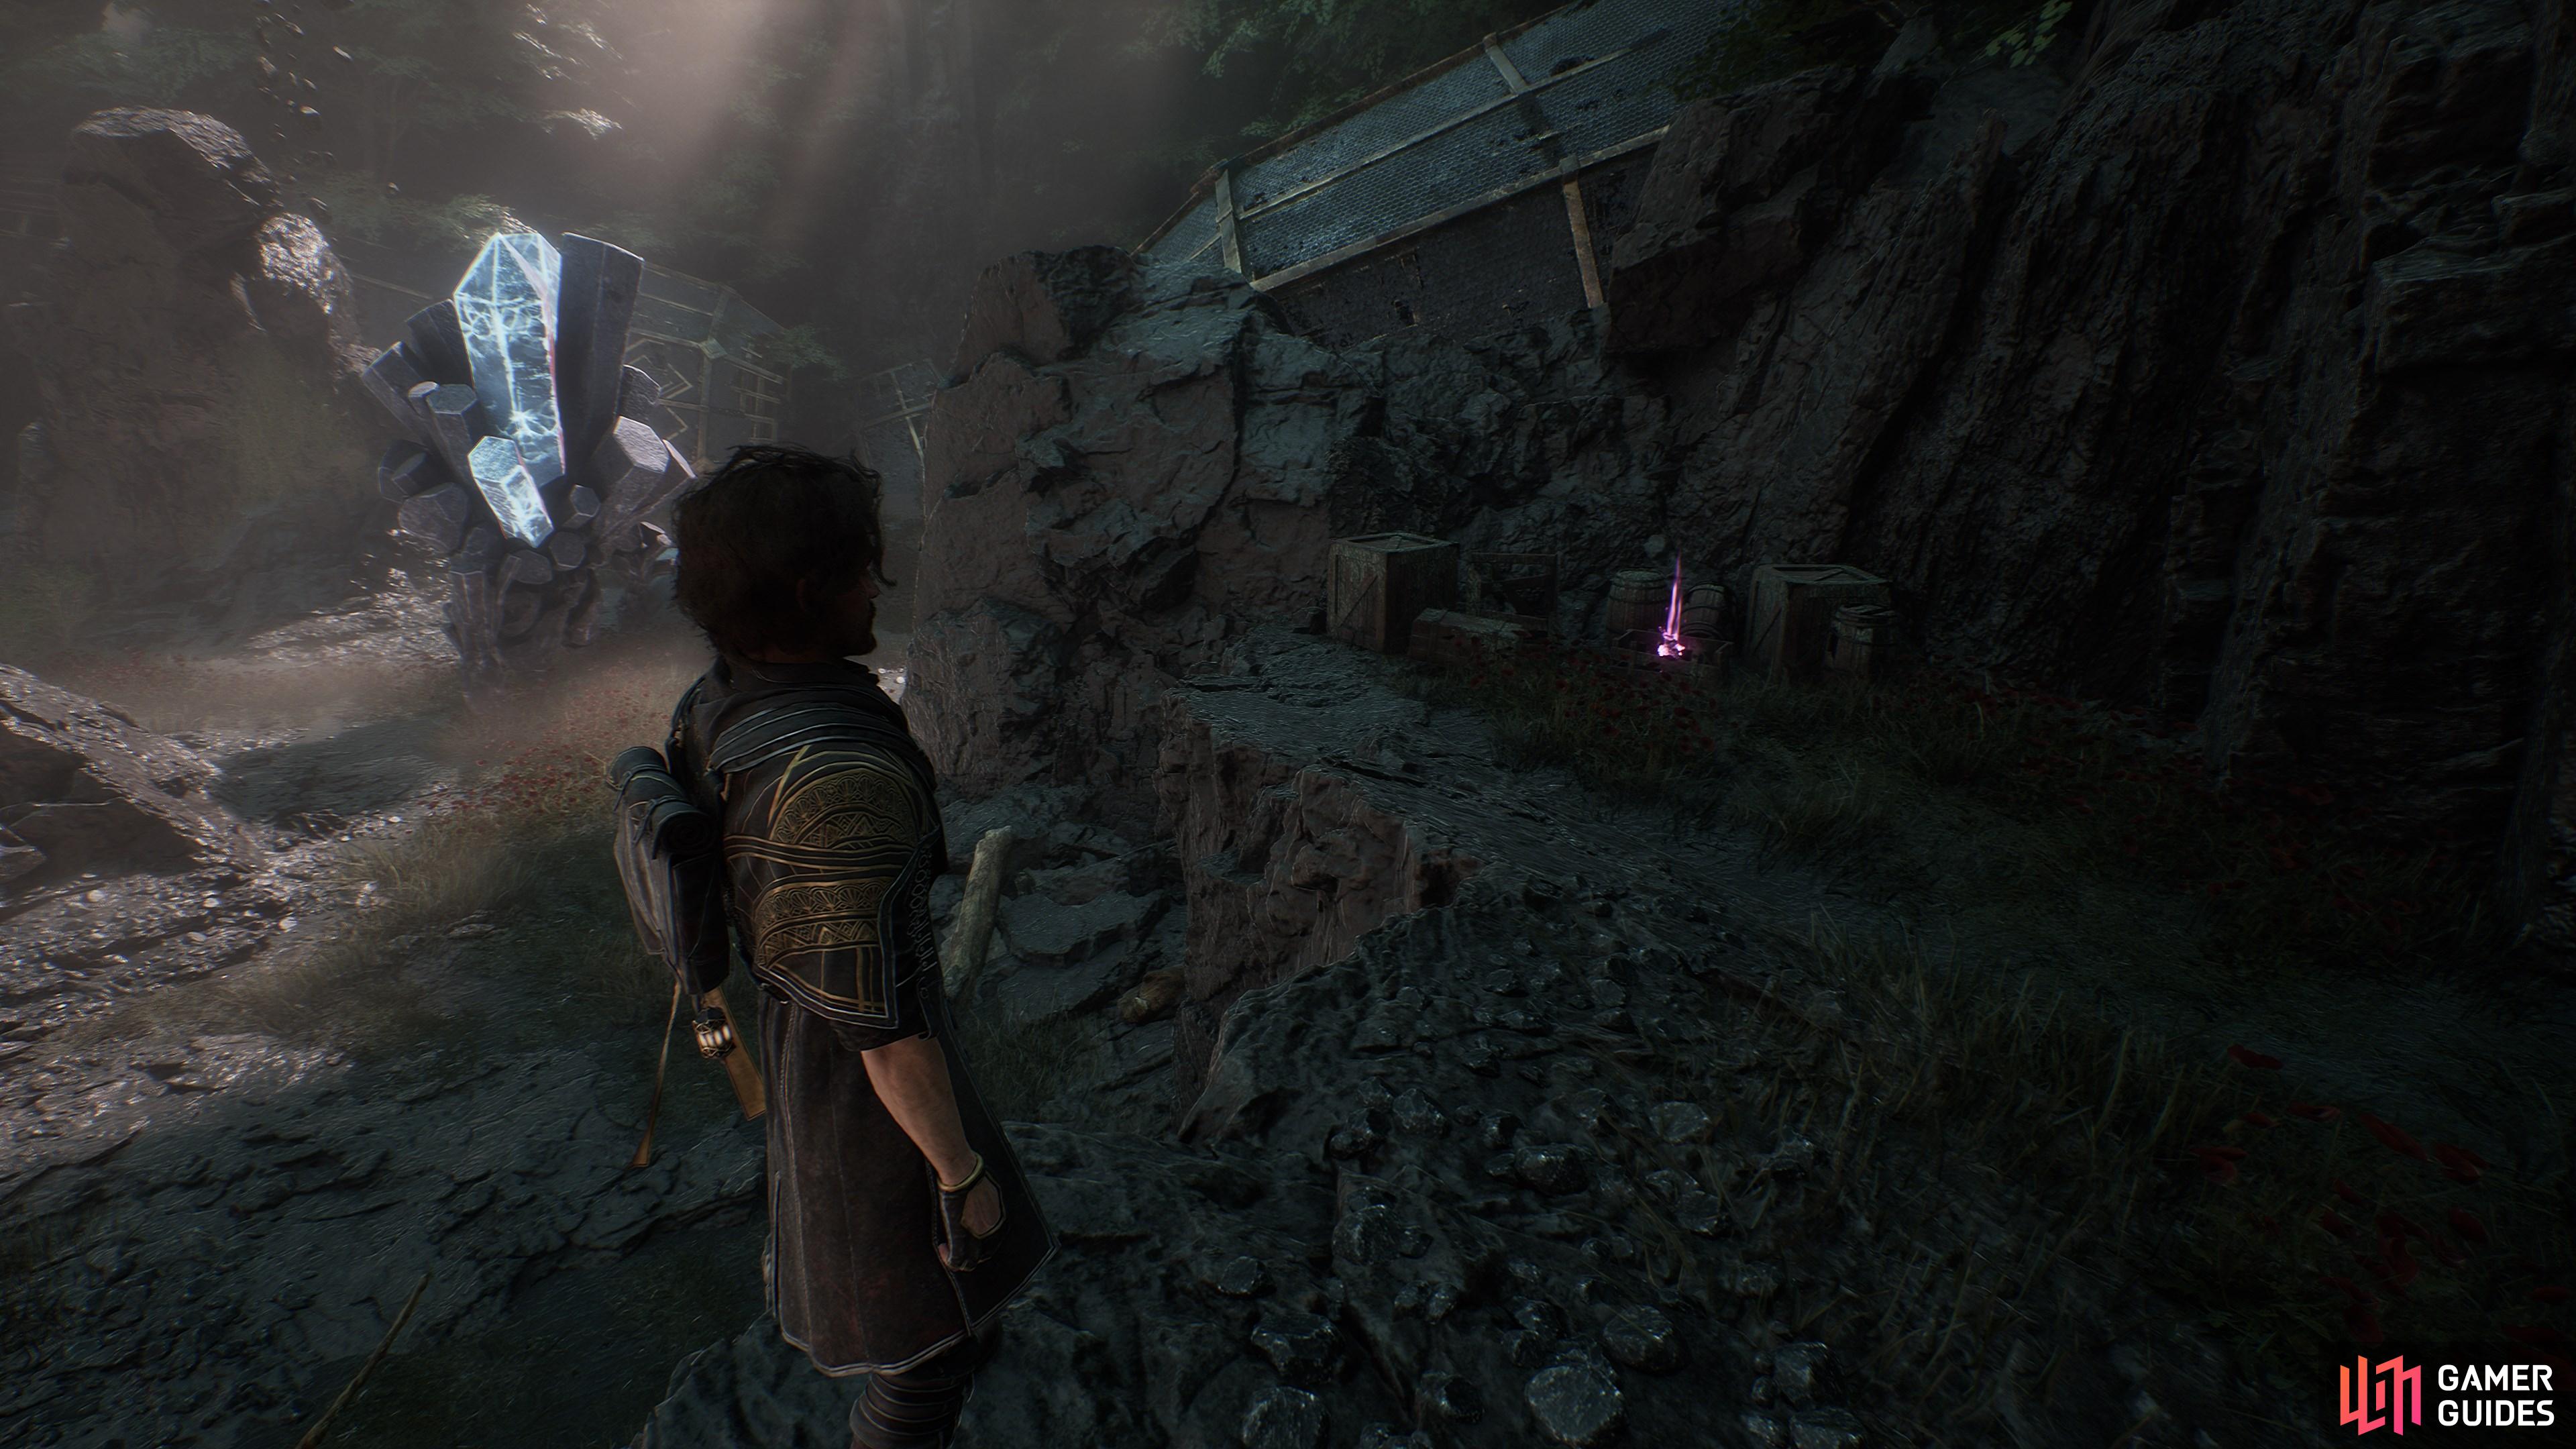
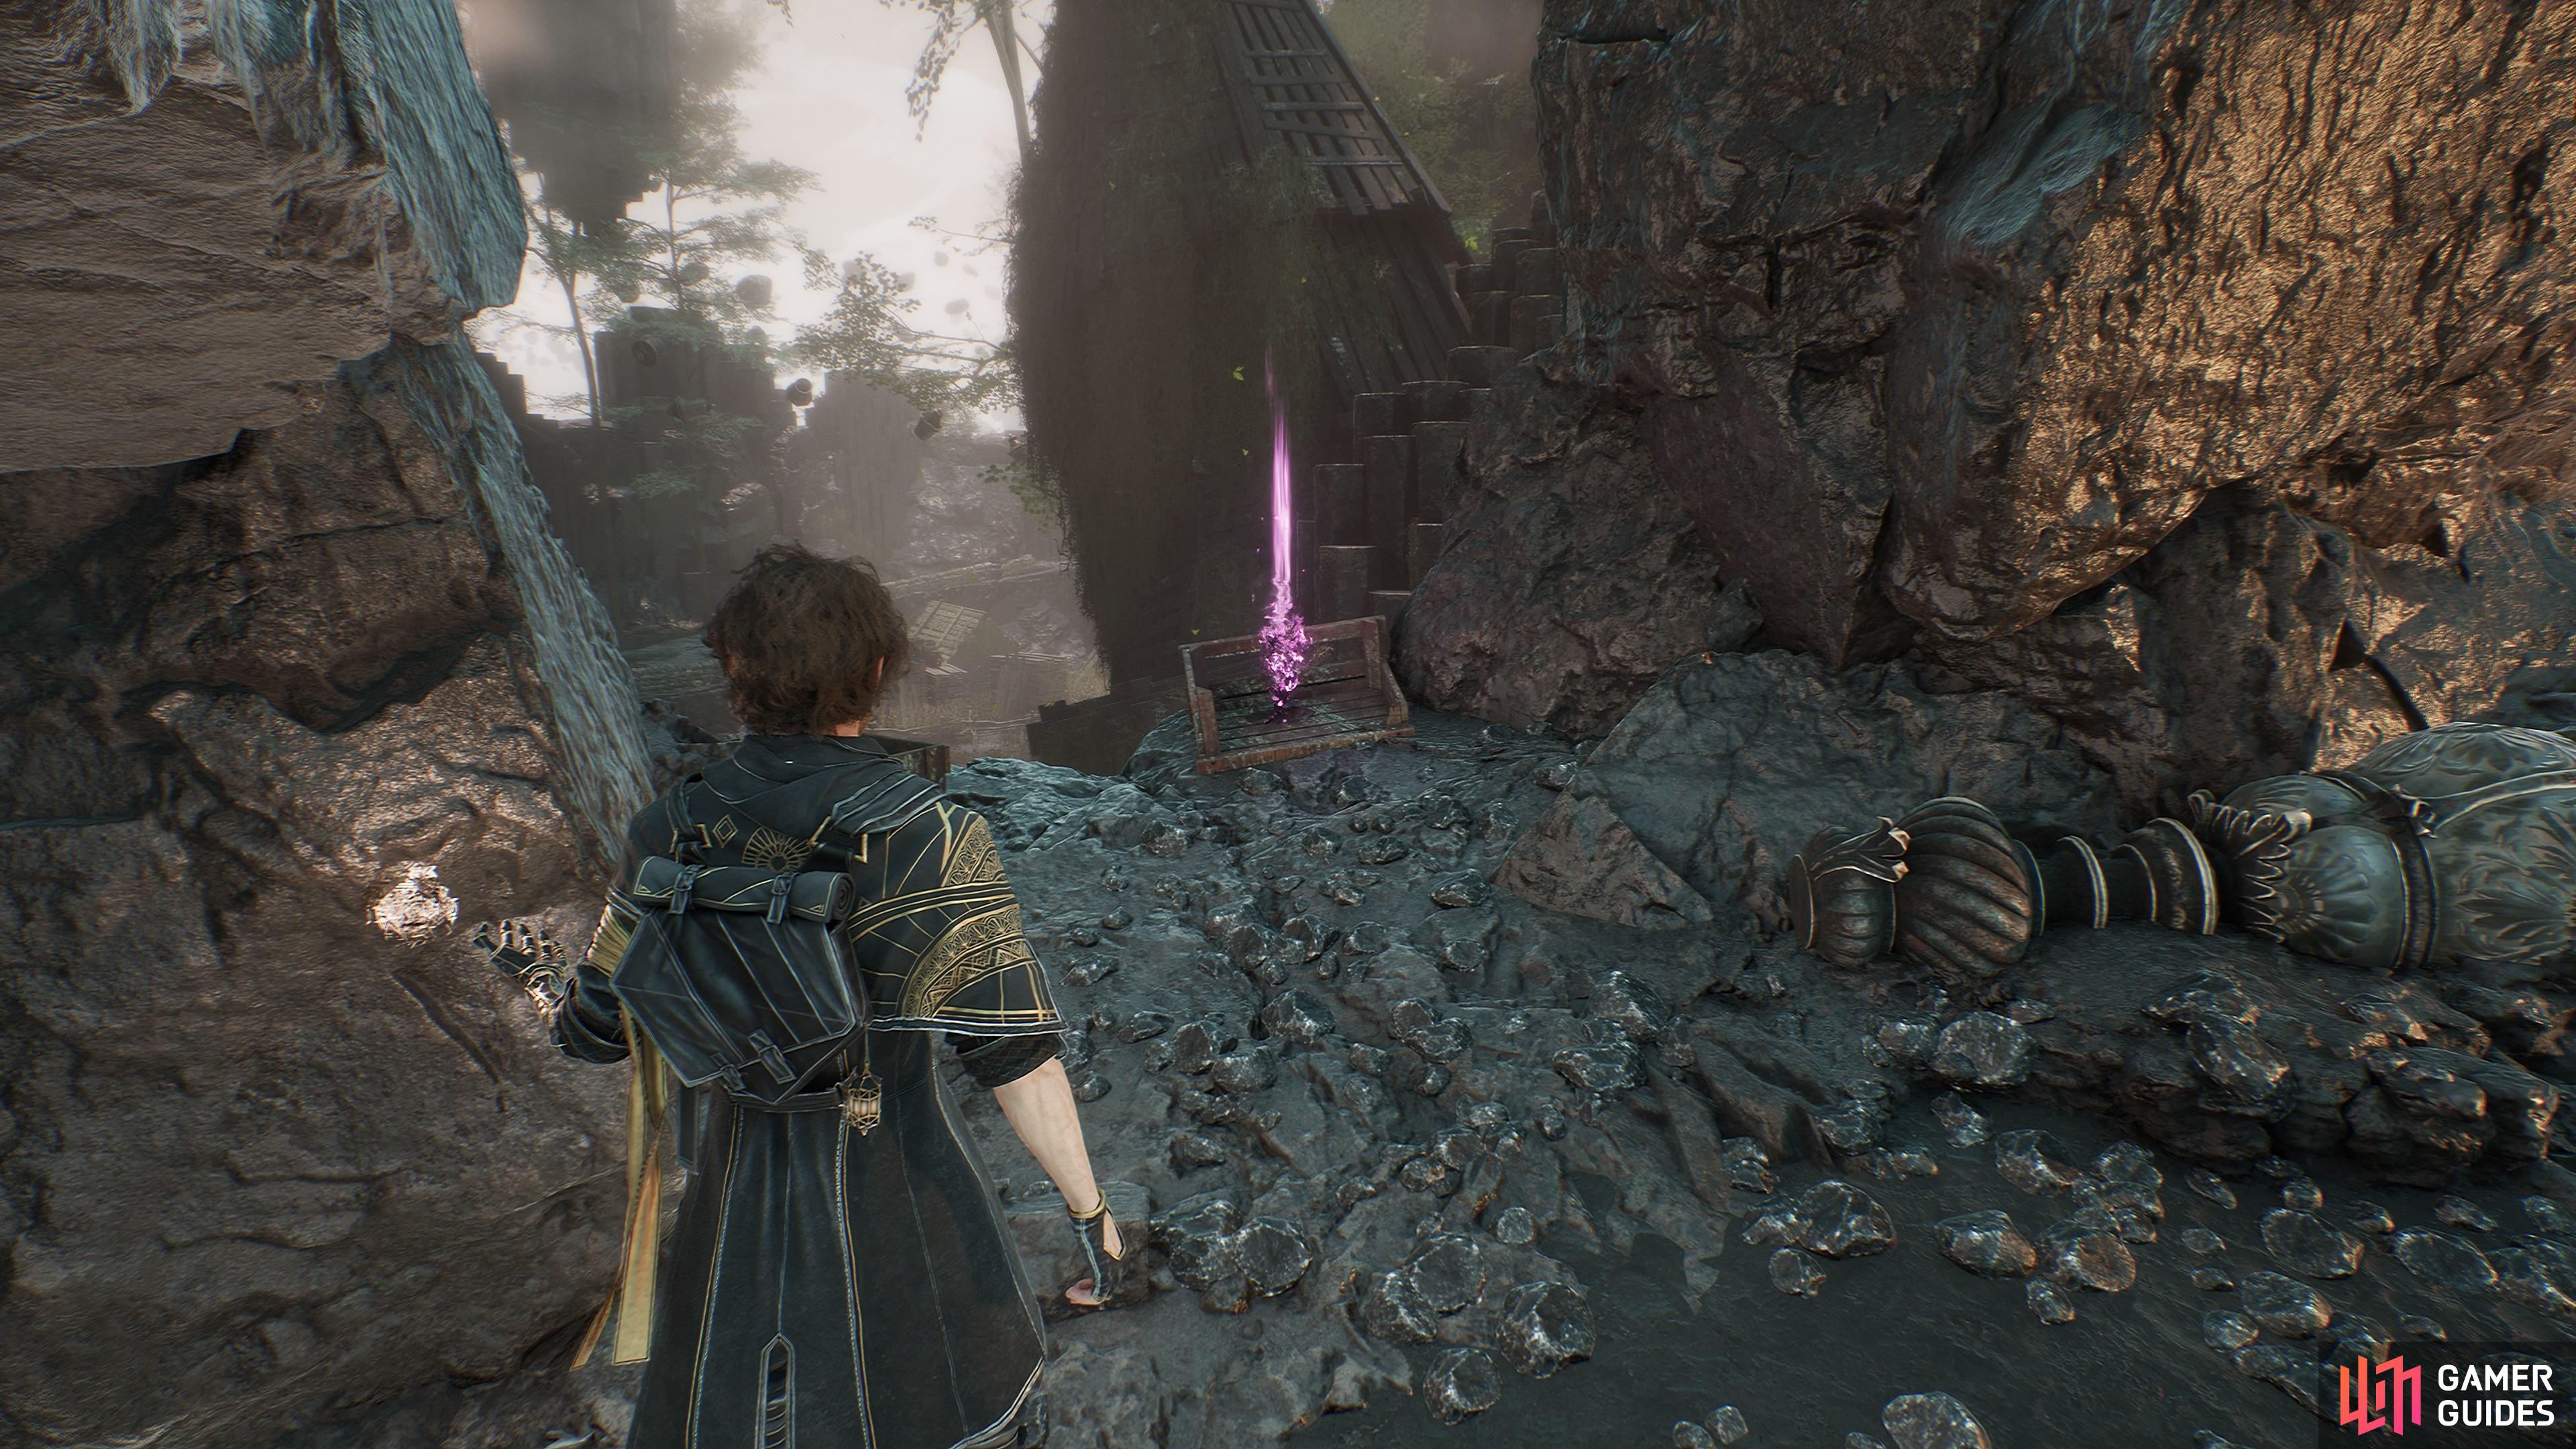
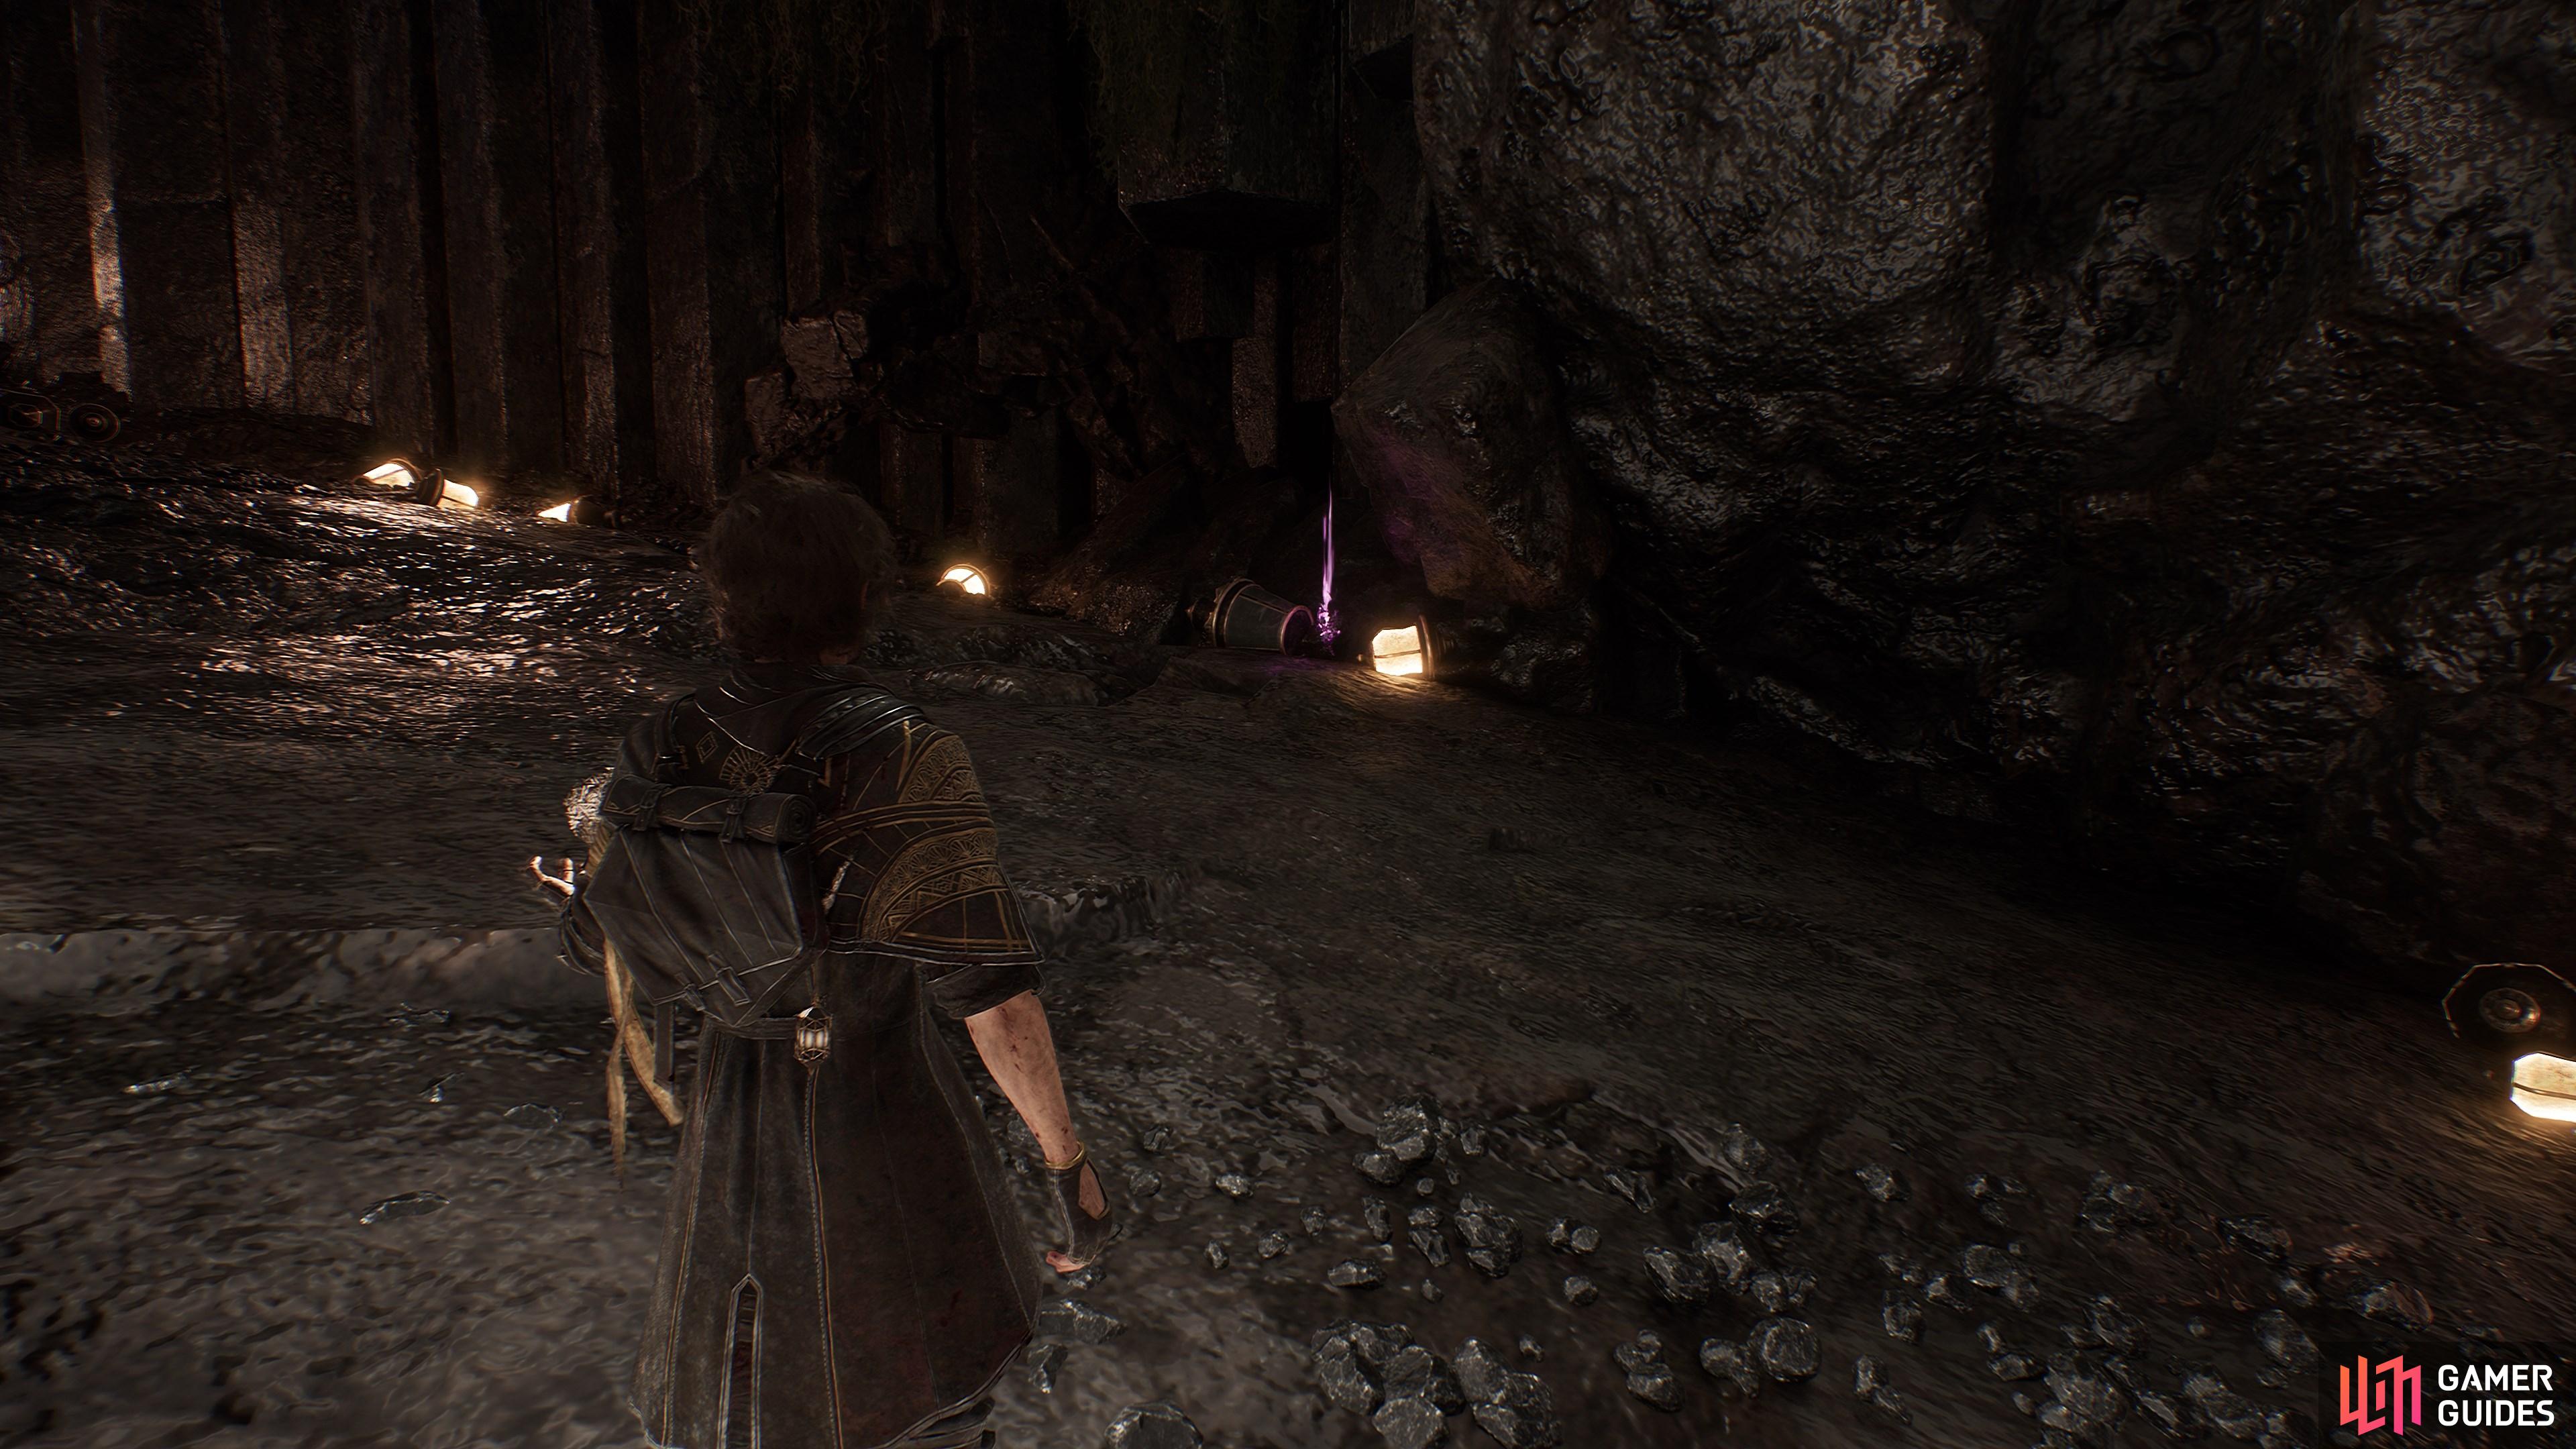
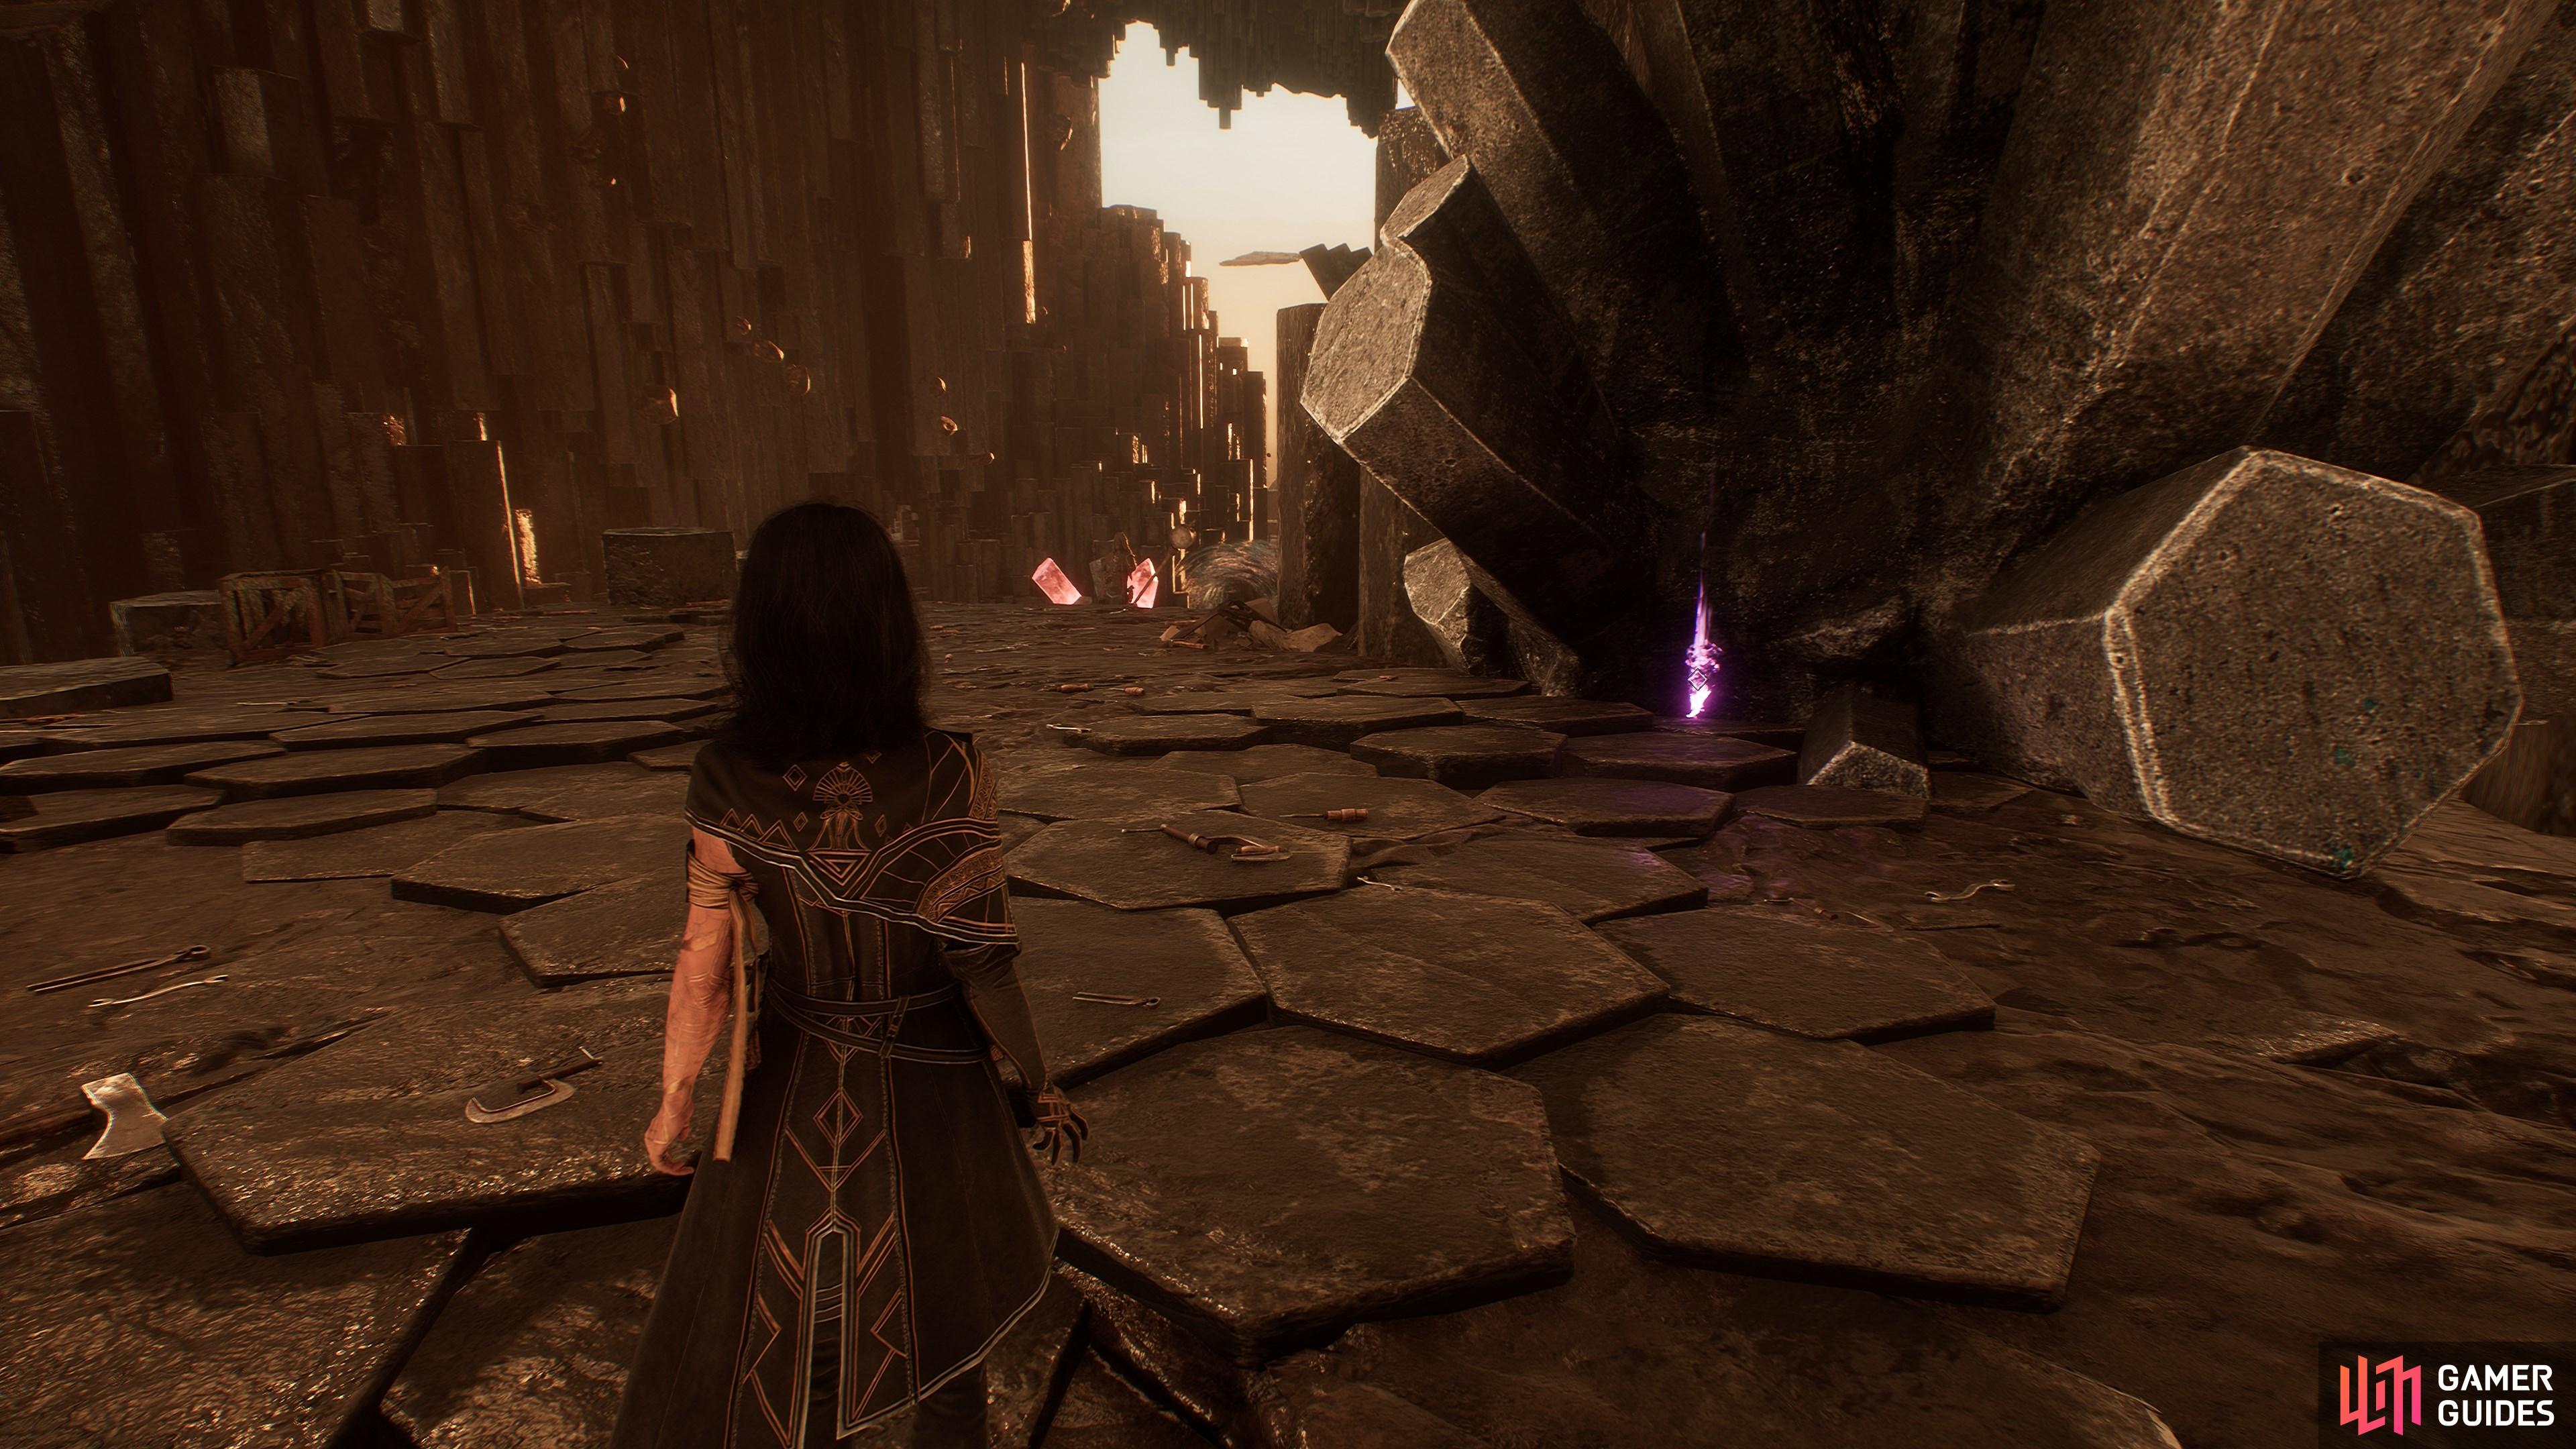
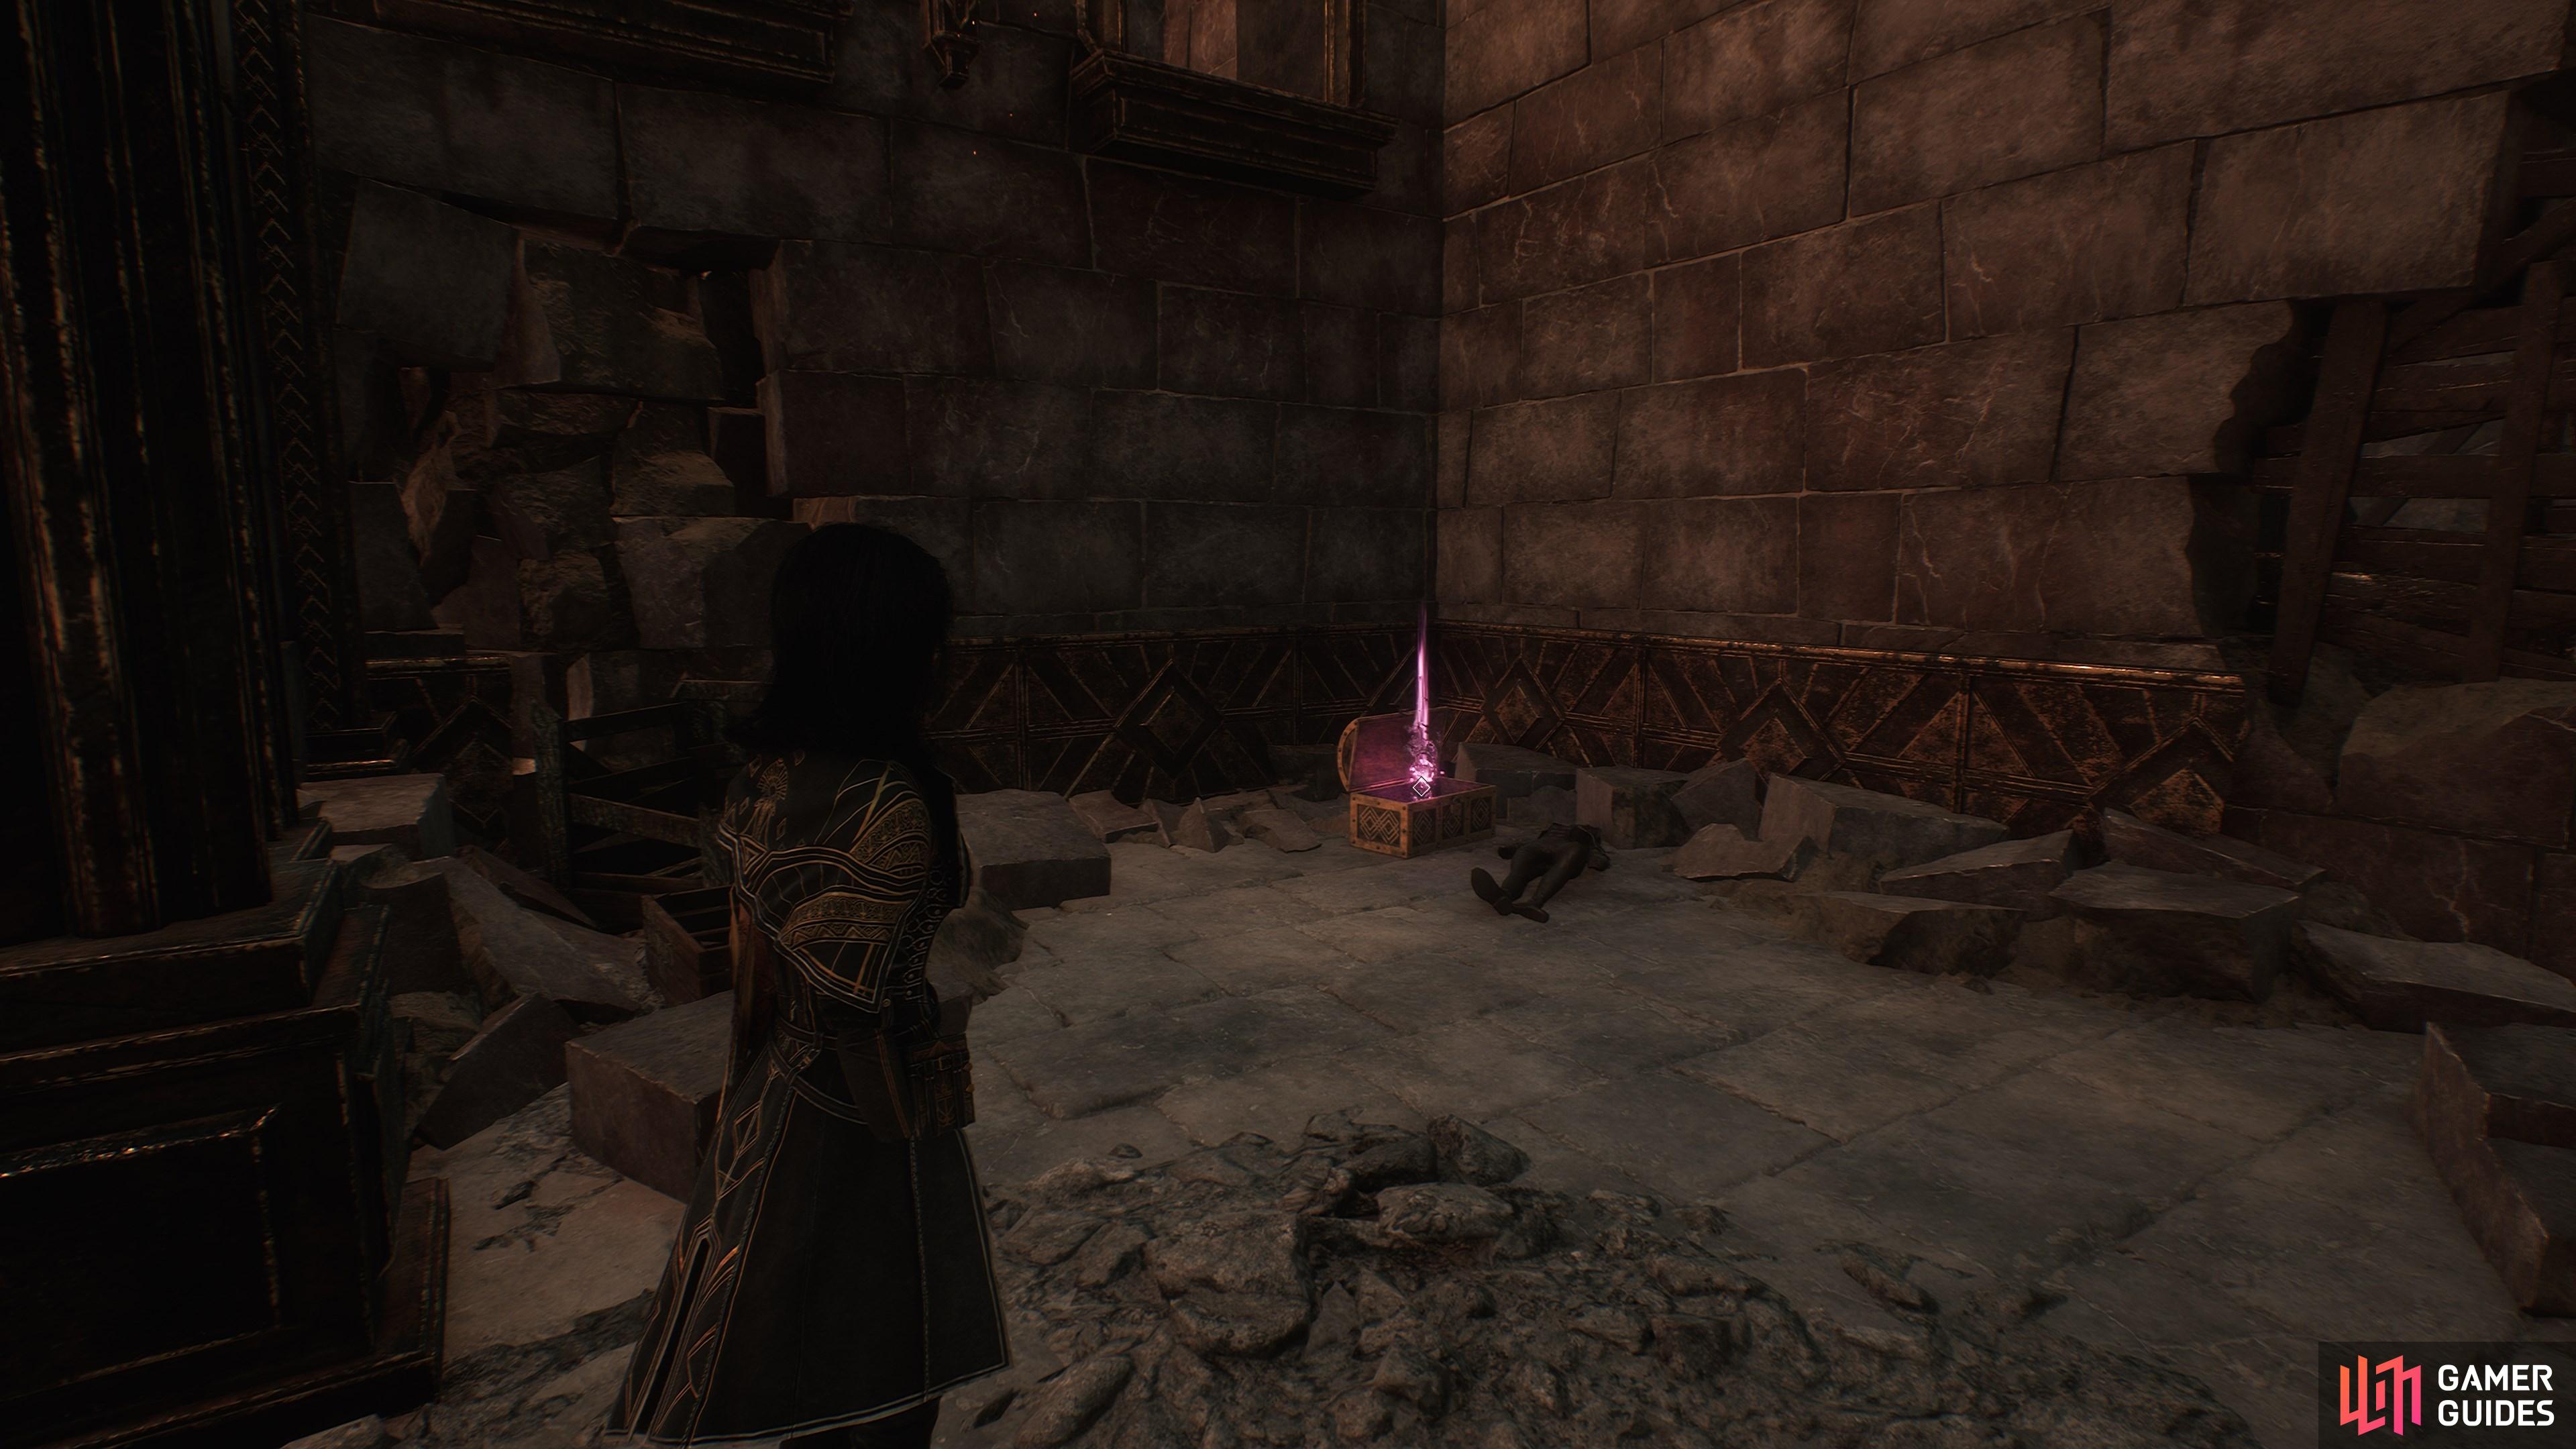
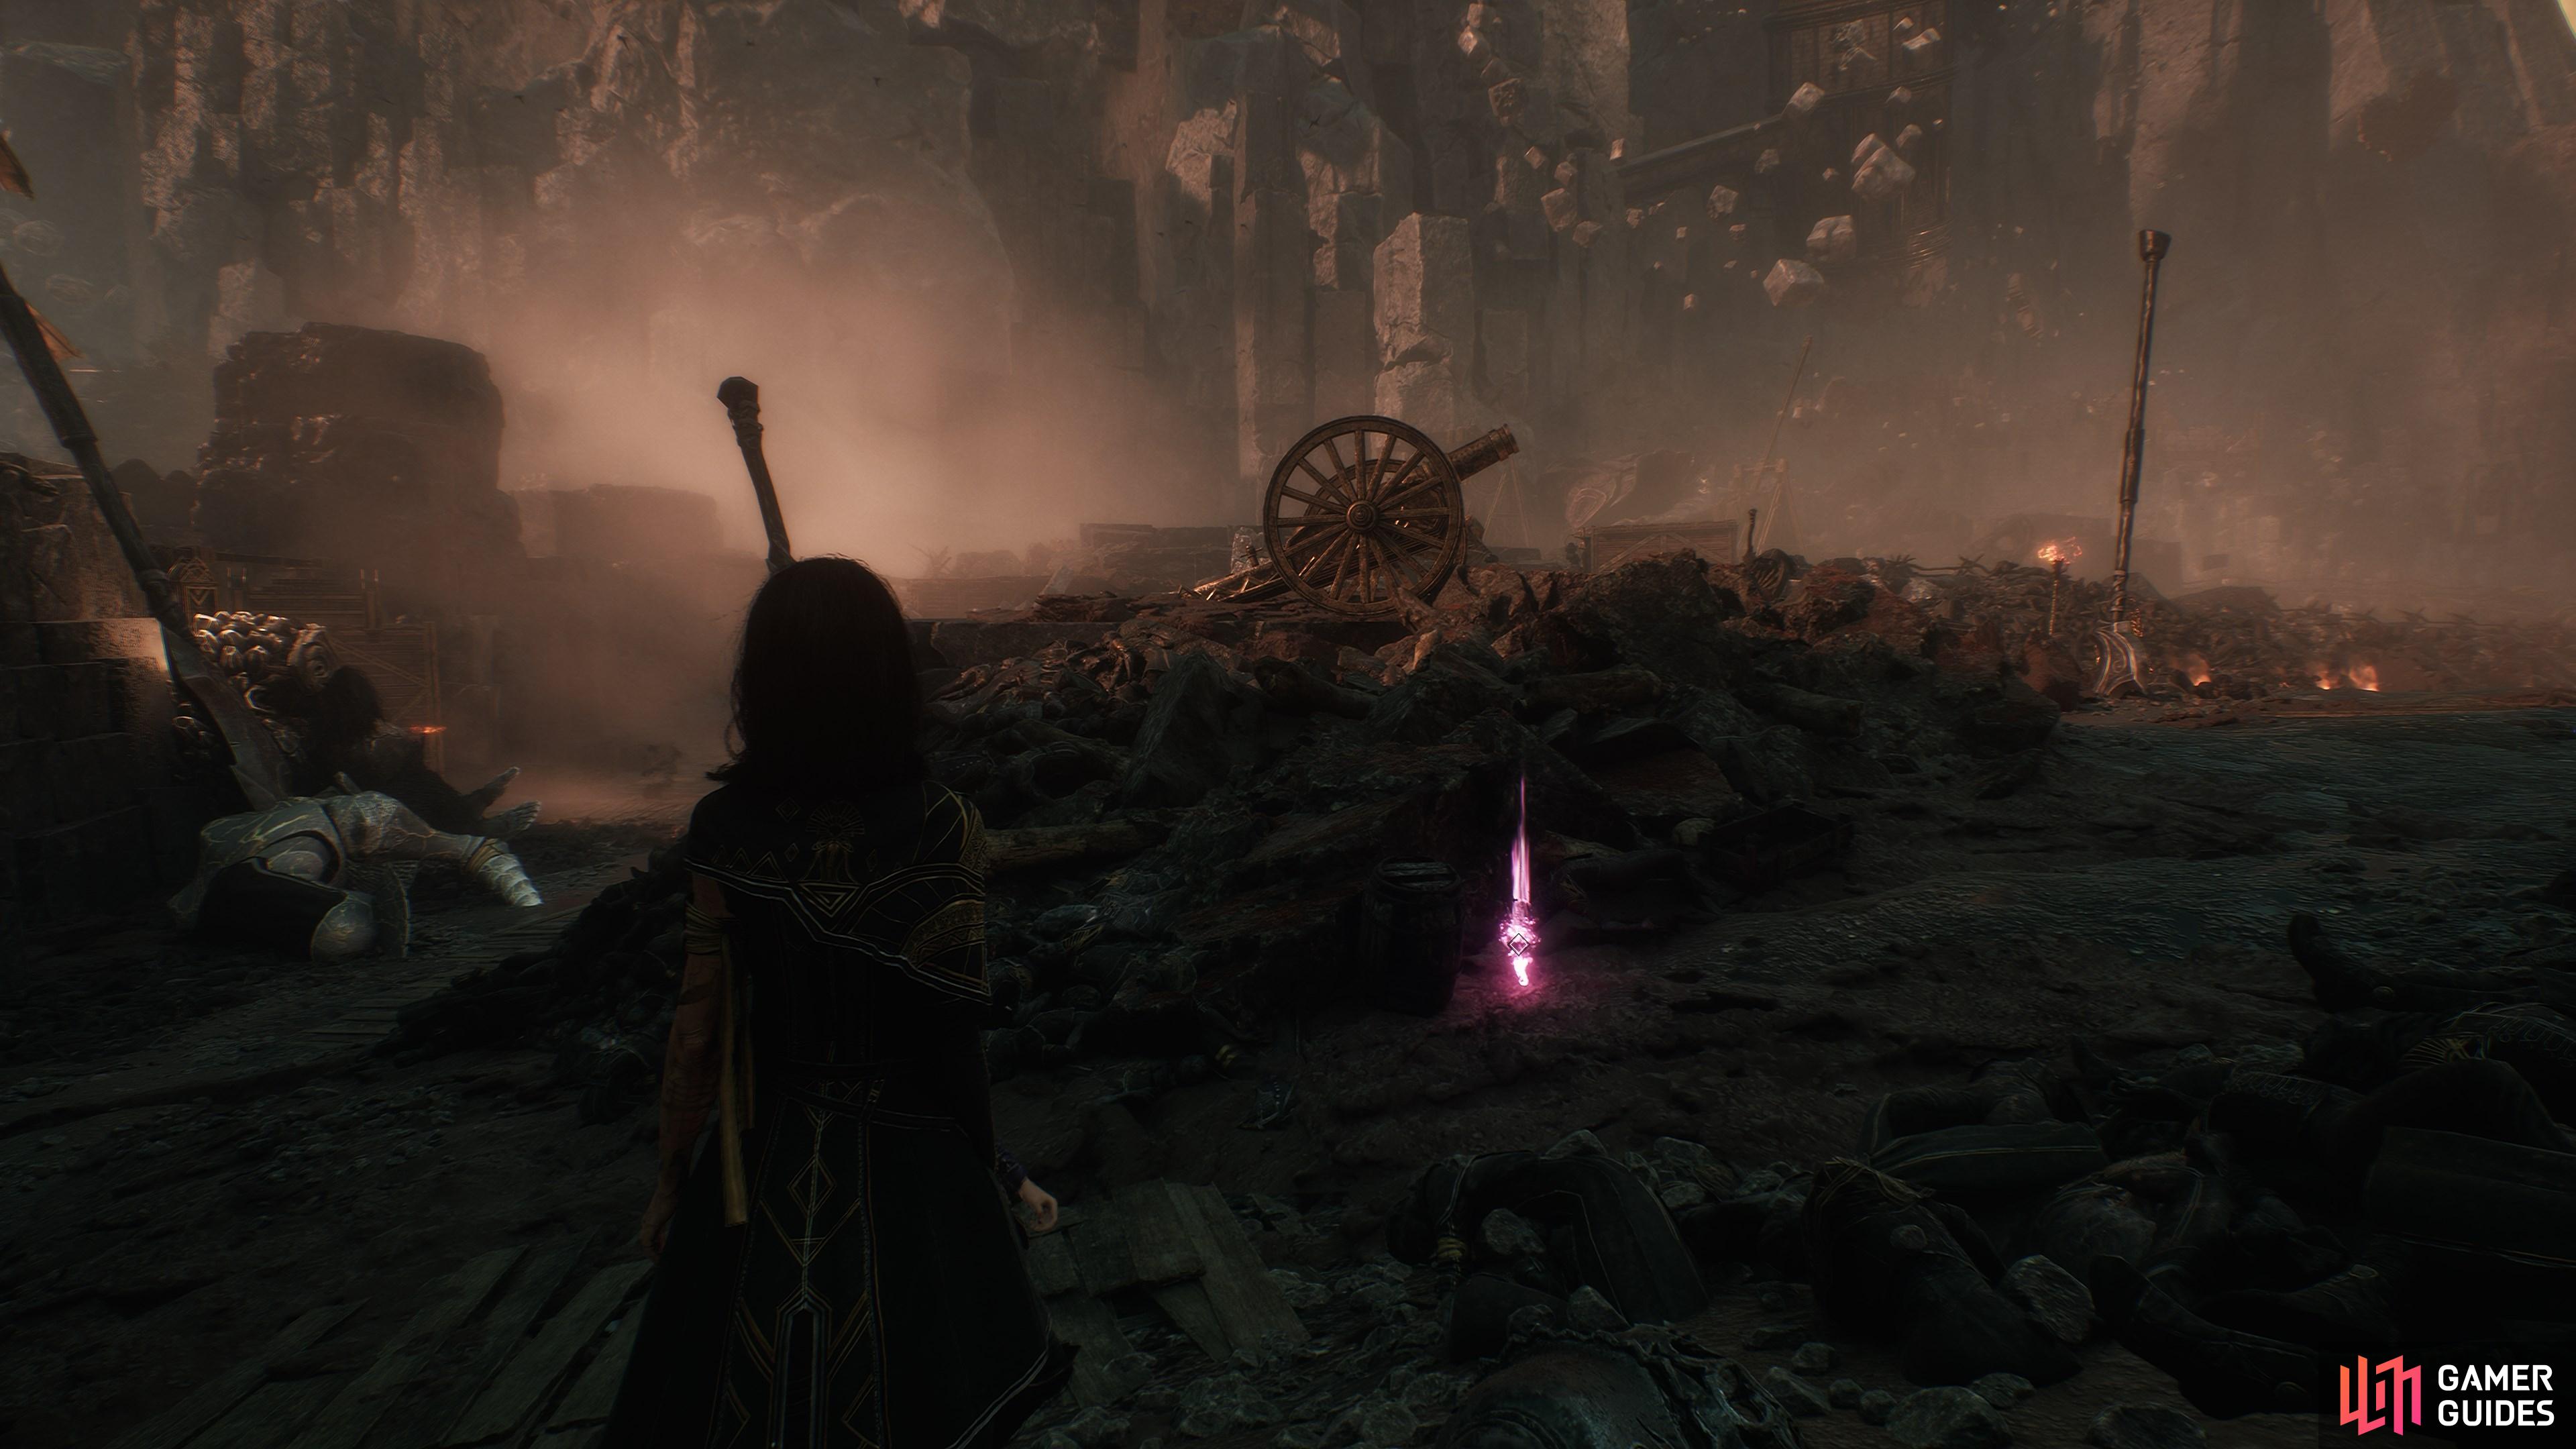
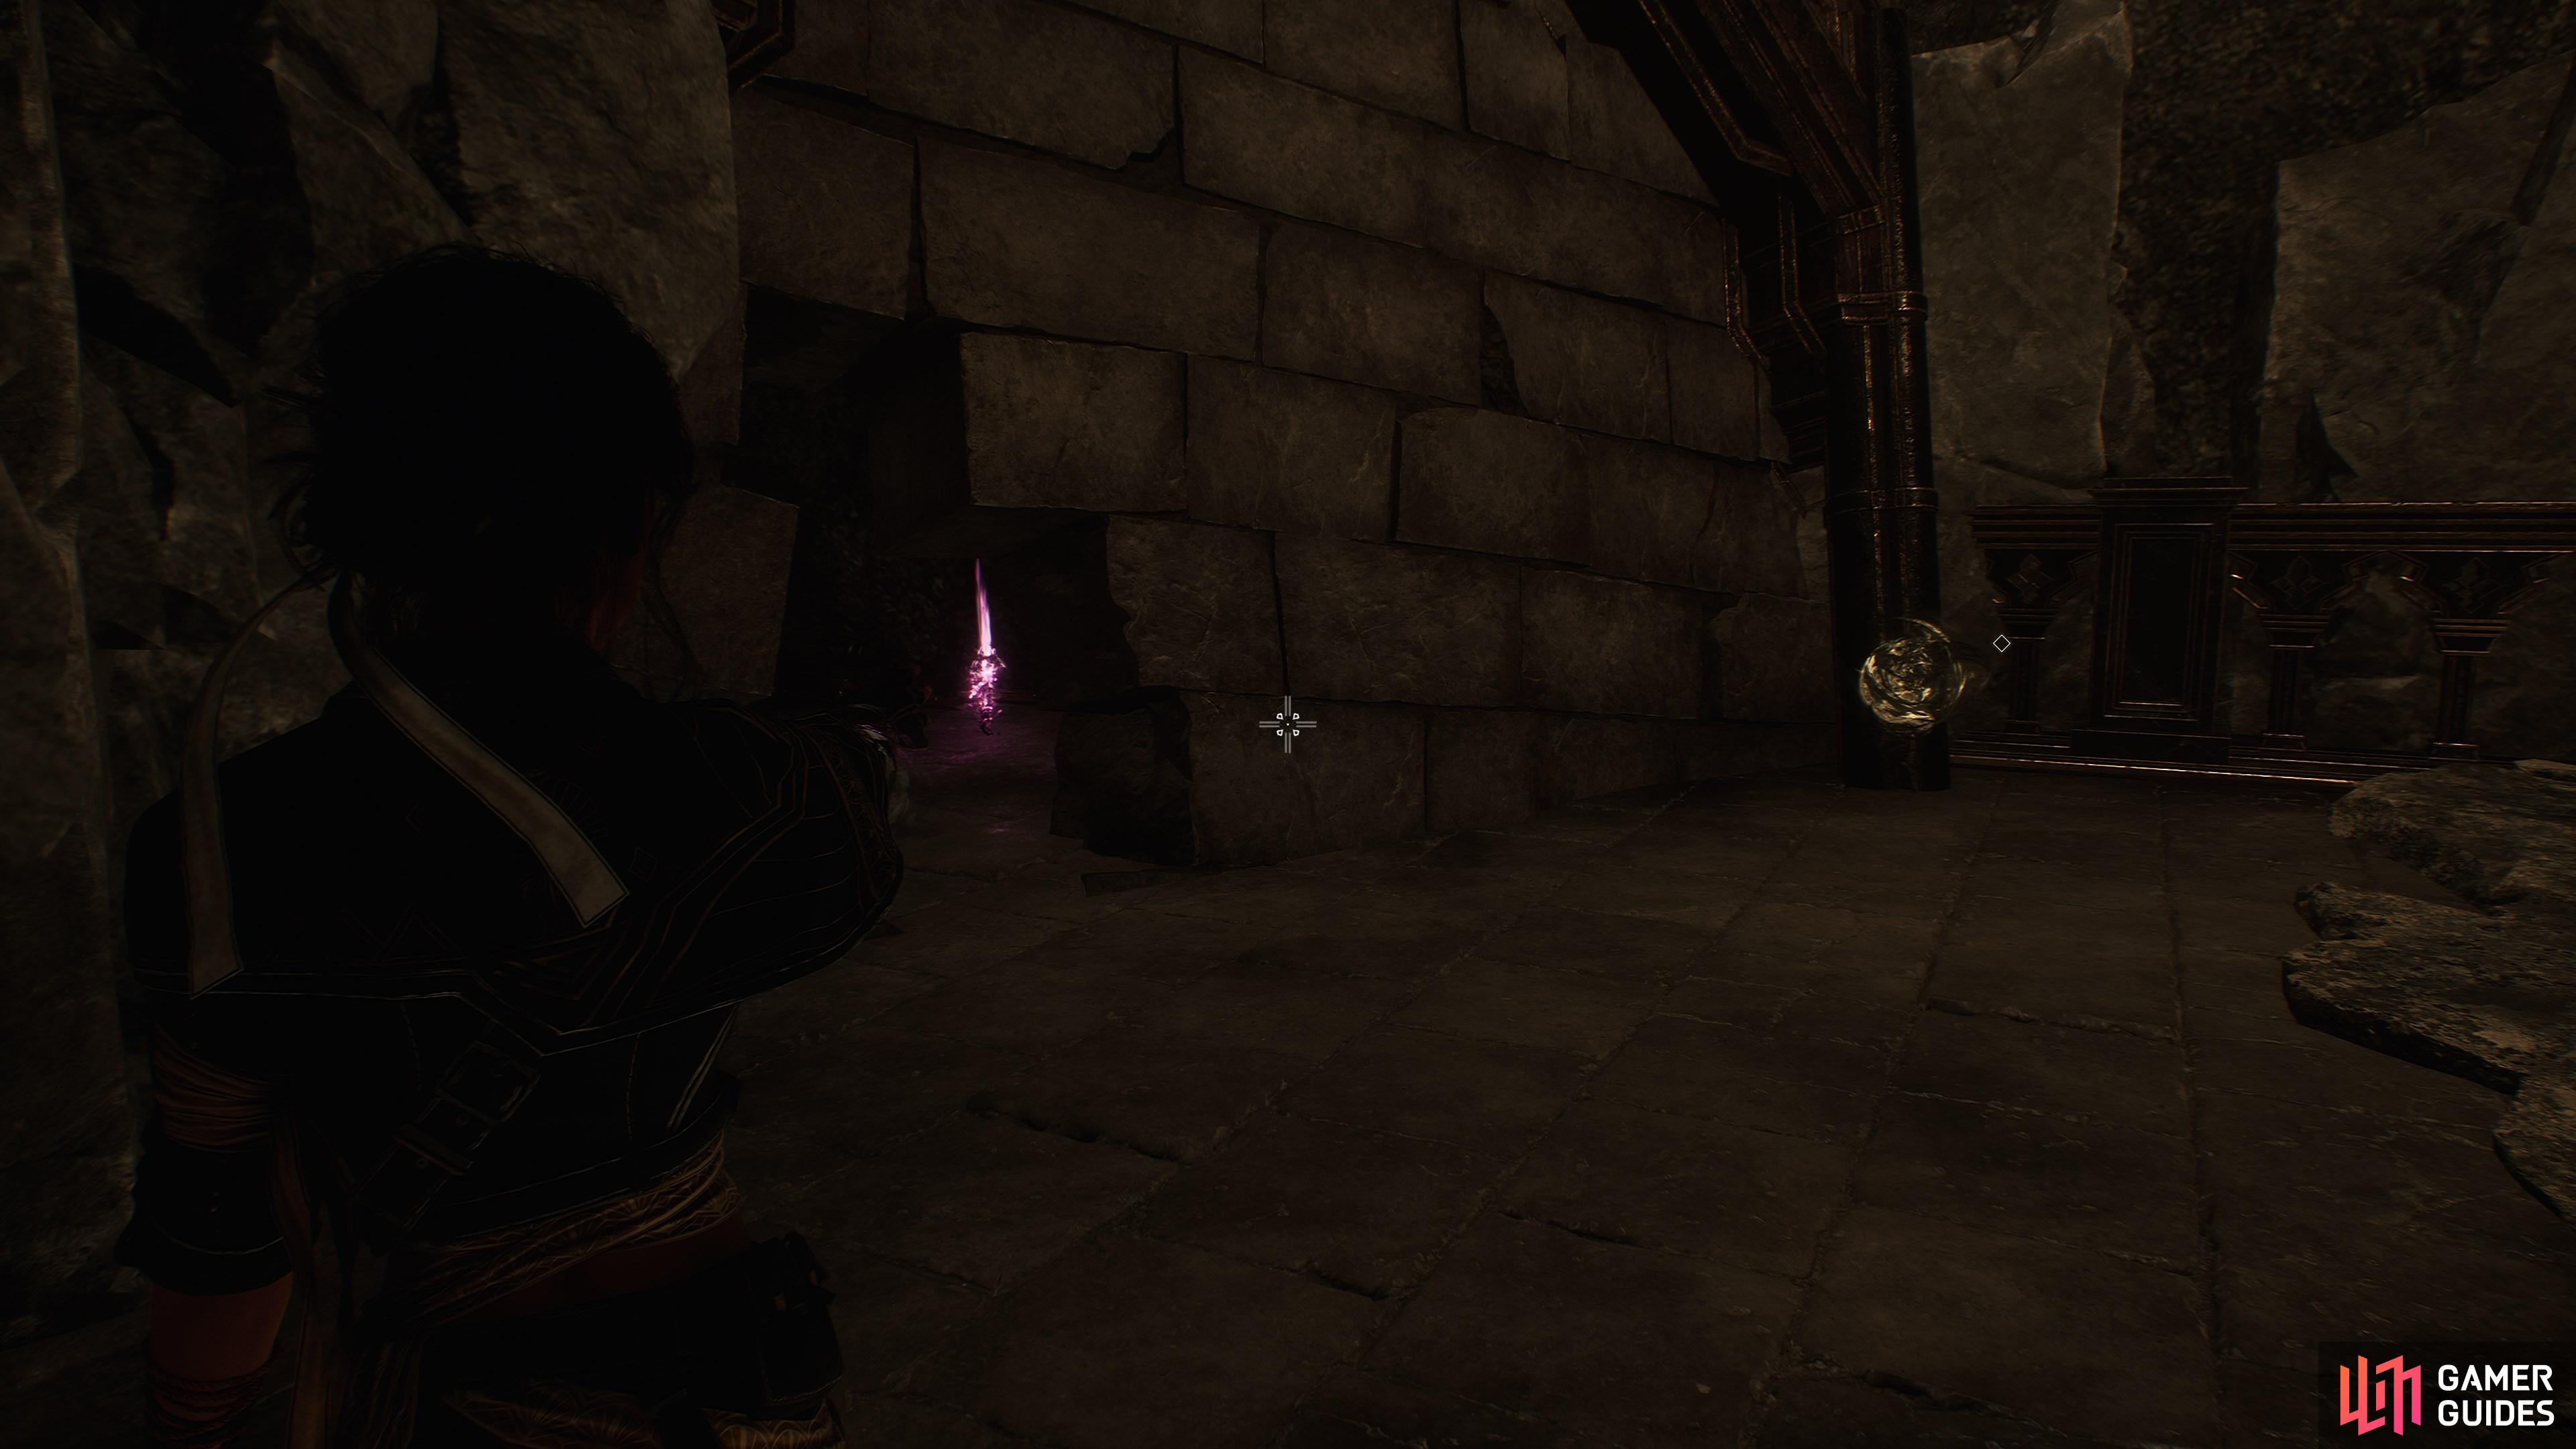
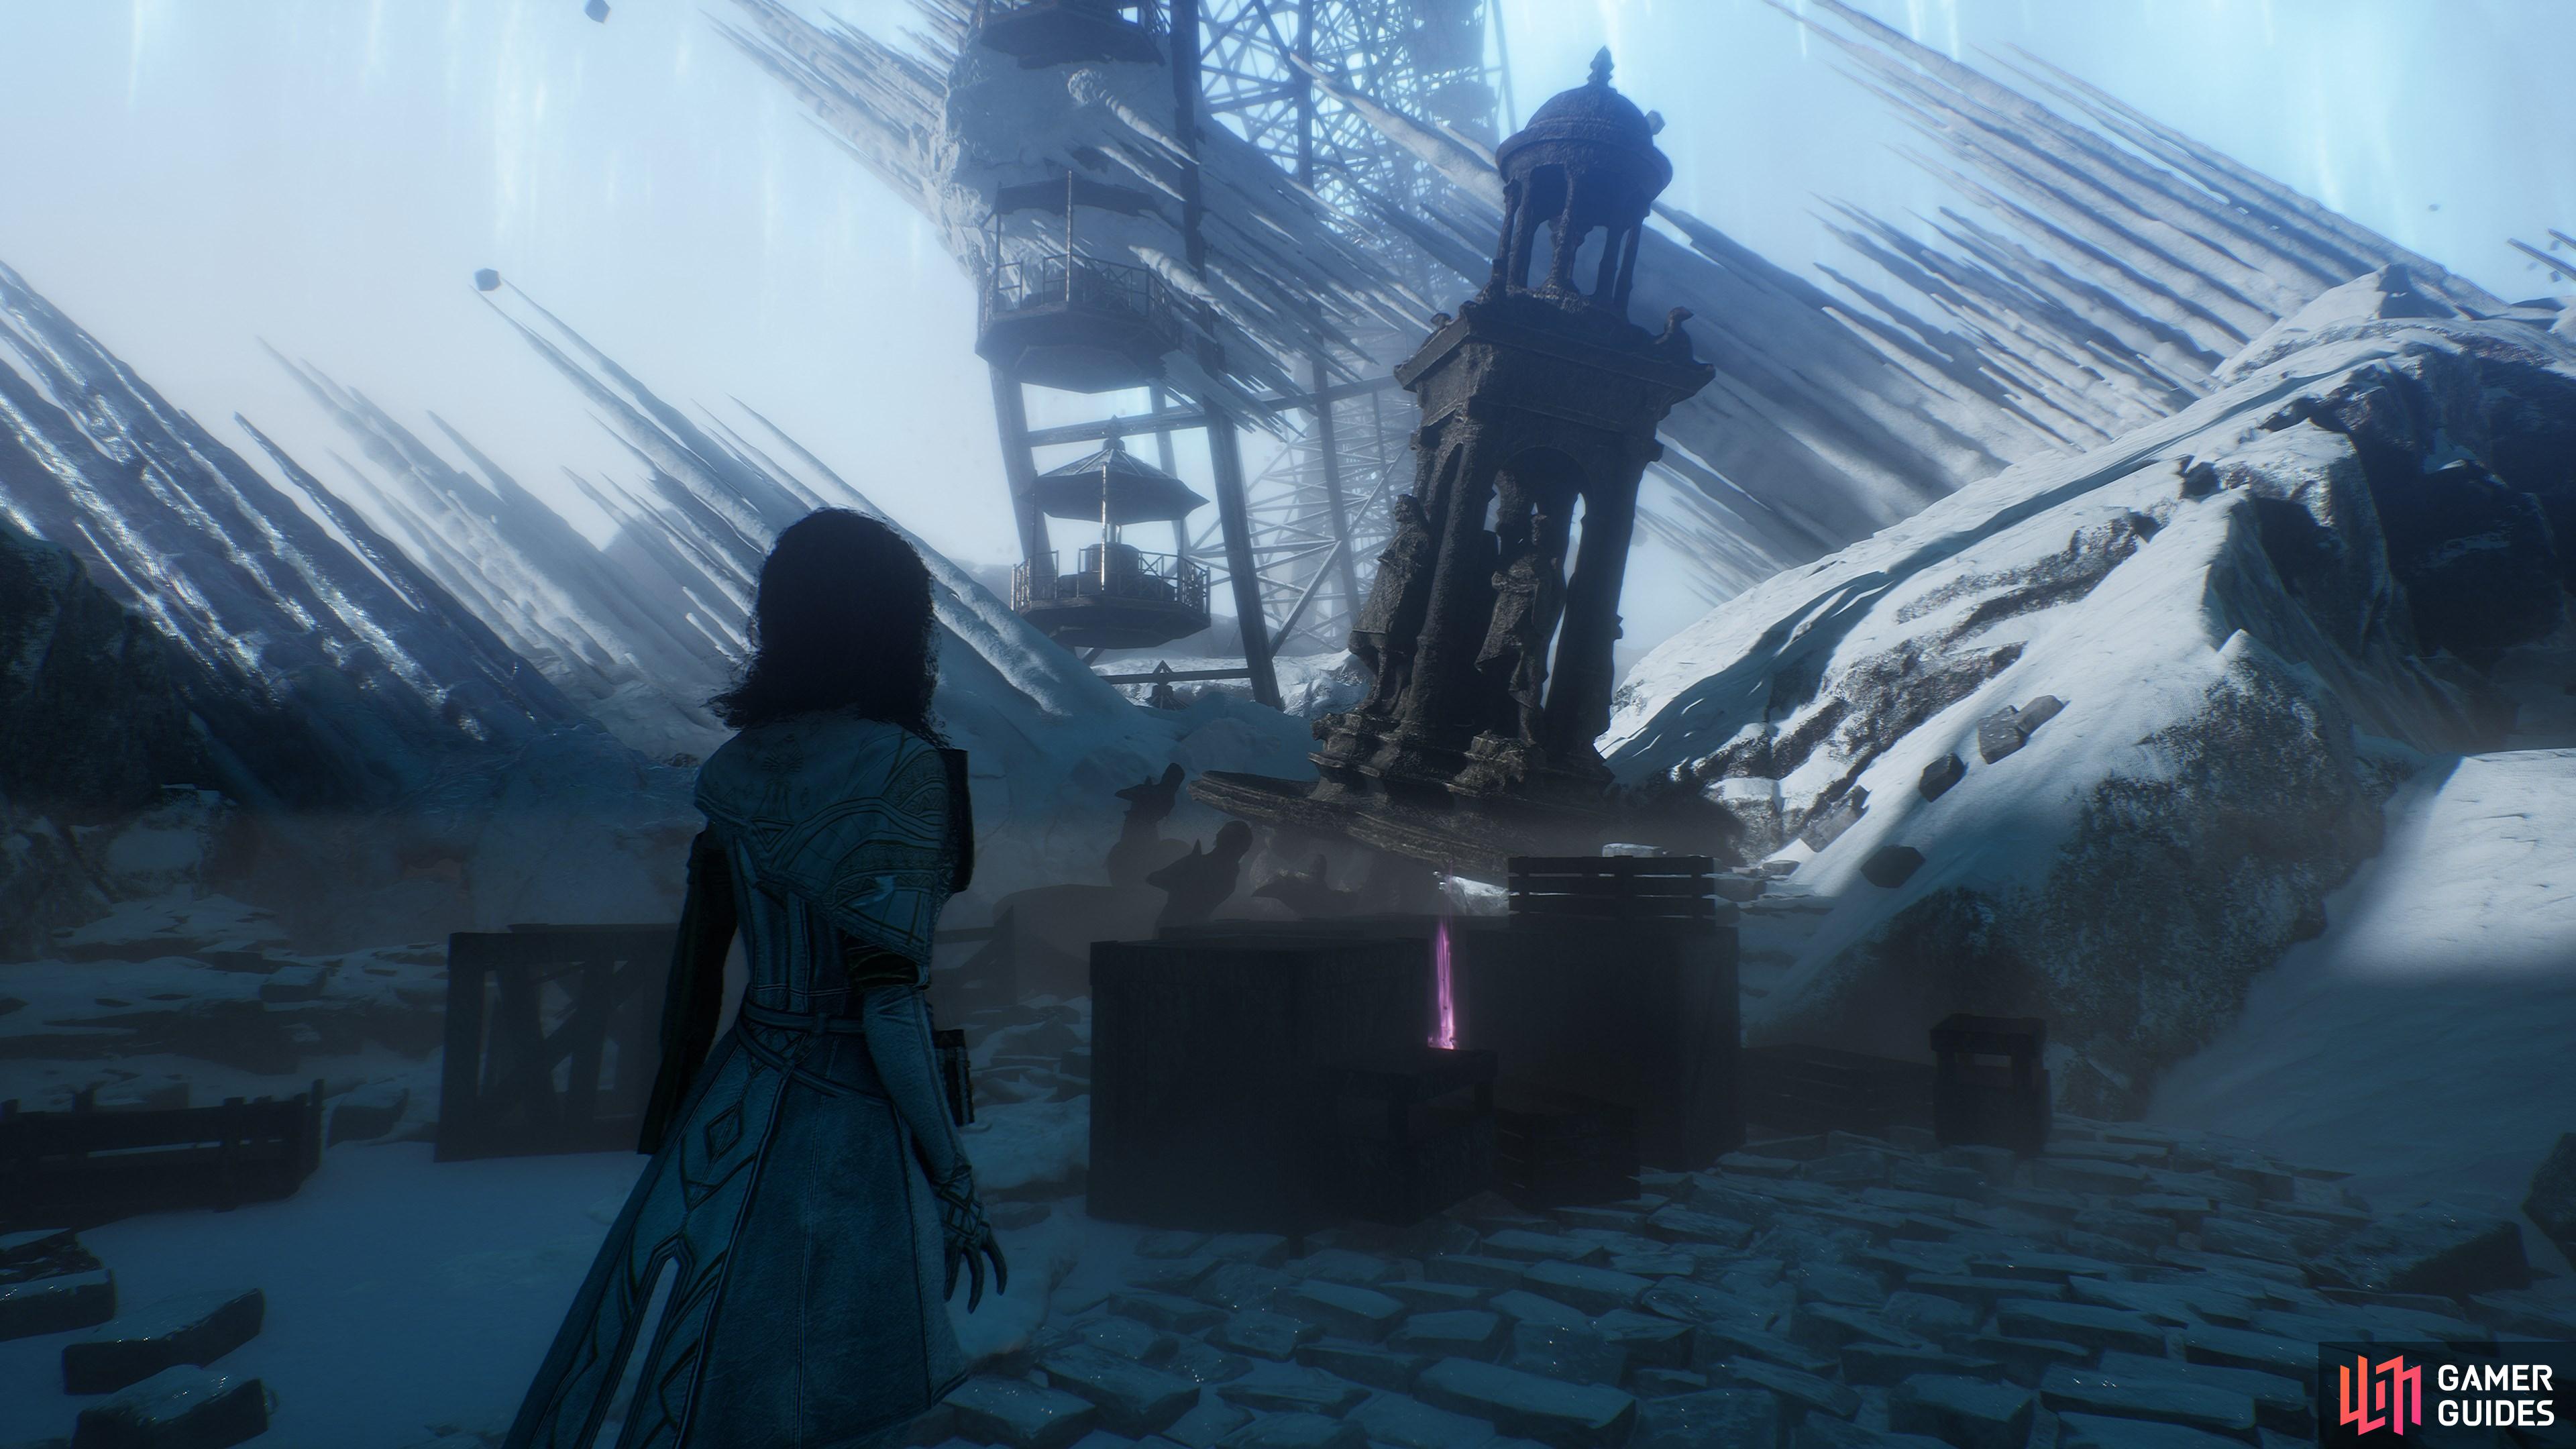
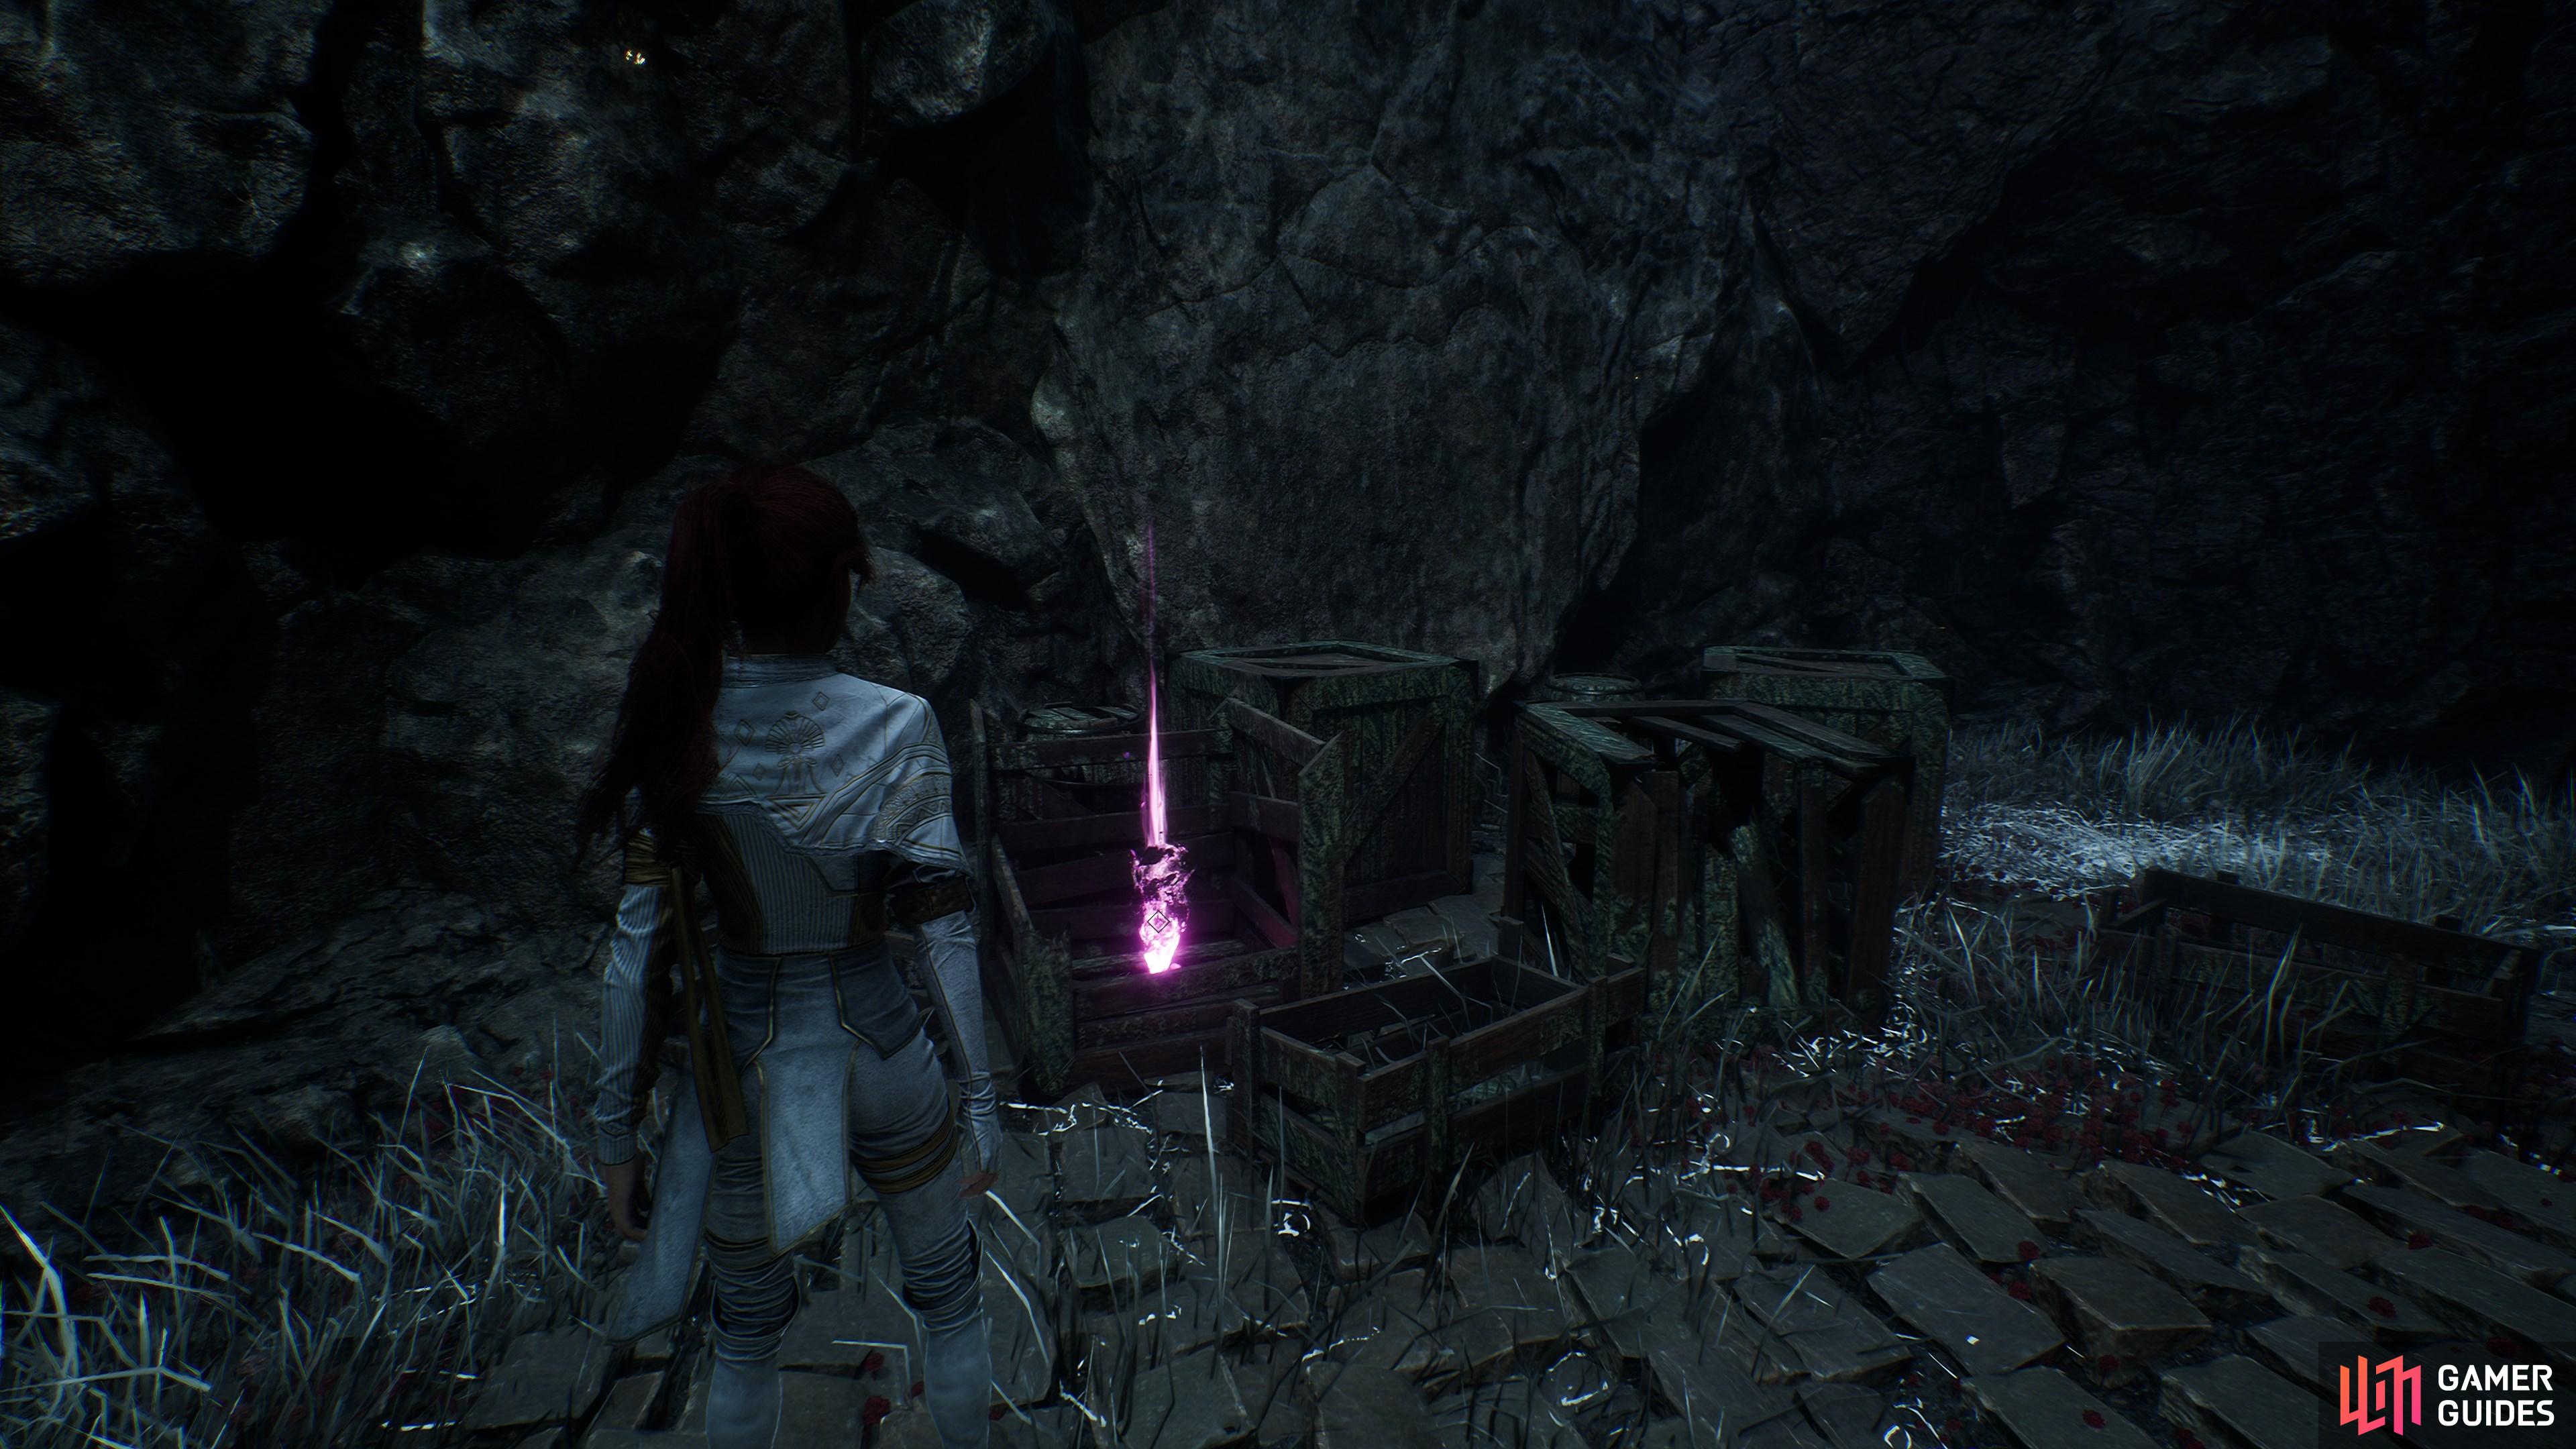
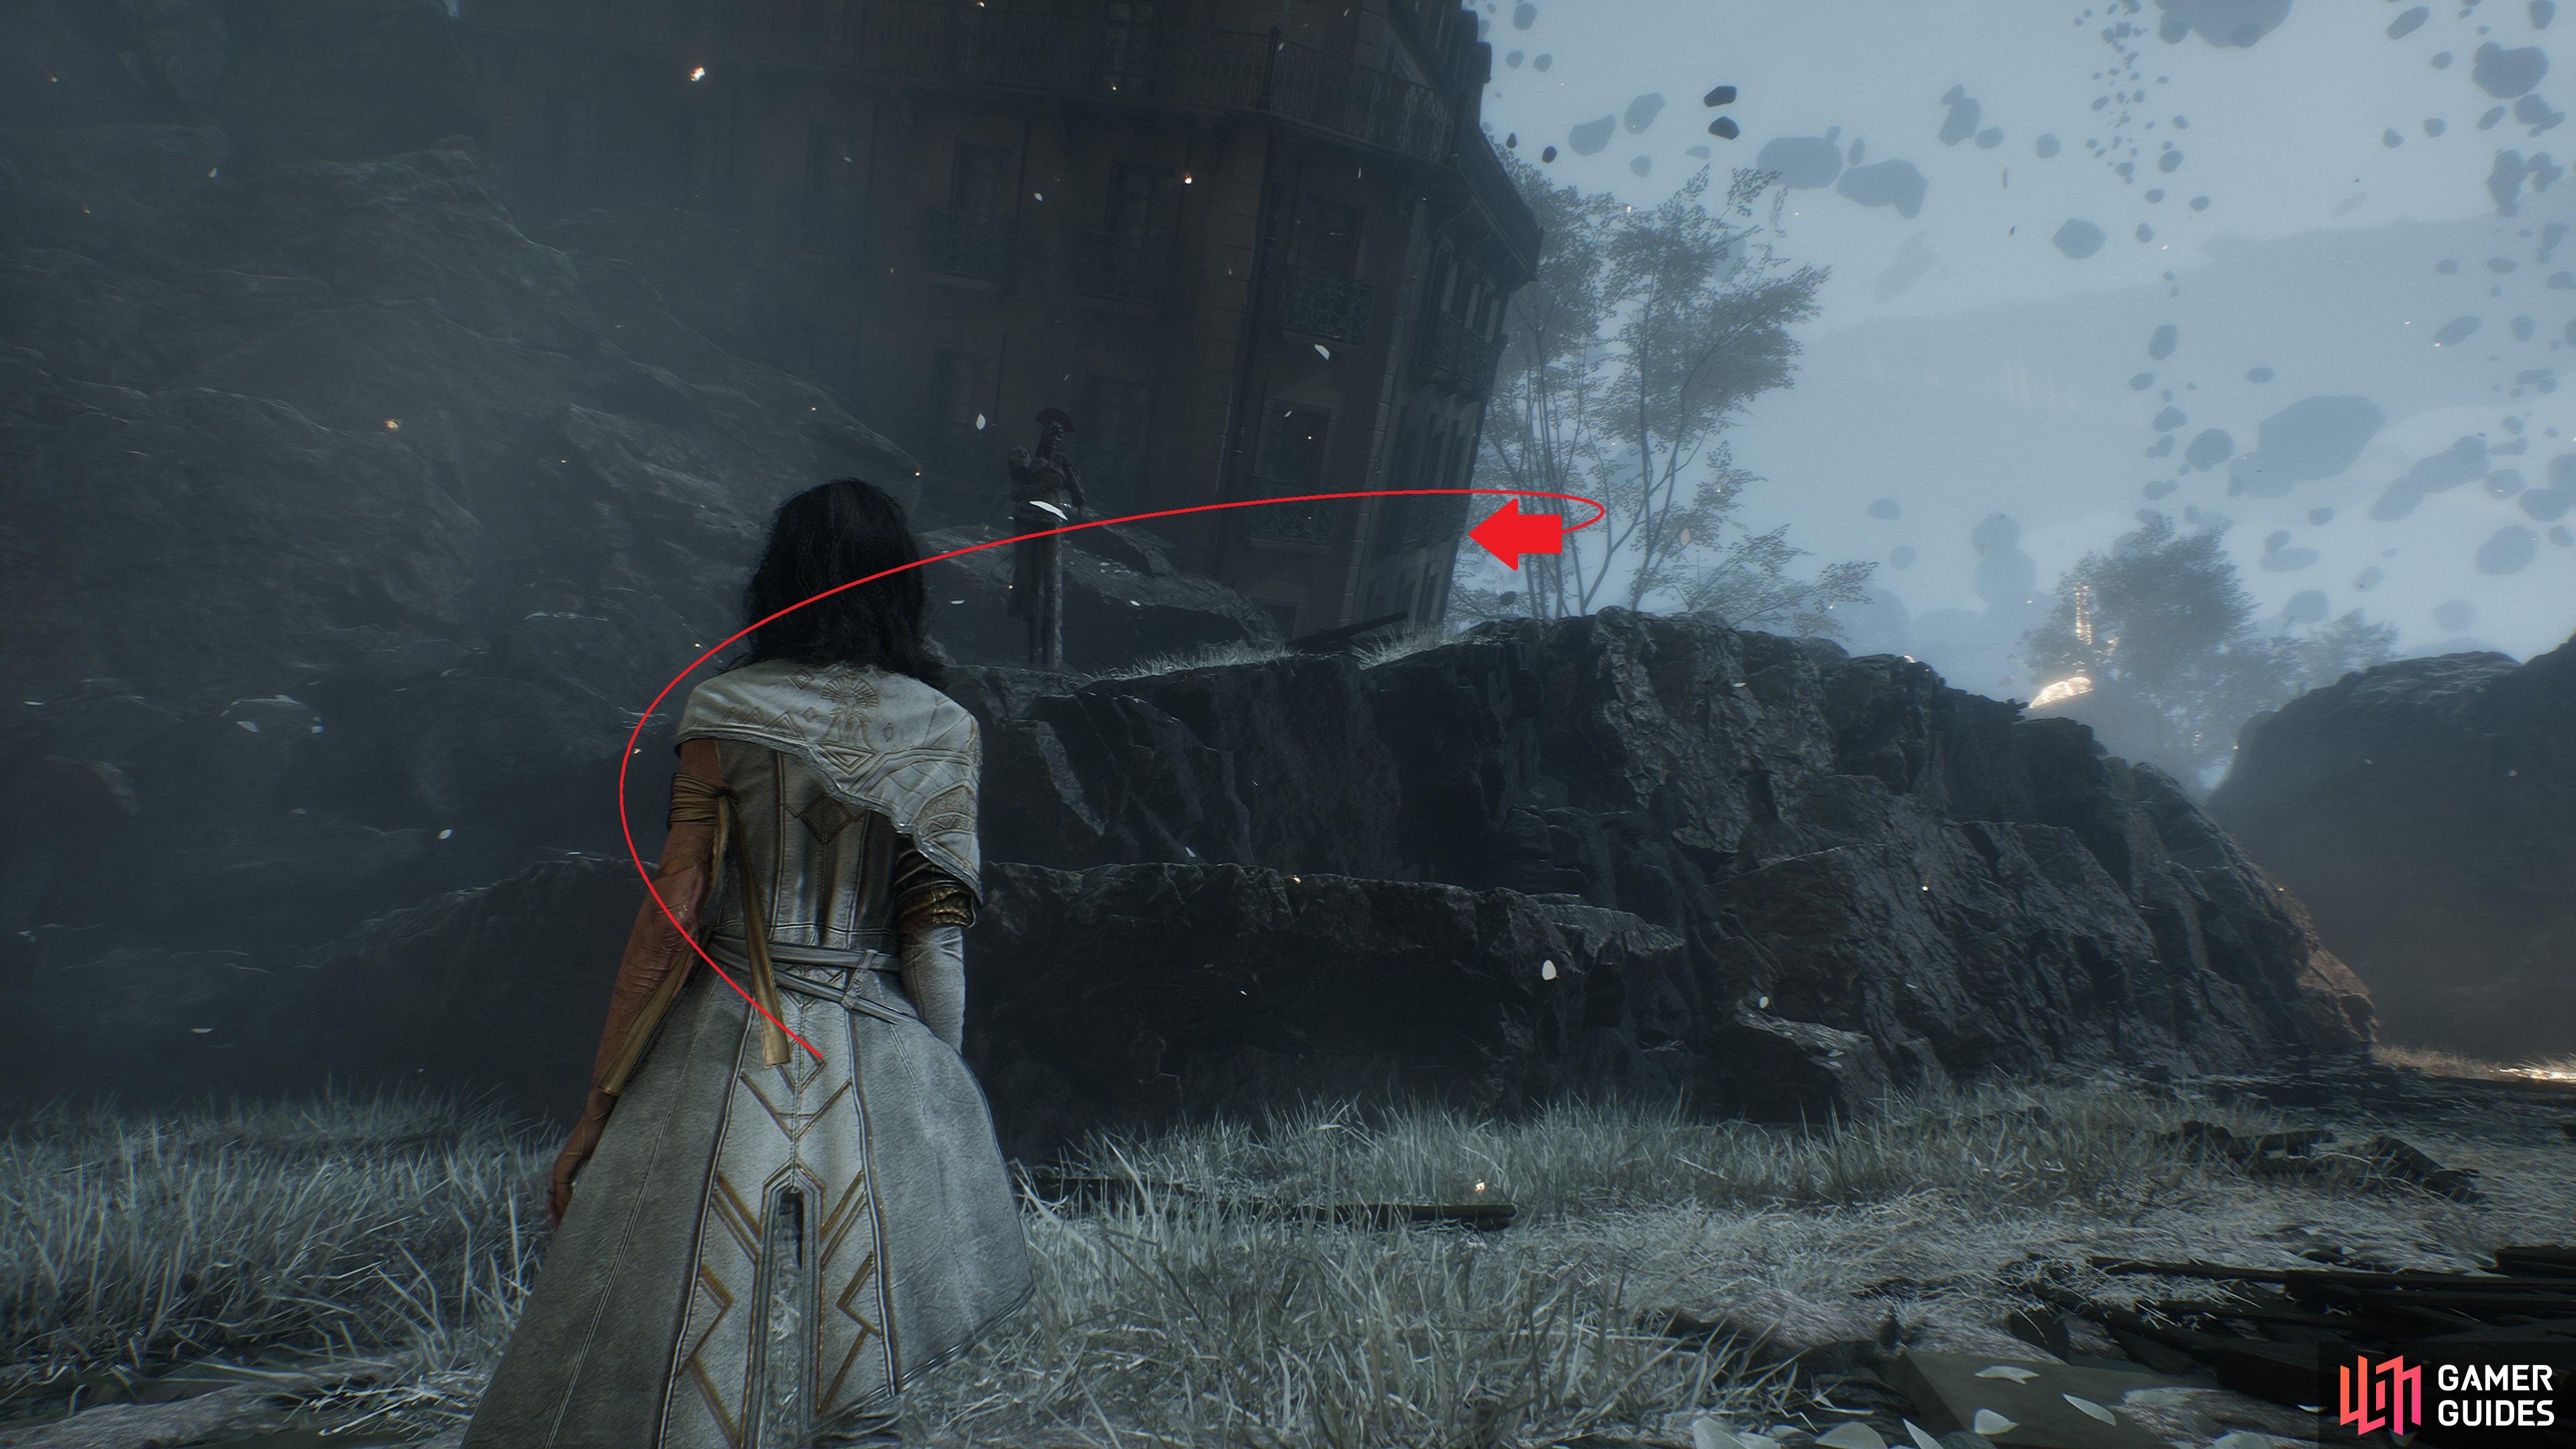
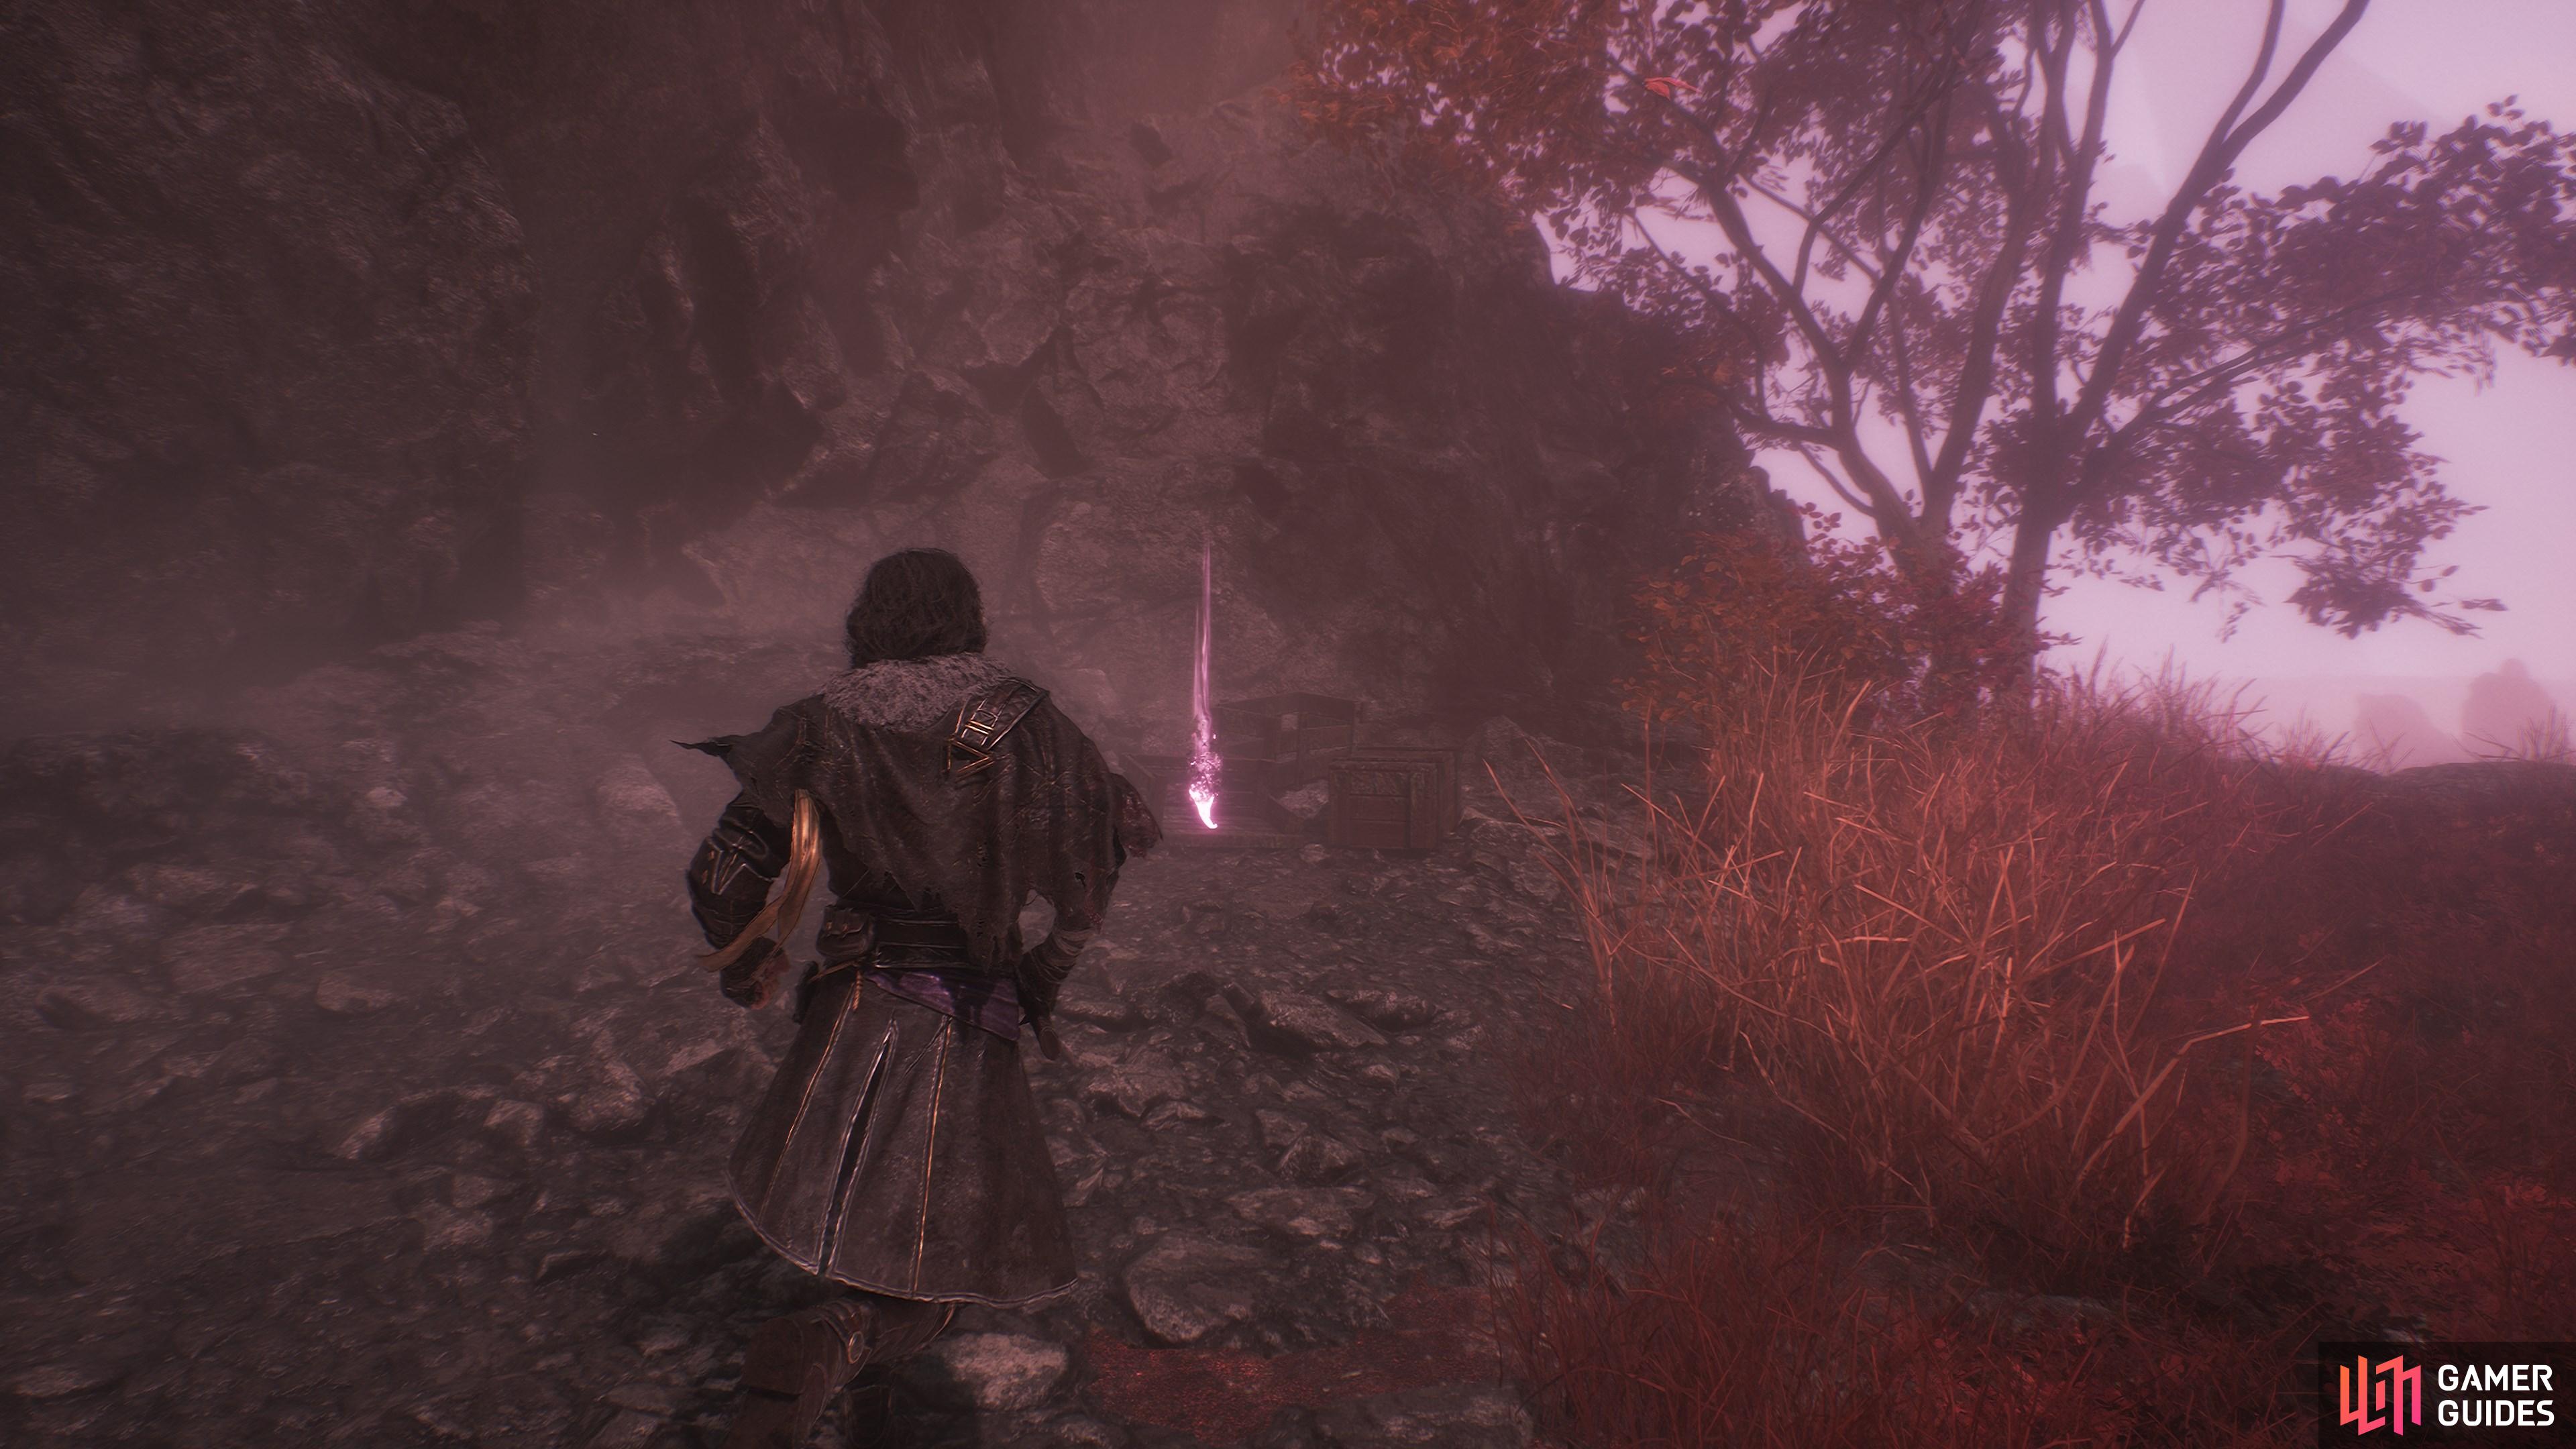
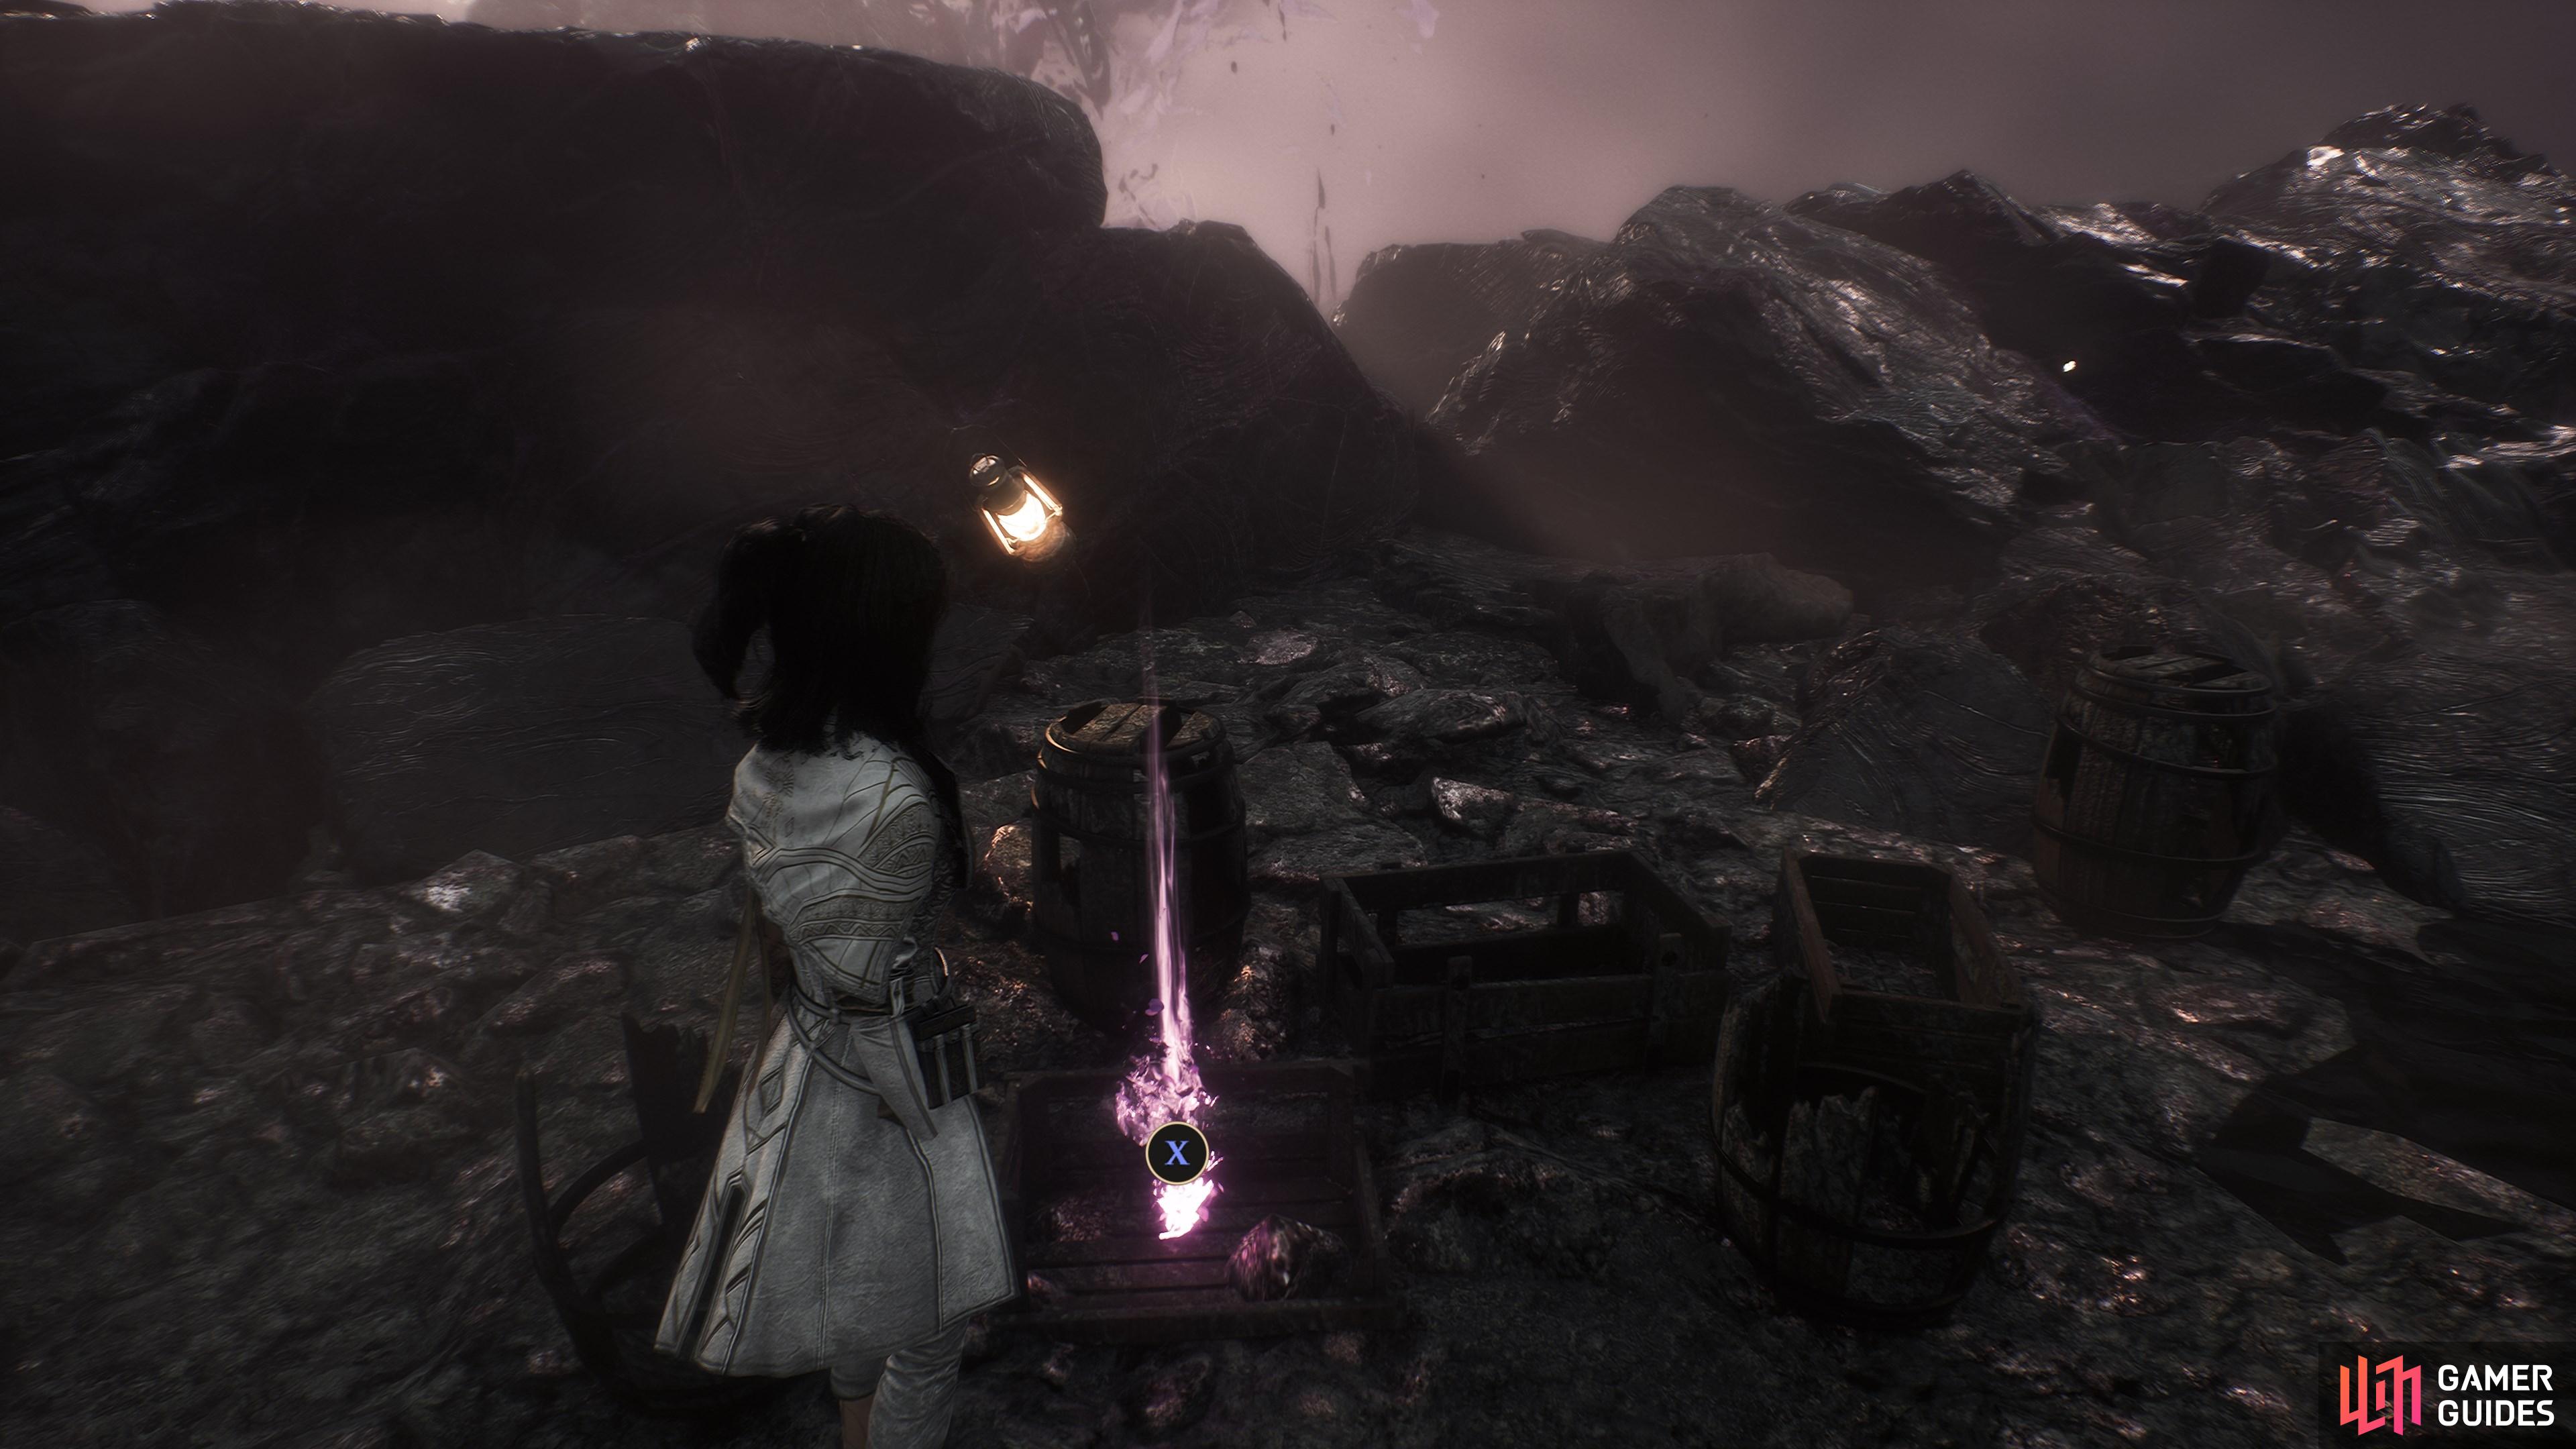
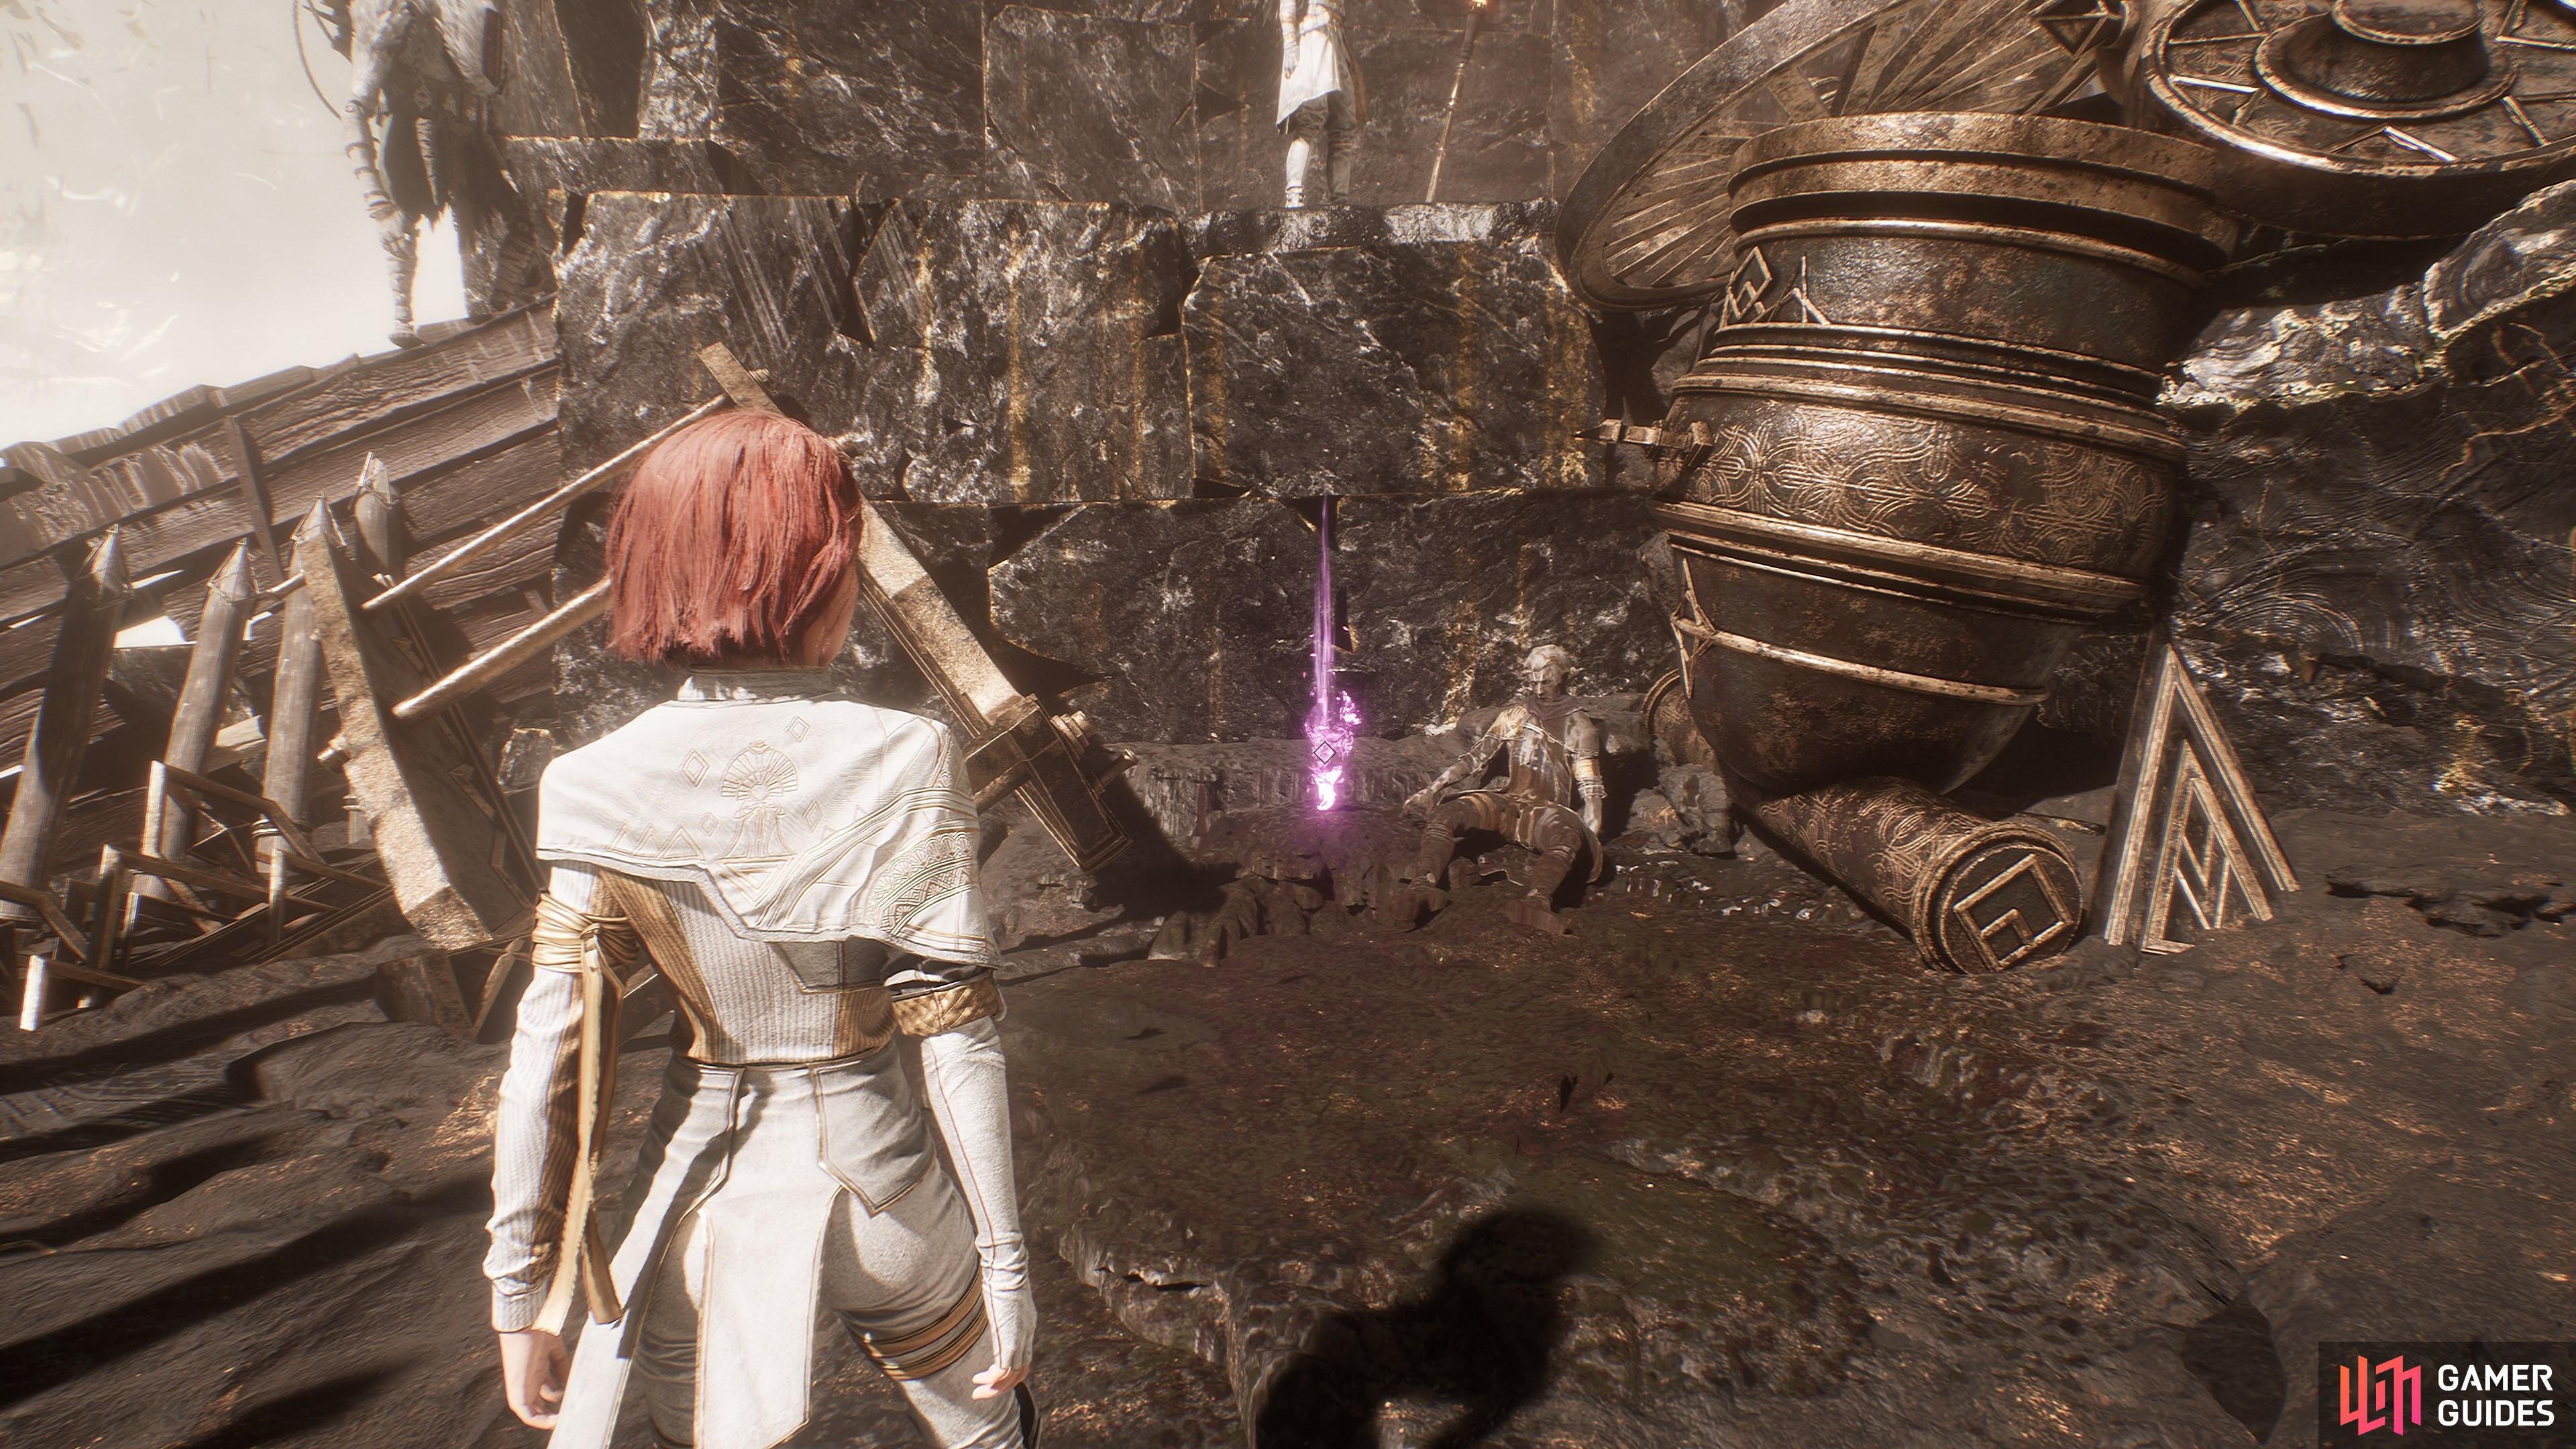
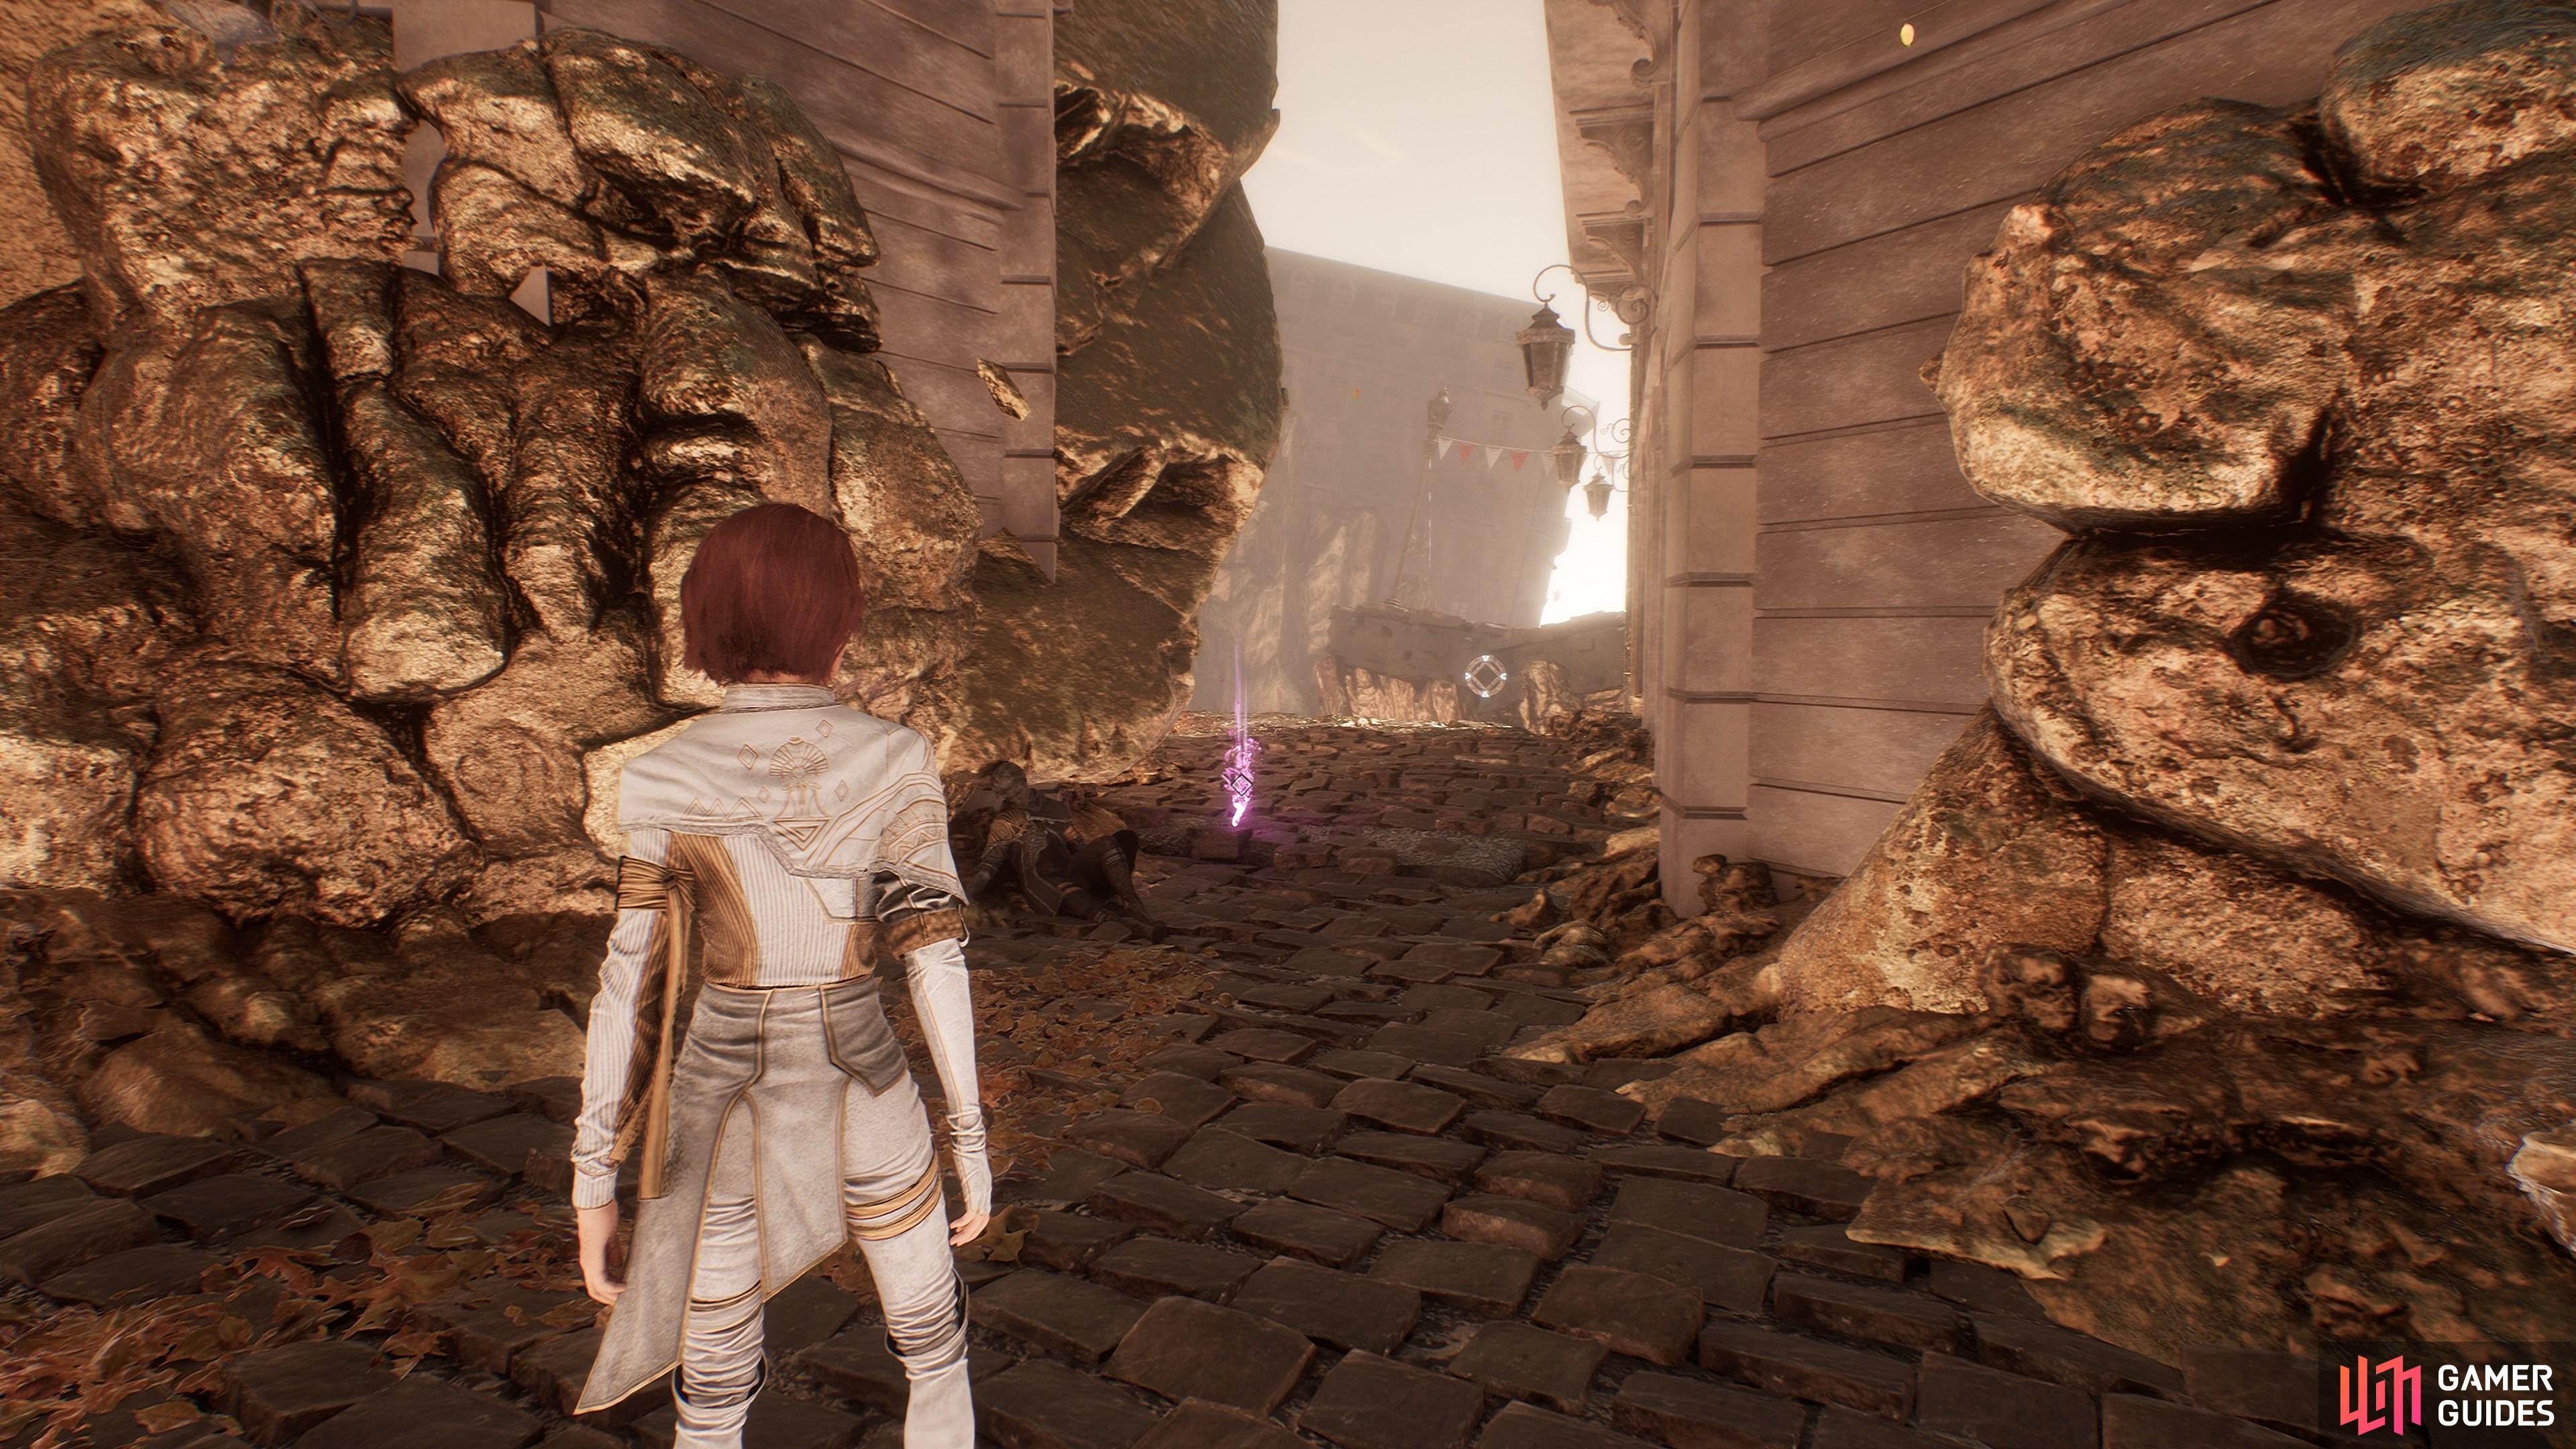
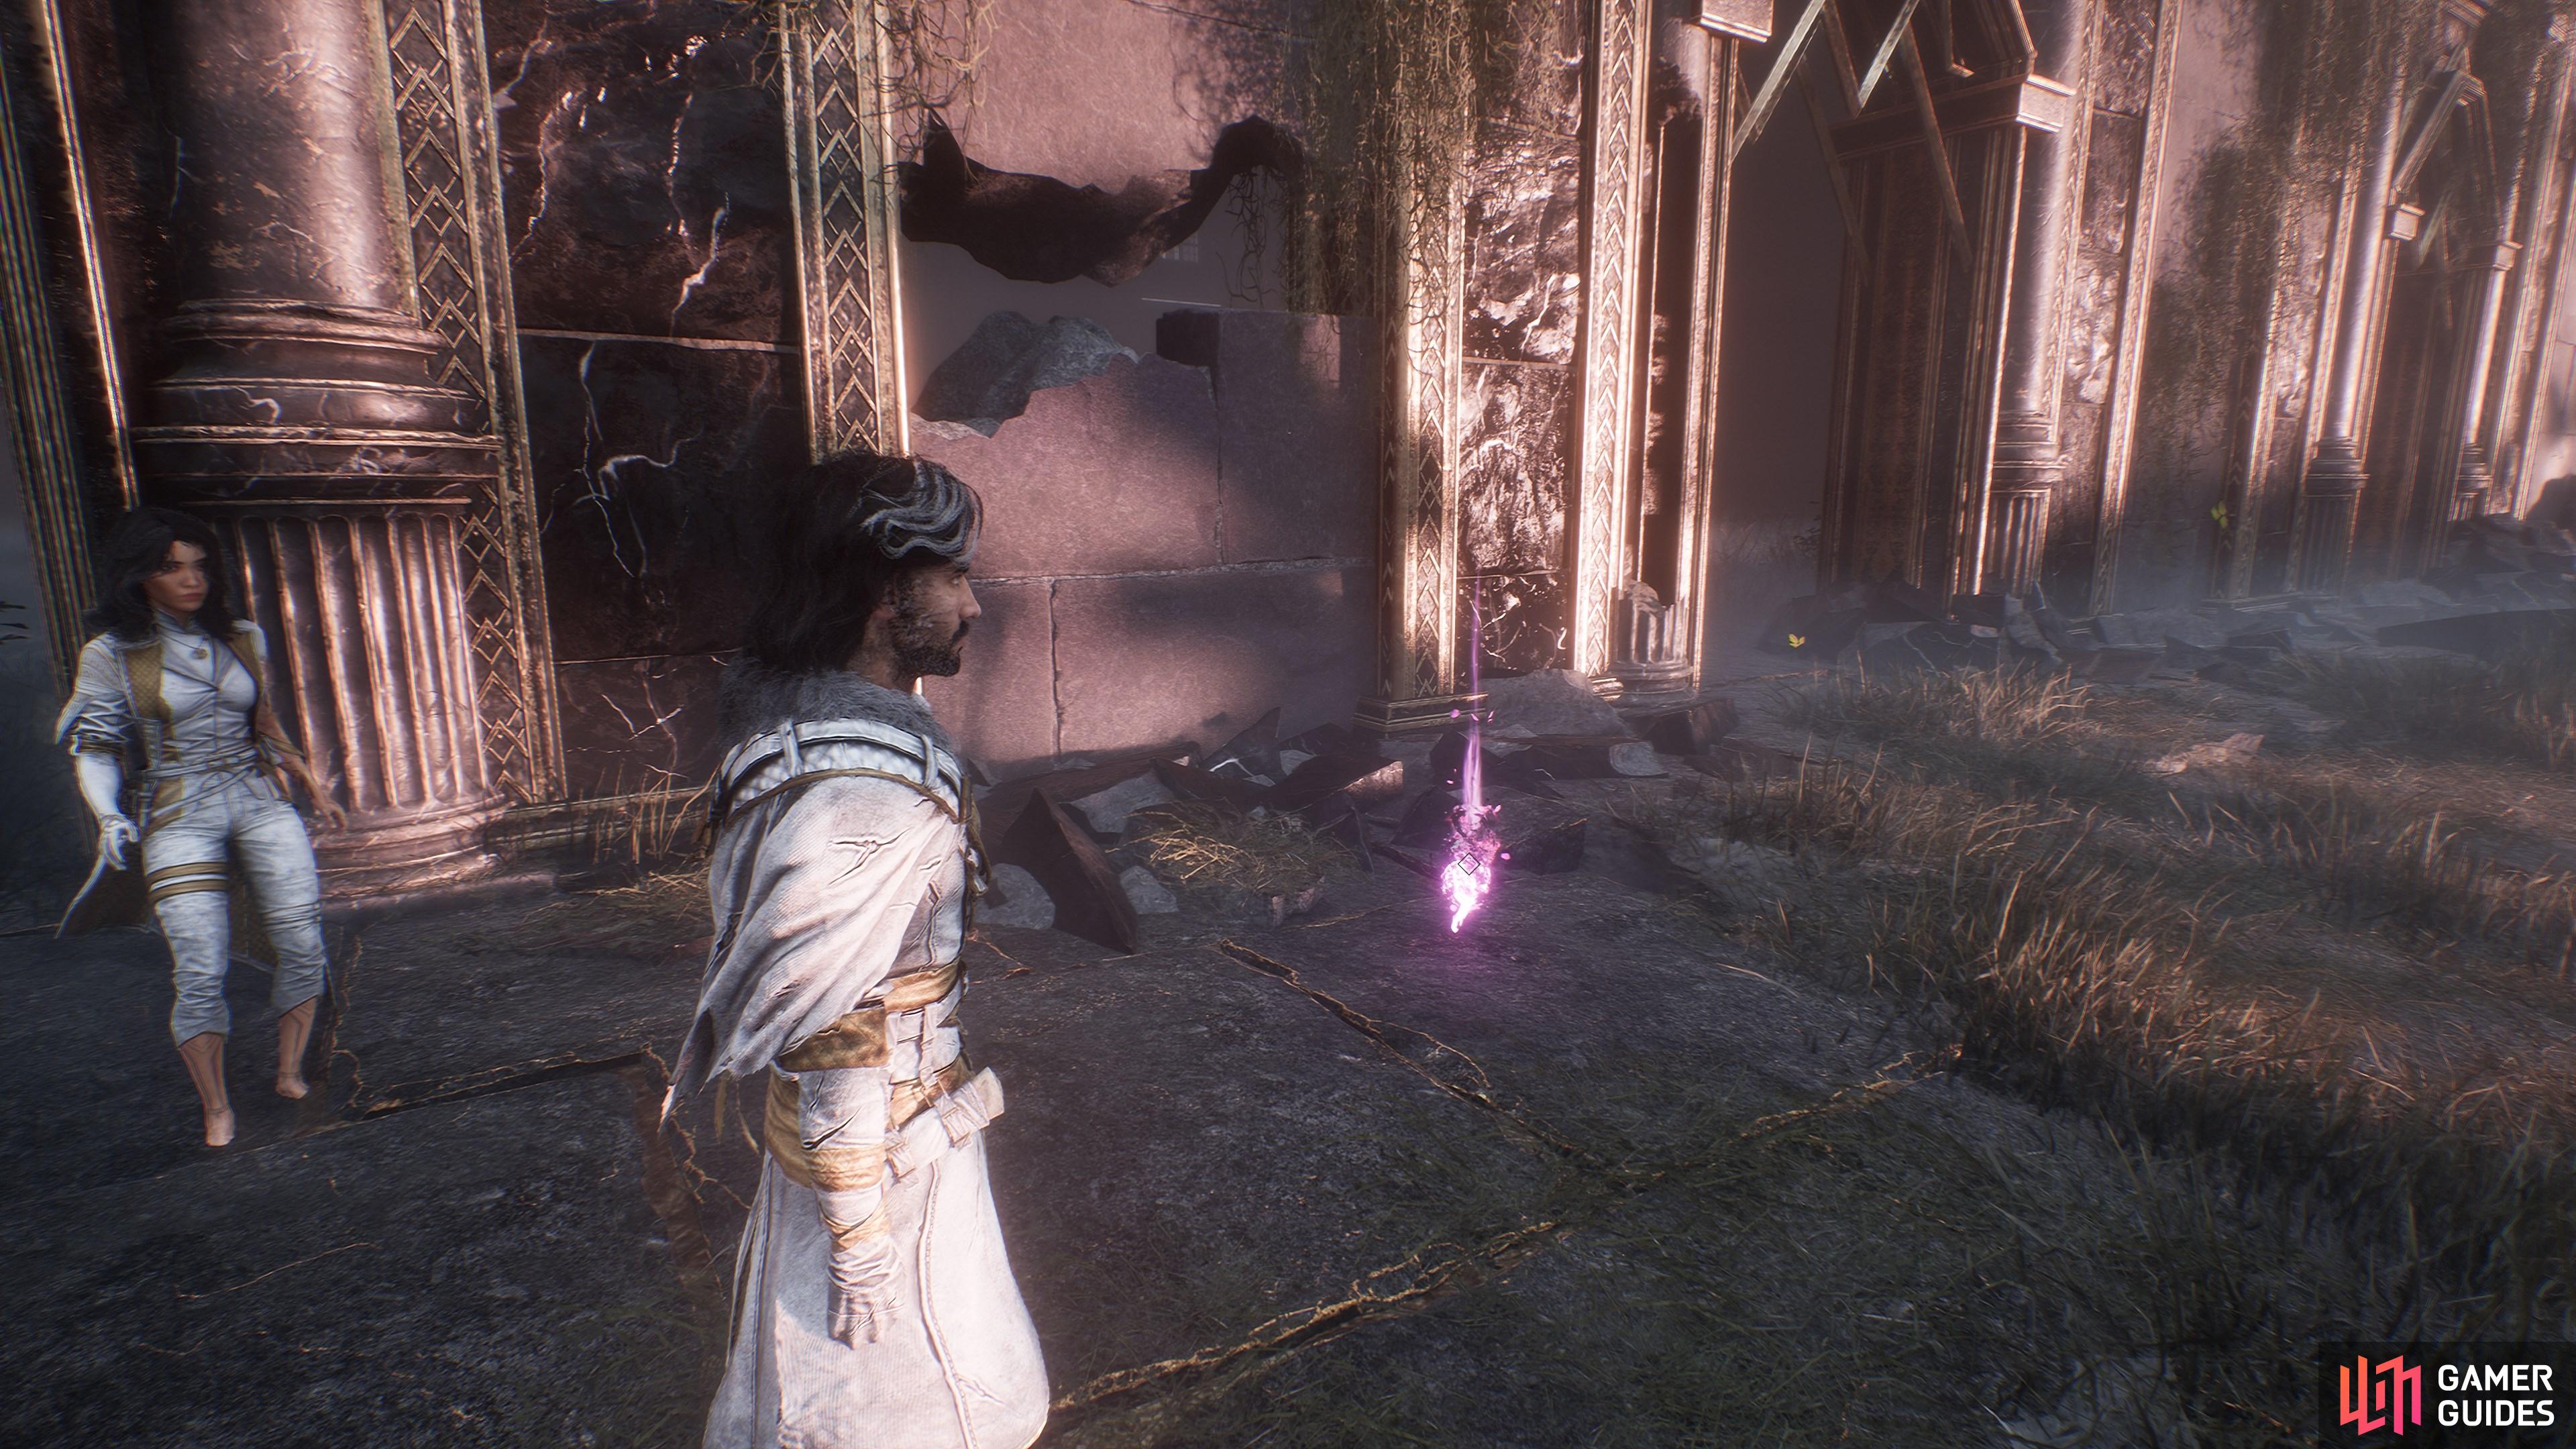
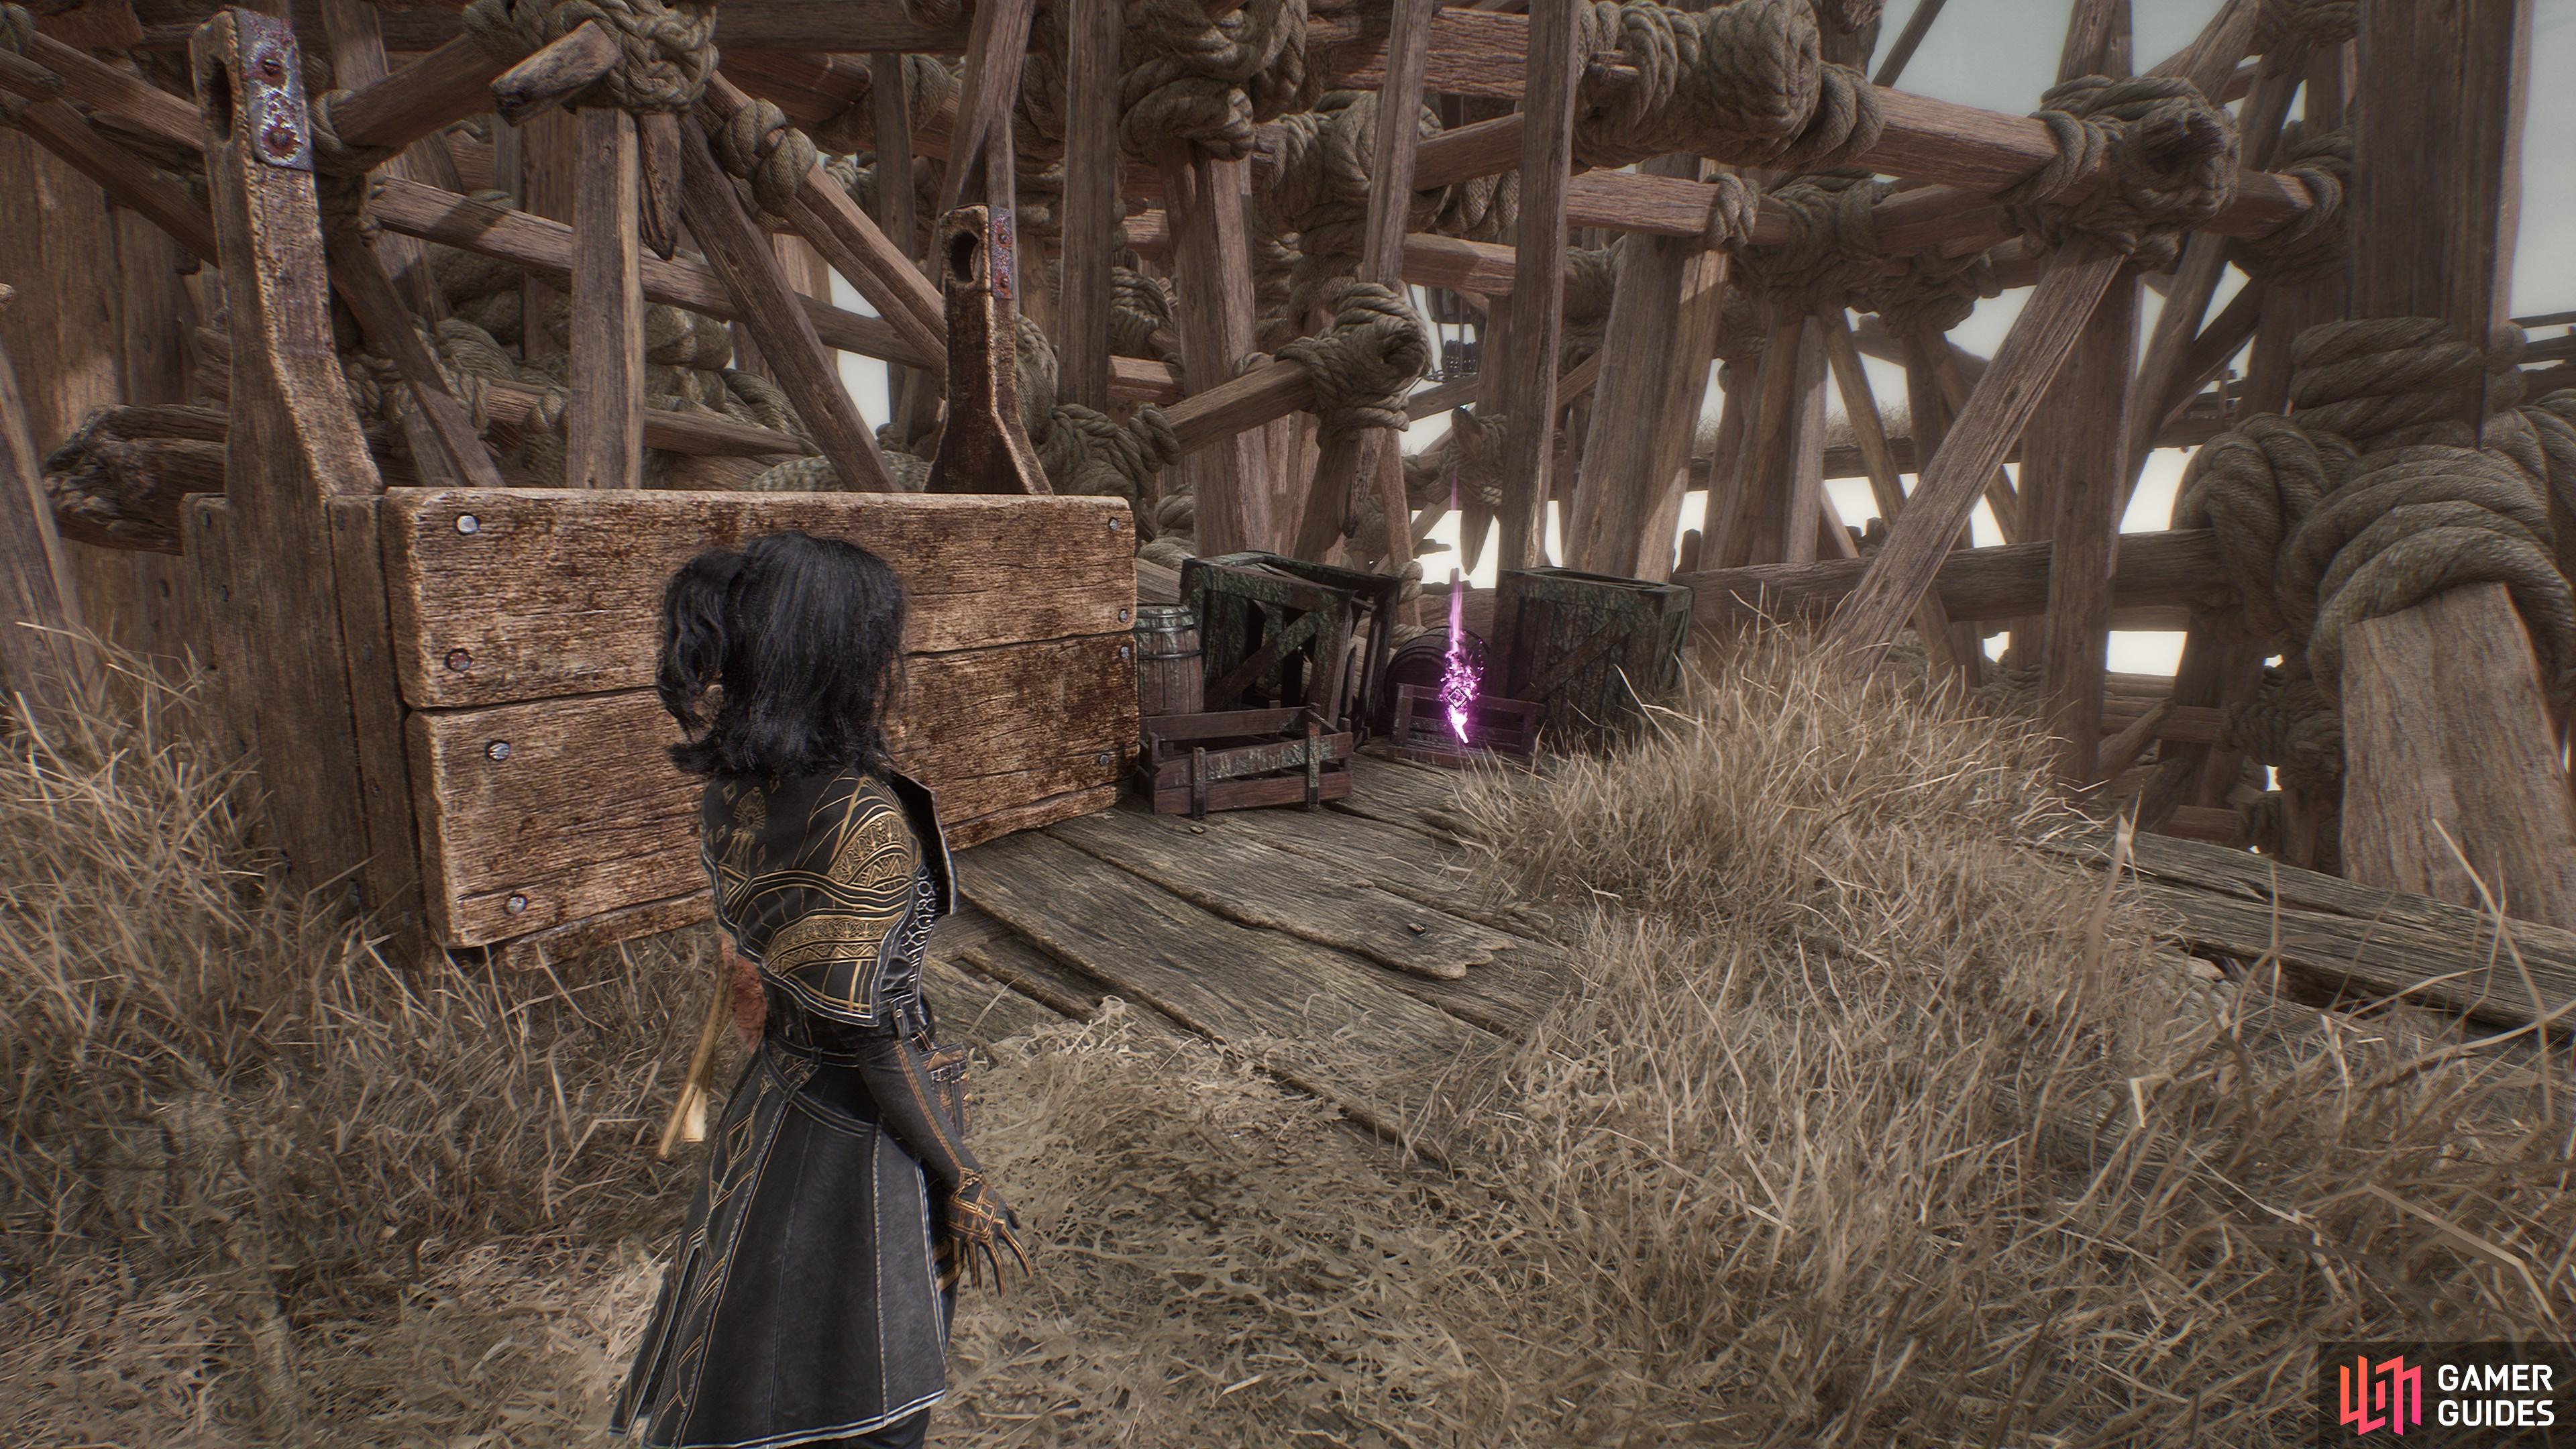
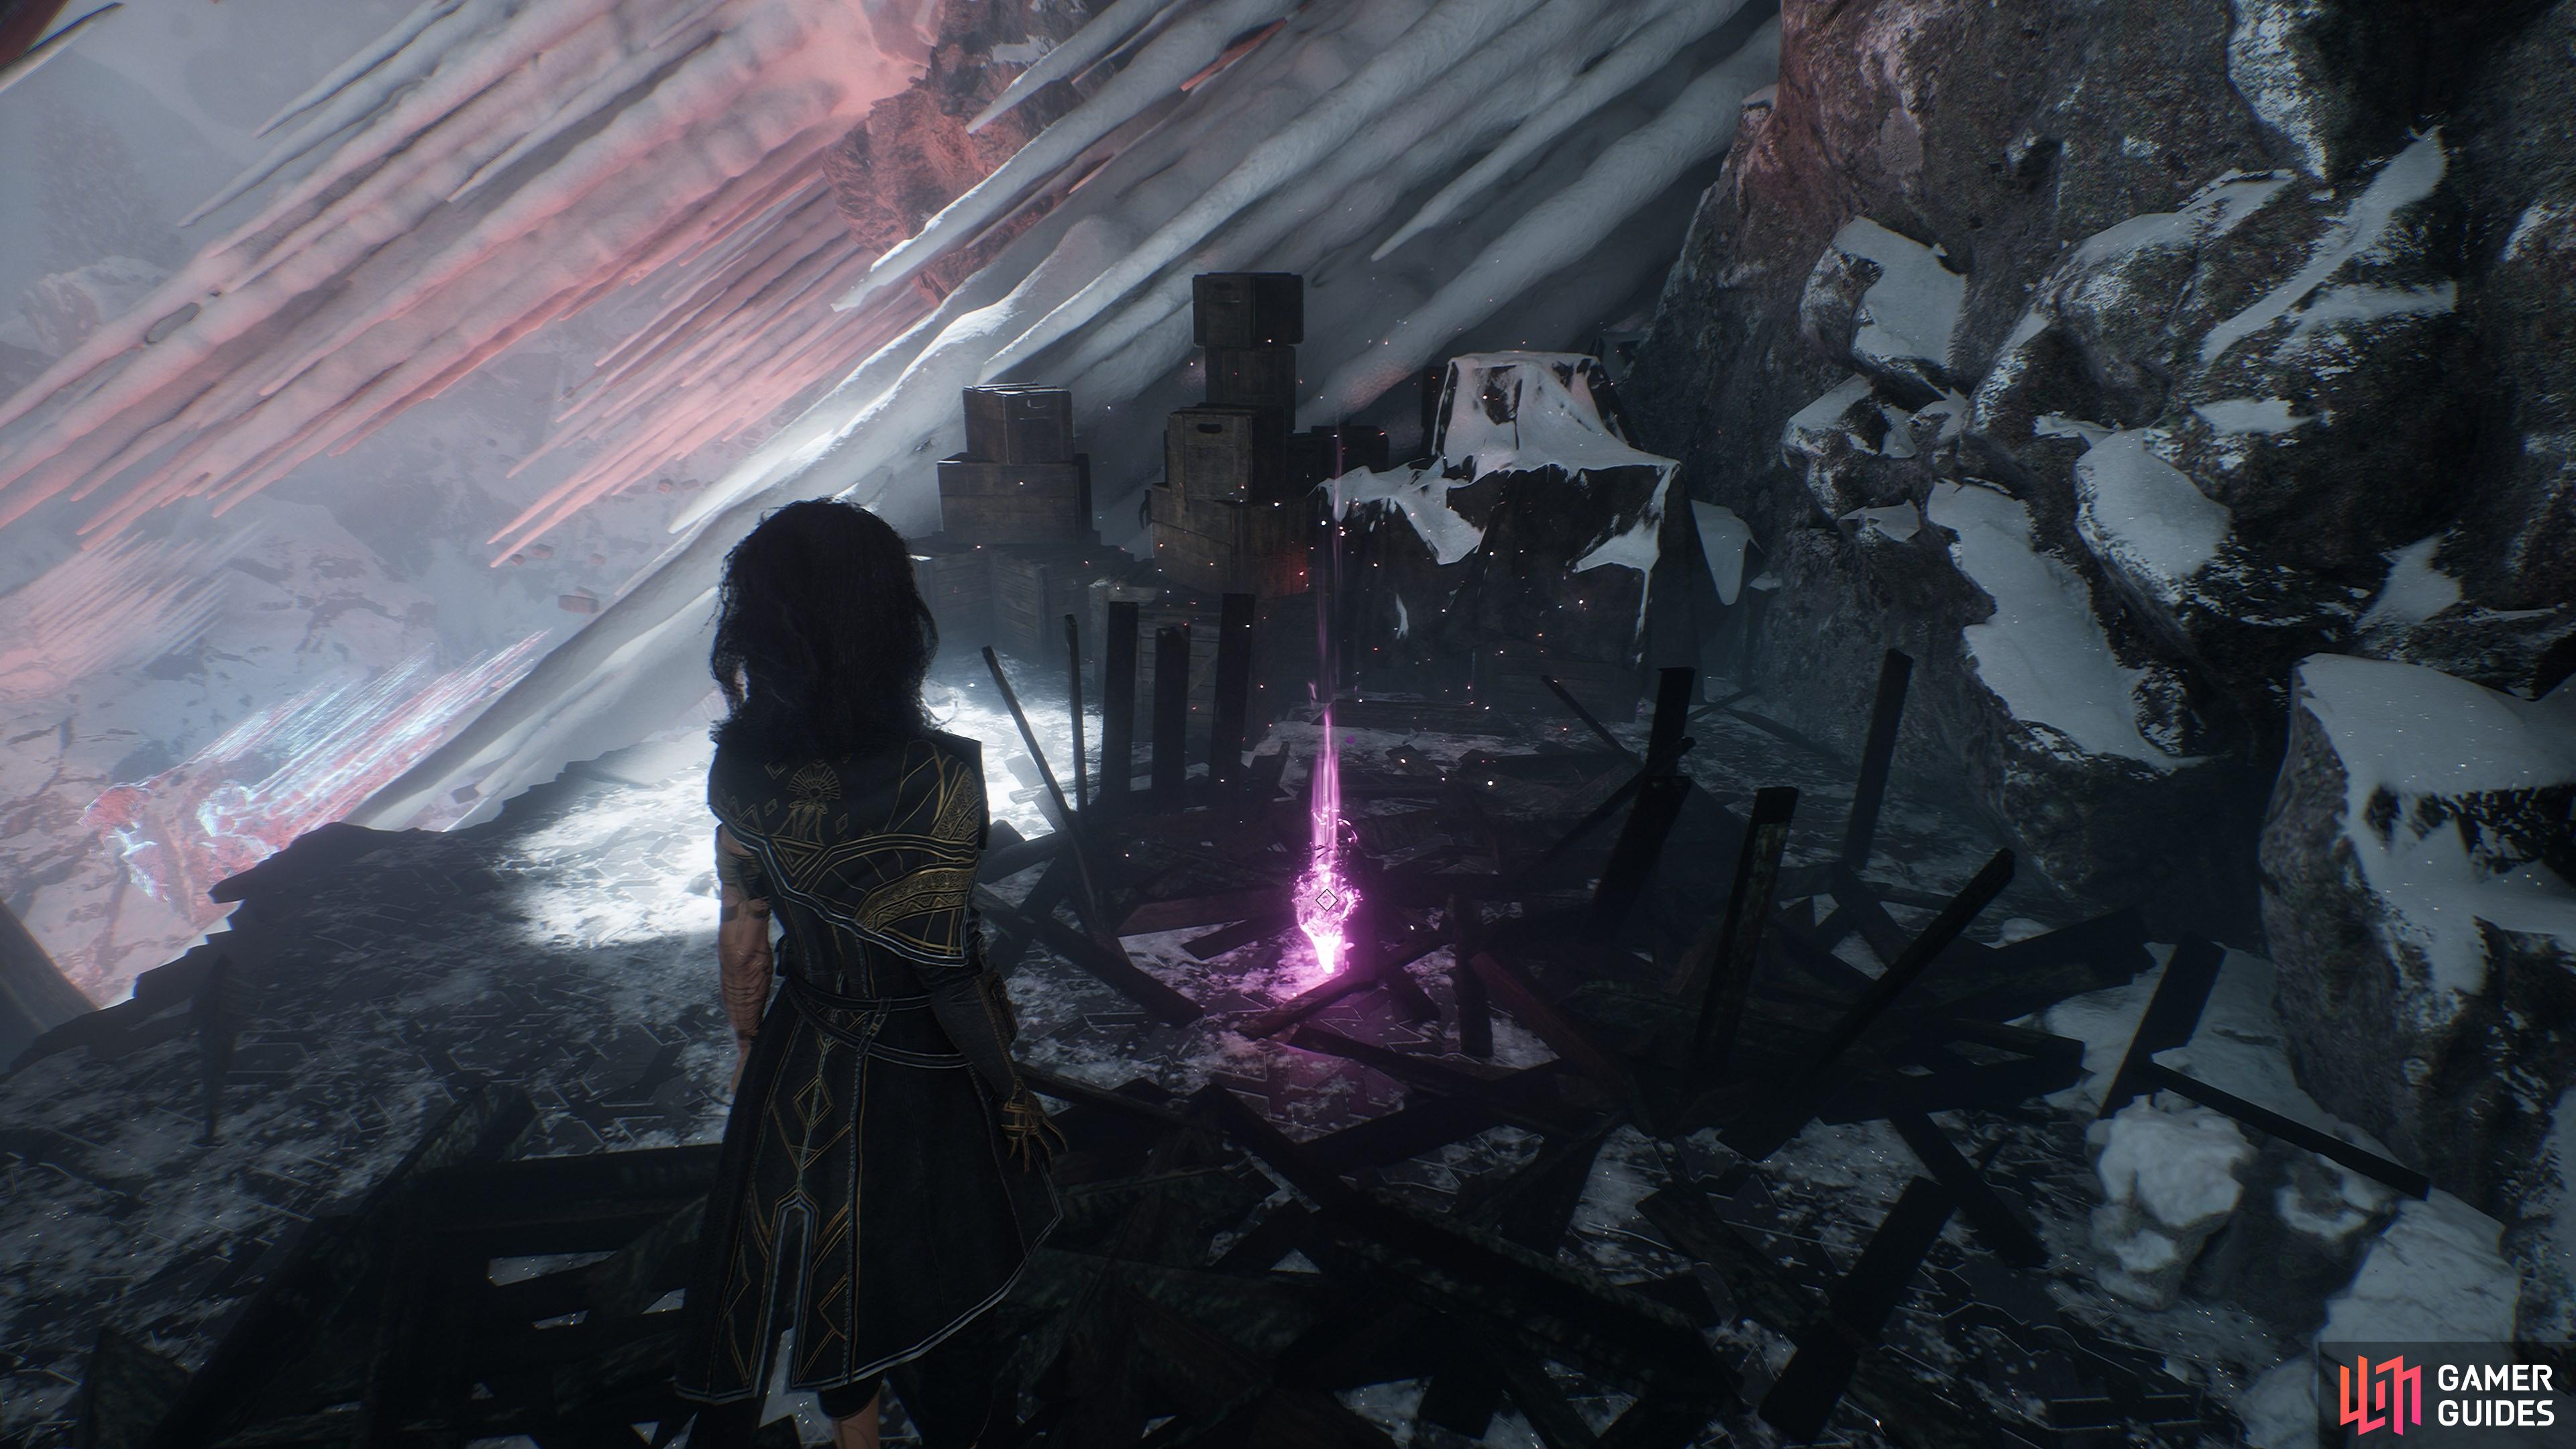
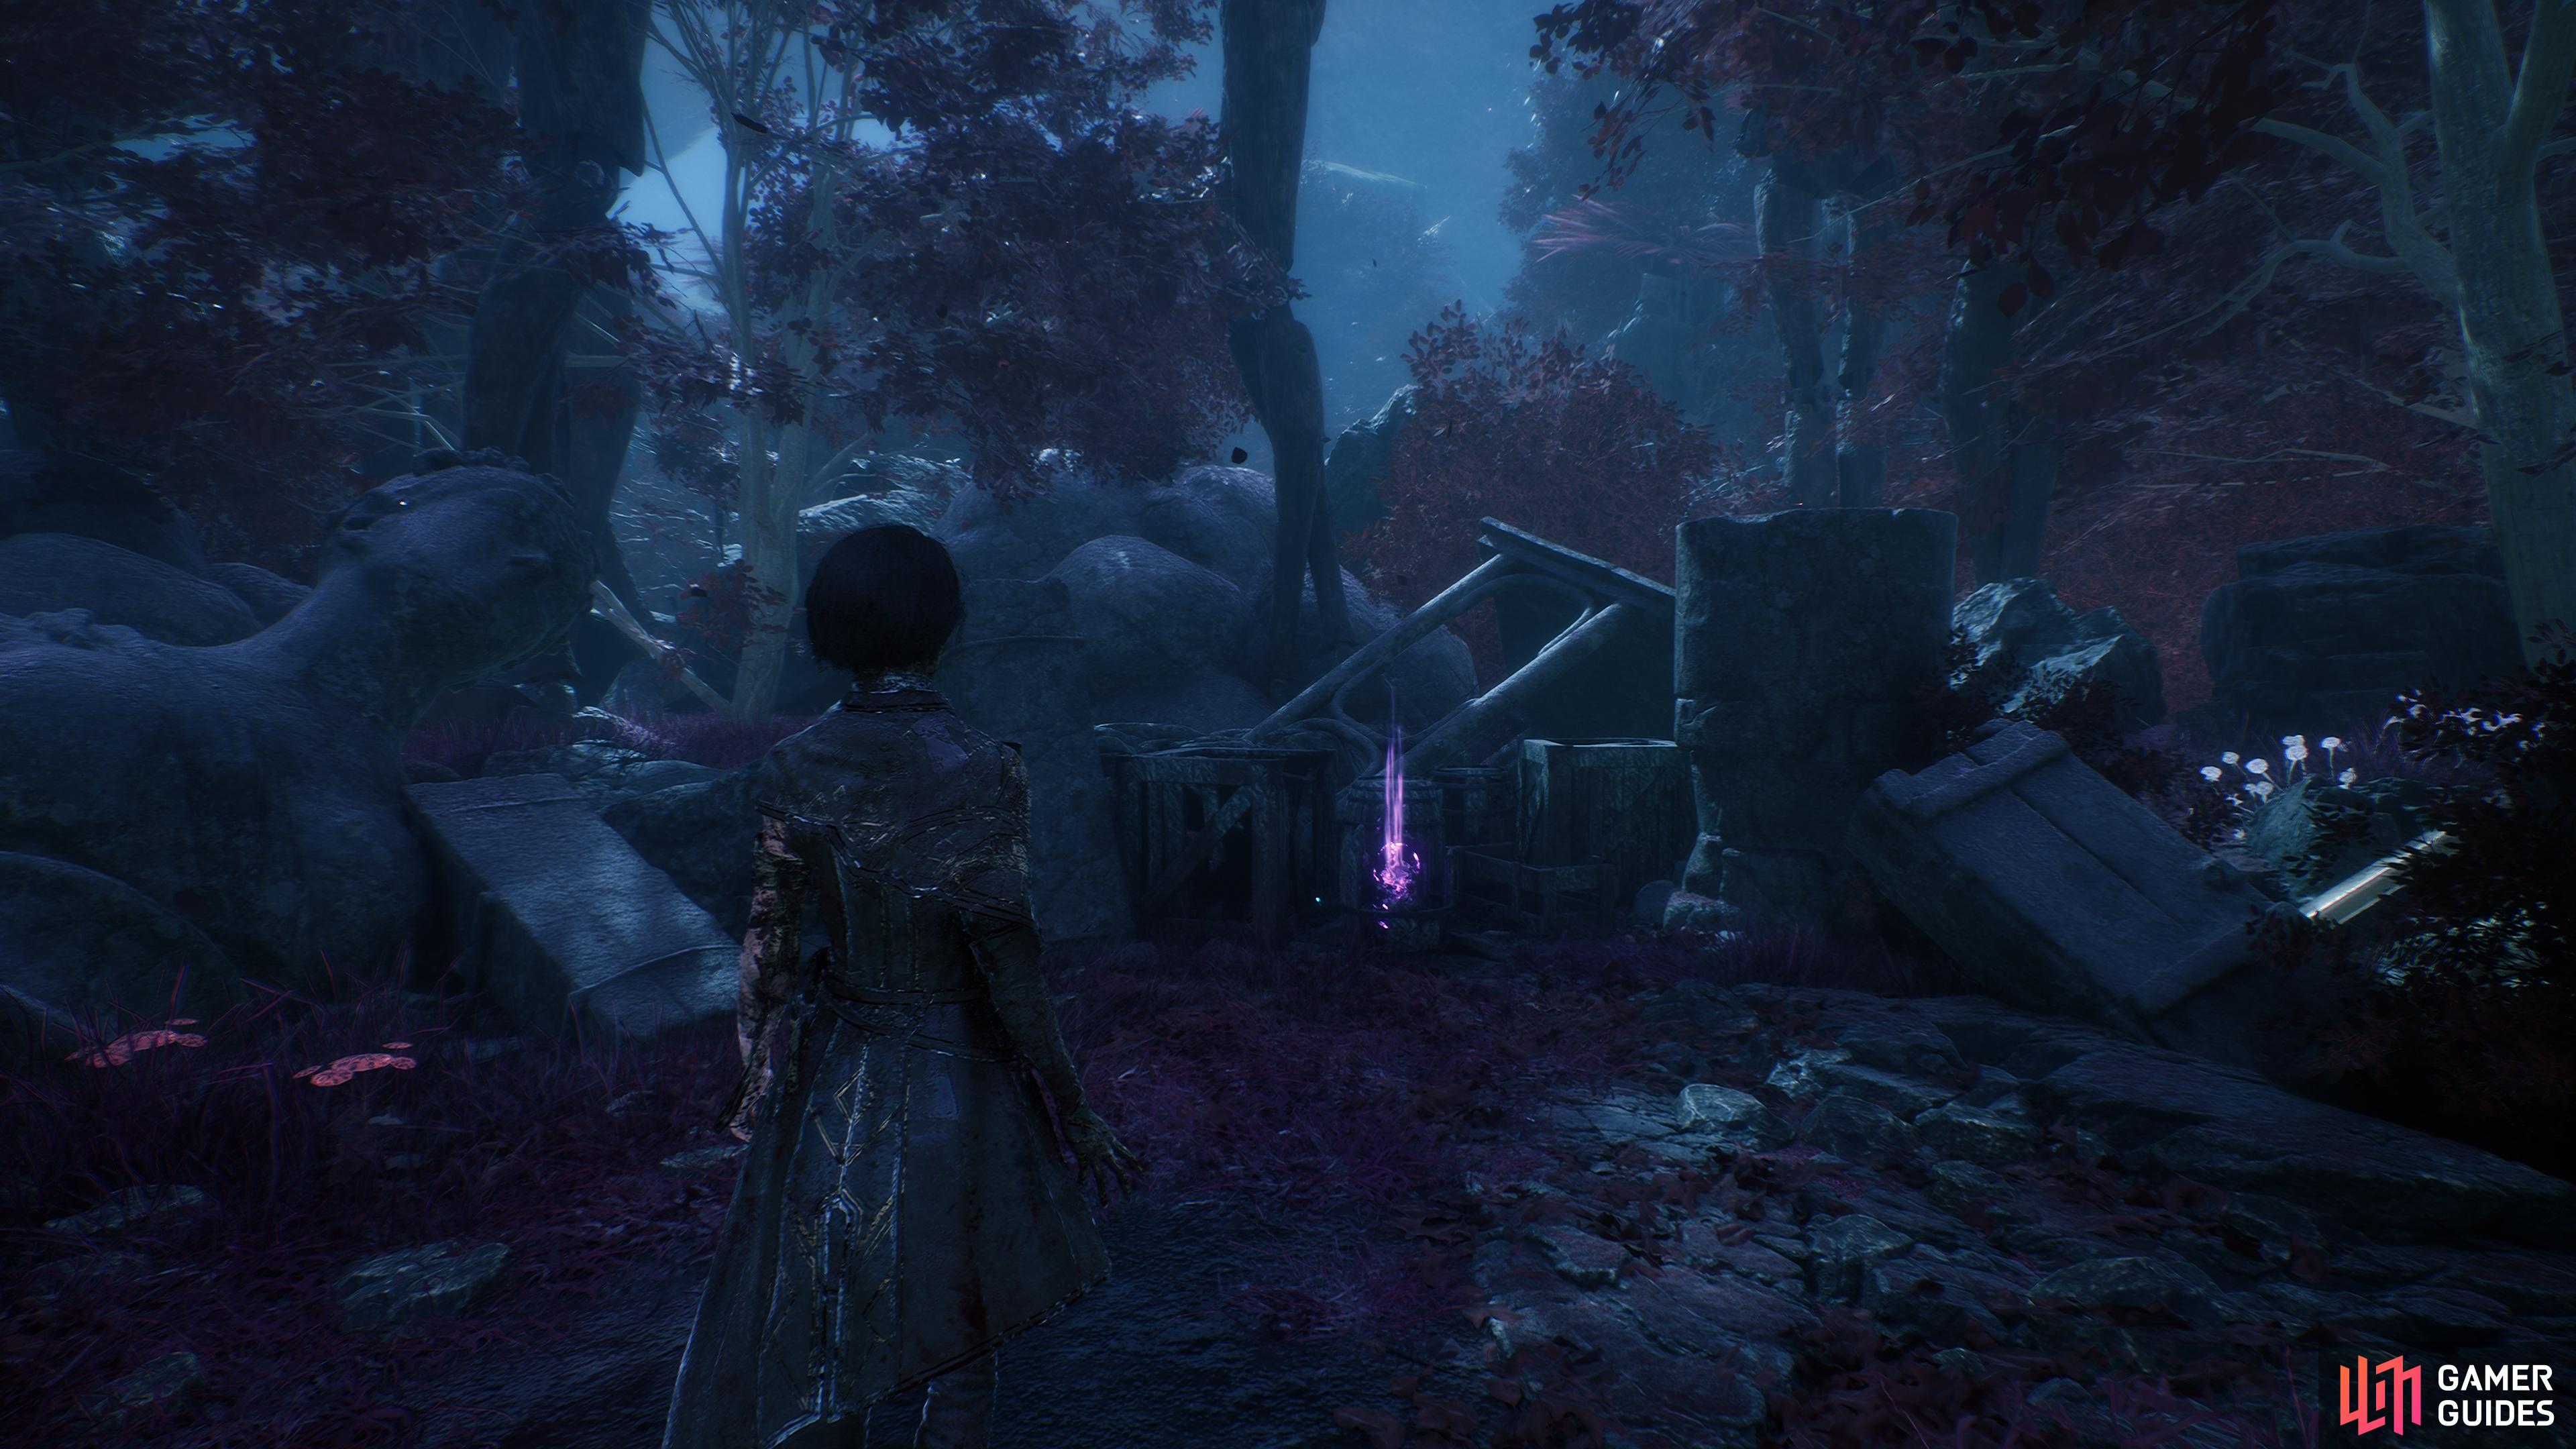
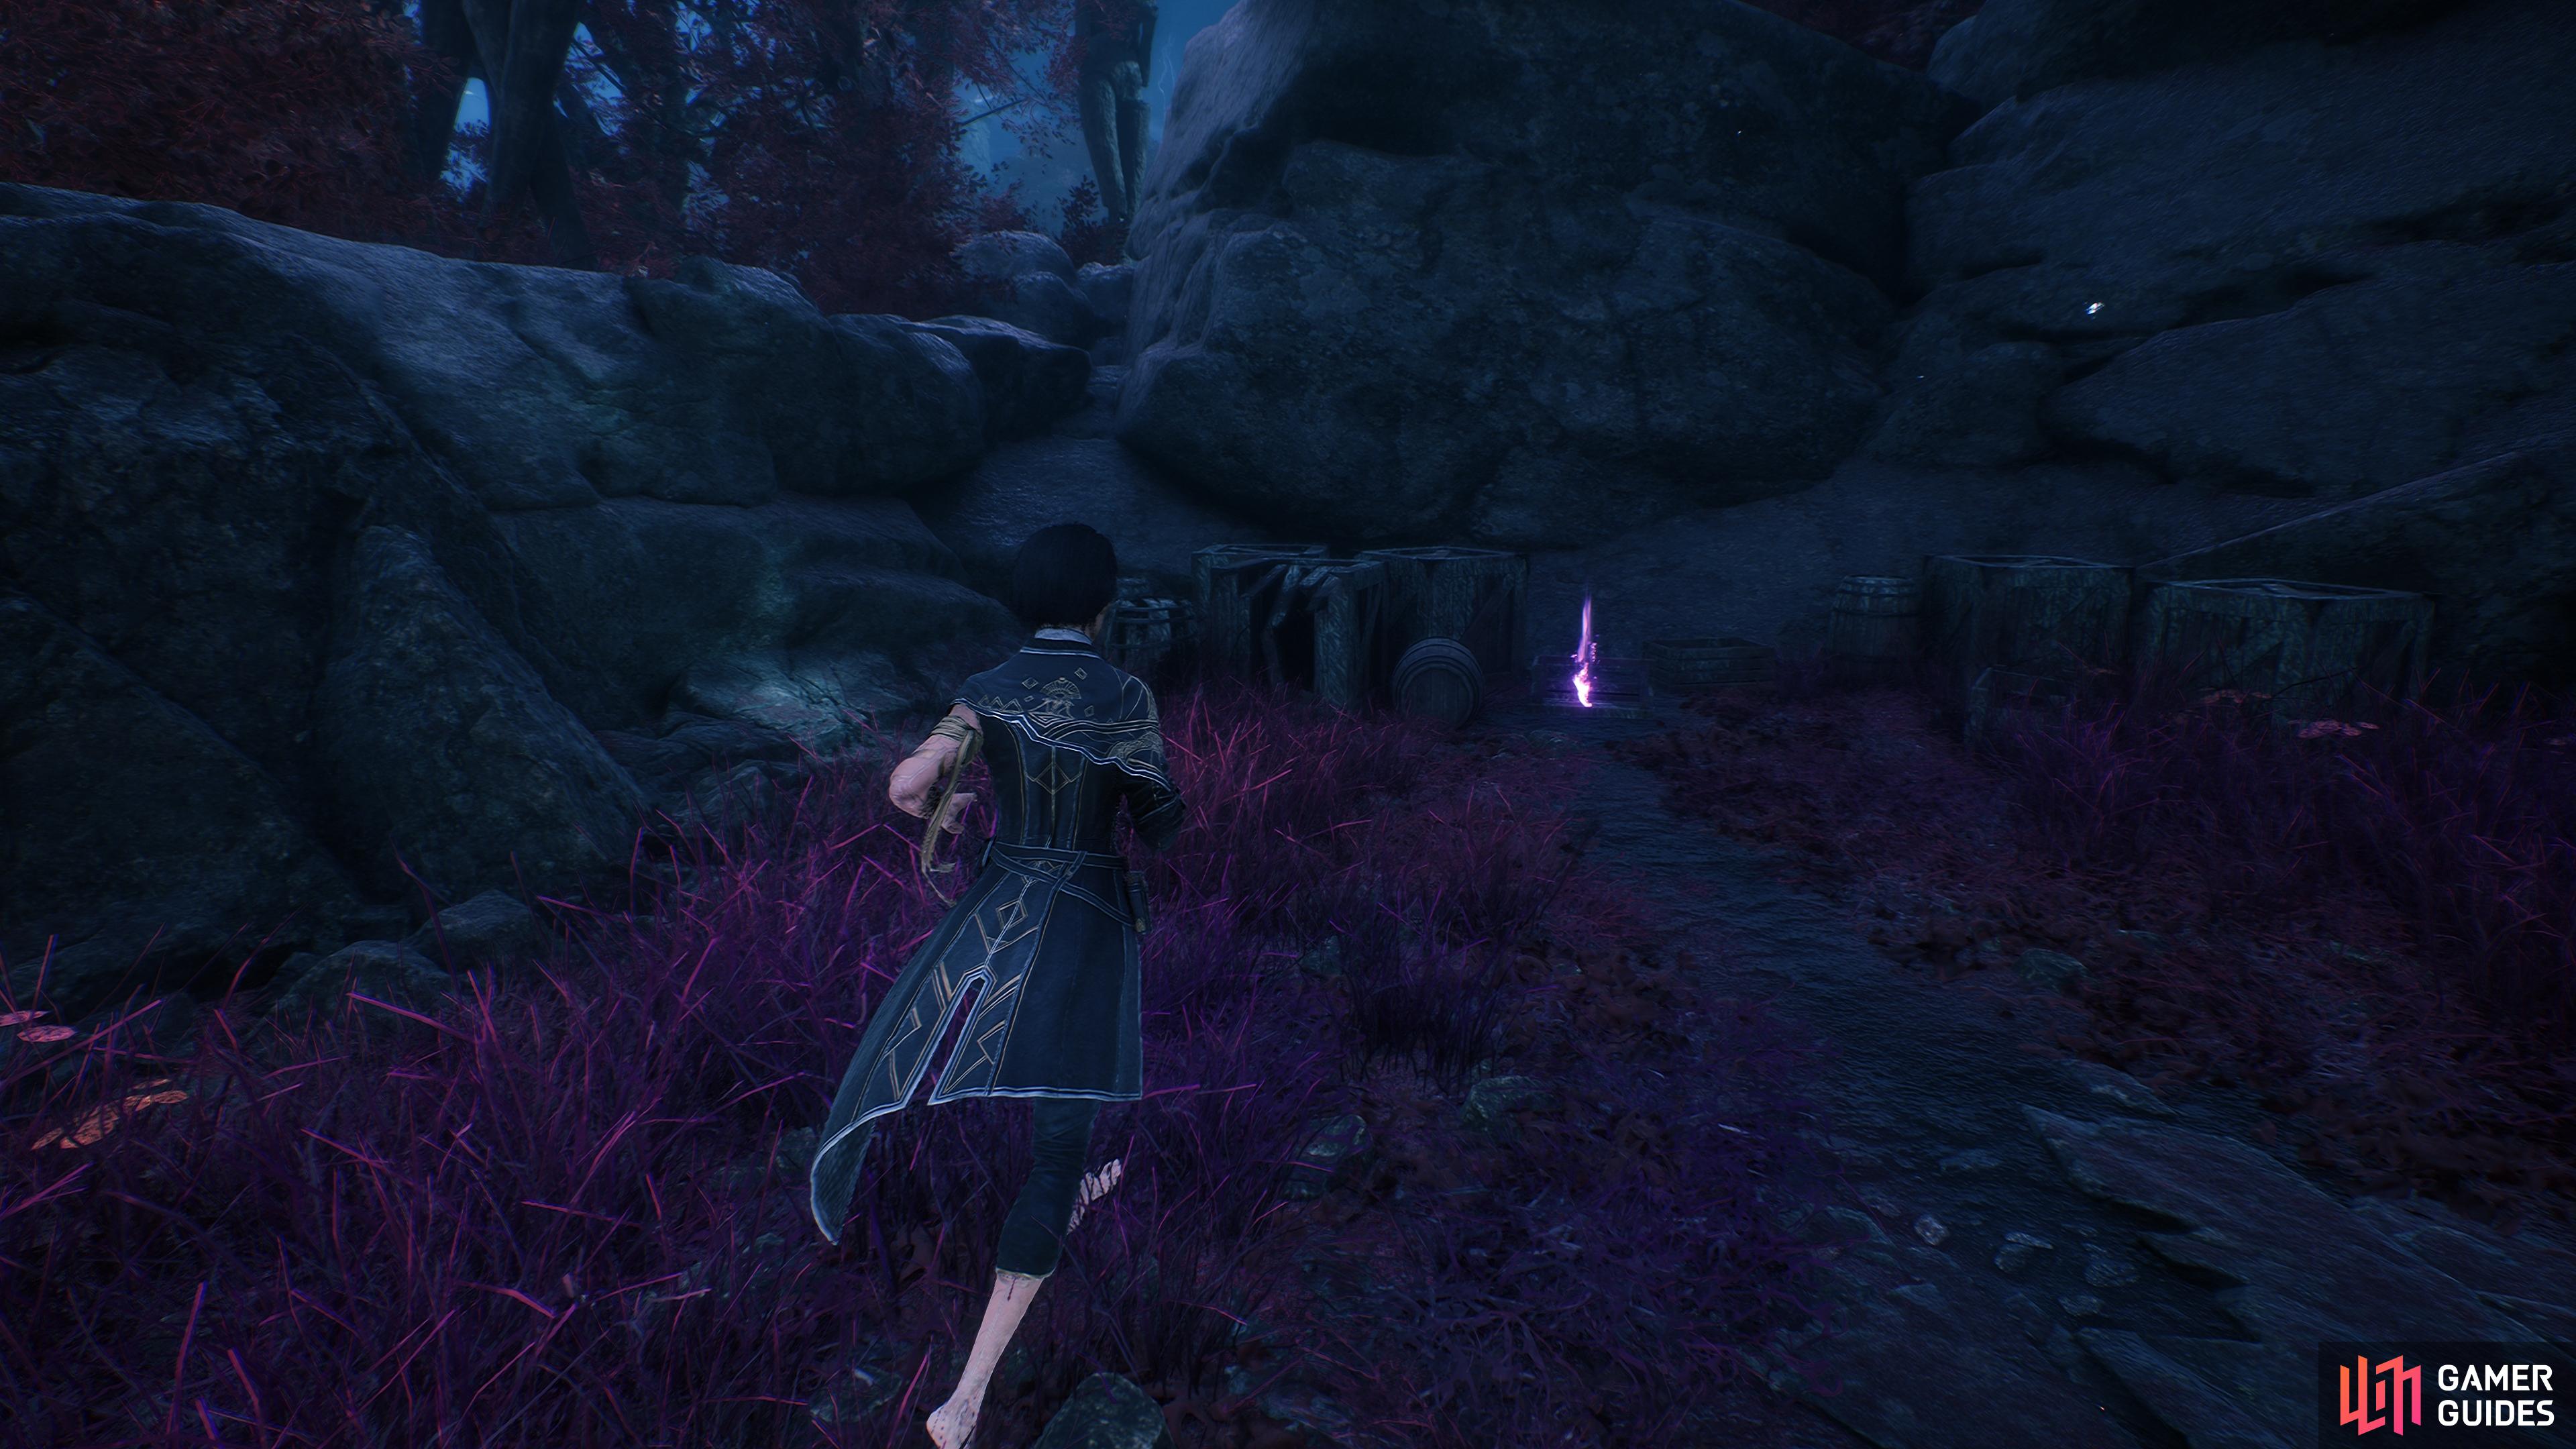
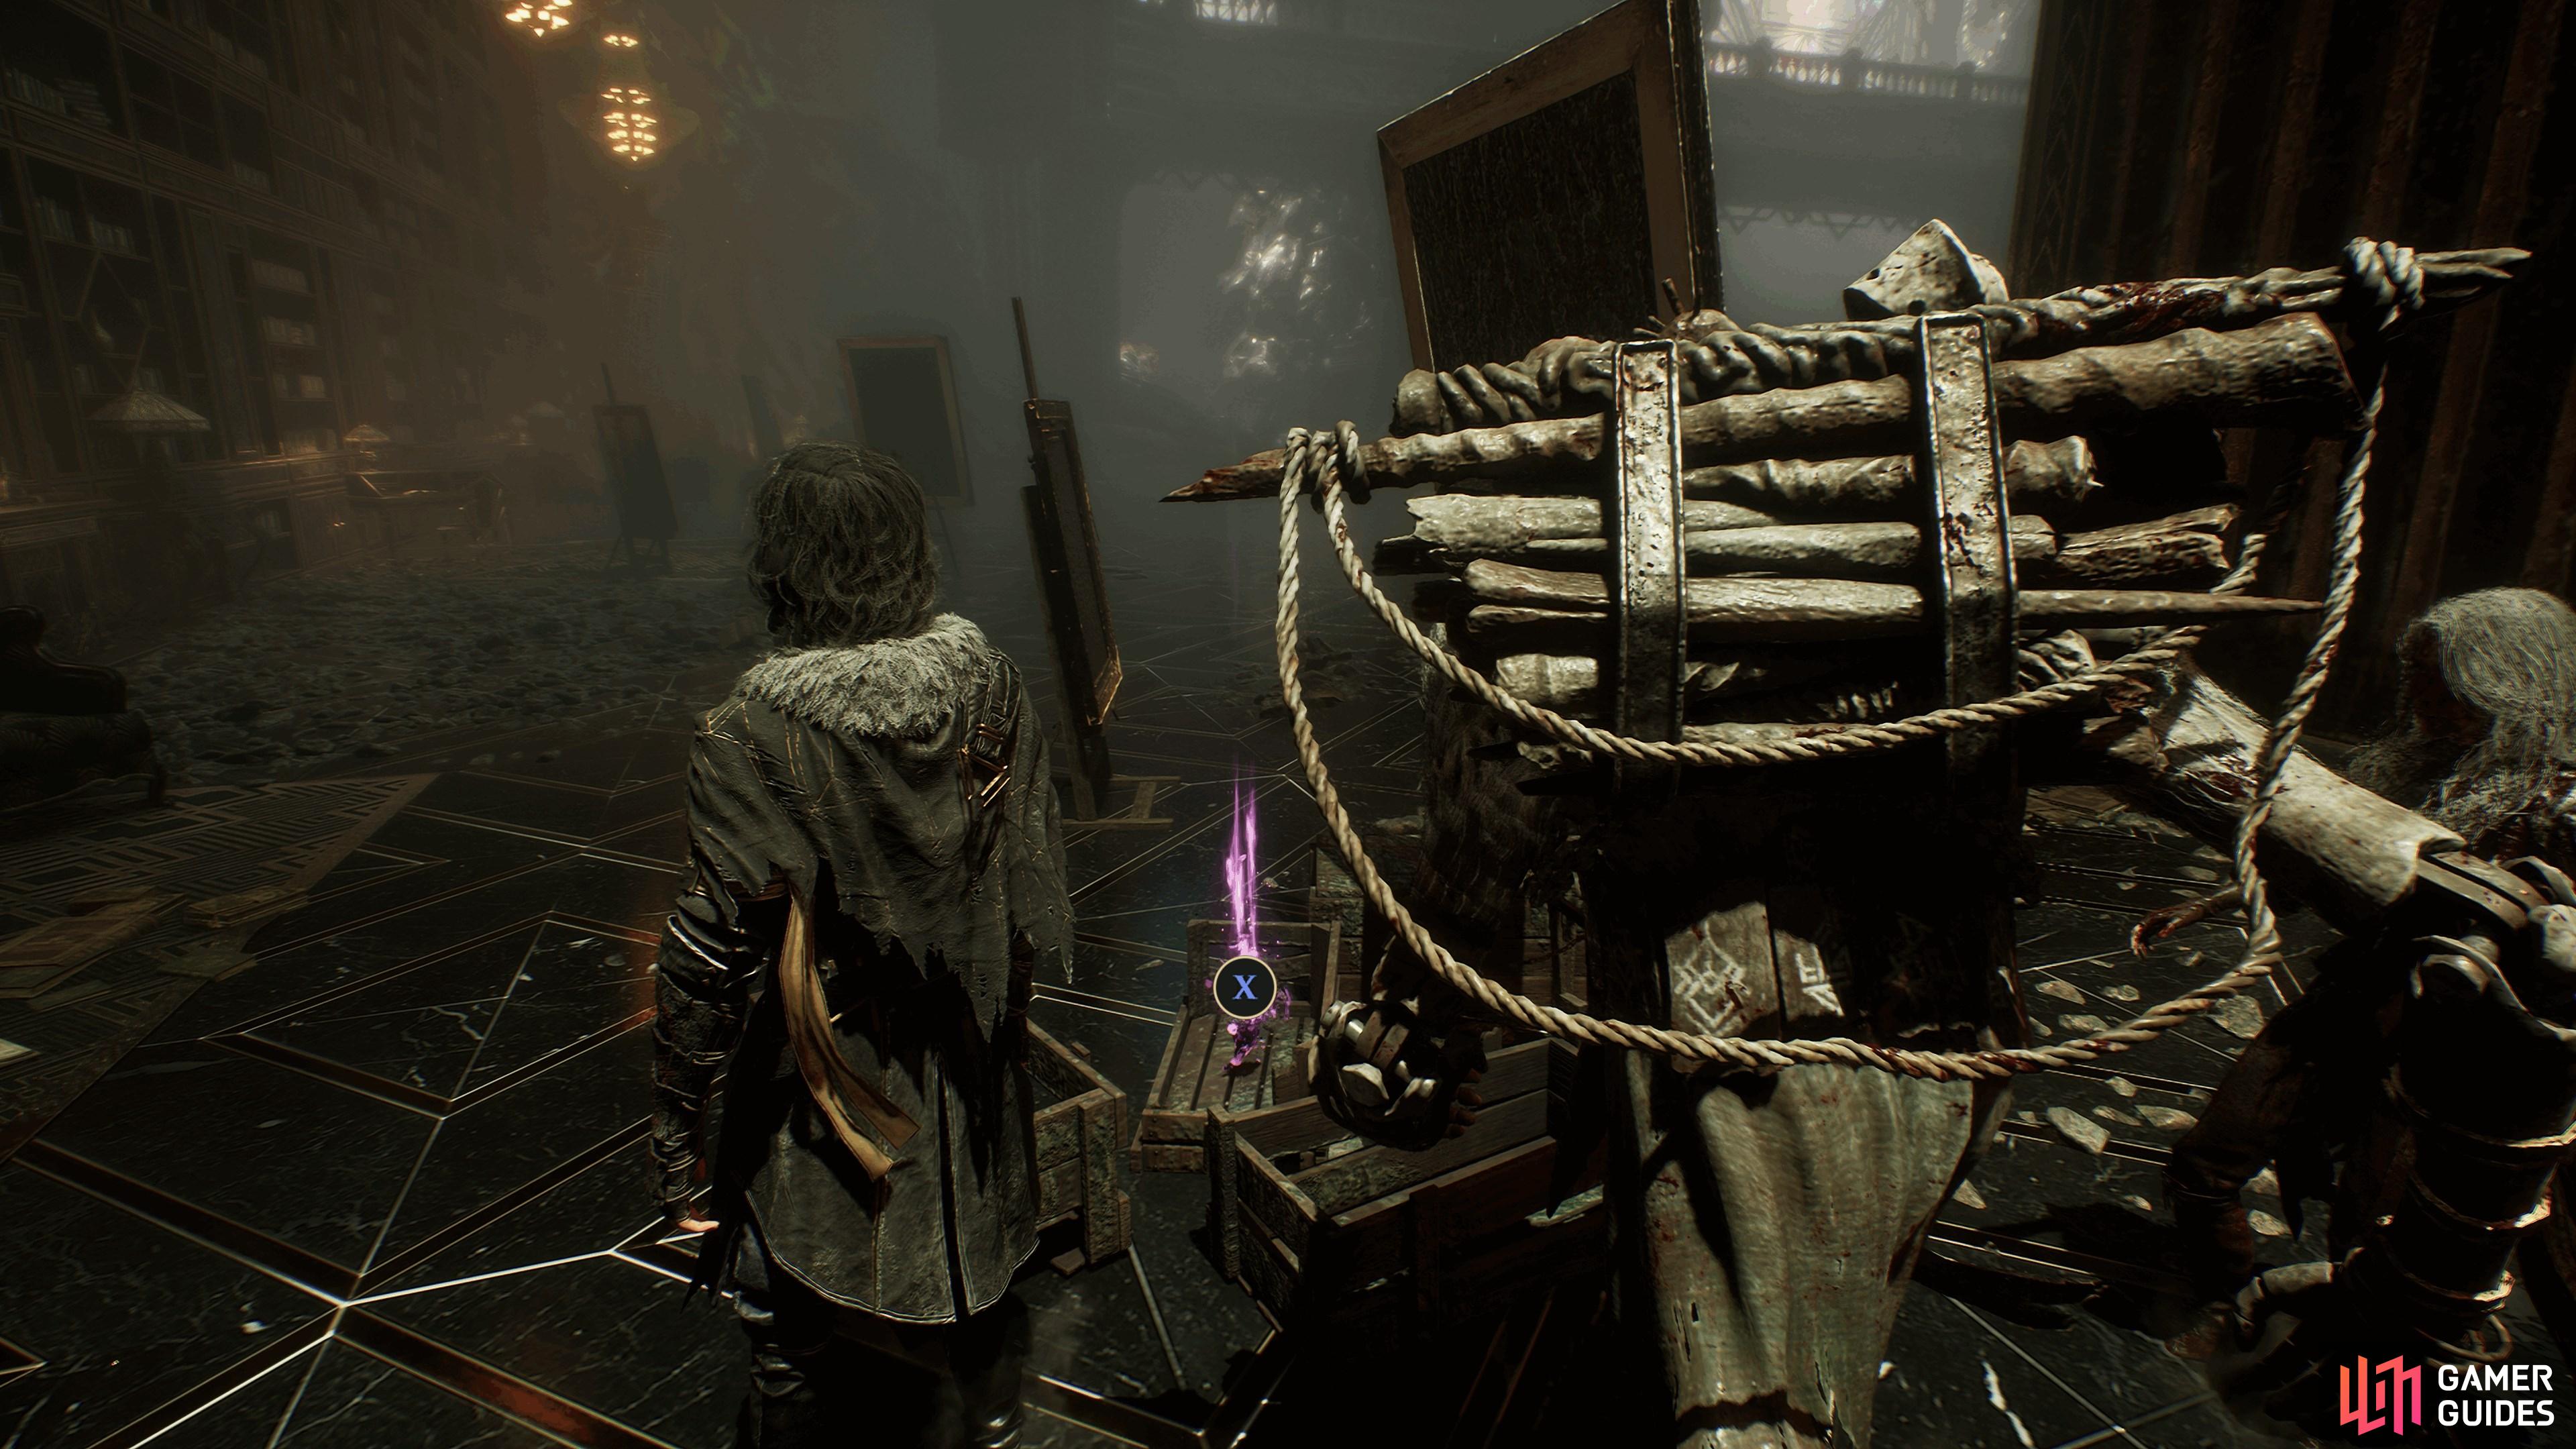
From the ![]() Fort Ruins flag, cross the handholds then proceed into the next area. Go past the glowing rock and climb the staircase into the ruined building with the pillars on your right.
Fort Ruins flag, cross the handholds then proceed into the next area. Go past the glowing rock and climb the staircase into the ruined building with the pillars on your right.
Enter the ruin and look to your right. You’ll spot the familiar purple glow emanating from an open chest.
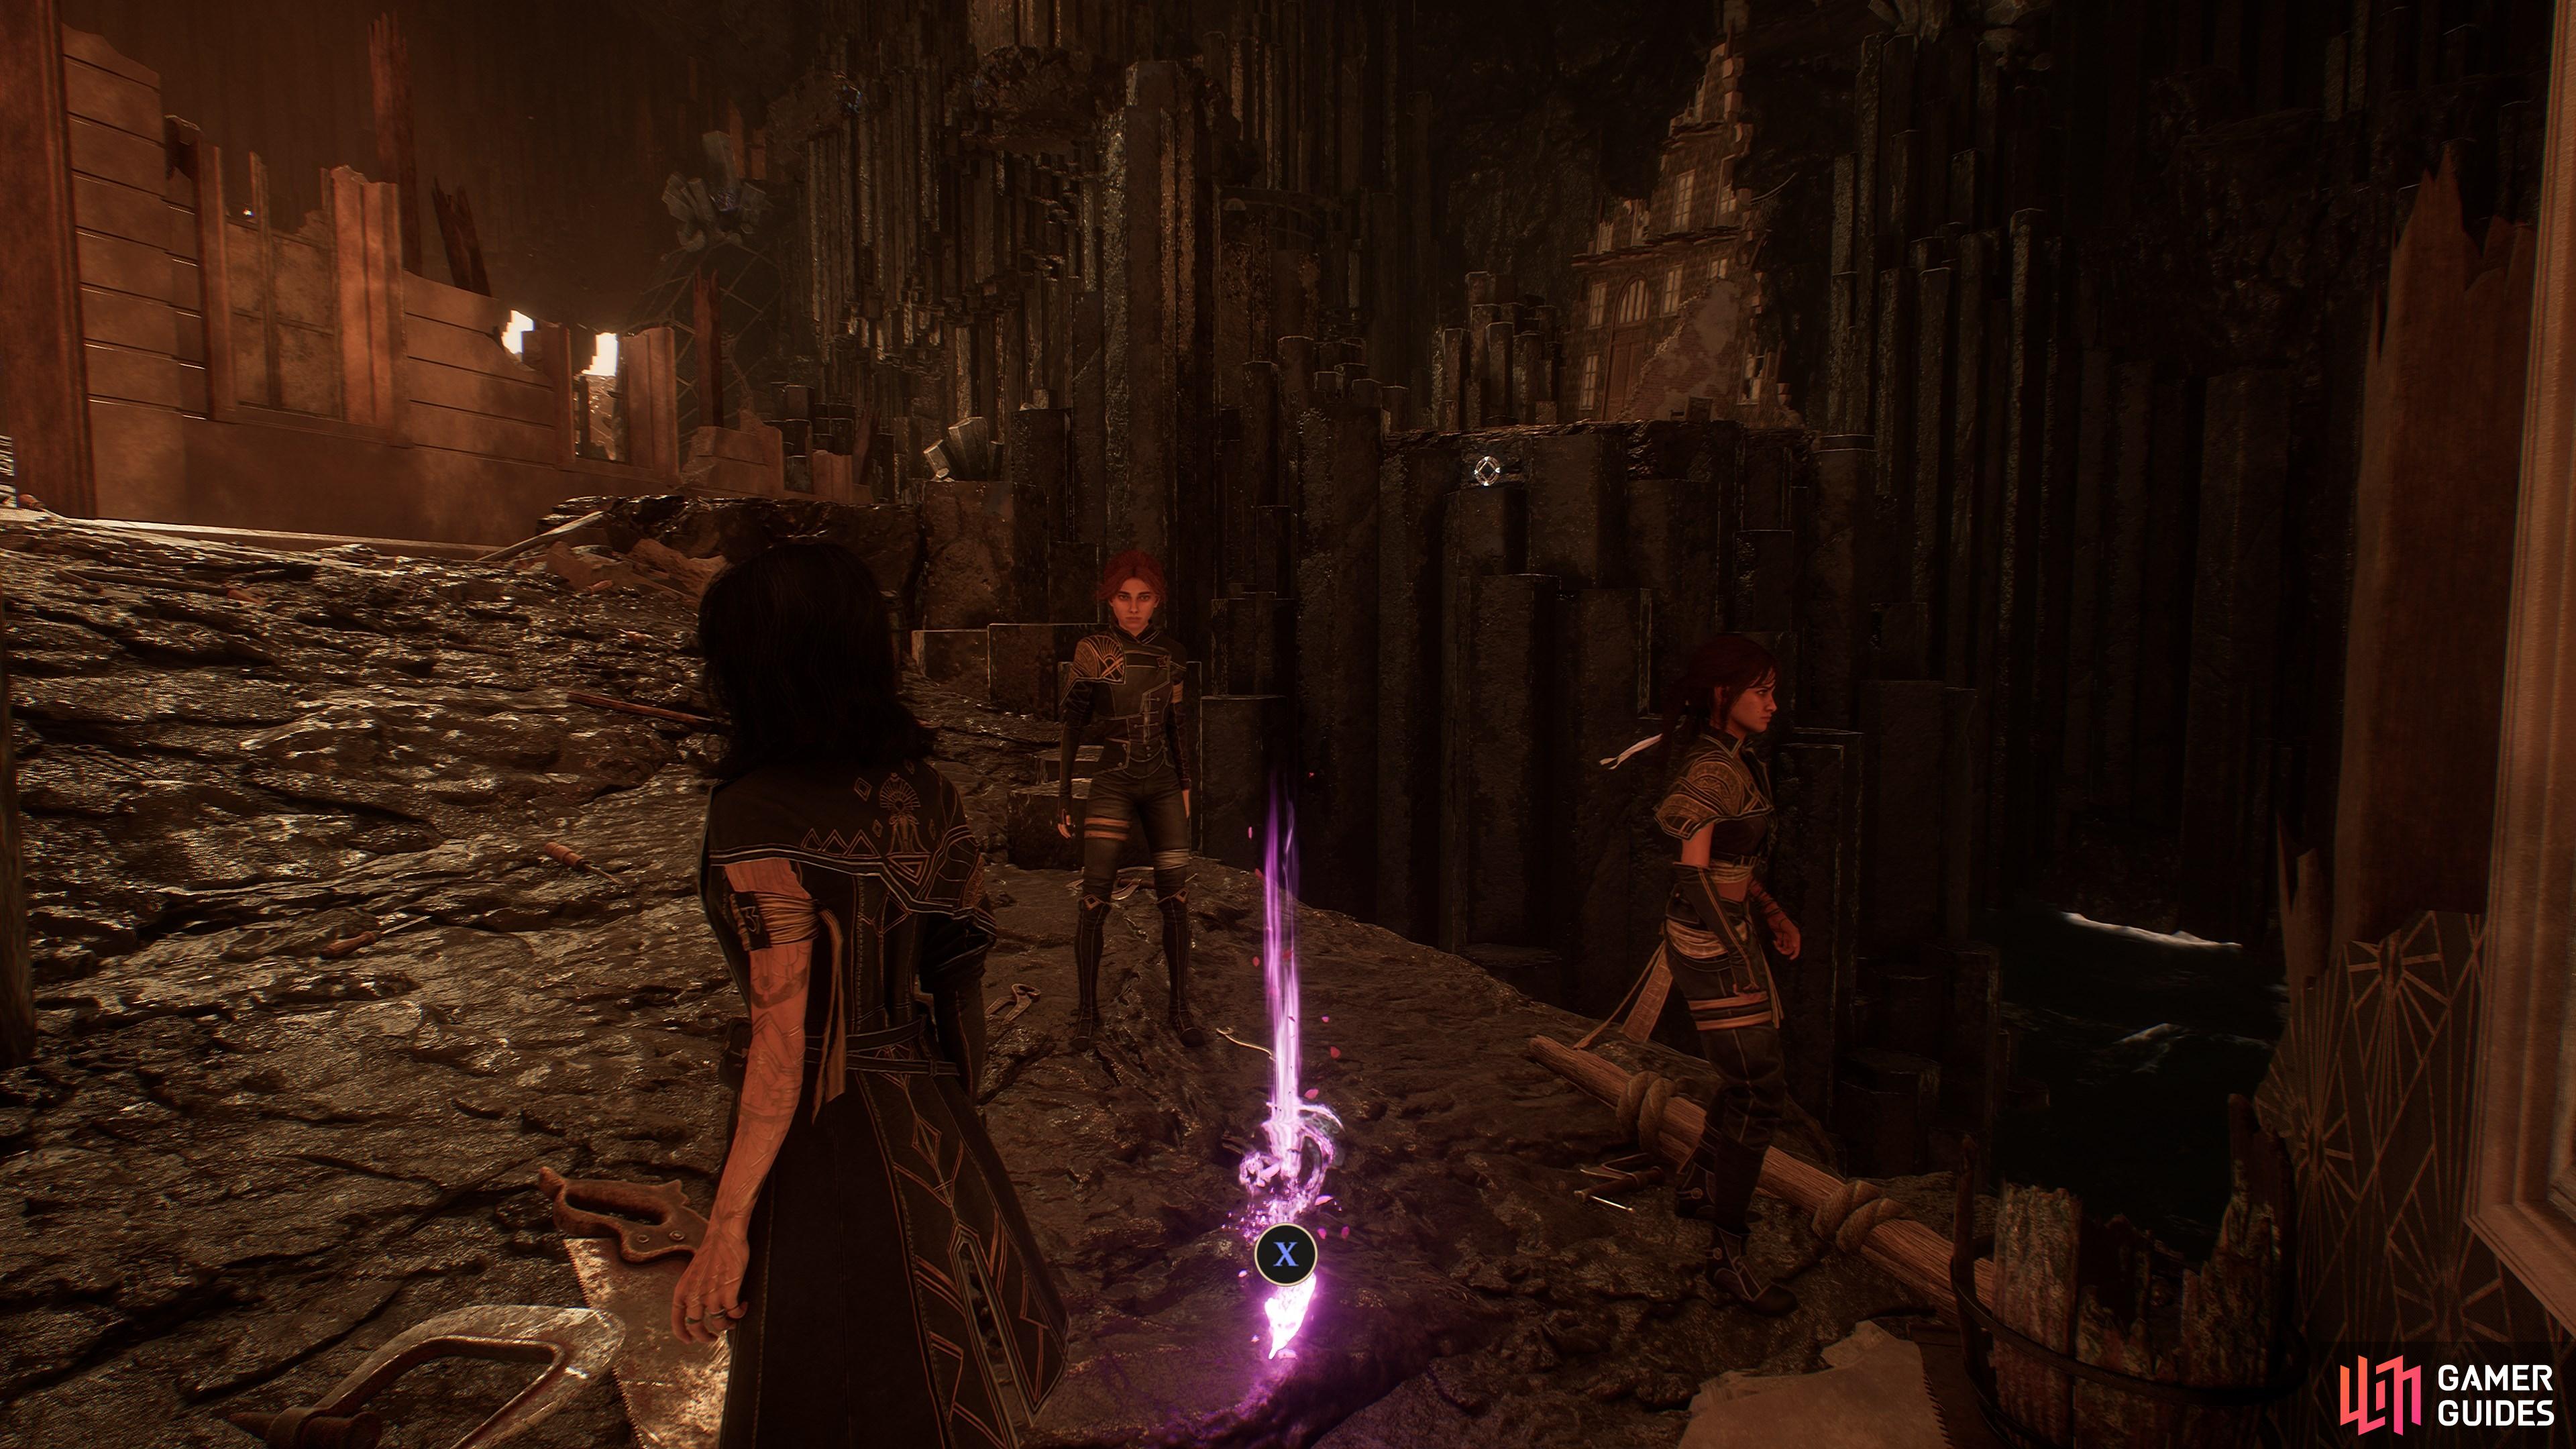
48. The Continent
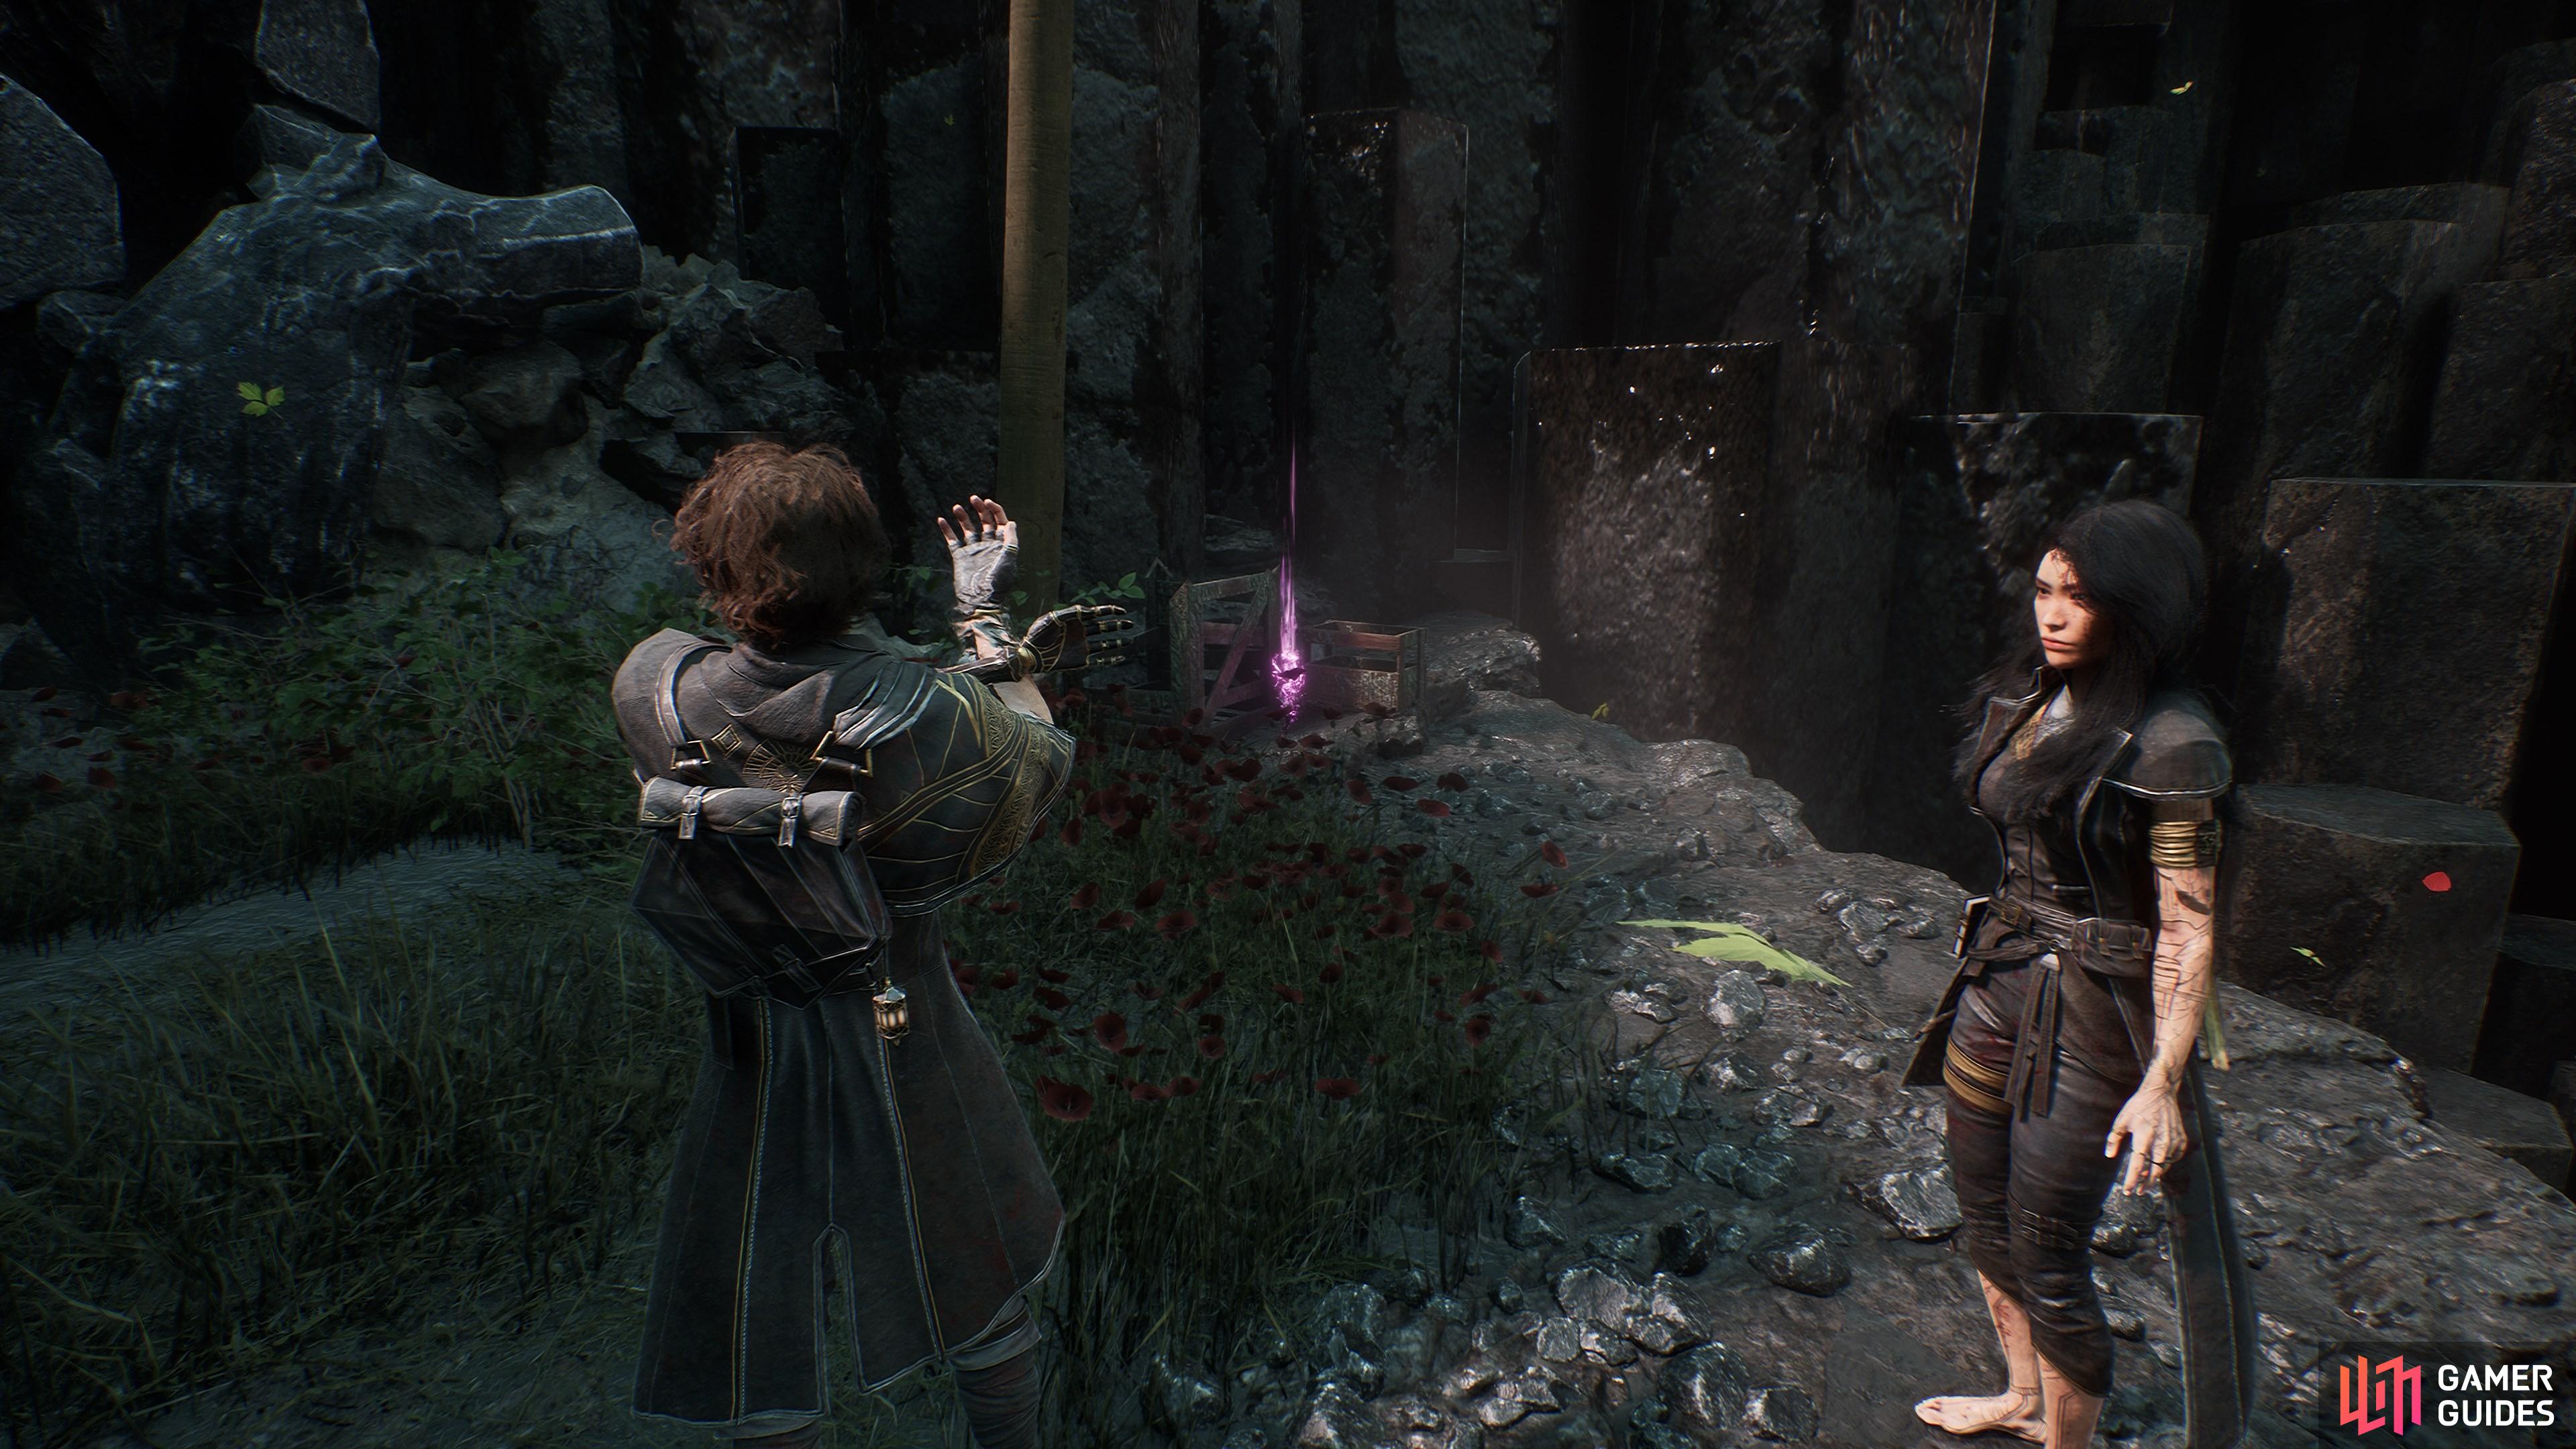
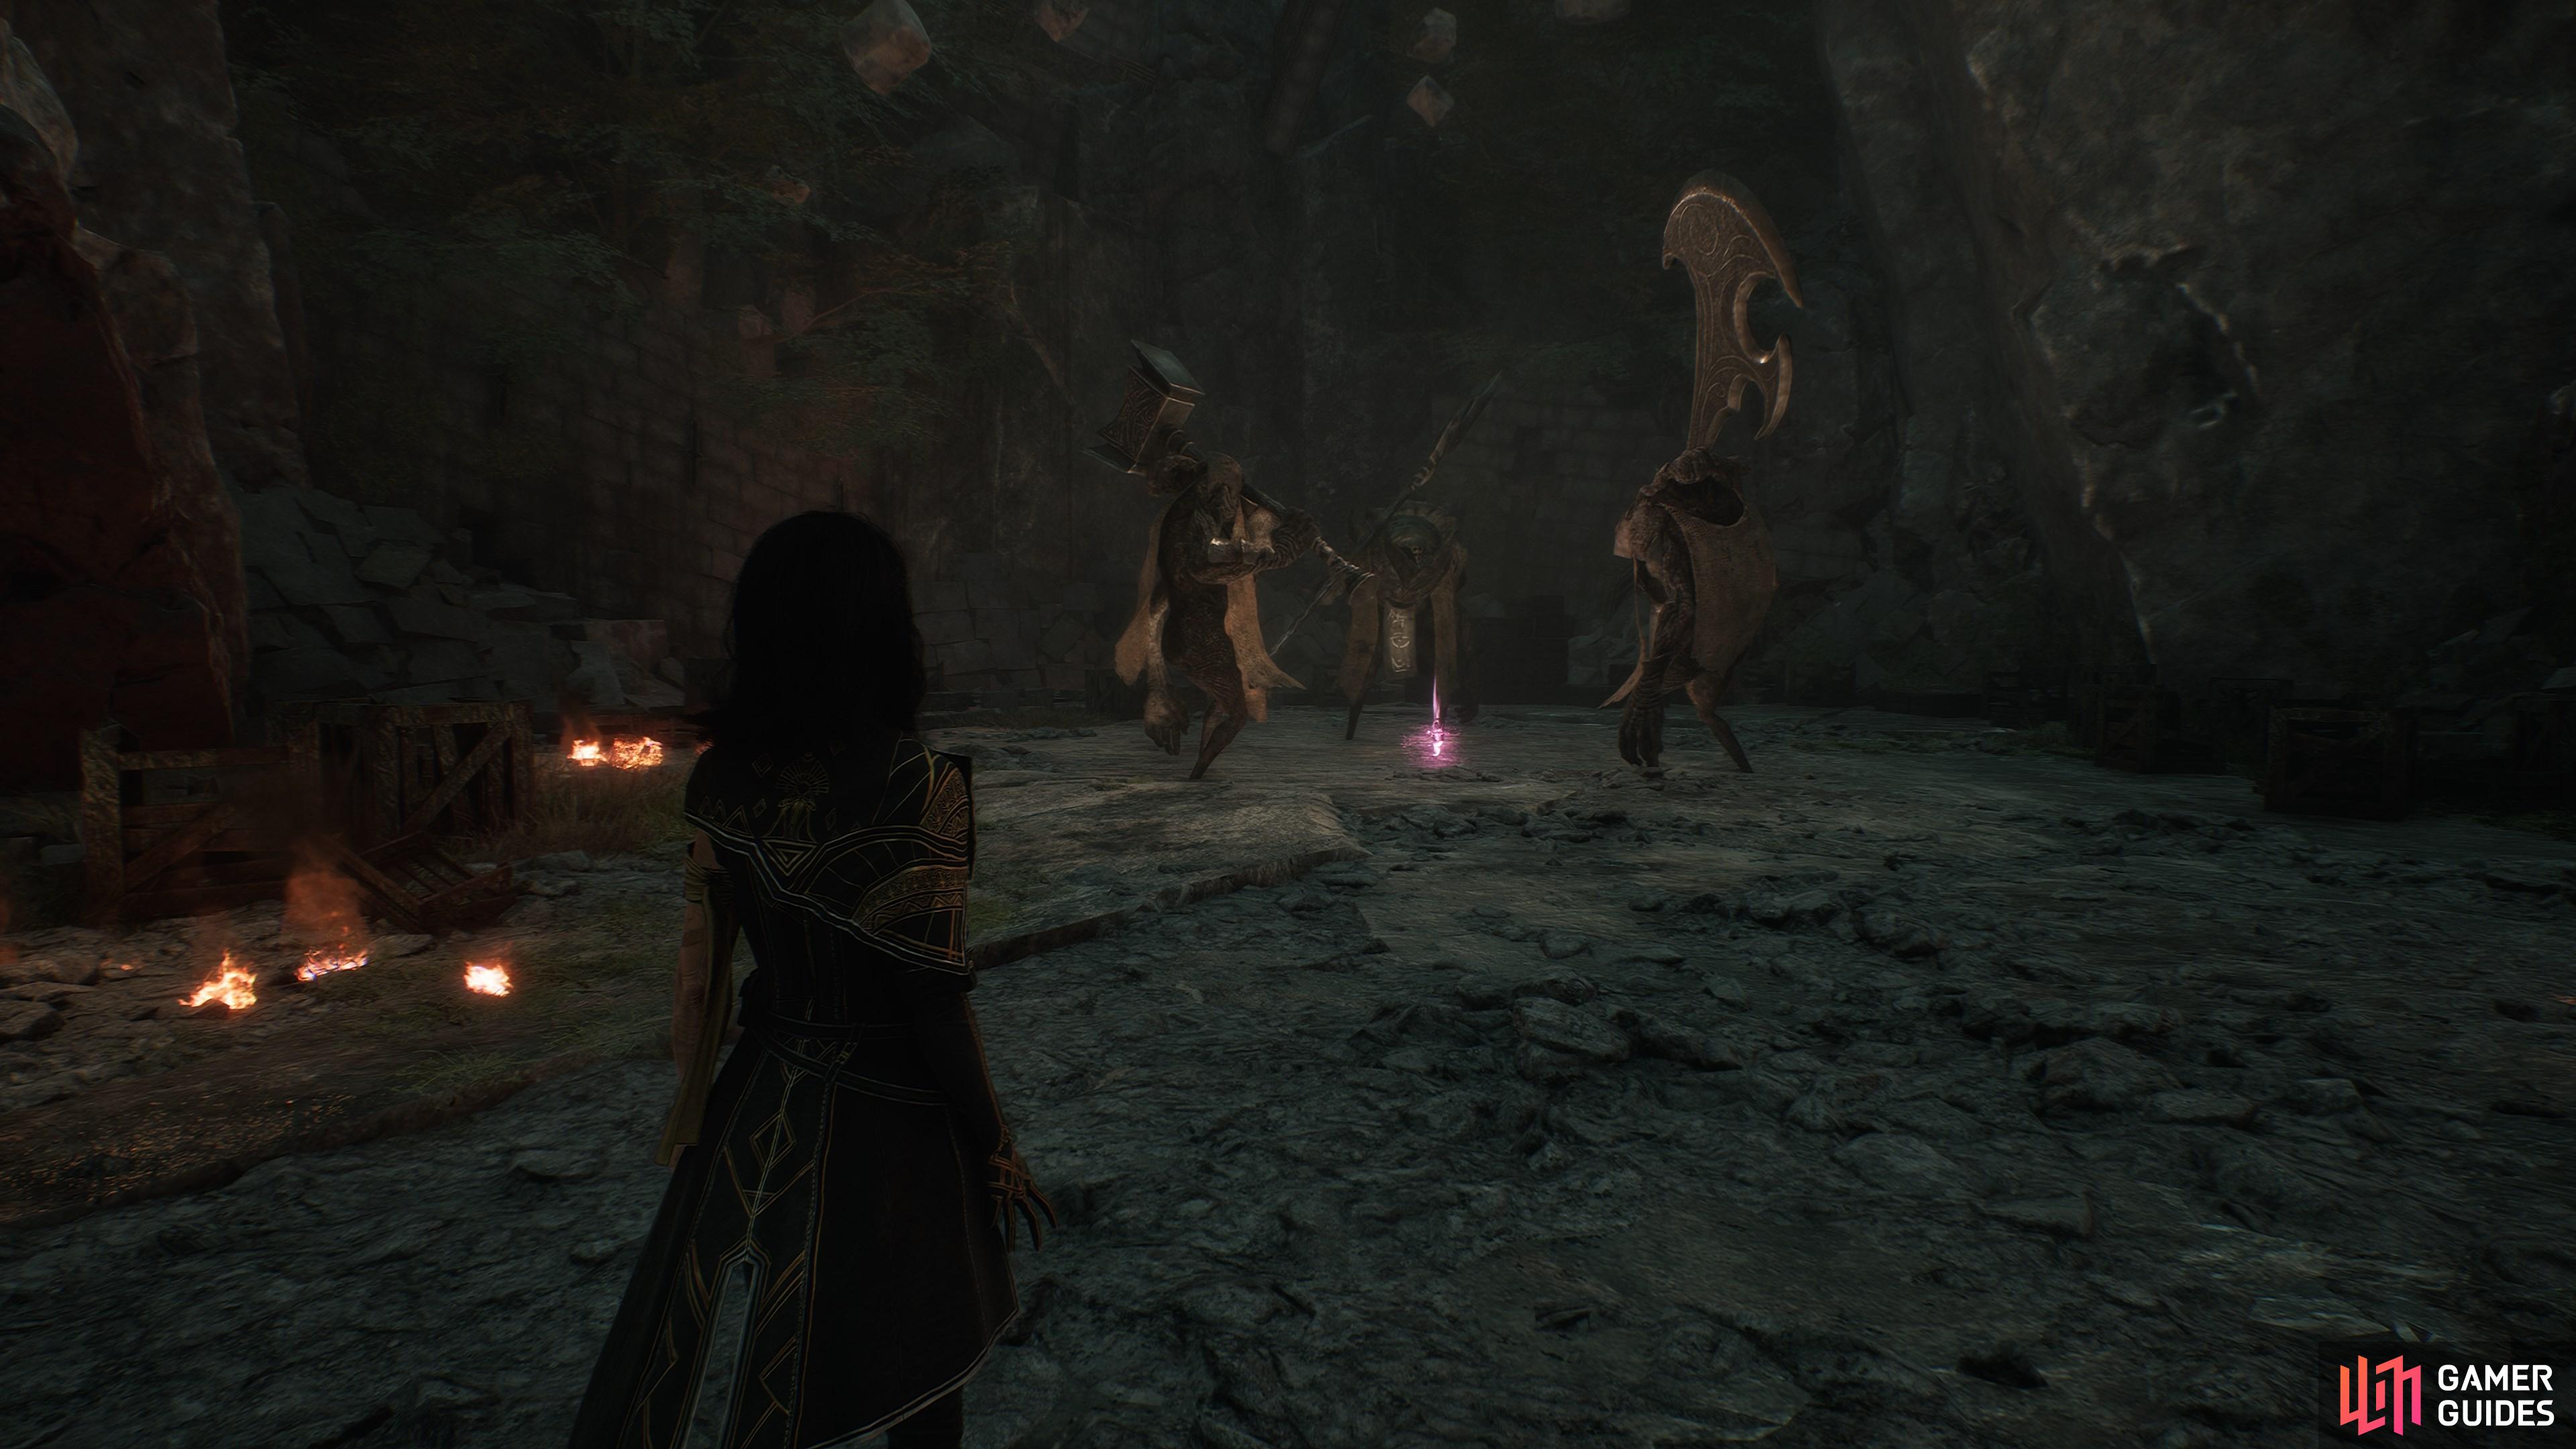
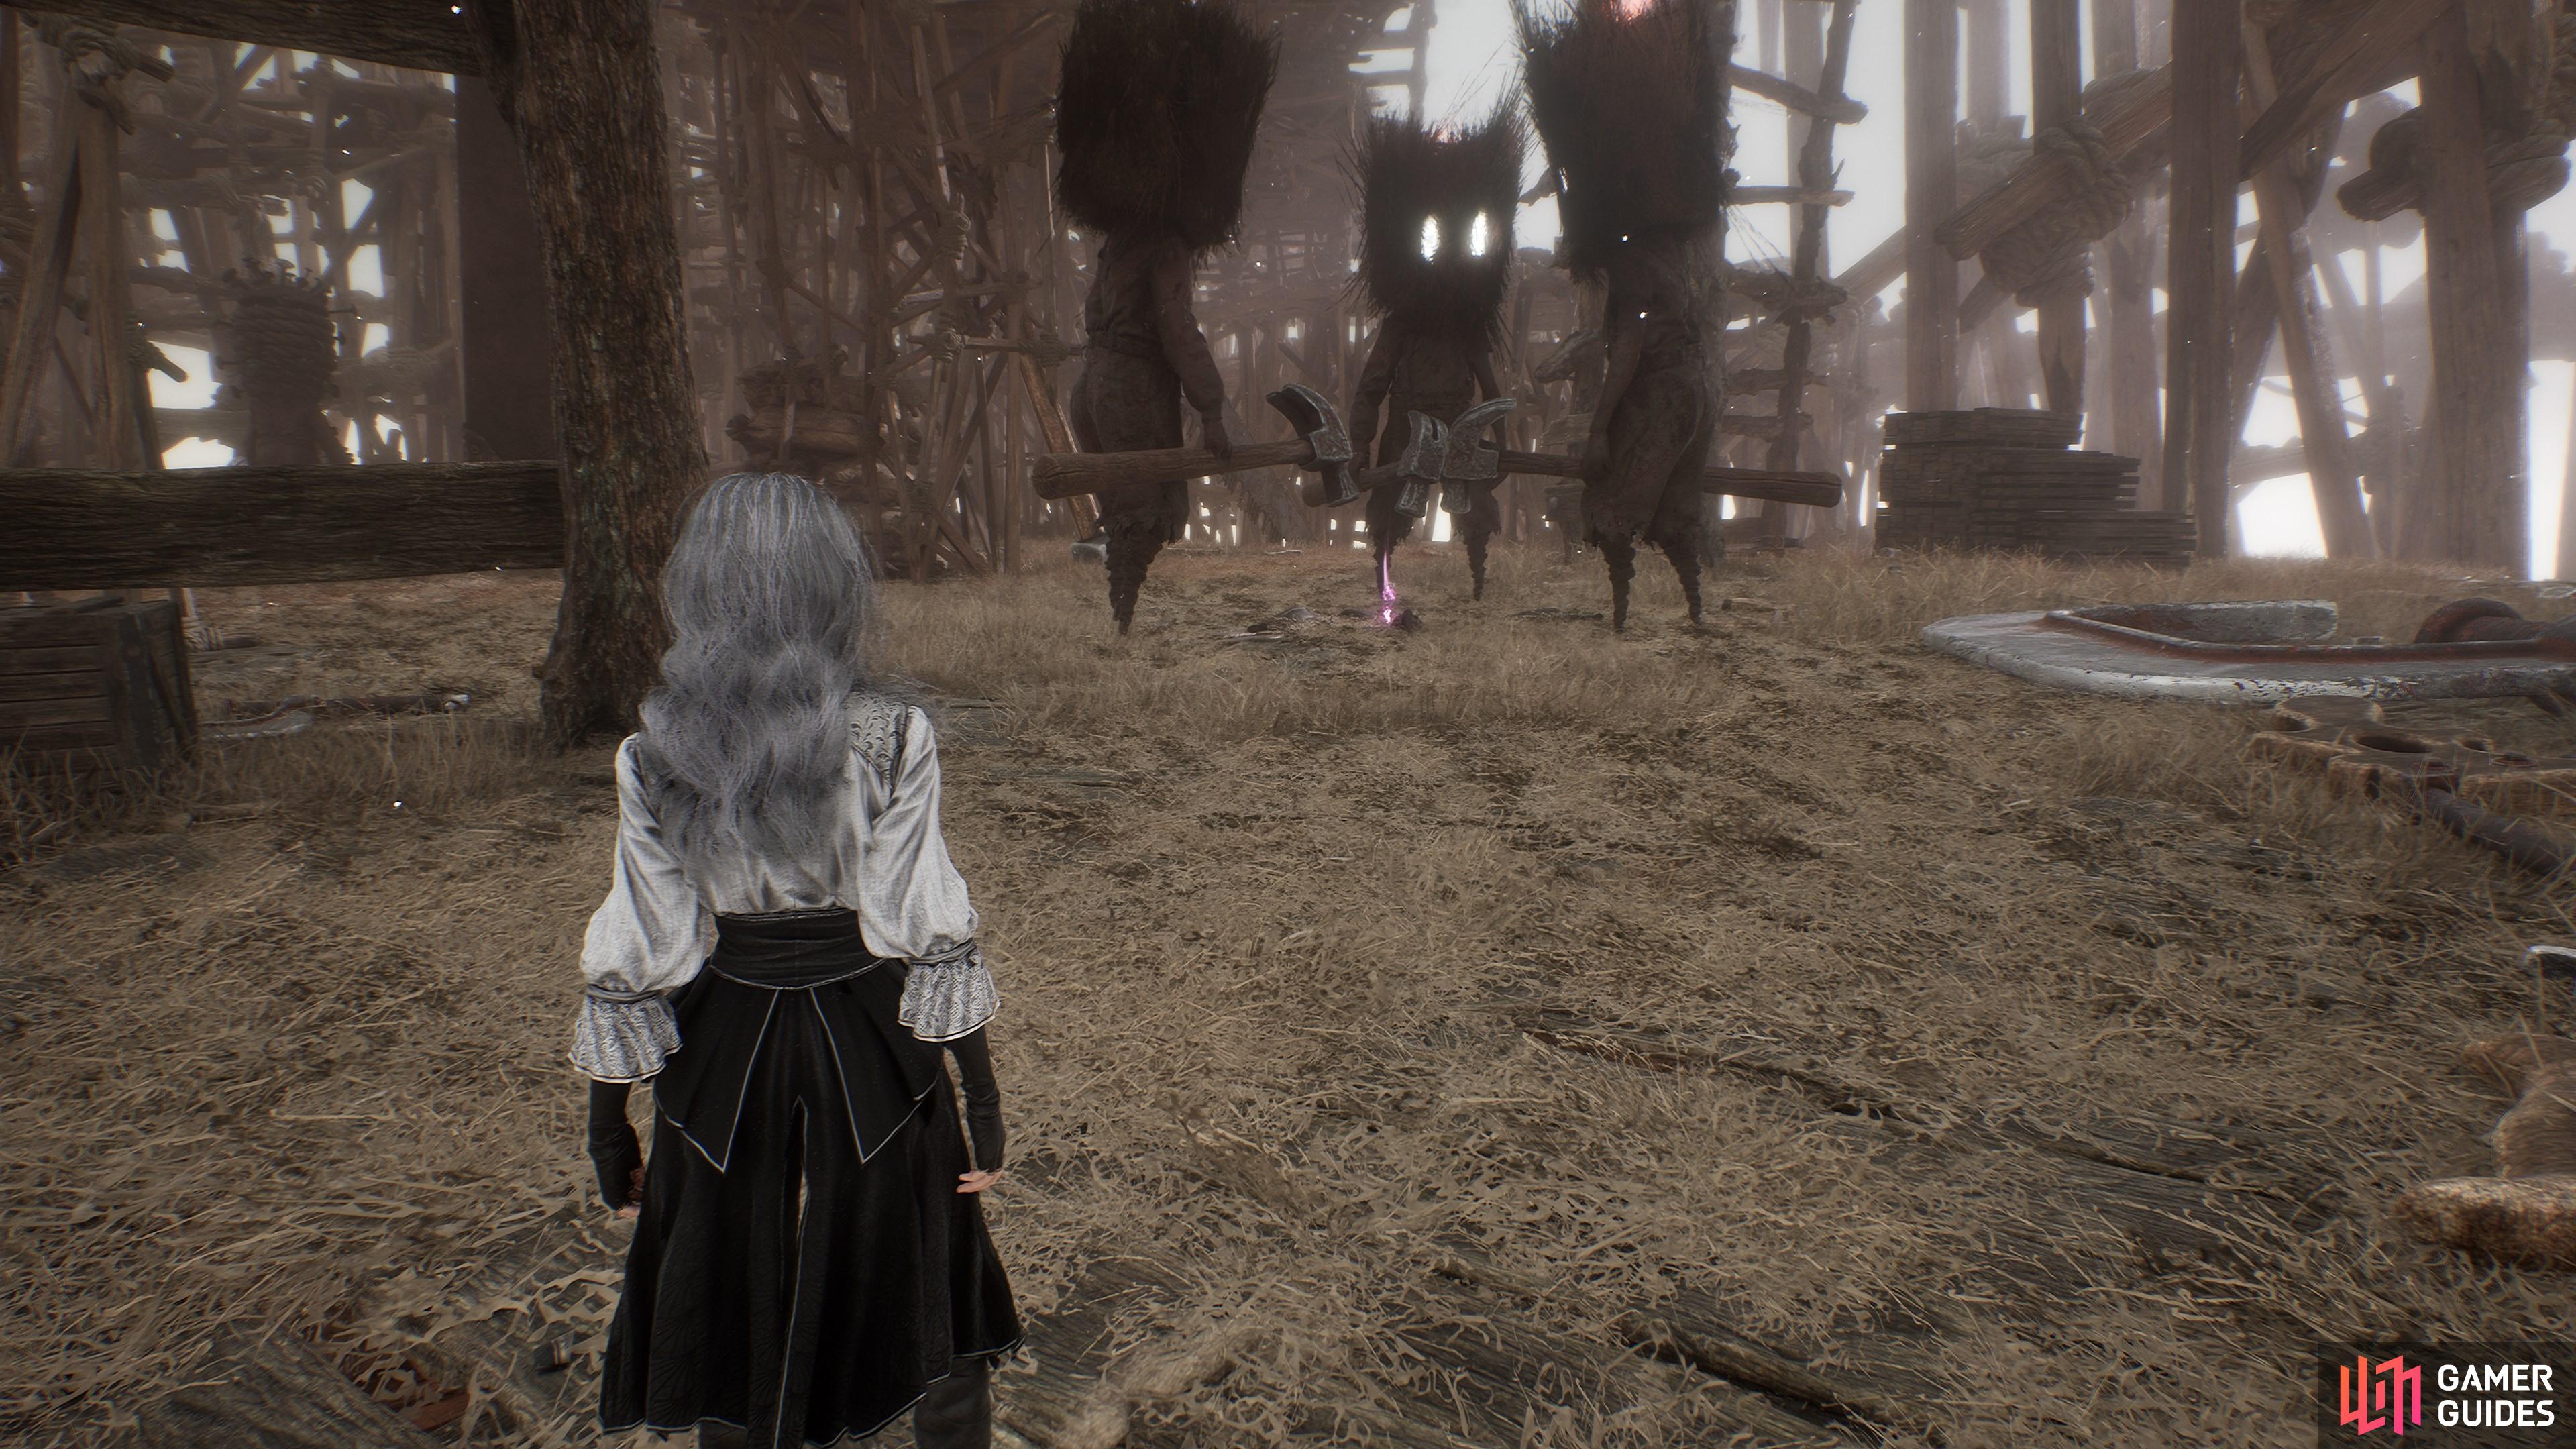
You’ll find these three fellas guarding this item in the area past the ![]() Fort Ruins flag. Show them who’s boss then grab the item.
Fort Ruins flag. Show them who’s boss then grab the item.
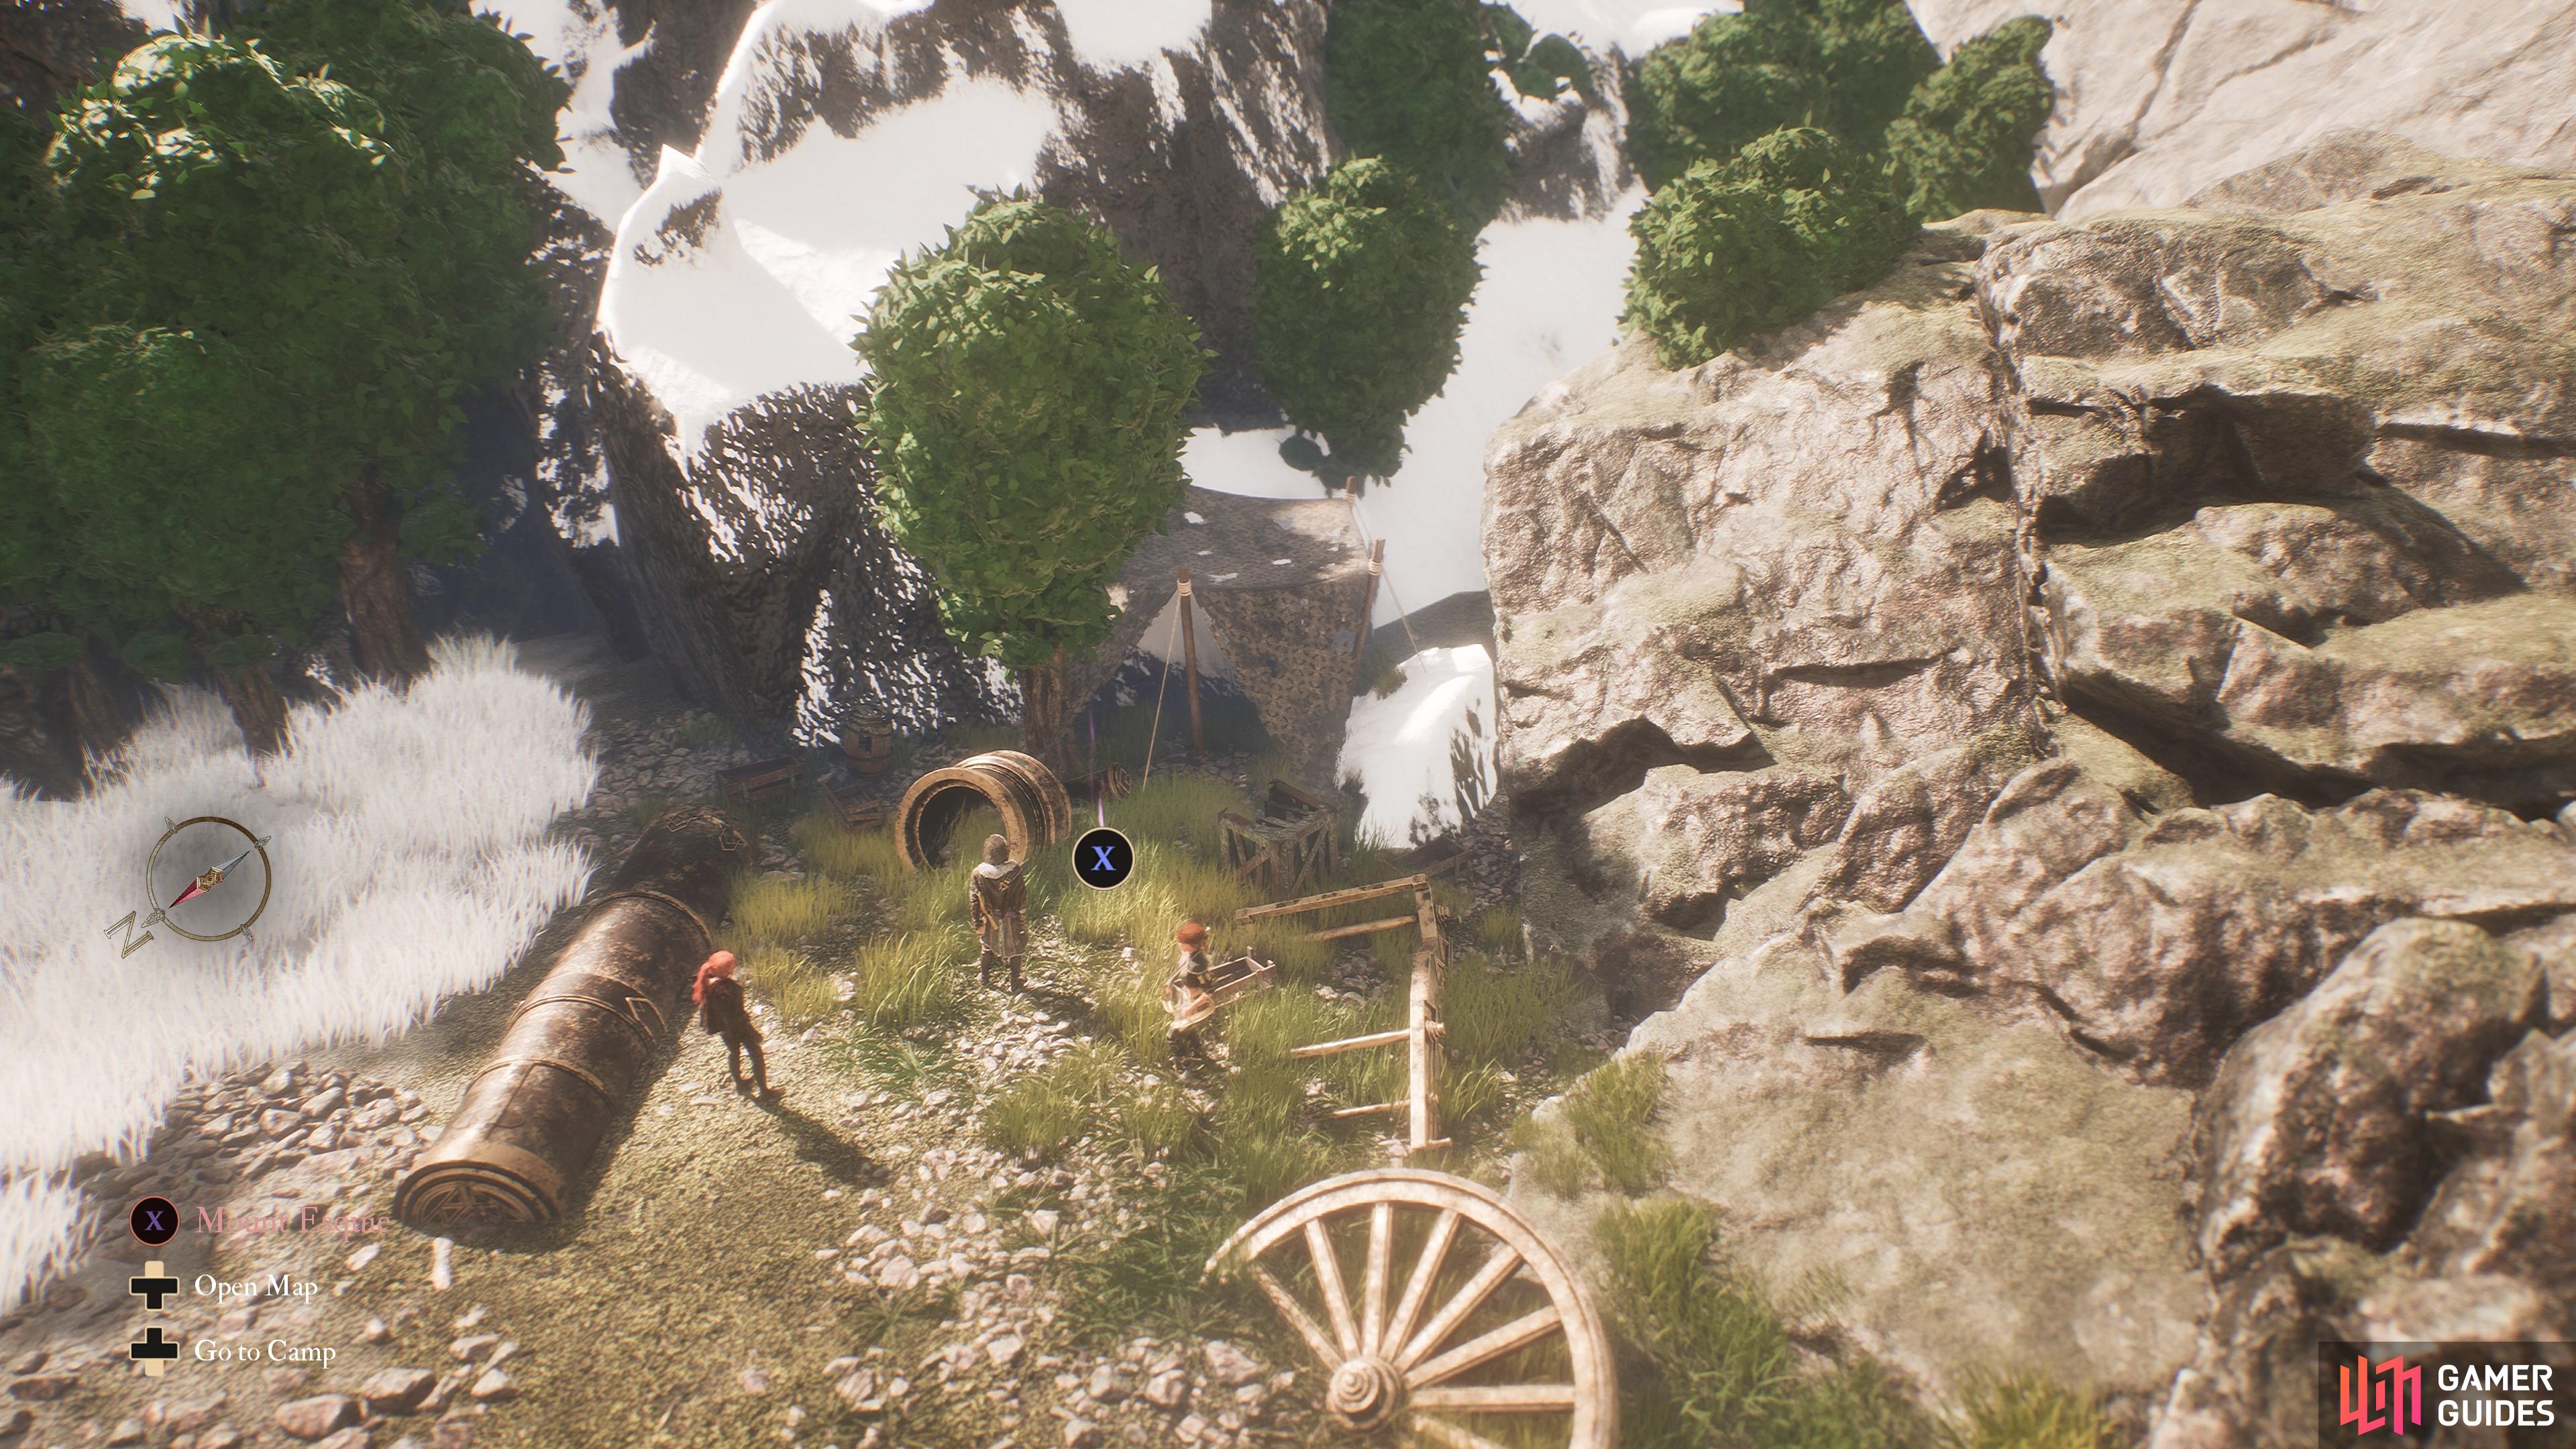
49. The Continent
Behind the raised platform with the cannon next to the ![]() Battlefield flag.
Battlefield flag.
50. The Continent
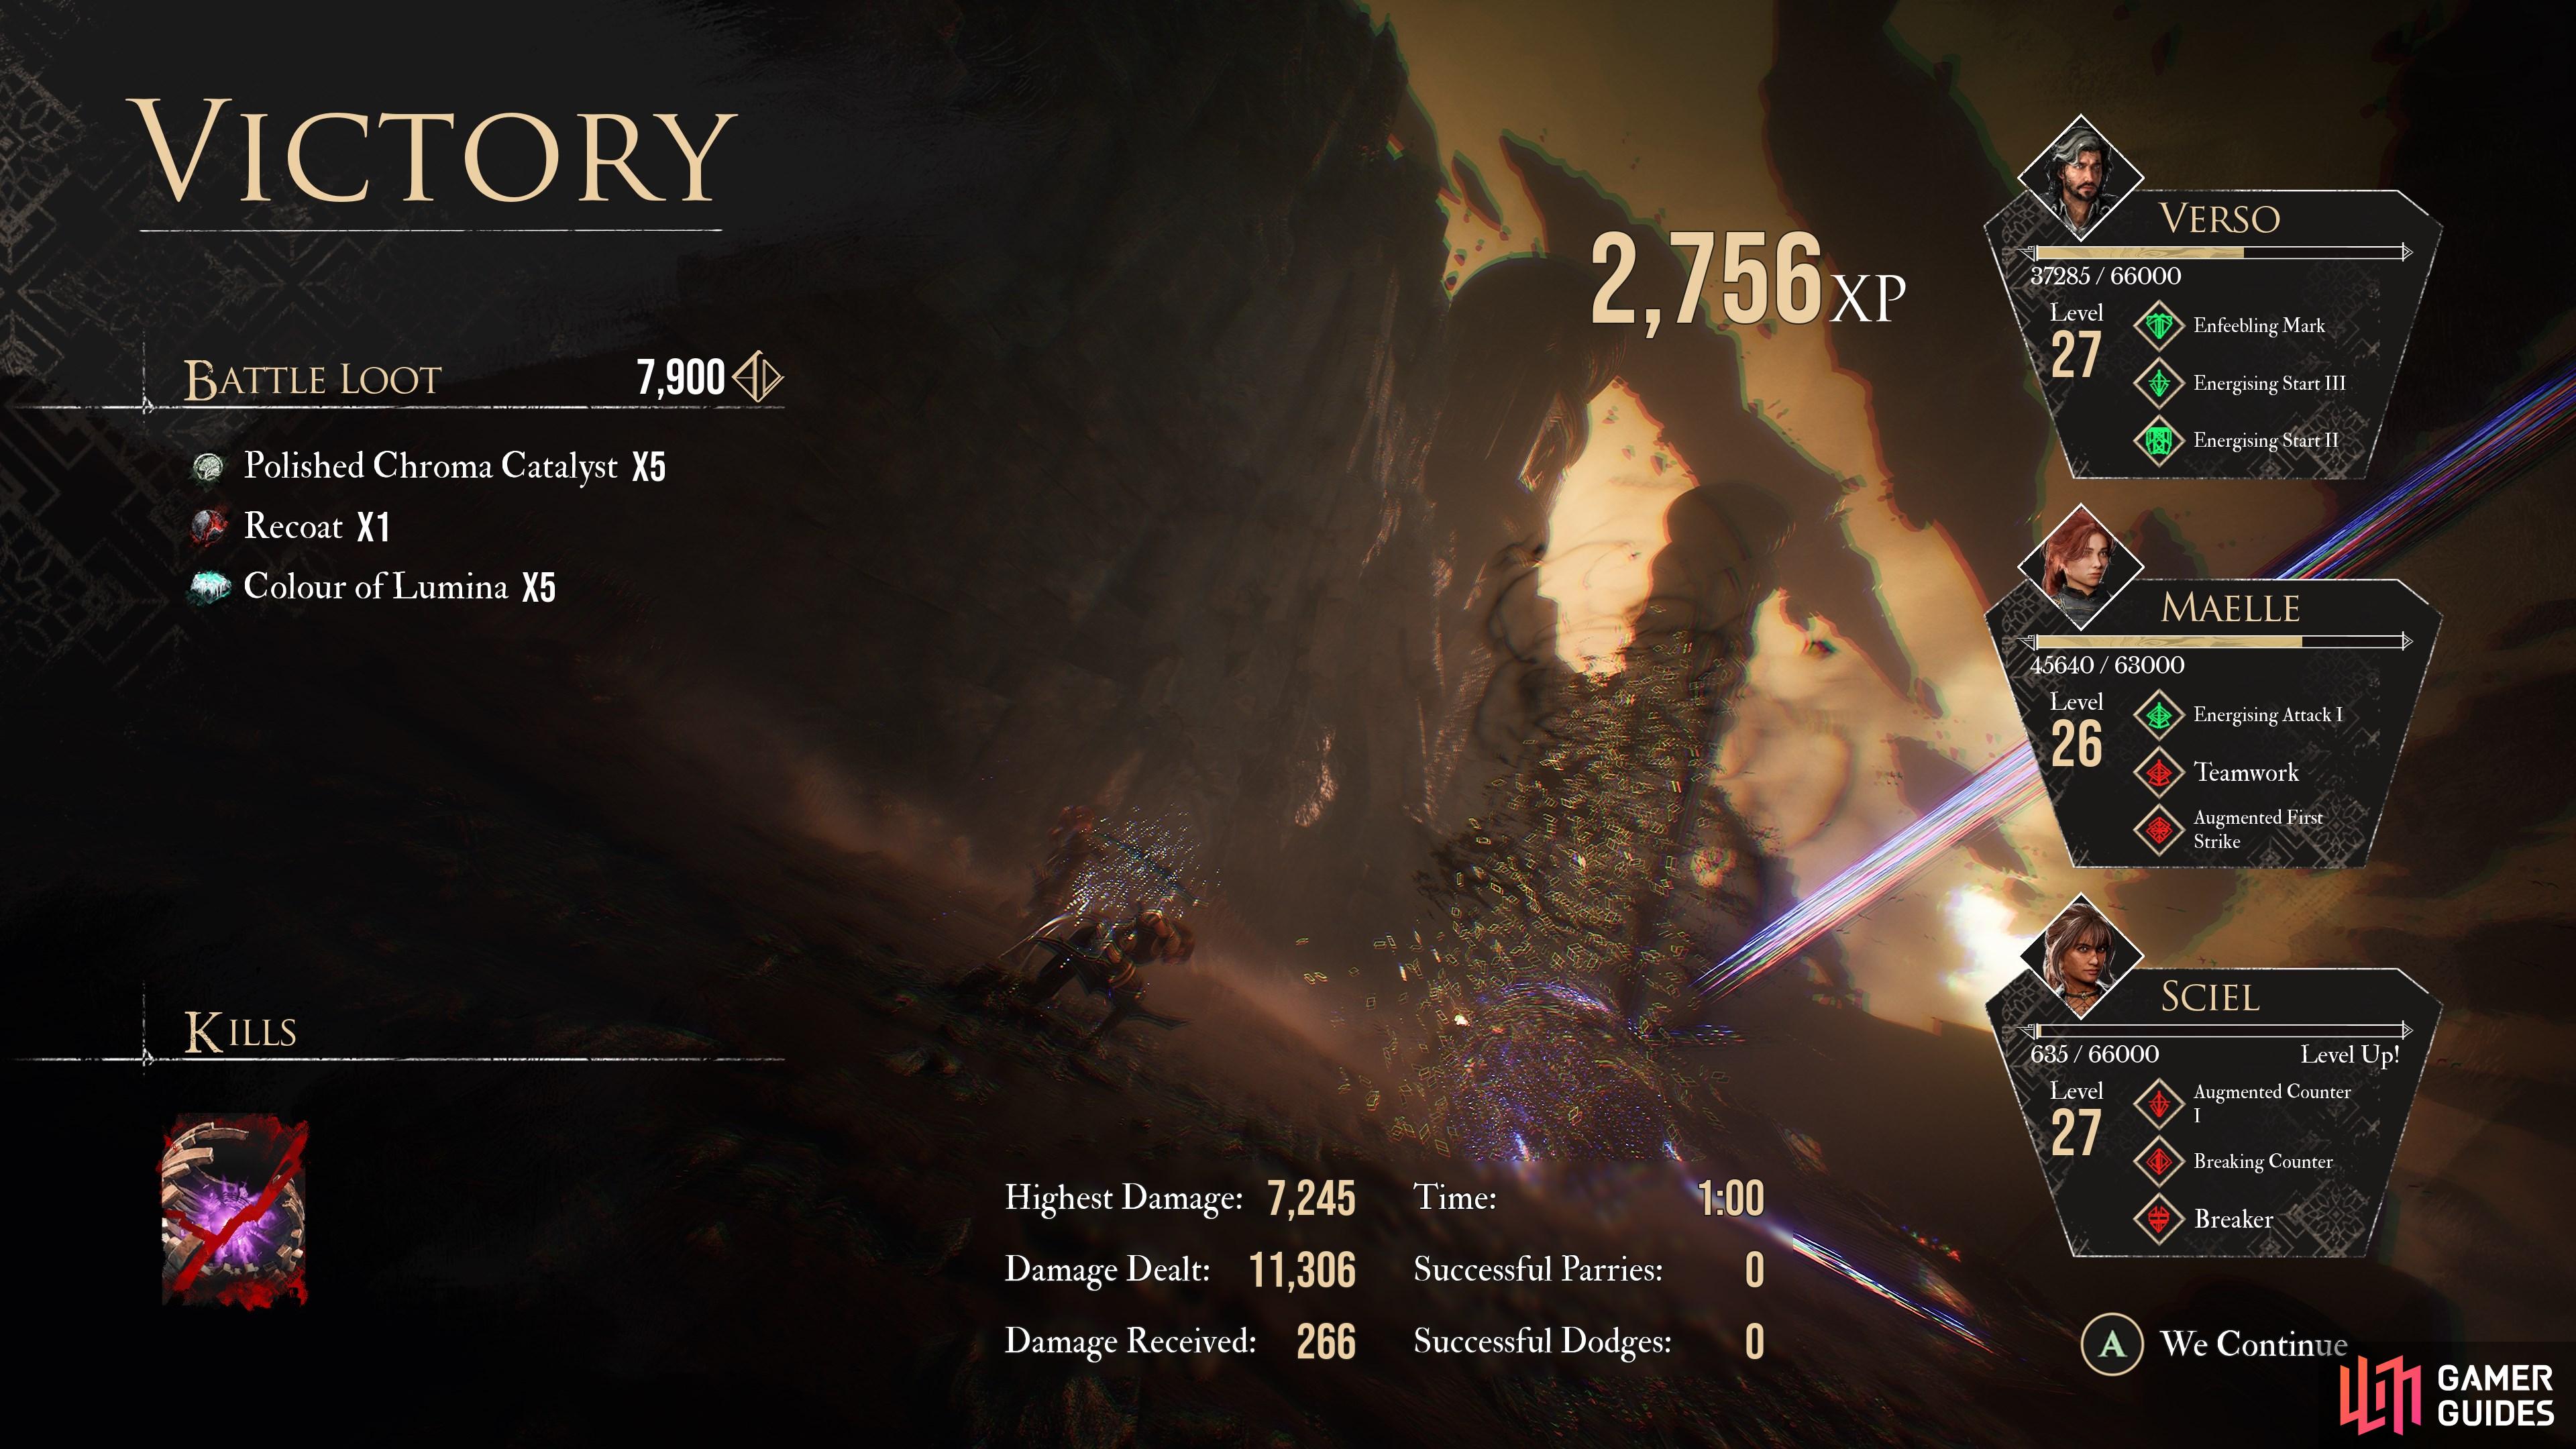
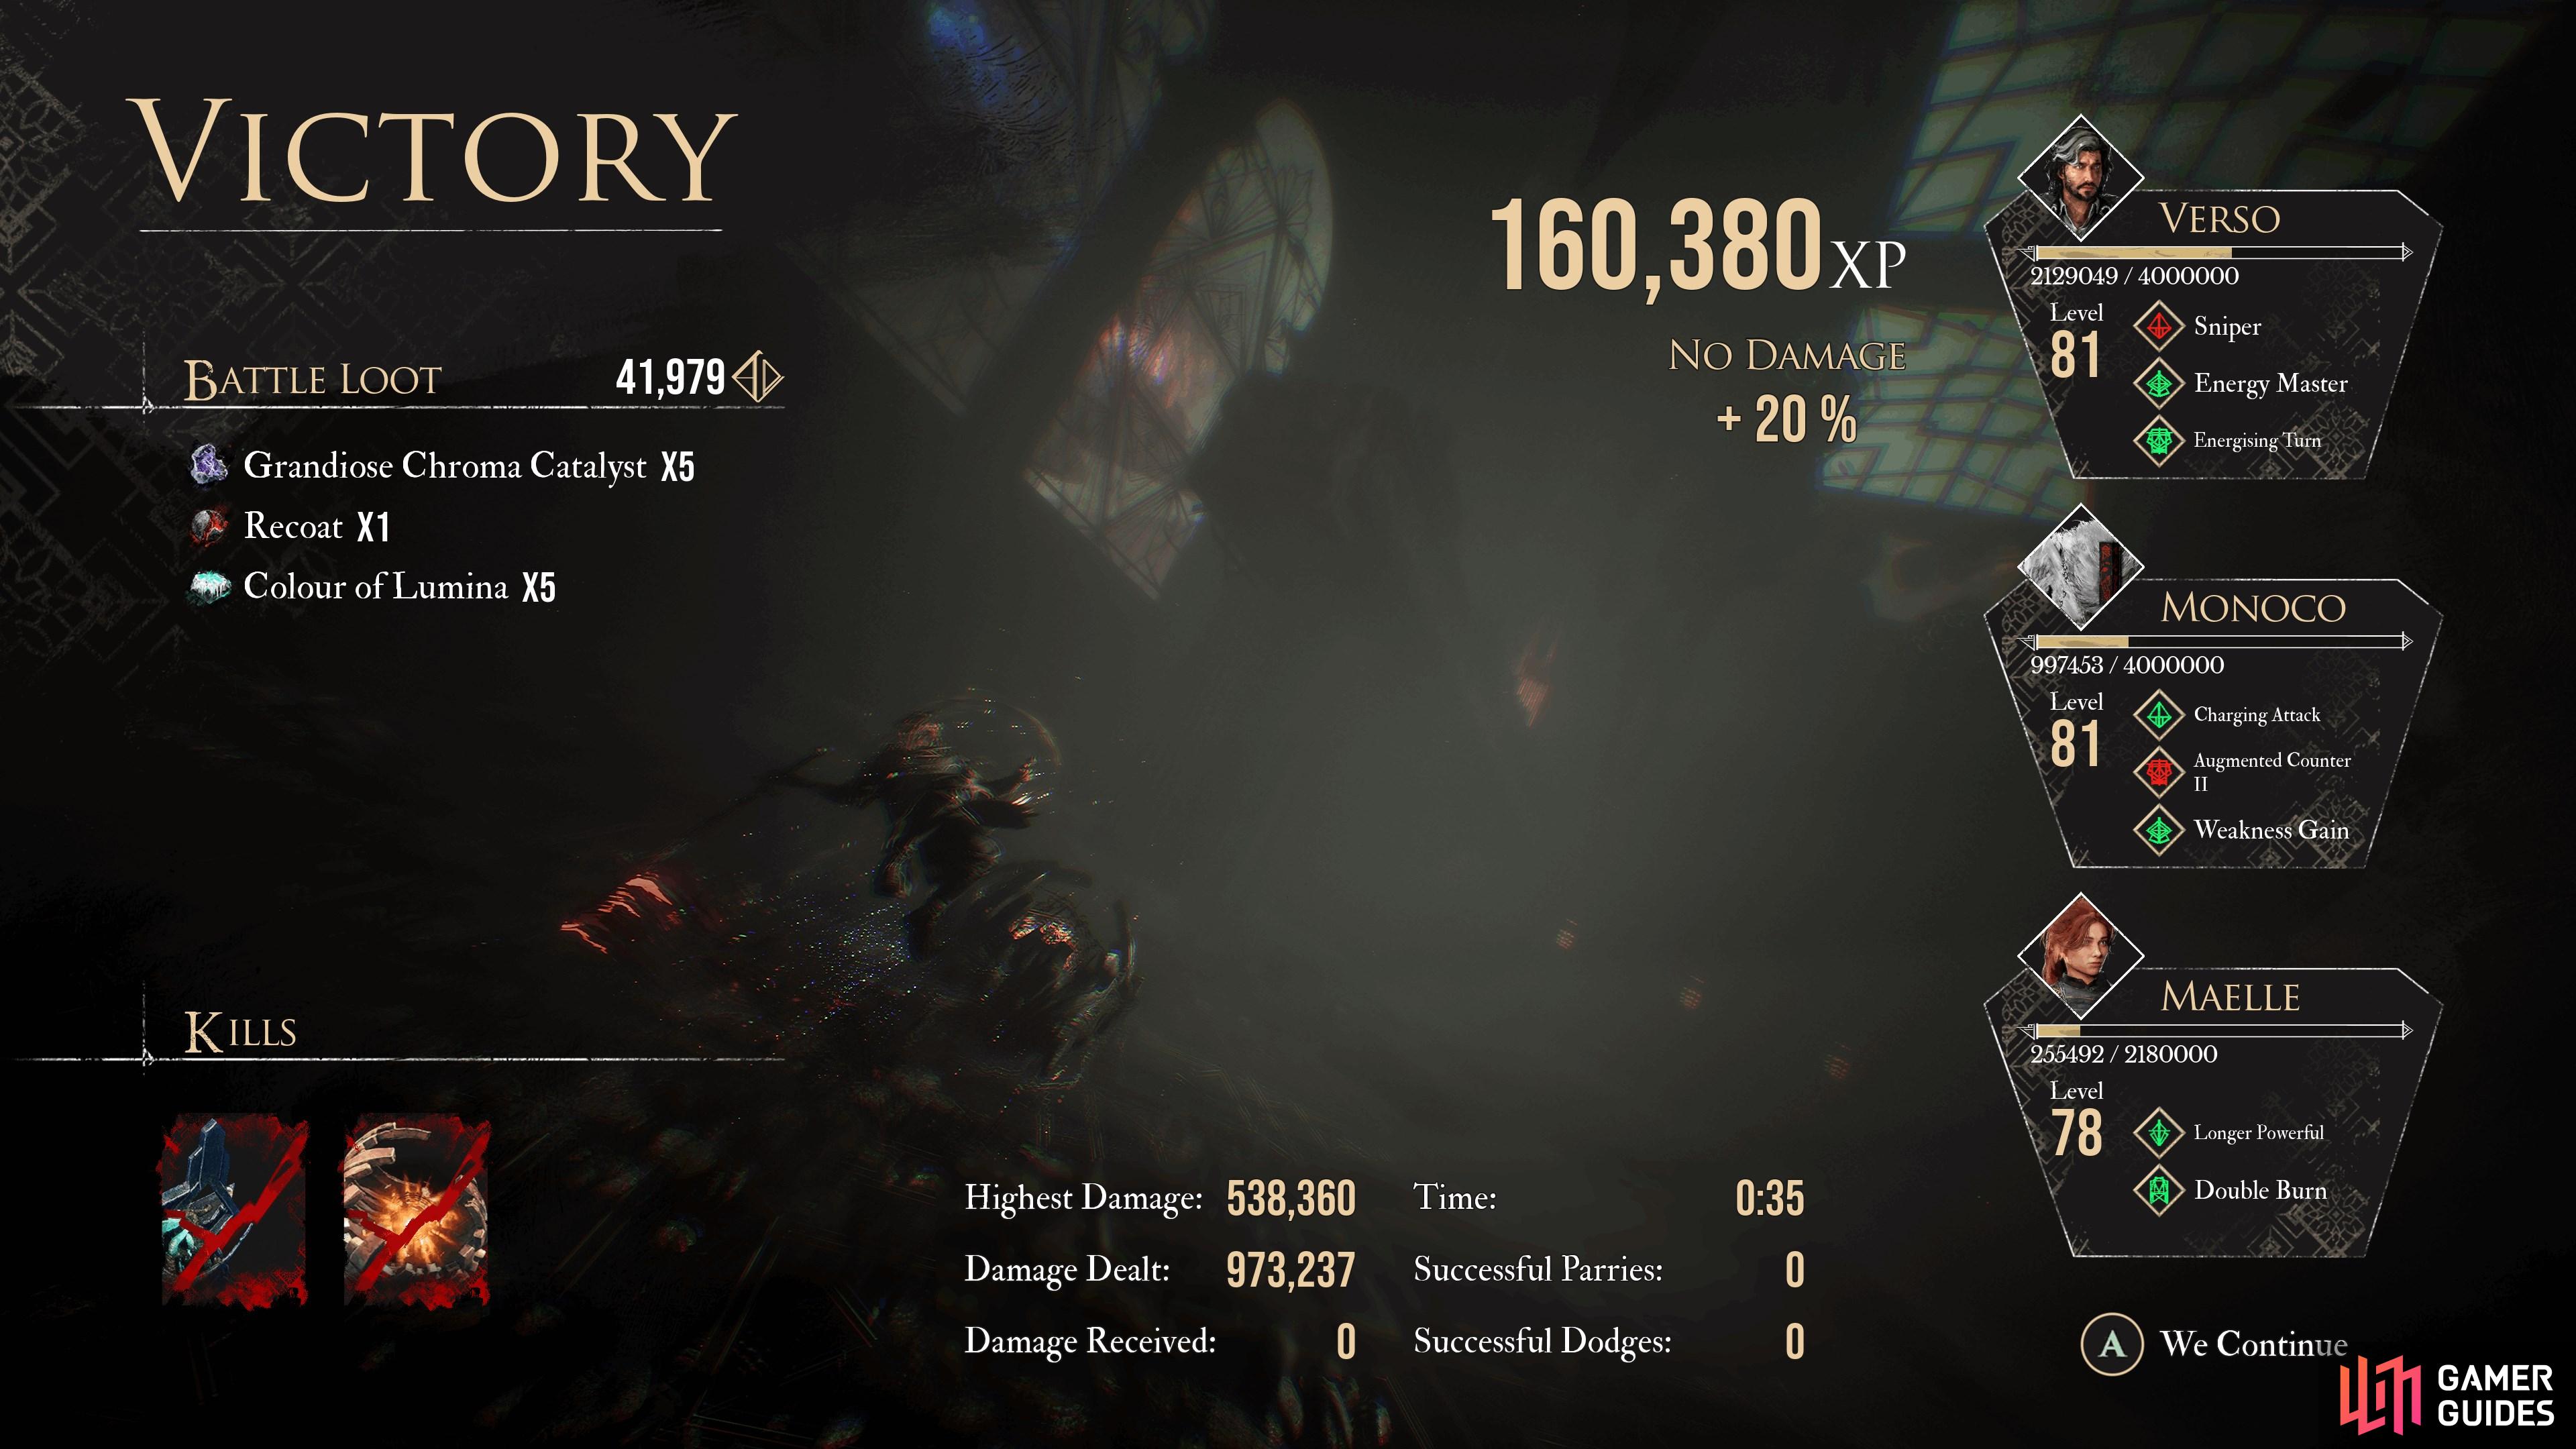
Five in Battle Loot from the Petank found near the ![]() Battlefield Flag.
Battlefield Flag.
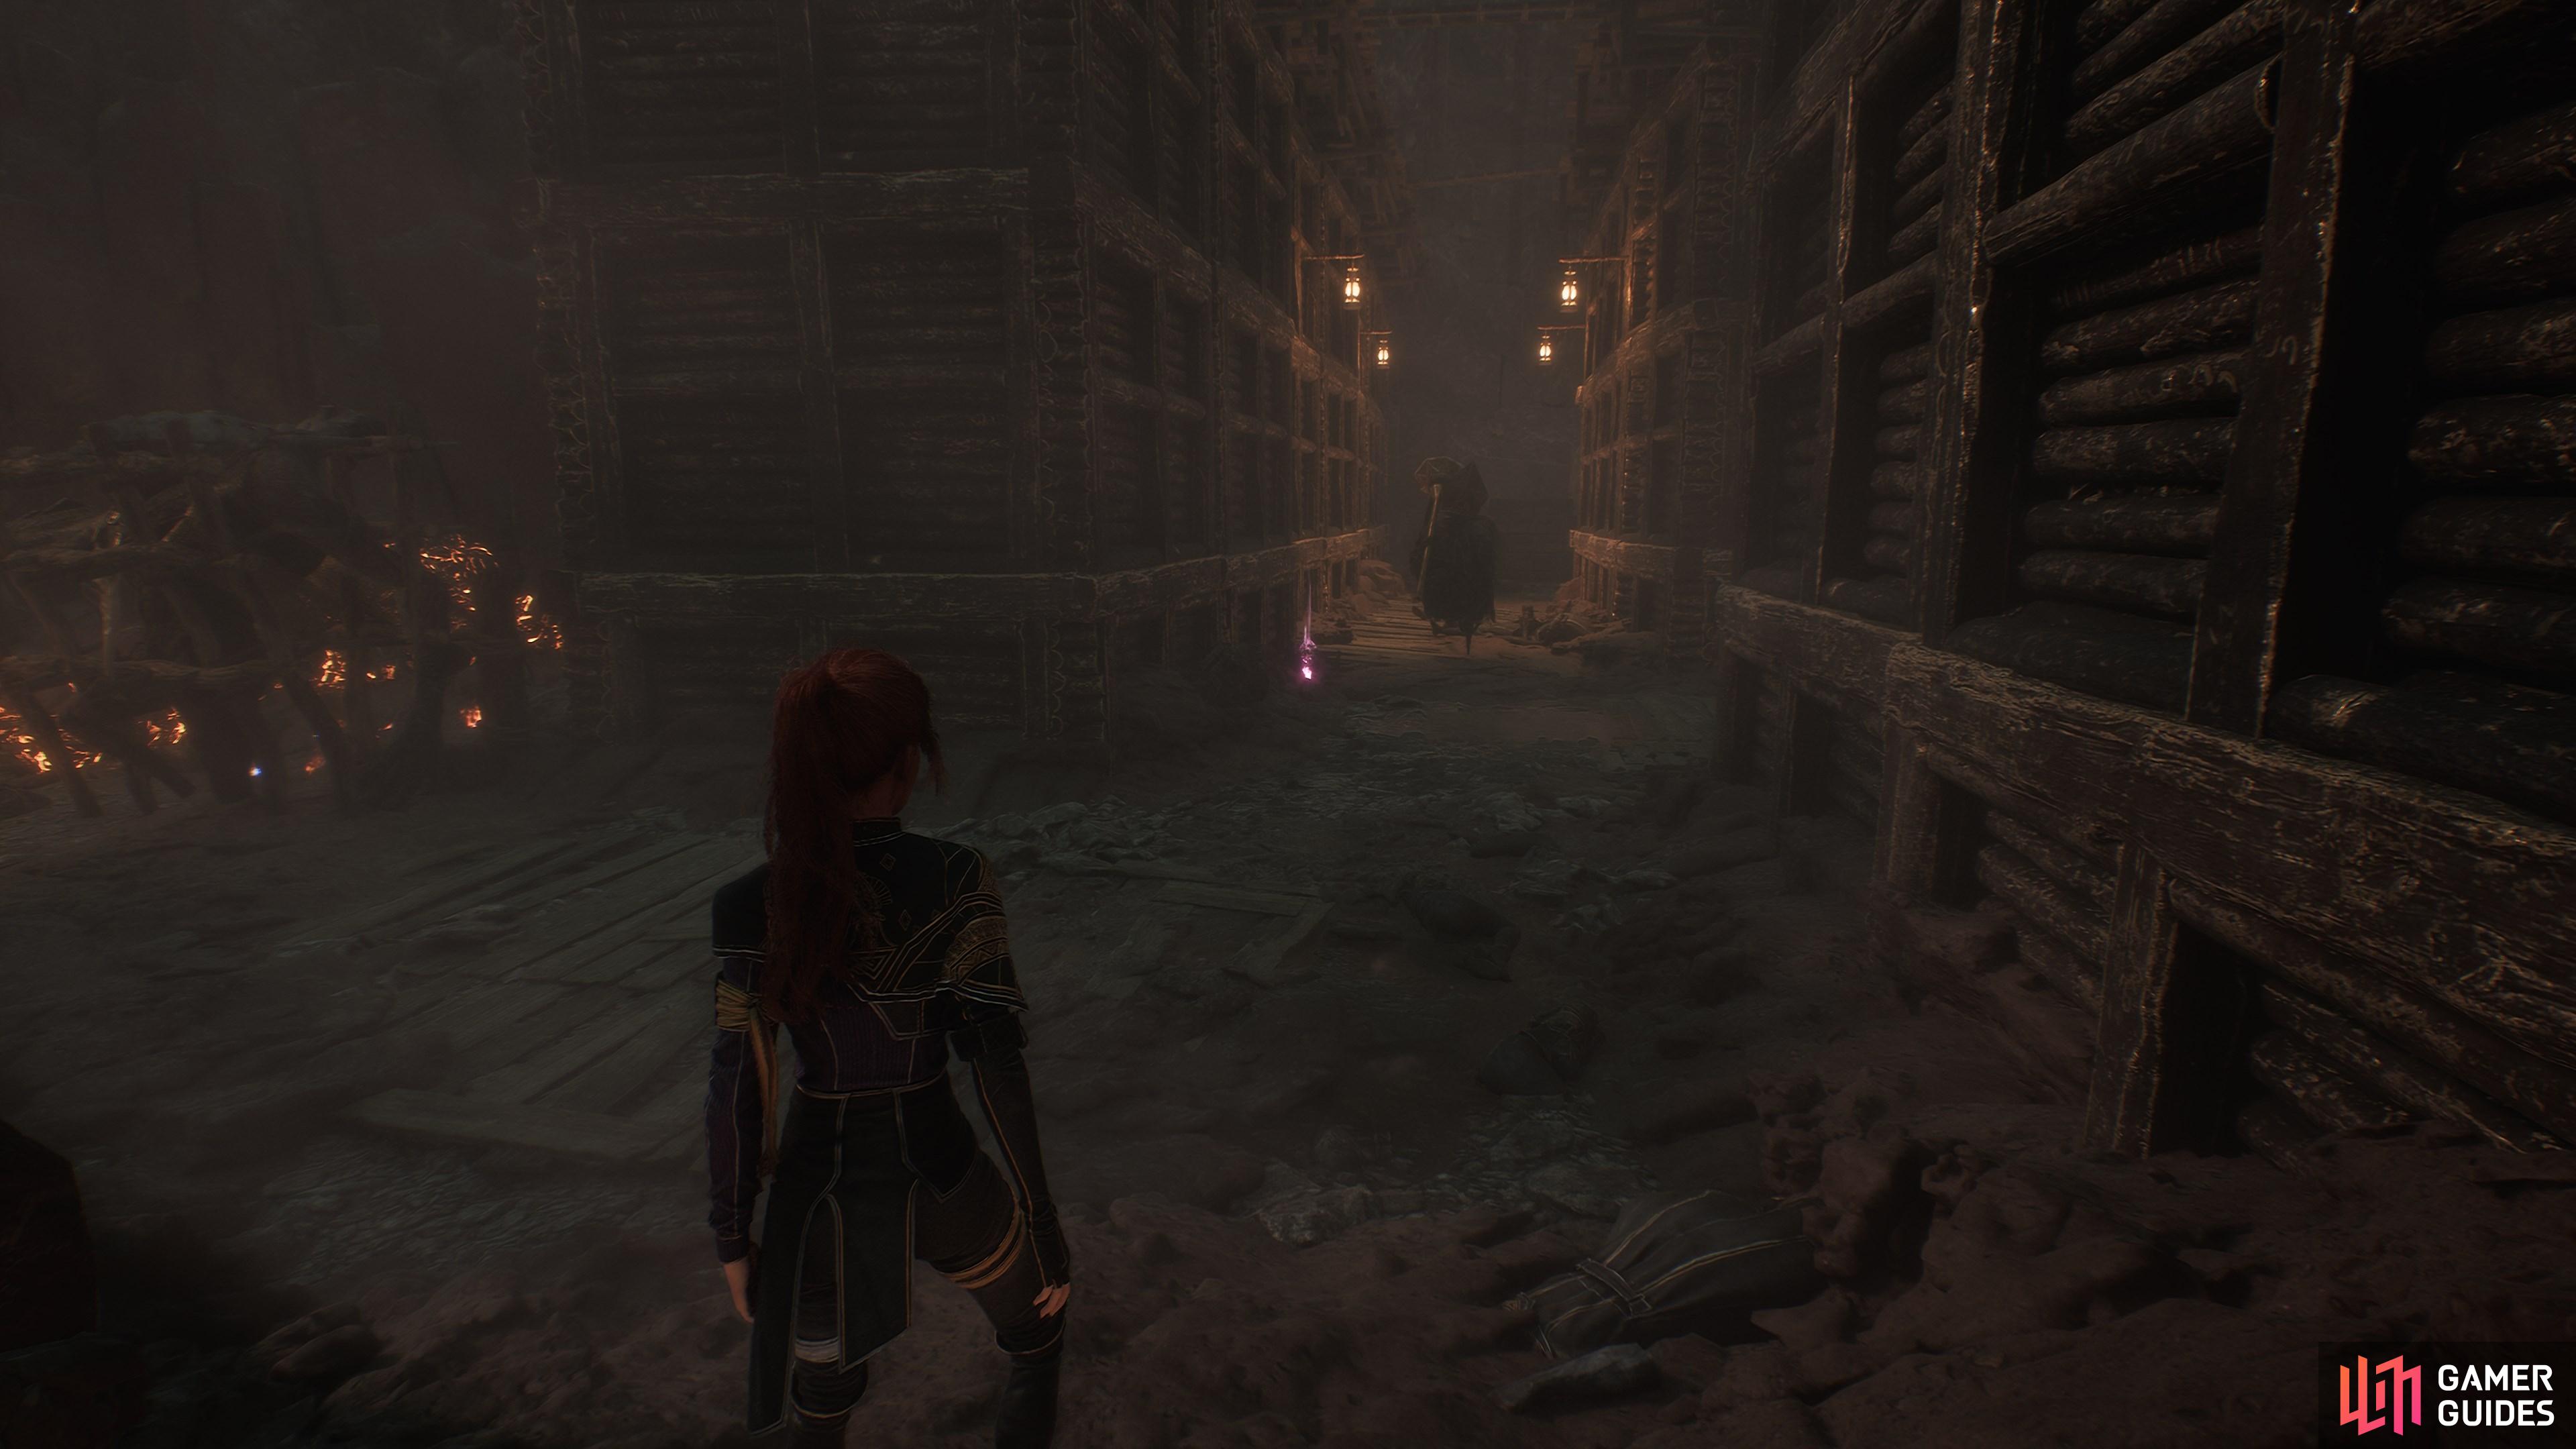
51. The Continent
Turn right at the Fading Woman and go into the trench to find this item.
53. The Continent
After defeating the ![]() Dualliste, climb the rope, but before you climb the second one, look for this item behind the small crawlspace in the wall.
Dualliste, climb the rope, but before you climb the second one, look for this item behind the small crawlspace in the wall.
54. The Continent
Climb up from underneath the destroyed bridge after your battle with the ![]() Dualliste, then look for this hidden behind a rock after you emerge.
Dualliste, then look for this hidden behind a rock after you emerge.

61. The Continent
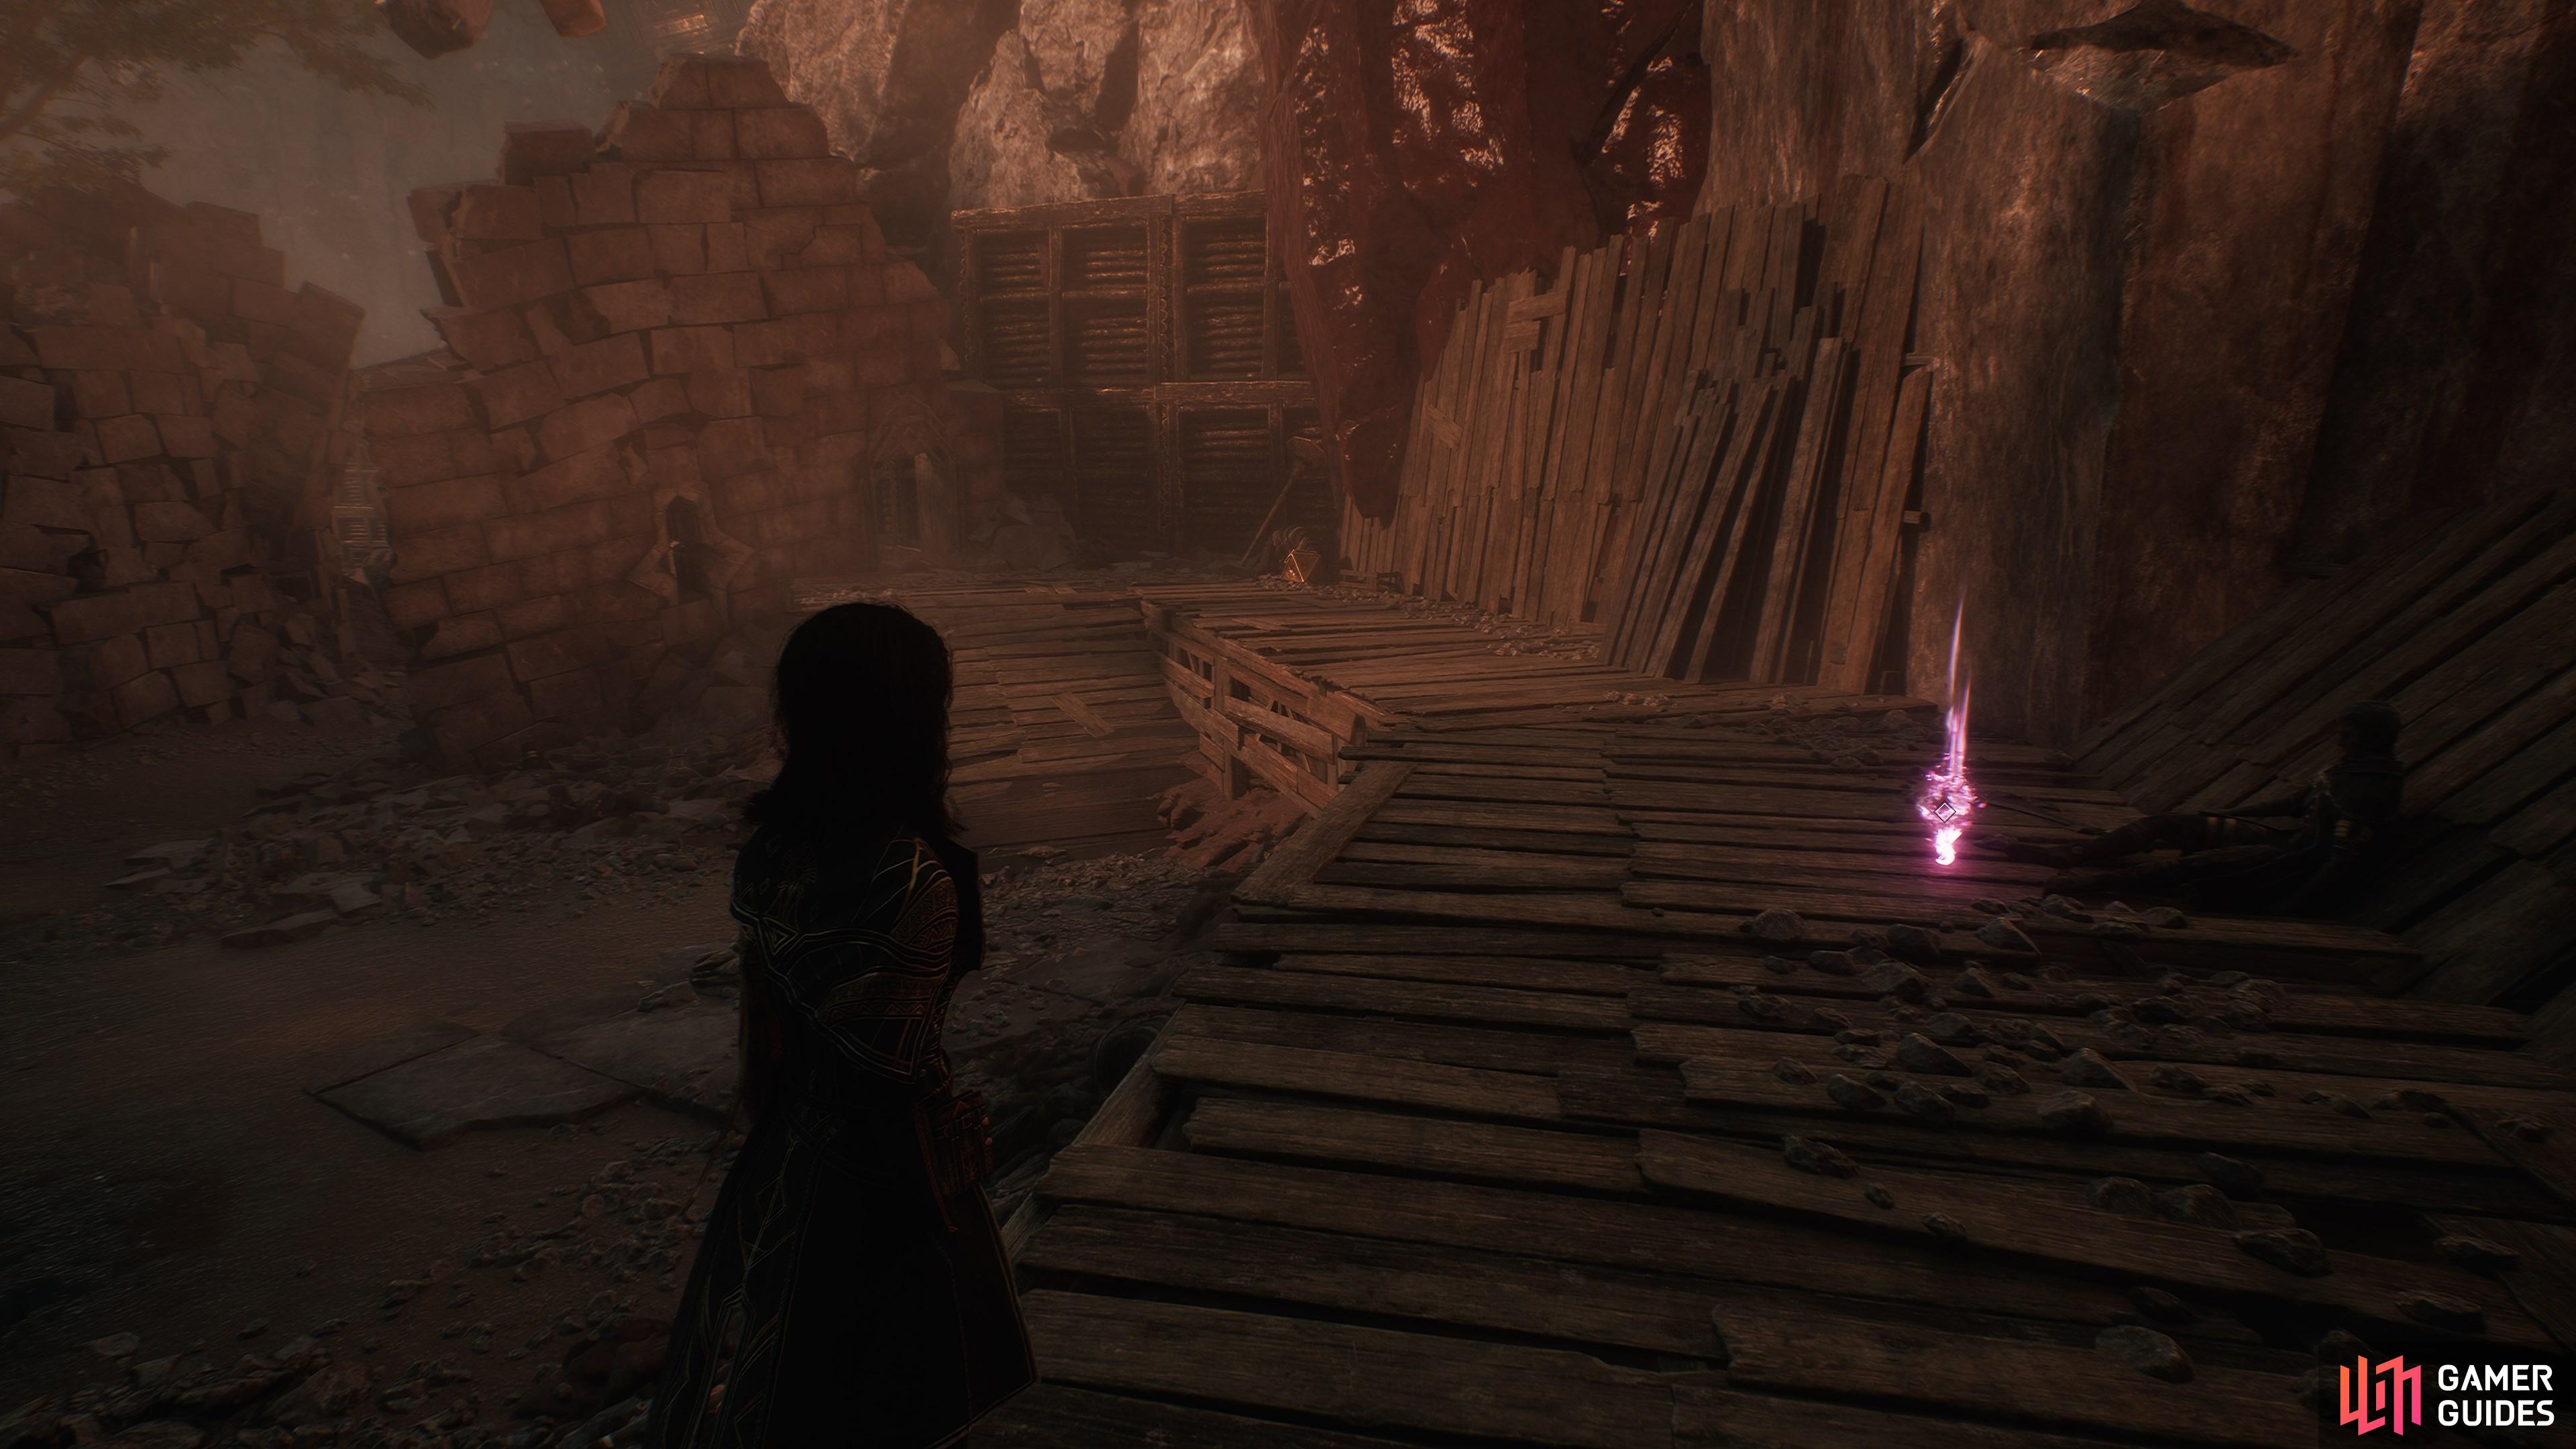
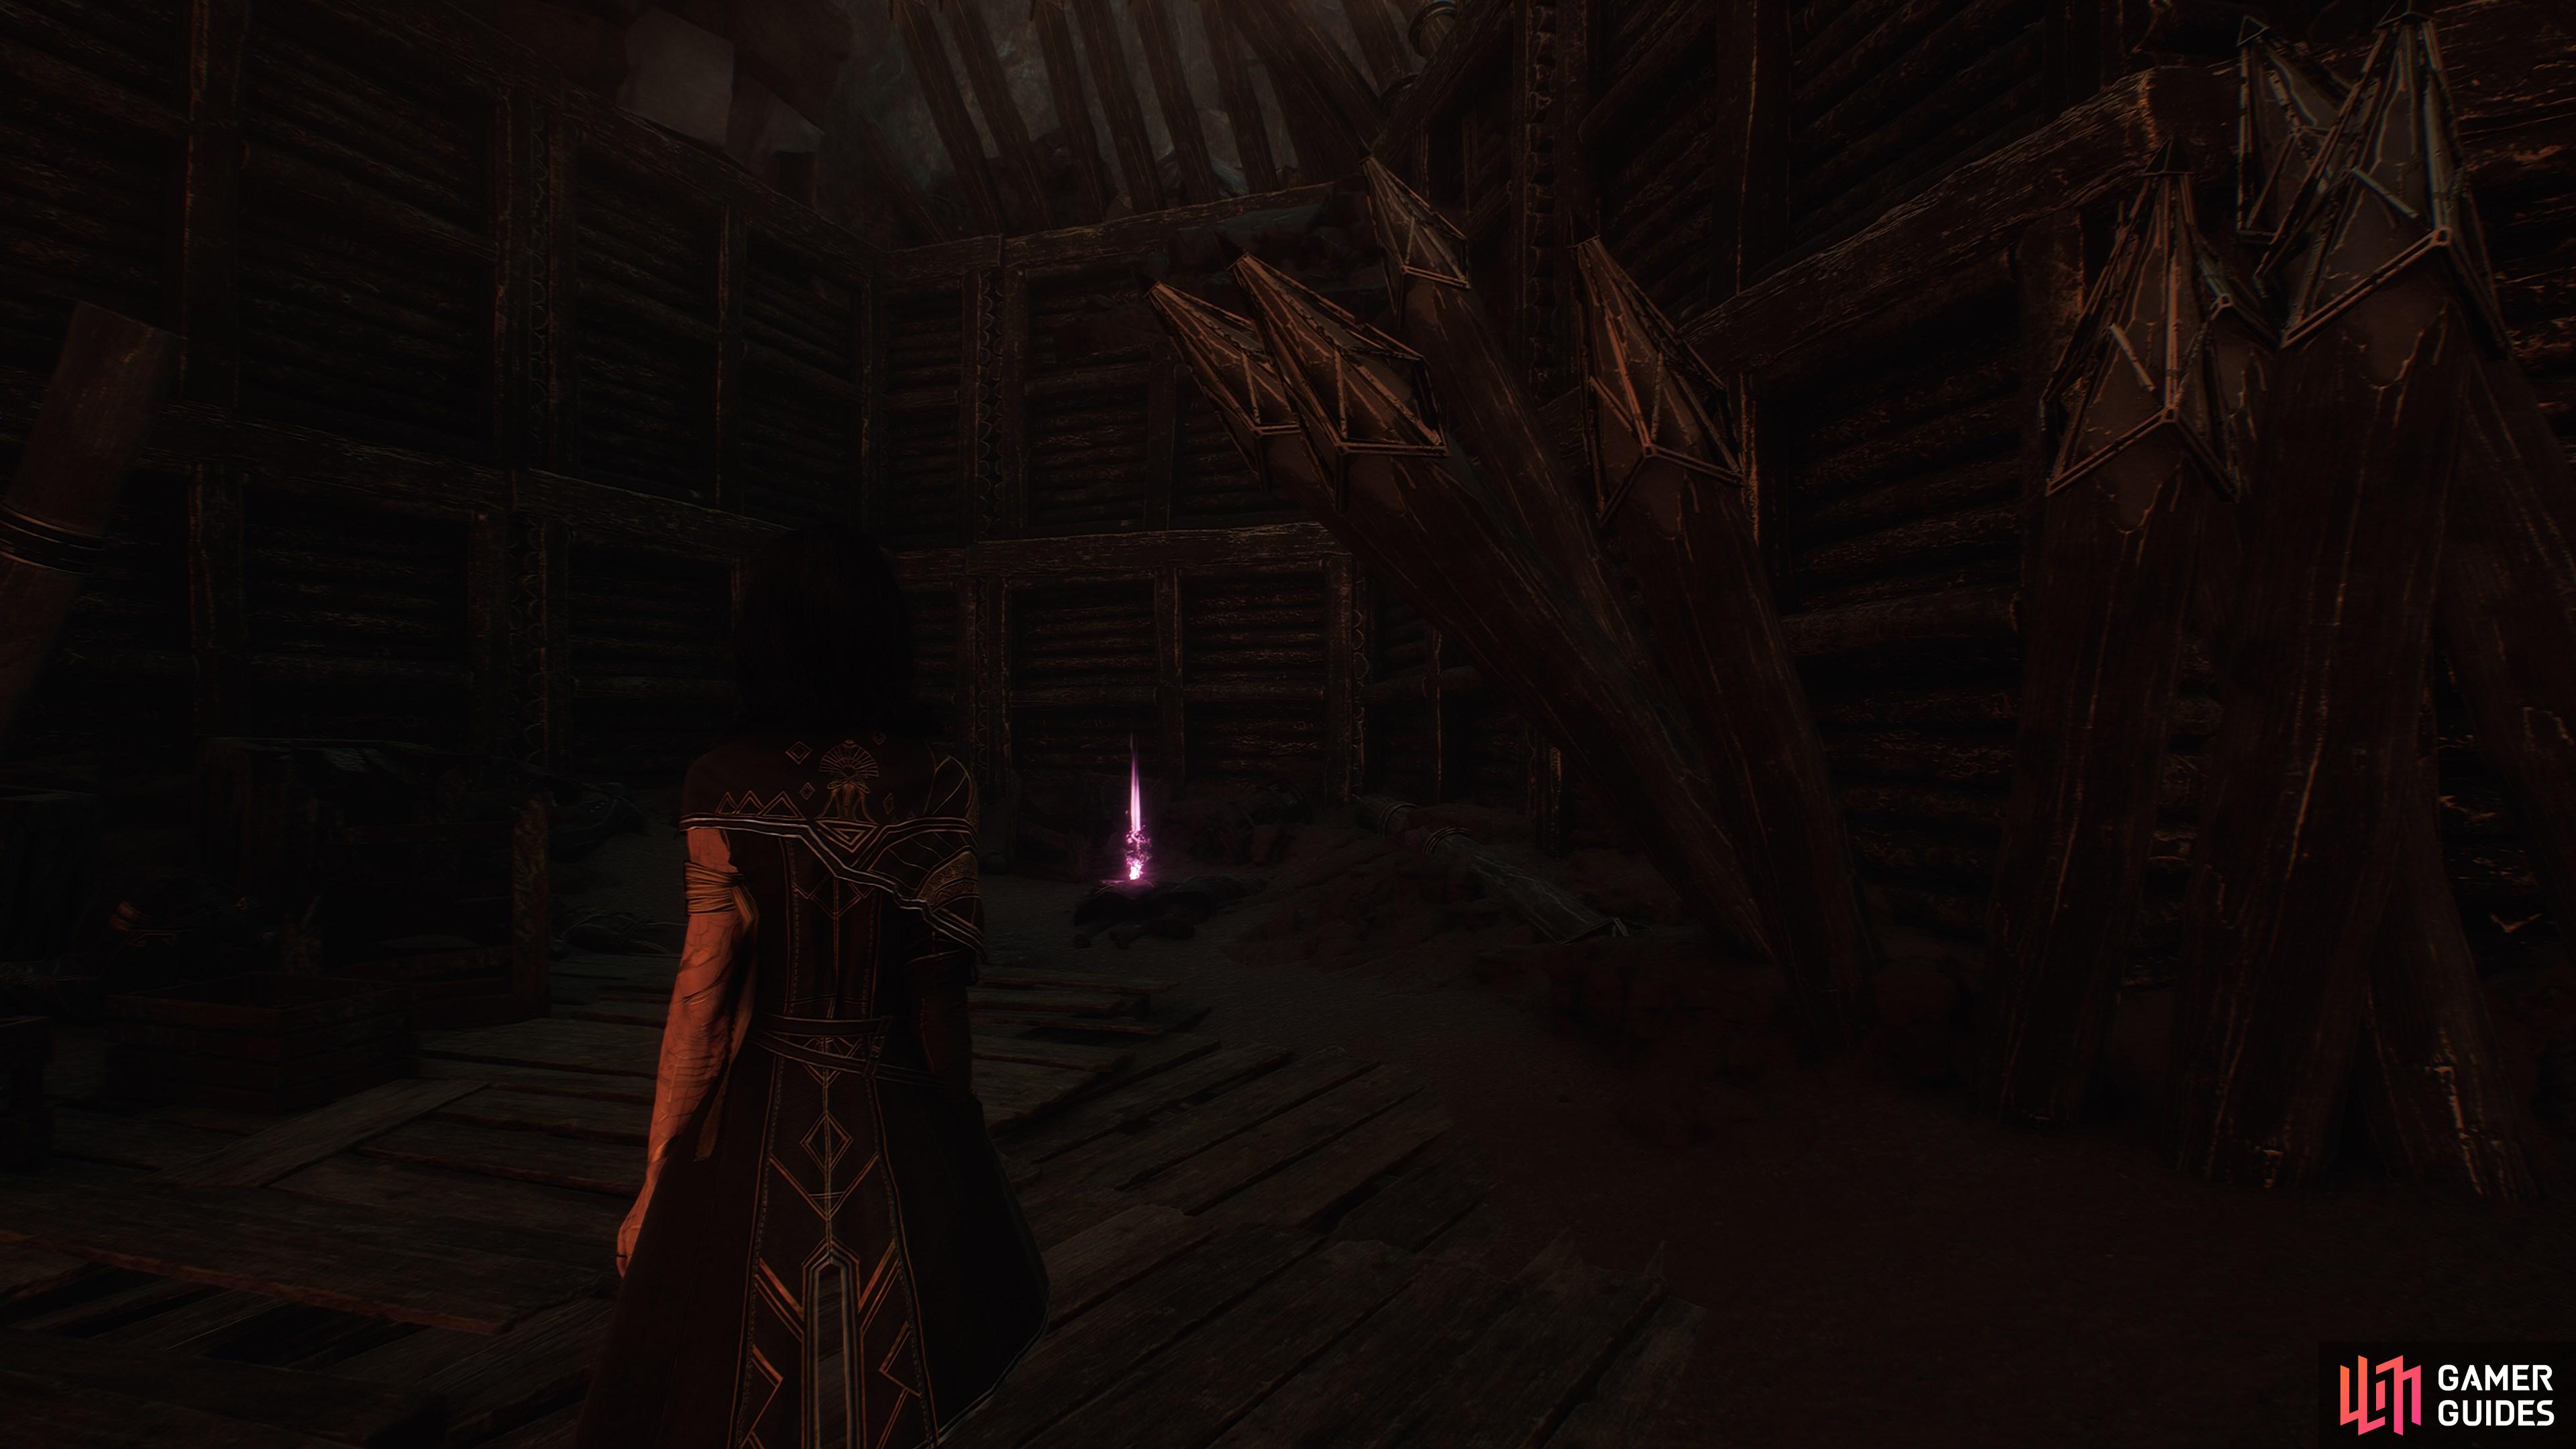
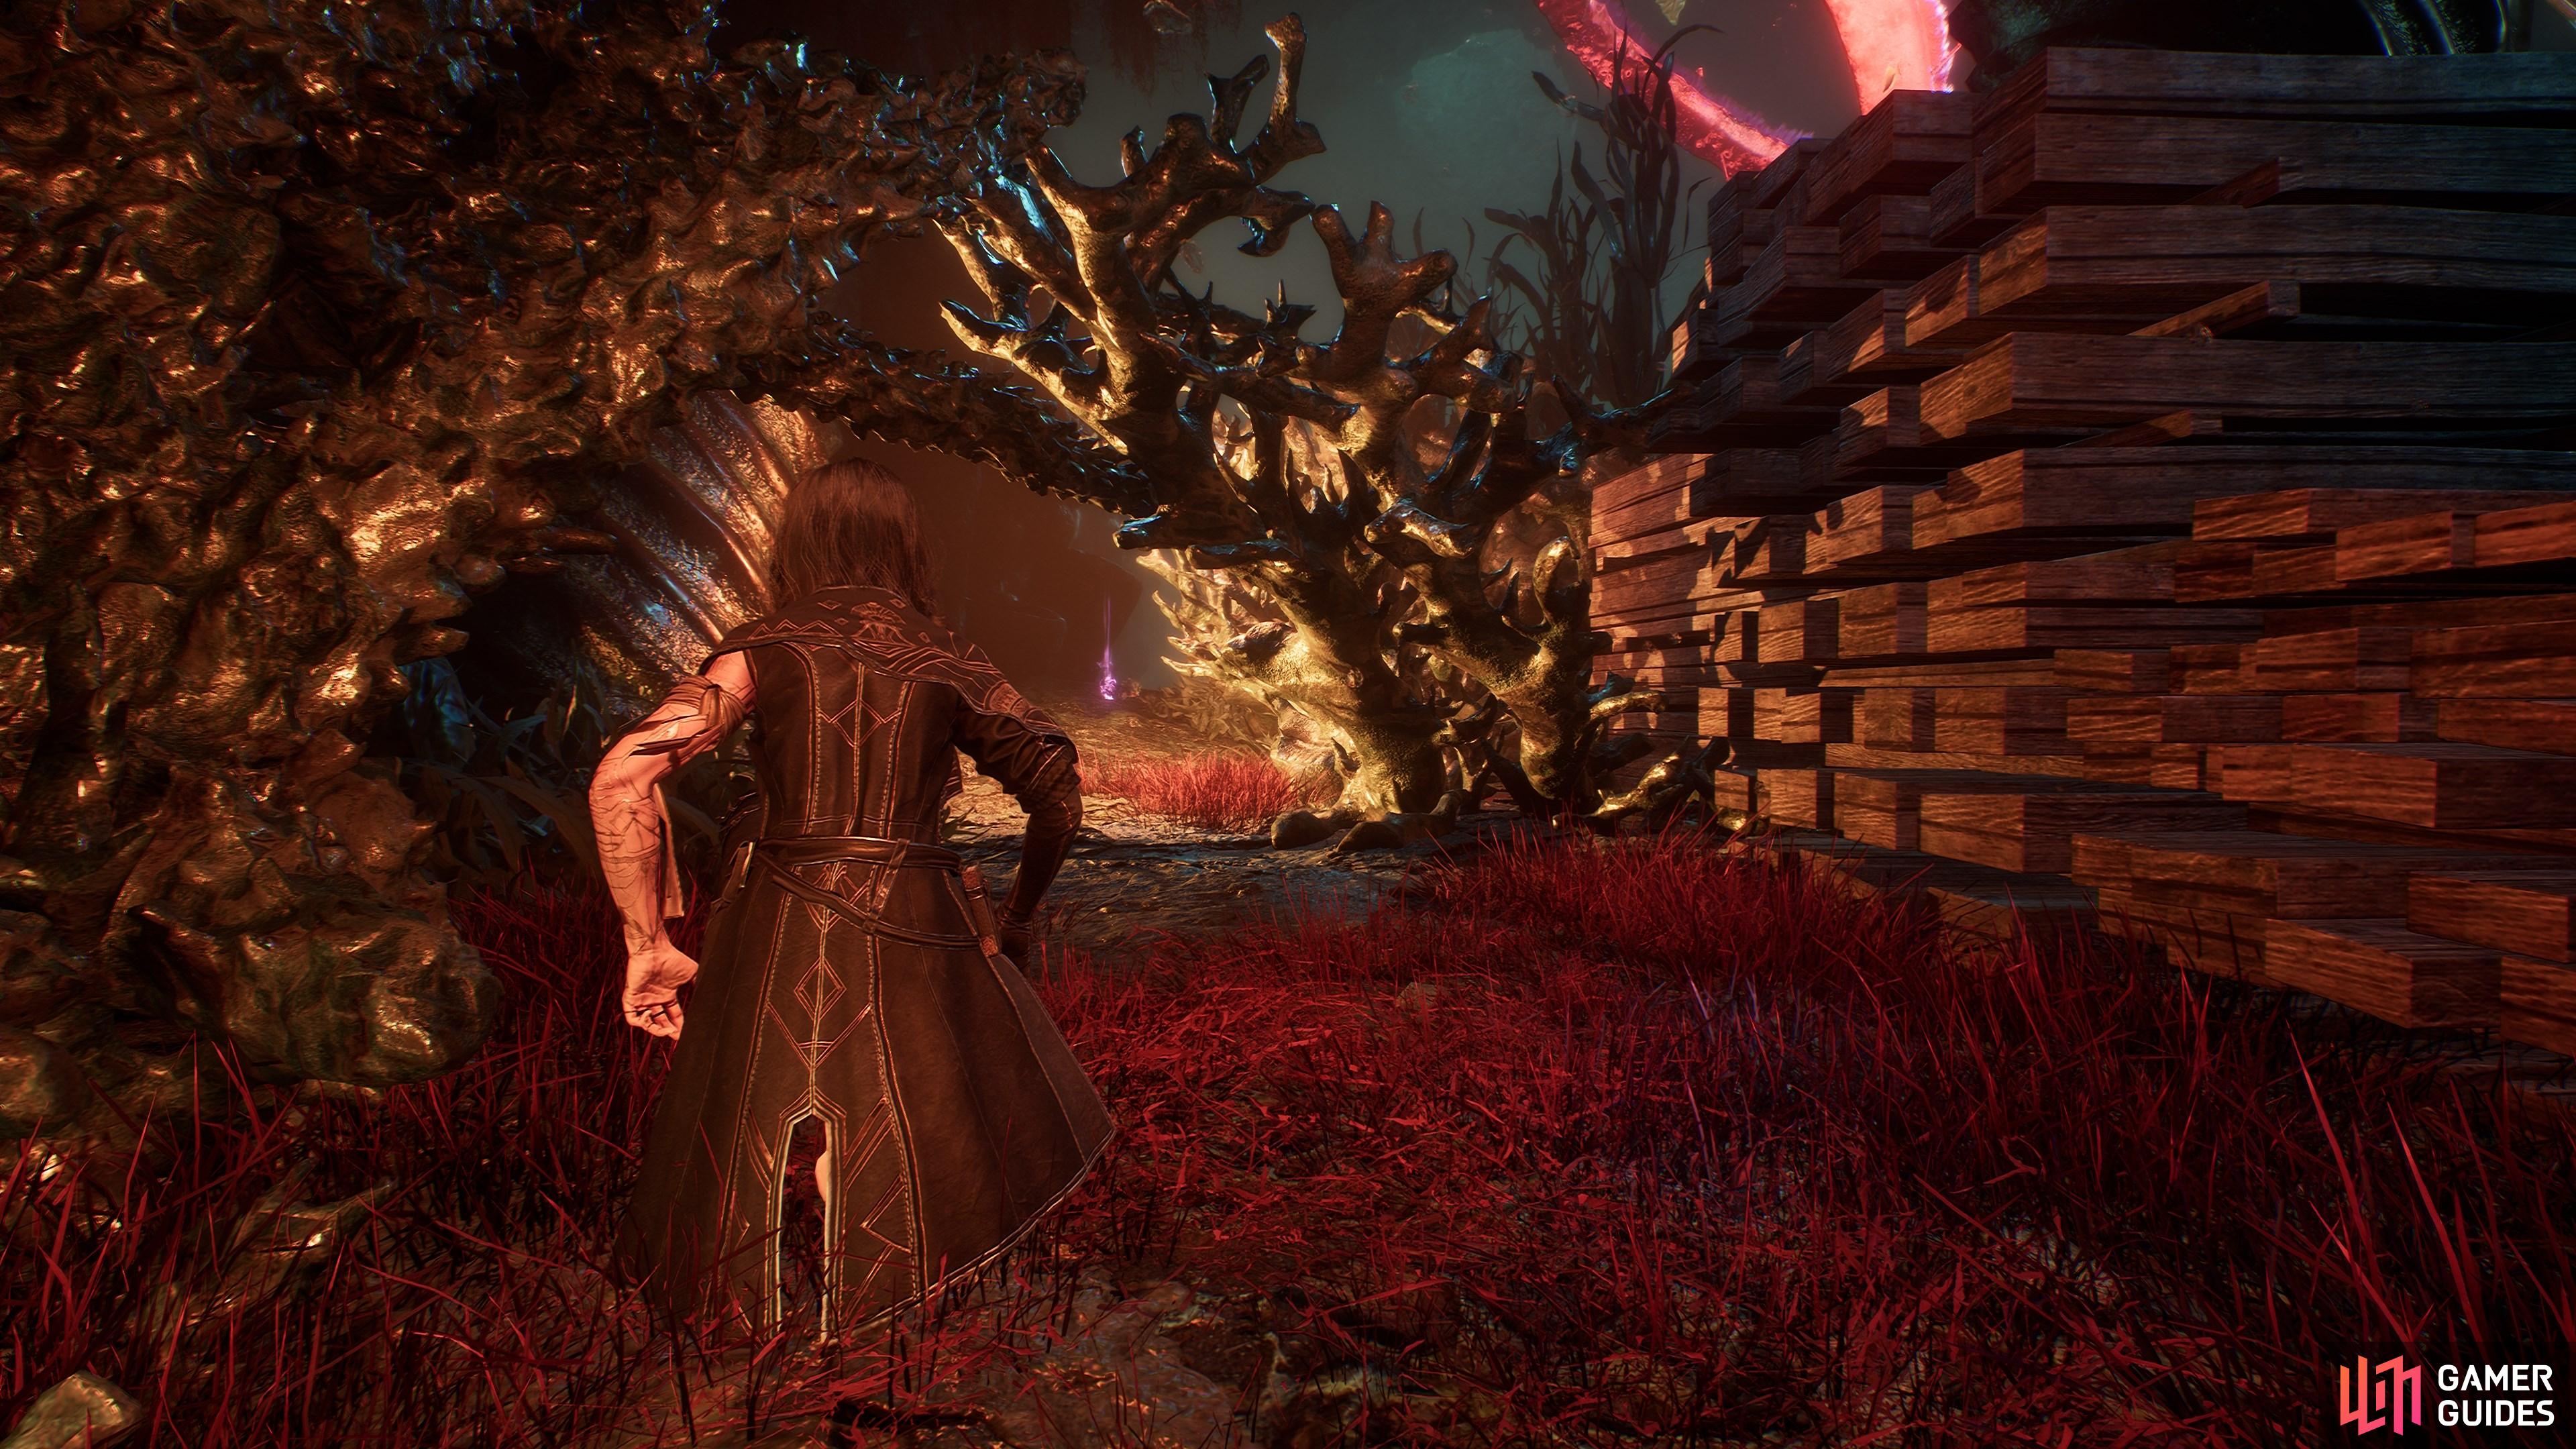
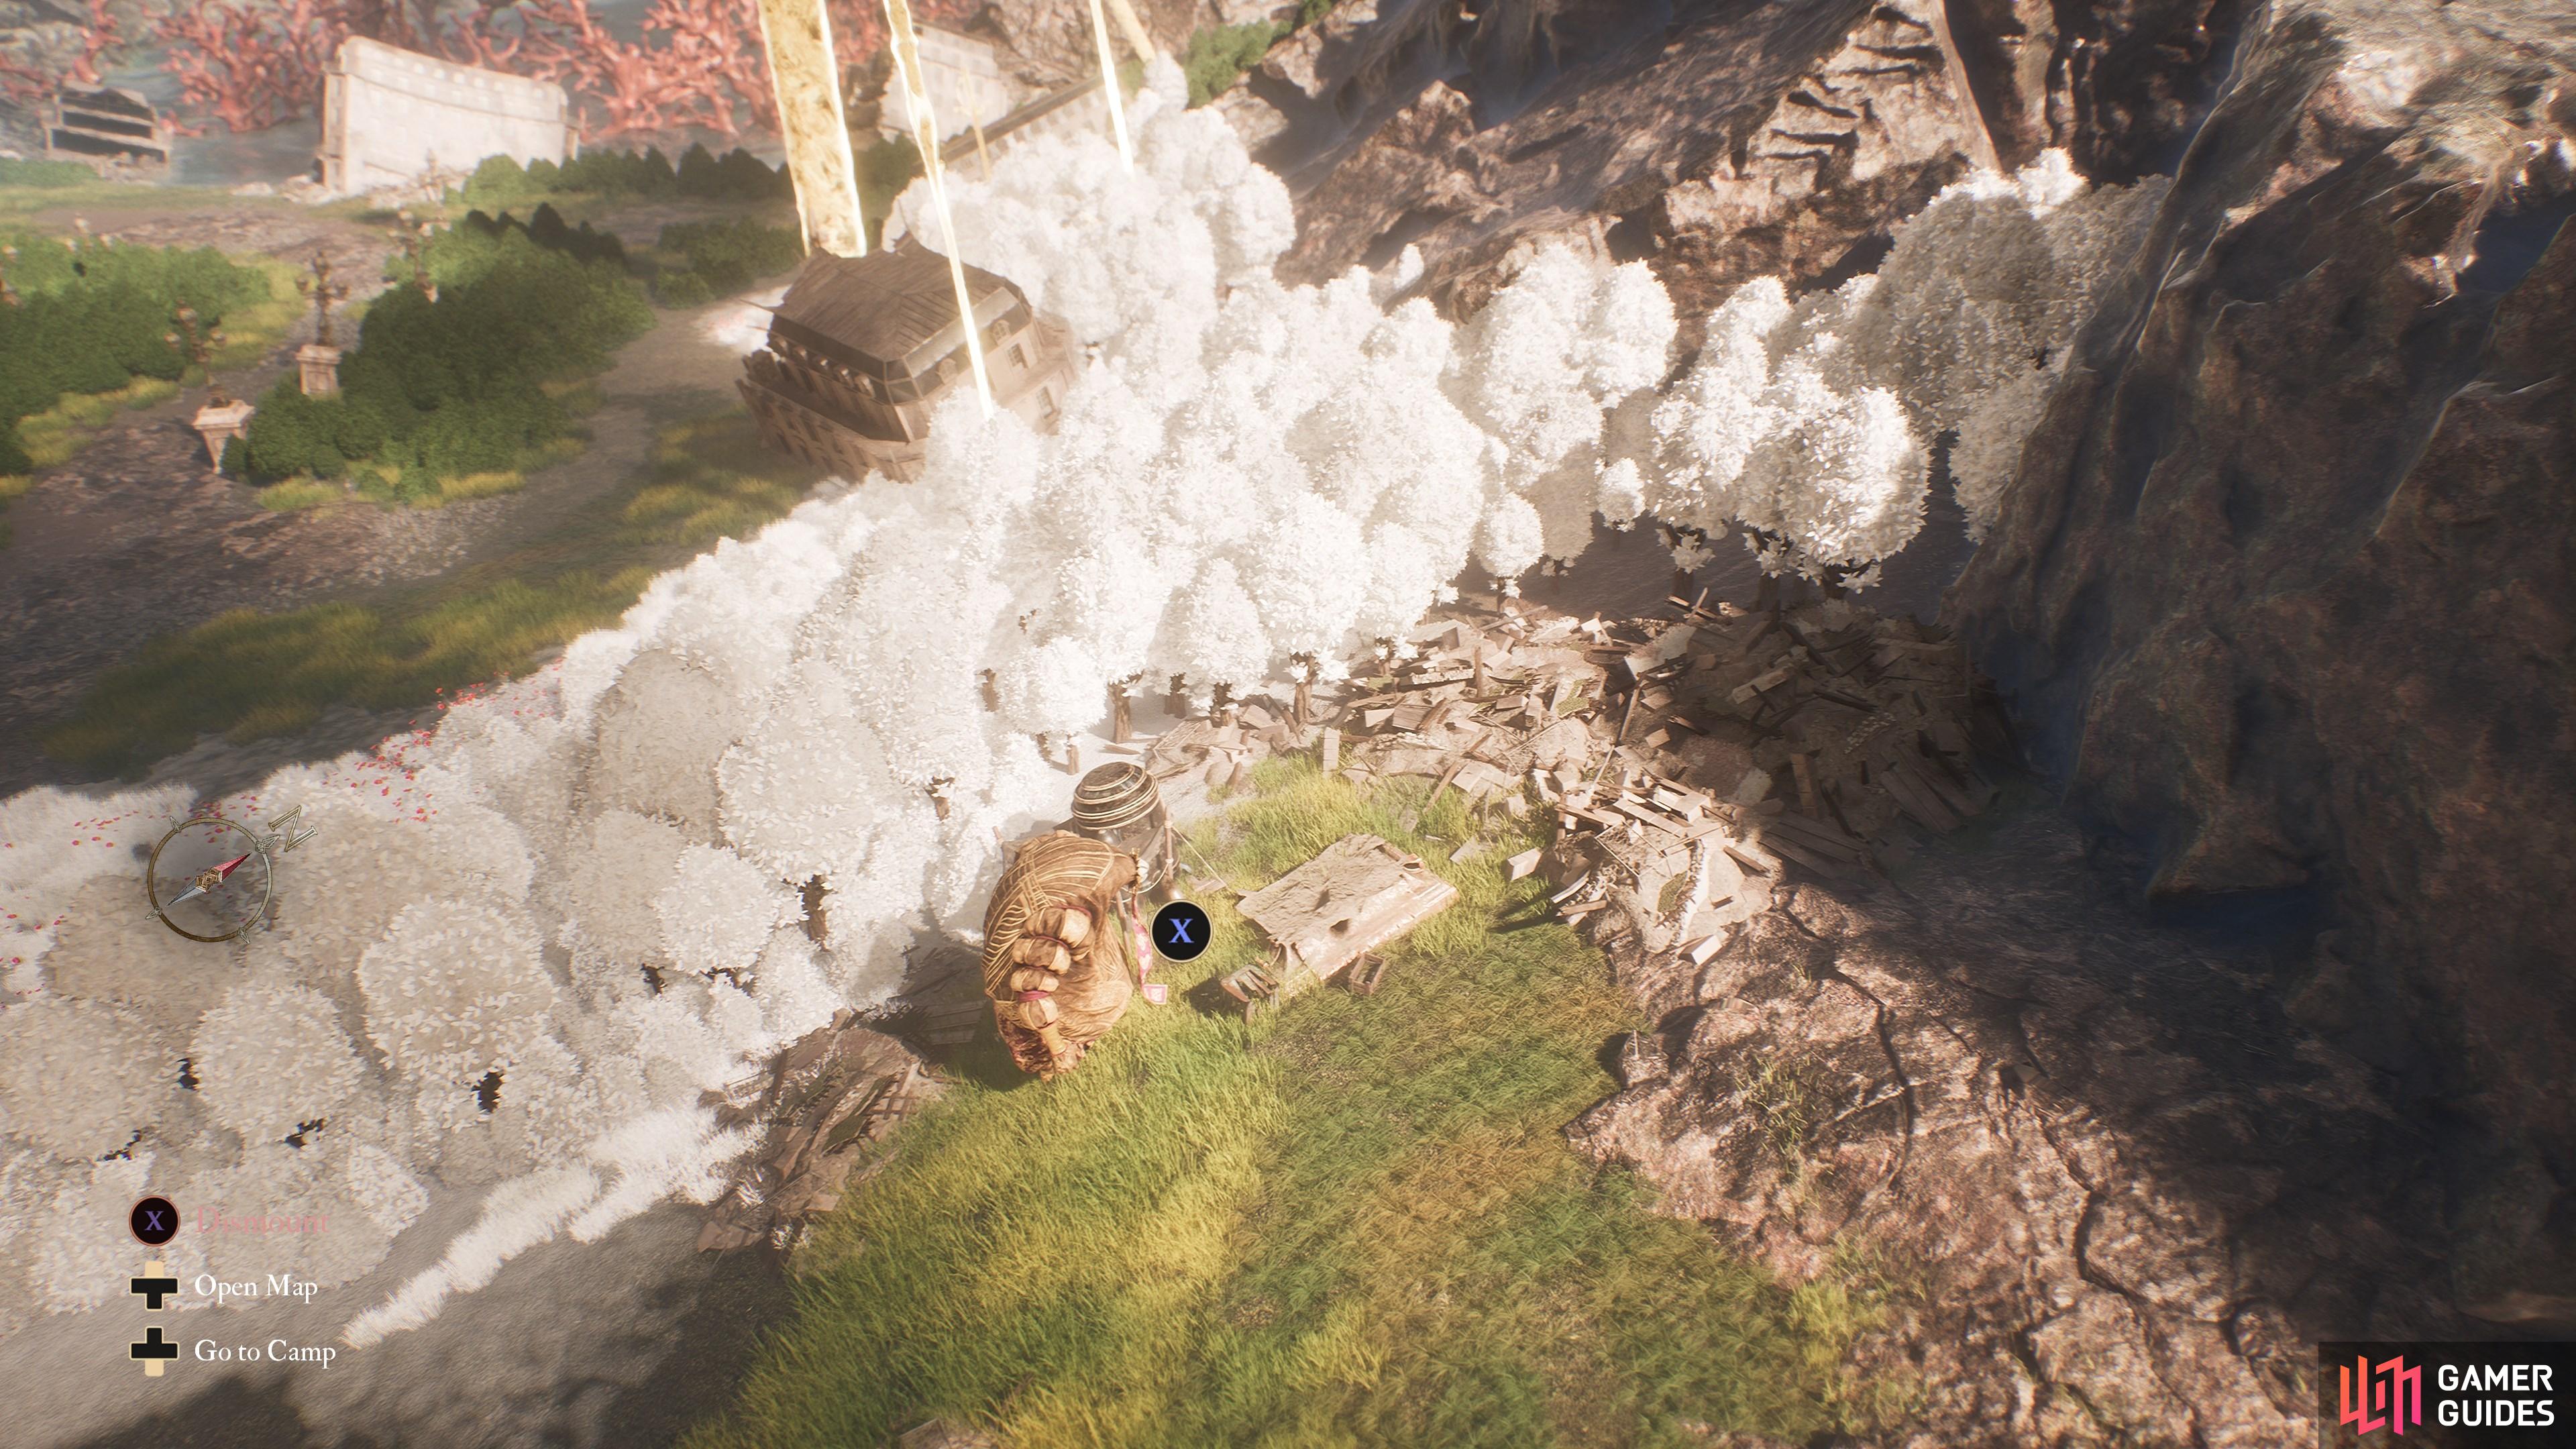
Look for a crawlspace behind the wooden pallets in the ![]() Coastal Cave.
Coastal Cave.
62. The Continent
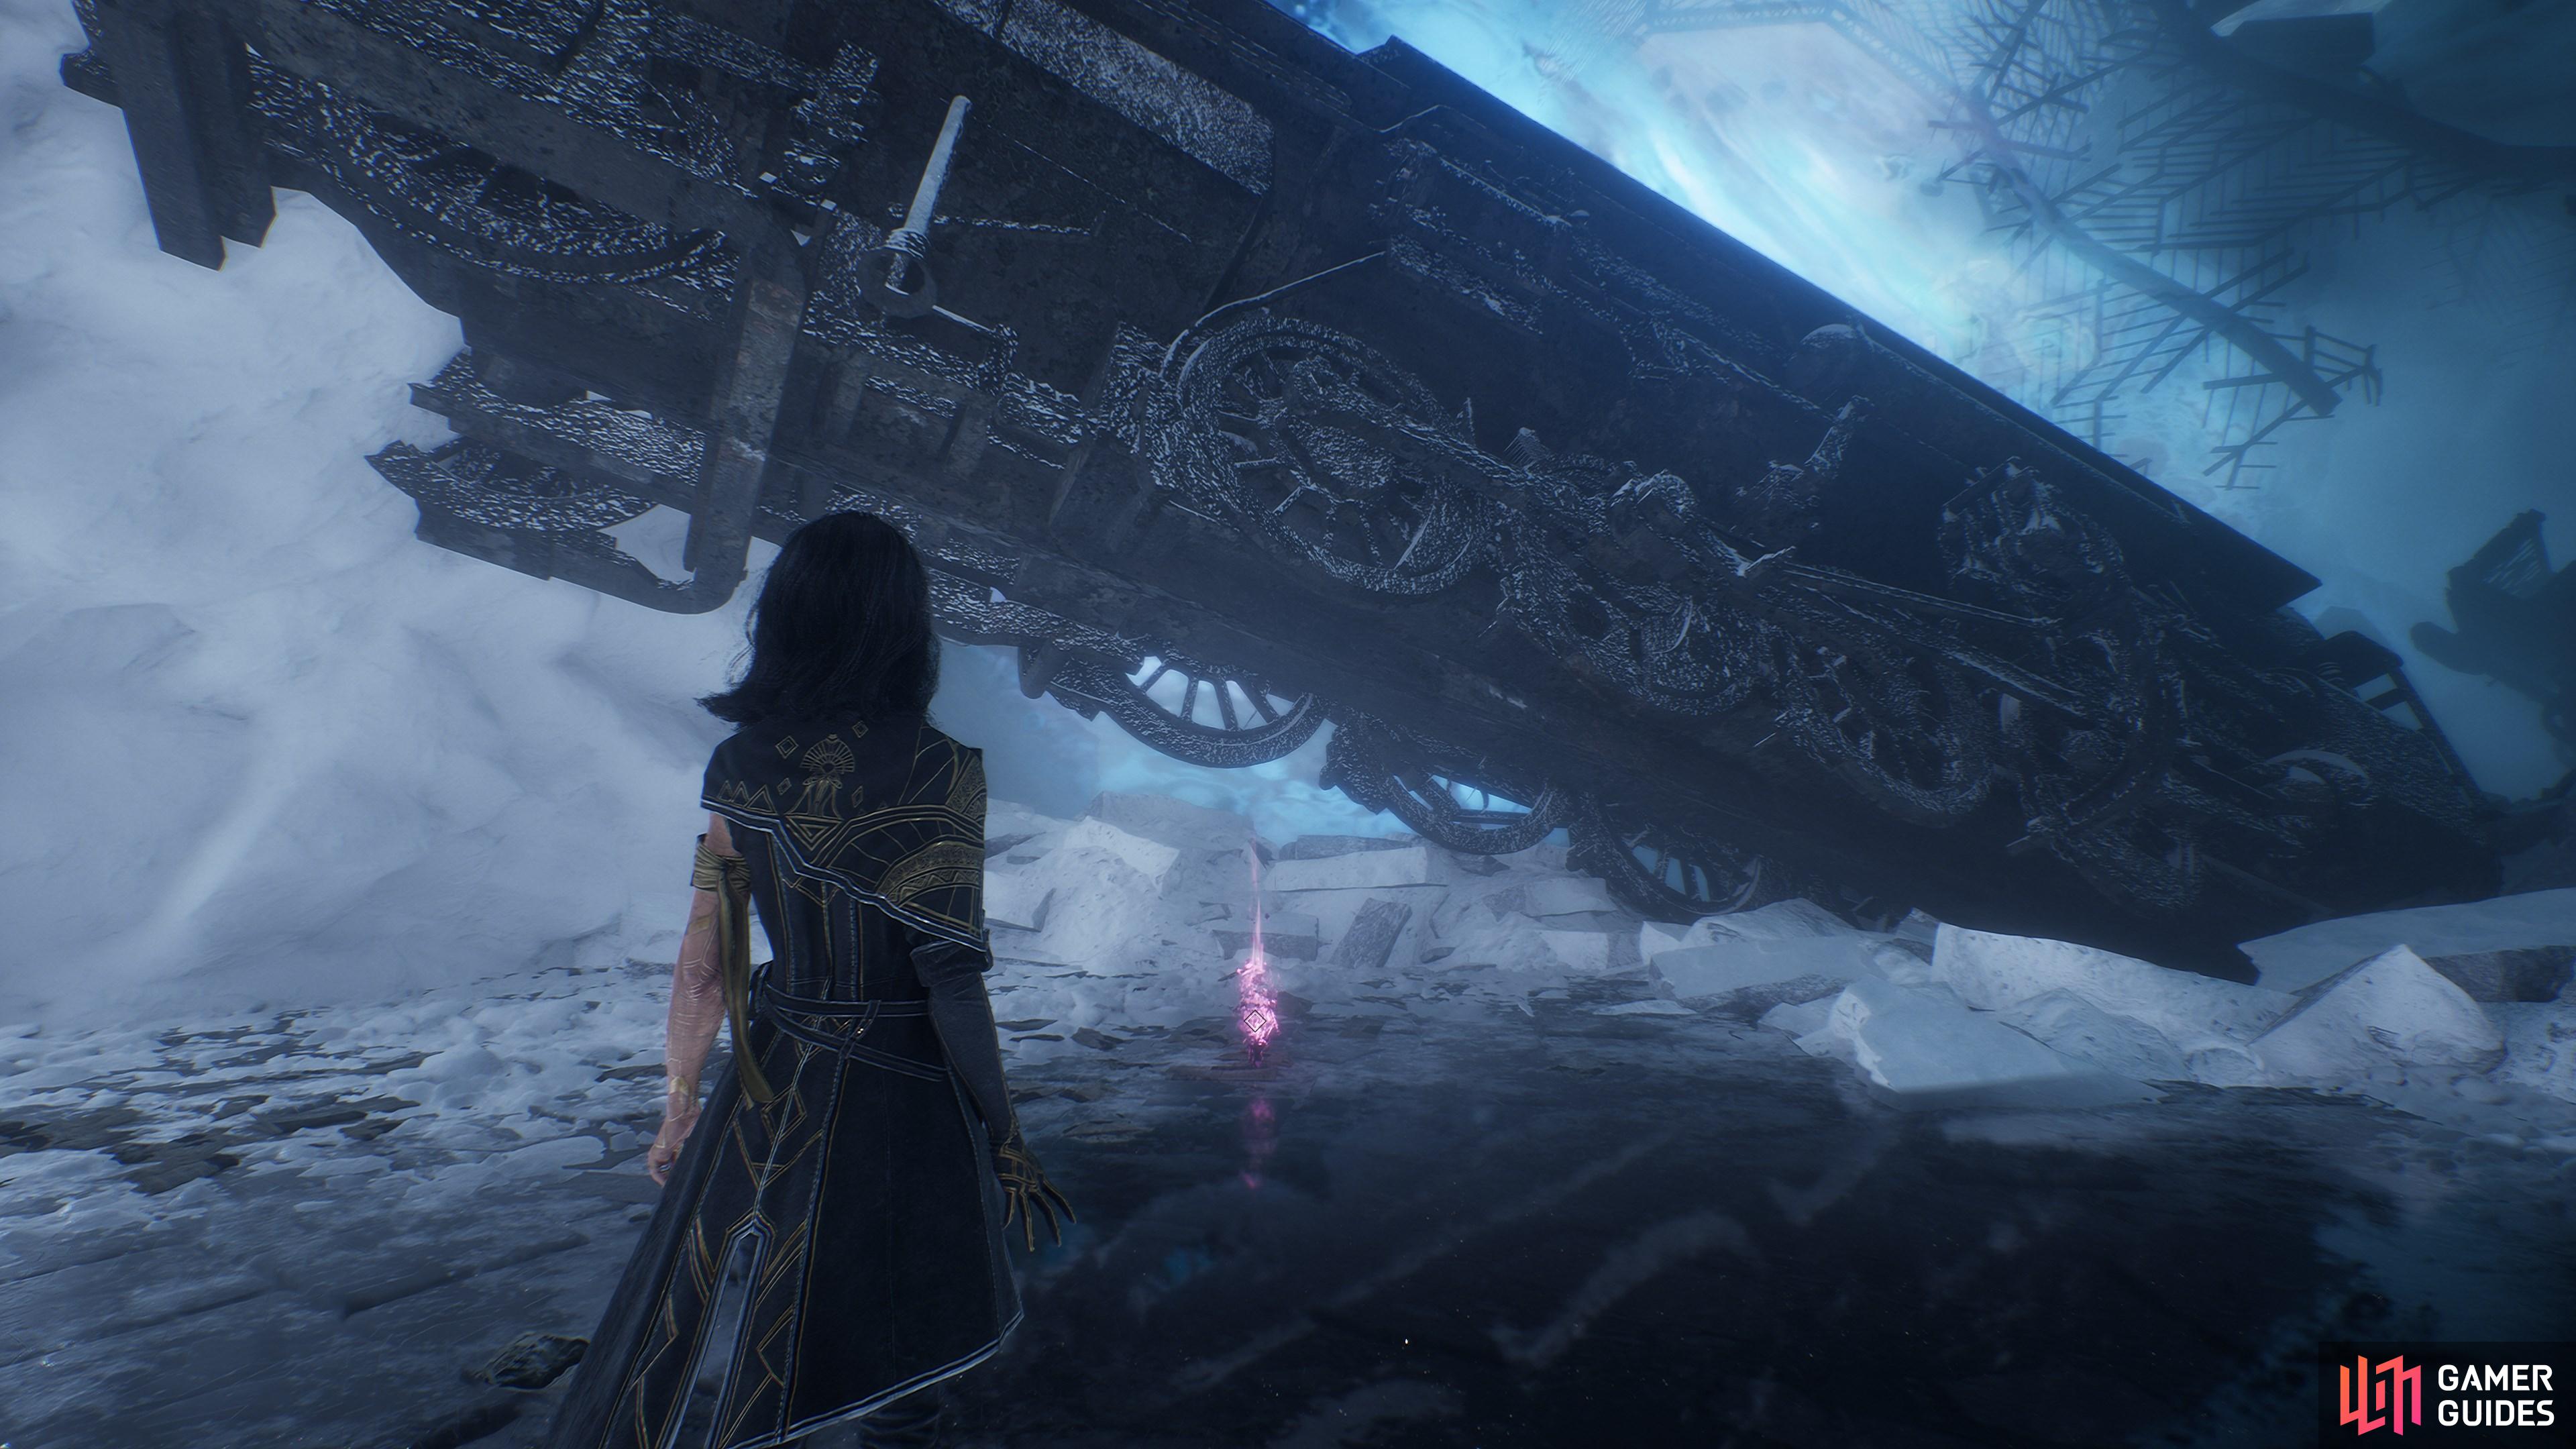
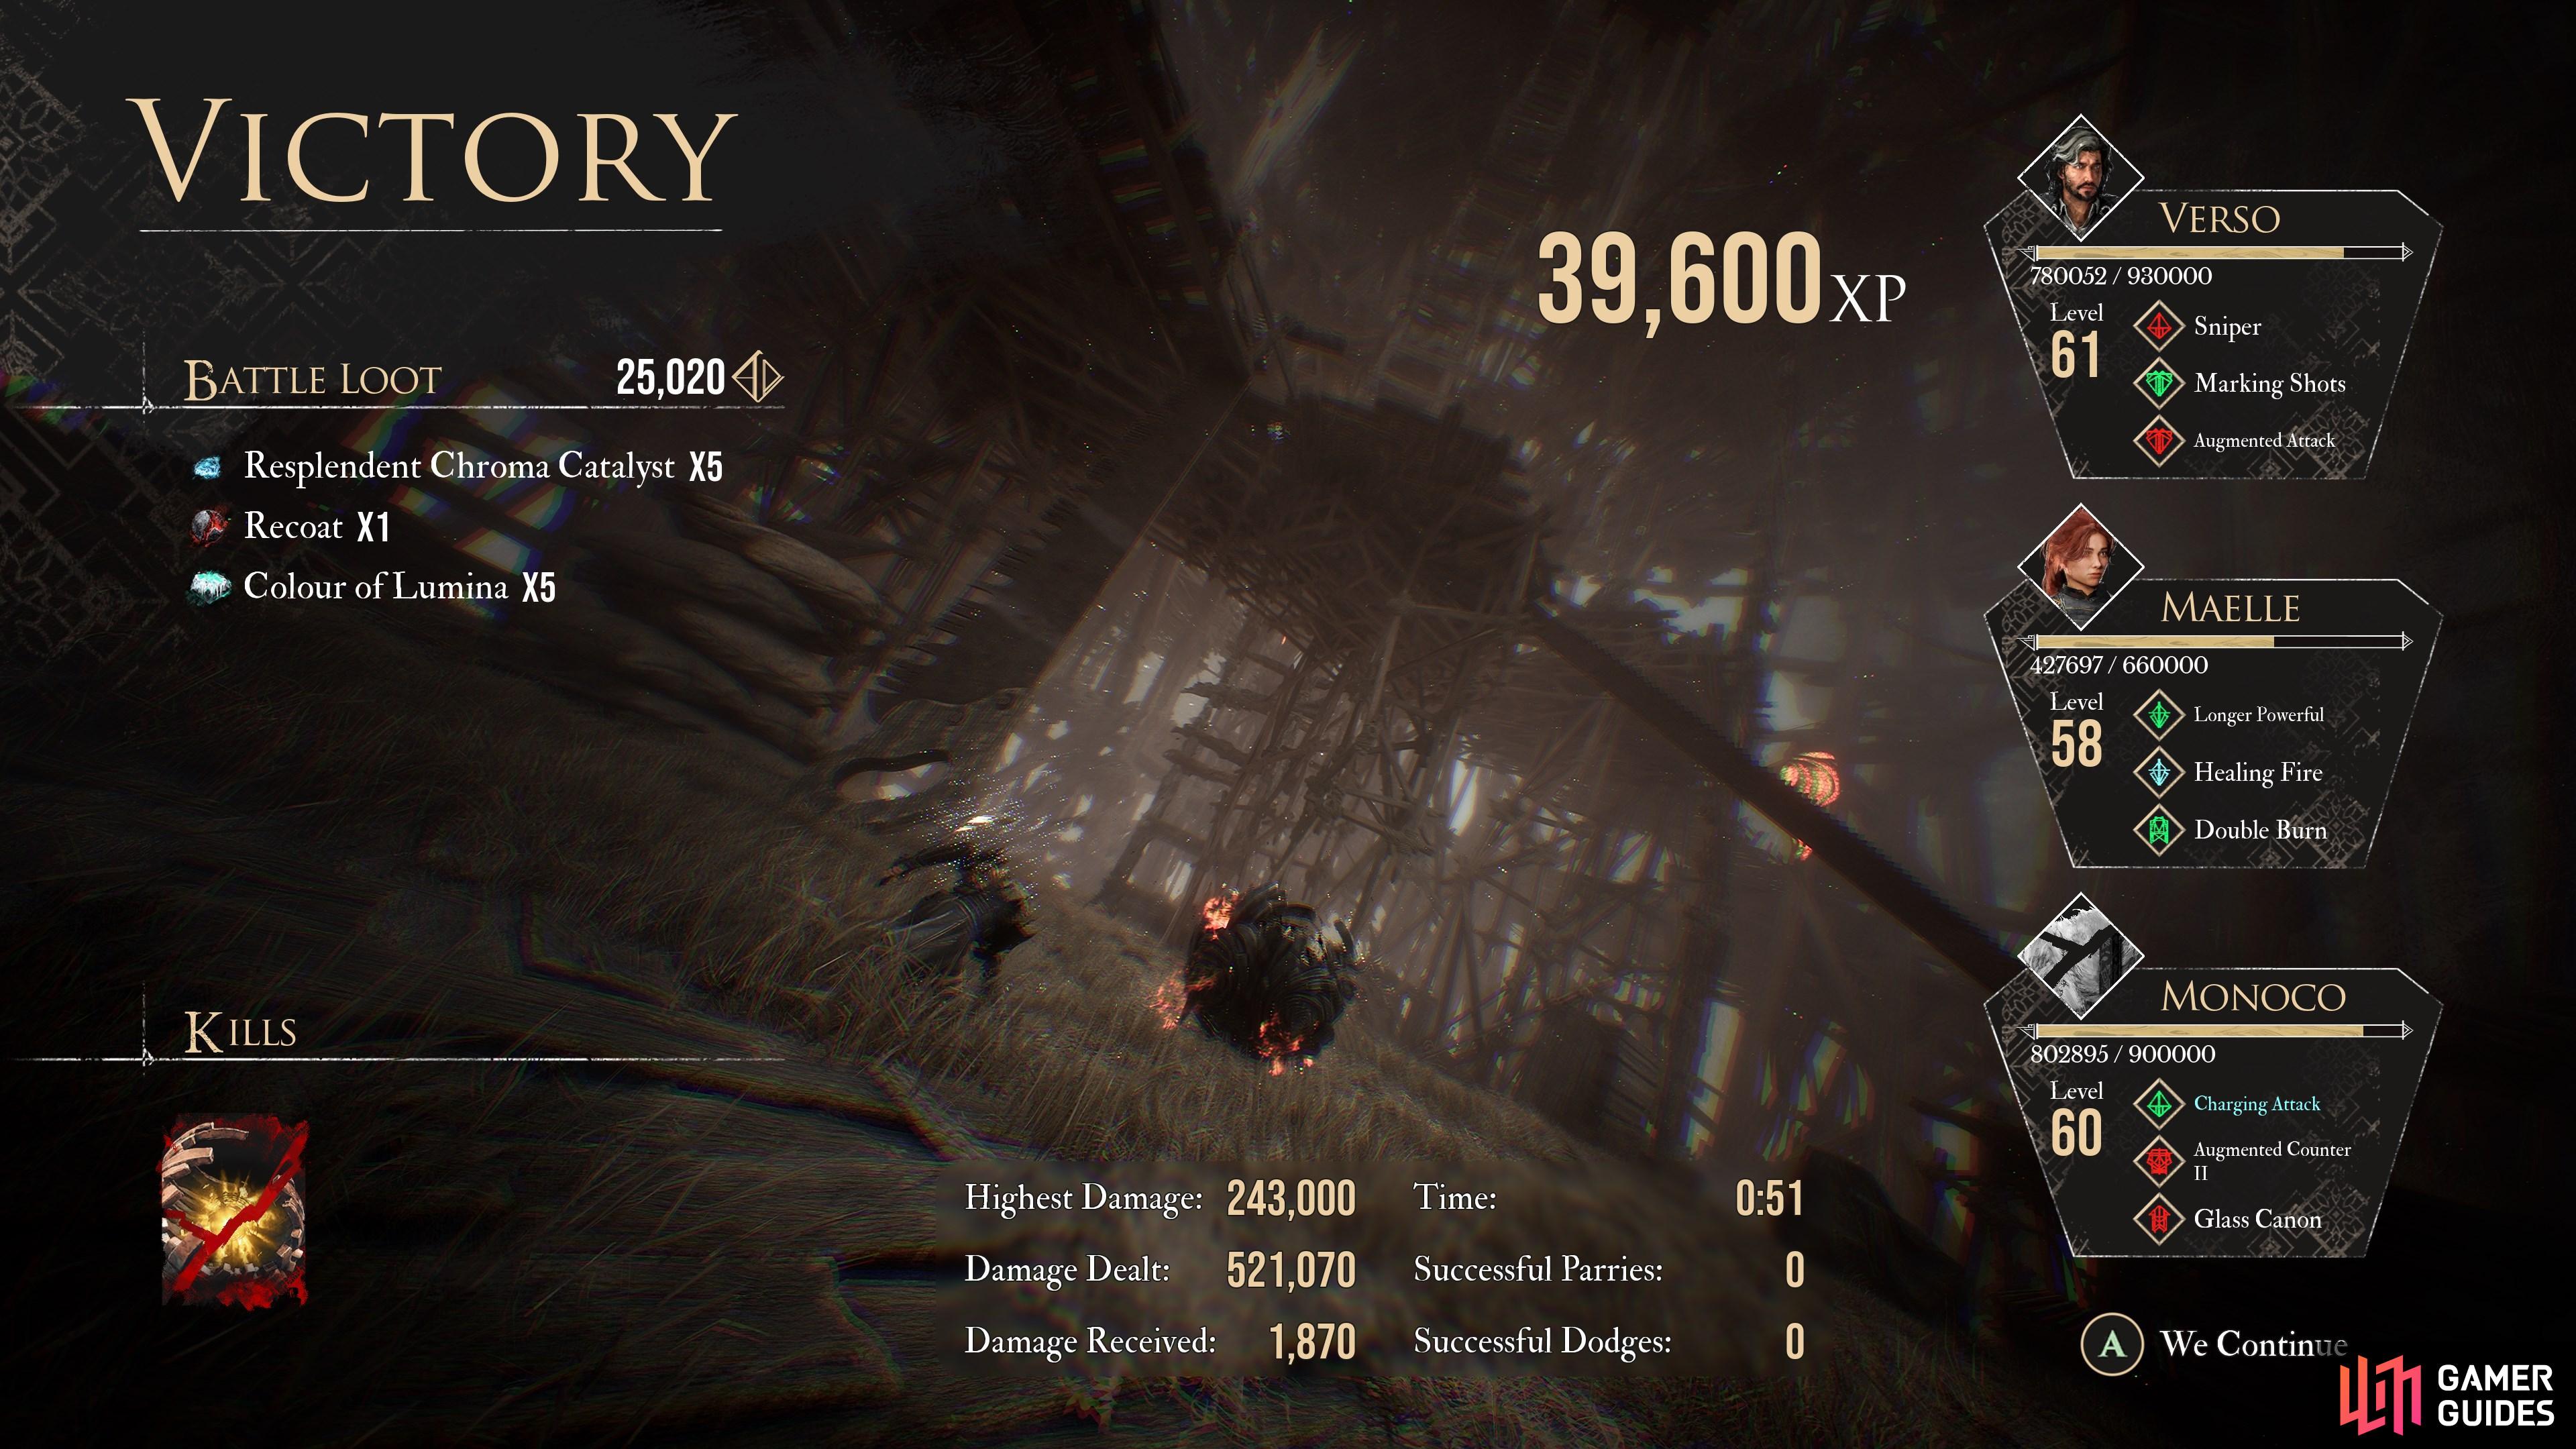
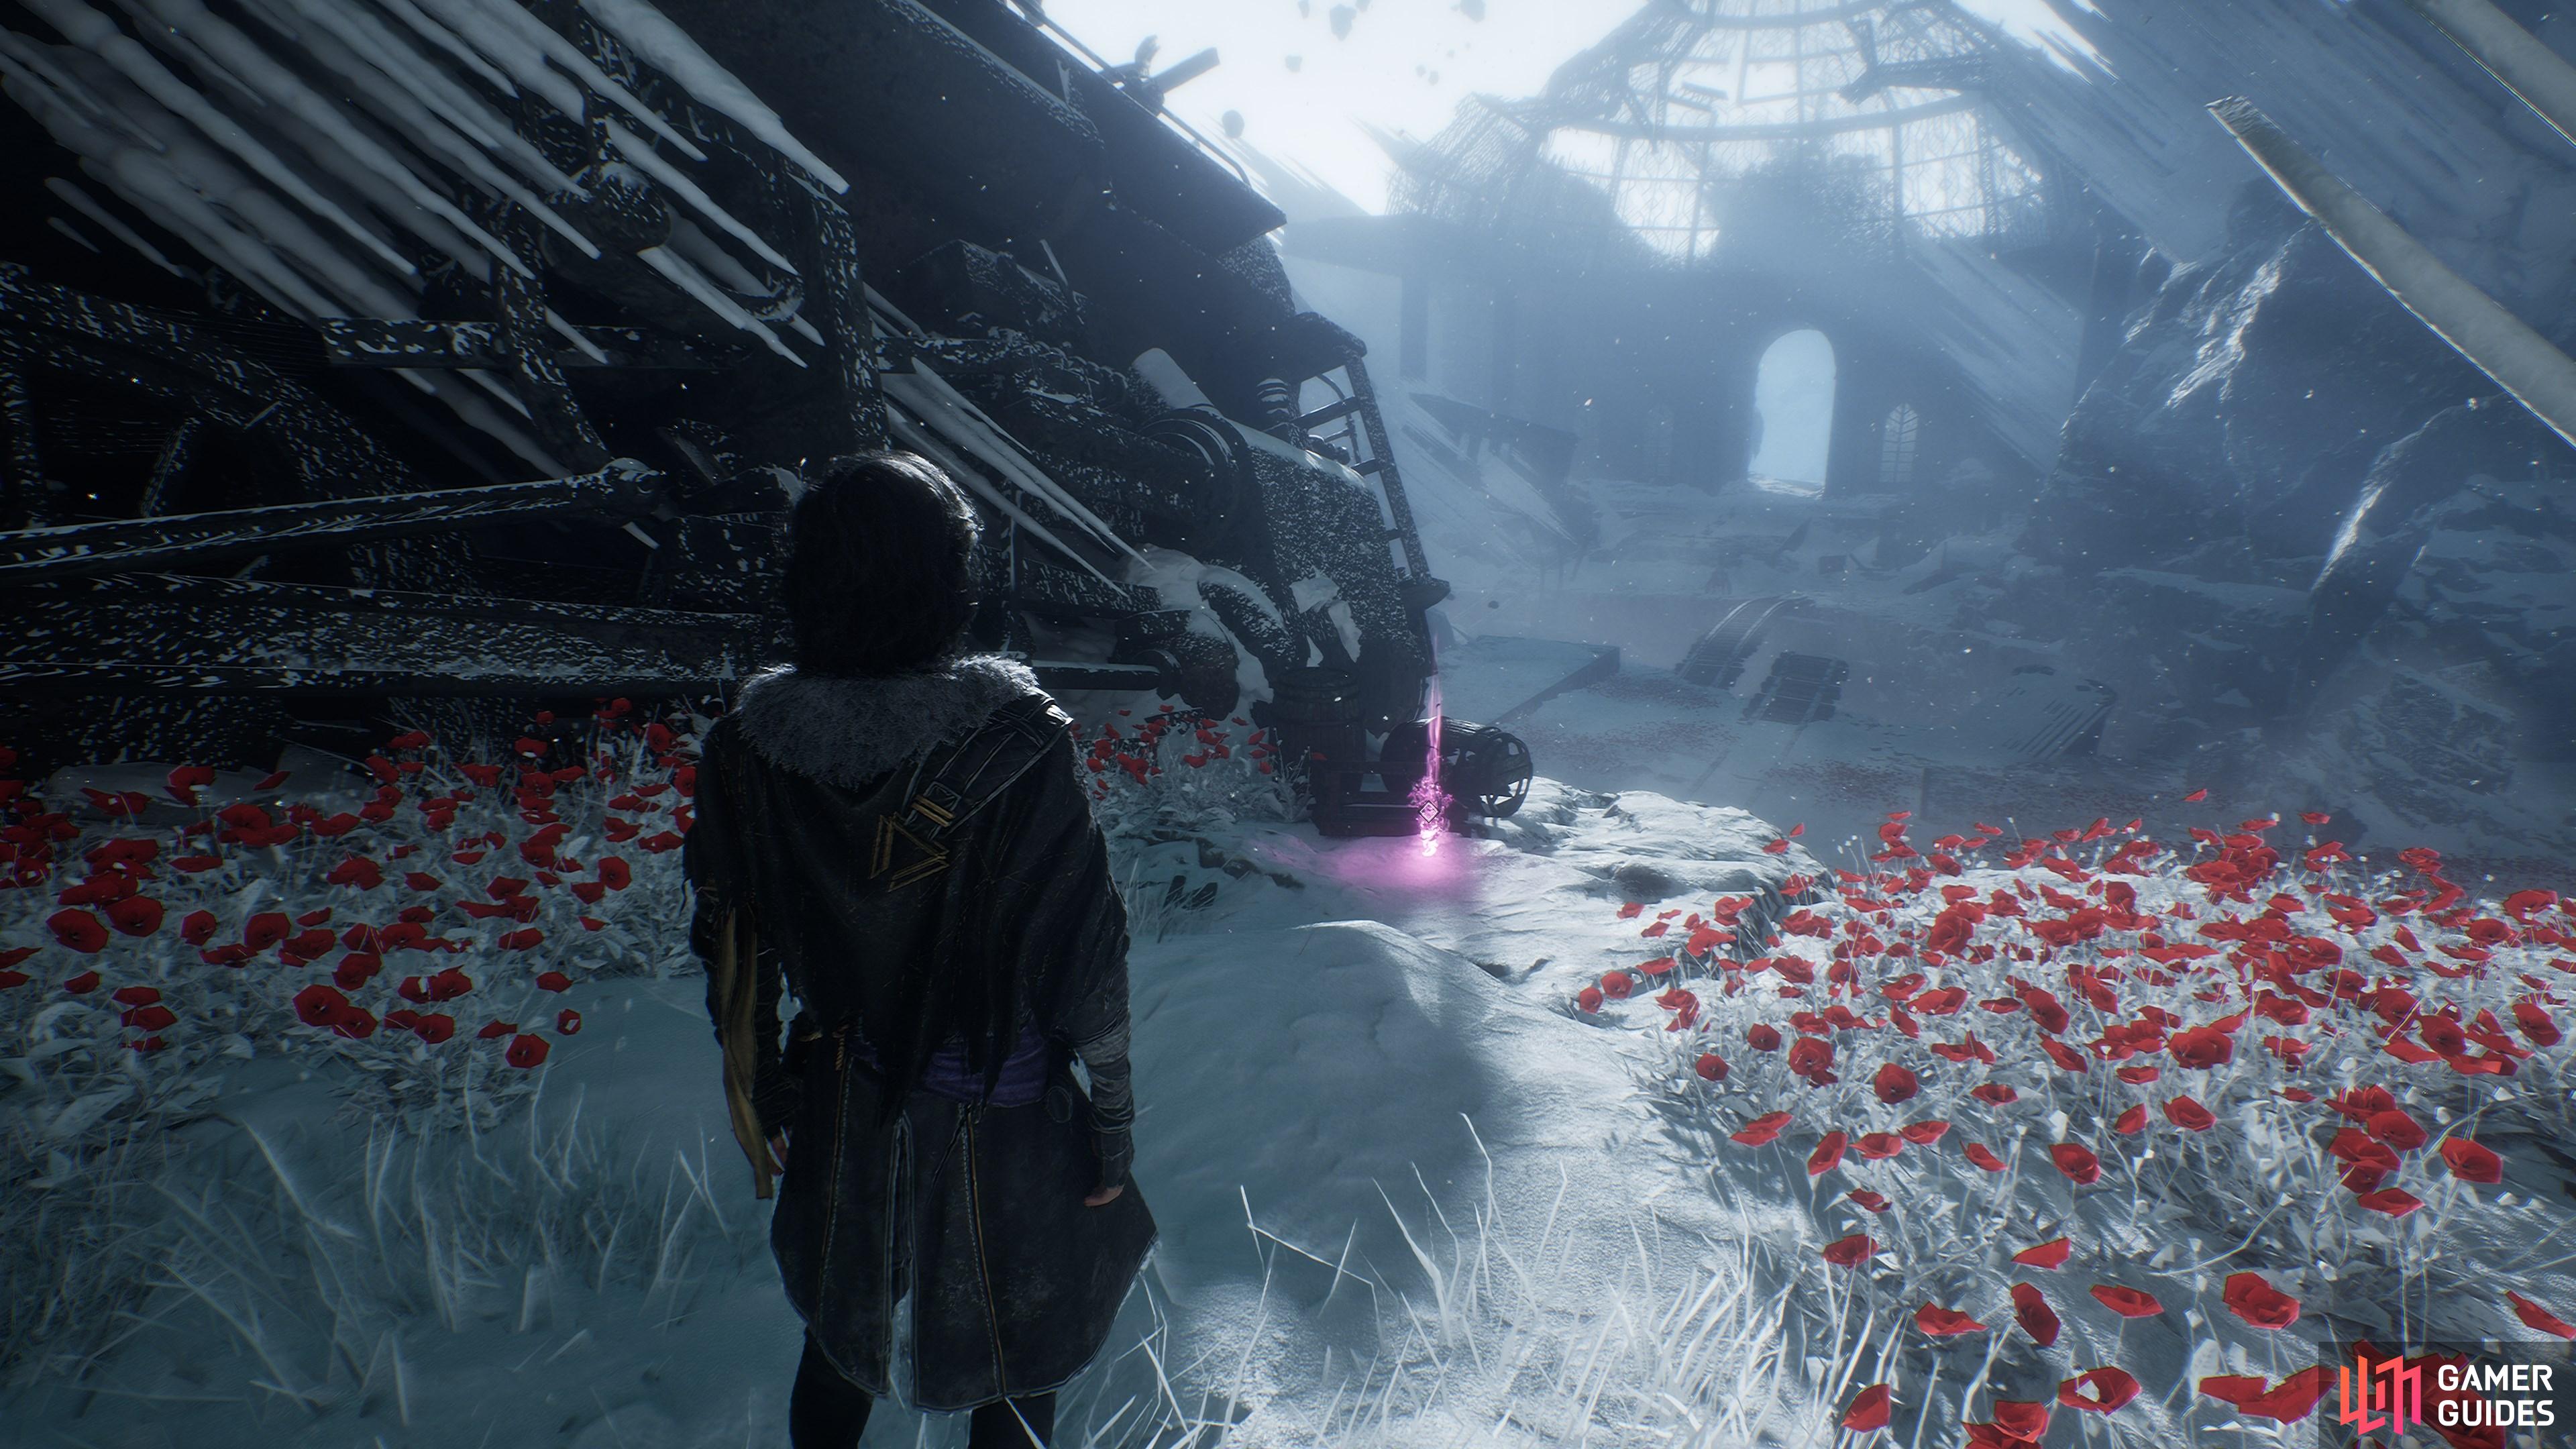
Found under the crashed train at the back of the station. You can grab it after your scrap with ![]() Monoco.
Monoco.
63. The Continent
Three are available for trade from Grandis. You can trade with Grandis after defeating the ![]() Stalact at the station.
Stalact at the station.
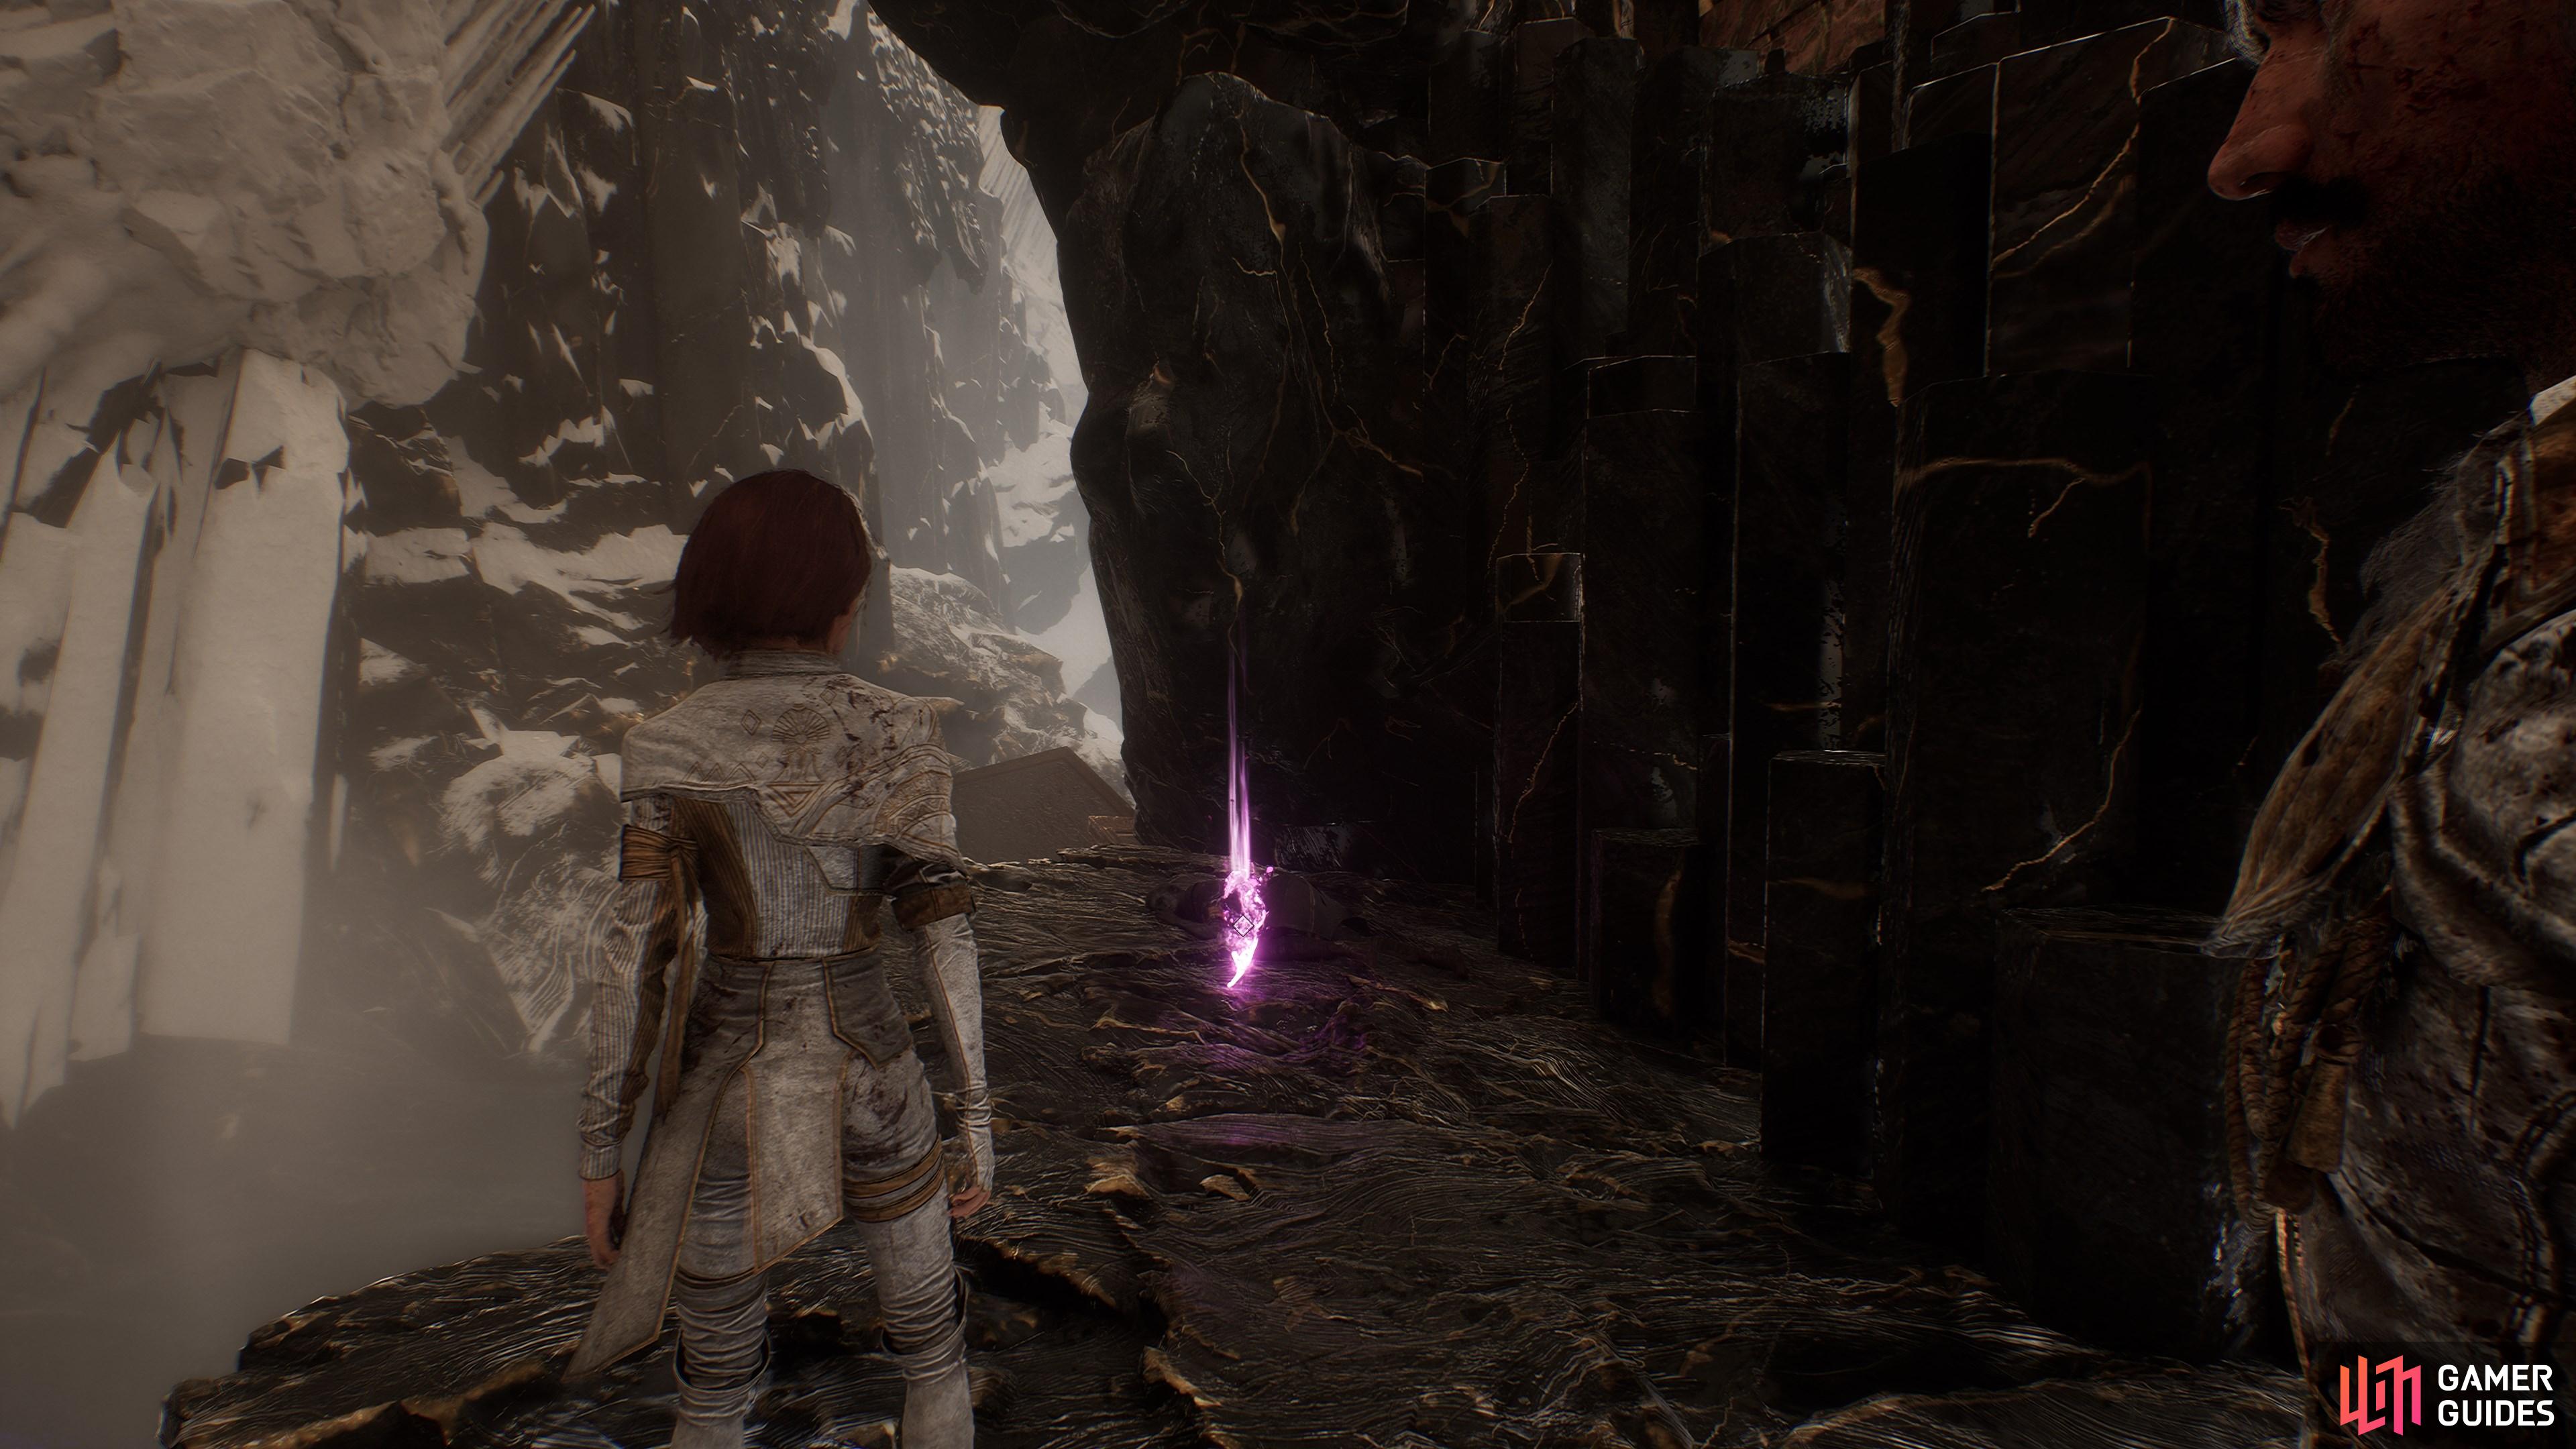
66. The Continent
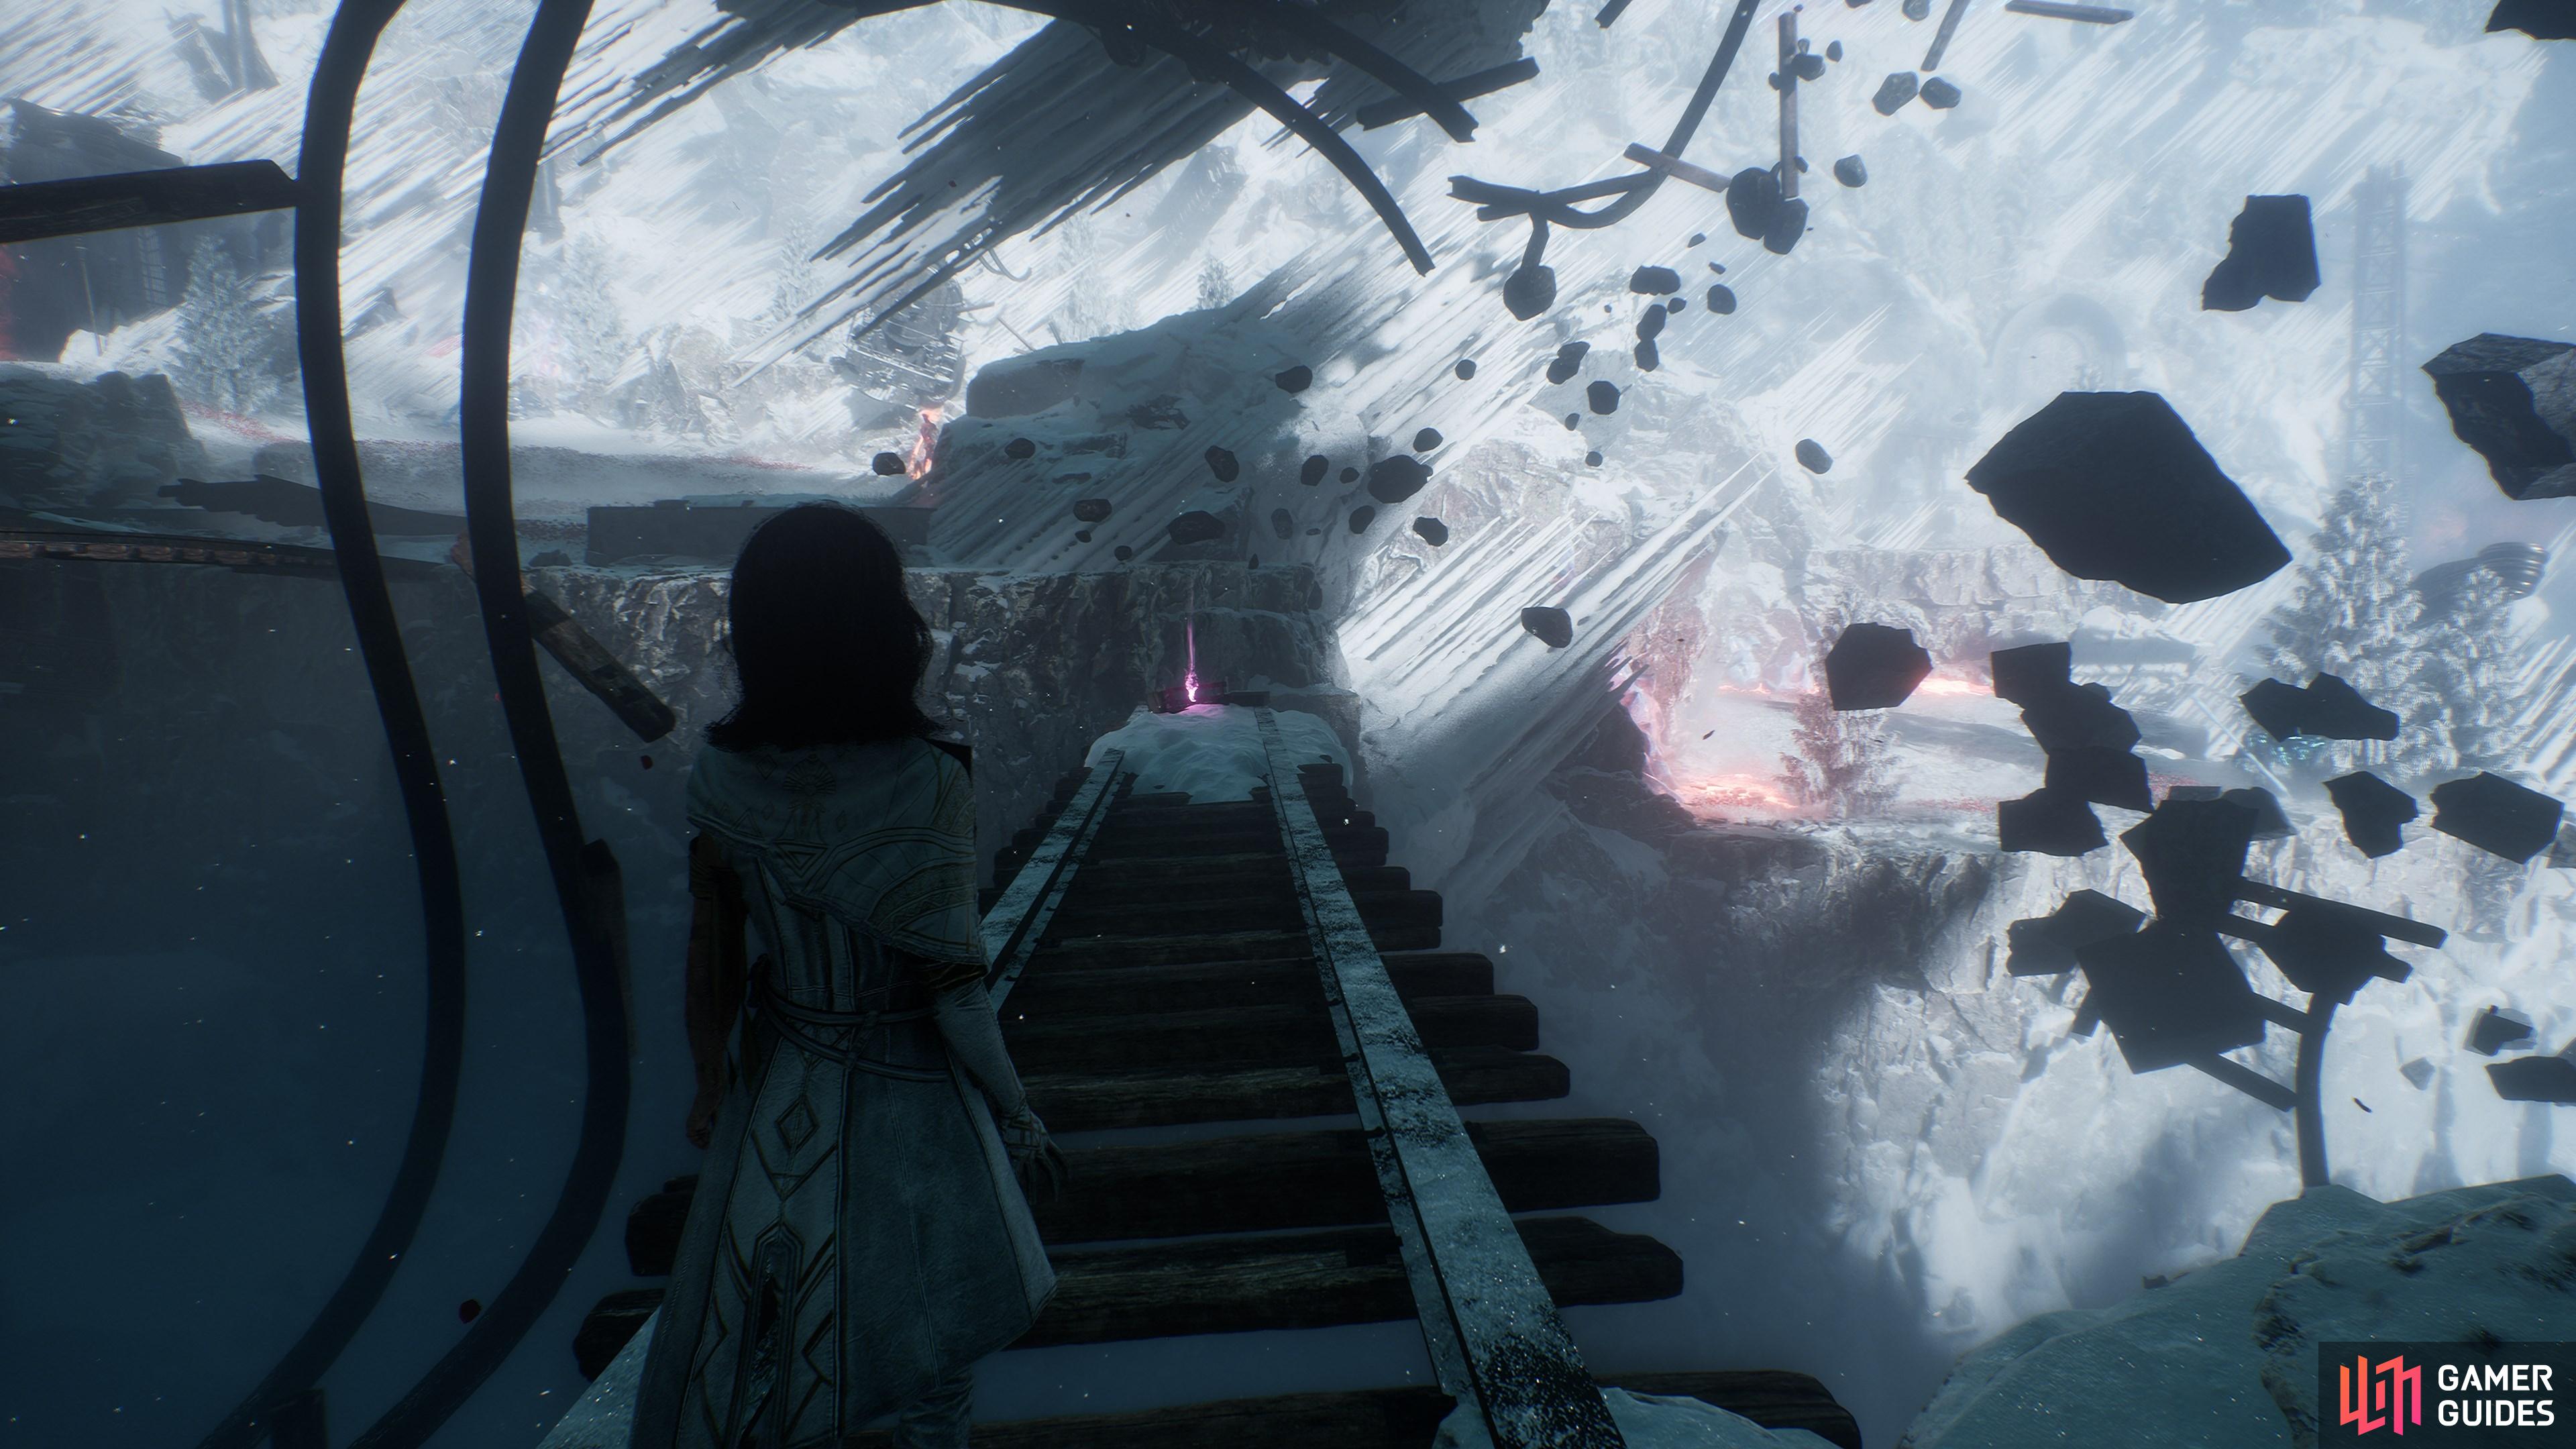
At the end of the track just to the right of the ![]() Icebound Train Station flag.
Icebound Train Station flag.
67. The Continent
On the train platform to the right of the ![]() Icebound Train Station flag.
Icebound Train Station flag.
68. The Continent
Cross the first railway track bridge then look to your left to find this.
72. The Continent
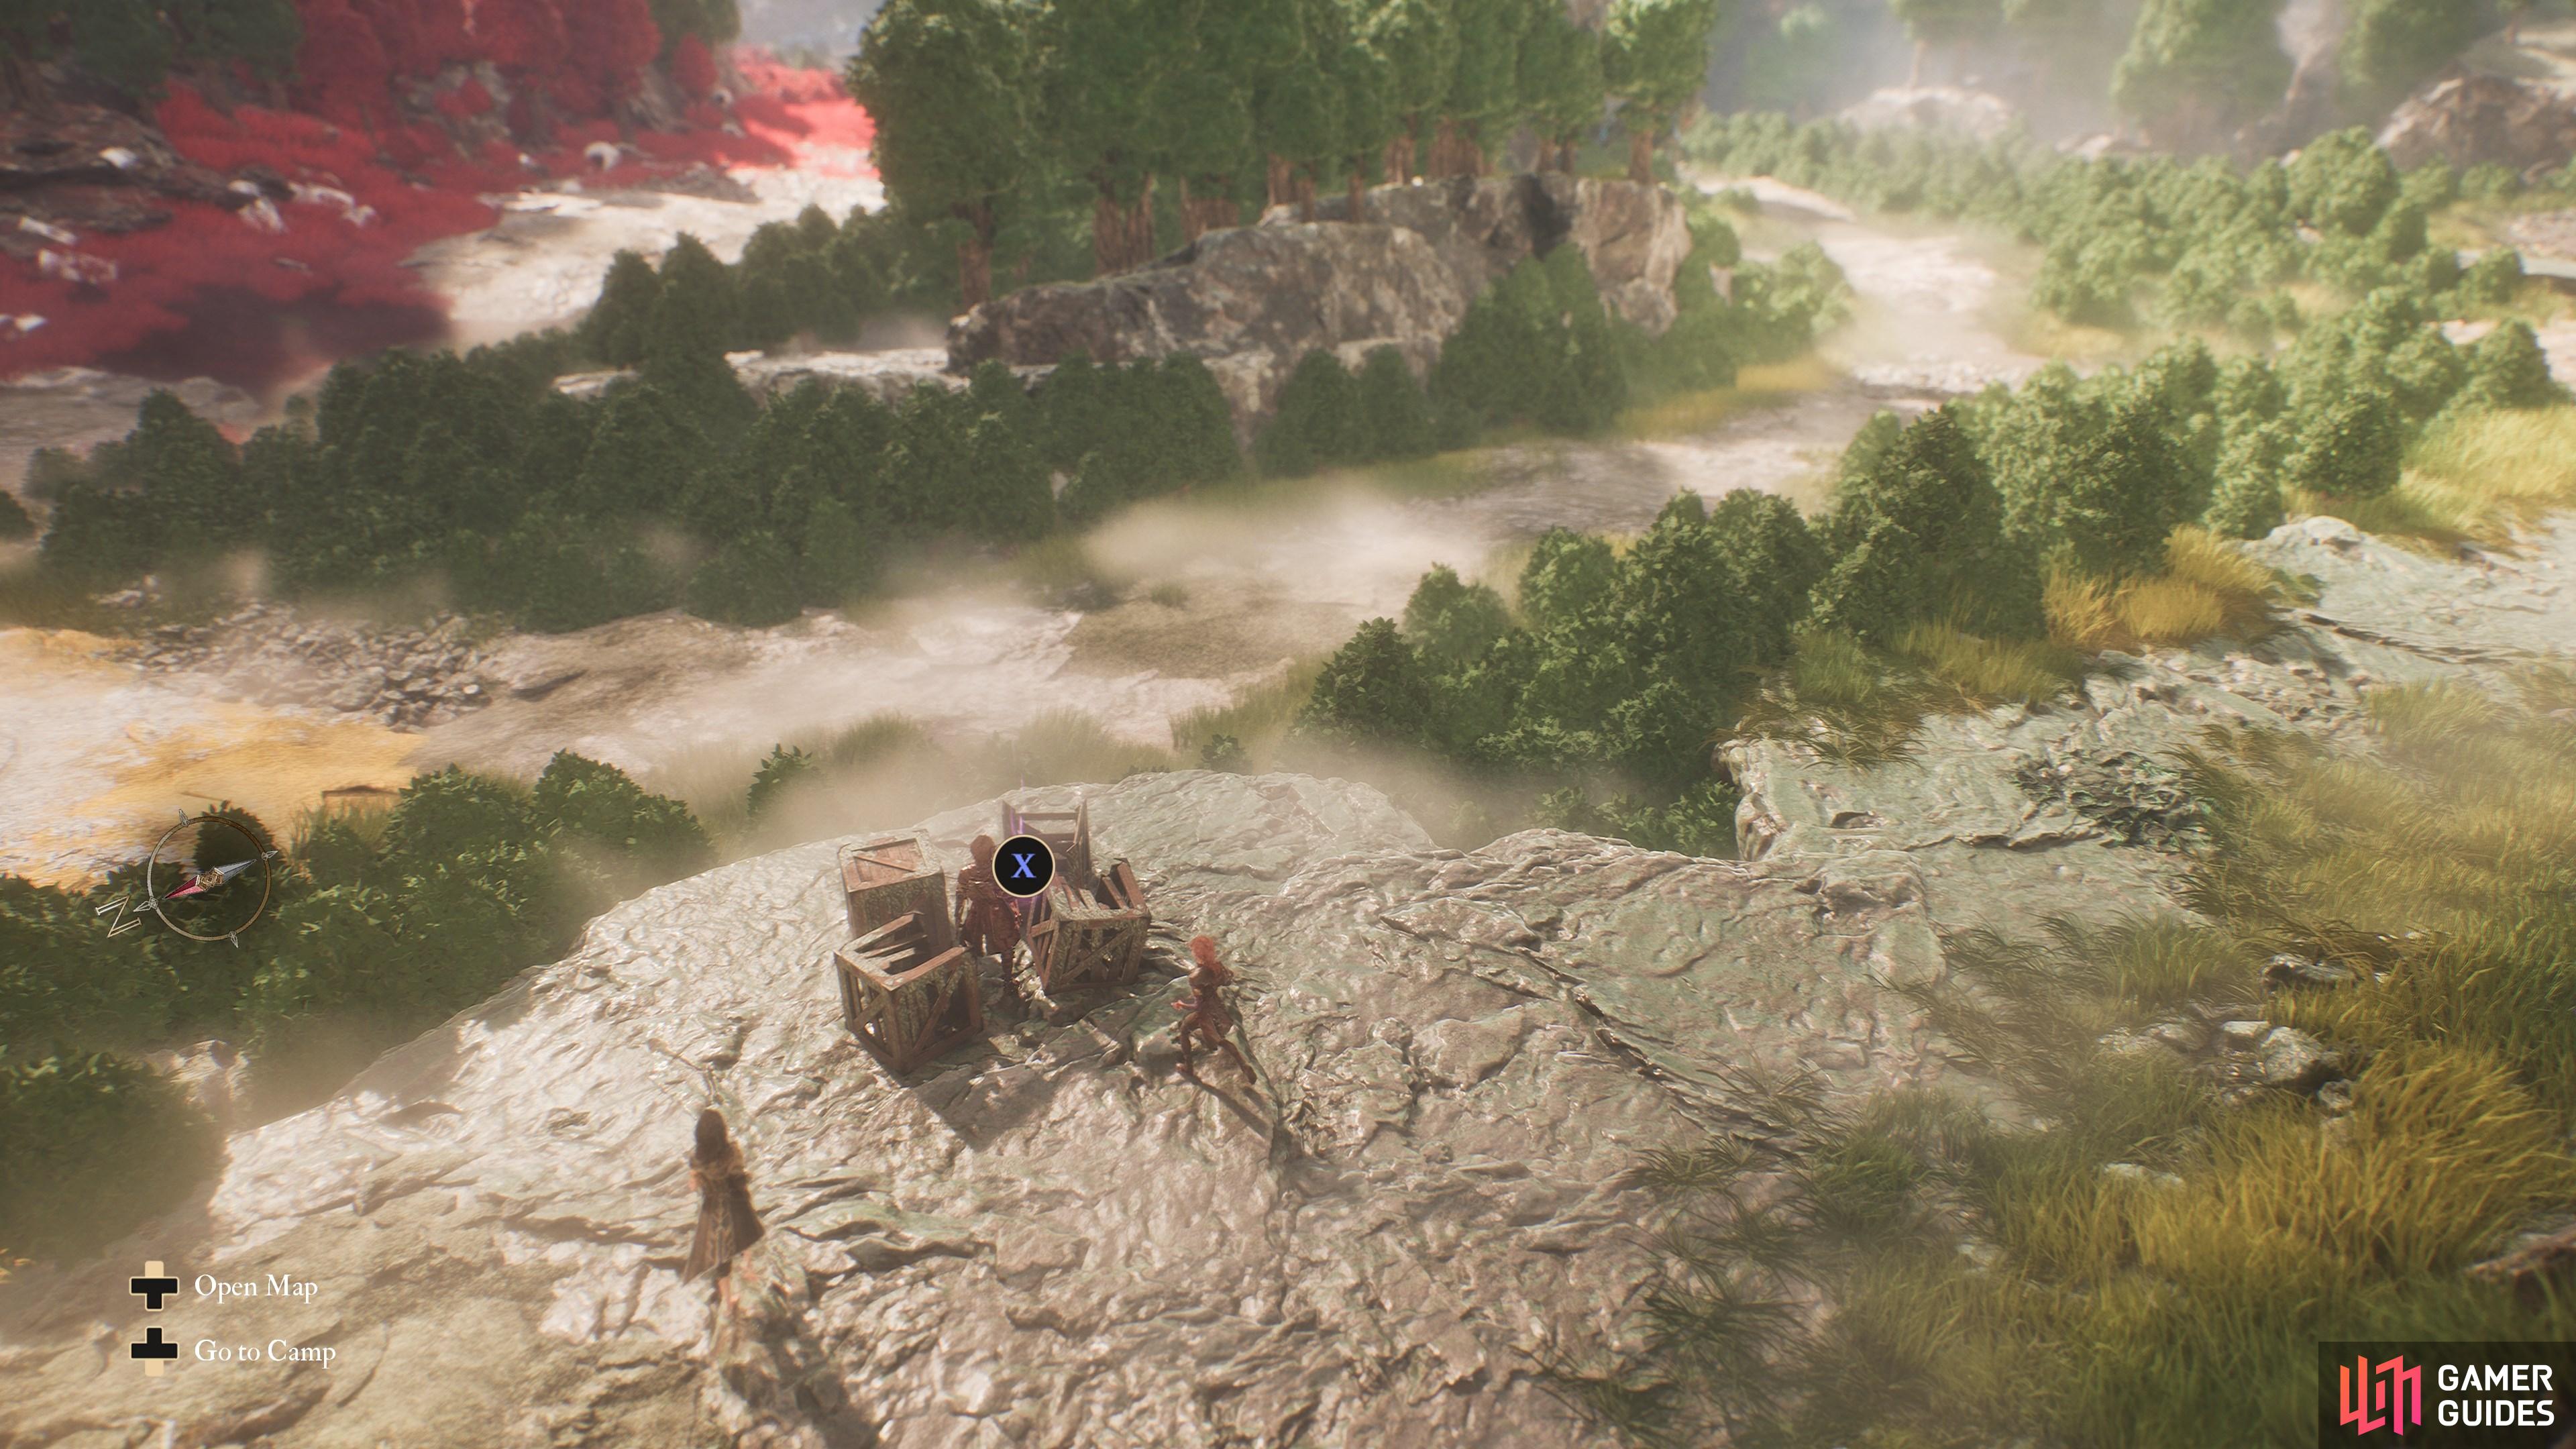
Jump down from the location of the paint cage and you’ll see a ruined statue. Take a right and look for a broken archway leading to a path between the rocks. Follow the path to find this among a pile of crate at the end.

74. The Continent
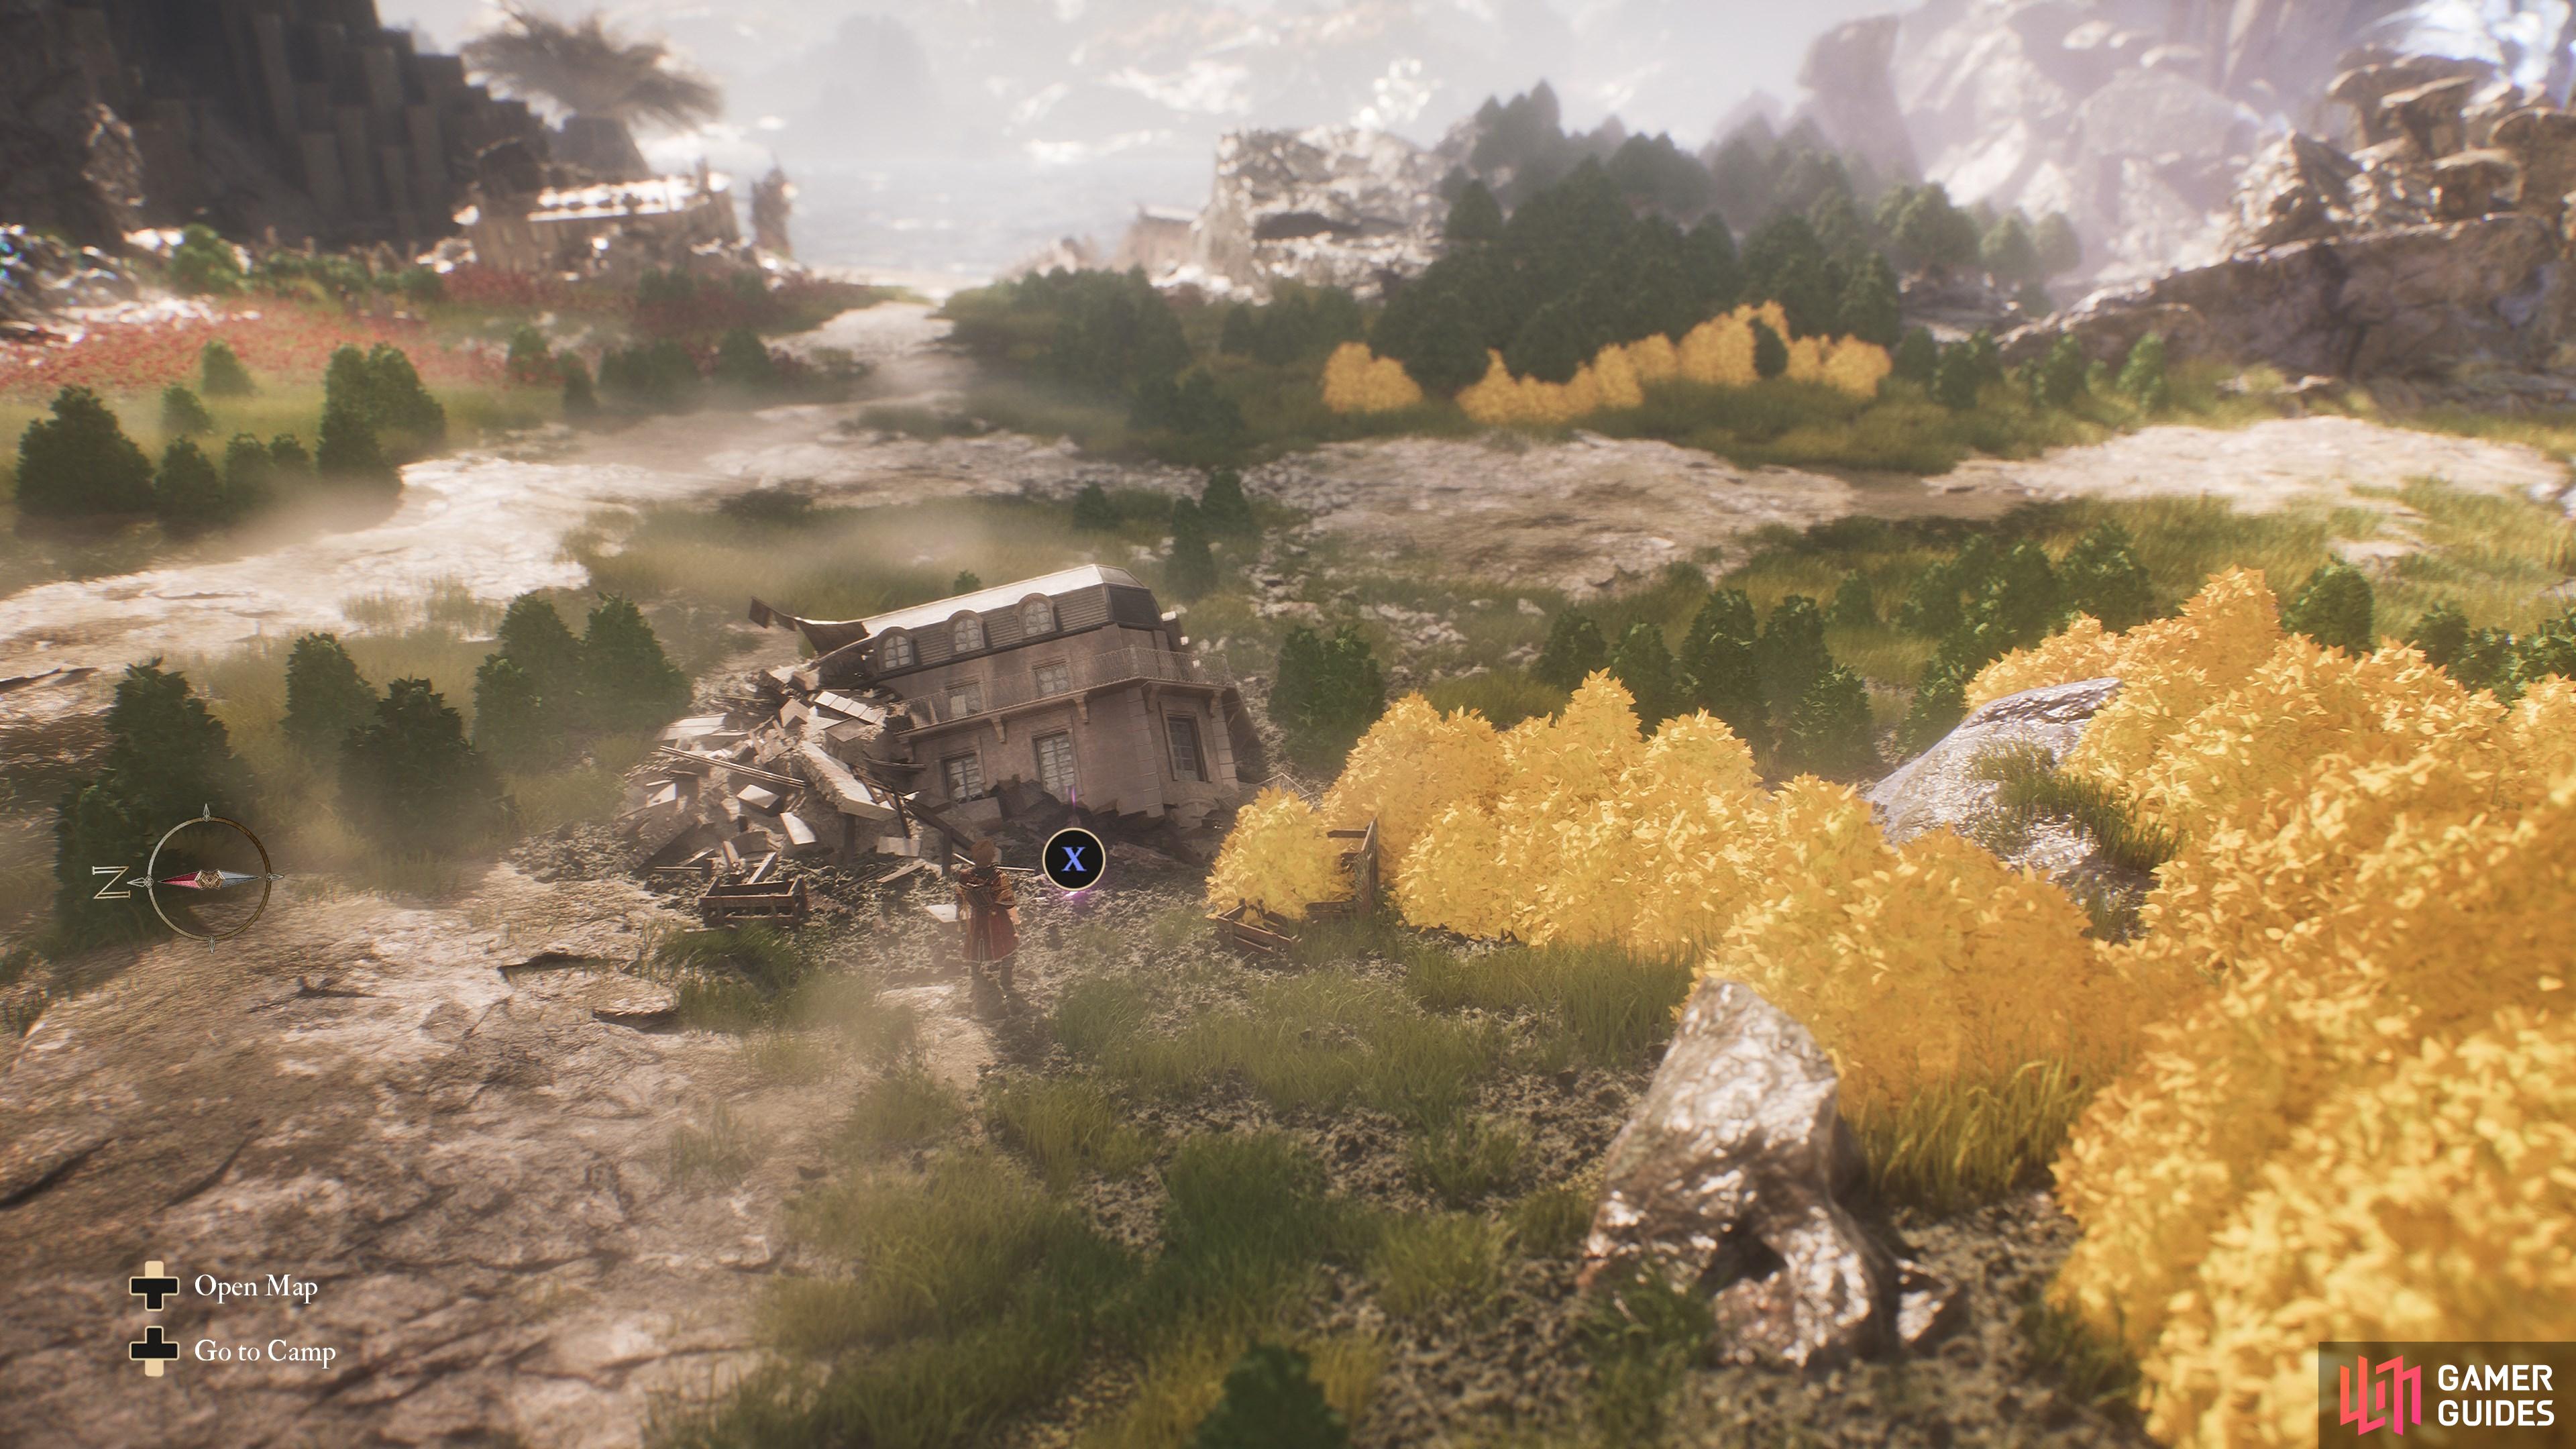
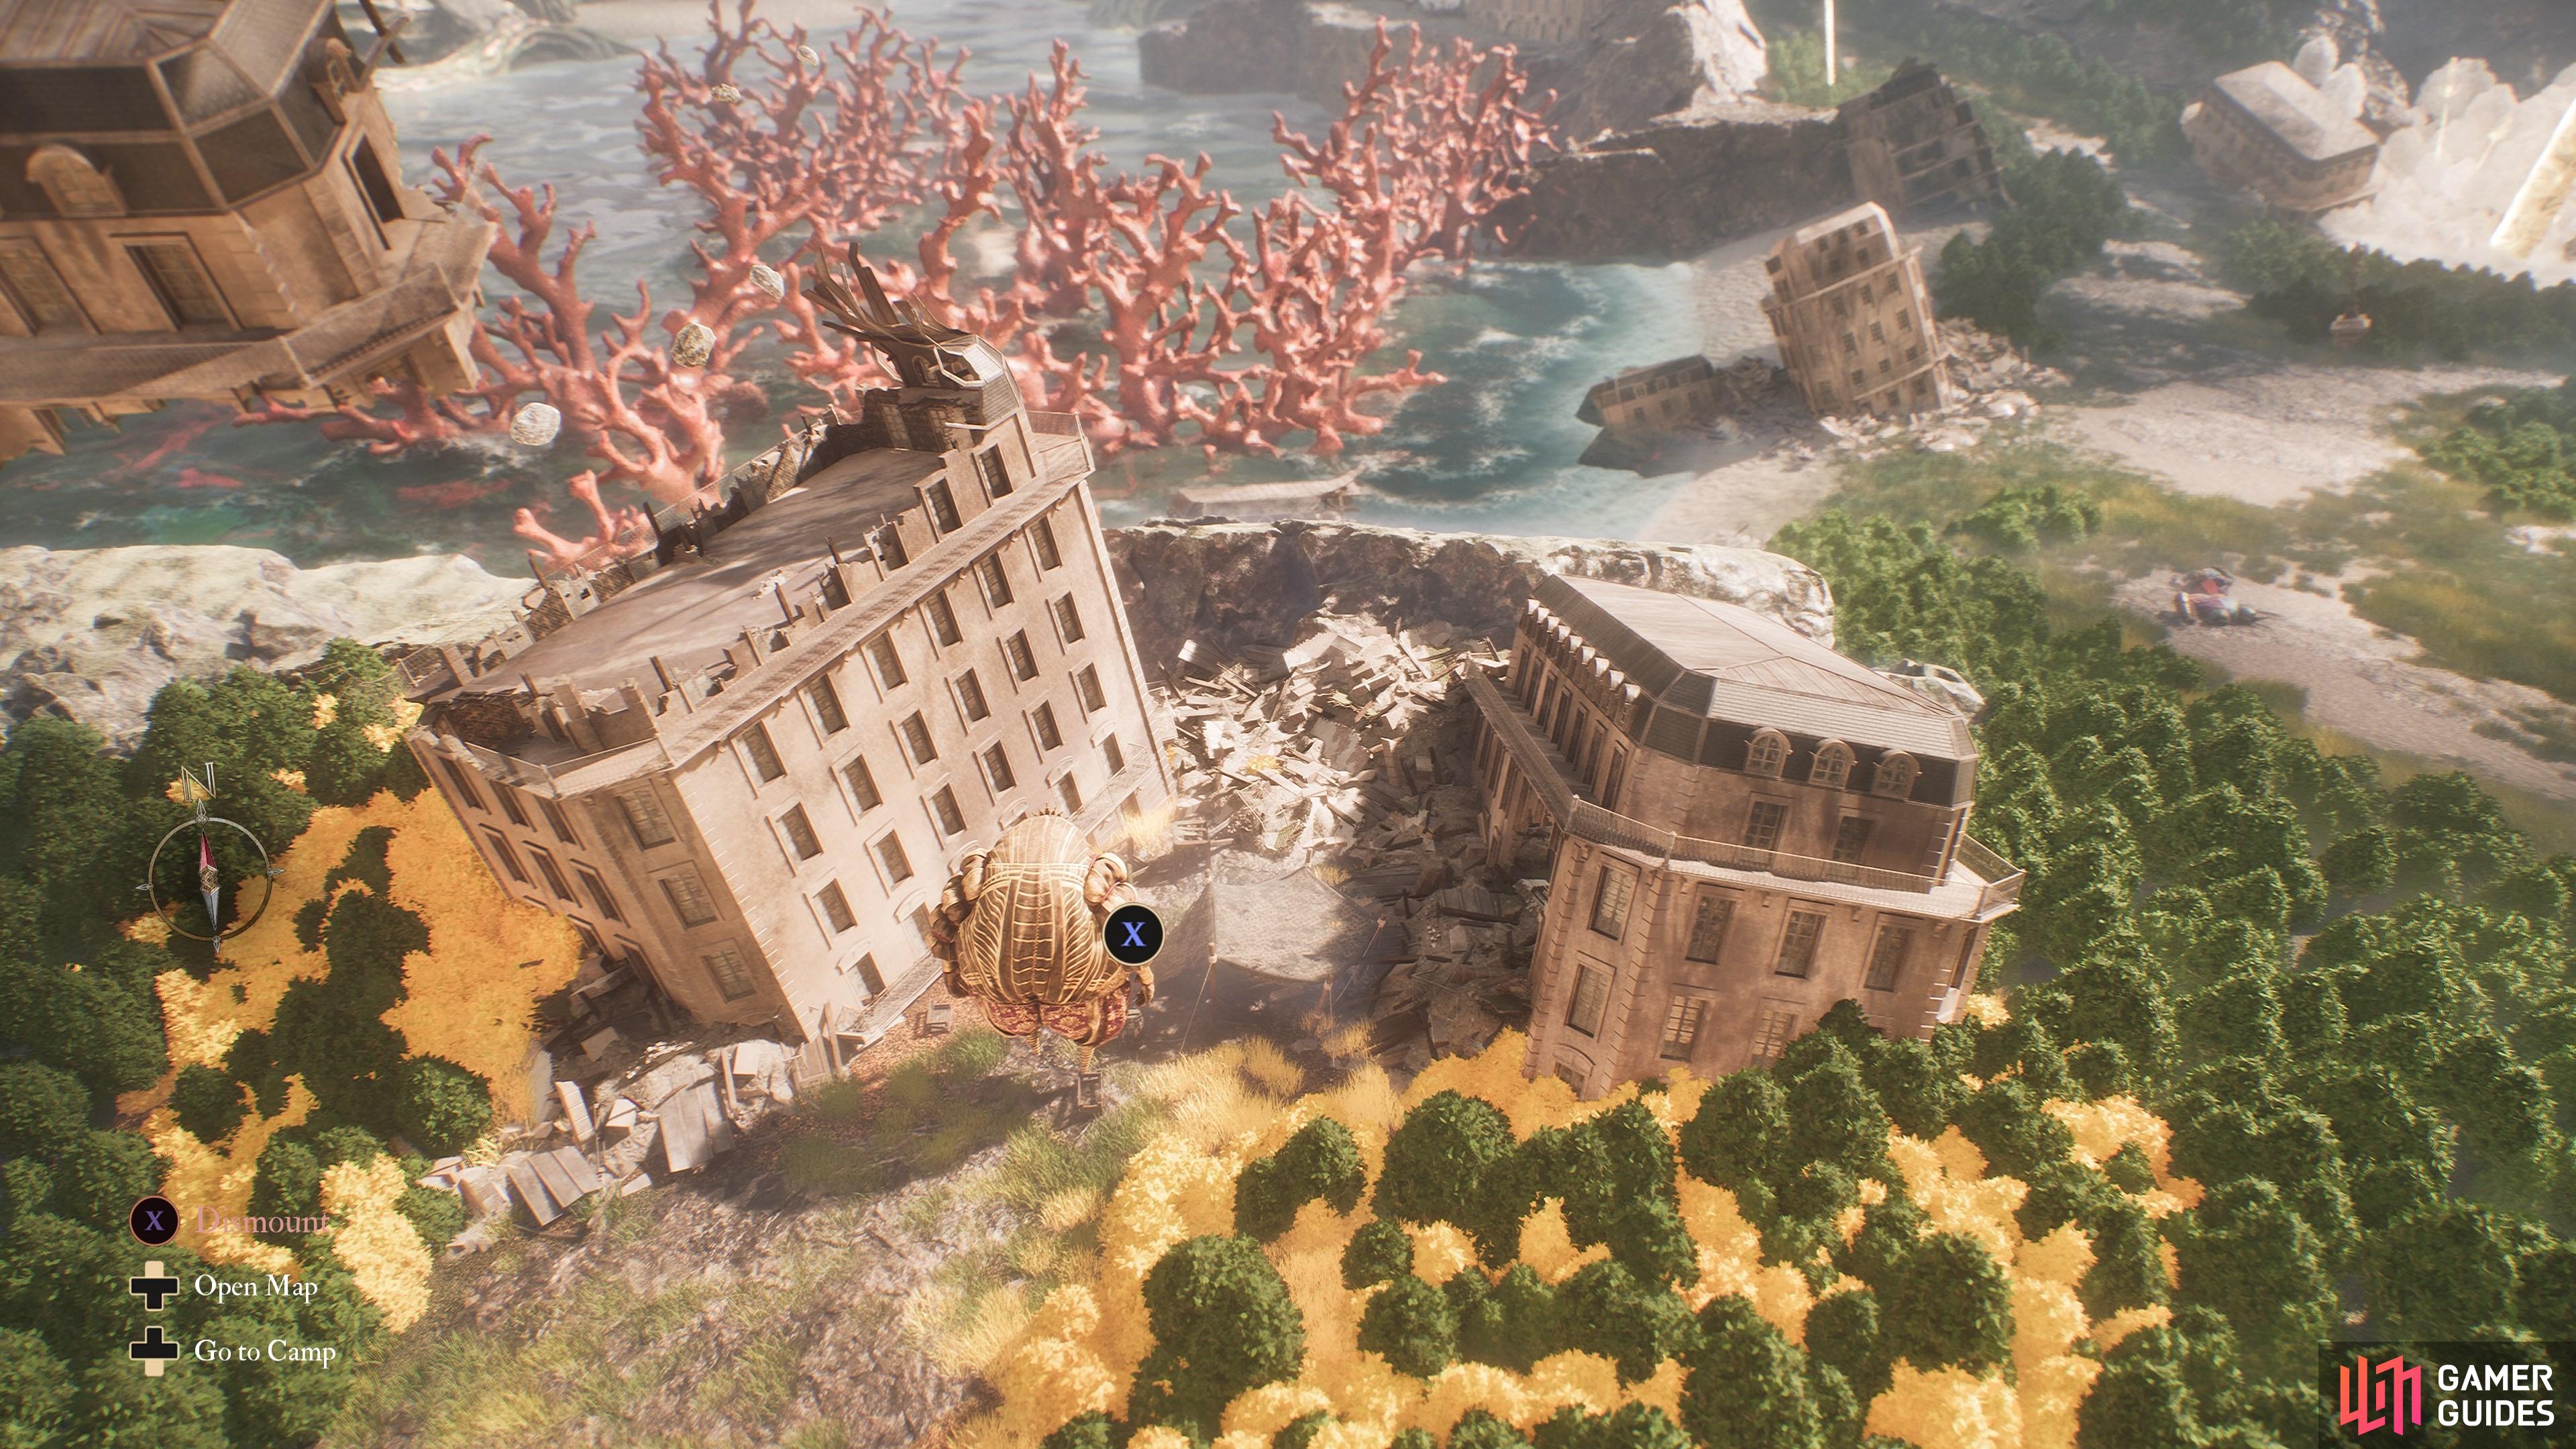
At the back of the rubble-filled area beyond the maze, among some crates beneath a leaning building.
76. The Continent
Look for the patrolling ![]() Ceramic Chevalière on this rocky outcrop. You’ll find the item around the corner behind the building.
Ceramic Chevalière on this rocky outcrop. You’ll find the item around the corner behind the building.

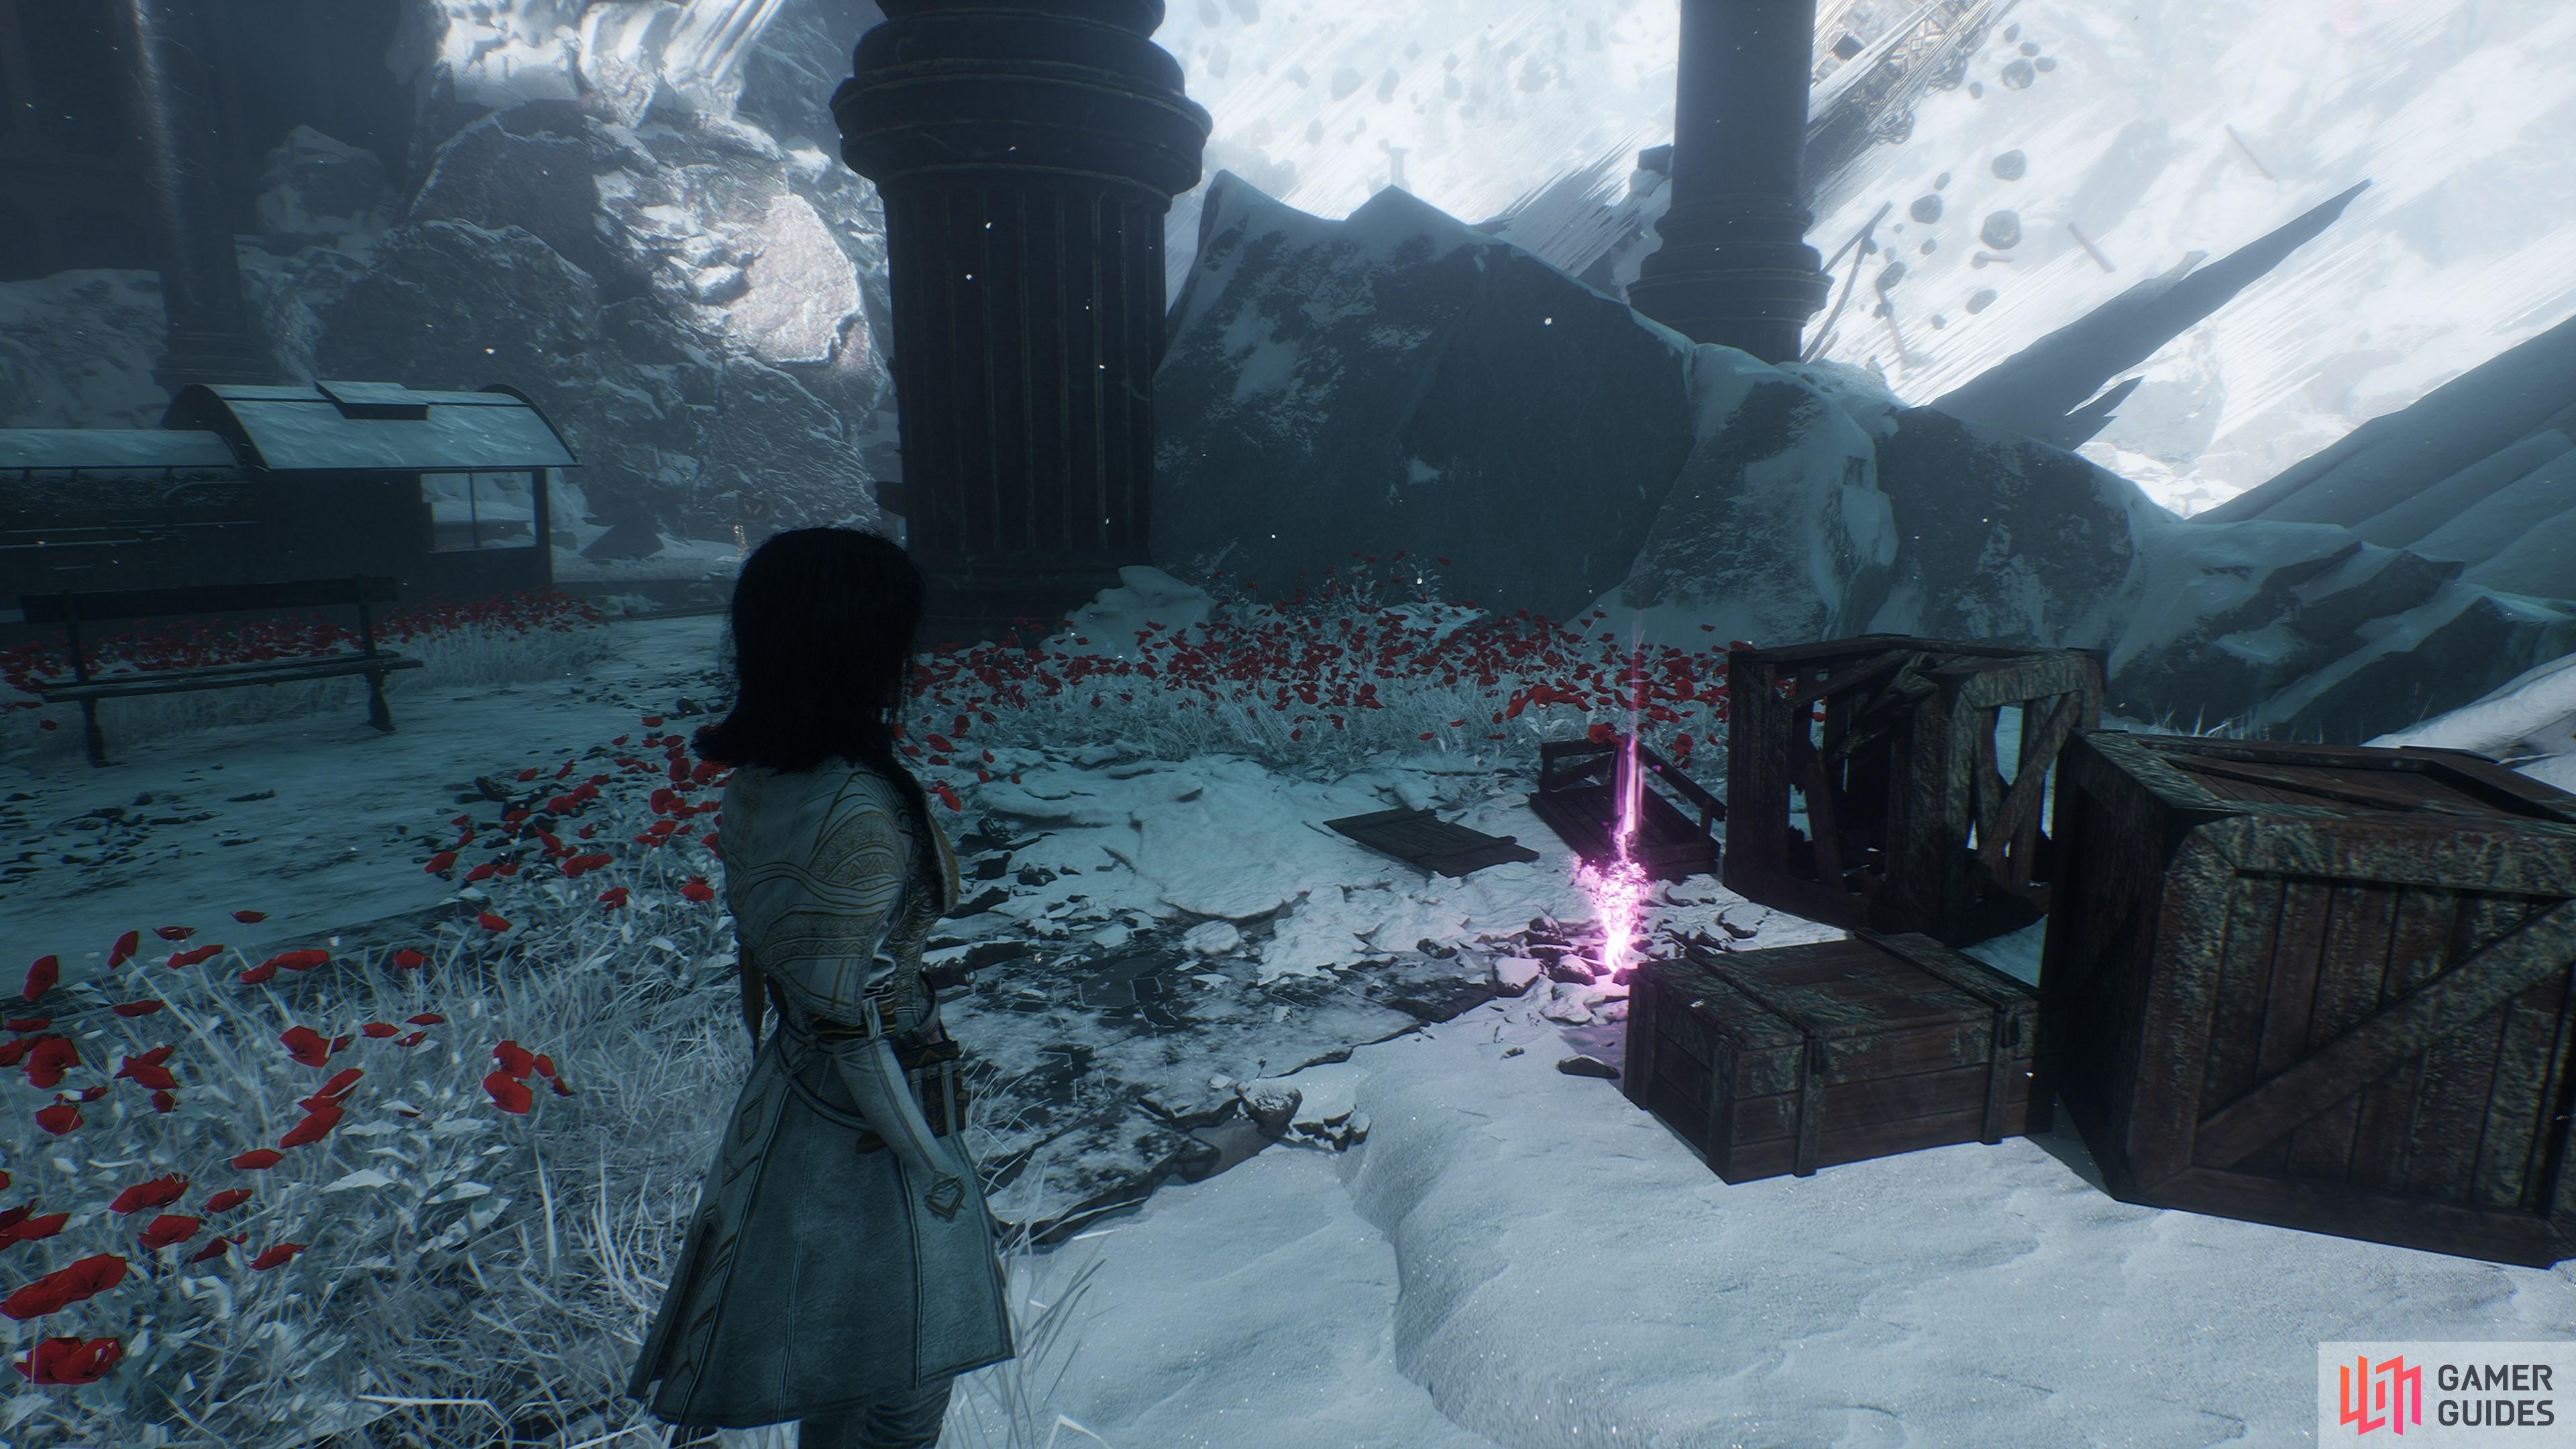
79. The Continent
Among some crates on the cliff to the right as you enter this area.
81. The Continent
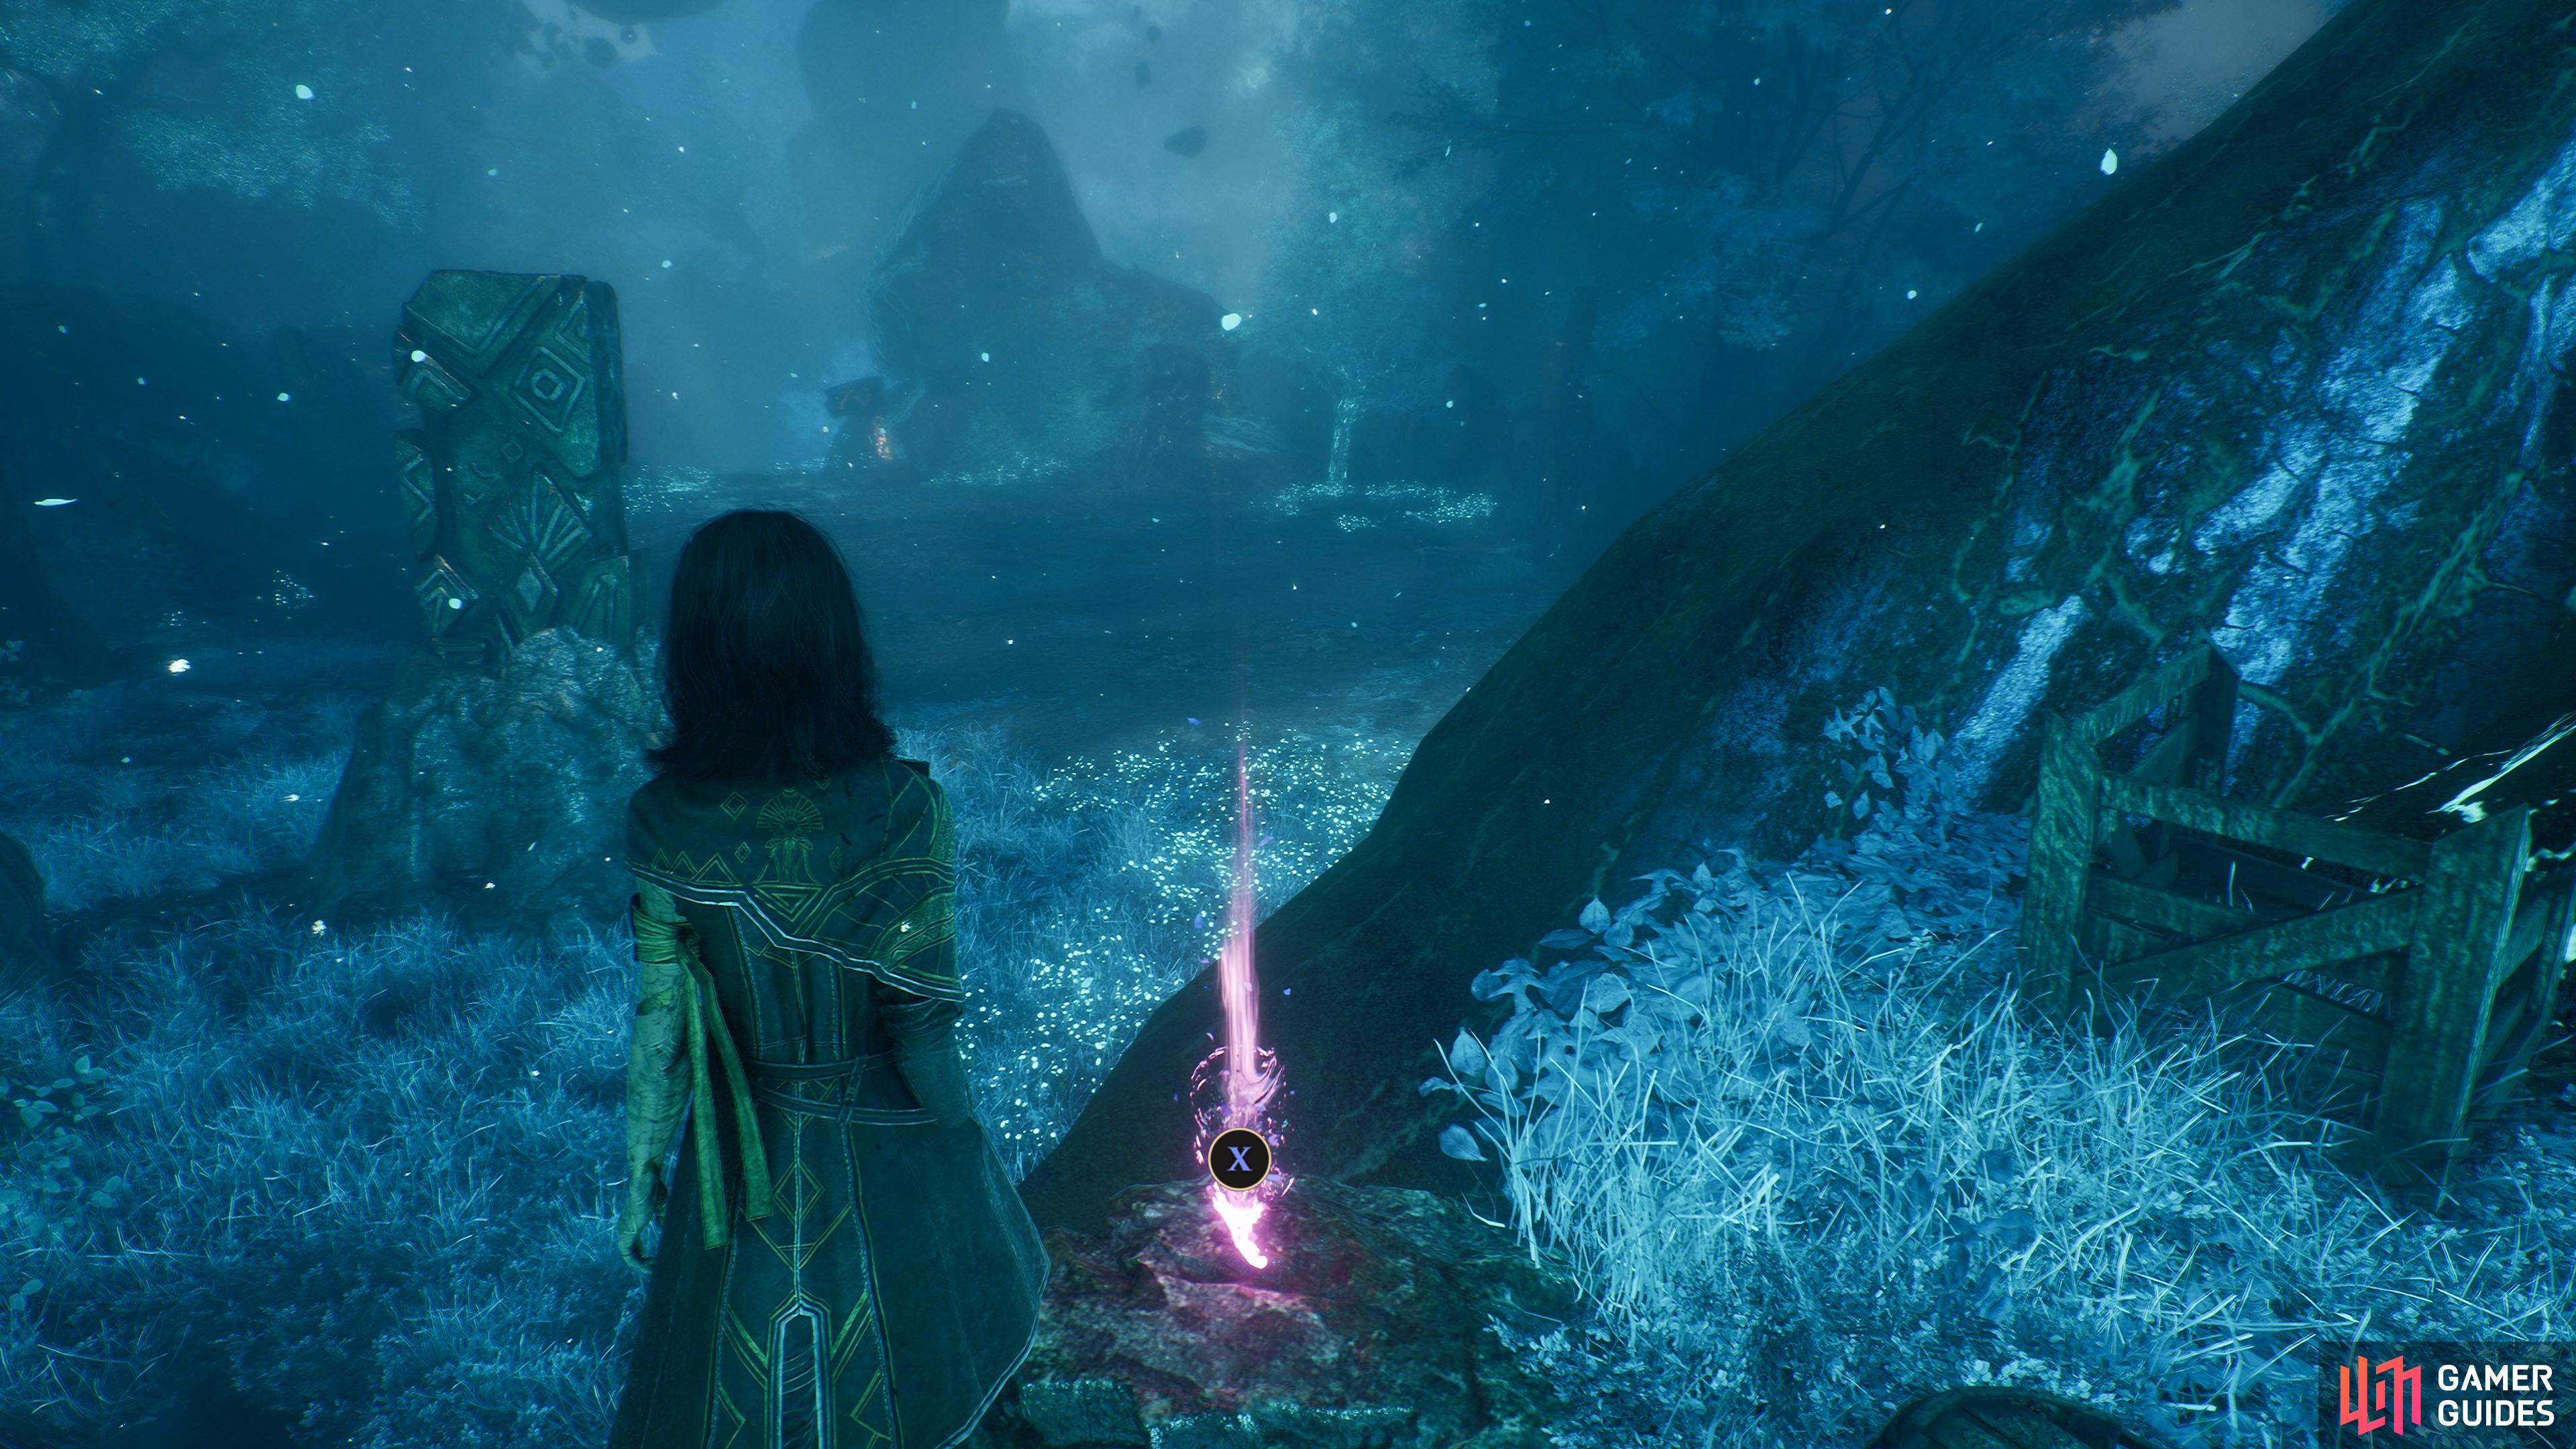
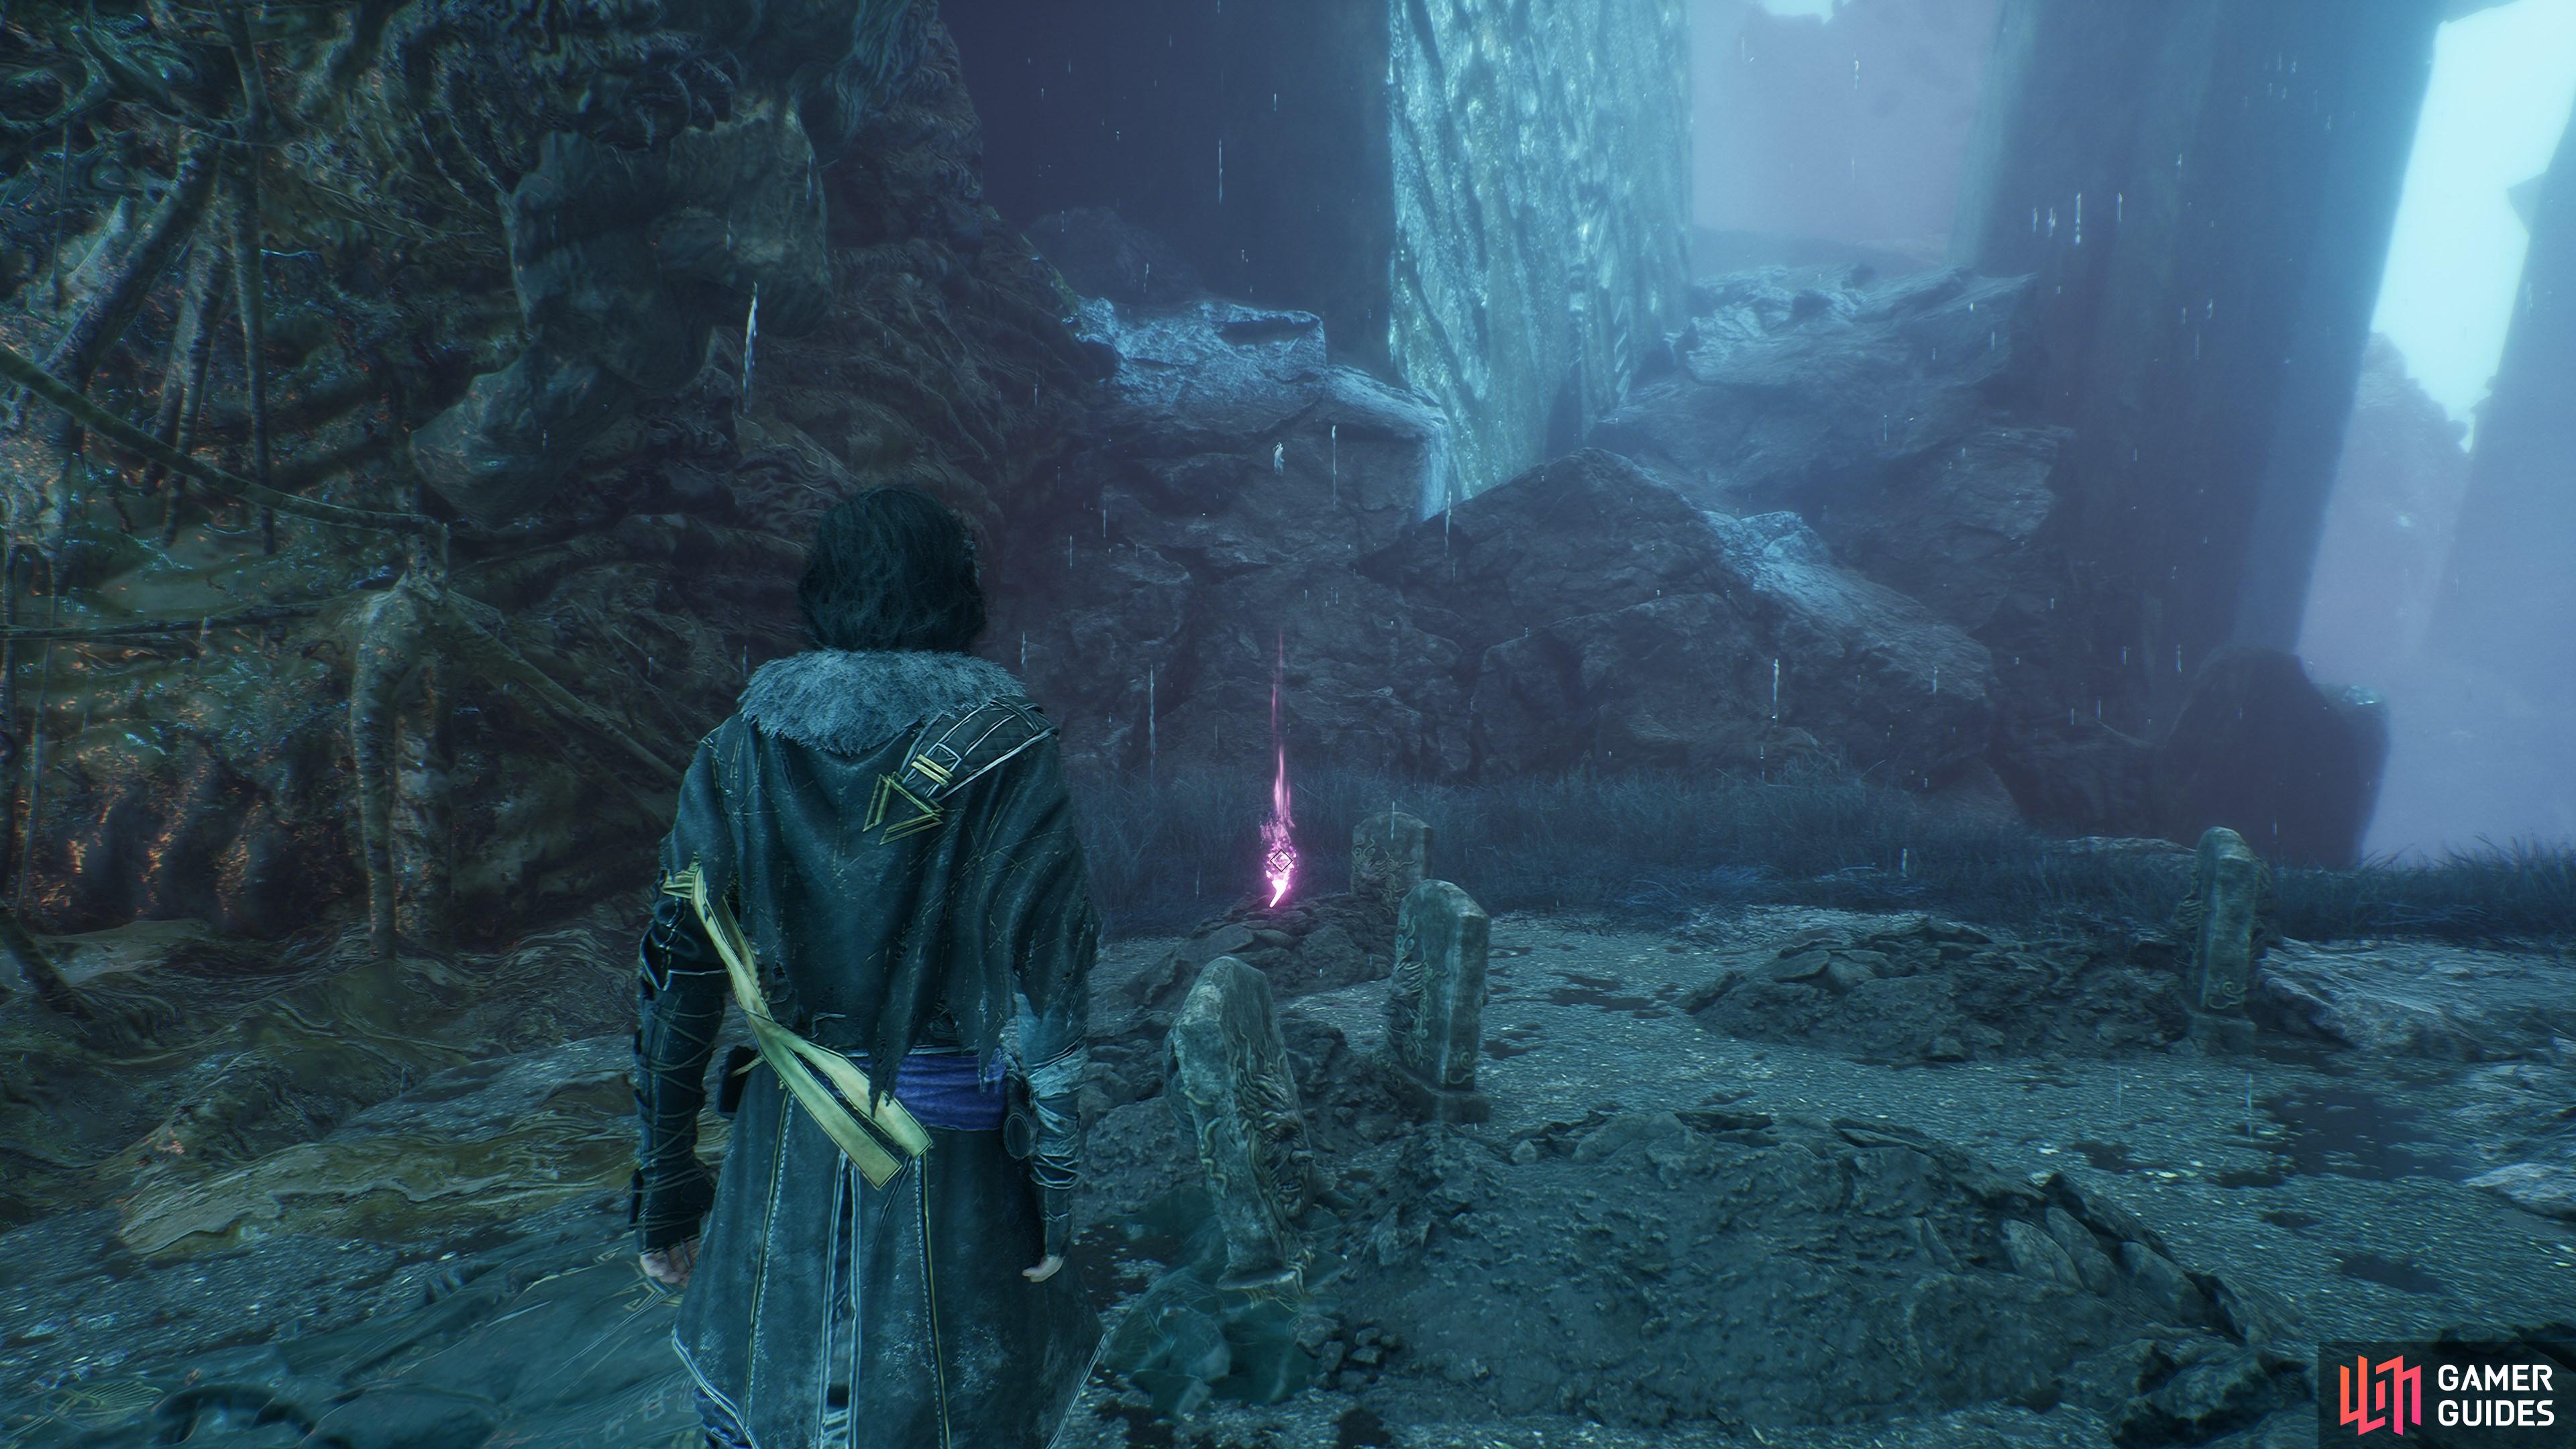
From ![]() Sadness Vale, hug the left wall and you’ll quickly find this resting on a grave under a golden mask.
Sadness Vale, hug the left wall and you’ll quickly find this resting on a grave under a golden mask.
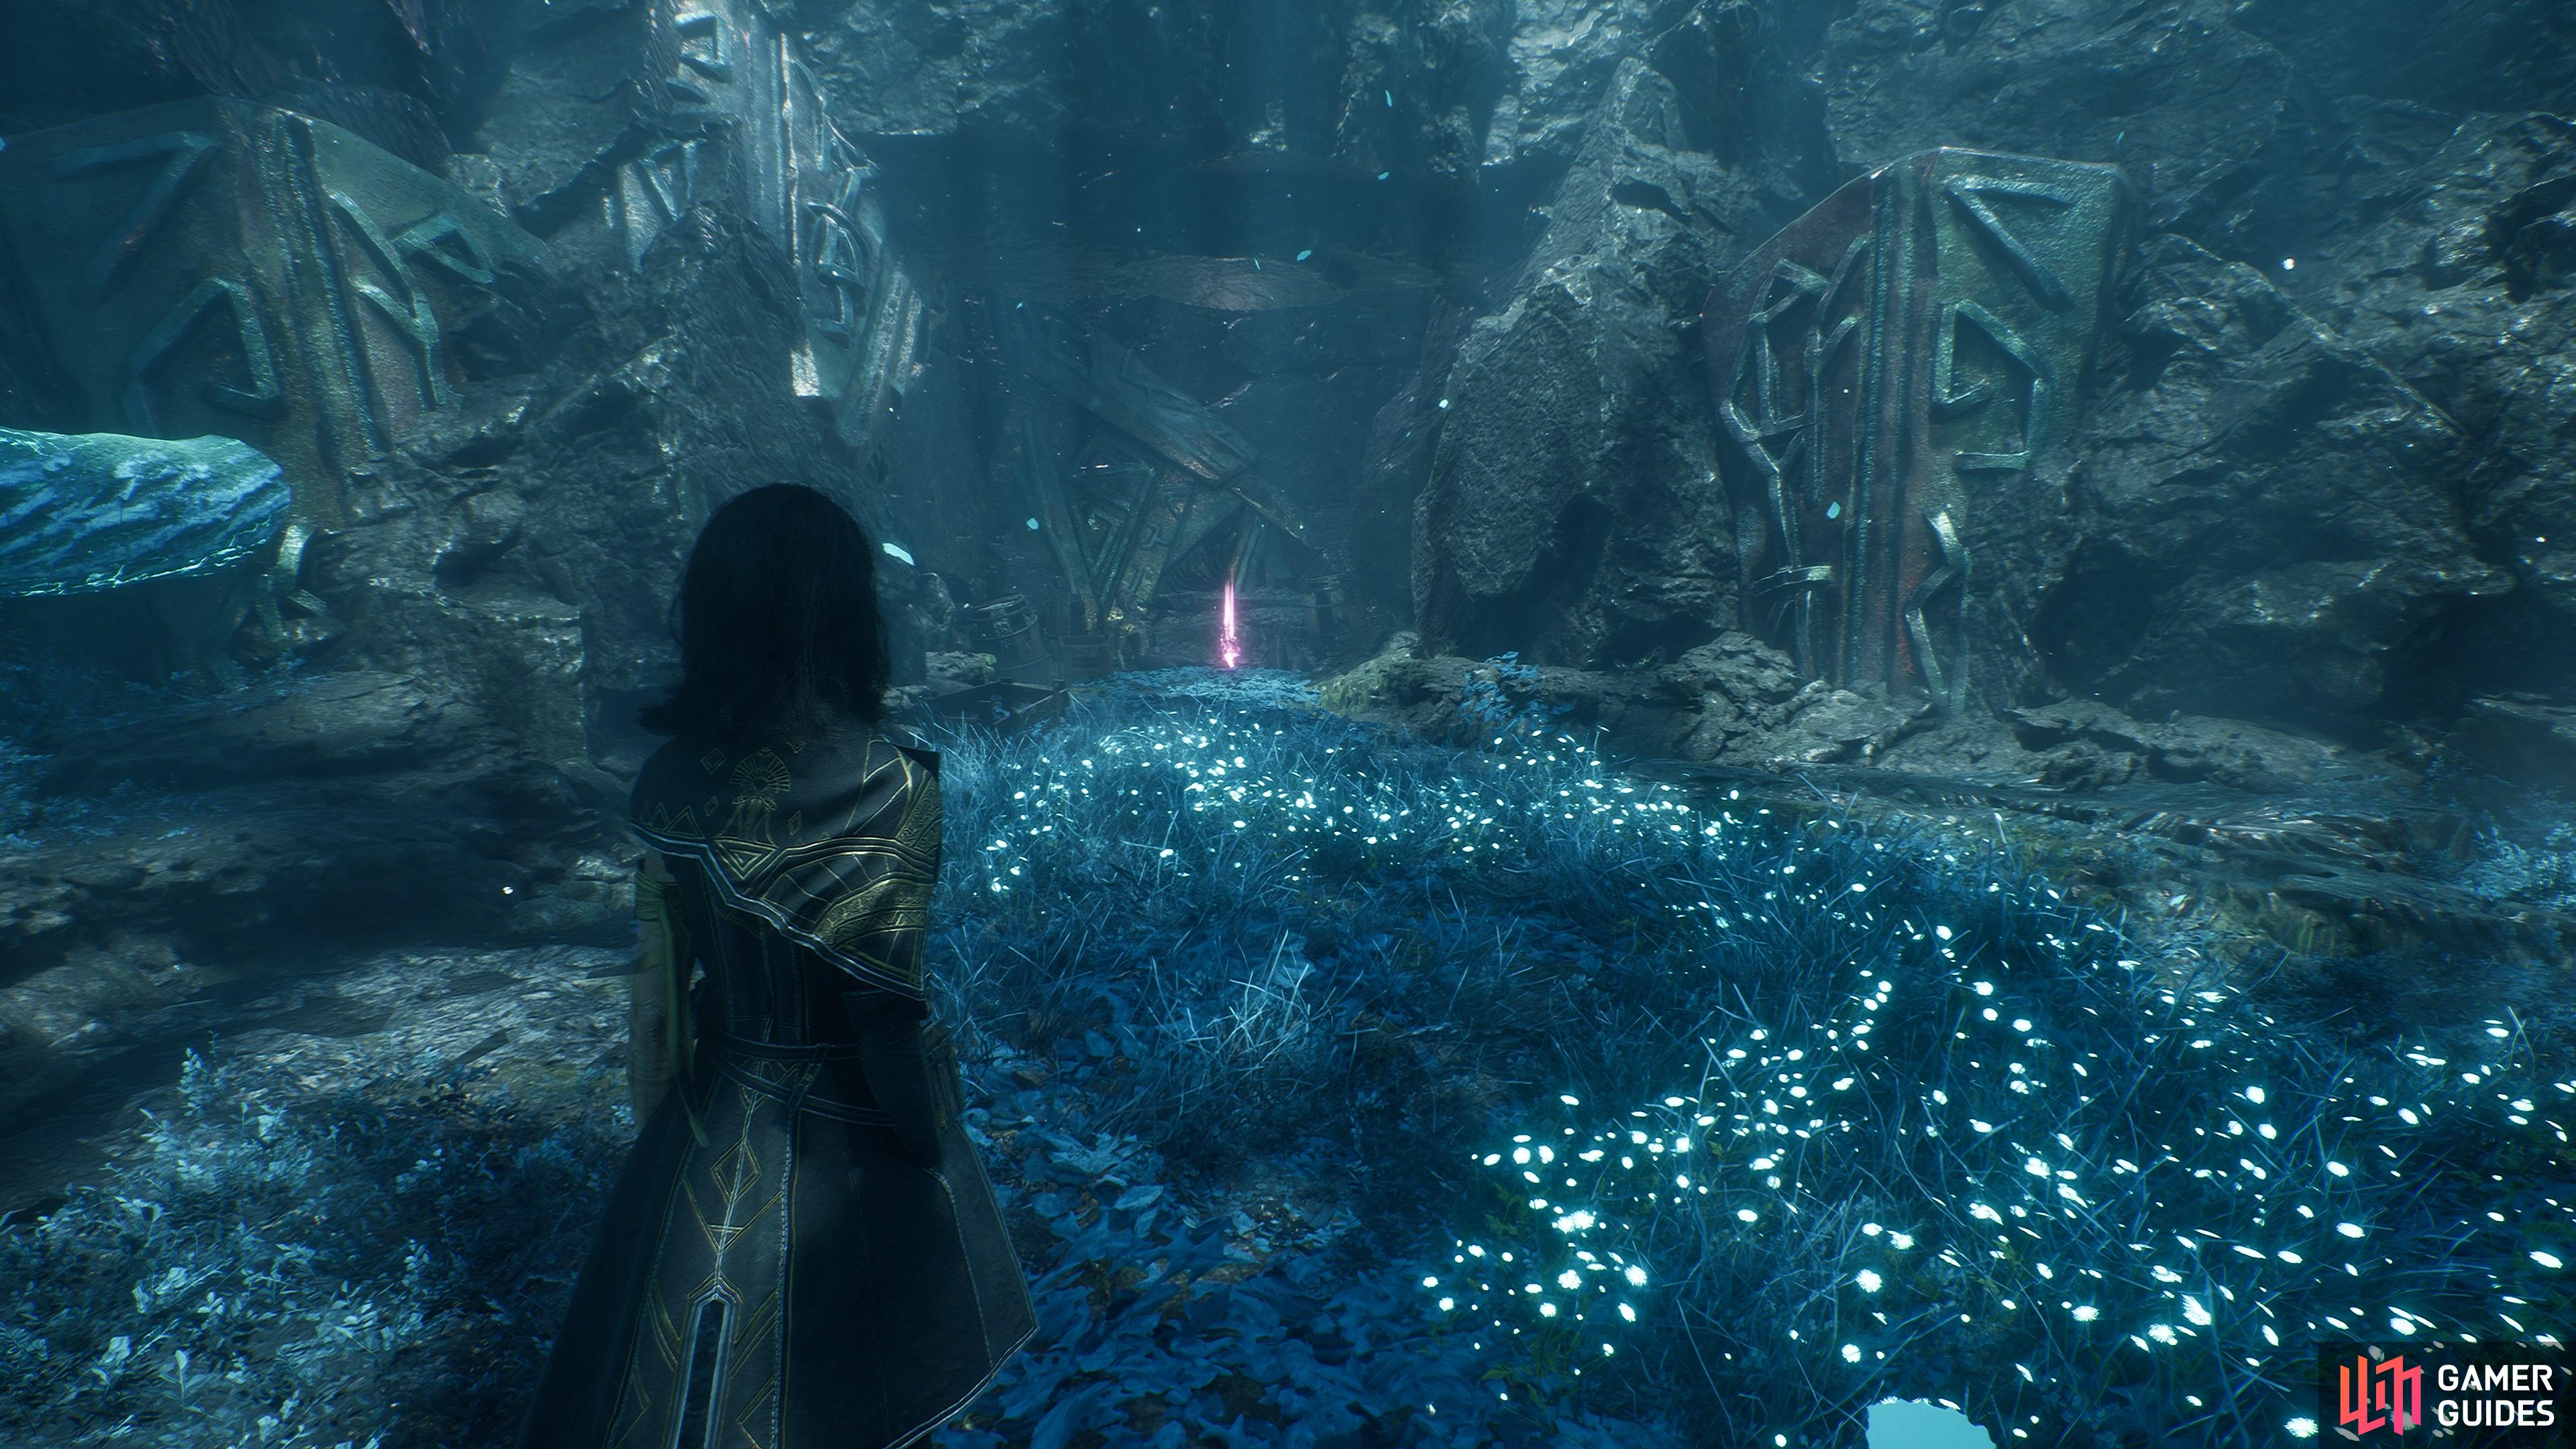
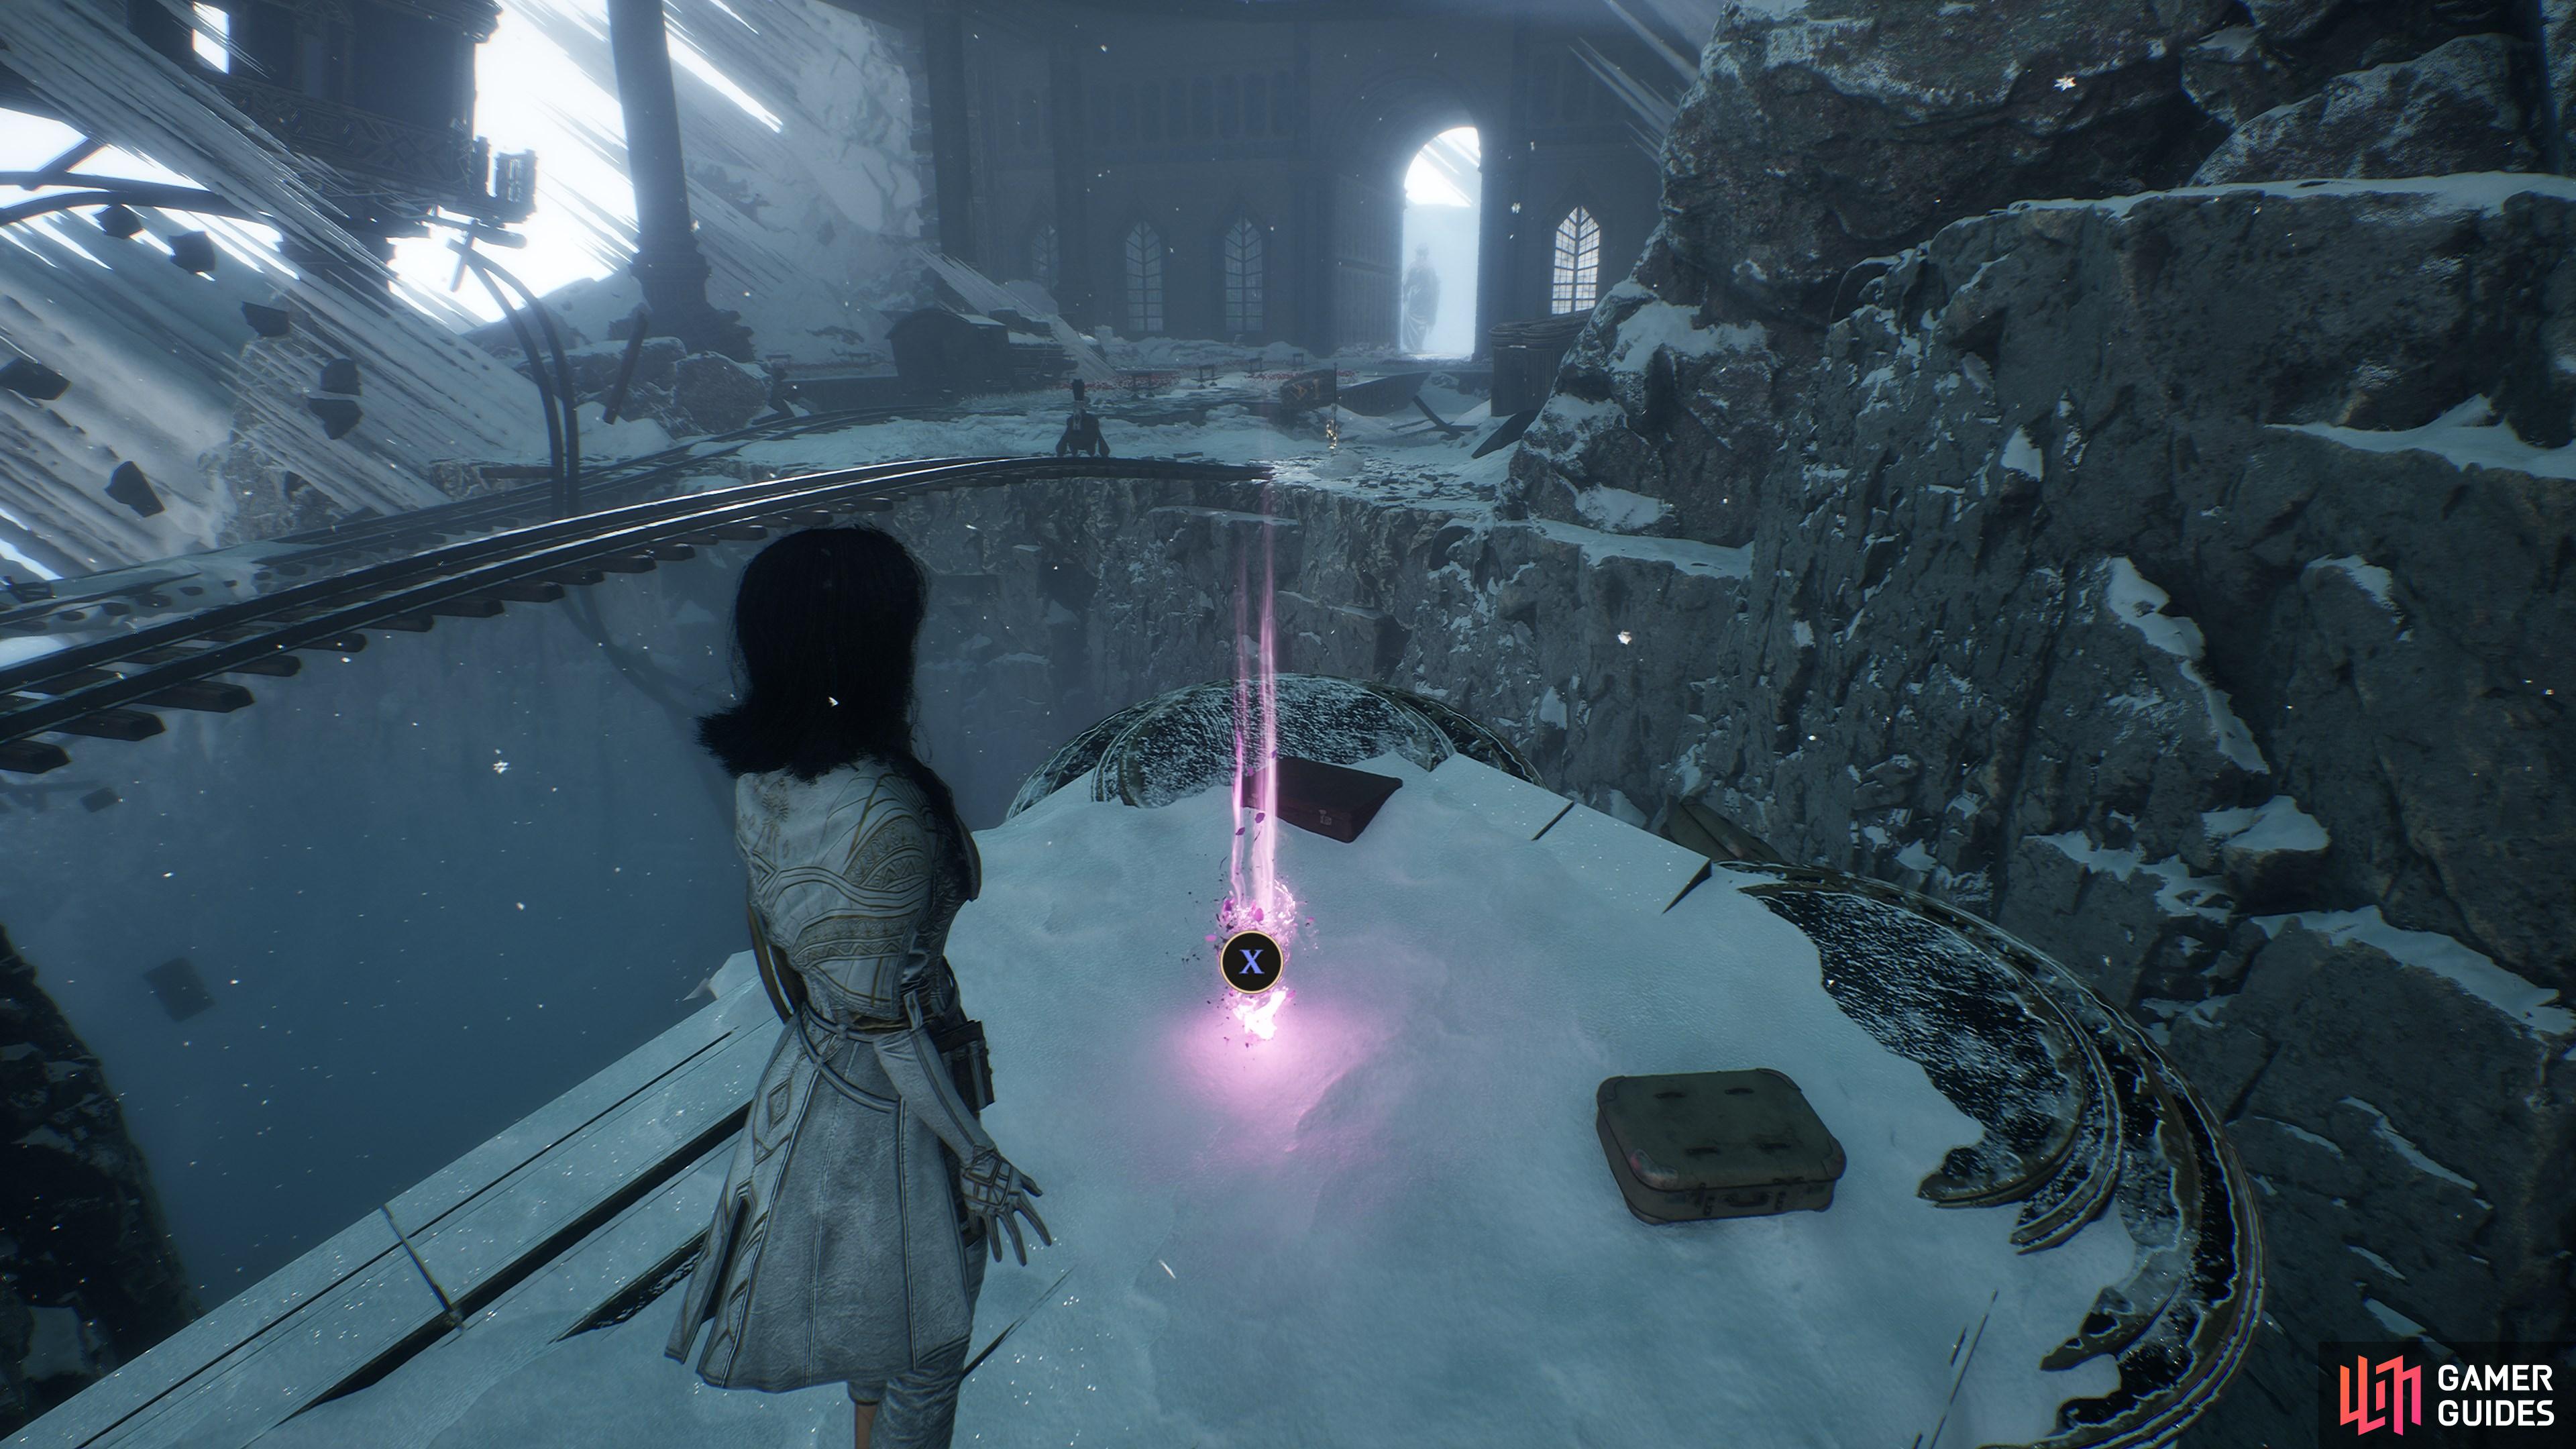
83. The Continent
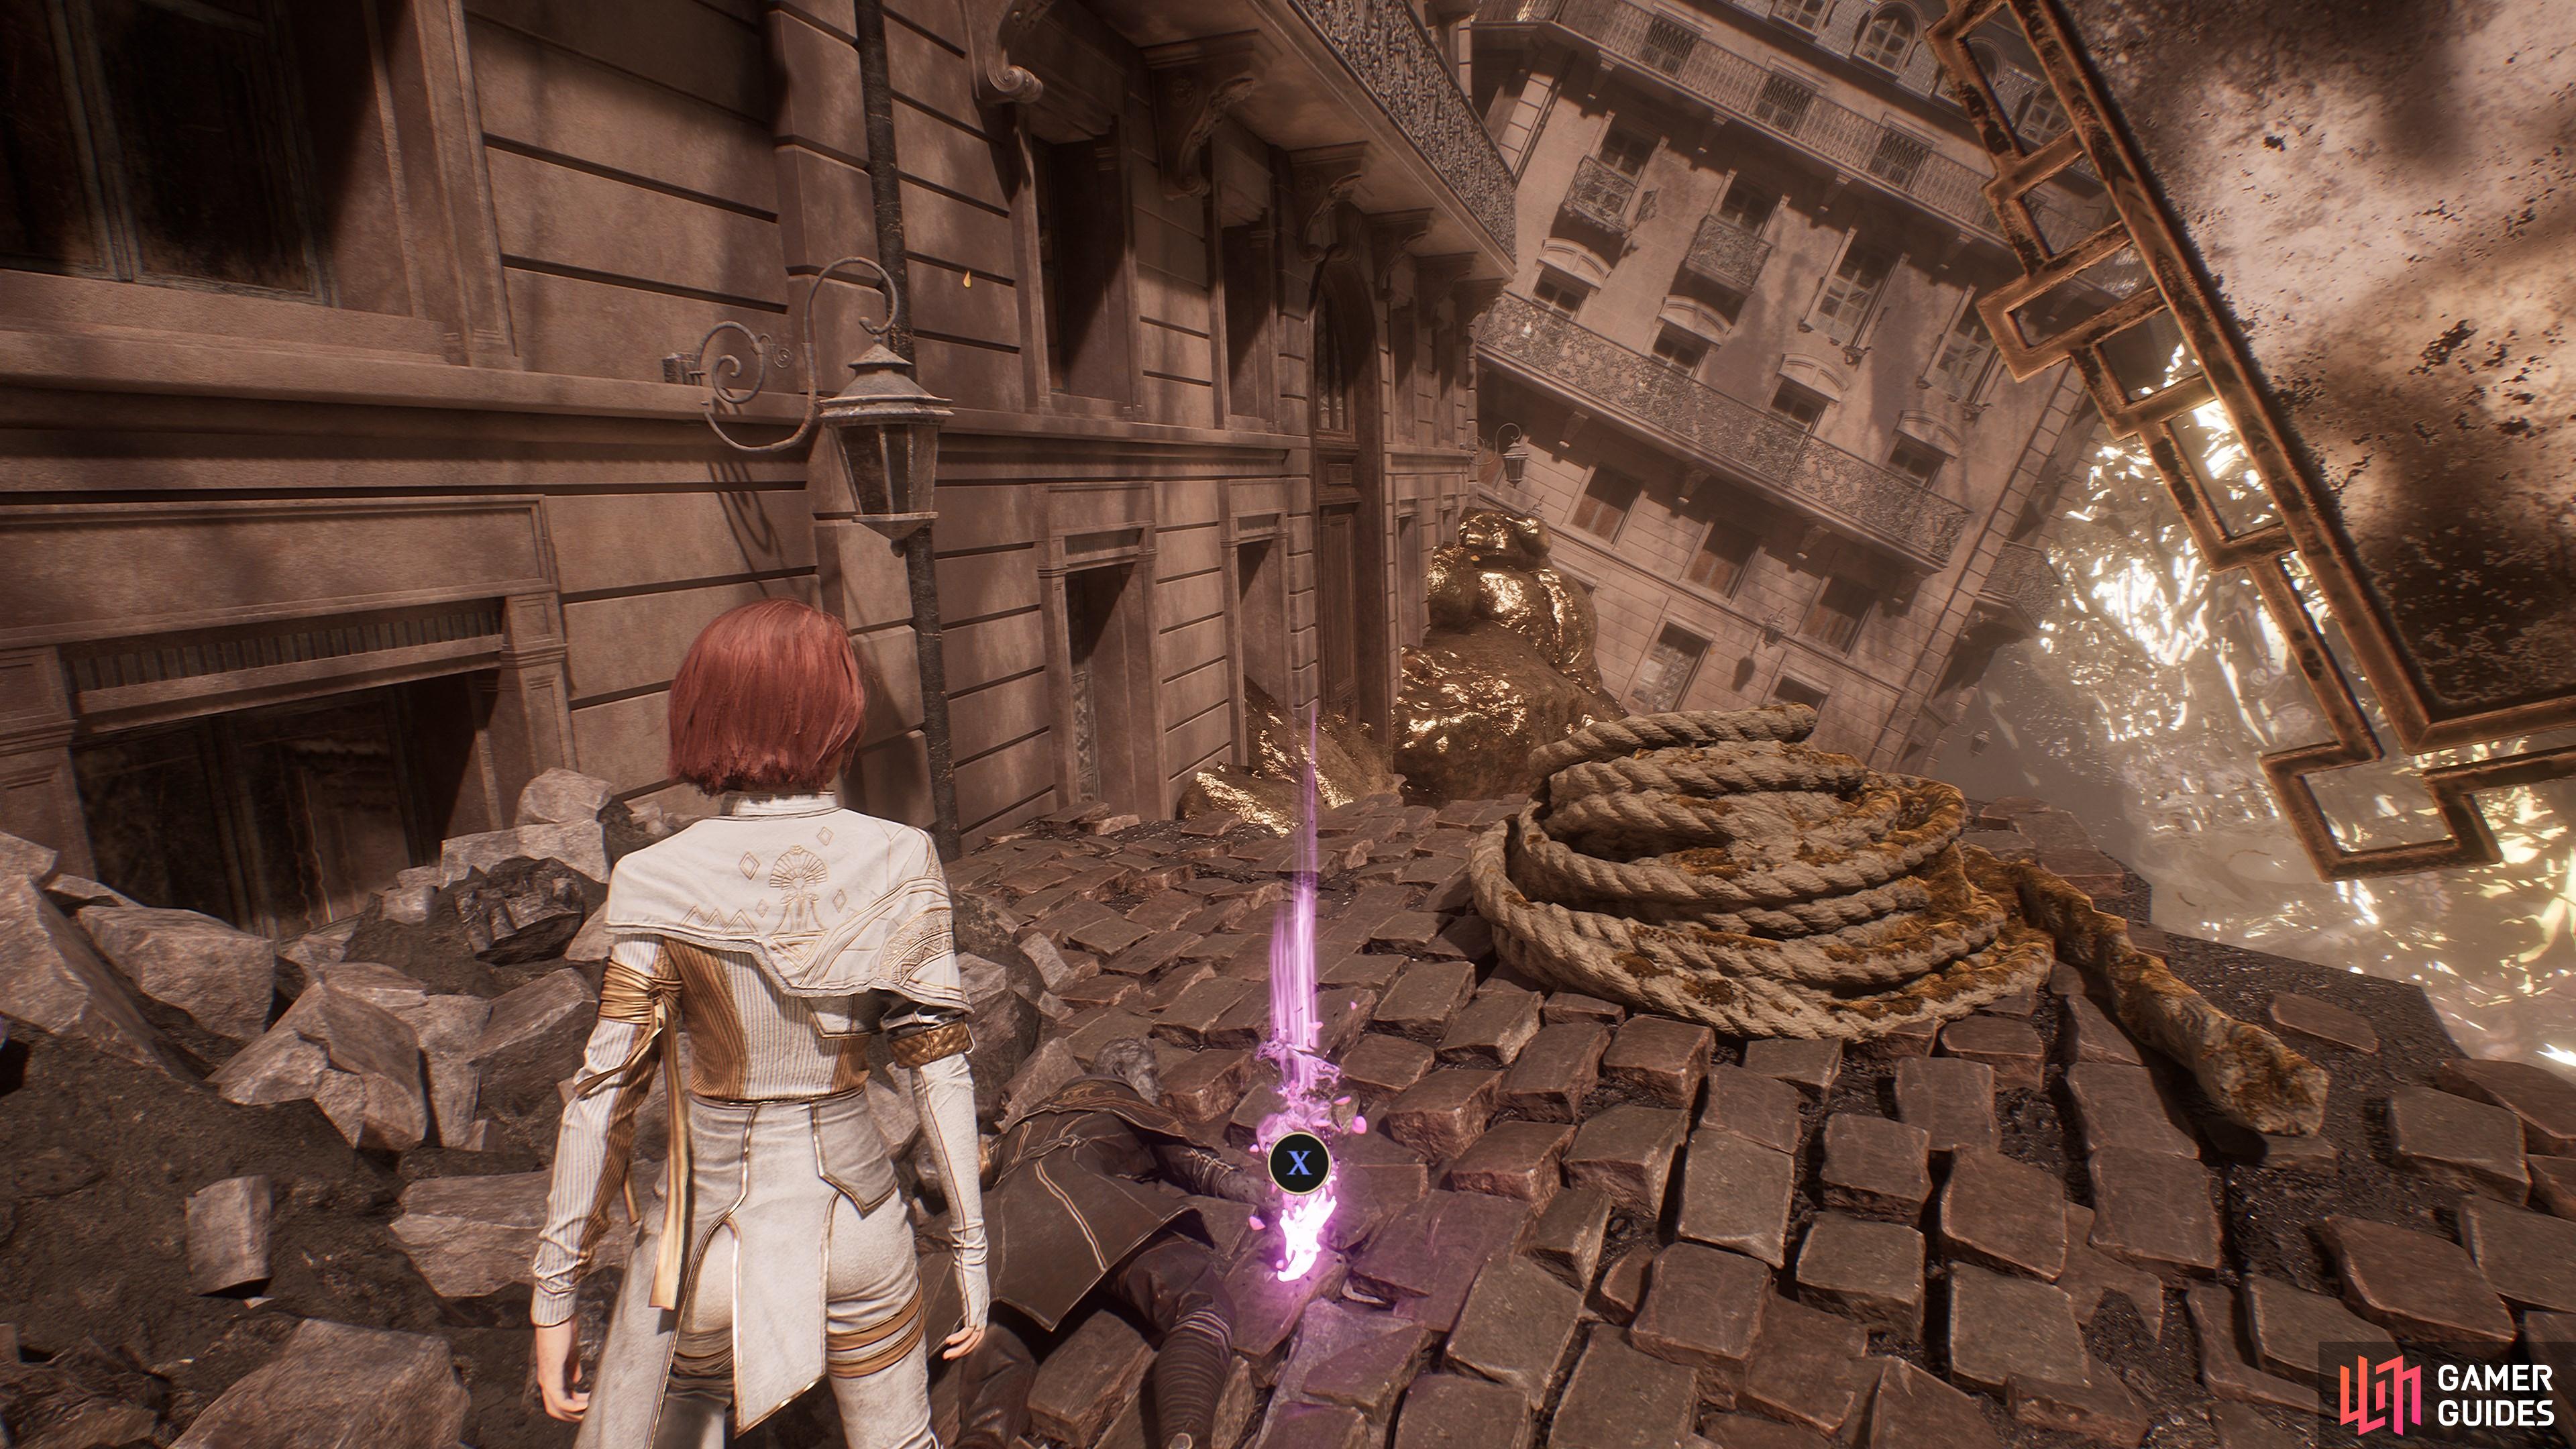
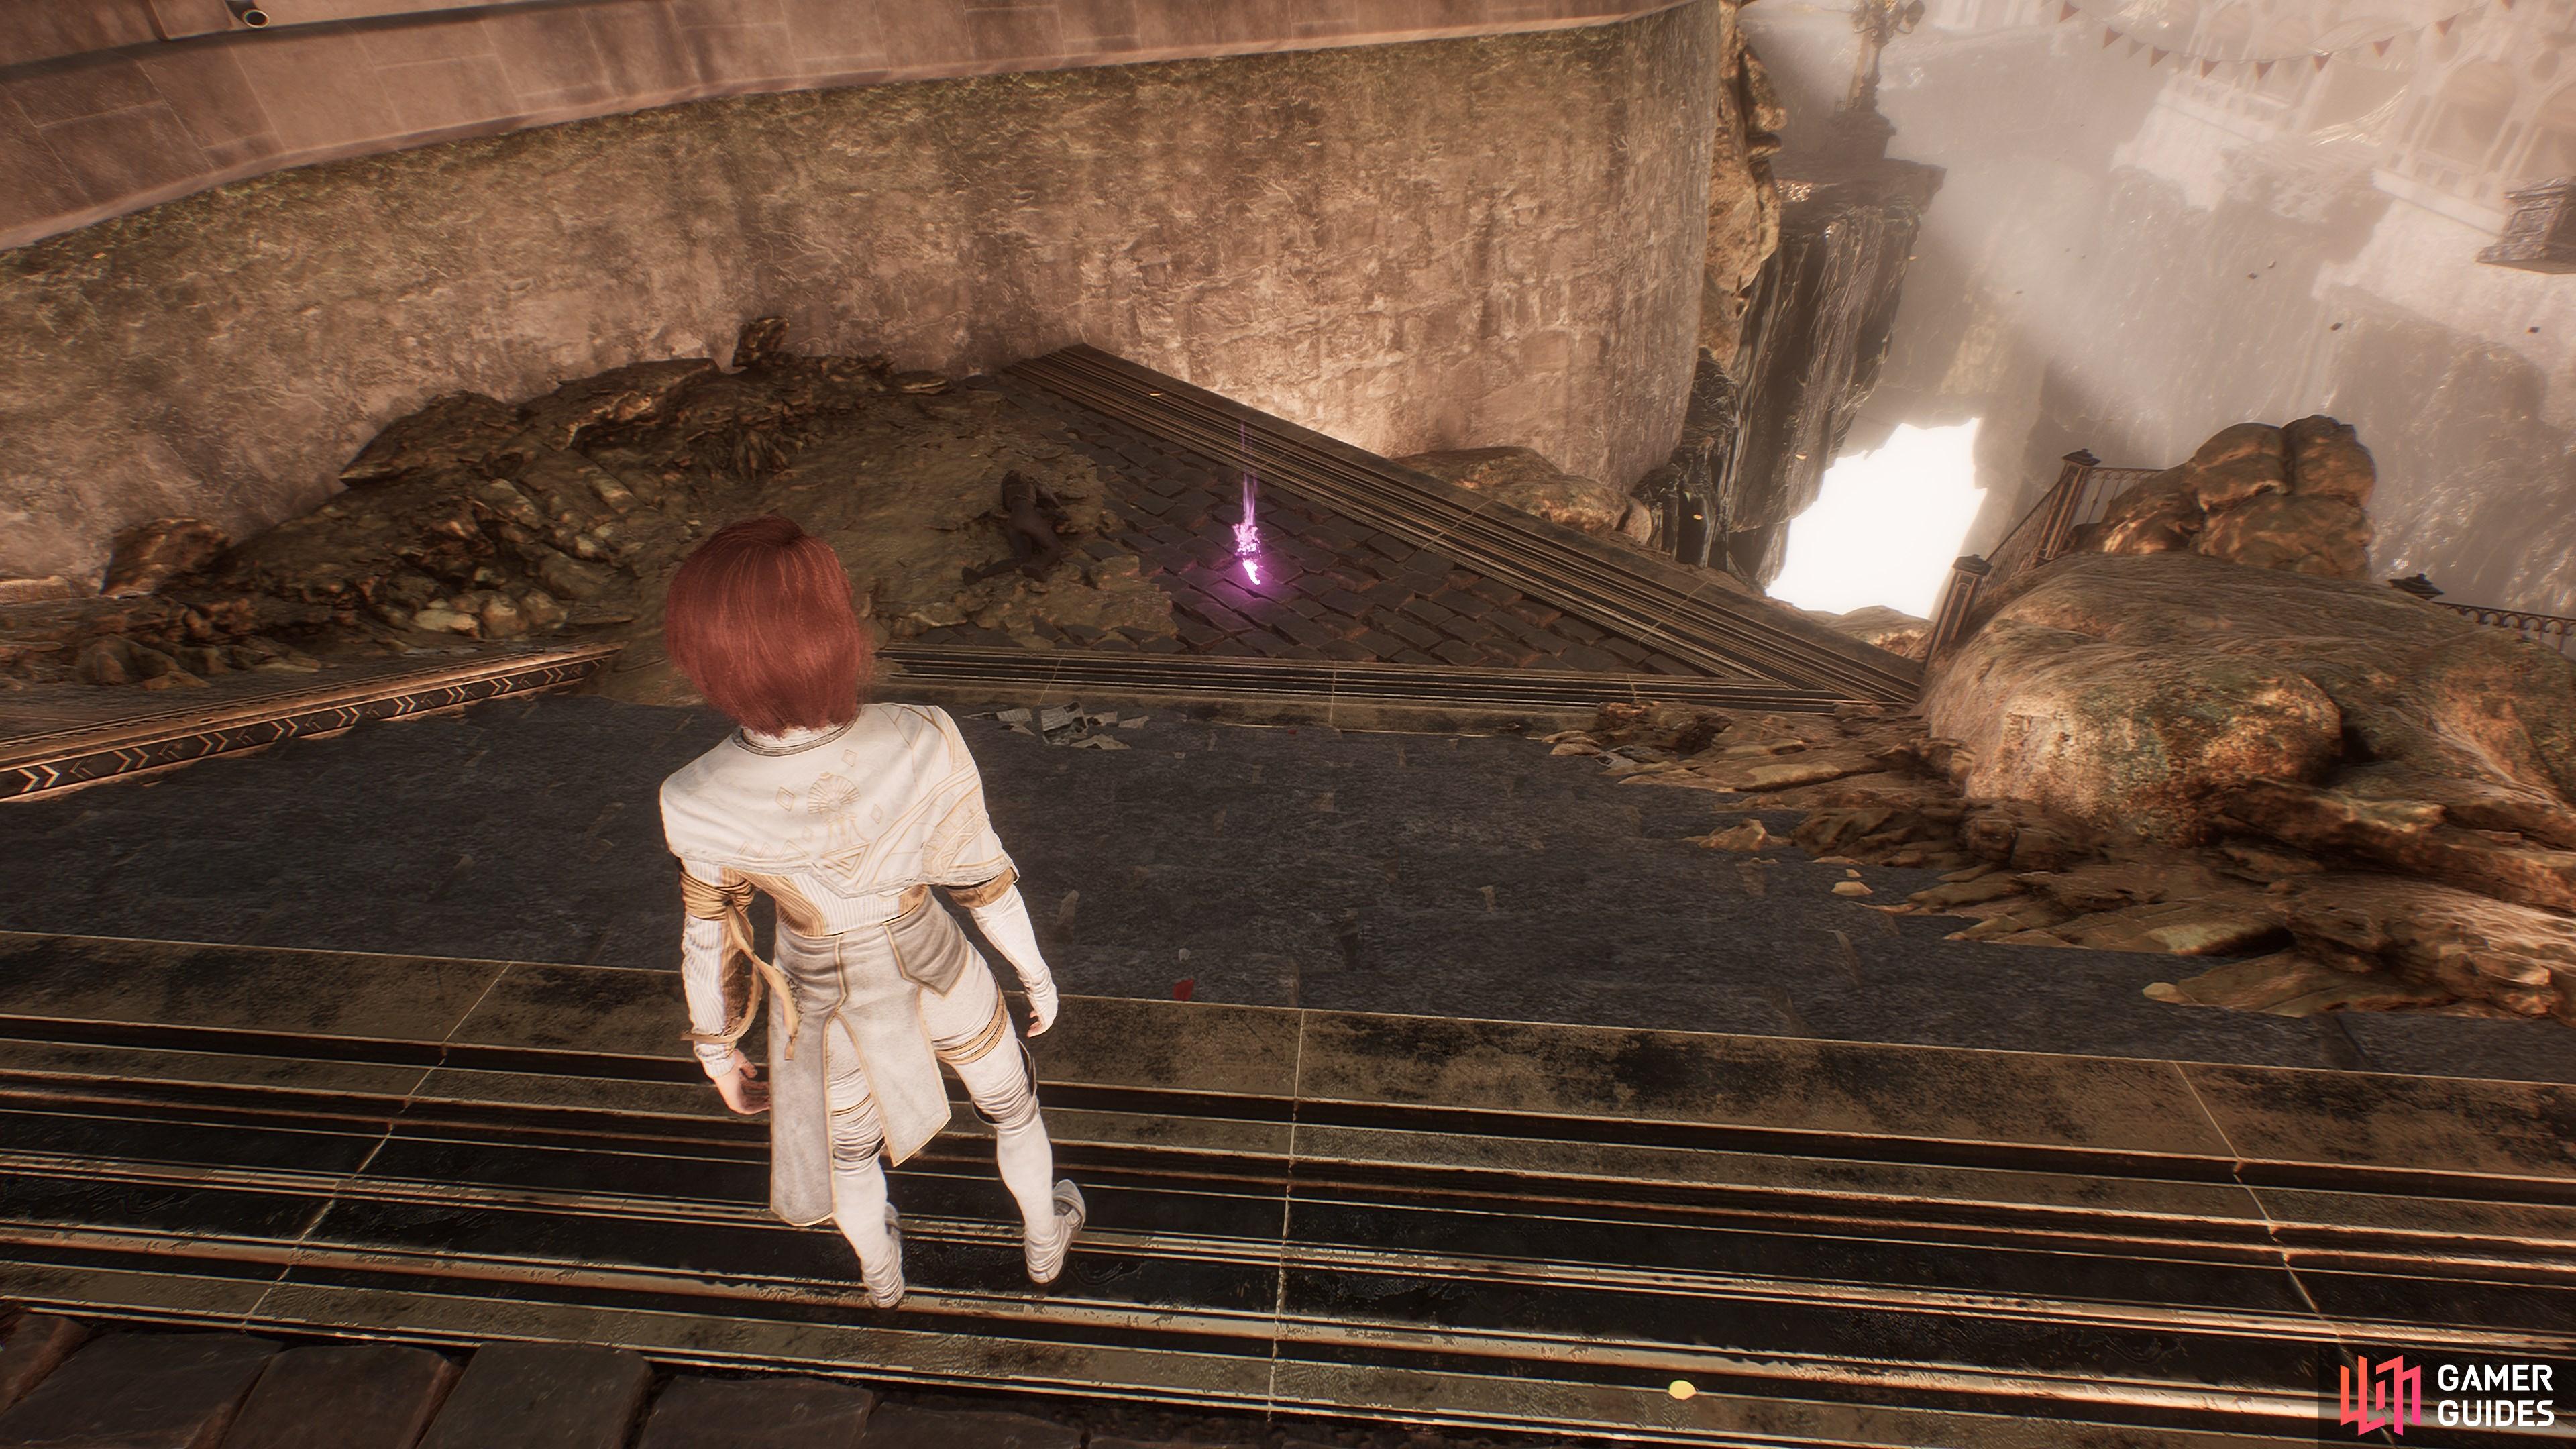
In the room opposite where you find the ![]() Expedition 55 journal, take the rope down to the level below. At the bottom, use the grapple point and head down the stairs. Take a ride on the floating disc elevator. You’ll find this at the foot of a broken pillar in the area just ahead.
Expedition 55 journal, take the rope down to the level below. At the bottom, use the grapple point and head down the stairs. Take a ride on the floating disc elevator. You’ll find this at the foot of a broken pillar in the area just ahead.
84. The Continent
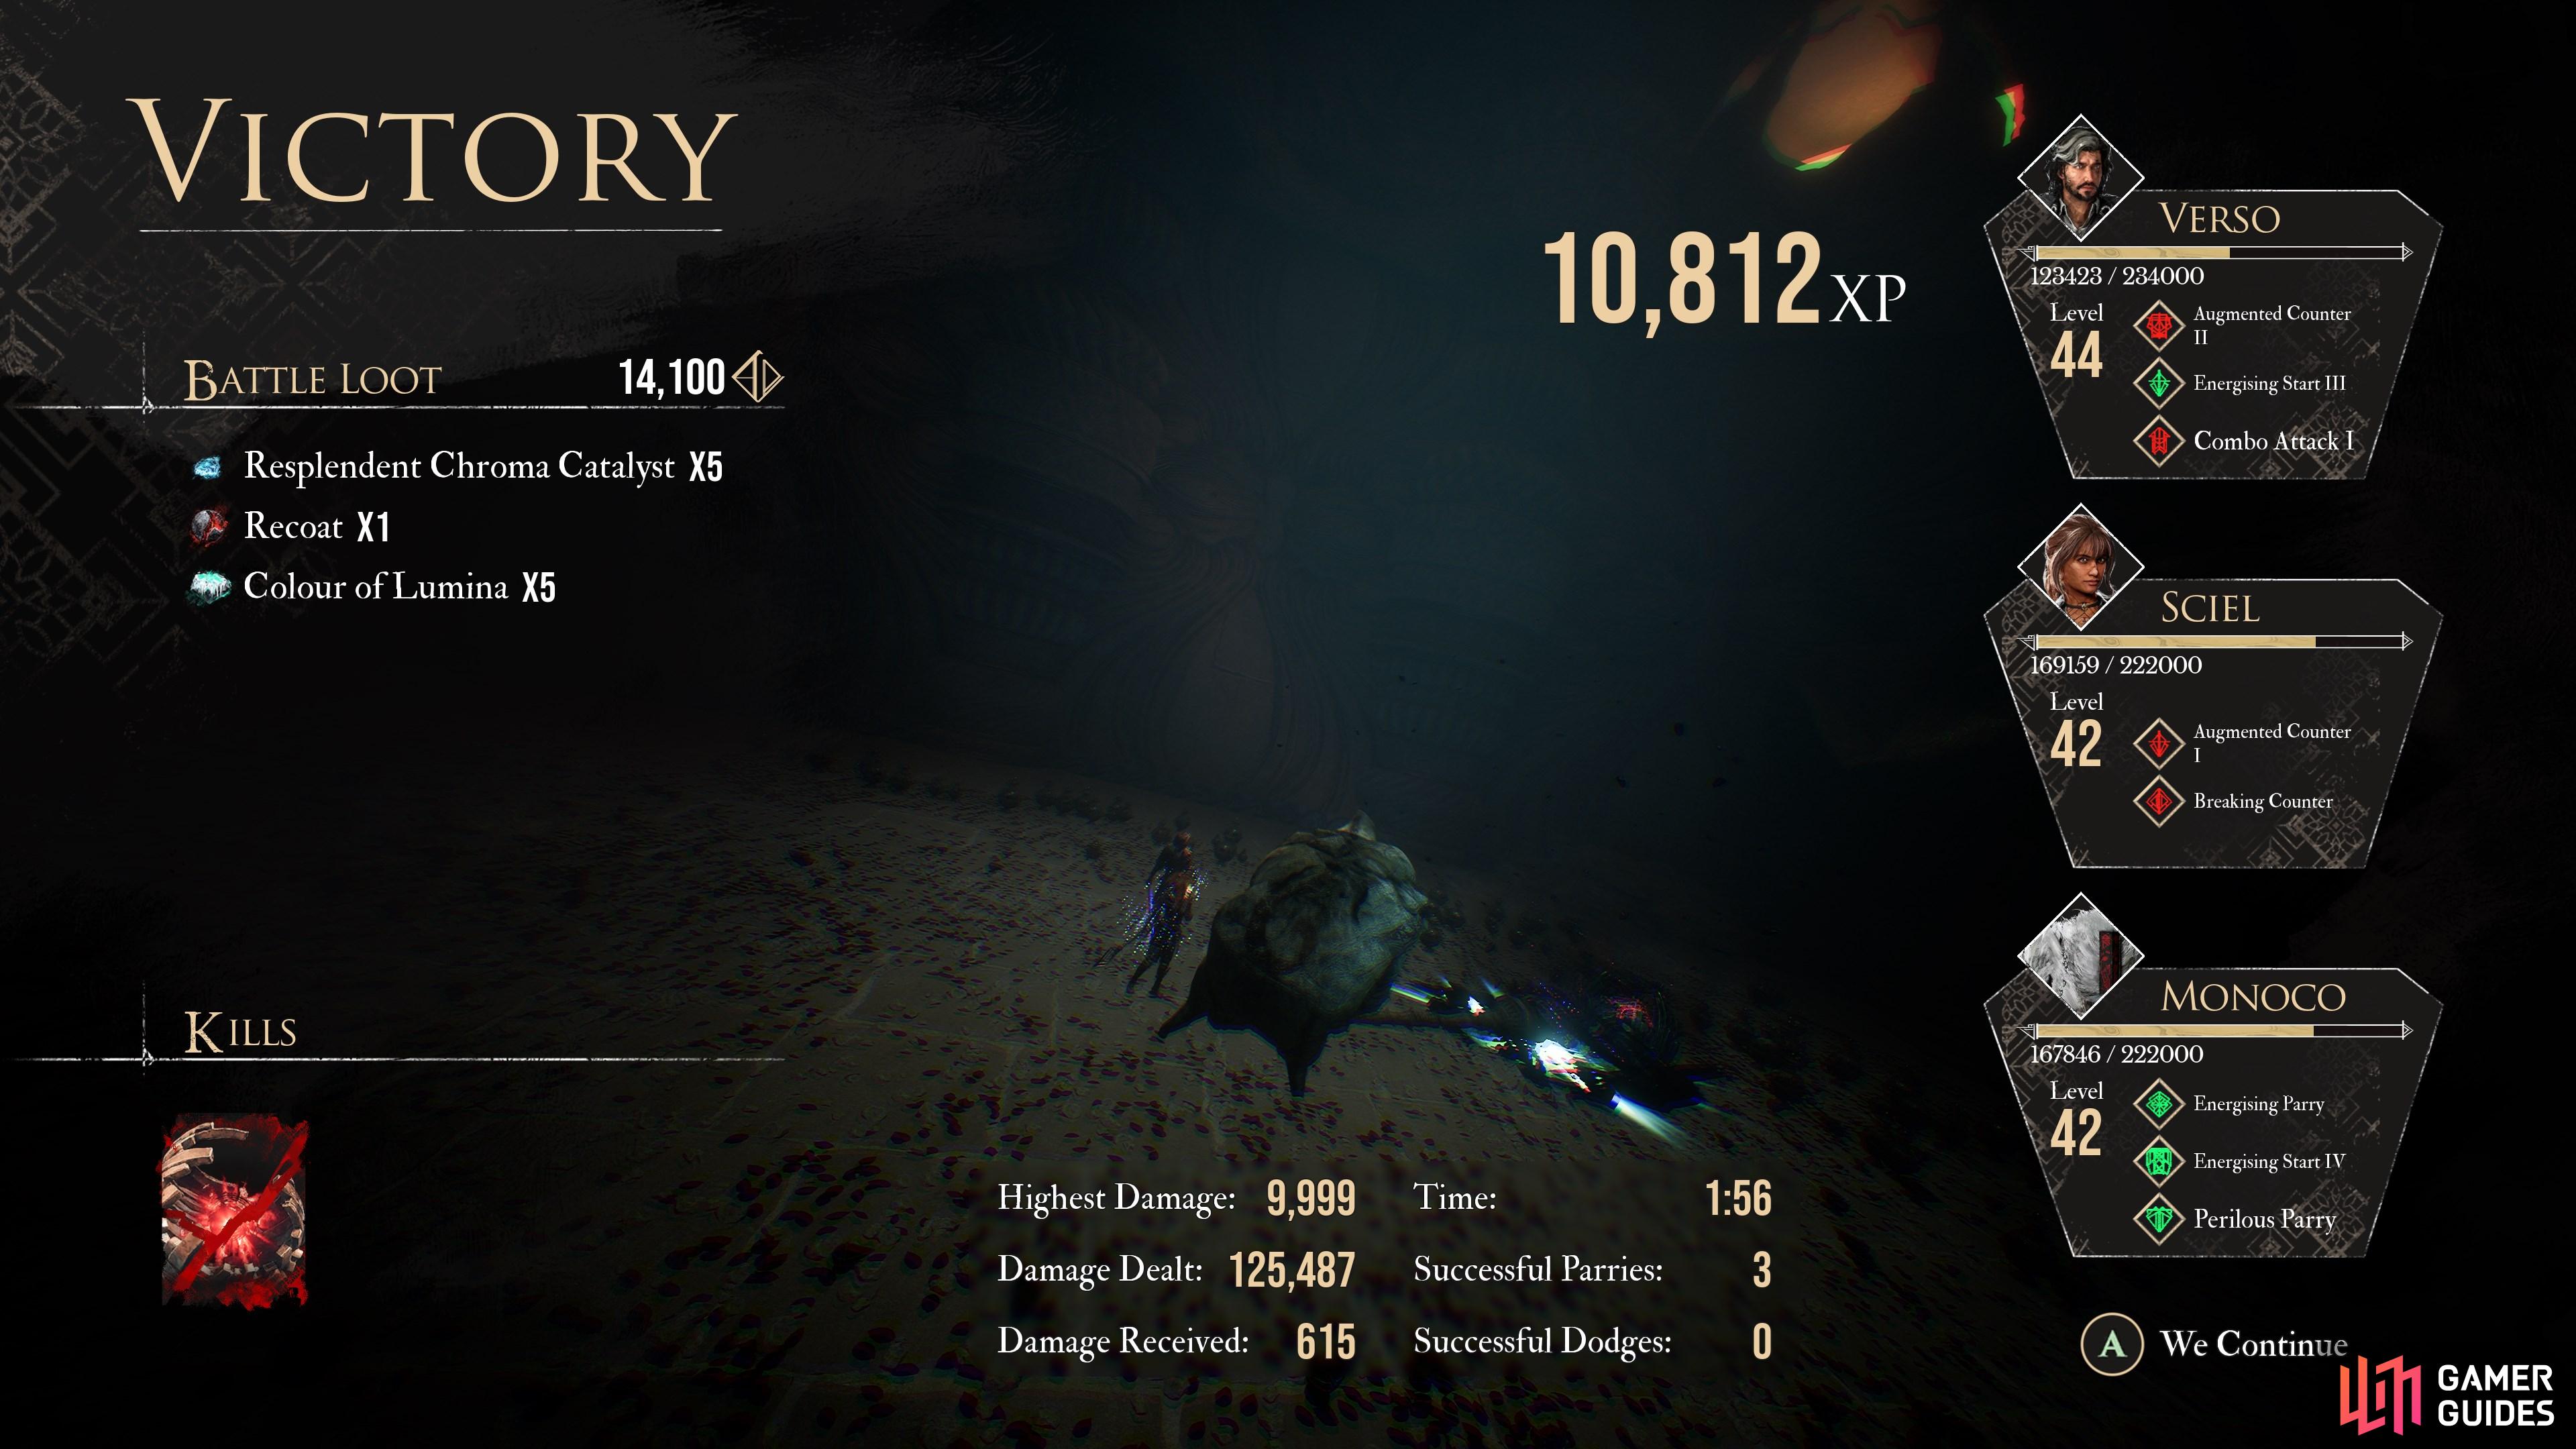
Five found in Battle Loot from the Petank in this area, which can be tricky to locate.
At the end of the ![]() Dancing Classes area, you will take a ride down on on of the strange, floating discs to an area below.
Dancing Classes area, you will take a ride down on on of the strange, floating discs to an area below.
There are three possible paths, all illuminated by a different colored light. Head down the blue path to find the Petank, then chase it around to the red path to corner it.
85. The Continent
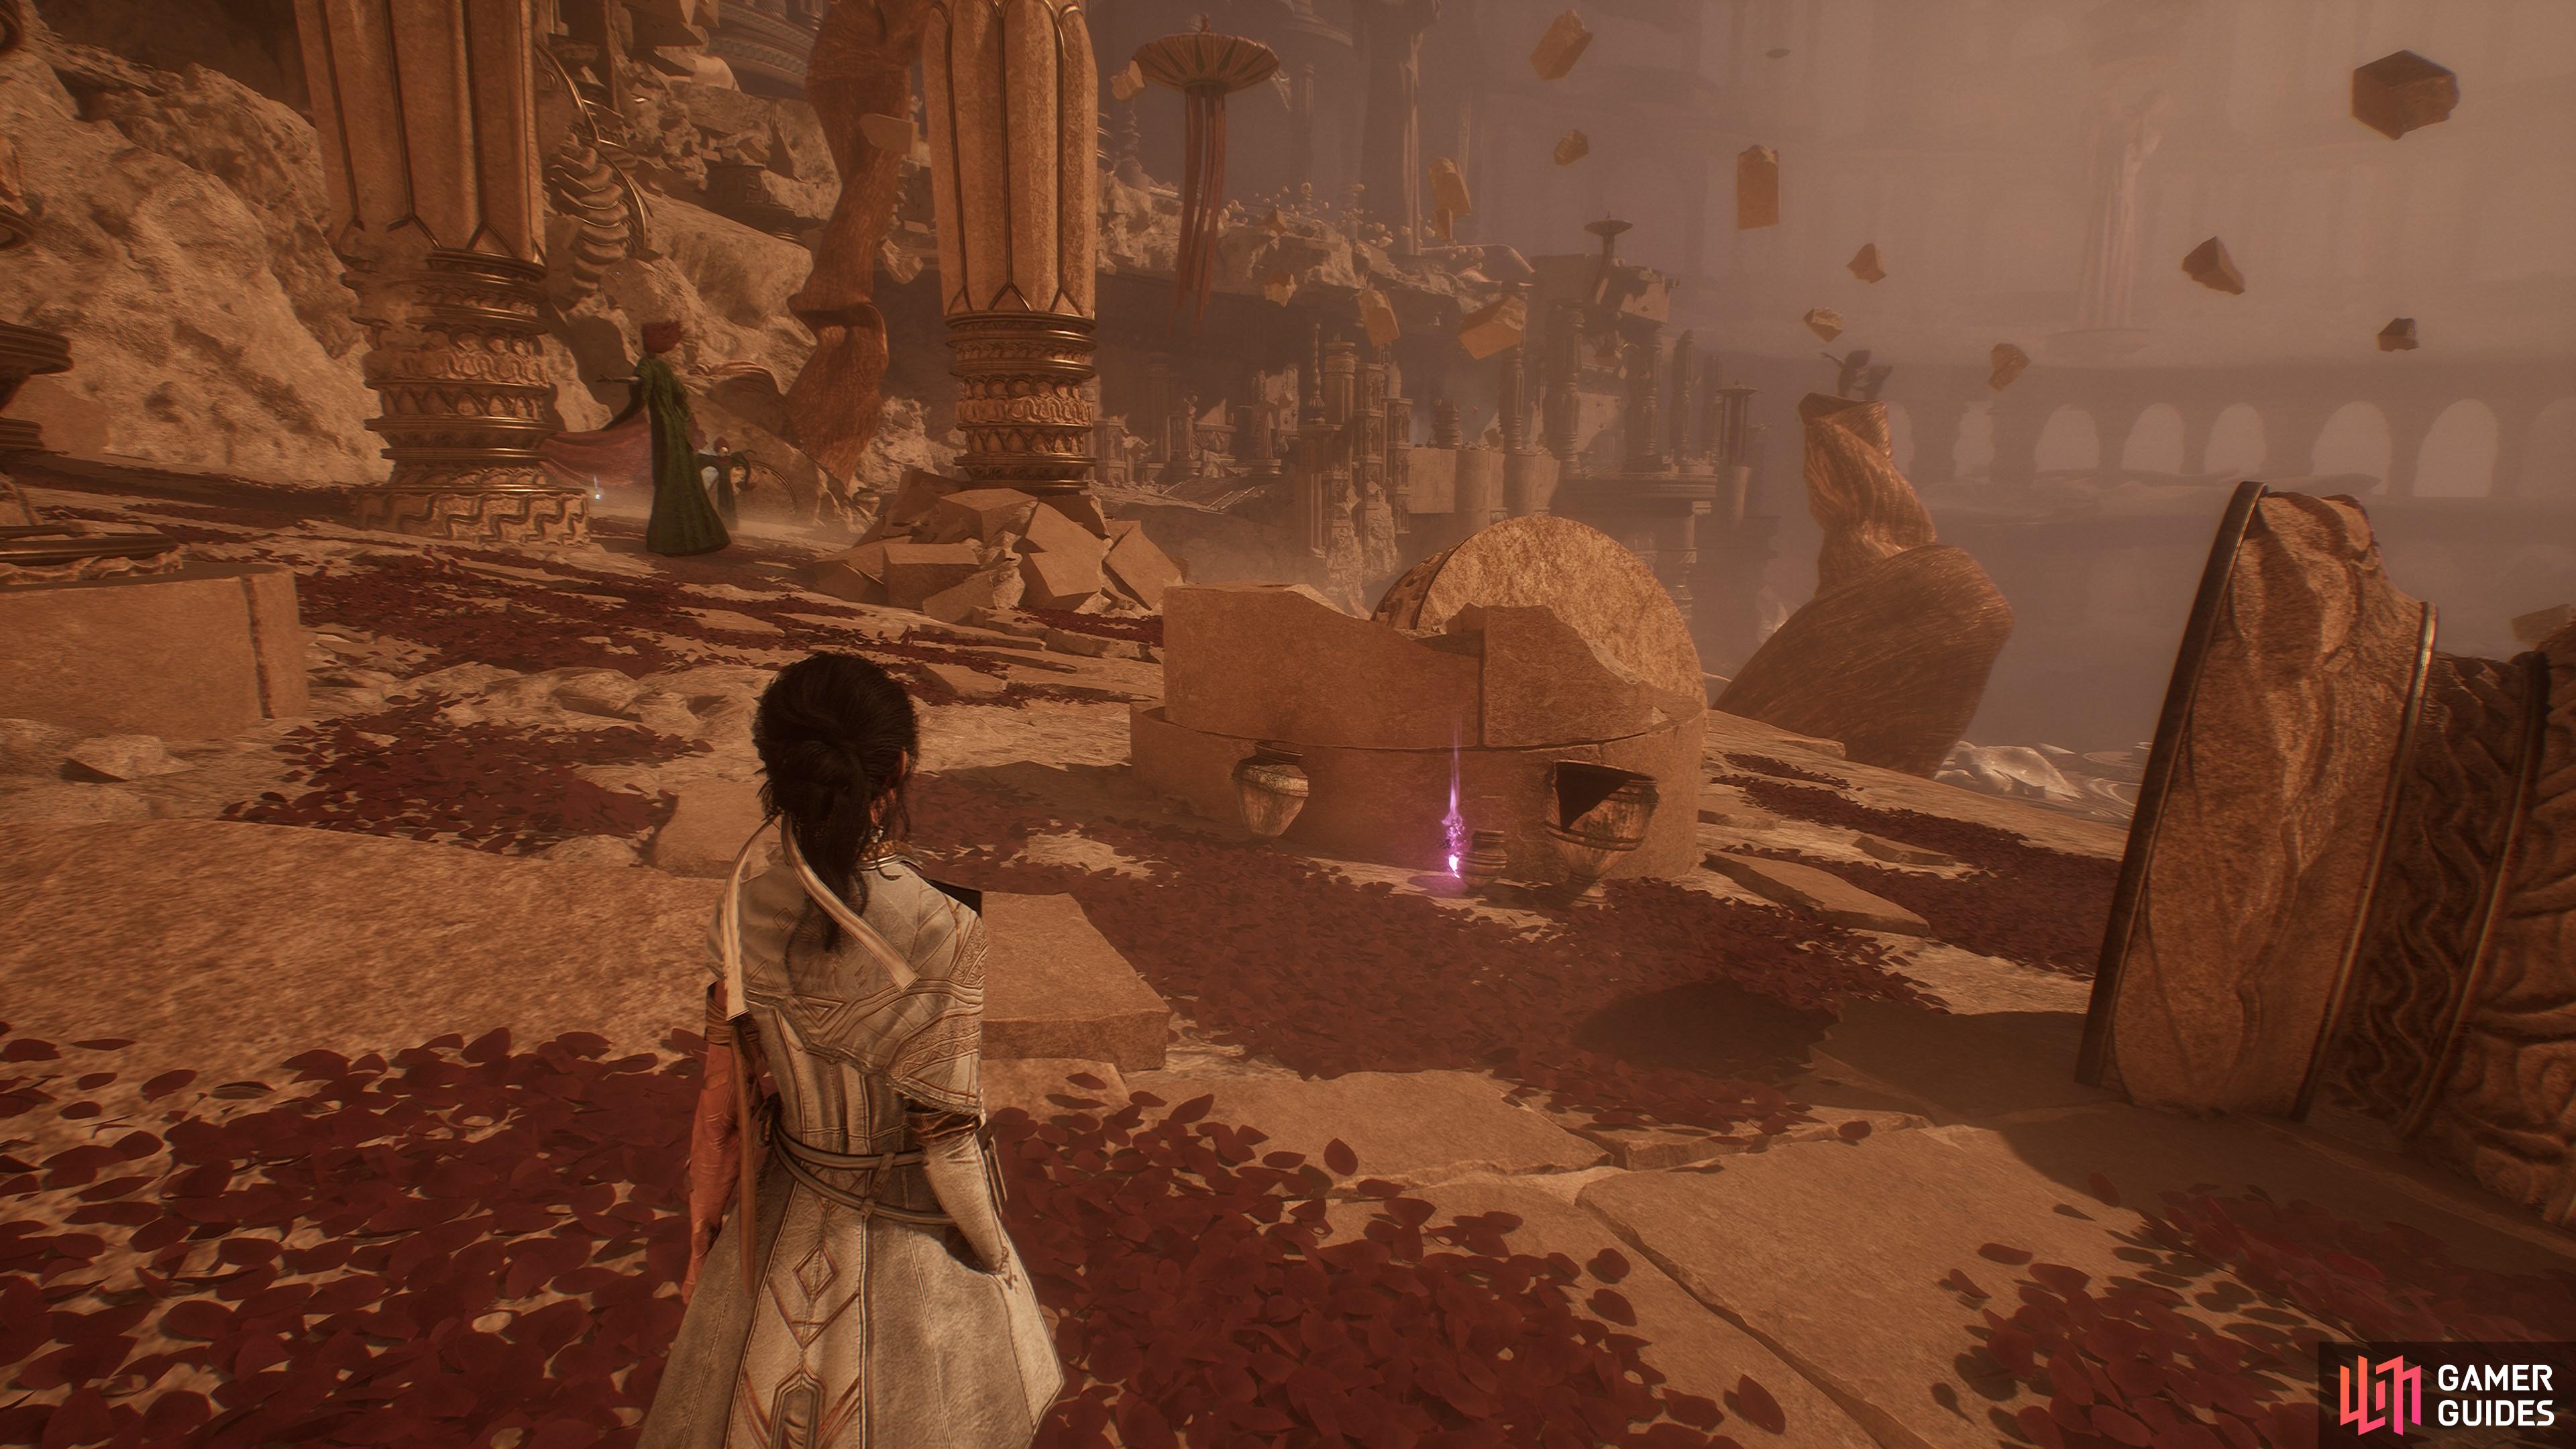
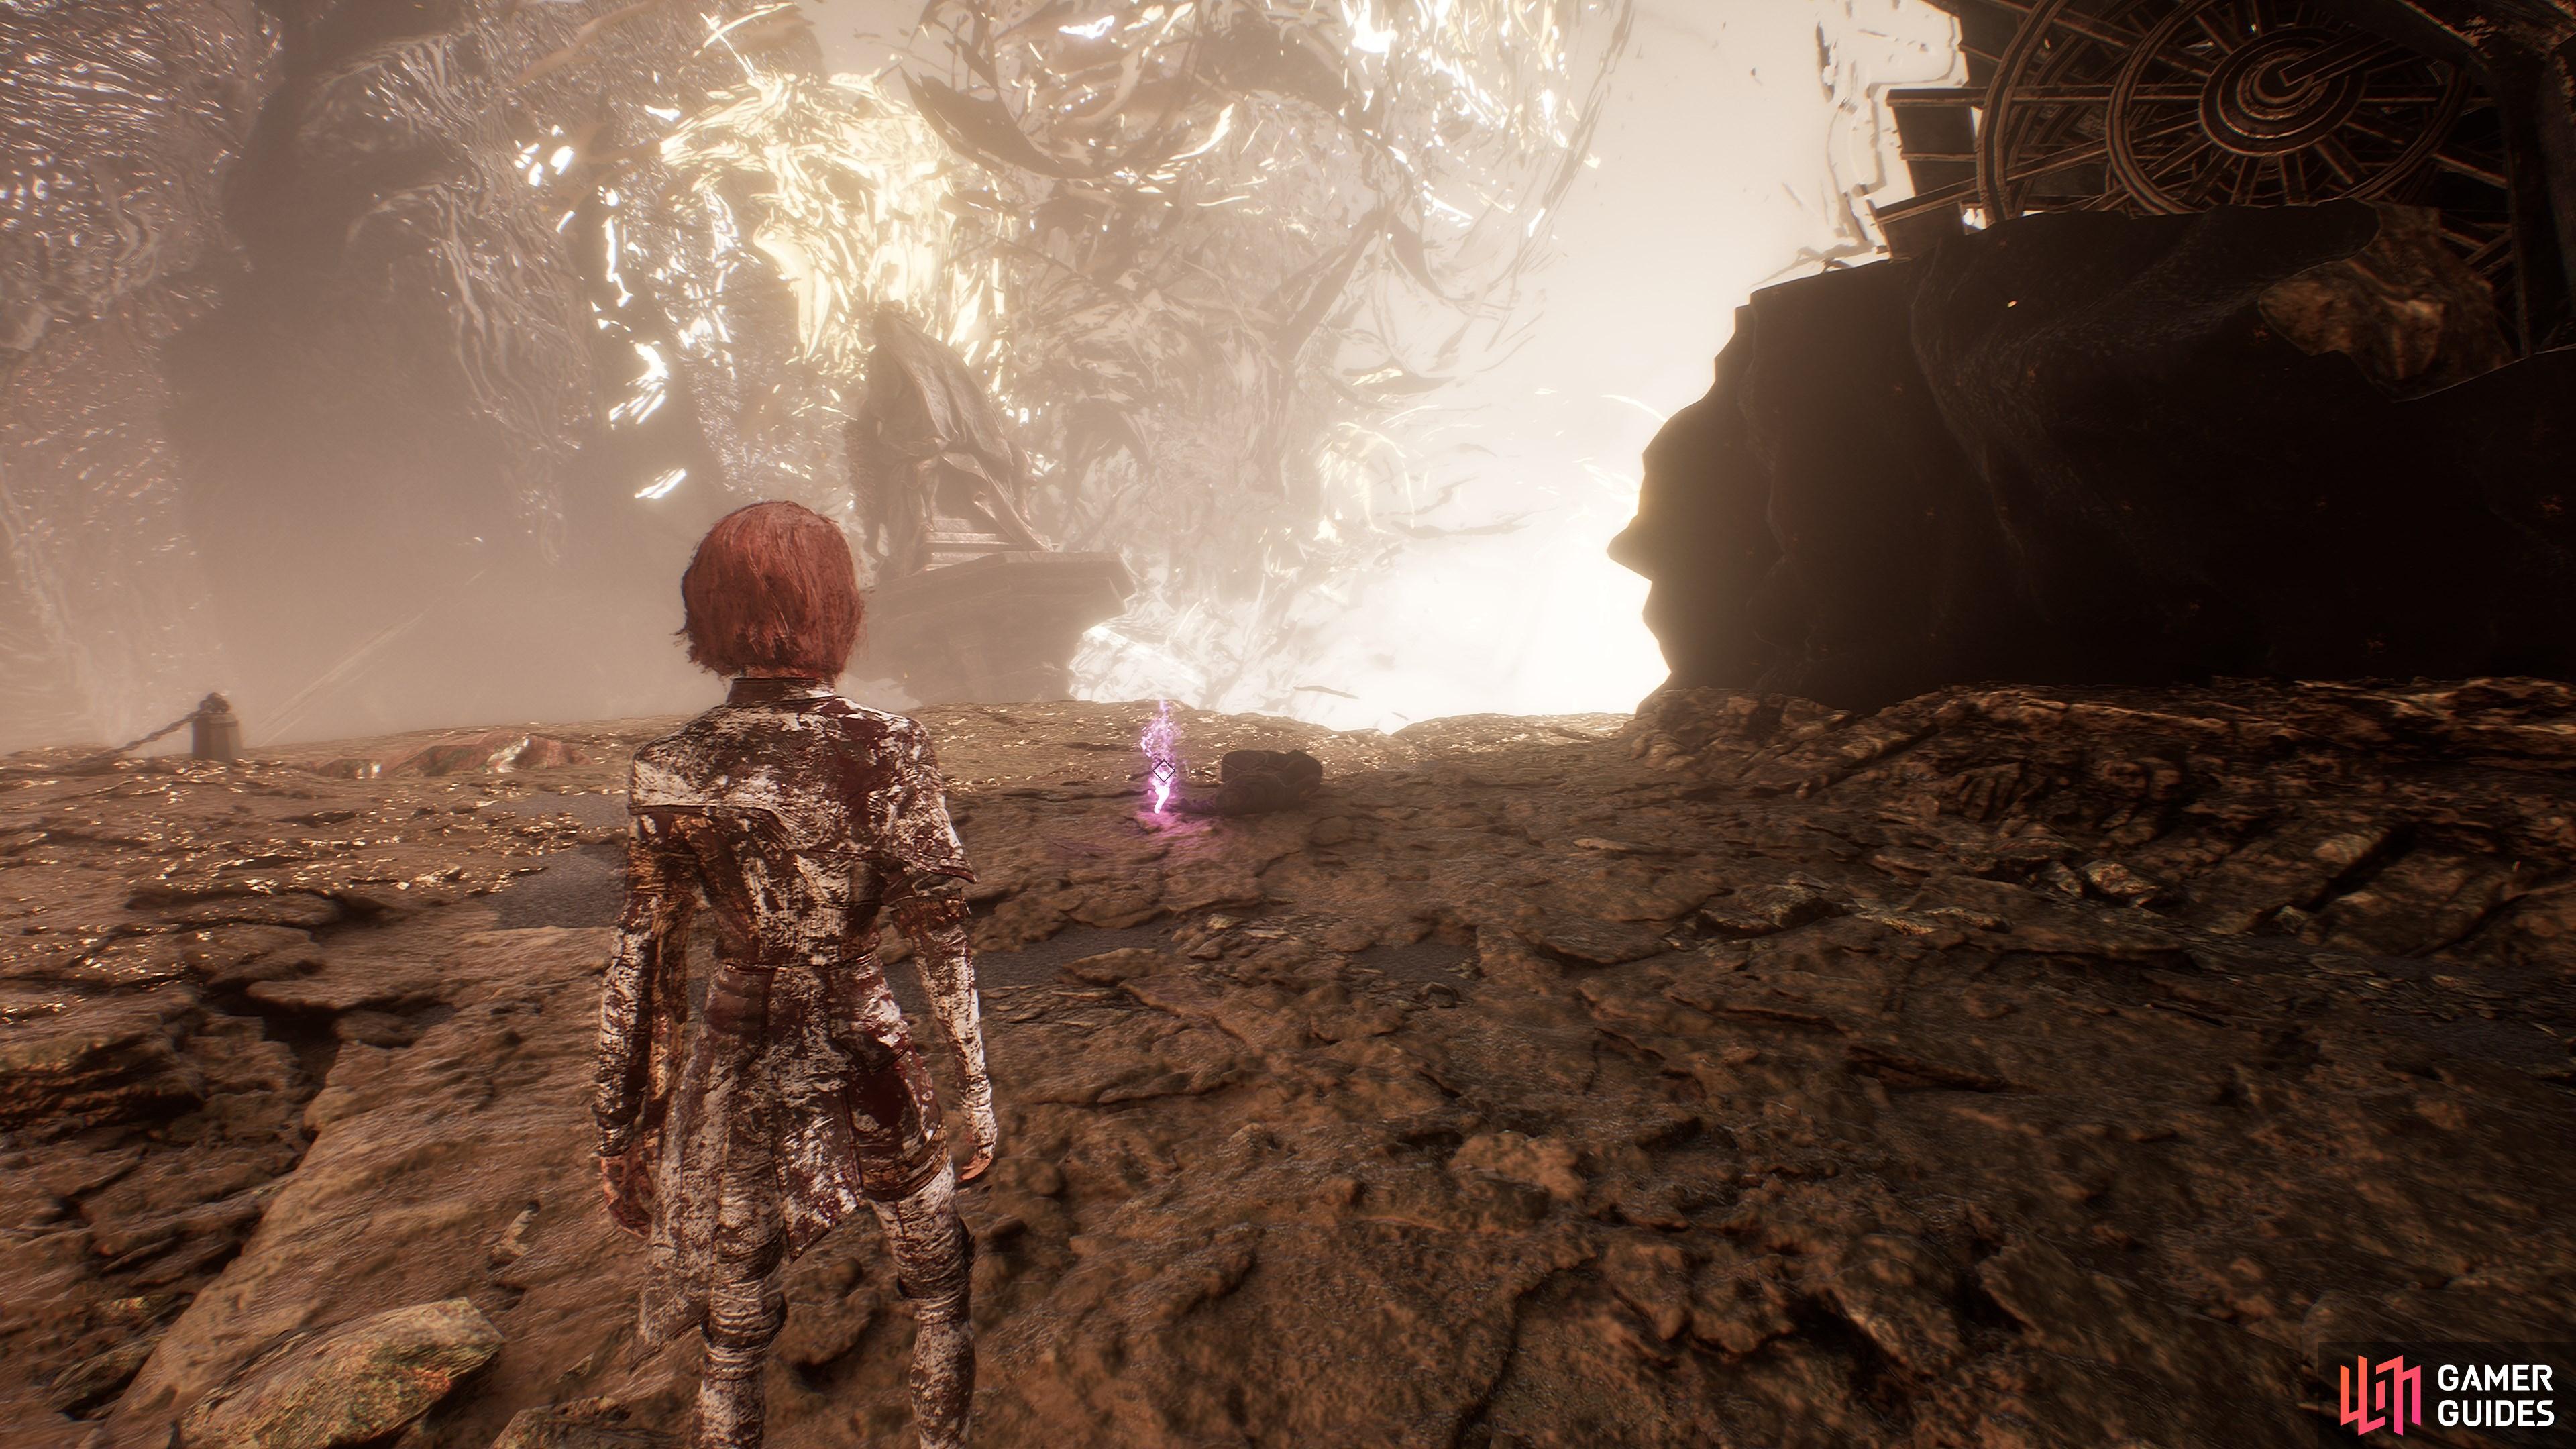
At the end of one of the flowing fabric pathways in the lower levels of ![]() Sirène.
Sirène.
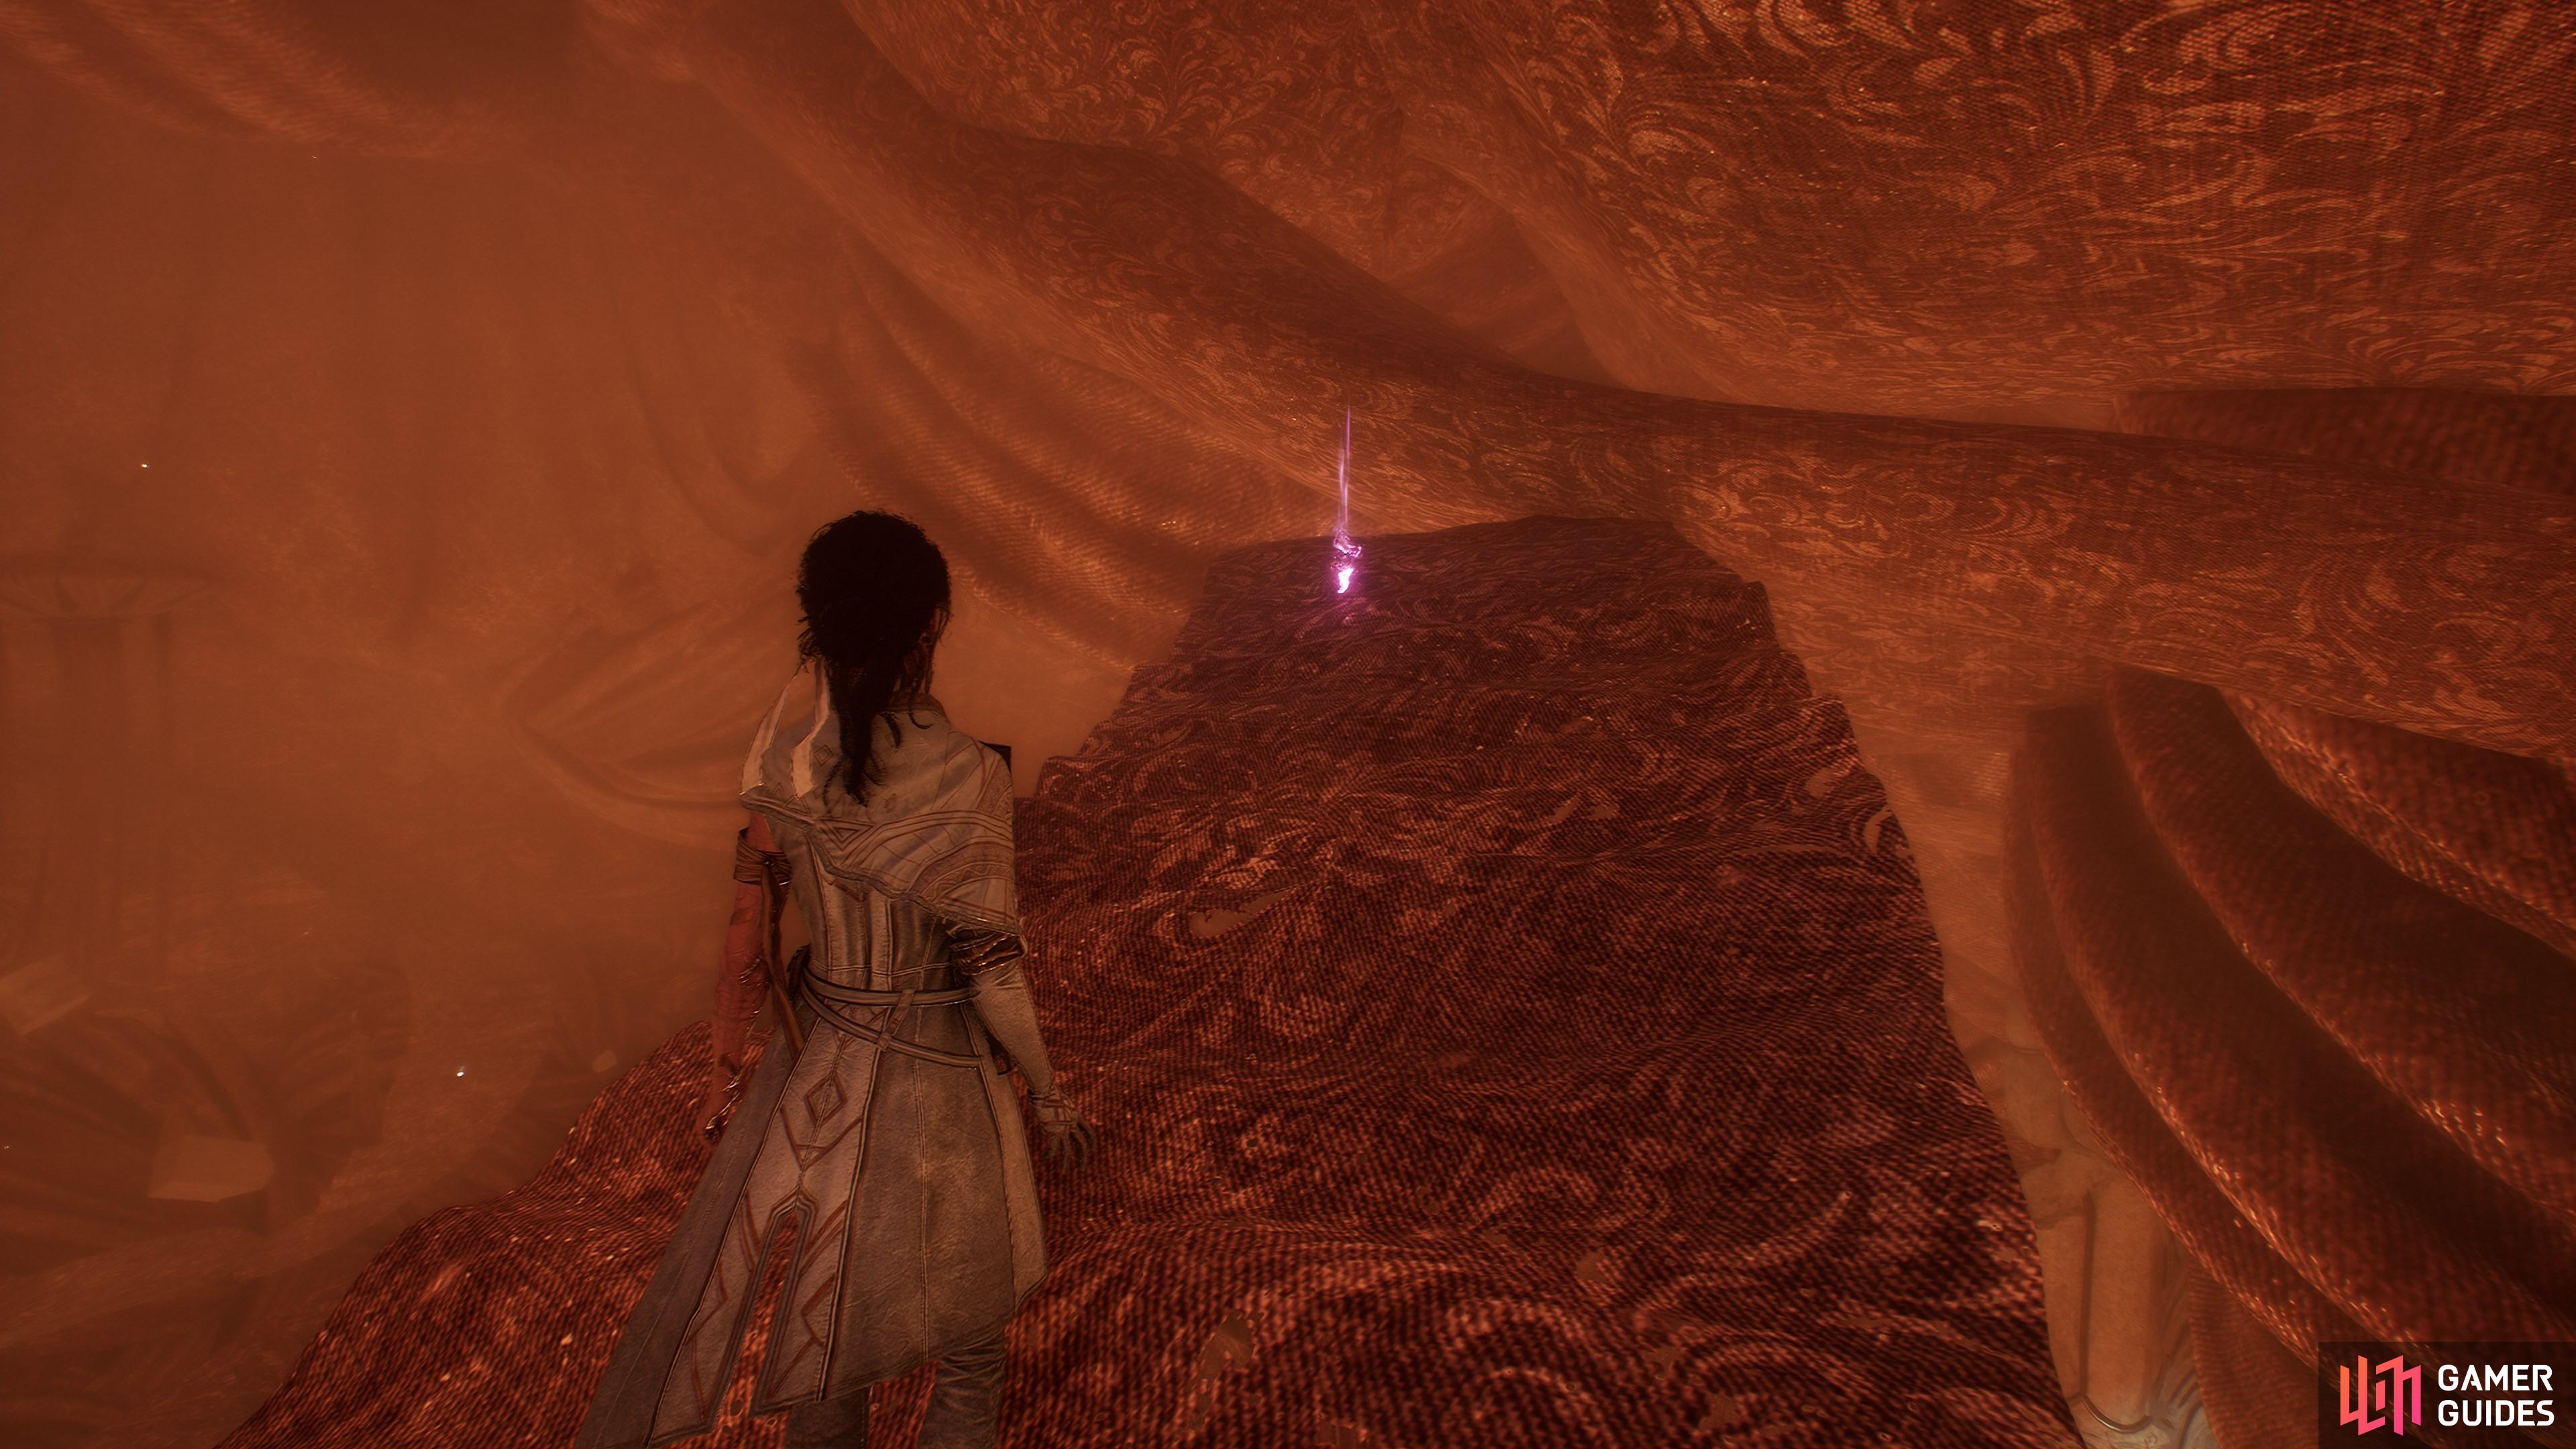
86. The Continent
Behind the Fading Man in the large space with balls of yarn floating in the air.
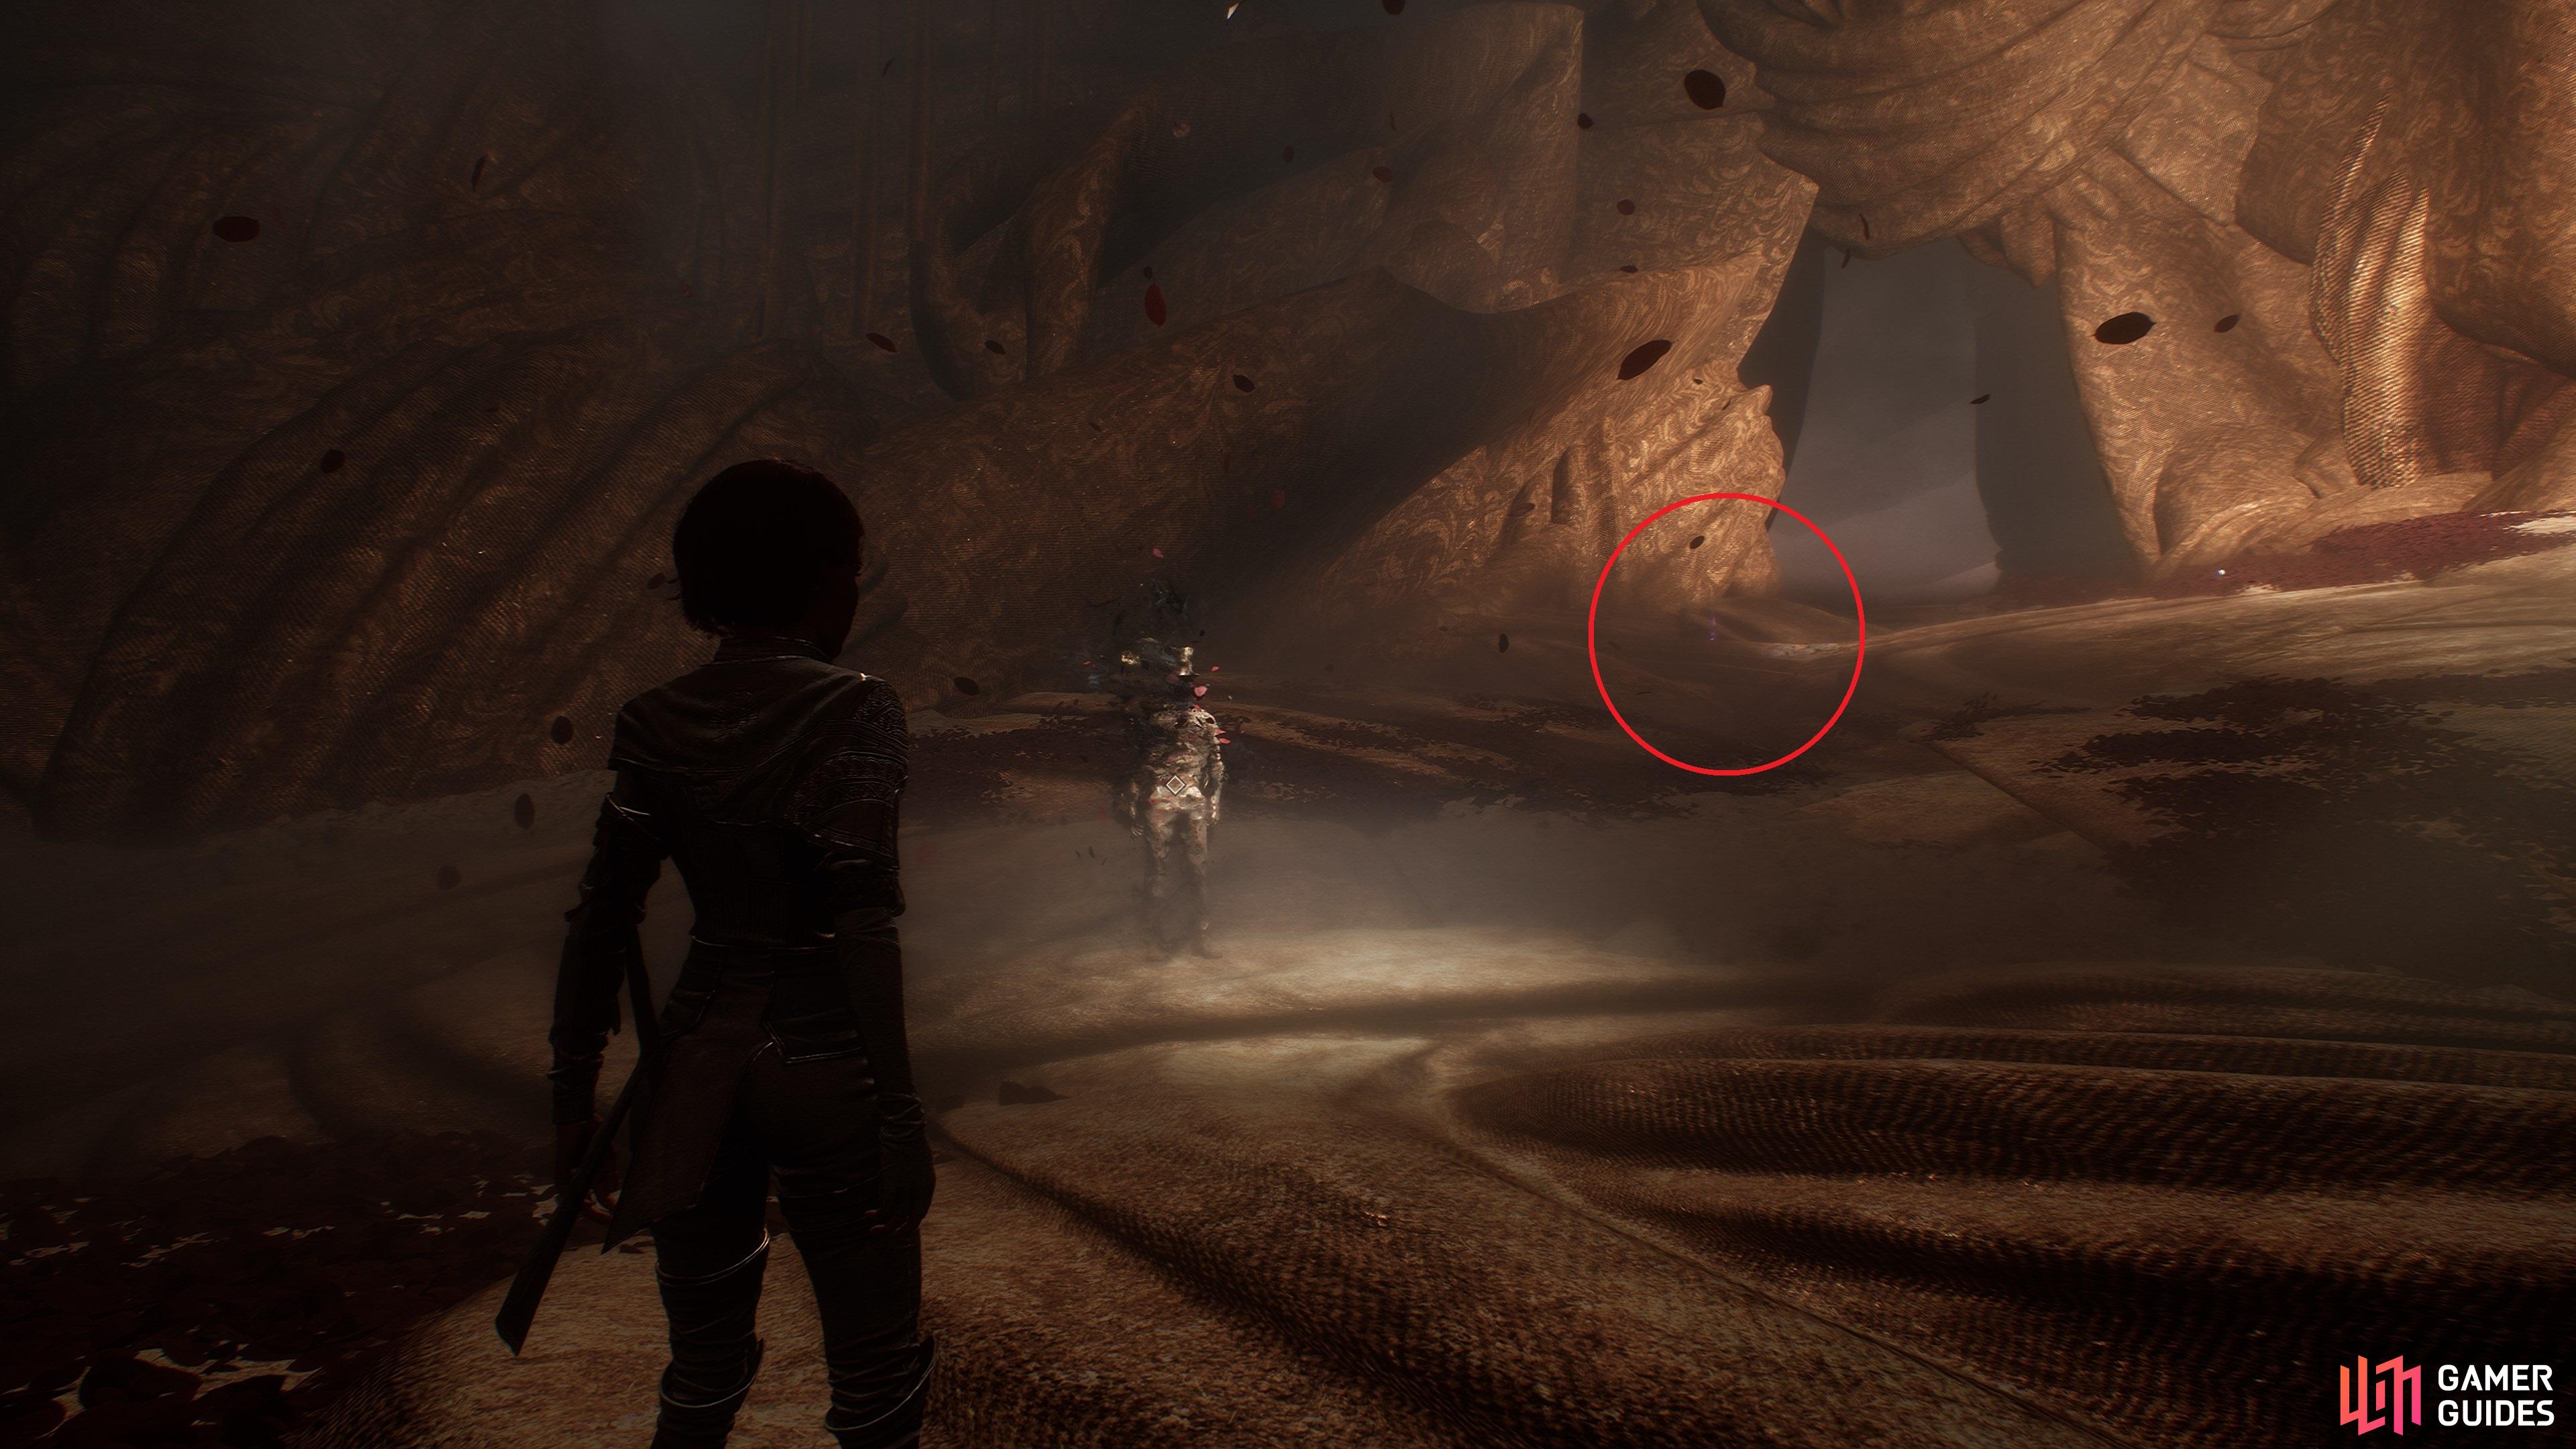
87. The Continent
In the huge fabric cavern past where you find the Fading Man, look around the corner after using the first grapple point. You’ll find this on a corpse.
90. The Continent
Hidden among the barrels and crates on the left hand side of the area.
91. The Continent
Guarded by ![]() Noire enemies. You can kite them around to grab the Pictos if you’re they’re too powerful to fight.
Noire enemies. You can kite them around to grab the Pictos if you’re they’re too powerful to fight.
94. The Continent
After defeating the ![]() Giant Sapling, zip up the rope and you’ll see this ahead of you.
Giant Sapling, zip up the rope and you’ll see this ahead of you.
99. The Continent
Found between the first set of ![]() Lanceliers you come across after the entrance flag.
Lanceliers you come across after the entrance flag.
100. The Continent
Jump down the rocky side-path on the left side of the ![]() Tainted Meadow. There are handholds to climb back up.
Tainted Meadow. There are handholds to climb back up.
101. The Continent
In the ![]() Tainted Meadow near the golden statue holding a bunch of flowers.
Tainted Meadow near the golden statue holding a bunch of flowers.
103. The Continent
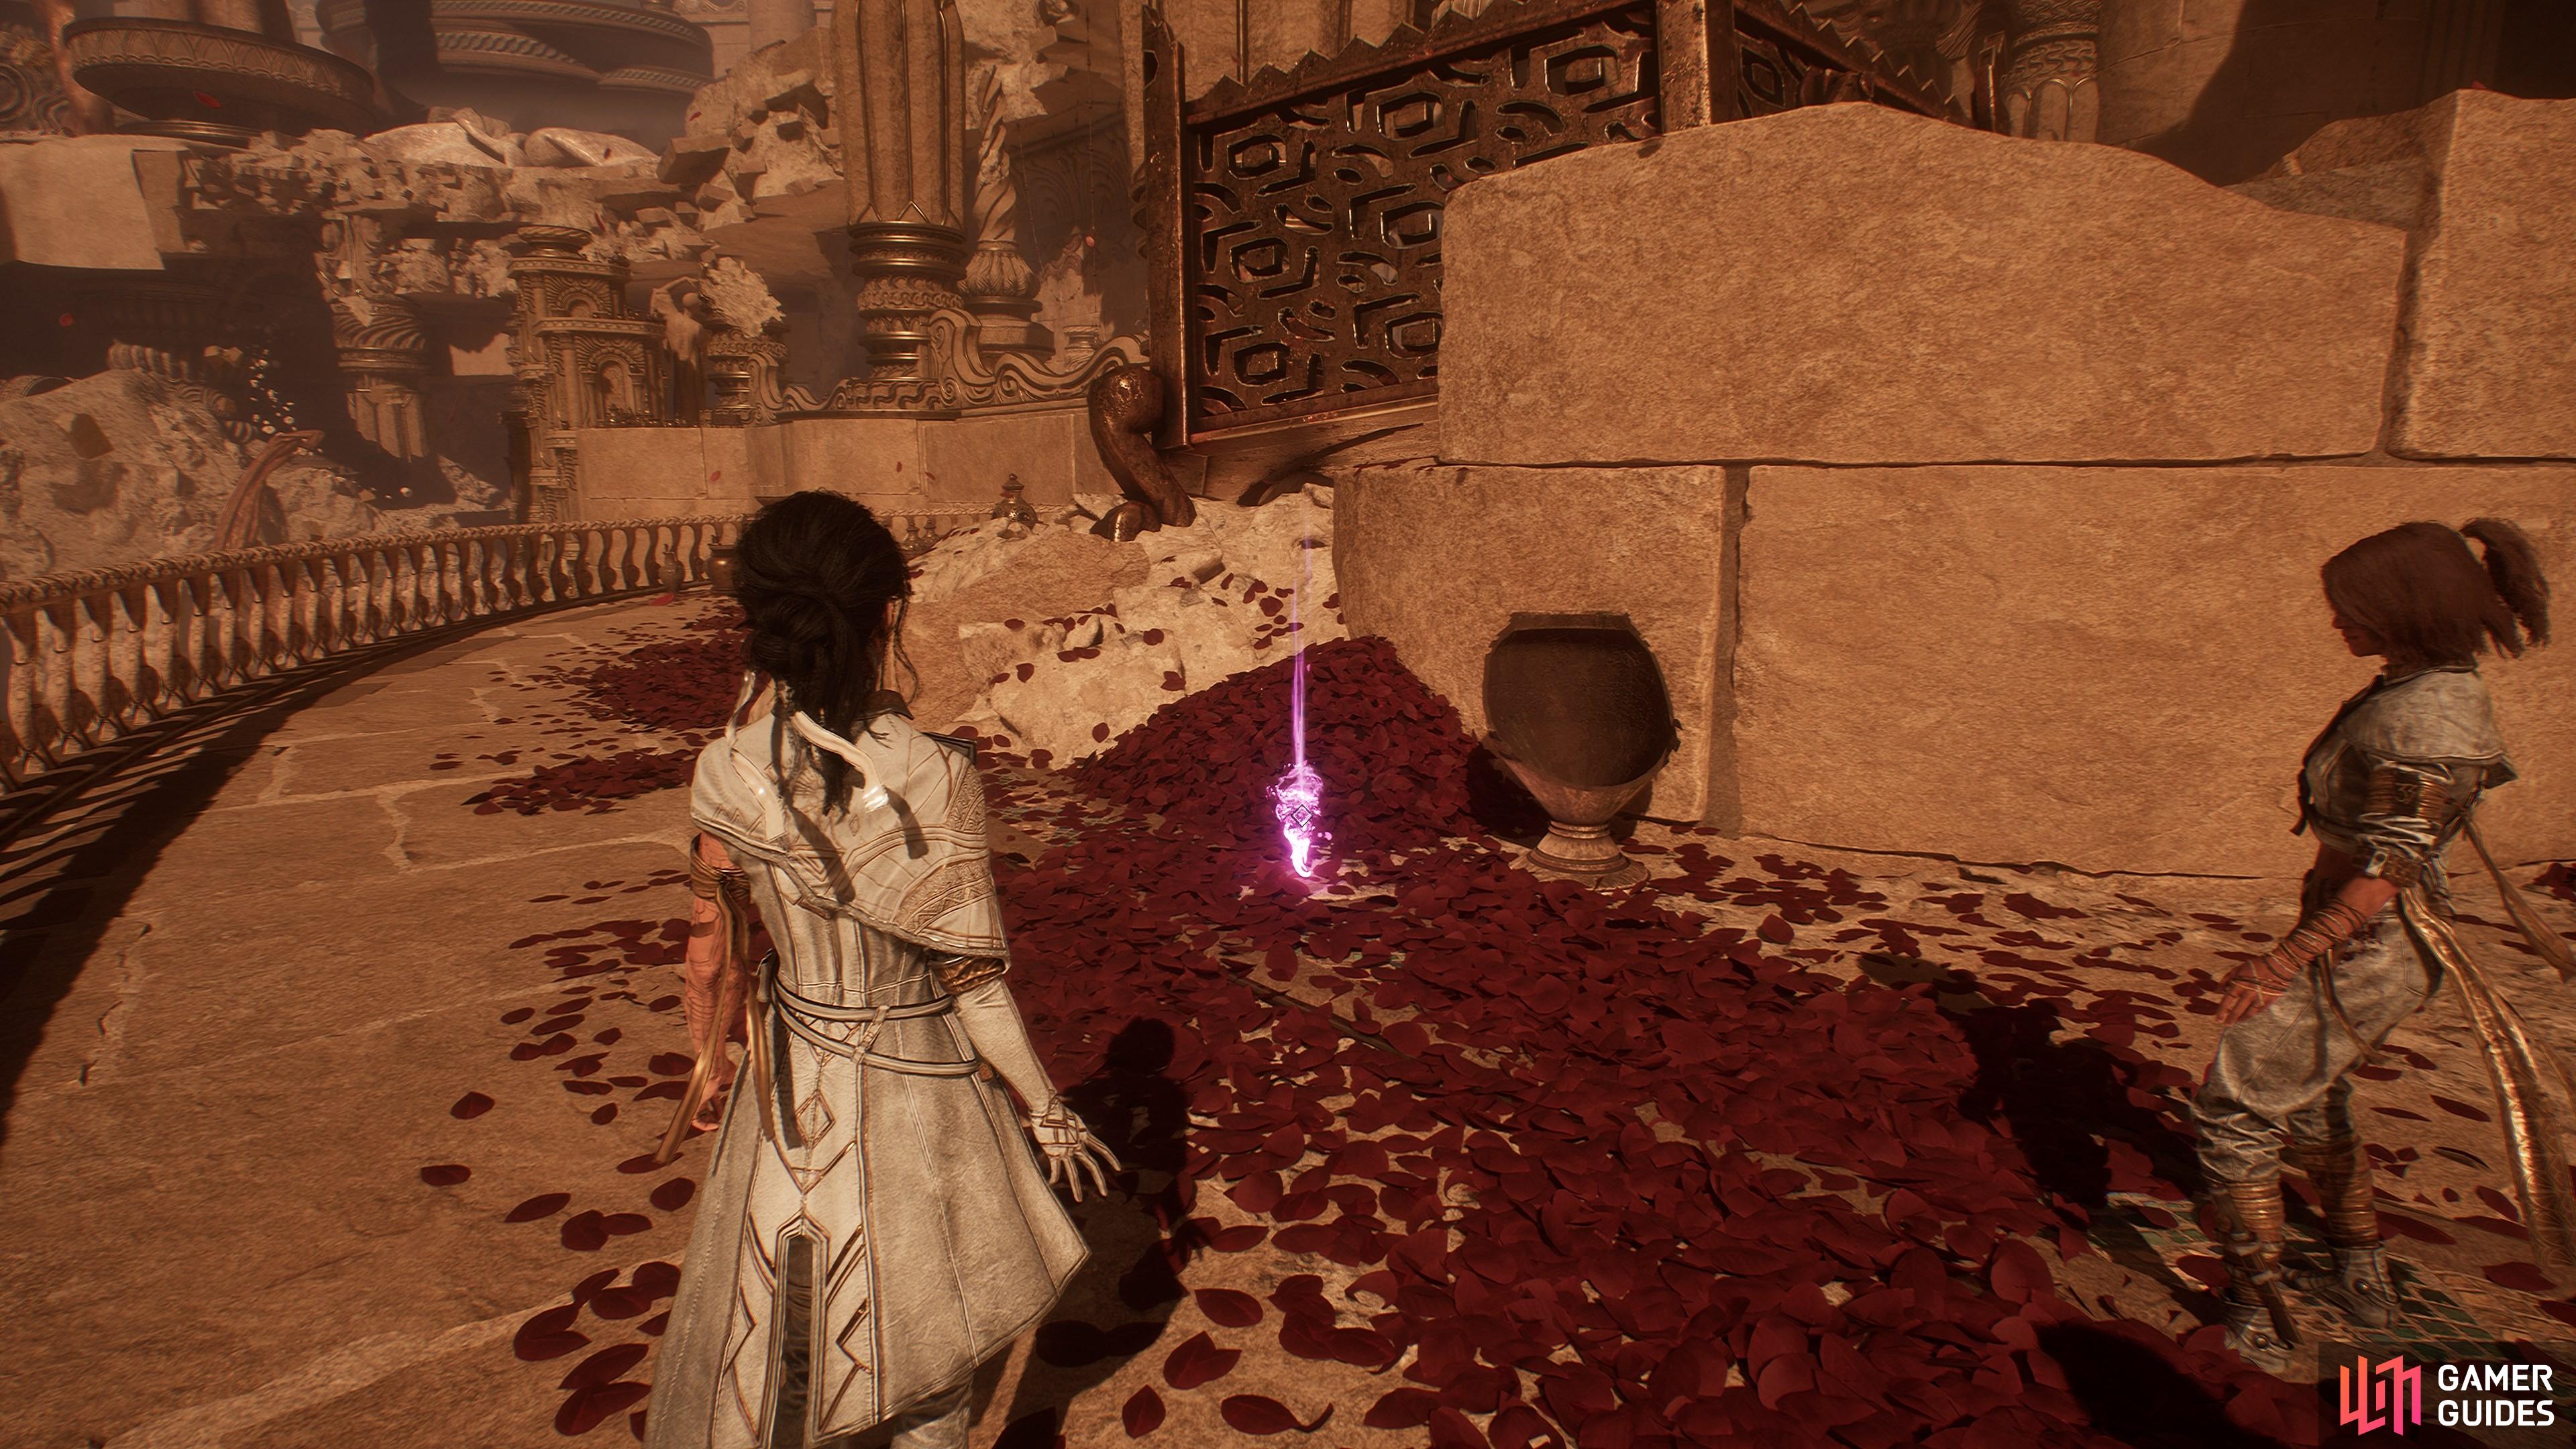
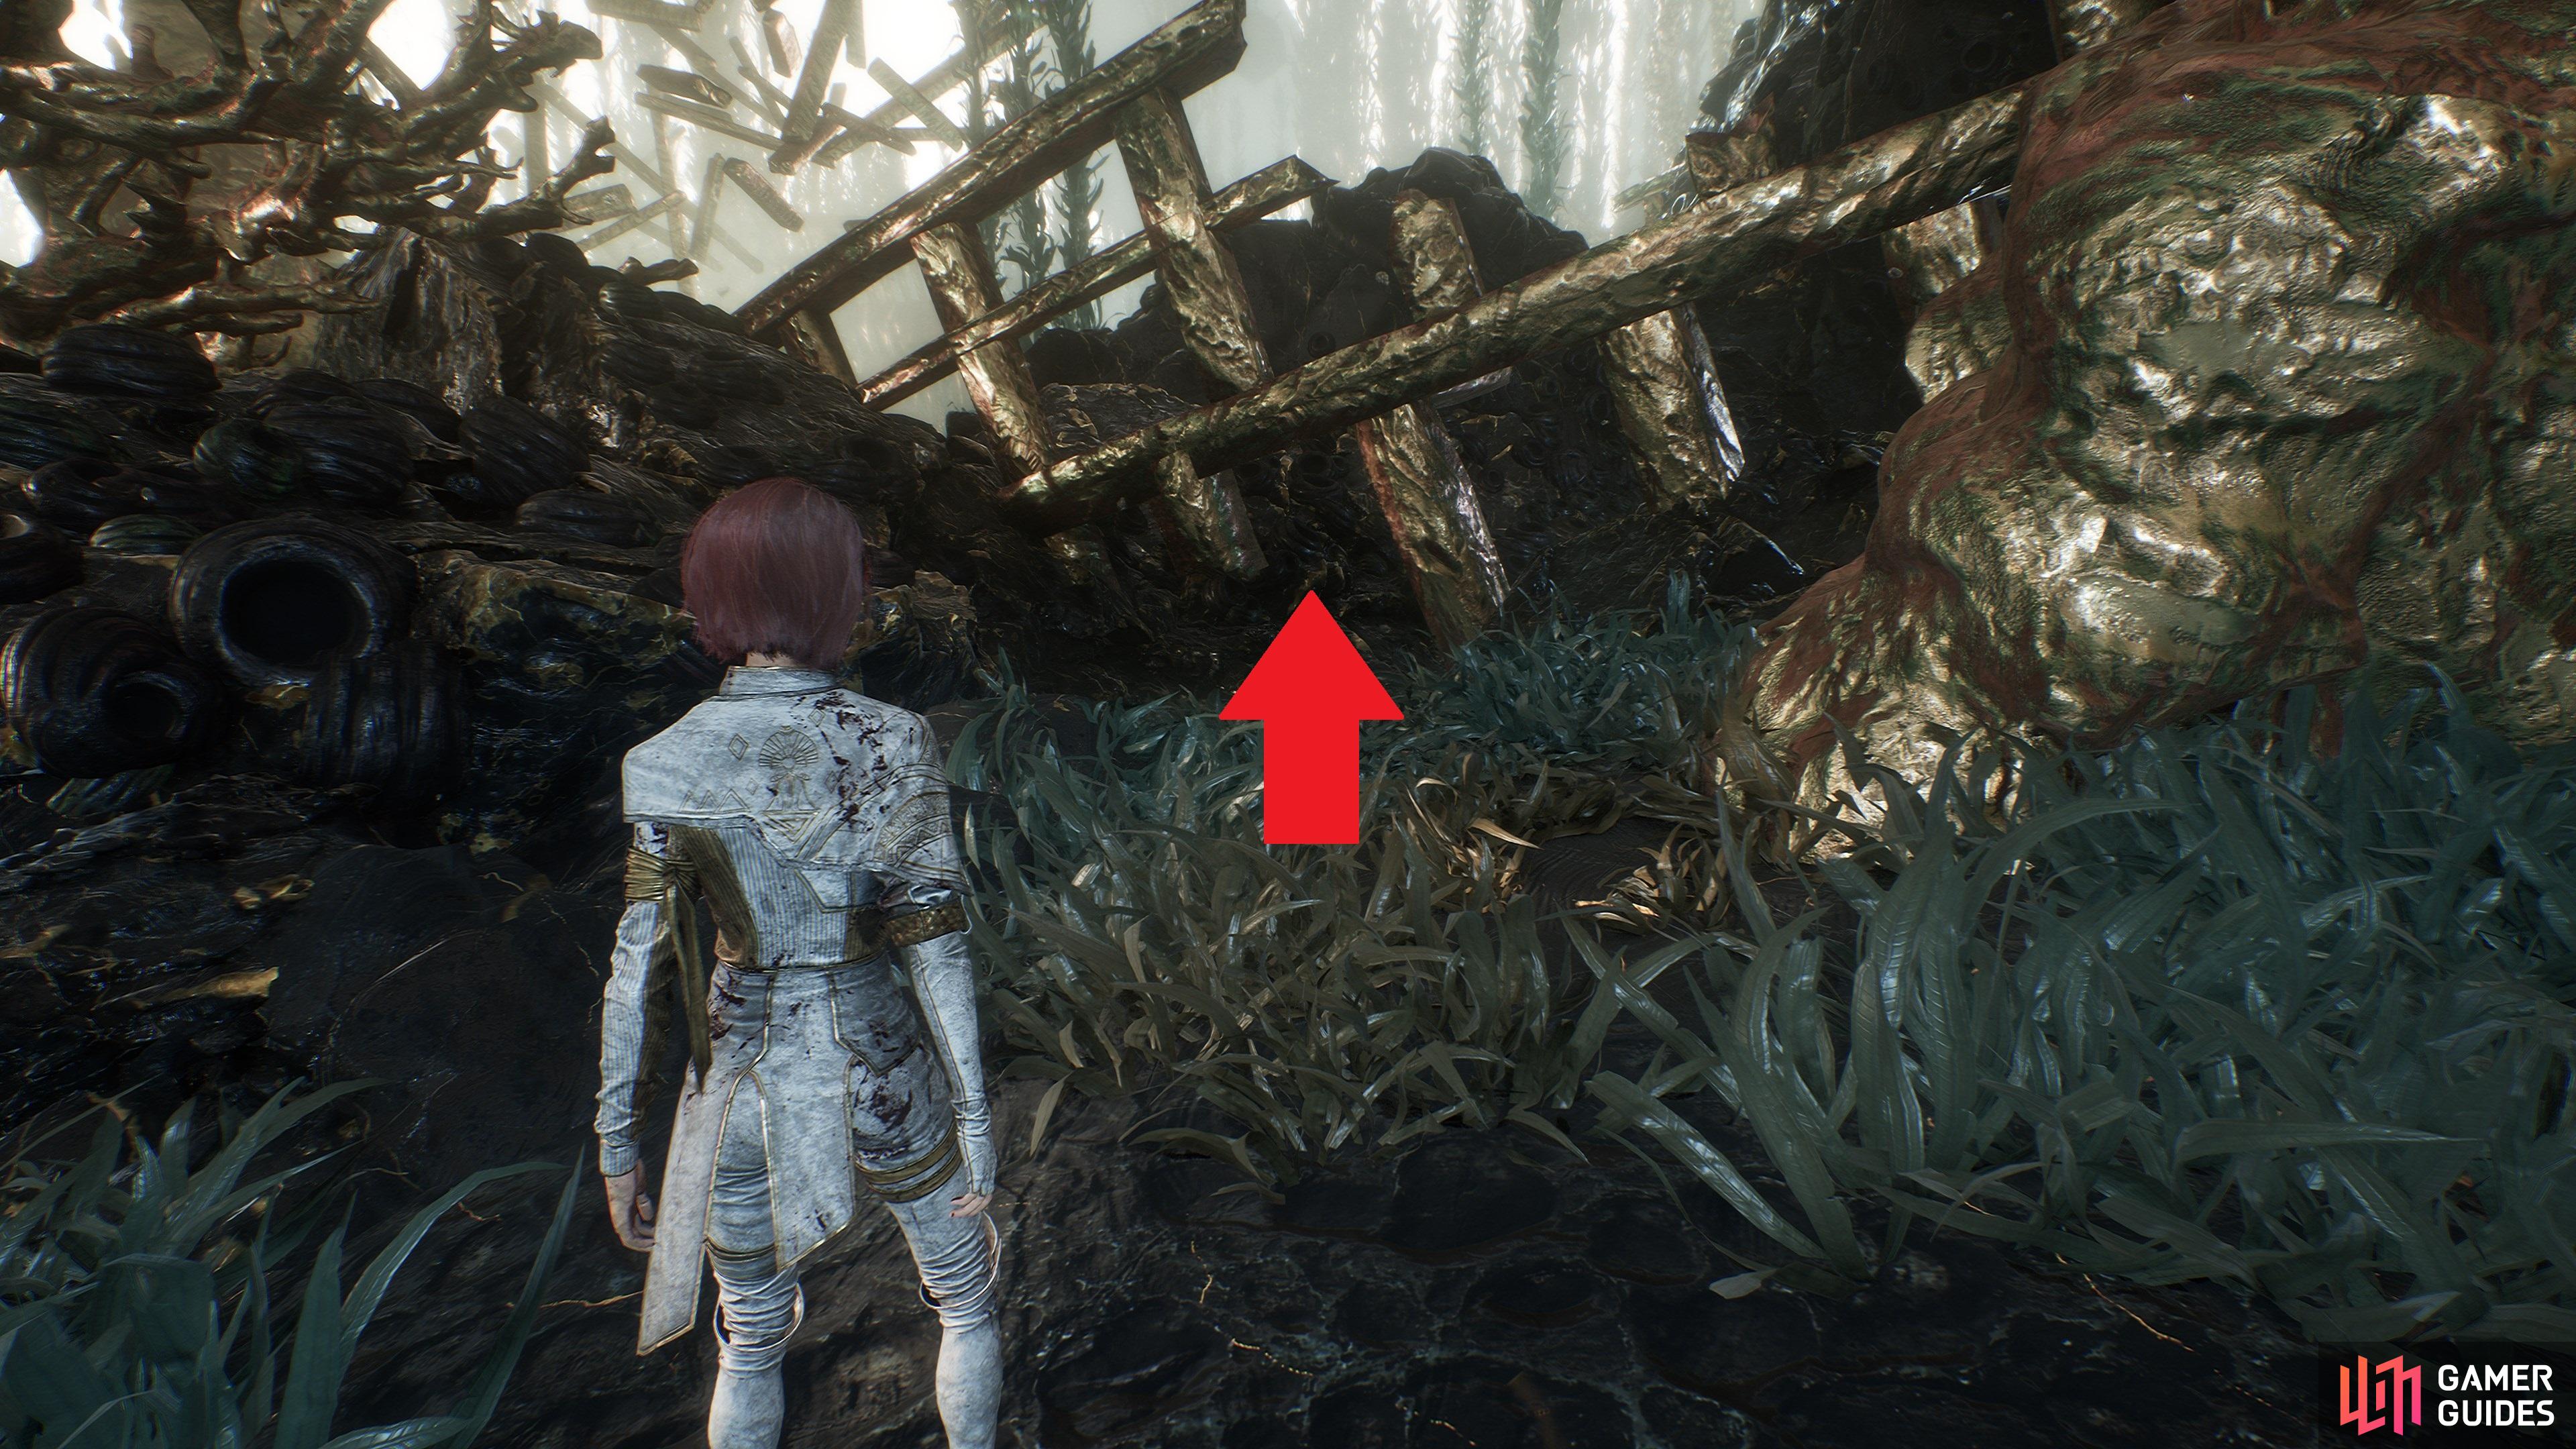
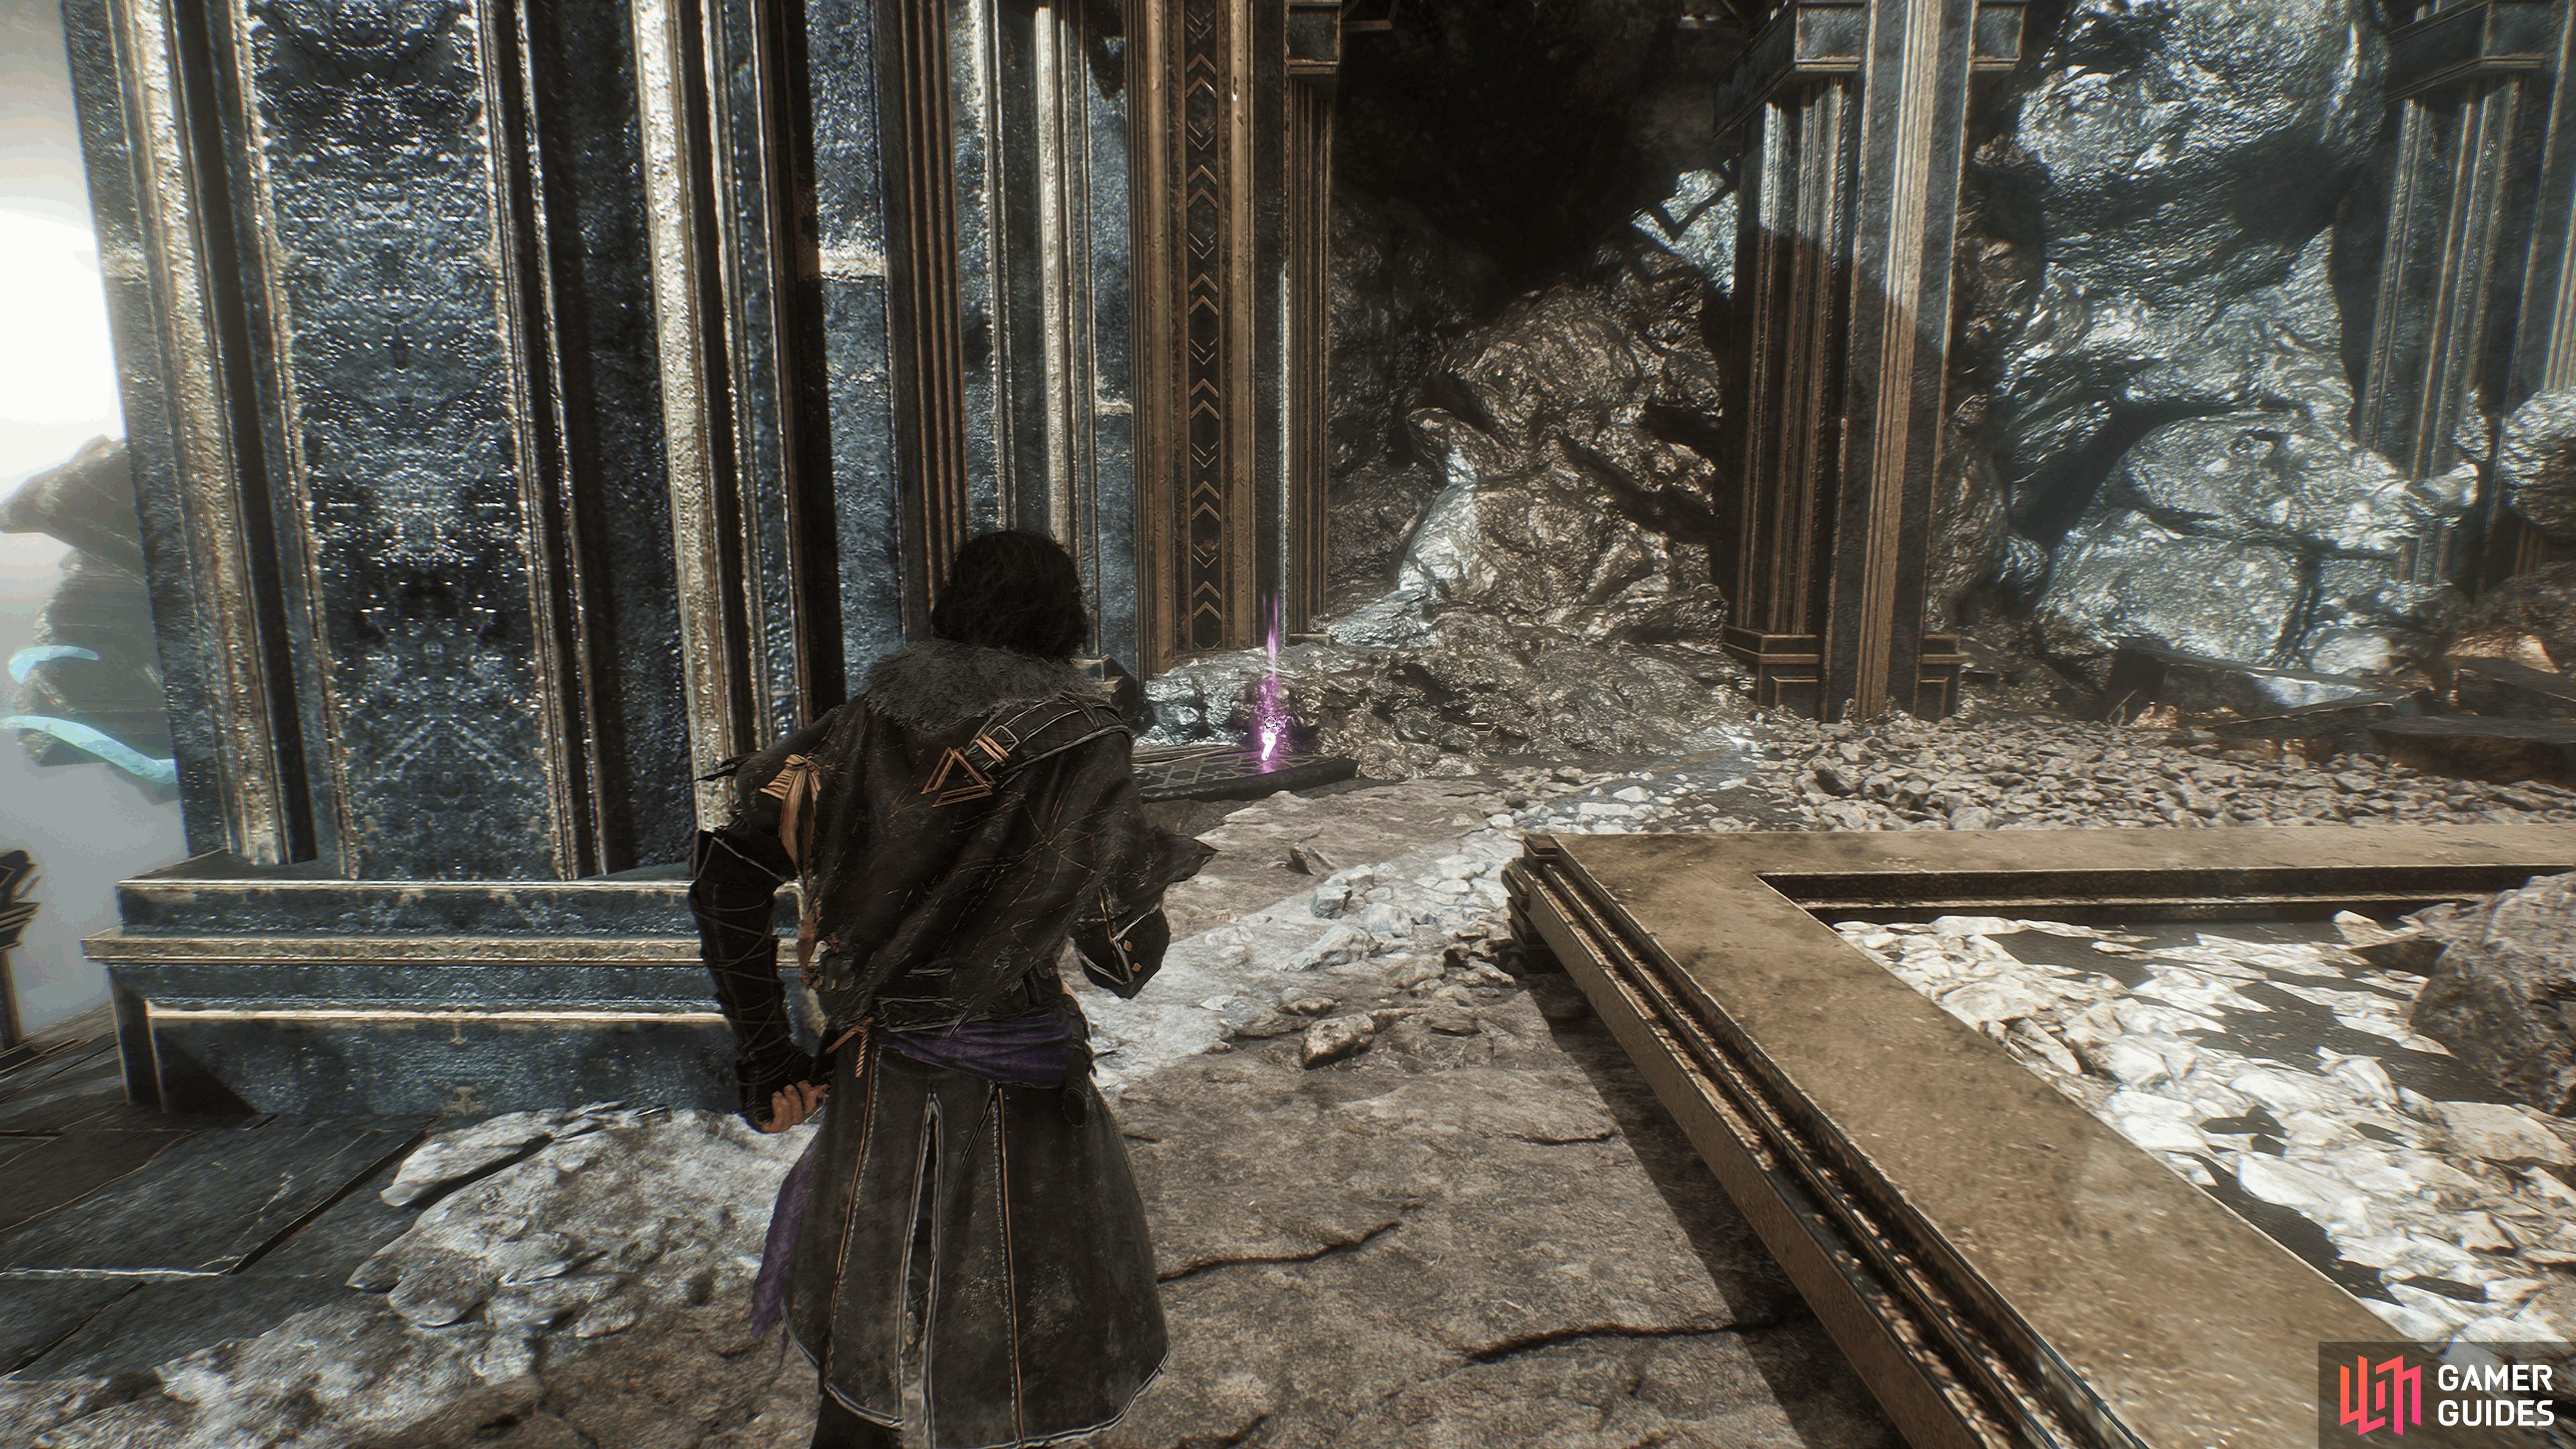
From the ![]() Tainted Waters flag, go right and climb the path by the giant golden clamshell. Look left past the shell and you’ll see this broken golden railing. It’s actually a very hard-to-spot crawlspace, so duck underneath and grab the item on the other side.
Tainted Waters flag, go right and climb the path by the giant golden clamshell. Look left past the shell and you’ll see this broken golden railing. It’s actually a very hard-to-spot crawlspace, so duck underneath and grab the item on the other side.
104. The Continent
Among a pile of crates to the right of the rope in the entrance to the ![]() Tainted Sanctuary.
Tainted Sanctuary.
105. The Continent
Climb the hill after you run into the first ![]() Sakapatate enemy and look to the left at the top. You’ll find this by a classic corpse/crate combo.
Sakapatate enemy and look to the left at the top. You’ll find this by a classic corpse/crate combo.
106. The Continent
Five in the Battle Loot from the Petank in this area. To find the Petank, follow the cliff egde on the right after color returns to your screen following the monochrome section. It will lead you down a path to the Petank
Chase it back up the way you came, but leave it alone just before you get to the end of the path. Go back down and circle around to the right, then use your positioning to poke it onto the green plate where it will stop.
107. The Continent
Behind the windmill in the area where you find the Petank, downhill after the monochrome sequence.
108. The Continent
Cross the bridge in front of the ![]() Tainted Battlefield flag, then hop down to to the ledge below to the right to find this.
Tainted Battlefield flag, then hop down to to the ledge below to the right to find this.

109. The Continent
When you reach the battlefield, take a right and double back, down the hill. You’ll find the item at the end of the path.
110. The Continent
Push on through the battlefield until you have the opportunity to take a 180° left turn up a slope. You’ll find this at the top.
112. The Continent
After the monochrome sequence, the path splits. Take the road on the left to reach this.
113. The Continent
After the monochrome section, head forward into the plaza with the large golden tree in the middle. Hug the right wall until you find an opening, and this item. Note the grapple point behind; it leads to more goodies.
114. The Continent
After the monochrome section, head forward into the plaza with the large golden tree in the middle. Hug the right wall until you find an opening. Grapple over and defeat the enemies. You’ll find this item, and a journal, just past them, around the corner.
115. The Continent
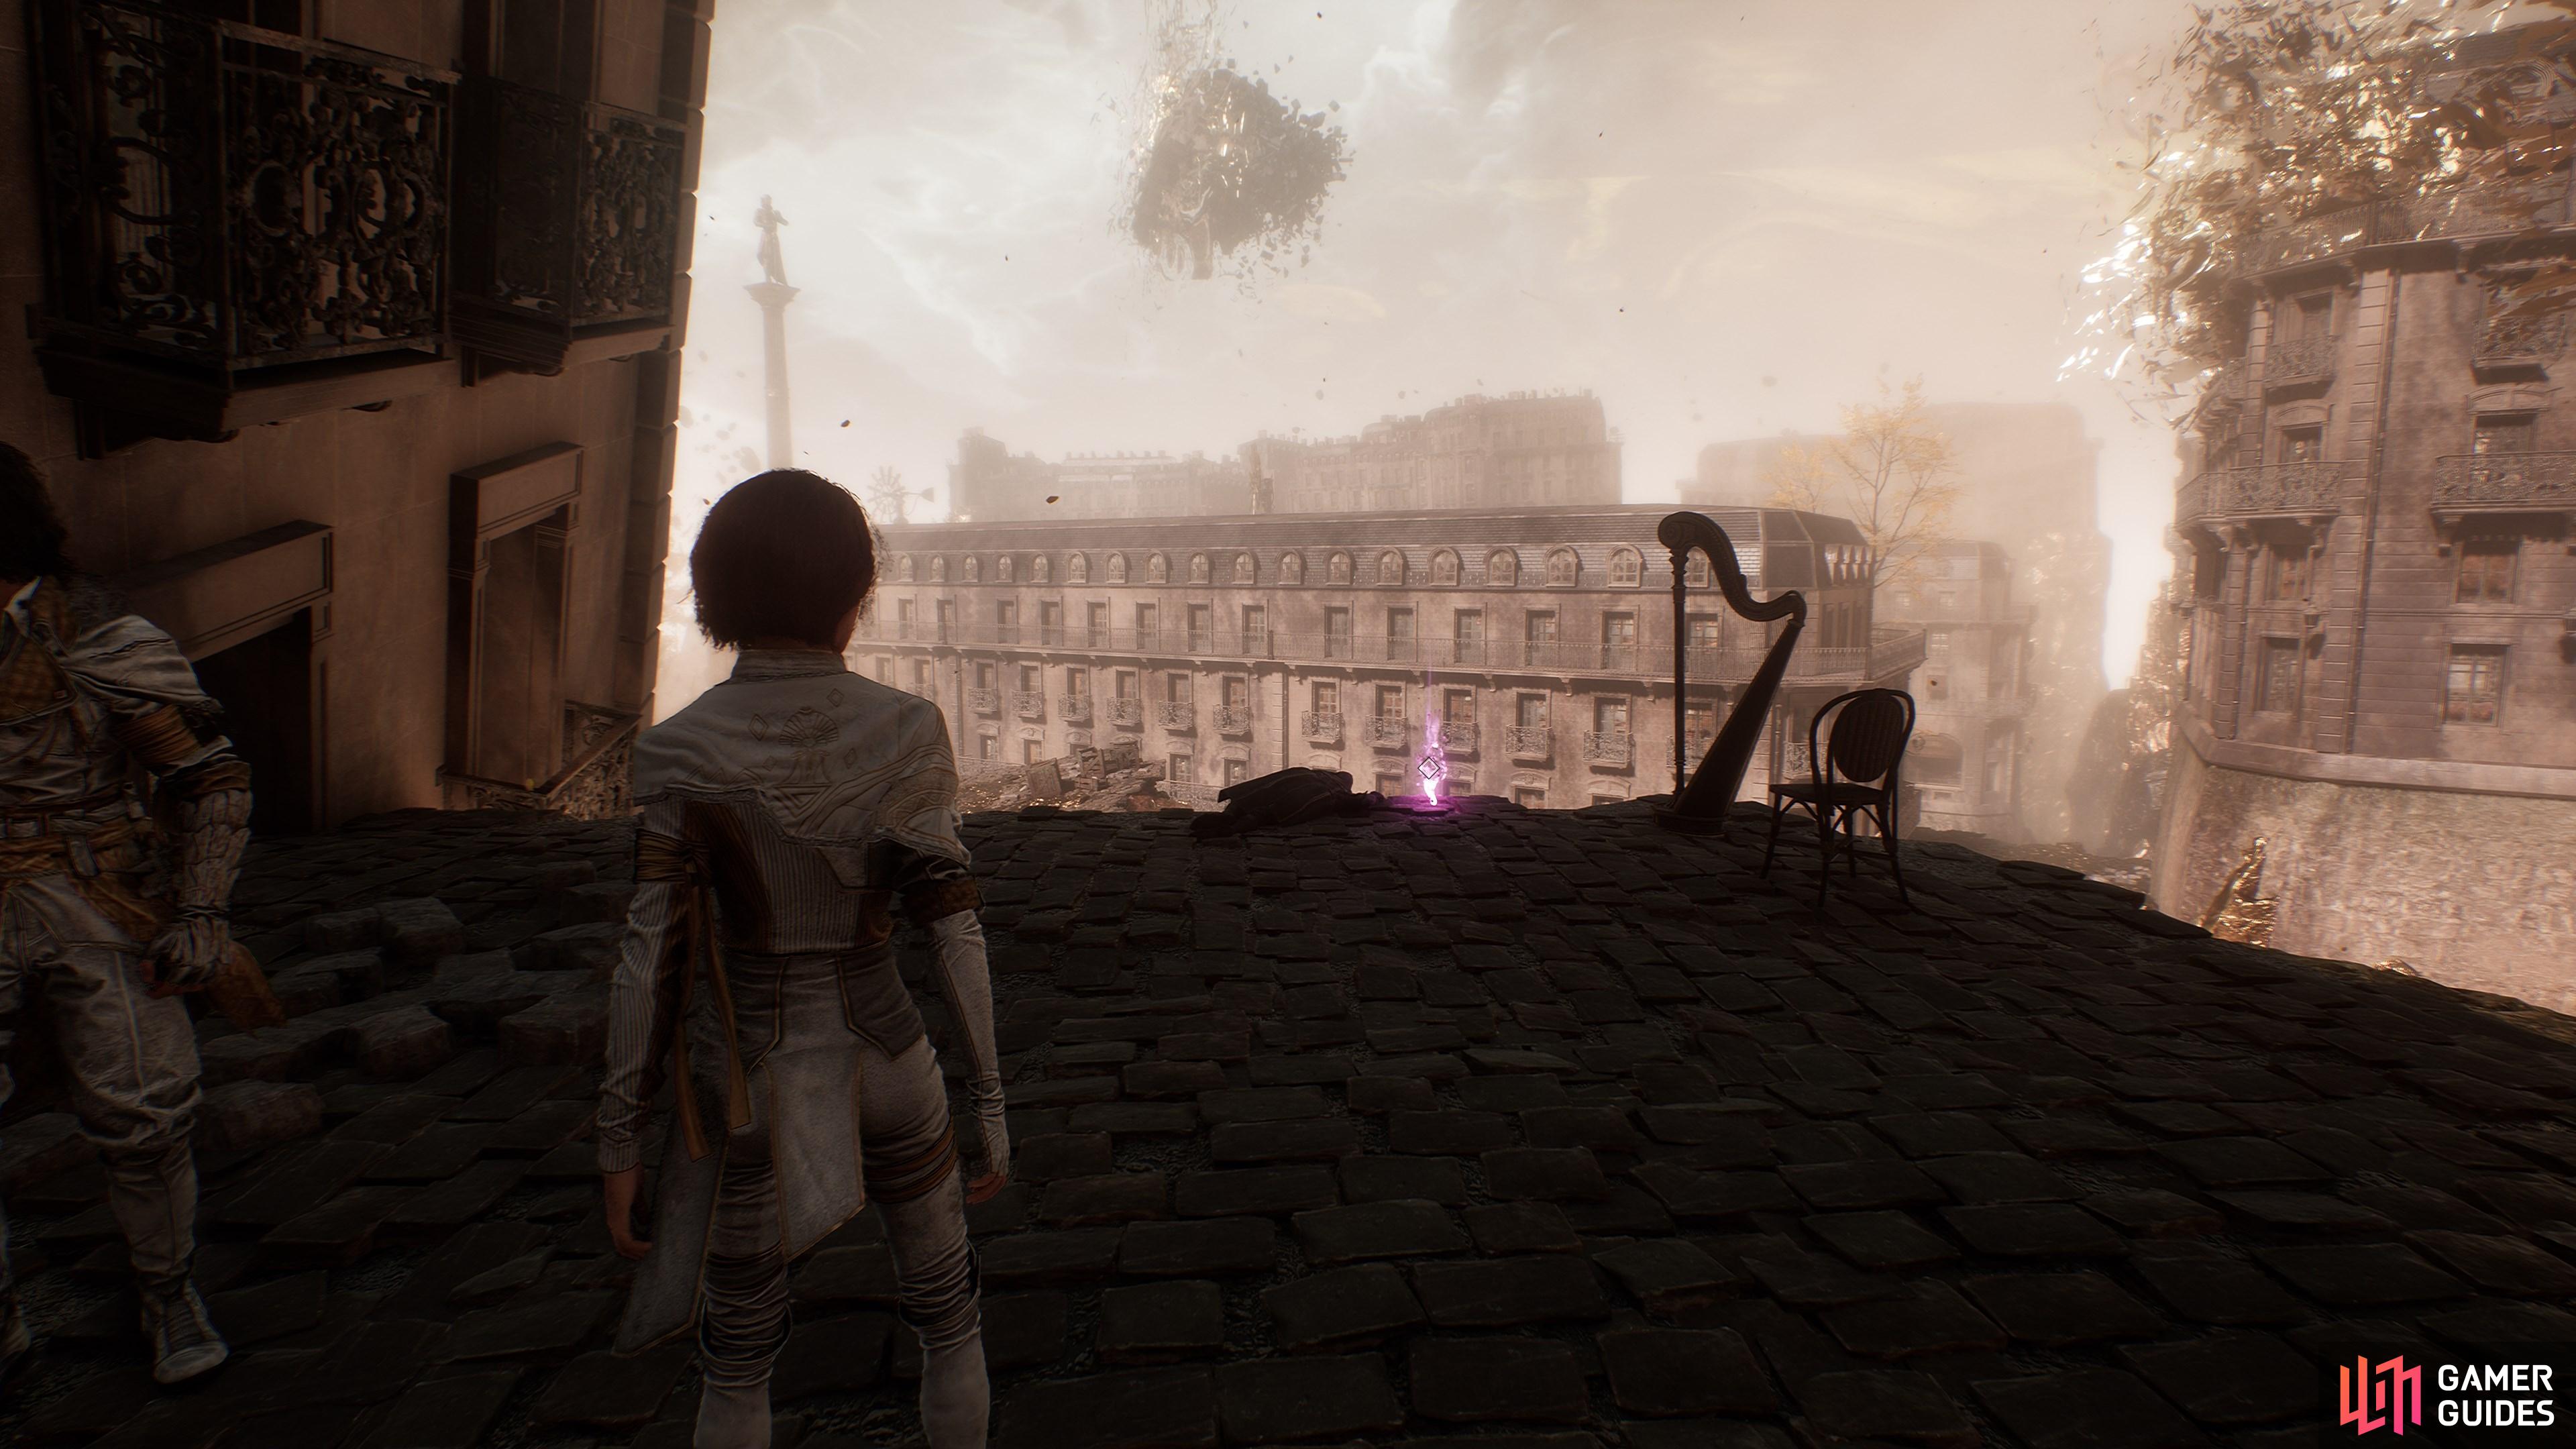
When you reach the plaza with the golden water fountain, don’t push forward. Instead, turn 180° and take the path behind you, around the side of the rocky entrance you just came through. You’ll find this item at the end of th street.
116. The Continent
At the golden horsey water fountain (trust us, you’ll know it when you see it), take a right and go to the end of the street towards the boat. You might have to clear out a couple of Chevalier enemies, but you can also snag this item, too.
119. The Continent
From the ![]() Crimson Perch flag, zip down the two ropes and you’ll find this at the bottom, just around the corner to the right.
Crimson Perch flag, zip down the two ropes and you’ll find this at the bottom, just around the corner to the right.
120. The Continent
From the ![]() Crimson Perch flag, zip down the two ropes and platform your way across the pillars and up the handholds. Climb the rope, then when the path at the top splits, jump down the wooden platforms on the side of the cliff to find this item.
Crimson Perch flag, zip down the two ropes and platform your way across the pillars and up the handholds. Climb the rope, then when the path at the top splits, jump down the wooden platforms on the side of the cliff to find this item.
121. The Continent
From the ![]() Crimson Perch flag, zip down the two ropes and platform your way across the pillars and up the handholds. Climb the rope, then when the path at the top splits, go downhill to the left to find this item.
Crimson Perch flag, zip down the two ropes and platform your way across the pillars and up the handholds. Climb the rope, then when the path at the top splits, go downhill to the left to find this item.
122. The Continent
From the ![]() Crimson Perch flag, zip down the two ropes and platform your way across the pillars and up the handholds. Climb the rope, then when the path at the top splits, go left down the hill. Hop onto the pillar, then look left to see a stack of crates. Jump over and bust the crates, you’ll find this item inside.
Crimson Perch flag, zip down the two ropes and platform your way across the pillars and up the handholds. Climb the rope, then when the path at the top splits, go left down the hill. Hop onto the pillar, then look left to see a stack of crates. Jump over and bust the crates, you’ll find this item inside.
124. The Continent
In the upper floor of the building. Go around the outside of the building and use the handholds to climb up, then use the grapple point to zip over to find this item.
126. The Continent
Just past the red sails, next to the two Orphelin who are having a nice chat… or whatever it is they do.

127. The Continent
When you find the hot air balloon with the blue flame, turn around and you’ll spot this in a crate nearby.
128. The Continent
At the ![]() Ladder Area flag, go down the ramp and immediately turn right. You should see this item by some crates nearby.
Ladder Area flag, go down the ramp and immediately turn right. You should see this item by some crates nearby.
129. The Continent
From the ![]() Ladder Area flag, go down the sloped walkway. Ignore the rising path in front of you and take the path to the right that leads down to a large open area underneath.
Ladder Area flag, go down the sloped walkway. Ignore the rising path in front of you and take the path to the right that leads down to a large open area underneath.
You’ll see three large Orphelin guarding this item. You know the drill.
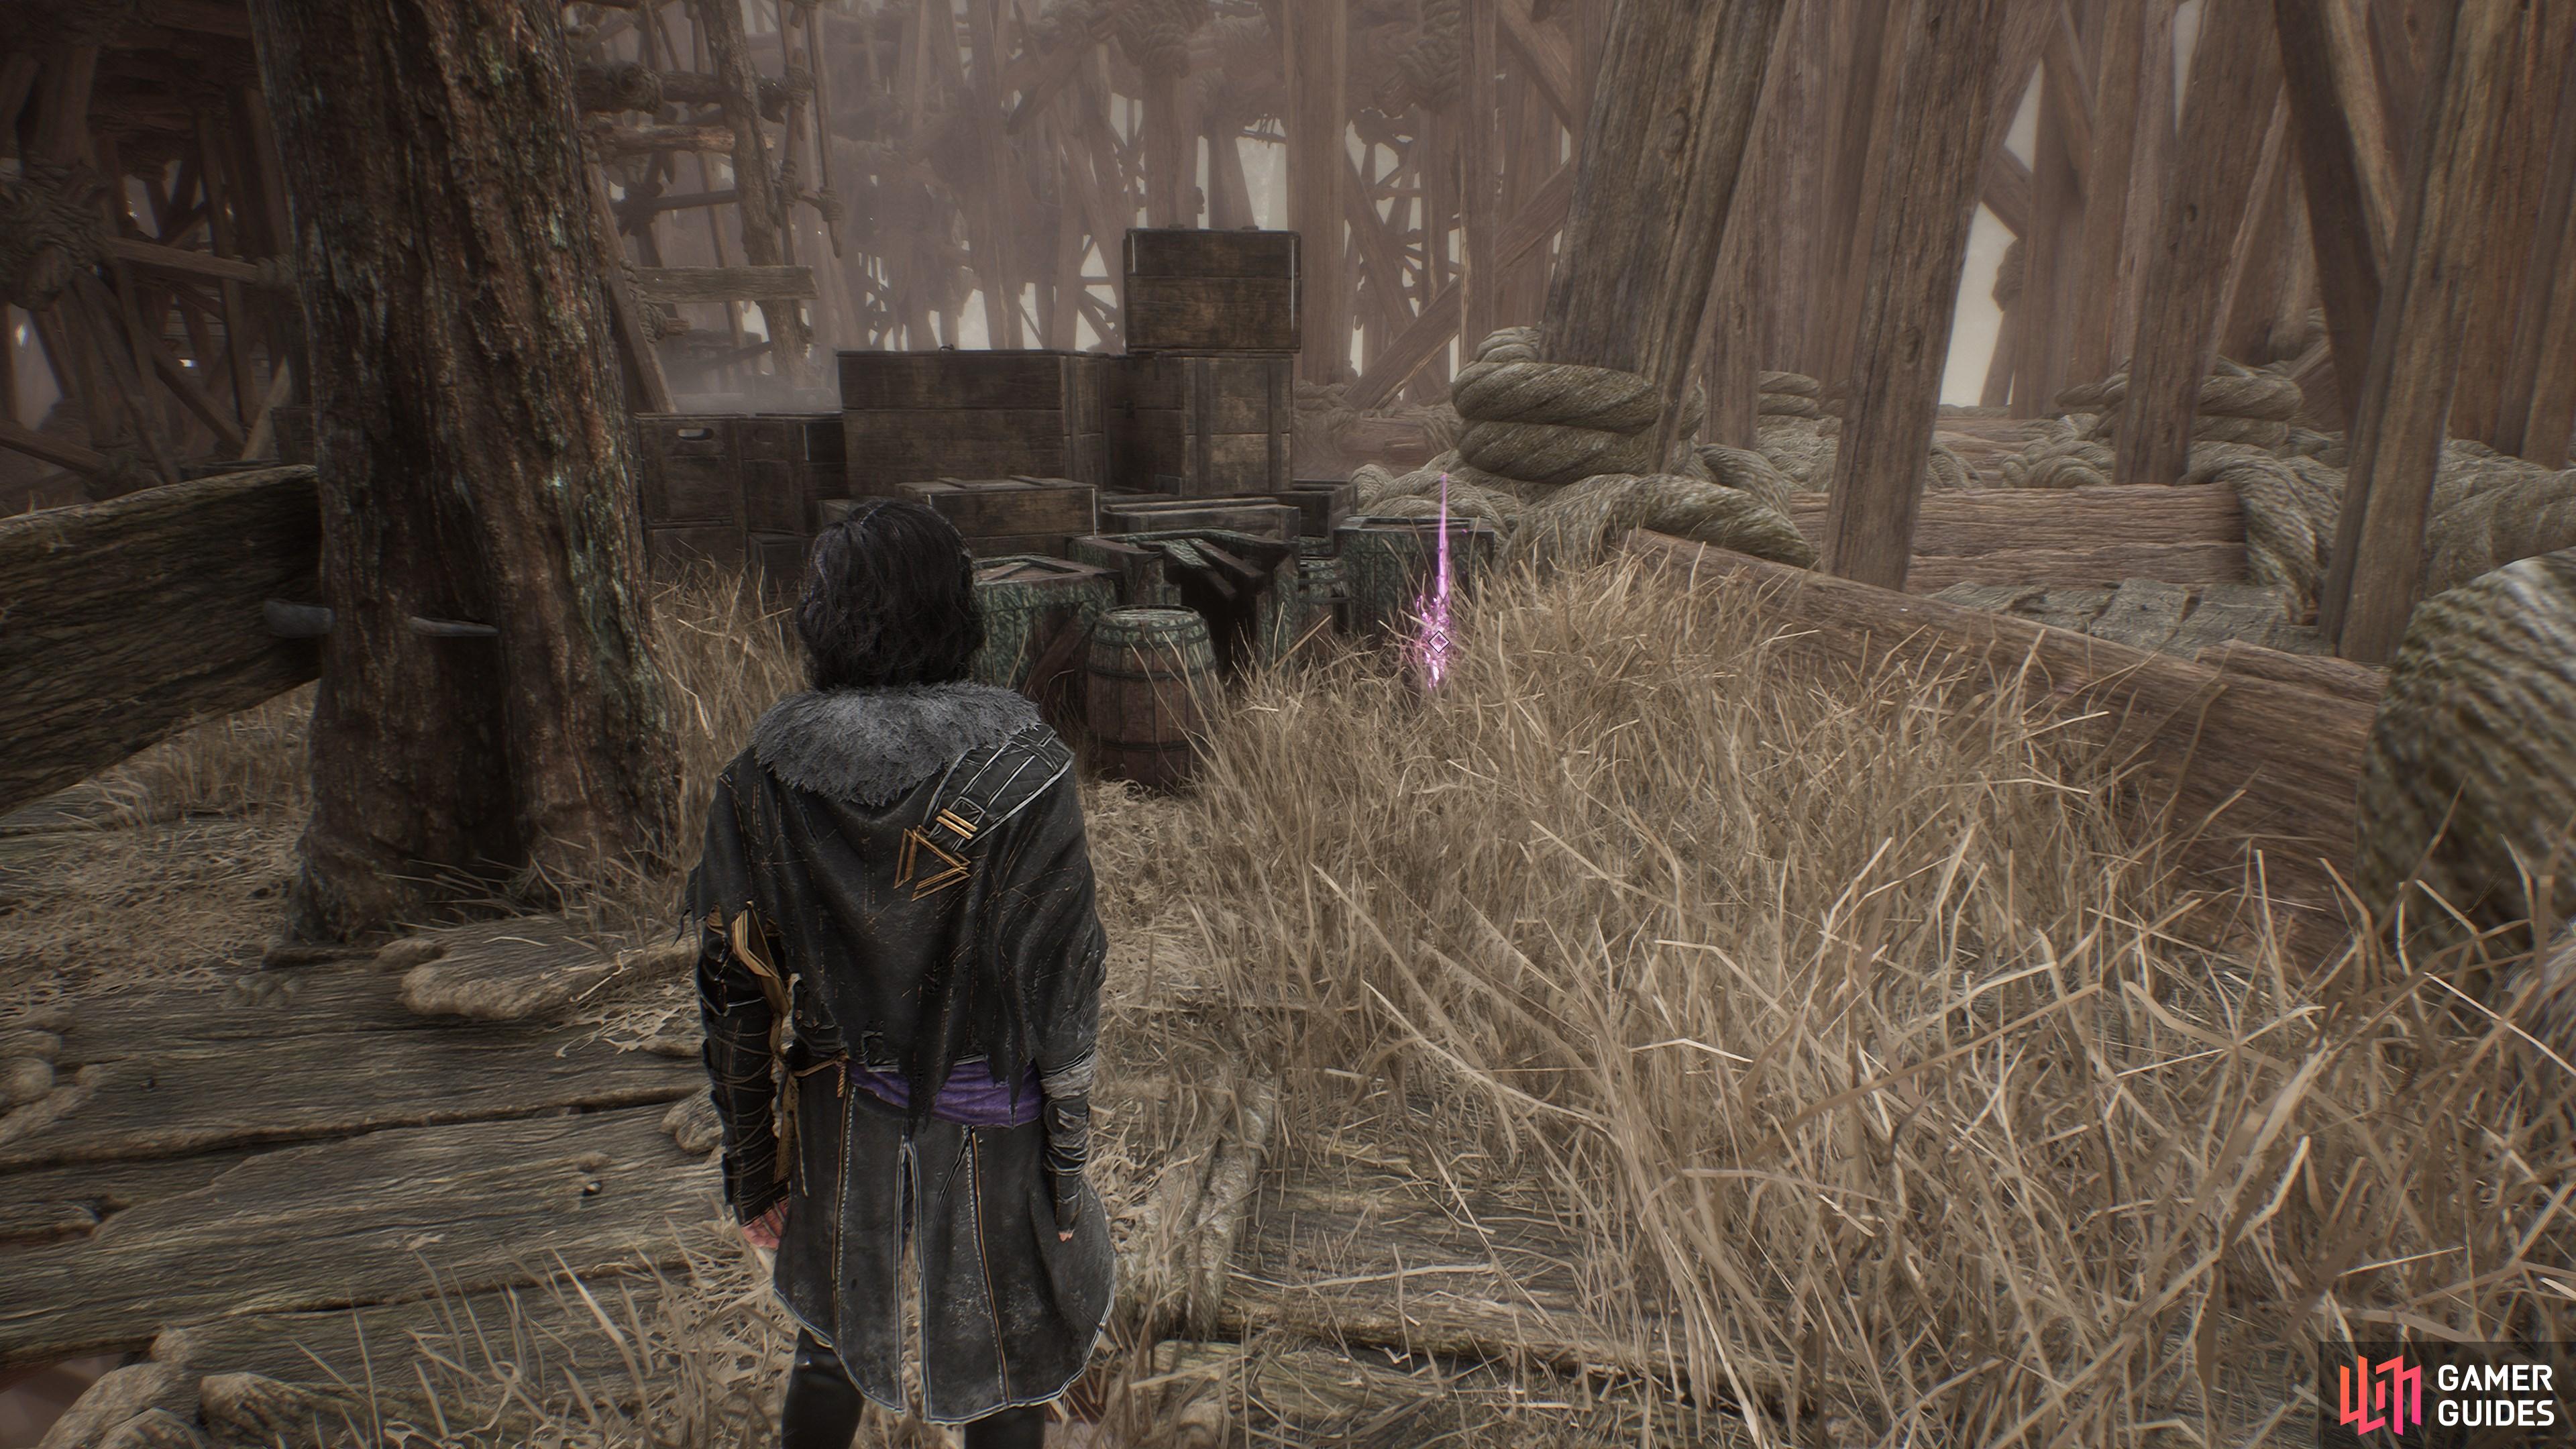
130. The Continent
From the ![]() Ladder Area flag, go down the sloped walkway. Ignore the rising path in front of you and take the path to the right that leads down to a large open area underneath.
Ladder Area flag, go down the sloped walkway. Ignore the rising path in front of you and take the path to the right that leads down to a large open area underneath.
You’ll find this stashed away by a pile of crates and barrels.
131. The Continent
Battle Loot from a Petank in this area. From the ![]() Ladder Area flag, go down the sloped walkway. Ignore the rising path in front of you and take the path to the right that leads down to a large open area underneath.
Ladder Area flag, go down the sloped walkway. Ignore the rising path in front of you and take the path to the right that leads down to a large open area underneath.
You’ll find the Petank, and a lot of strong ![]() Orphelin, at the bottom. Deal with the Orphelin first to make chasing the Petank easier.
Orphelin, at the bottom. Deal with the Orphelin first to make chasing the Petank easier.
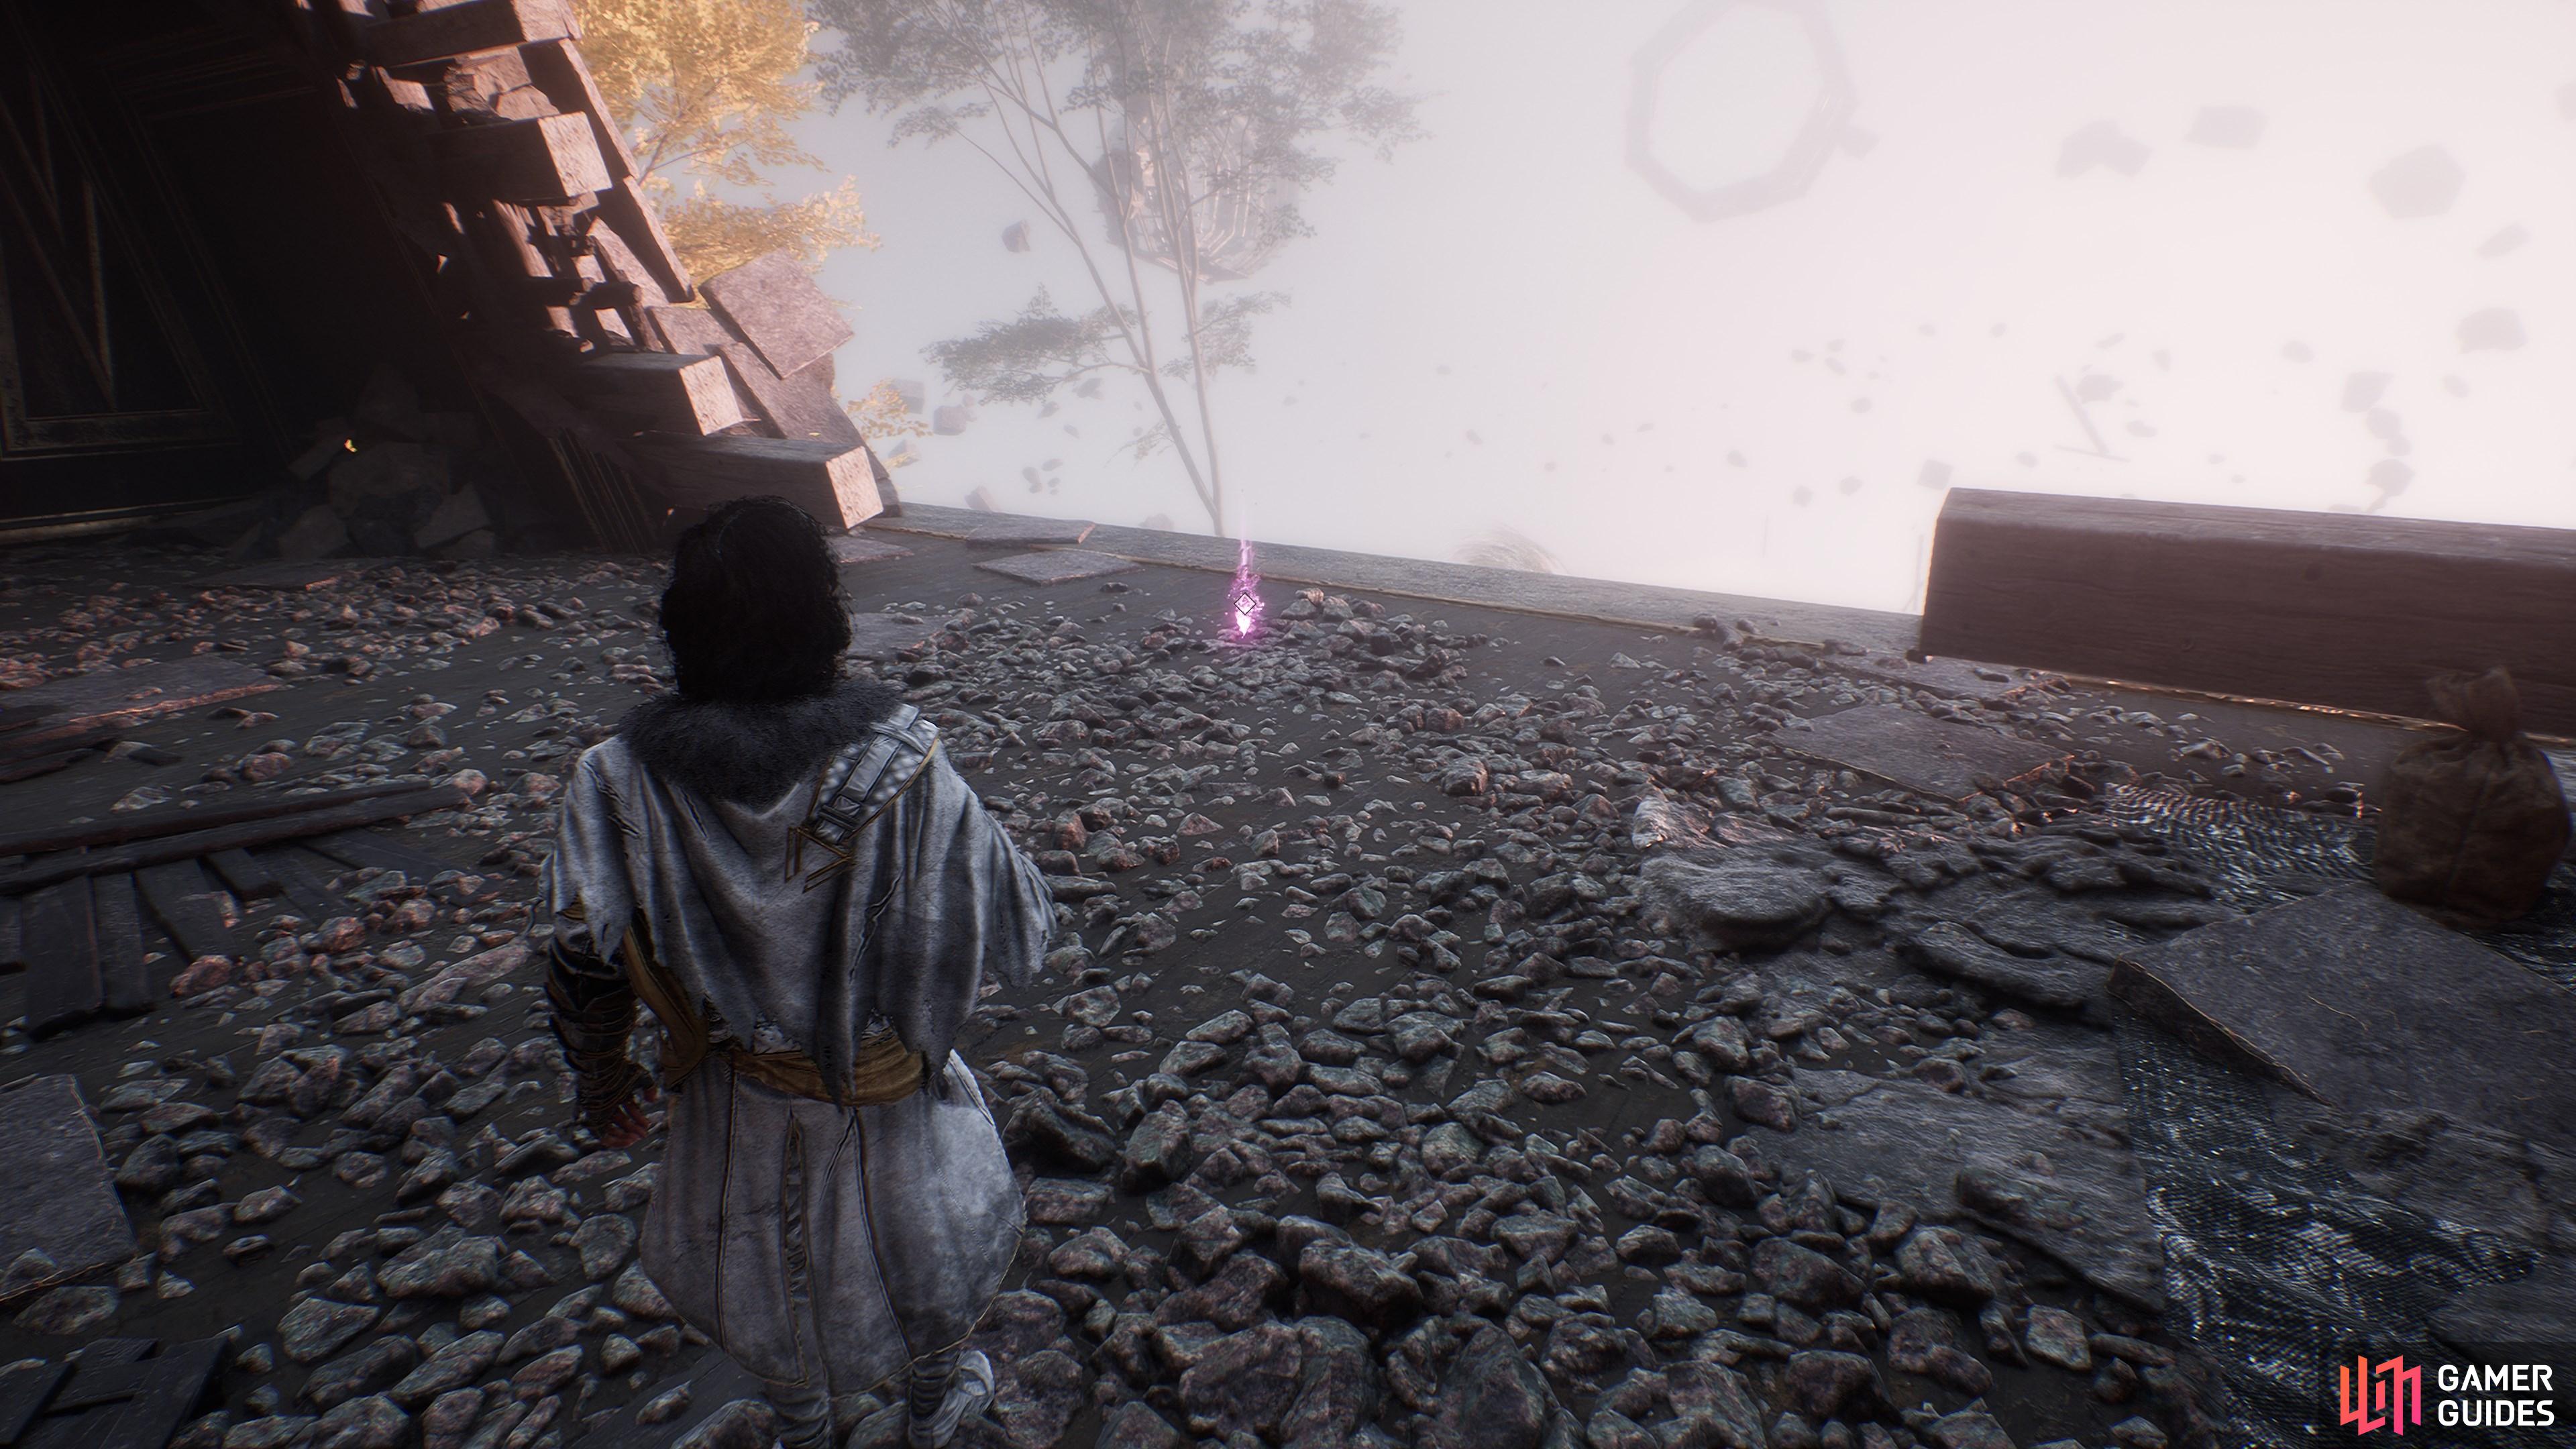
132. The Continent
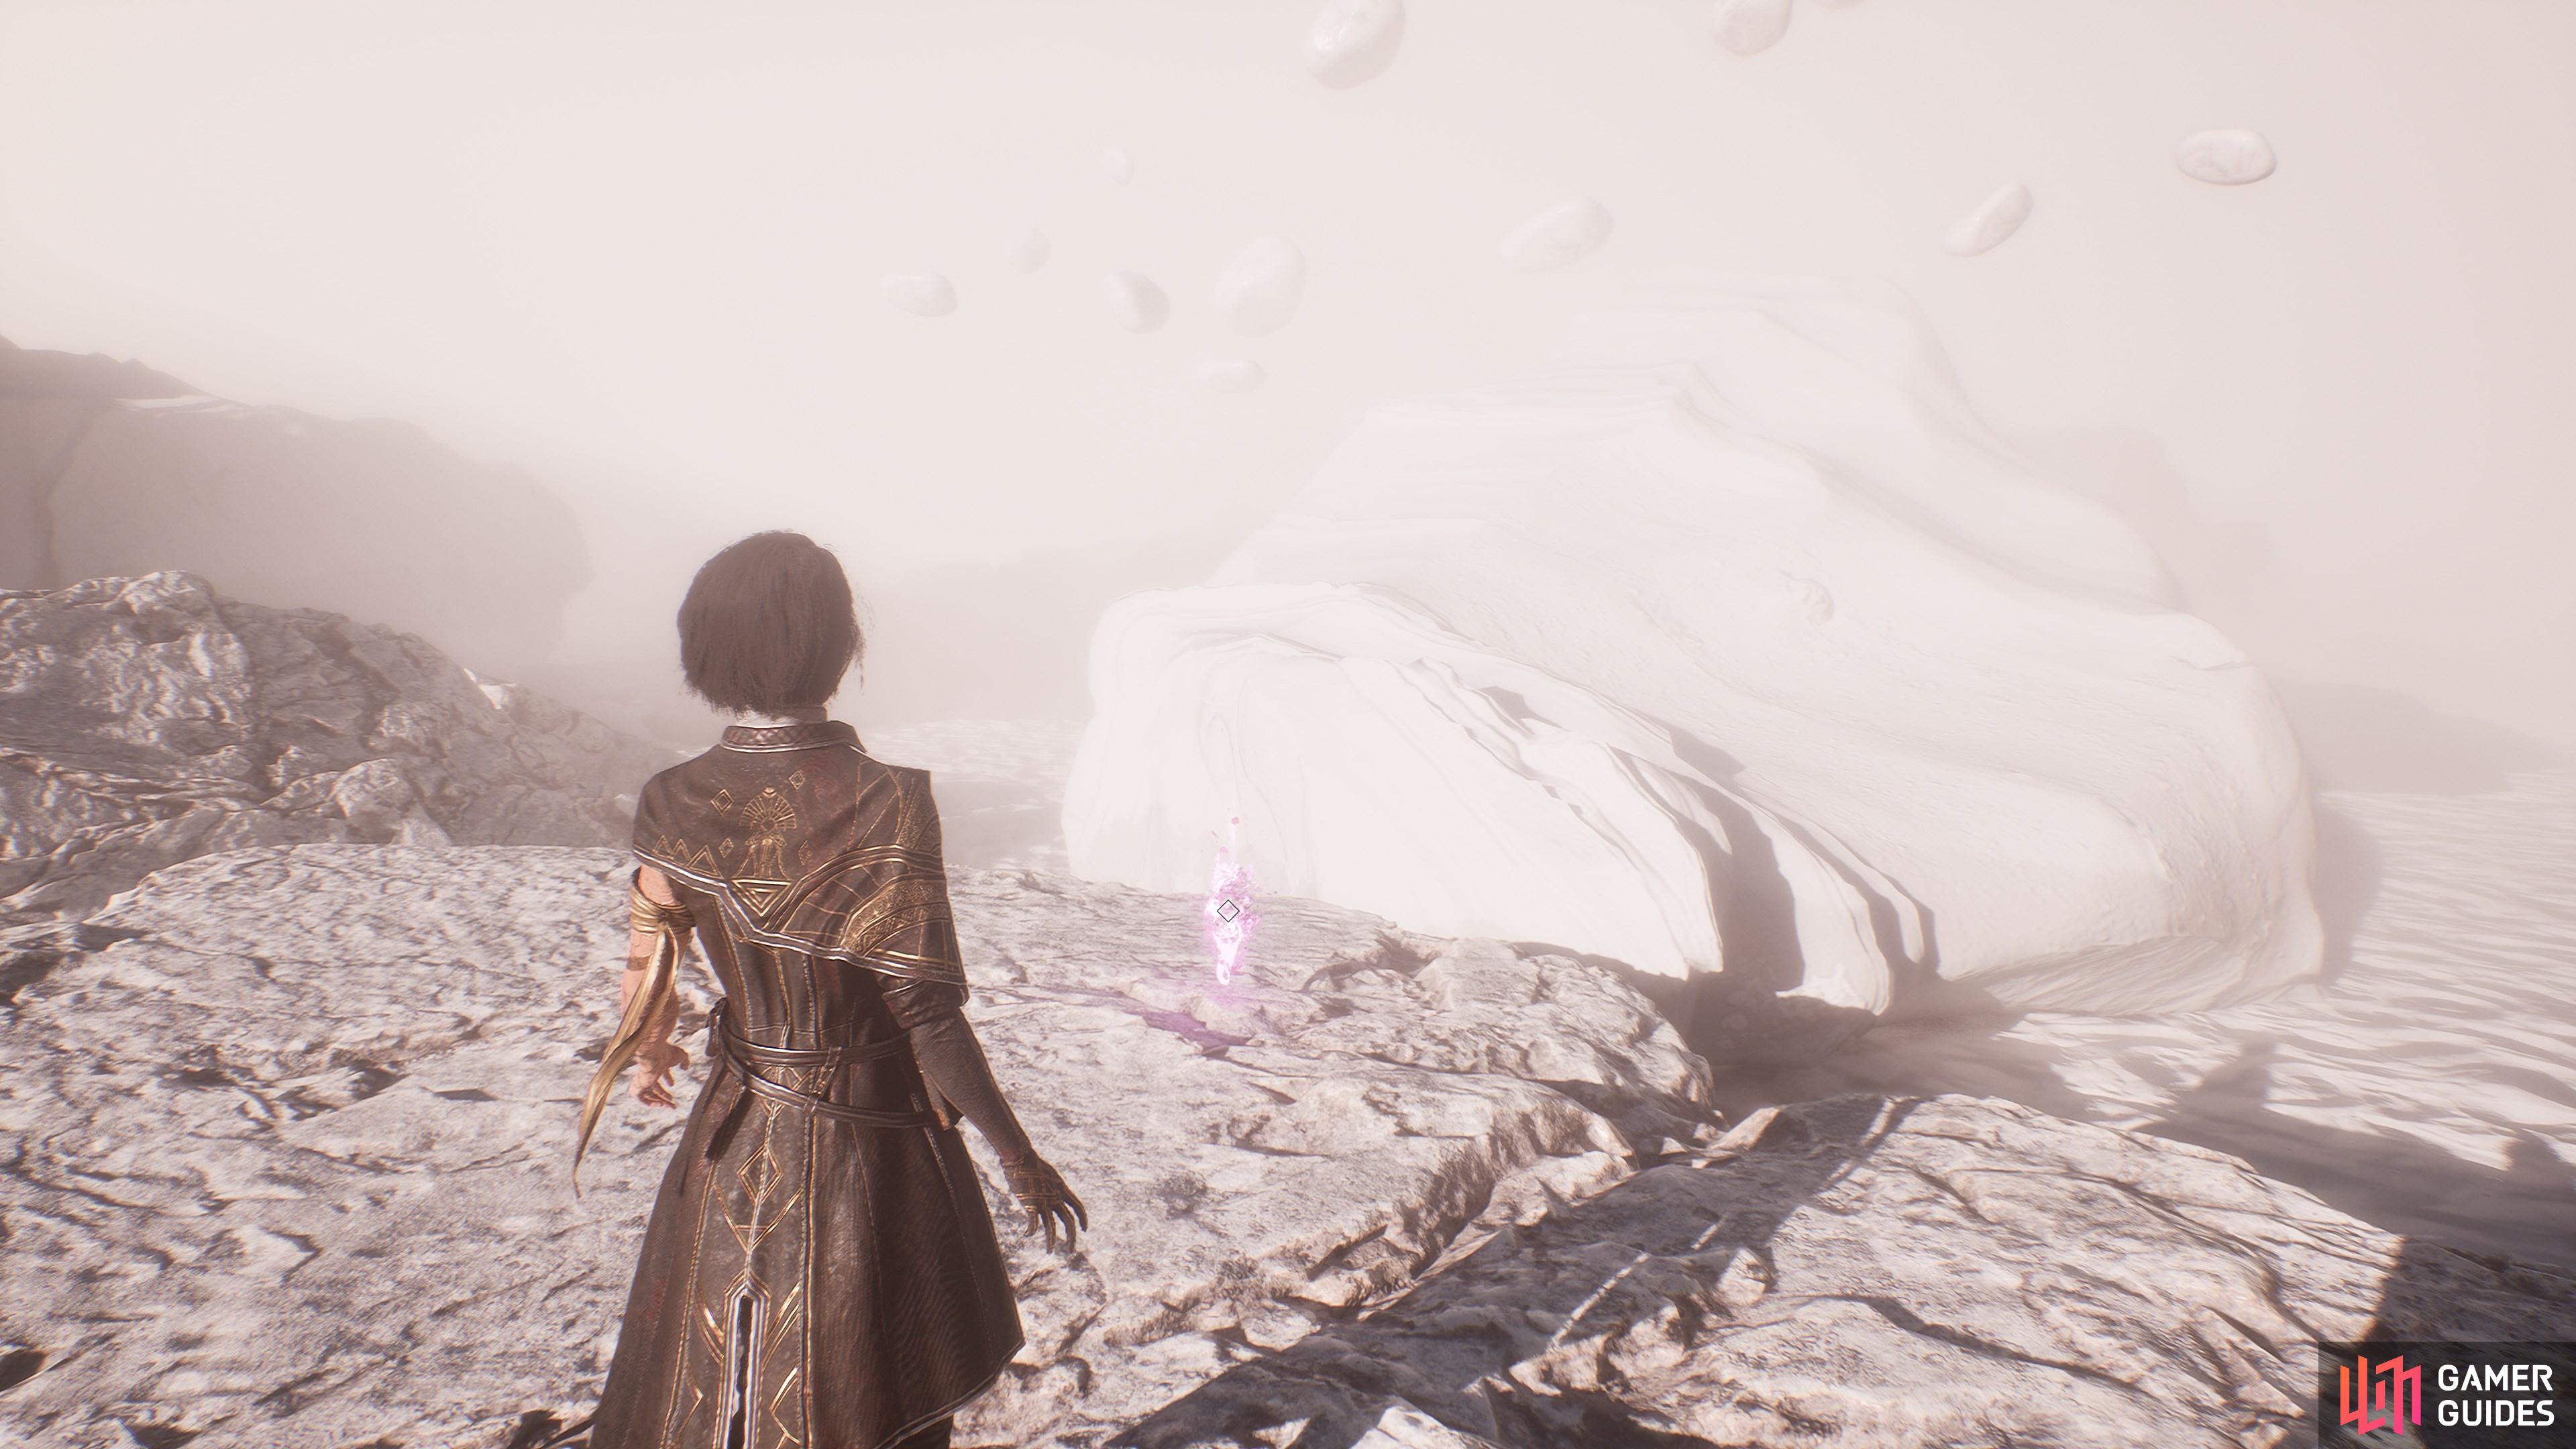
From the ![]() Foggy Area flag, go down the sloping path, then when you reach the grassy area, hug the left wall and go downhill. Follow the path onto some wooden beams and go around the corner. On your right, you’ll see a rope that you can descend in a moment. Look to your left before that, though, and you’ll find this item.
Foggy Area flag, go down the sloping path, then when you reach the grassy area, hug the left wall and go downhill. Follow the path onto some wooden beams and go around the corner. On your right, you’ll see a rope that you can descend in a moment. Look to your left before that, though, and you’ll find this item.

133. The Continent
From the ![]() Foggy Area flag, go down the sloping wooden path and work your way towards the back of the grassy area. You’ll see two ropes heading up. Climb both of them and you’ll see this item at the end of a path ahead of you.
Foggy Area flag, go down the sloping wooden path and work your way towards the back of the grassy area. You’ll see two ropes heading up. Climb both of them and you’ll see this item at the end of a path ahead of you.
135. The Continent
From the ![]() Glacial Falls flag, turn left and double back. Climb up onto the train platform and follow the tracks. You’ll find this at the end.
Glacial Falls flag, turn left and double back. Climb up onto the train platform and follow the tracks. You’ll find this at the end.
137. The Continent
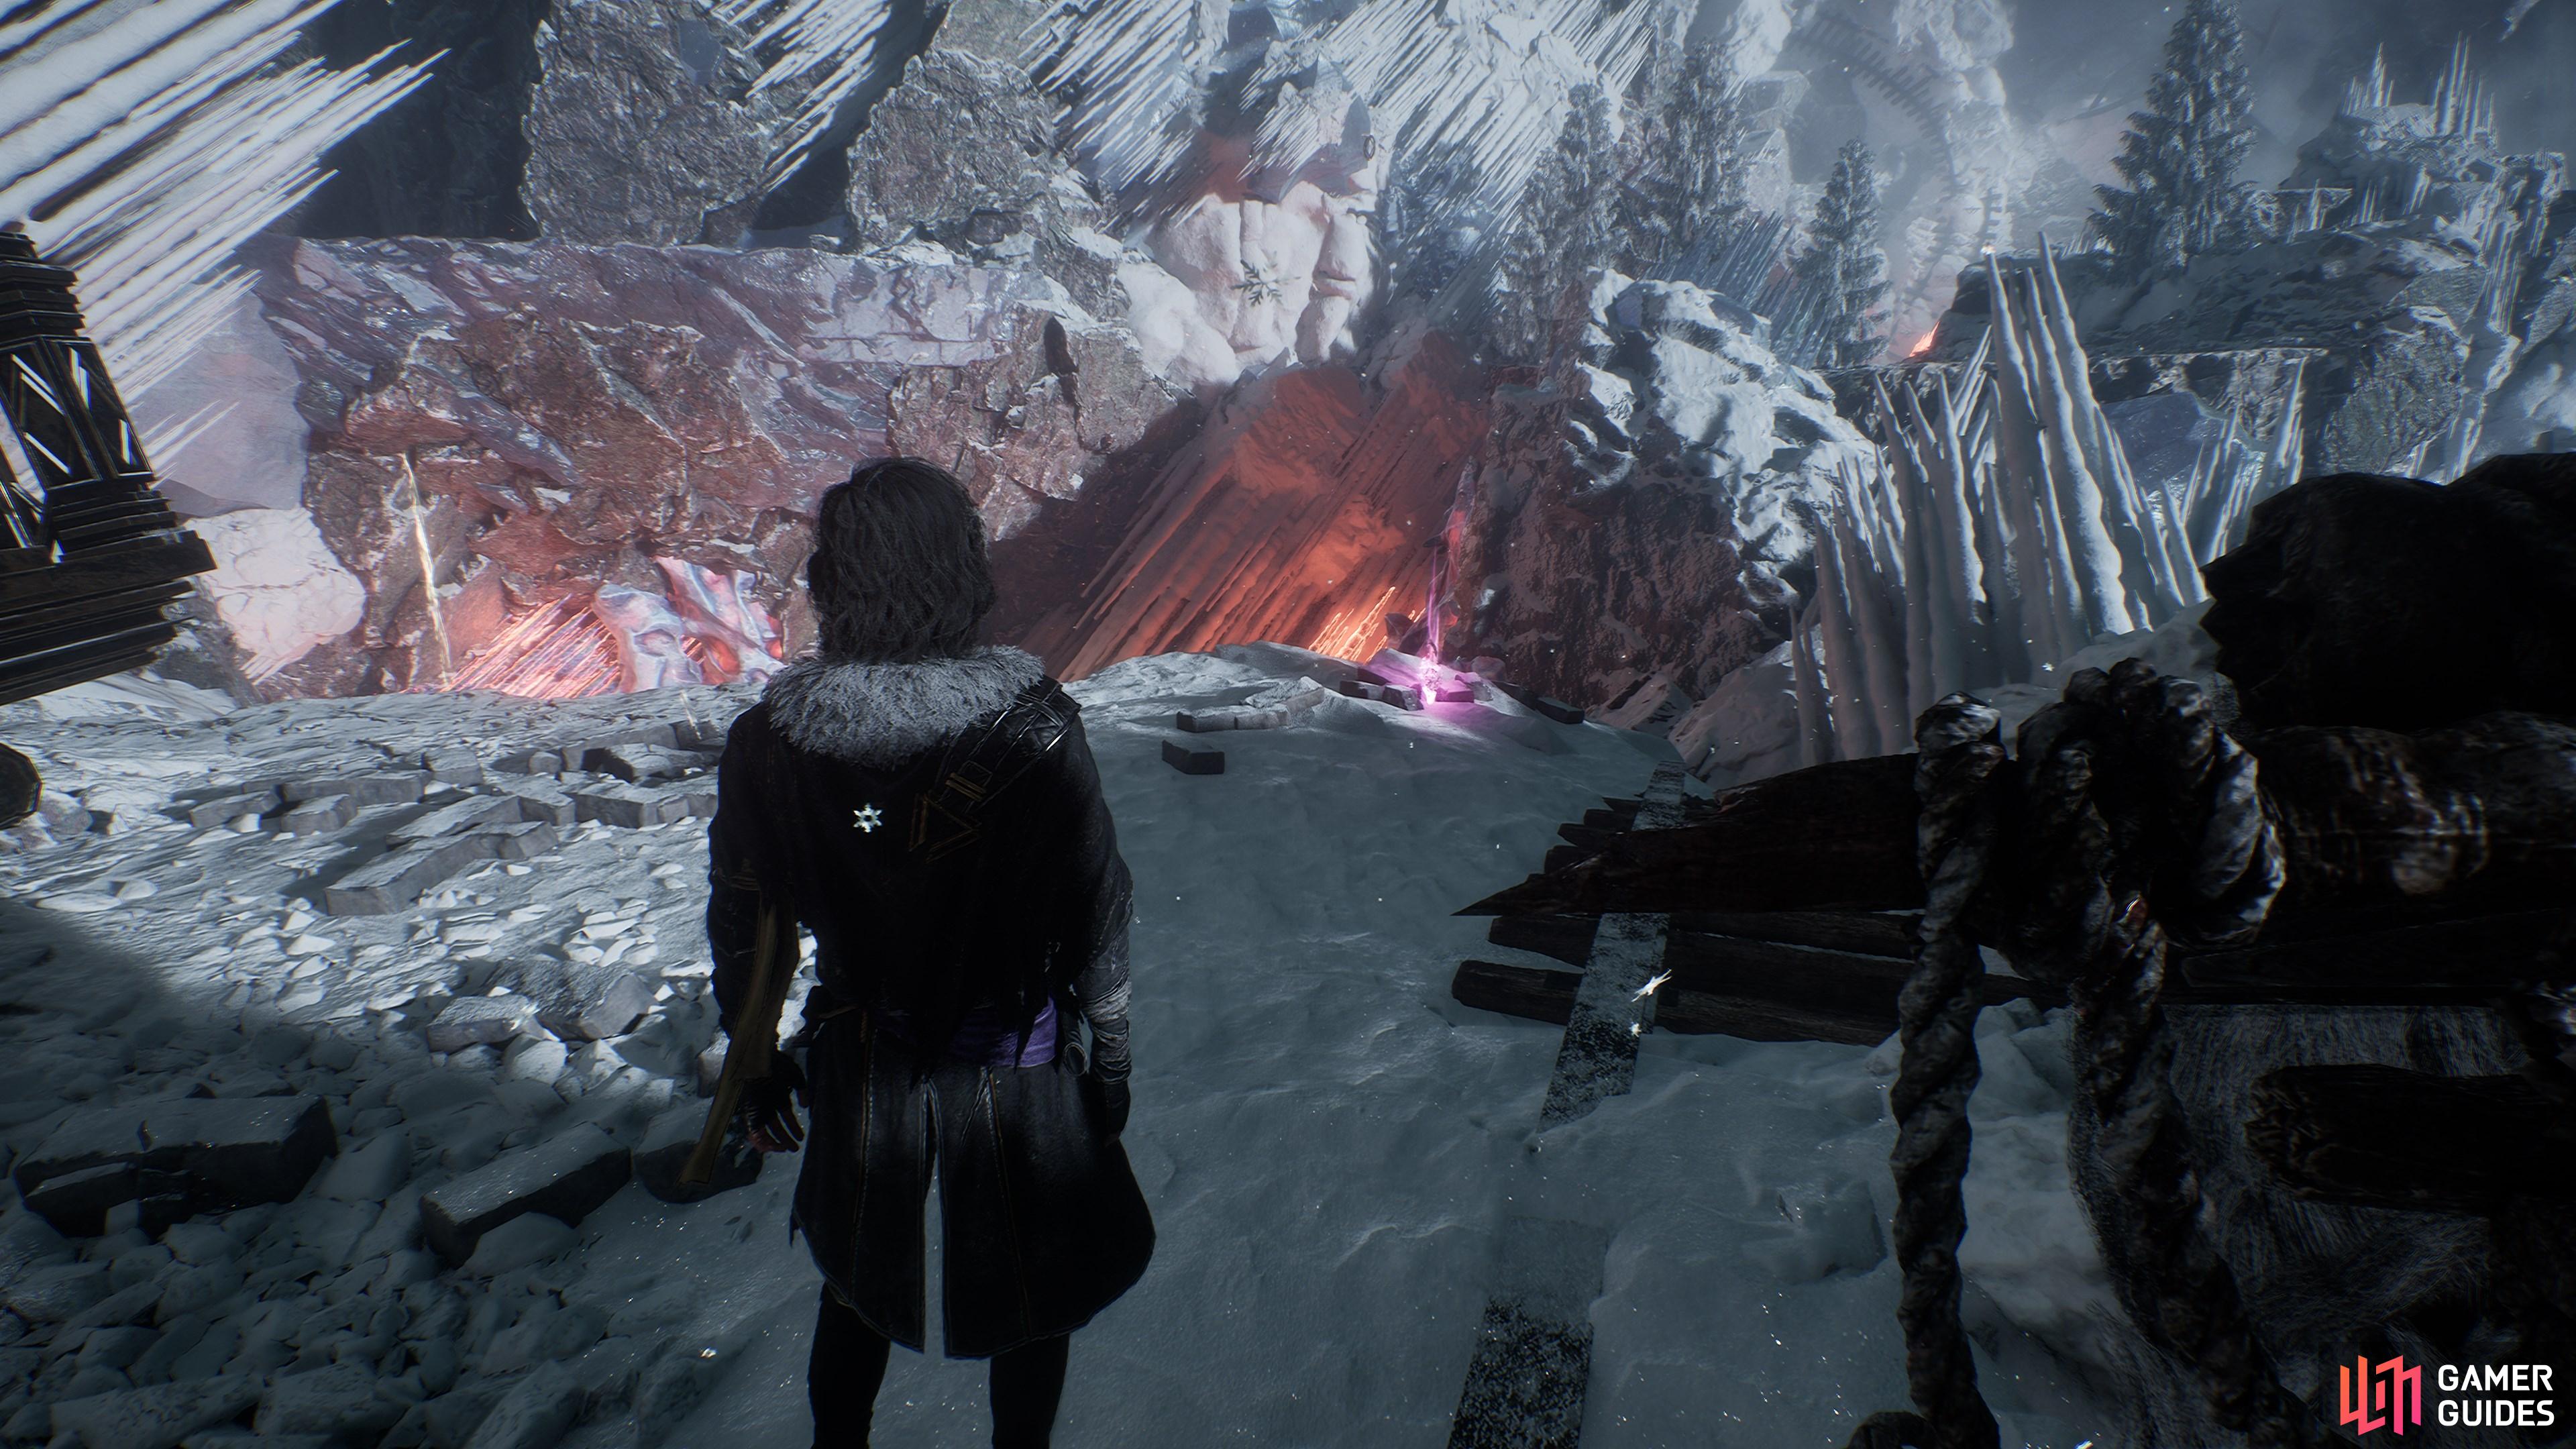
Battle Loot from the Petank found just to the right of the huge archway in the upper section of ![]() Frozen Hearts.
Frozen Hearts.
138. The Continent
Among a pile of crates around the corner from ![]() Verogo, the merchant.
Verogo, the merchant.
142. The Continent
After you come across a ![]() Grandis standing at a fork in the path, take a right to find this.
Grandis standing at a fork in the path, take a right to find this.
143. The Continent
Follow the path beyond the ![]() Chromatic Cruler to find this in a broken crate.
Chromatic Cruler to find this in a broken crate.
144. The Continent
Follow the path beyond the ![]() Chromatic Cruler to find this in a stack of crates.
Chromatic Cruler to find this in a stack of crates.

146. The Continent
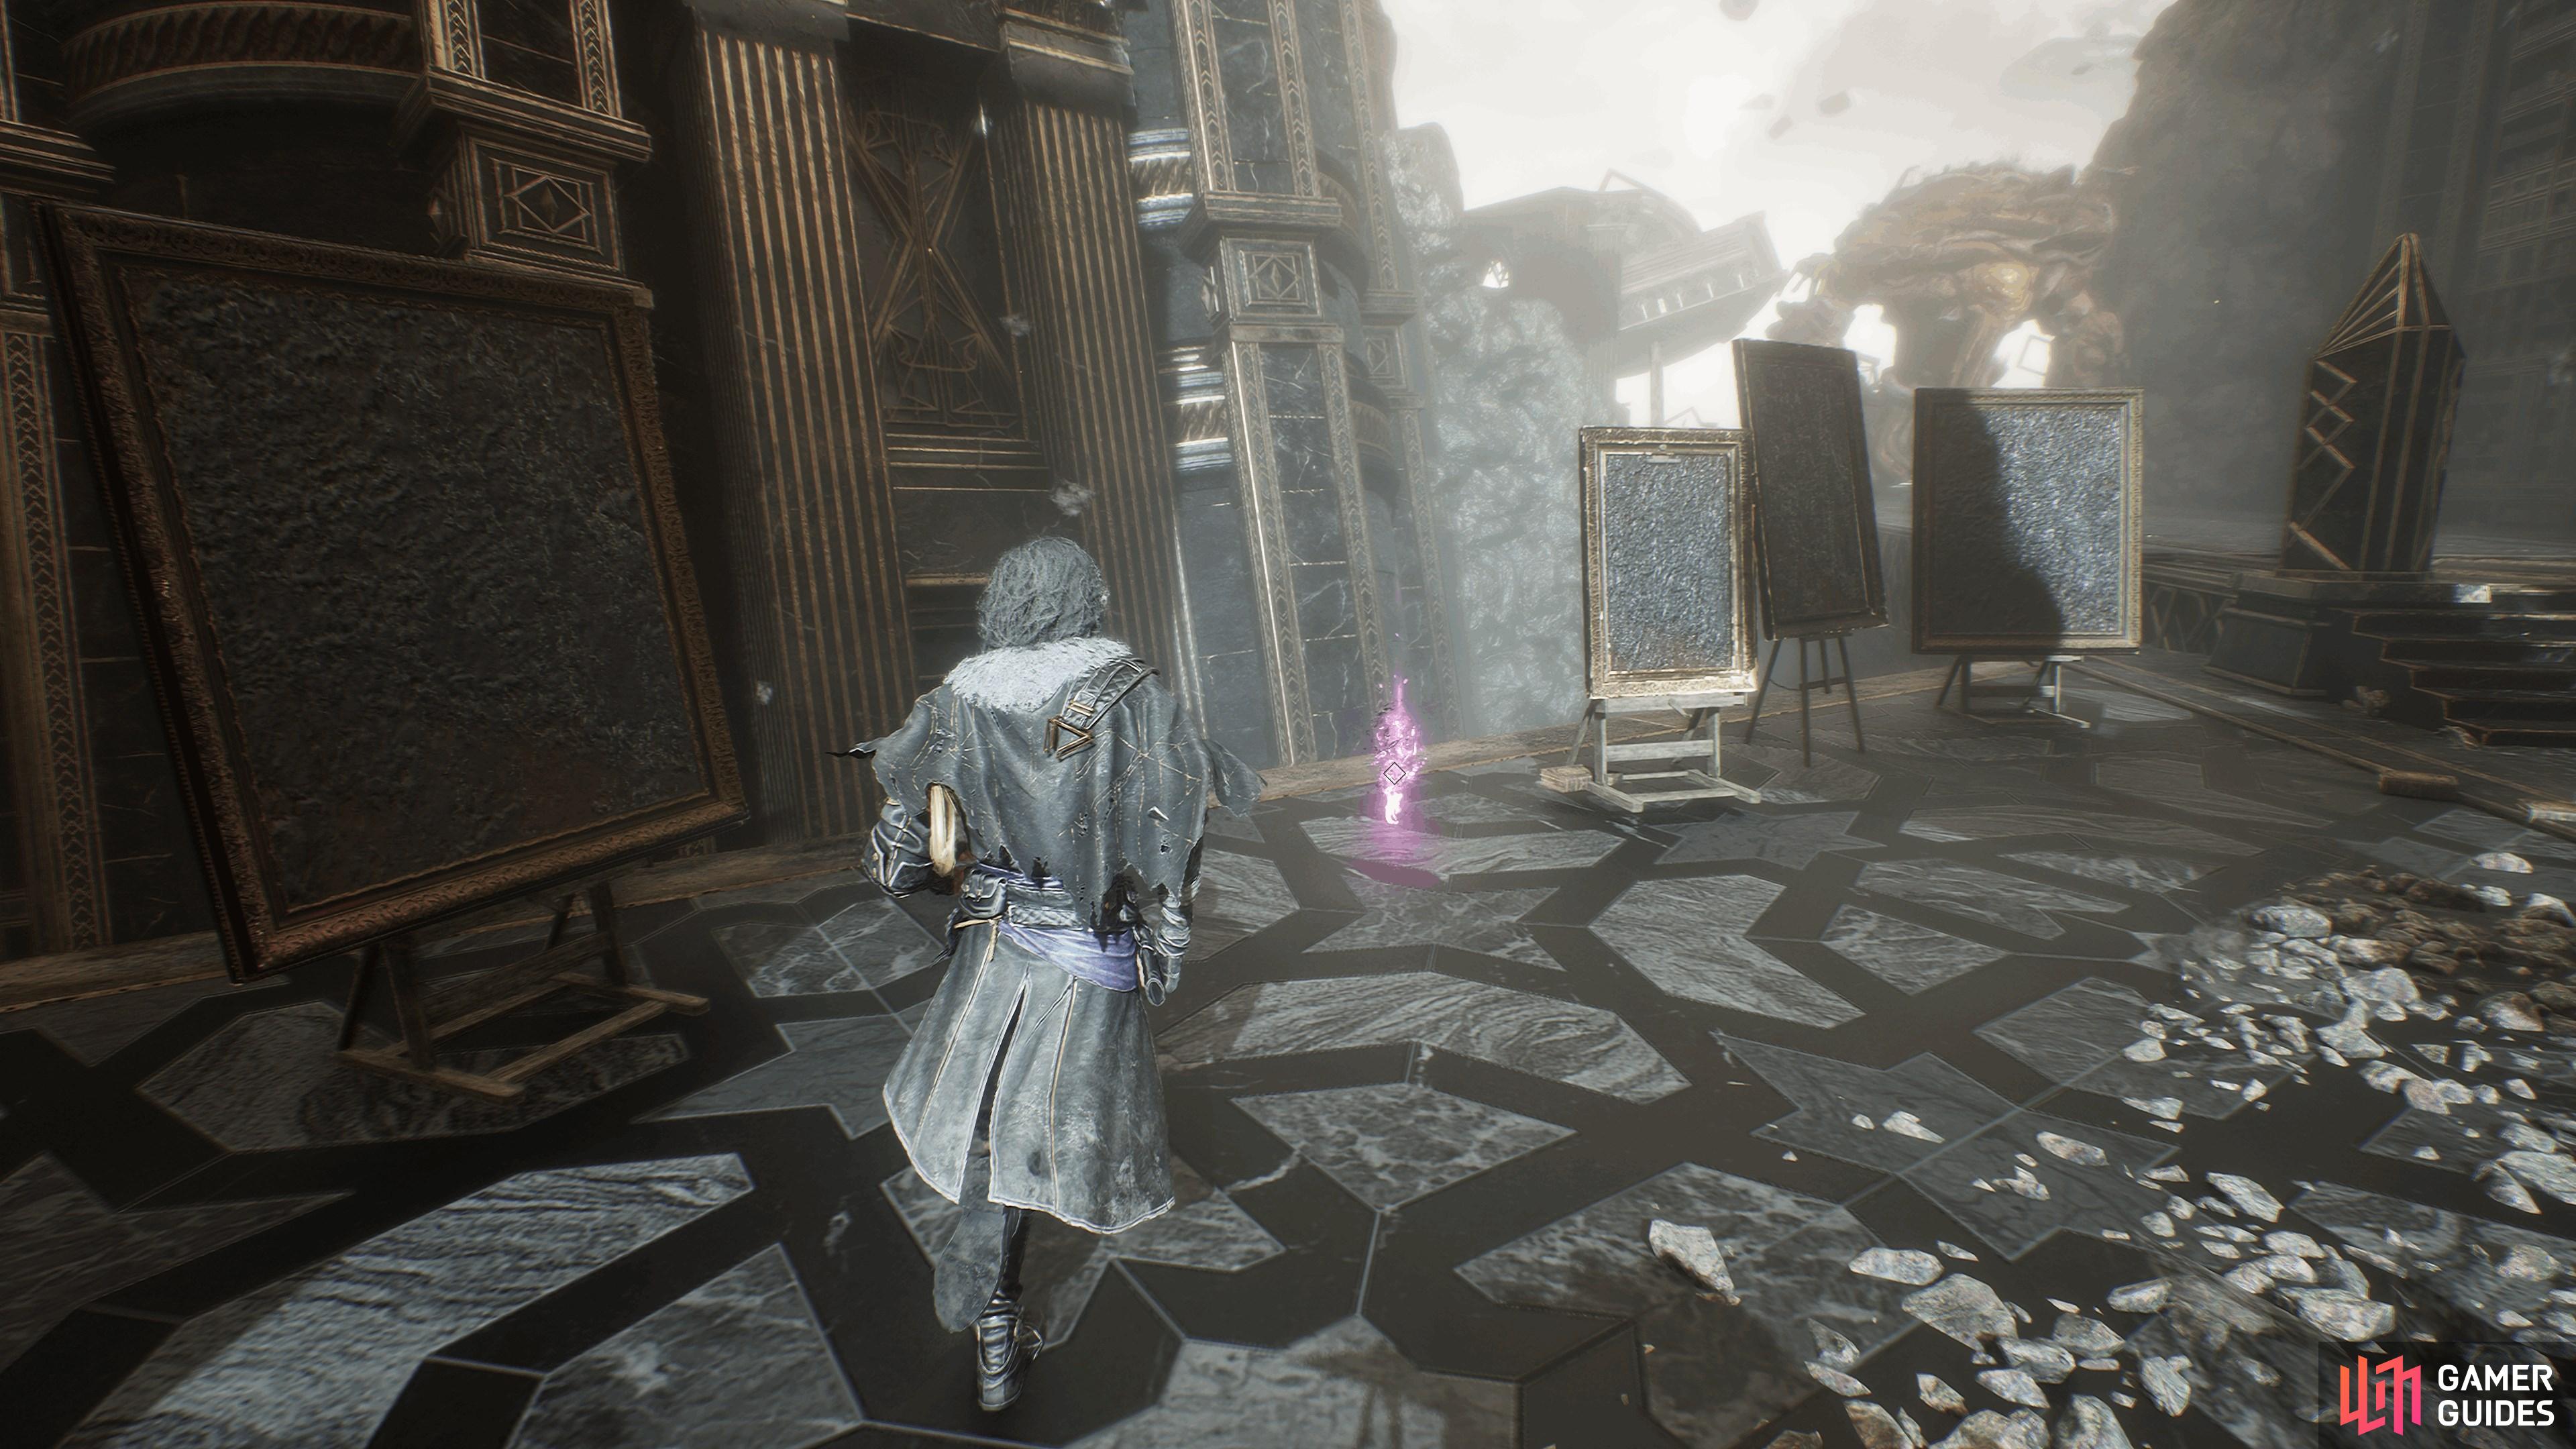
Between two paintings on the right as you enter the open area with the glass cages.

148. The Continent
Near a ![]() Portier enemy.
Portier enemy.
From the Central Plaza, head to the right-hand side and jump up on the huge picture frame. Far off in the distance, you’ll notice a grapple point that will bring you to this area.
150. The Continent
At the back of the room where you fight ![]() Évêque, among the paintings.
Évêque, among the paintings.
151. The Continent
Battle Loot from the ![]() Pétank (Orange) in the area where you fight
Pétank (Orange) in the area where you fight ![]() Évêque.
Évêque.
152. The Continent
From the Central Plaza, take the elevator up. You’ll find this just ahead behind a statue.
153. The Continent
From the Central Plaza, take the elevator up then head forward past the statue. You’ll see a broken walkway with a grapple point. Zip over the other side and you’ll find this in the area where a huge ![]() Bourgeon is stomping aroound.
Bourgeon is stomping aroound.

154. The Continent
From the entrance, go to the back of the first open area, past the first enemy encounter, and turn left at the end.
You’ll find yourself in an open area with a hill to your left, but you need to turn right. You’ll find the item behind the enemies around the corner.
155. The Continent
Tucked away at the back of the area, by a dead ![]() Contorsionniste.
Contorsionniste.
No Comments