Description
+1 ![]() Revive Tint.
Revive Tint.
Found At
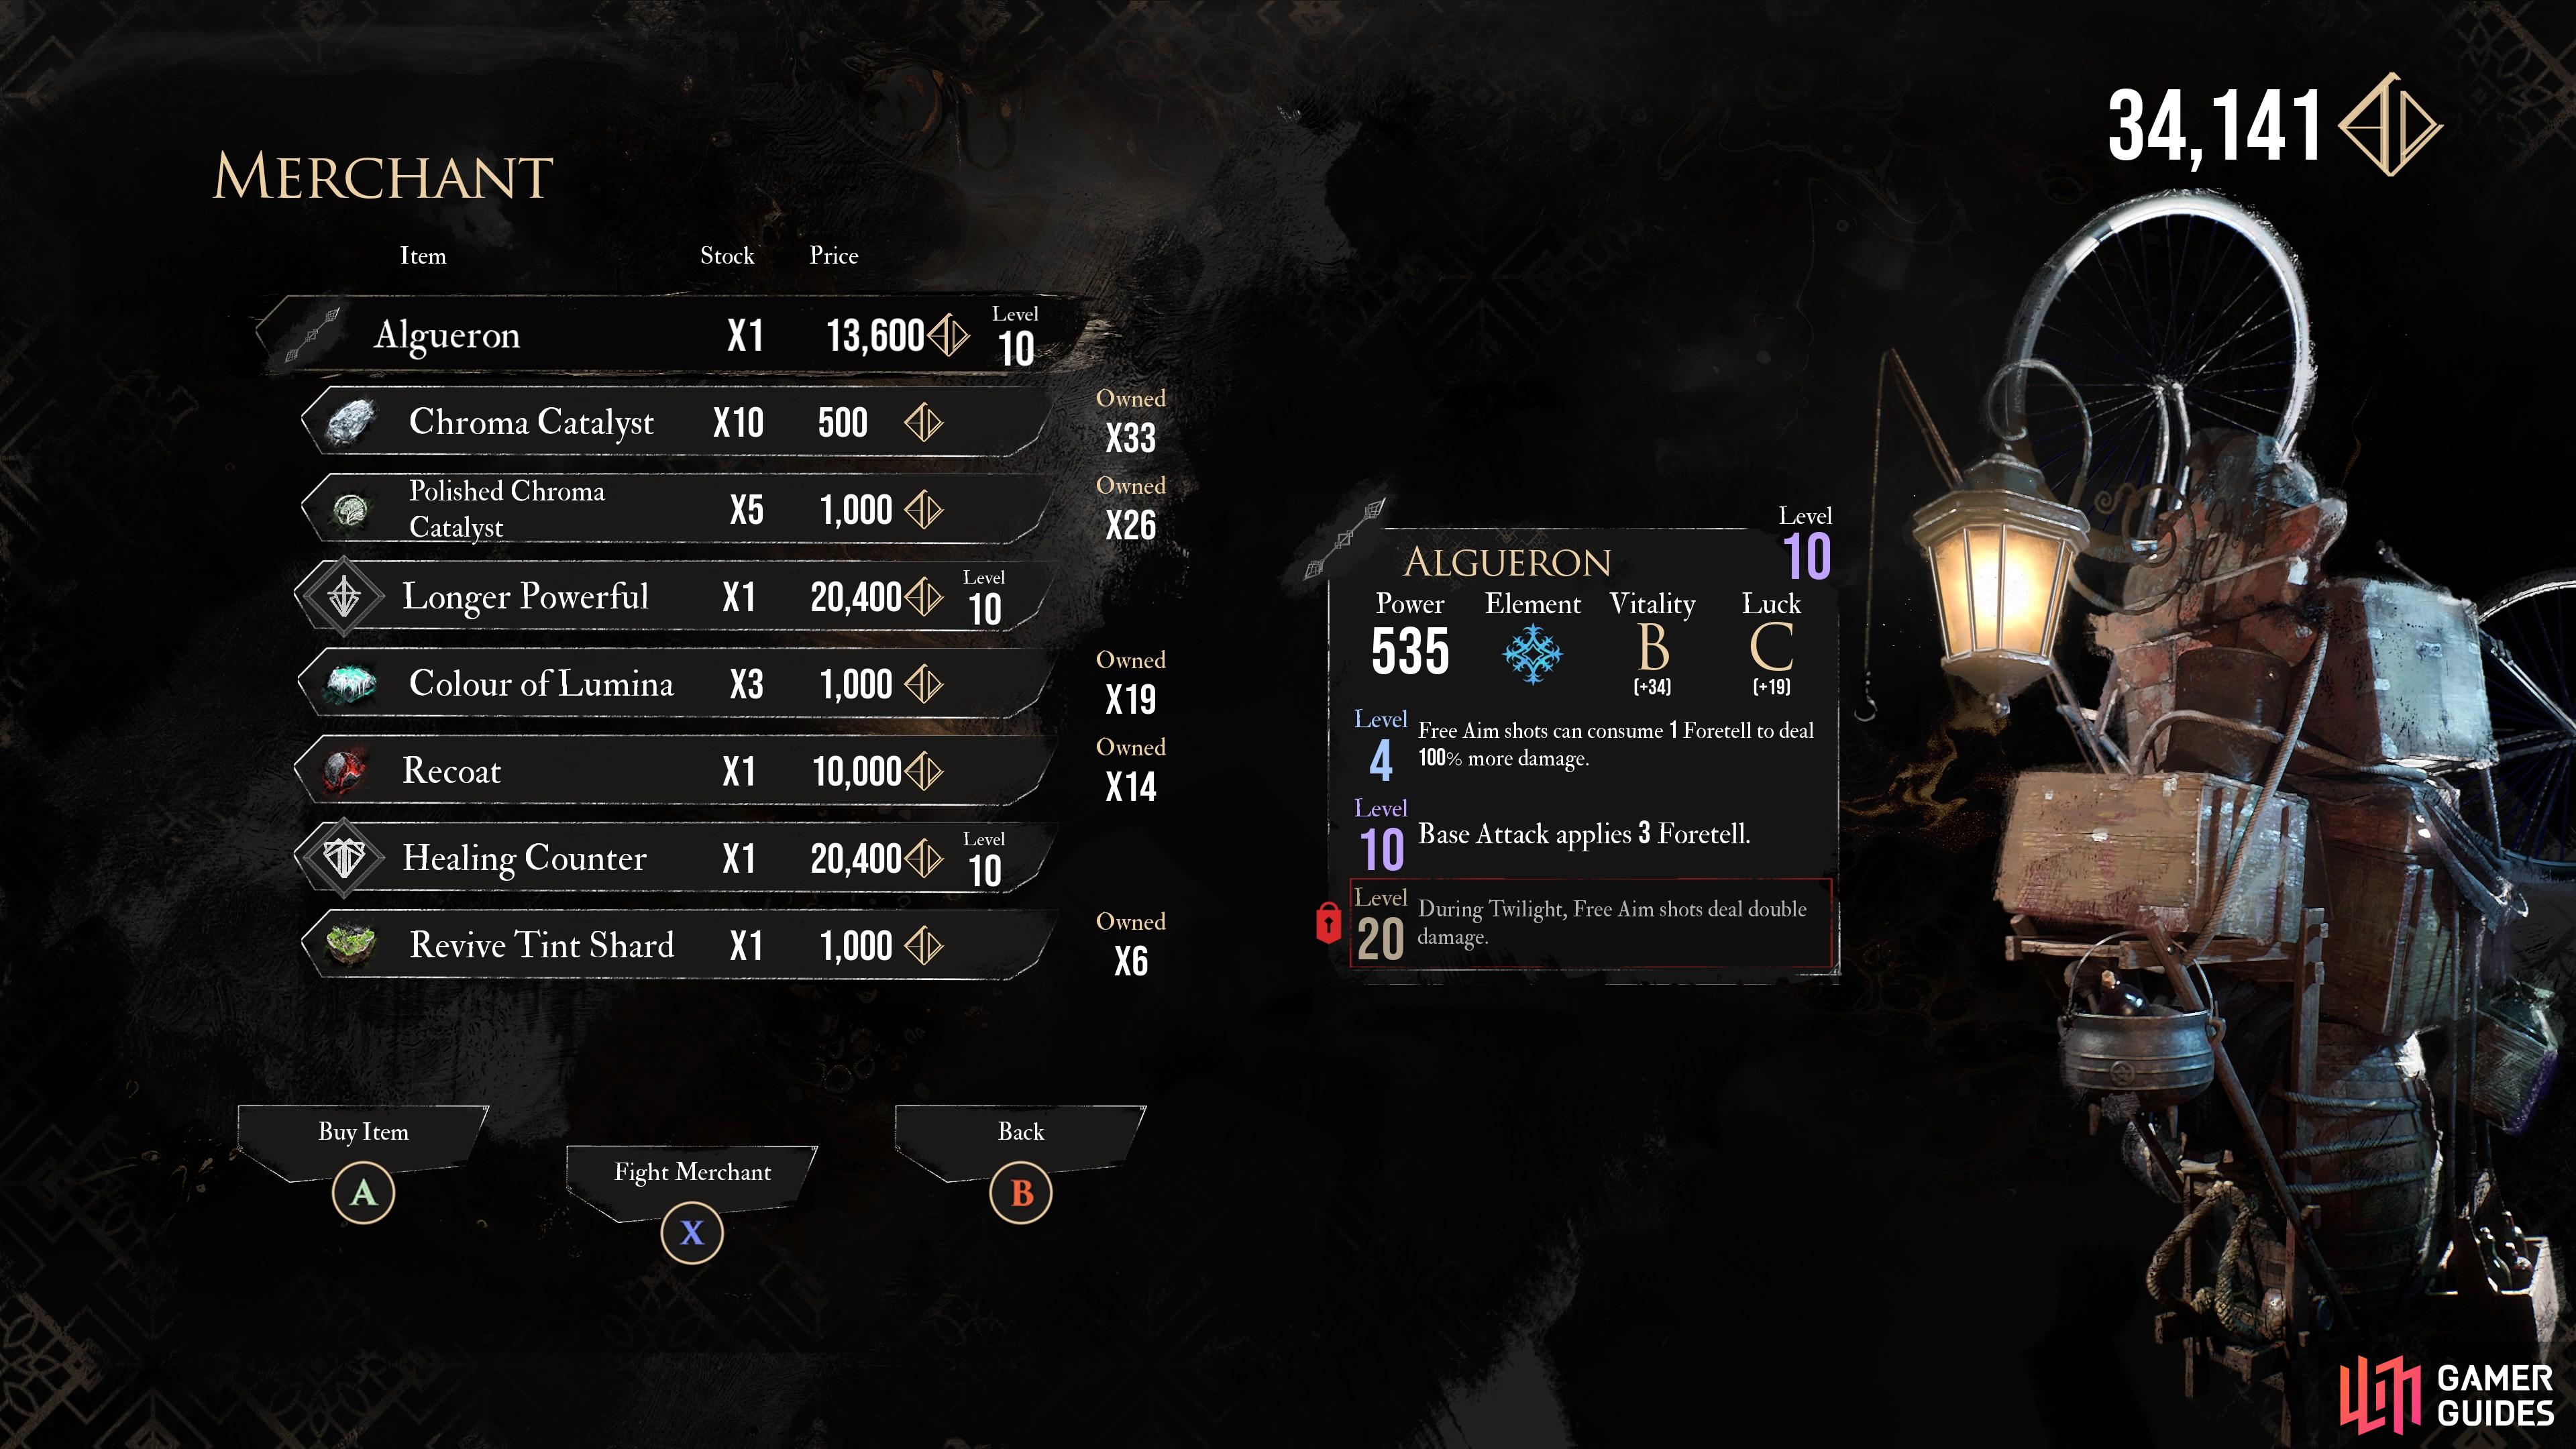
Bought From
Interactive Map Locations

1. The Continent
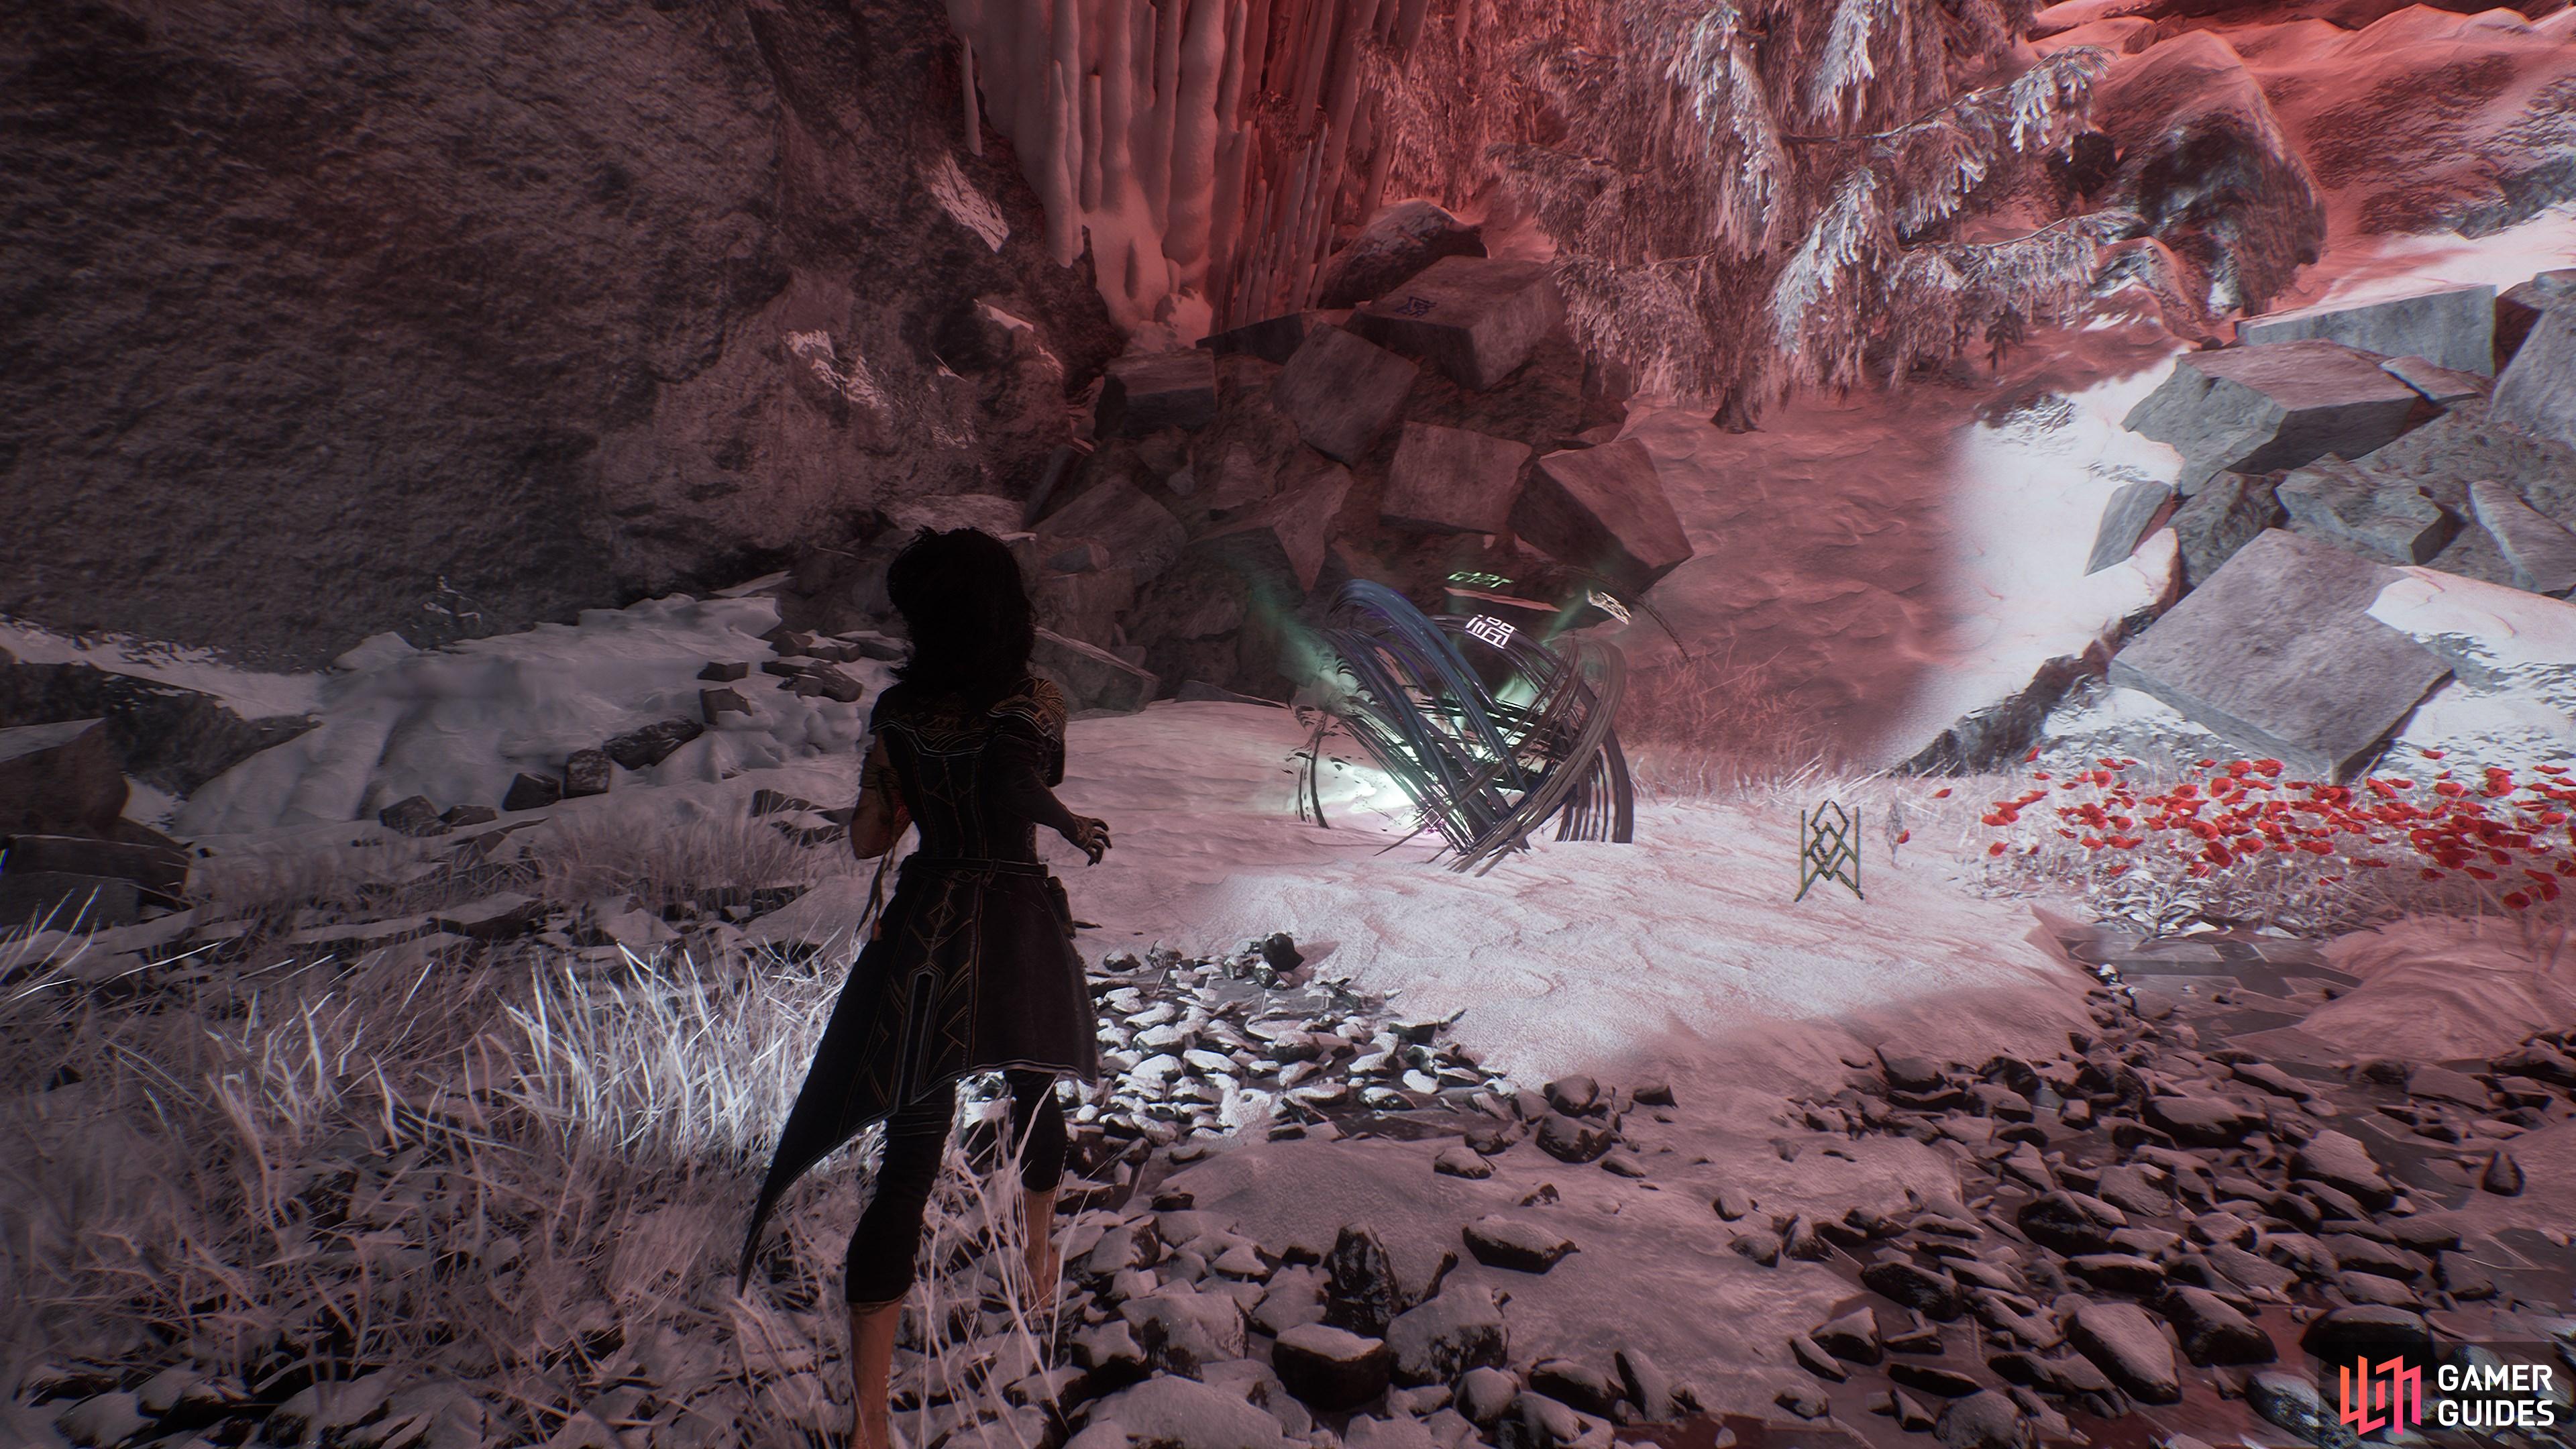
At the end of a rocky crevice in the lower area past the ![]() Abandoned Expeditioner Camp flag.
Abandoned Expeditioner Camp flag.
2. The Continent
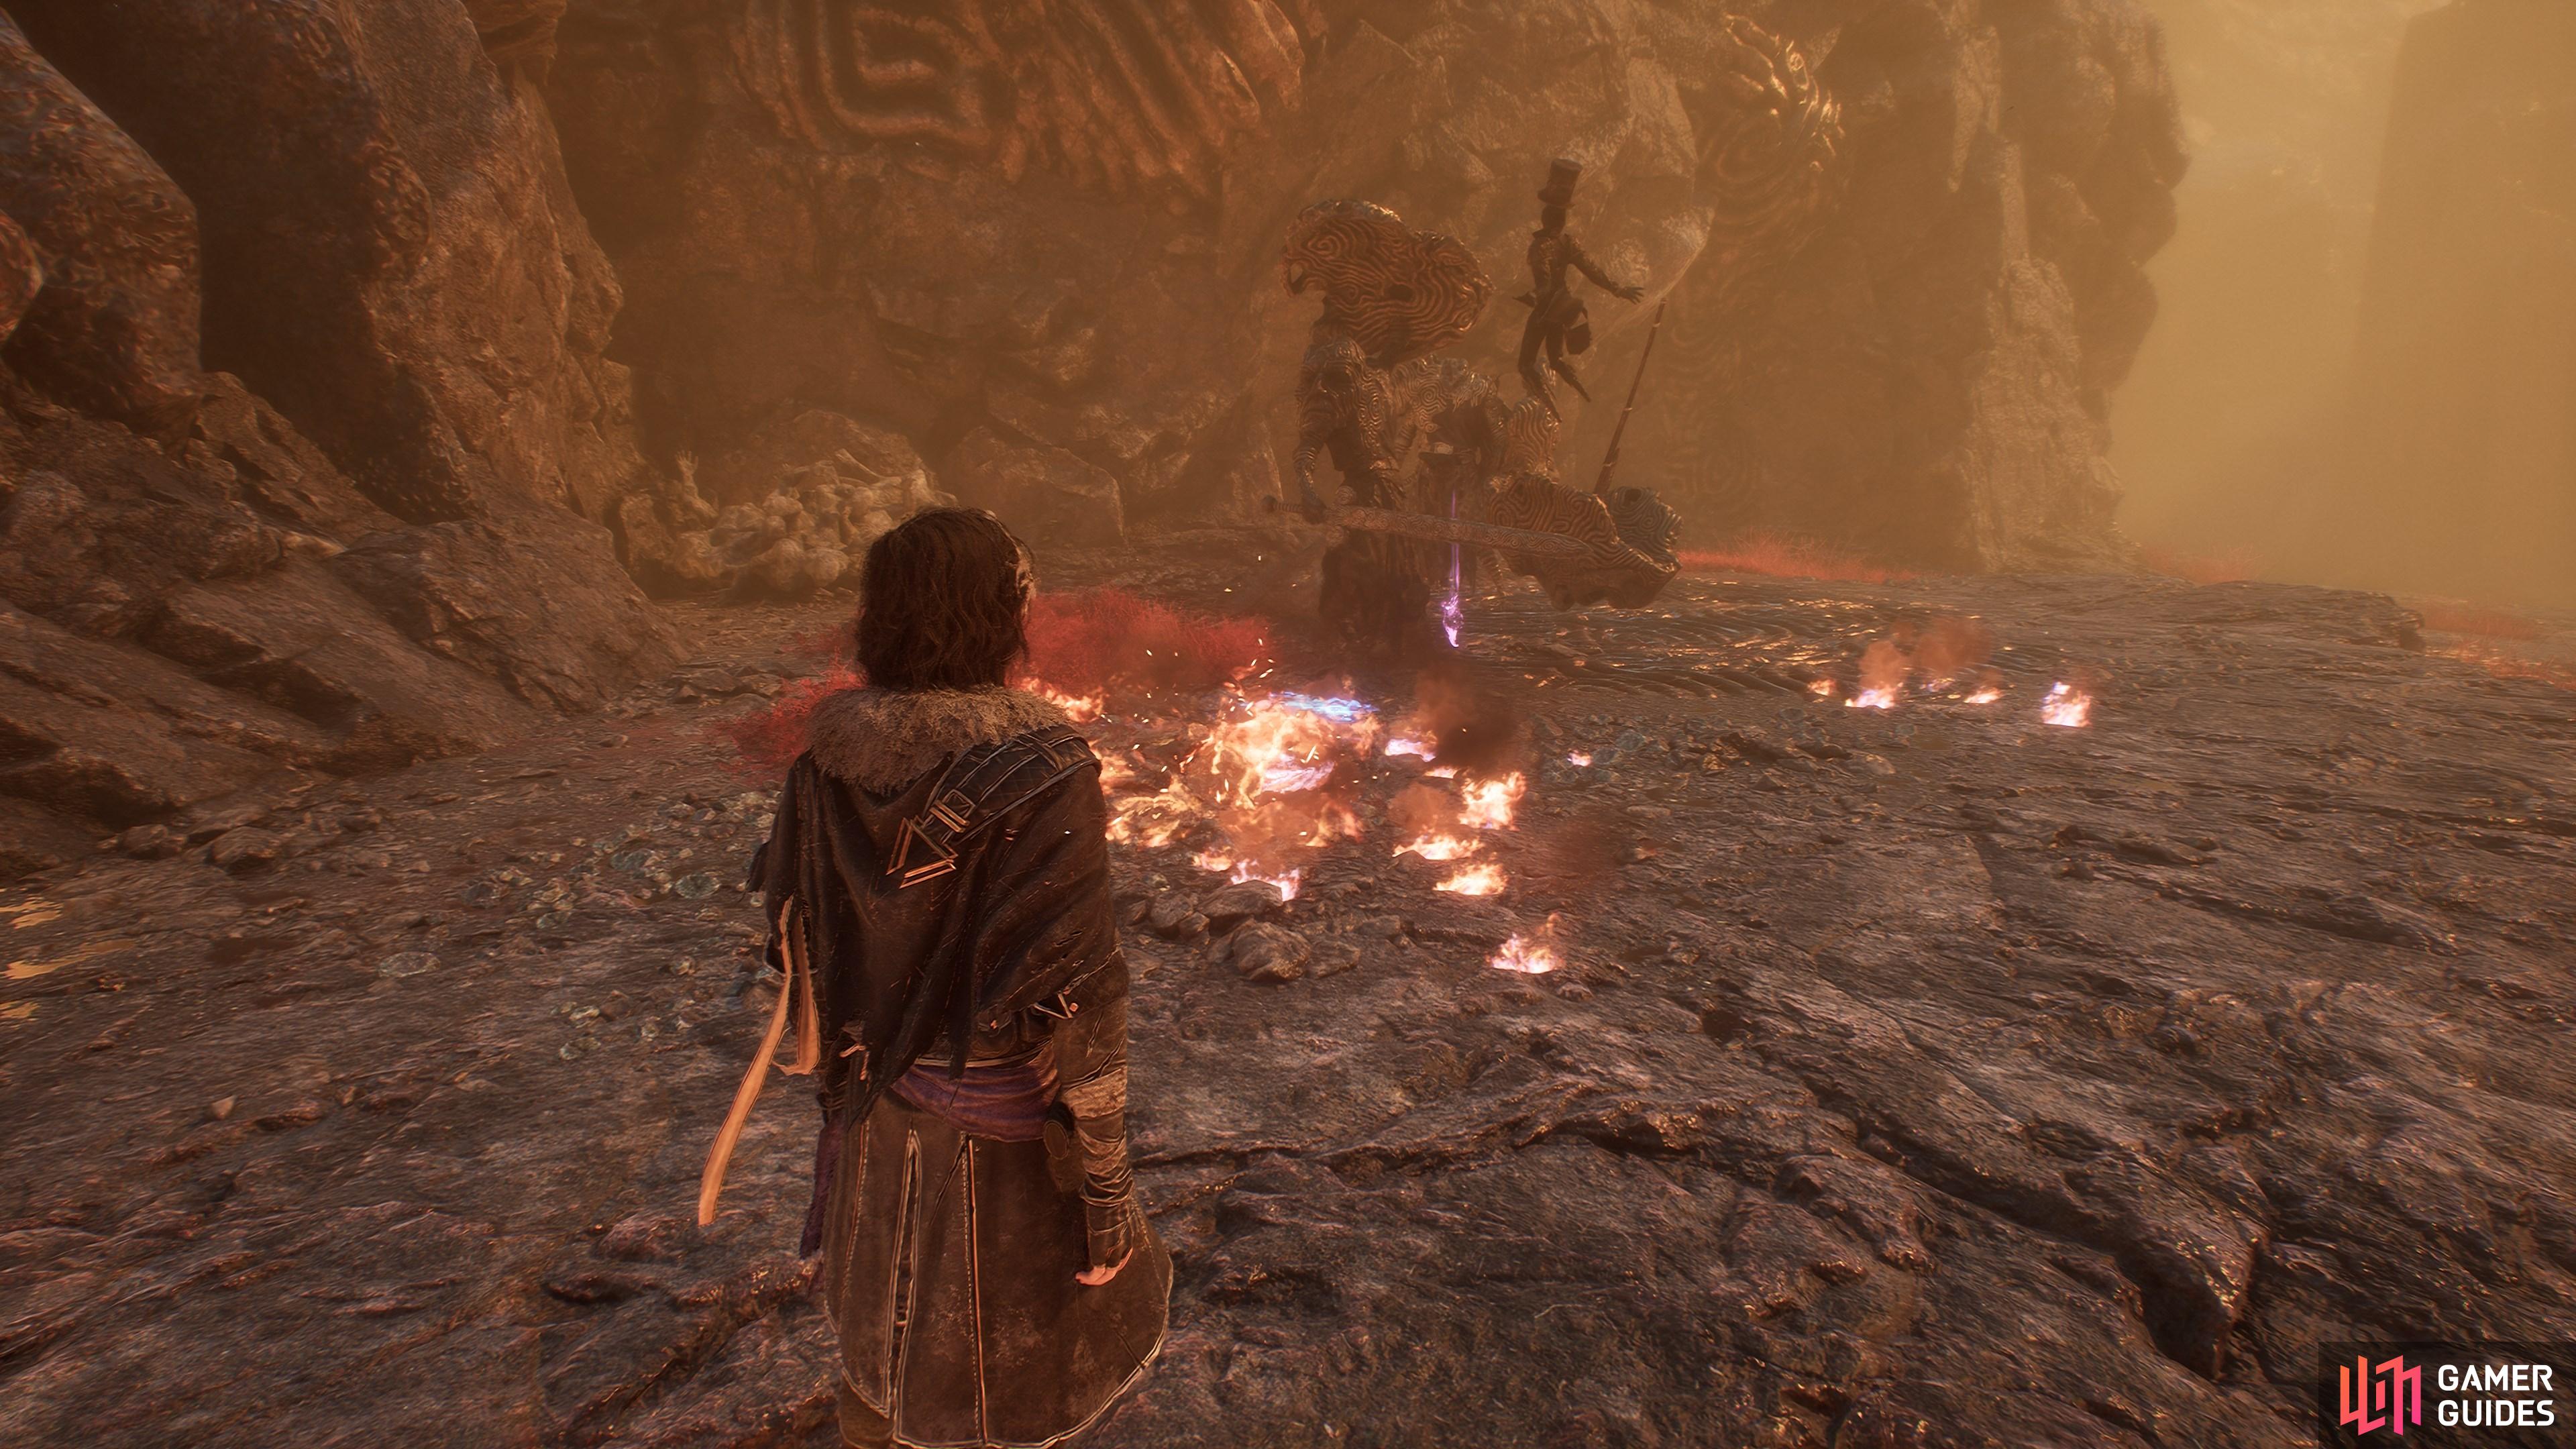
Defeat the three ![]() Crulers, then shoot the three locks on the paint cage holding this shard.
Crulers, then shoot the three locks on the paint cage holding this shard.
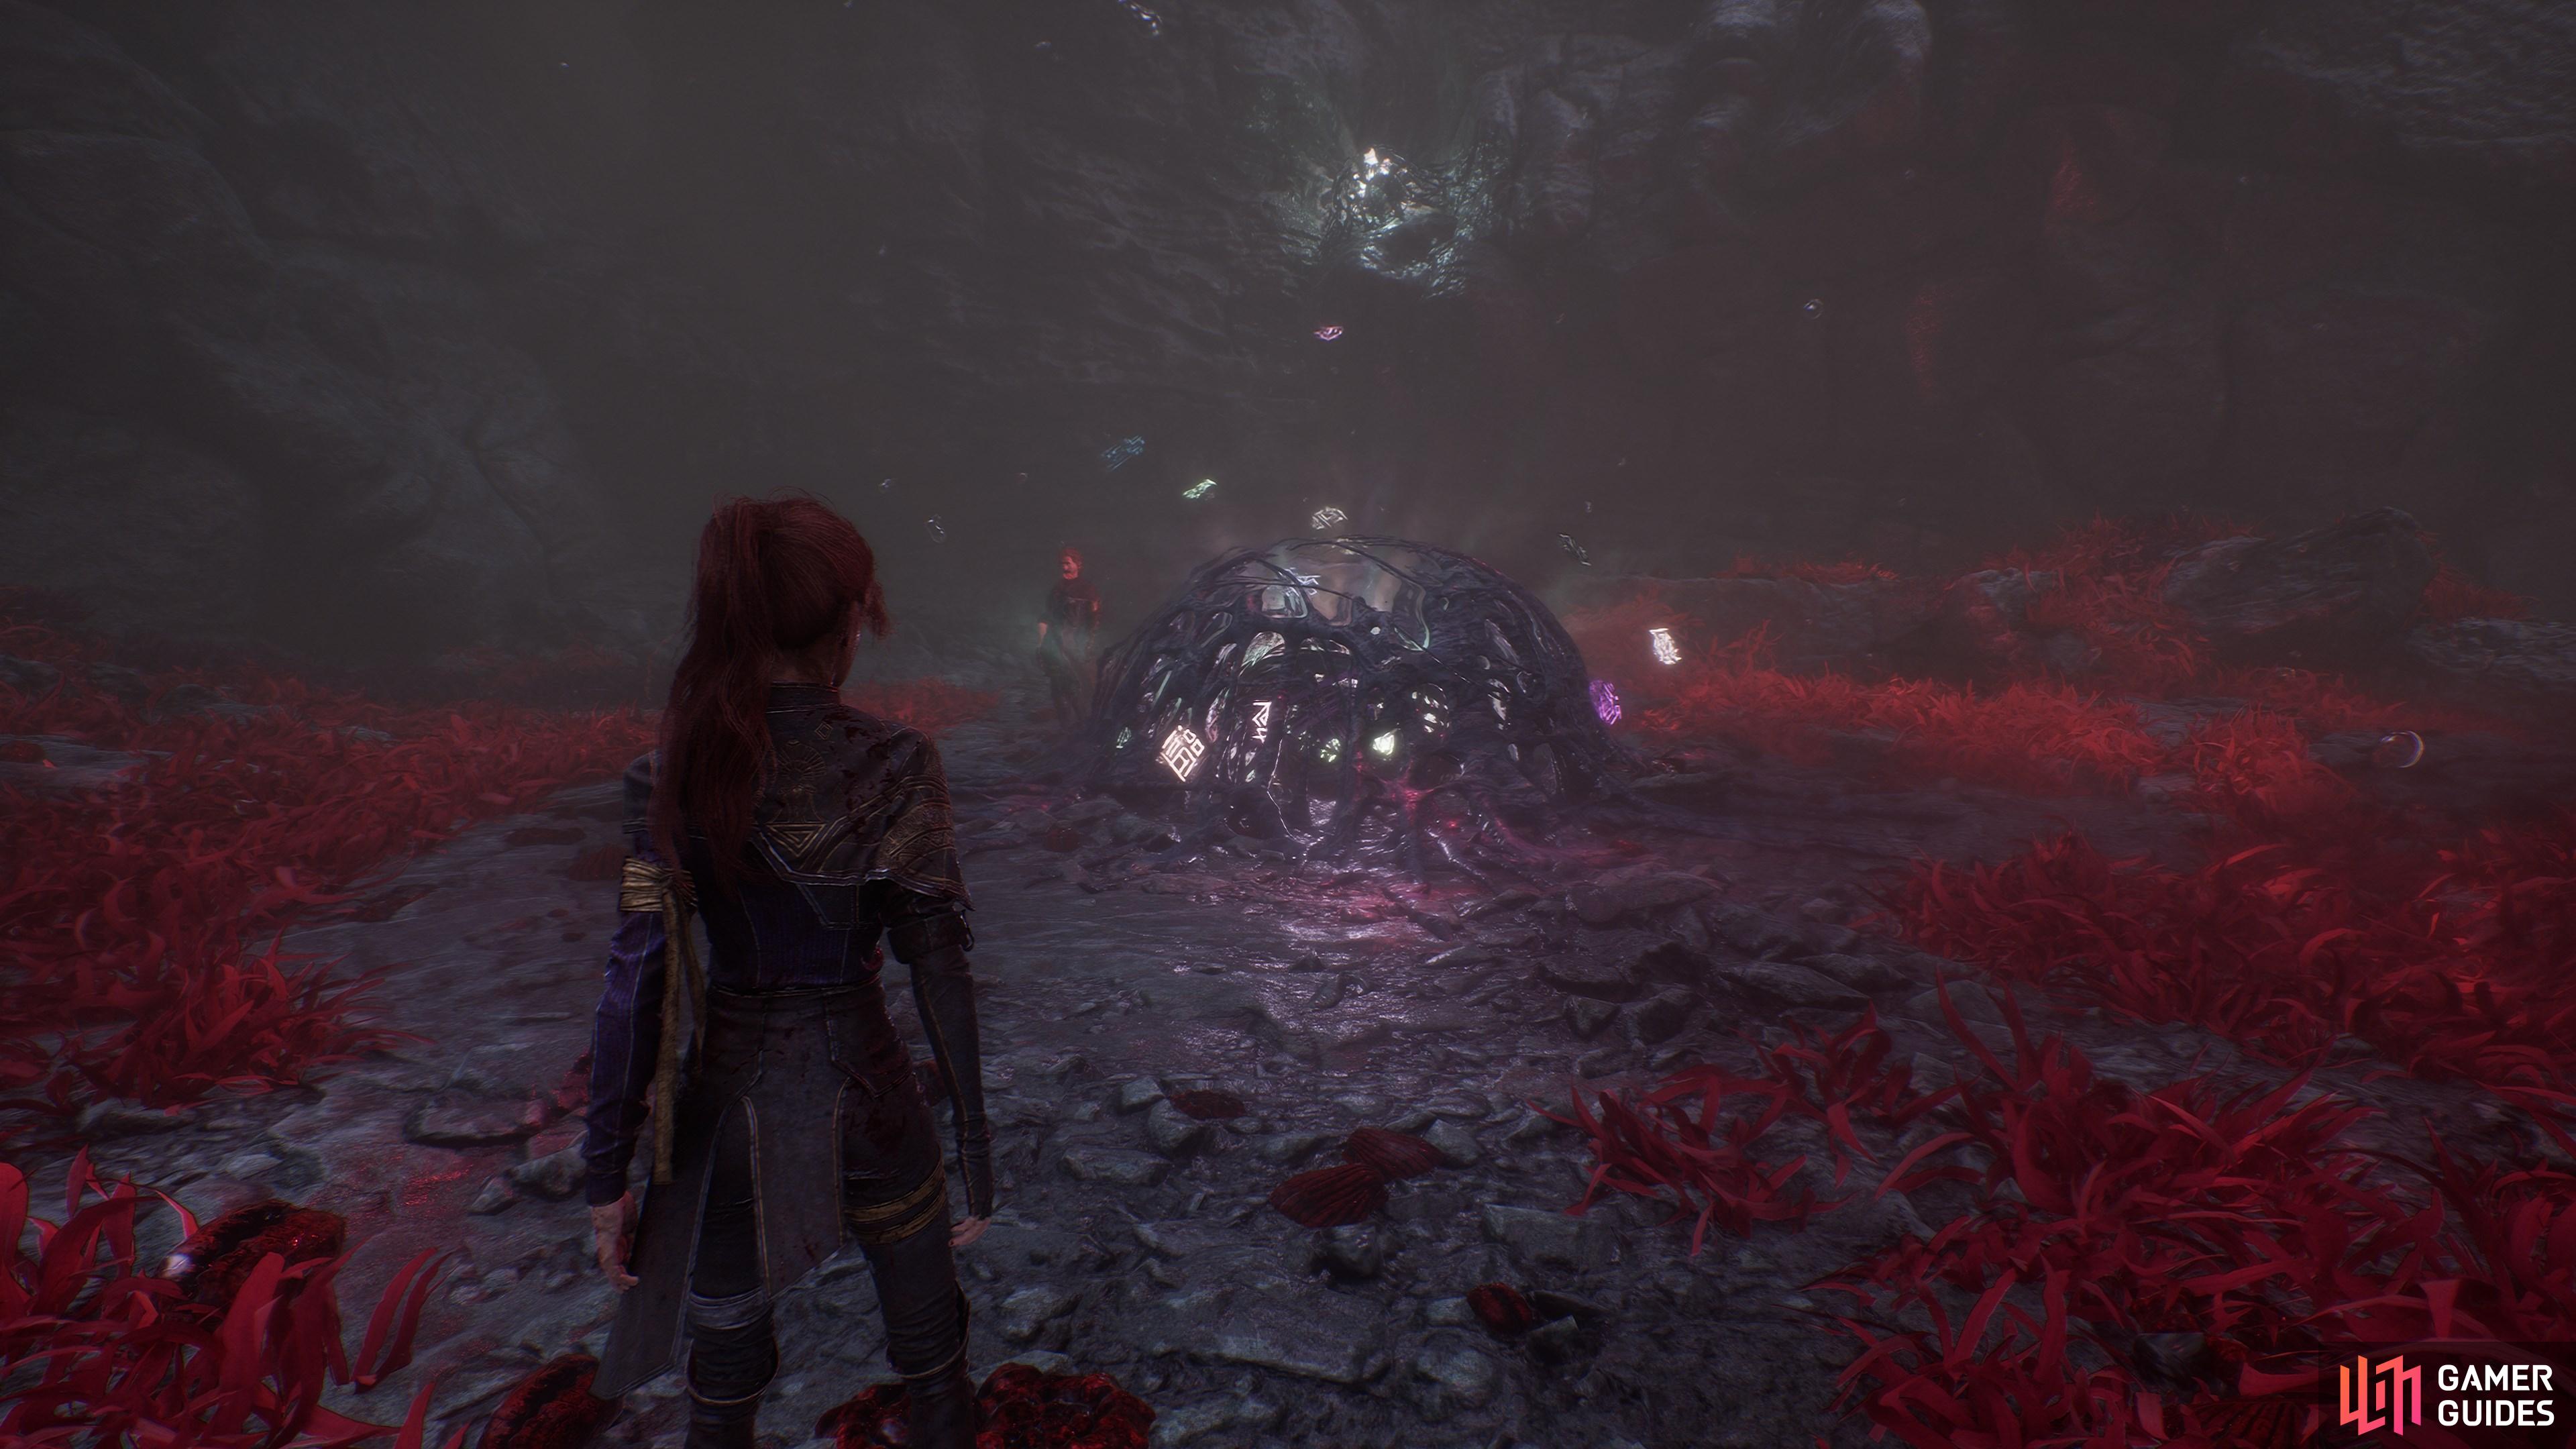
Hug the right wall past the ![]() Coral Cave flag until you find an ominous red hole in the ground. Climb down the hand holds to reach this area.
Coral Cave flag until you find an ominous red hole in the ground. Climb down the hand holds to reach this area.
3. The Continent
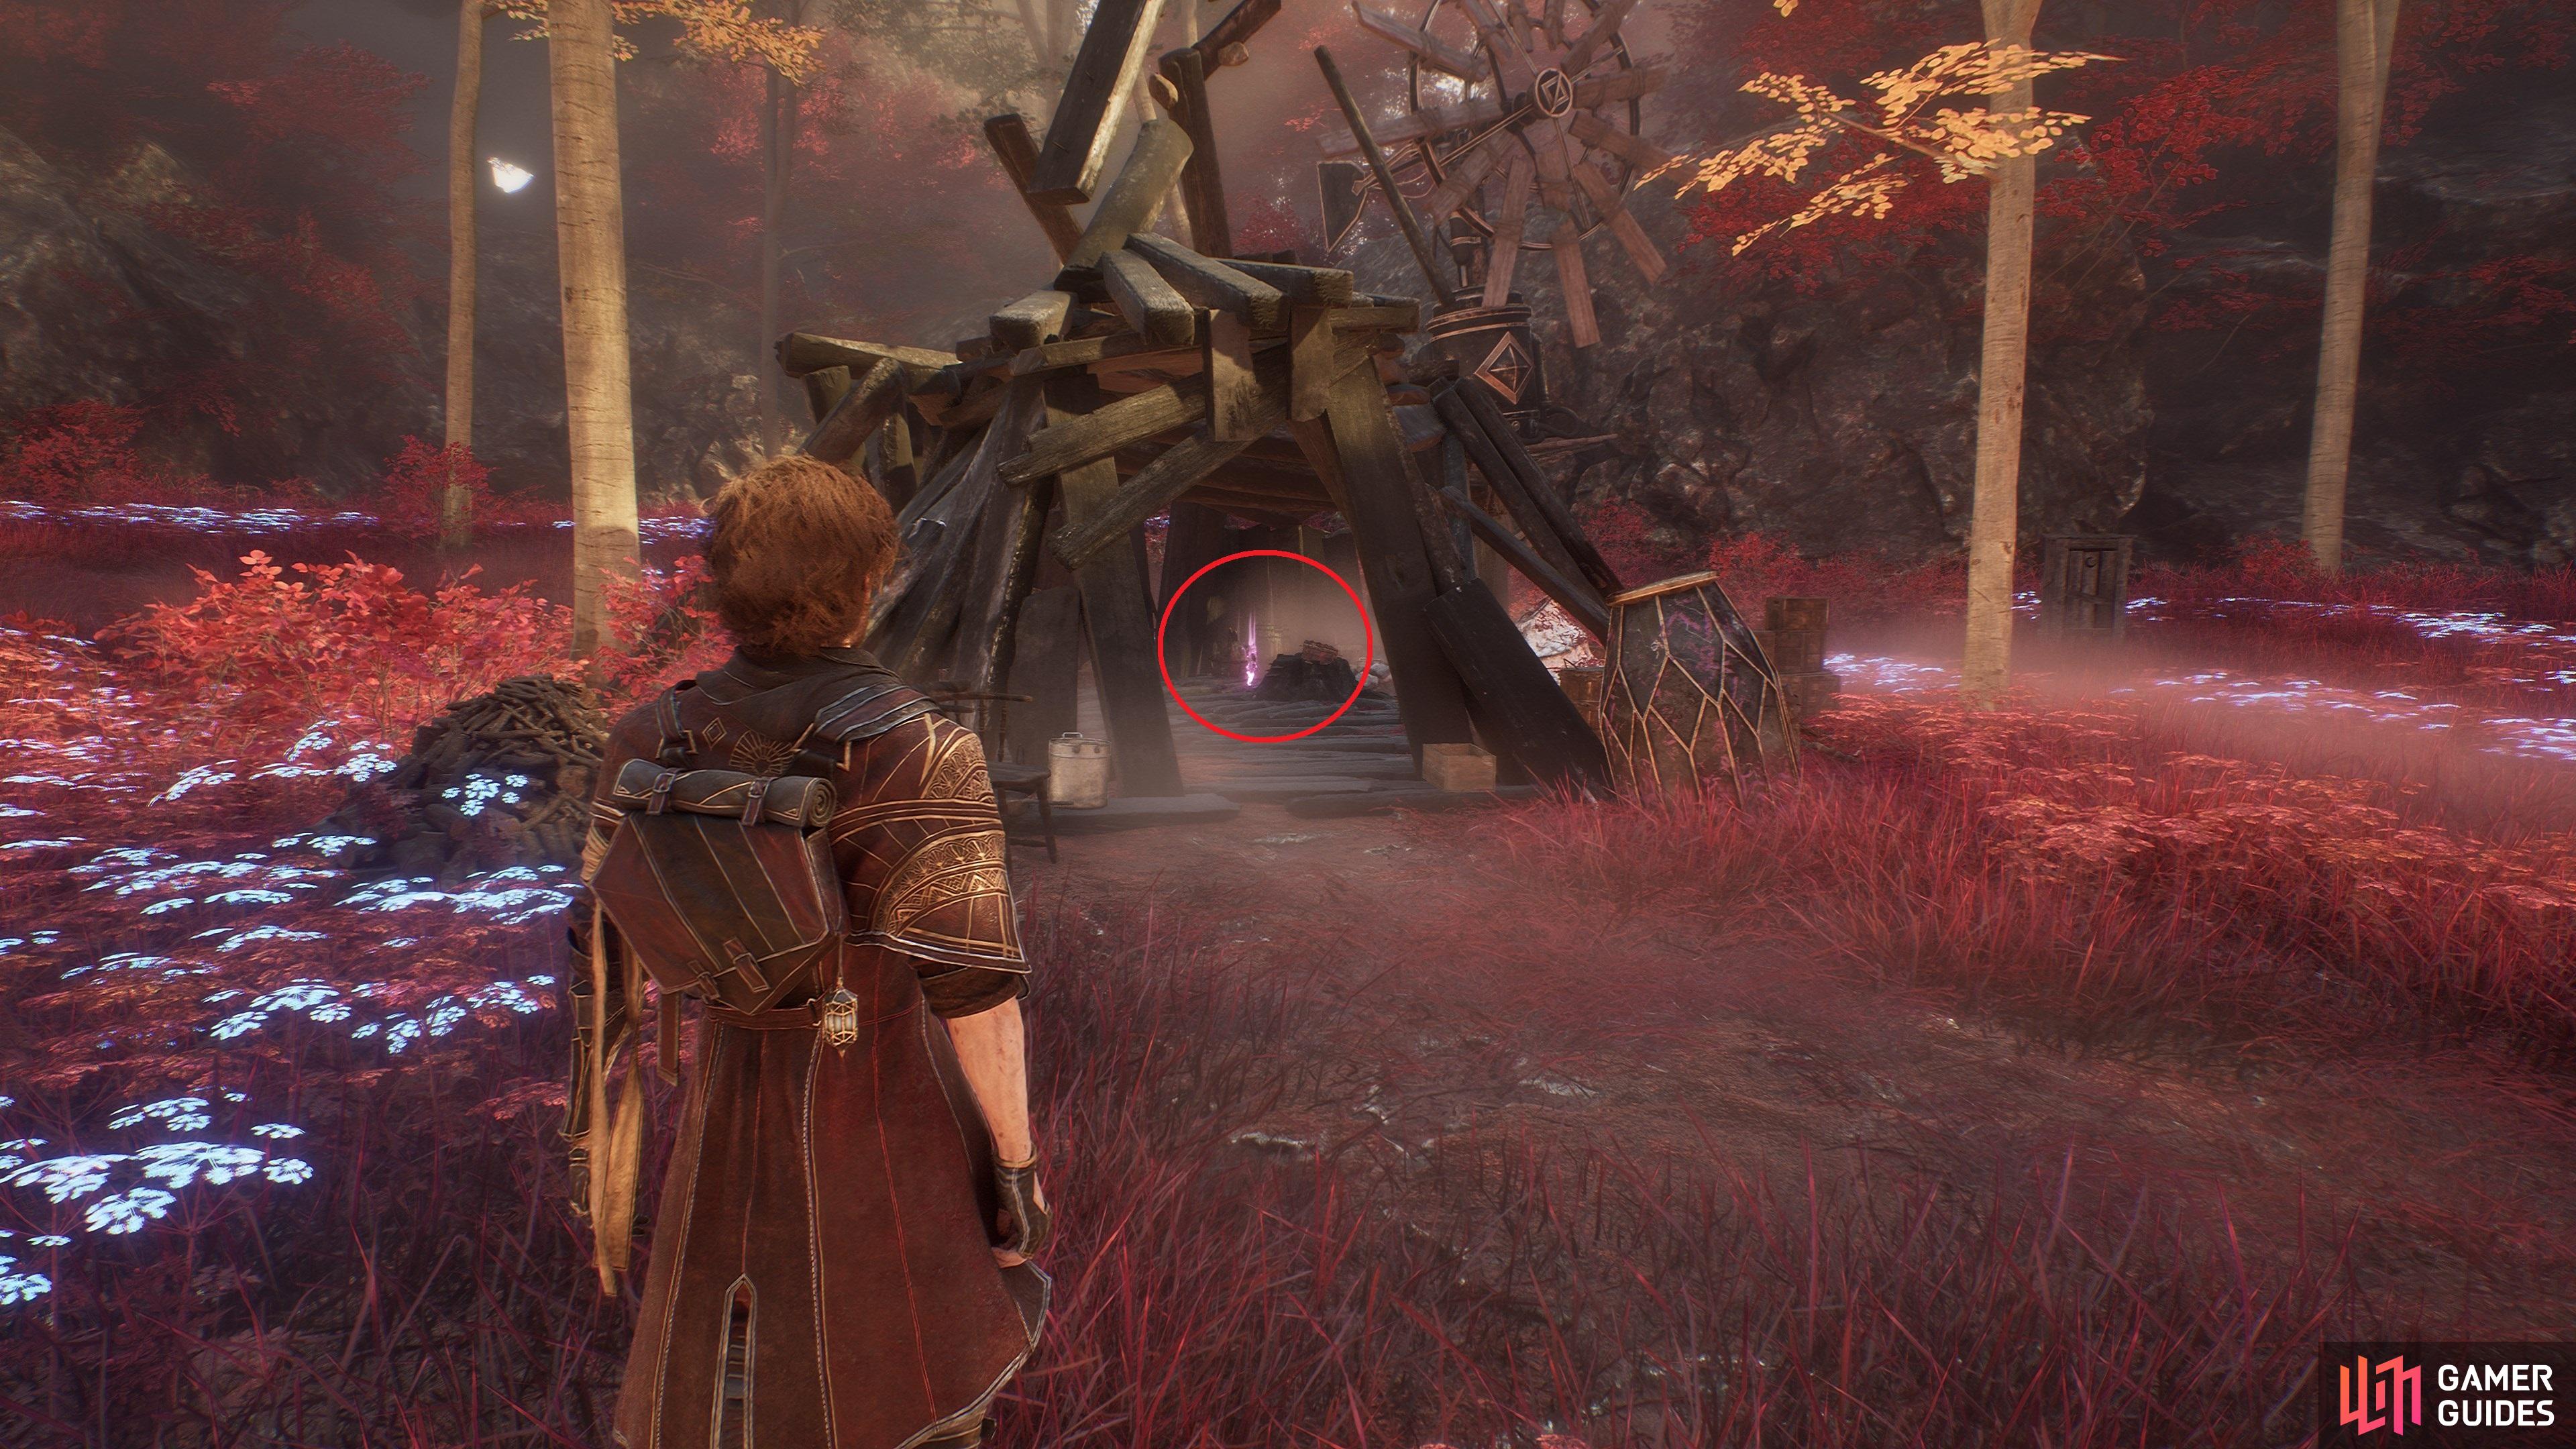
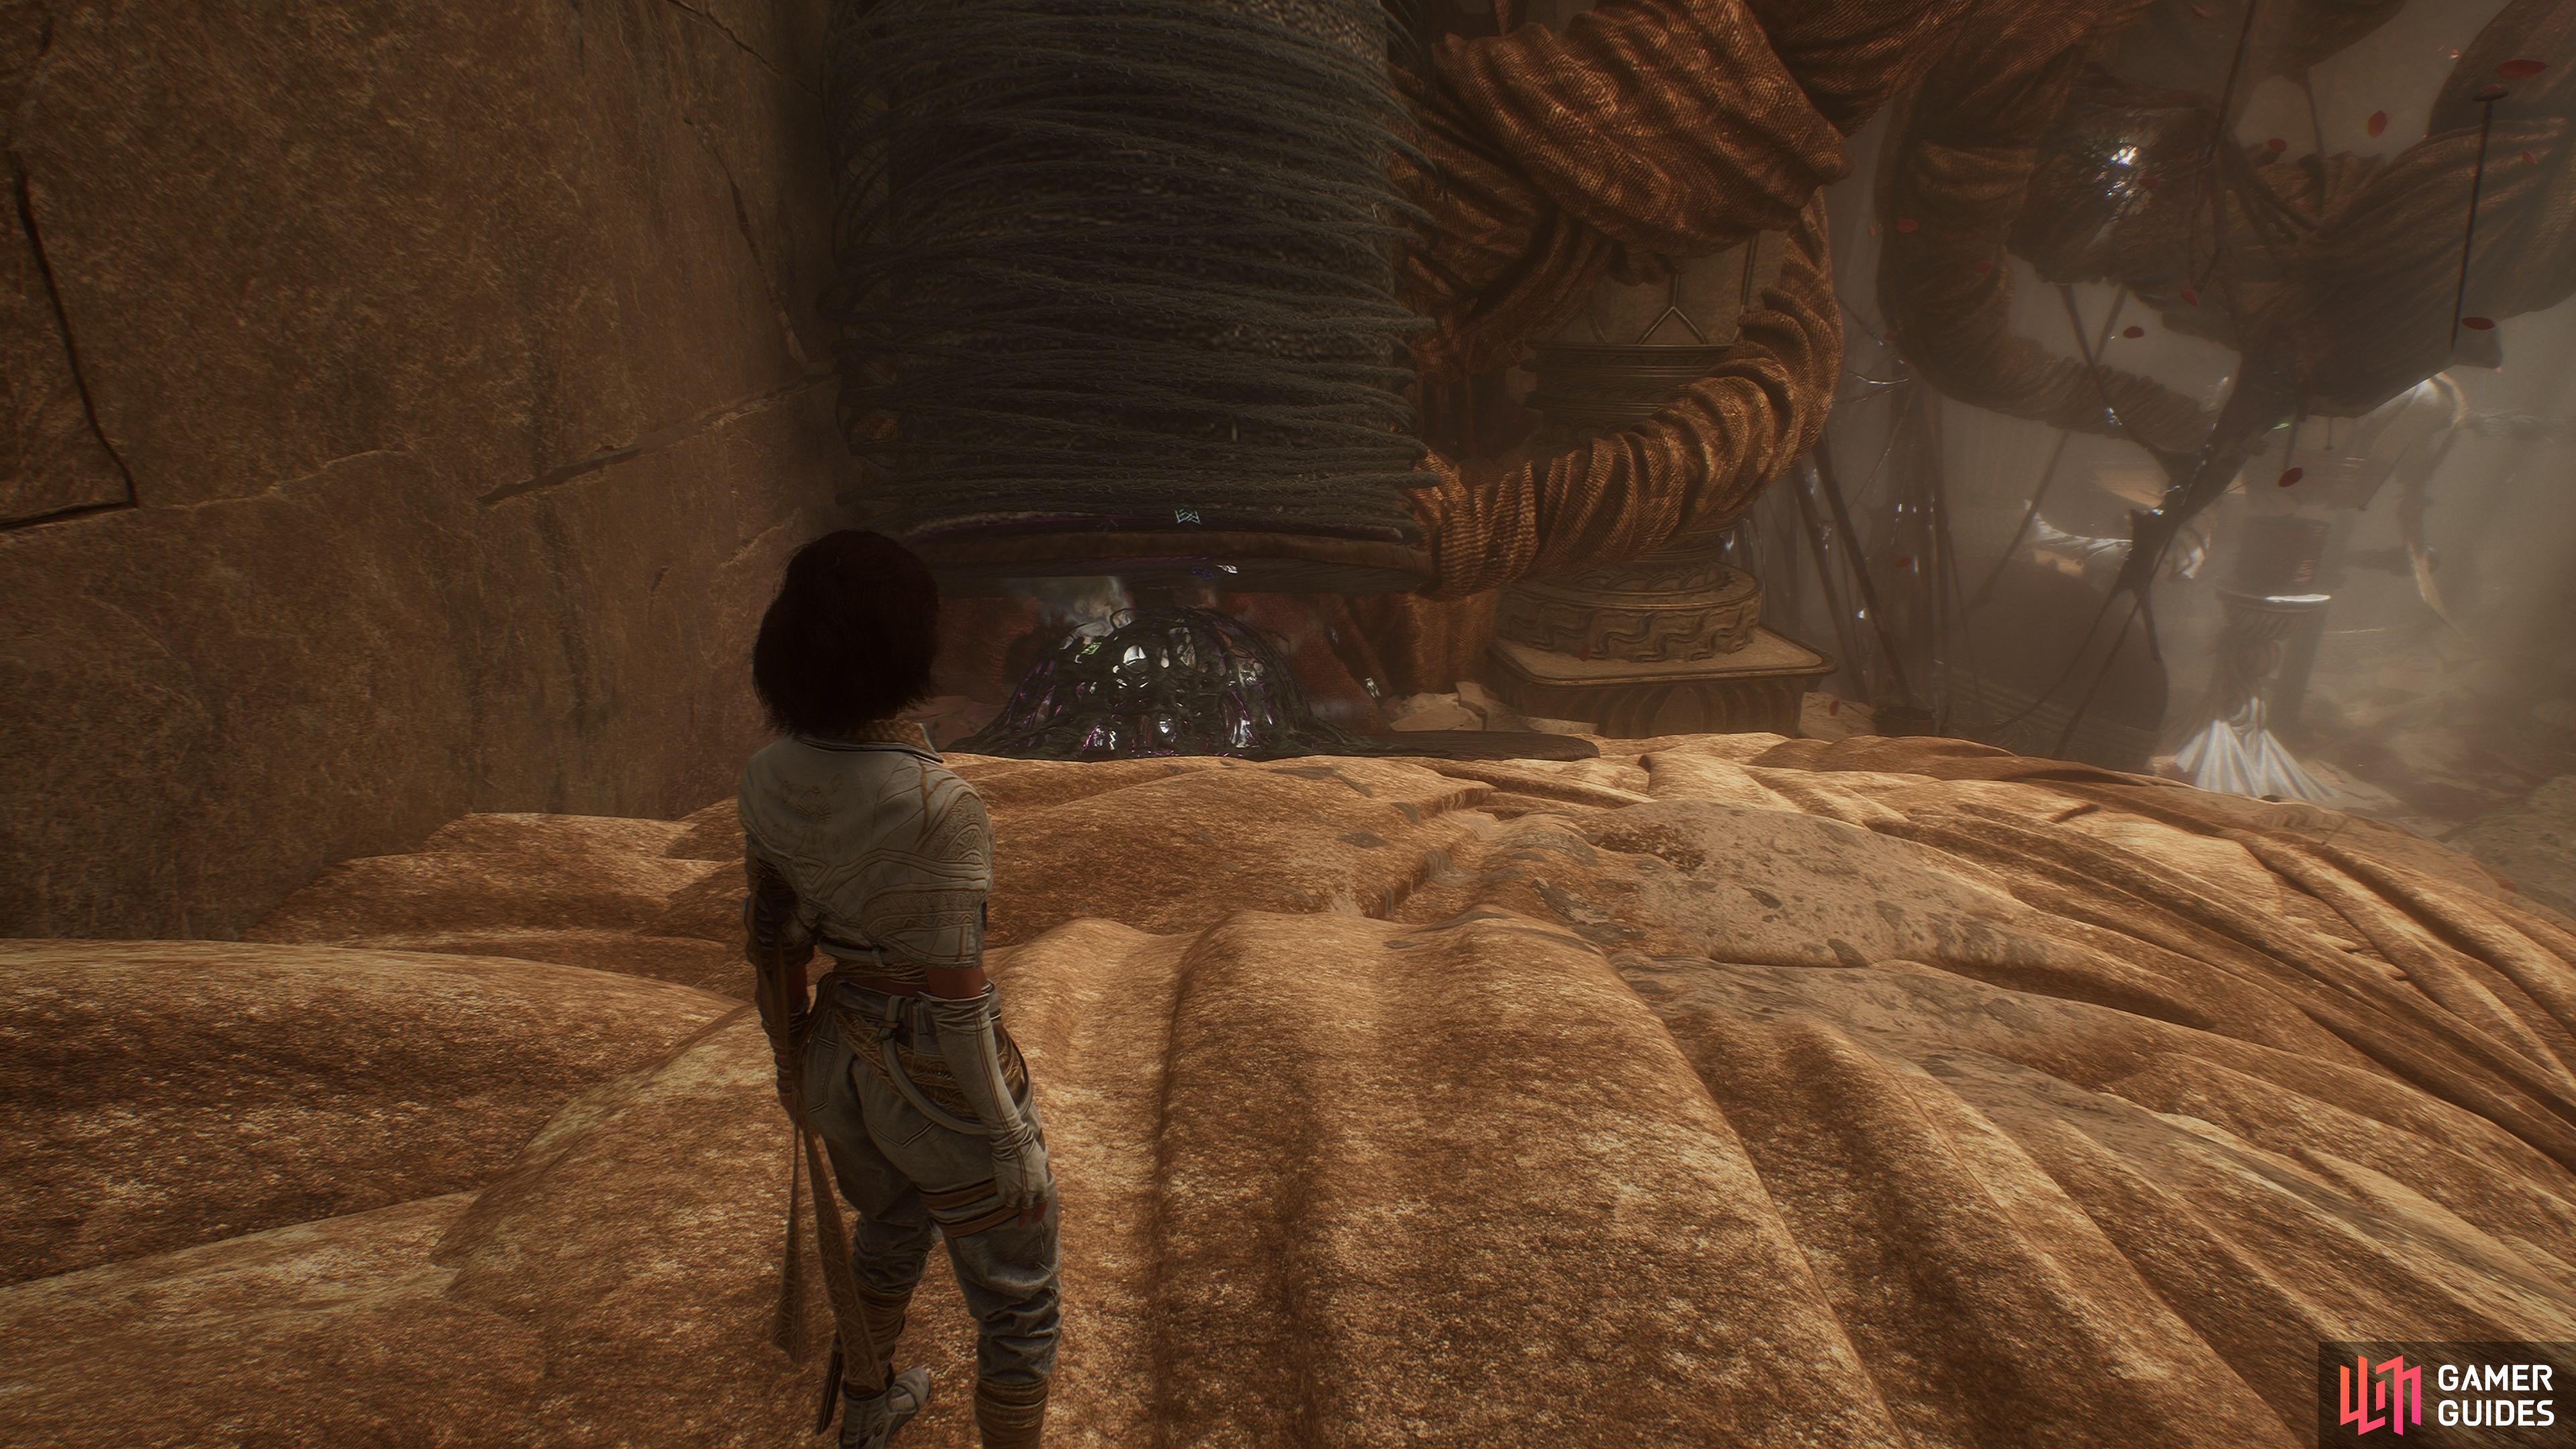
From the ![]() Sanctuary Maze flag, hug the right-hand wall until you find a crawlspace. Inside, head left until you find this hut.
Sanctuary Maze flag, hug the right-hand wall until you find a crawlspace. Inside, head left until you find this hut.
4. The Continent
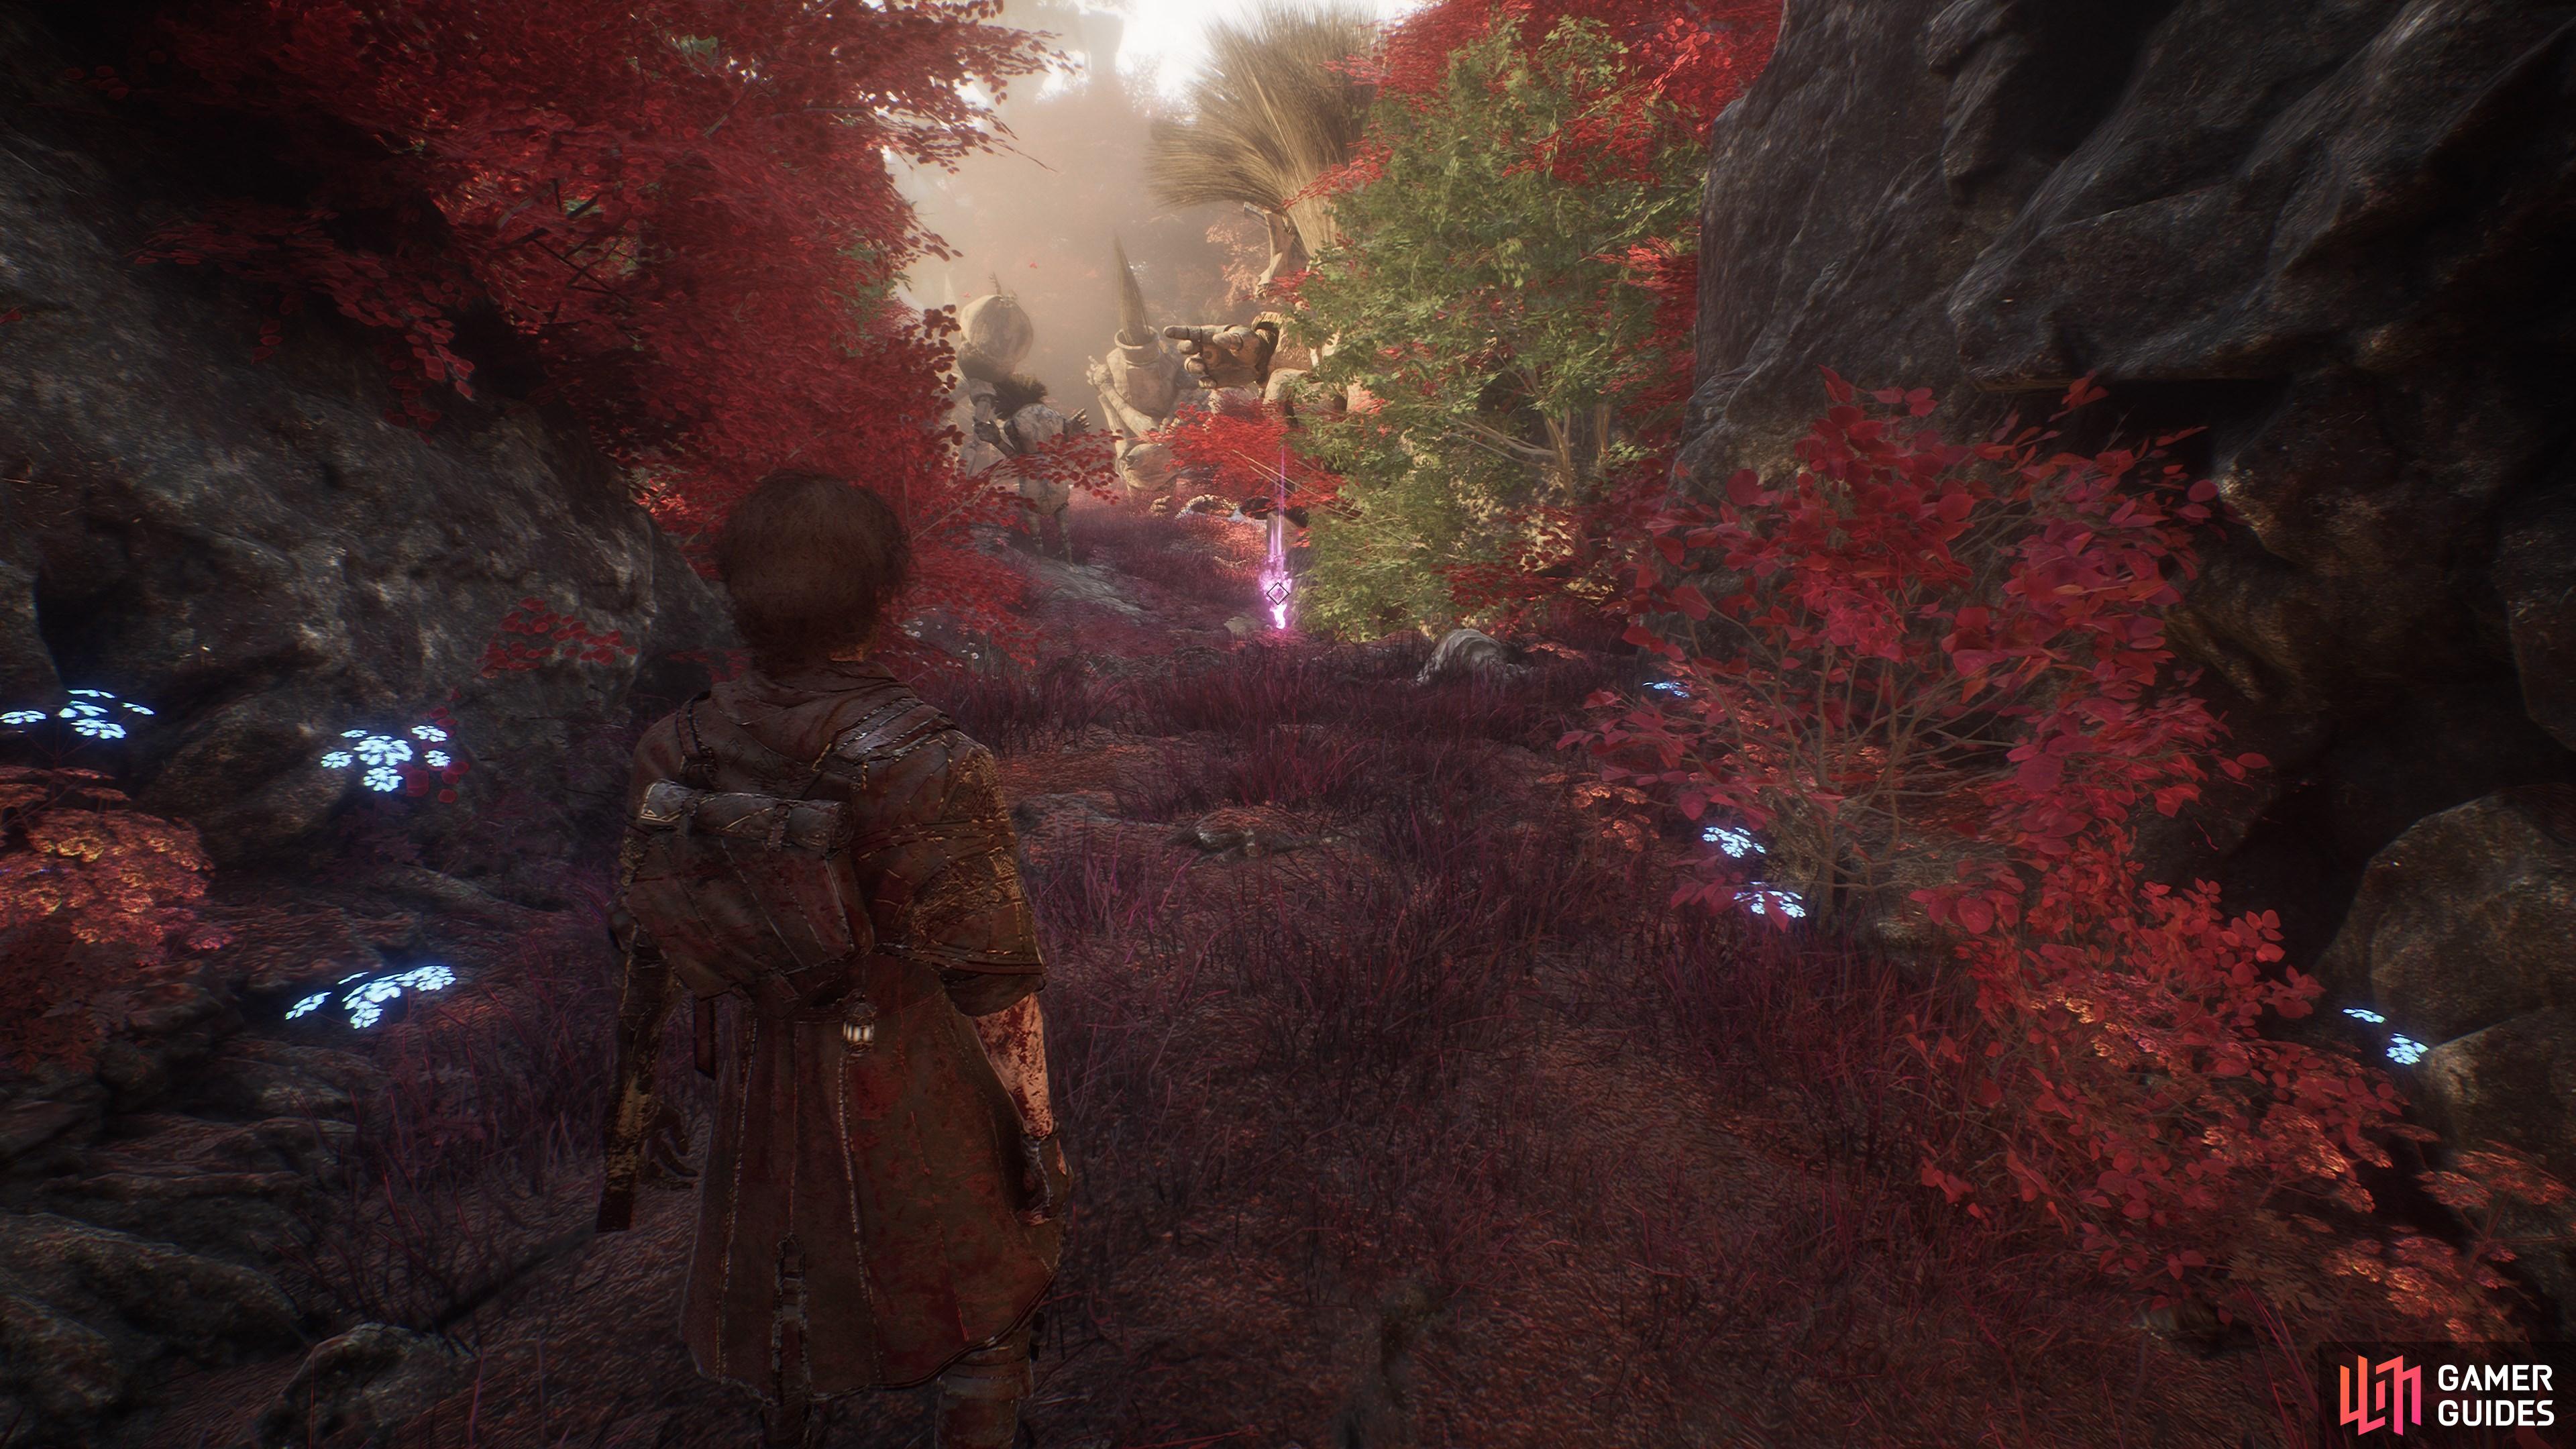
From the ![]() Sanctuary Maze flag, hug the right-hand wall until you find a crawlspace. Inside, head left until you see the strange hut in a field of blue flowers. Look for a cliff on the left-hand side of the area.
Sanctuary Maze flag, hug the right-hand wall until you find a crawlspace. Inside, head left until you see the strange hut in a field of blue flowers. Look for a cliff on the left-hand side of the area.

5. The Continent
In the ![]() Flooded Buildings area, follow the carpet of red flowers and take a left just before the floating lanterns. Look for the building with the collapsing staircase and climb up, jumping over the gaps to ascend.
Flooded Buildings area, follow the carpet of red flowers and take a left just before the floating lanterns. Look for the building with the collapsing staircase and climb up, jumping over the gaps to ascend.
As you emerge from the building, look right to find some handholds on the wall. Follow them down to the ledge below to grab this shard.
8. The Continent
In the middle of three enemies on a raised outcrop to the left of the ![]() Anger Vale flag.
Anger Vale flag.
9. The Continent
Up on a ledge on the left hand side of the room where you find the ![]() Tisseur, you will find a paint cage. If you stand in the same spot as you can see in this screenshot, you’ll be able to see all three locks. Just tilt your camera up, and sweep it from left to right. Shoot the locks to open the cage and claim the shard.
Tisseur, you will find a paint cage. If you stand in the same spot as you can see in this screenshot, you’ll be able to see all three locks. Just tilt your camera up, and sweep it from left to right. Shoot the locks to open the cage and claim the shard.
10. The Continent
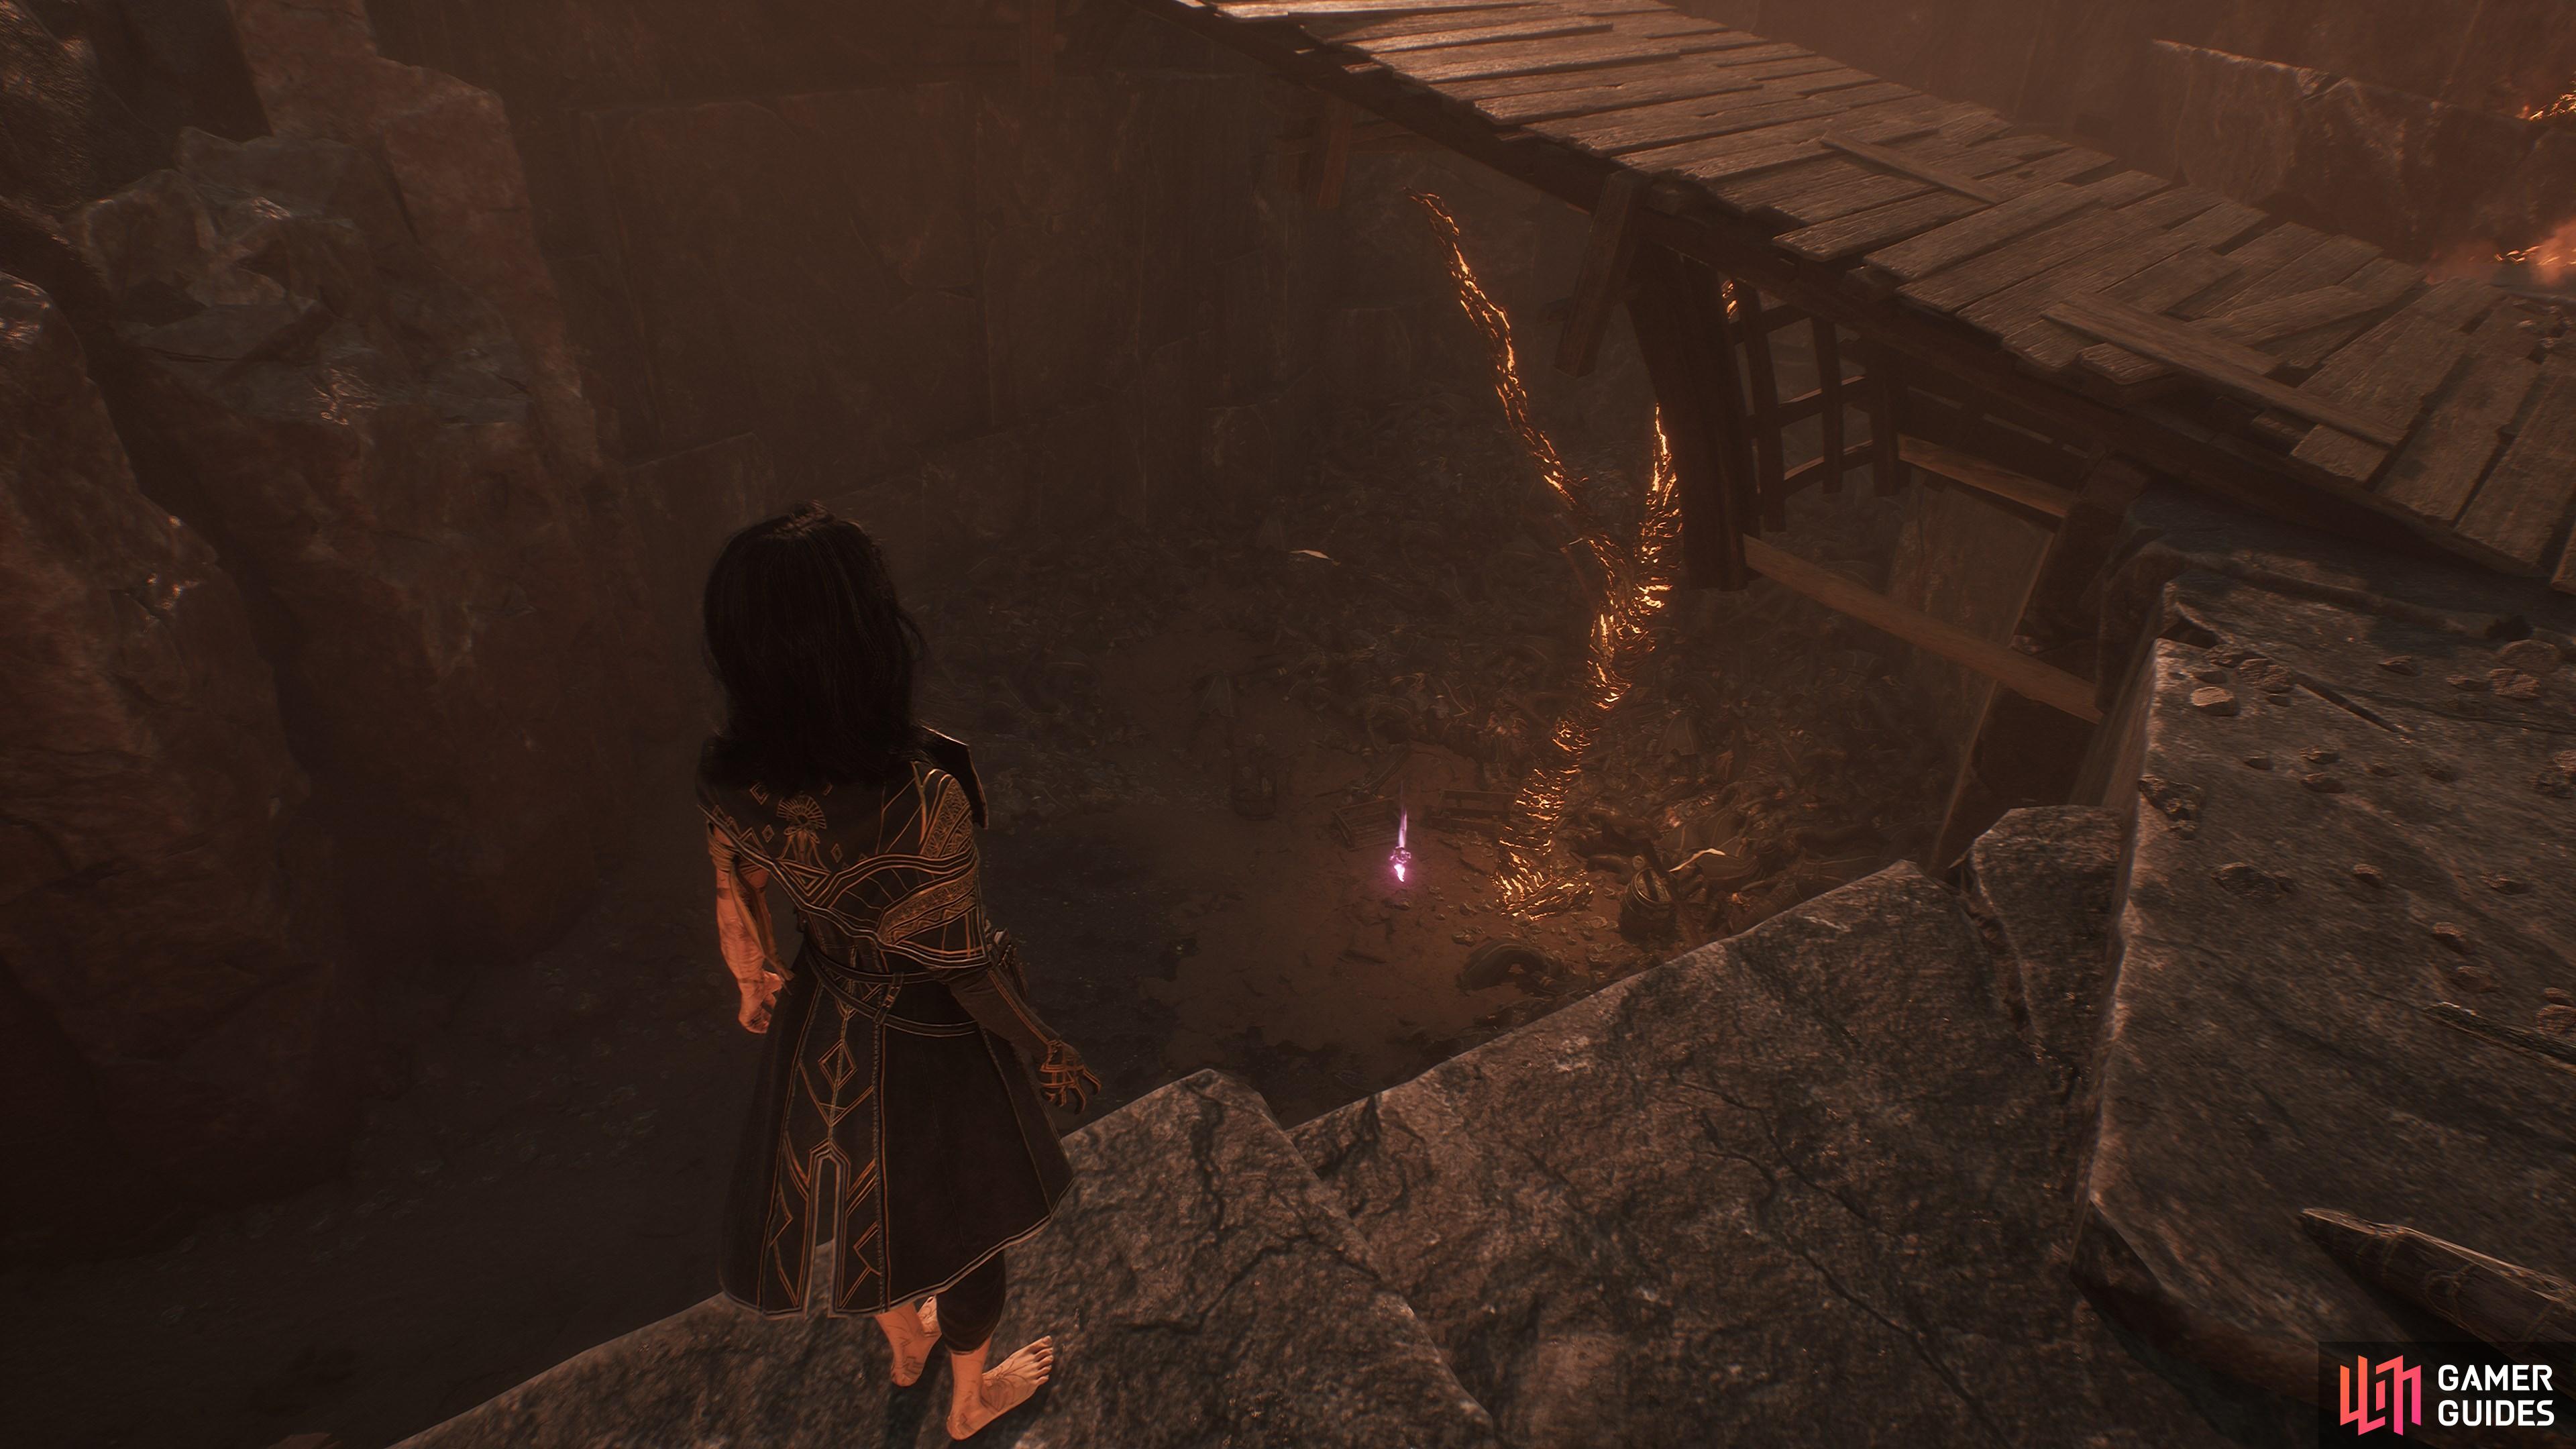
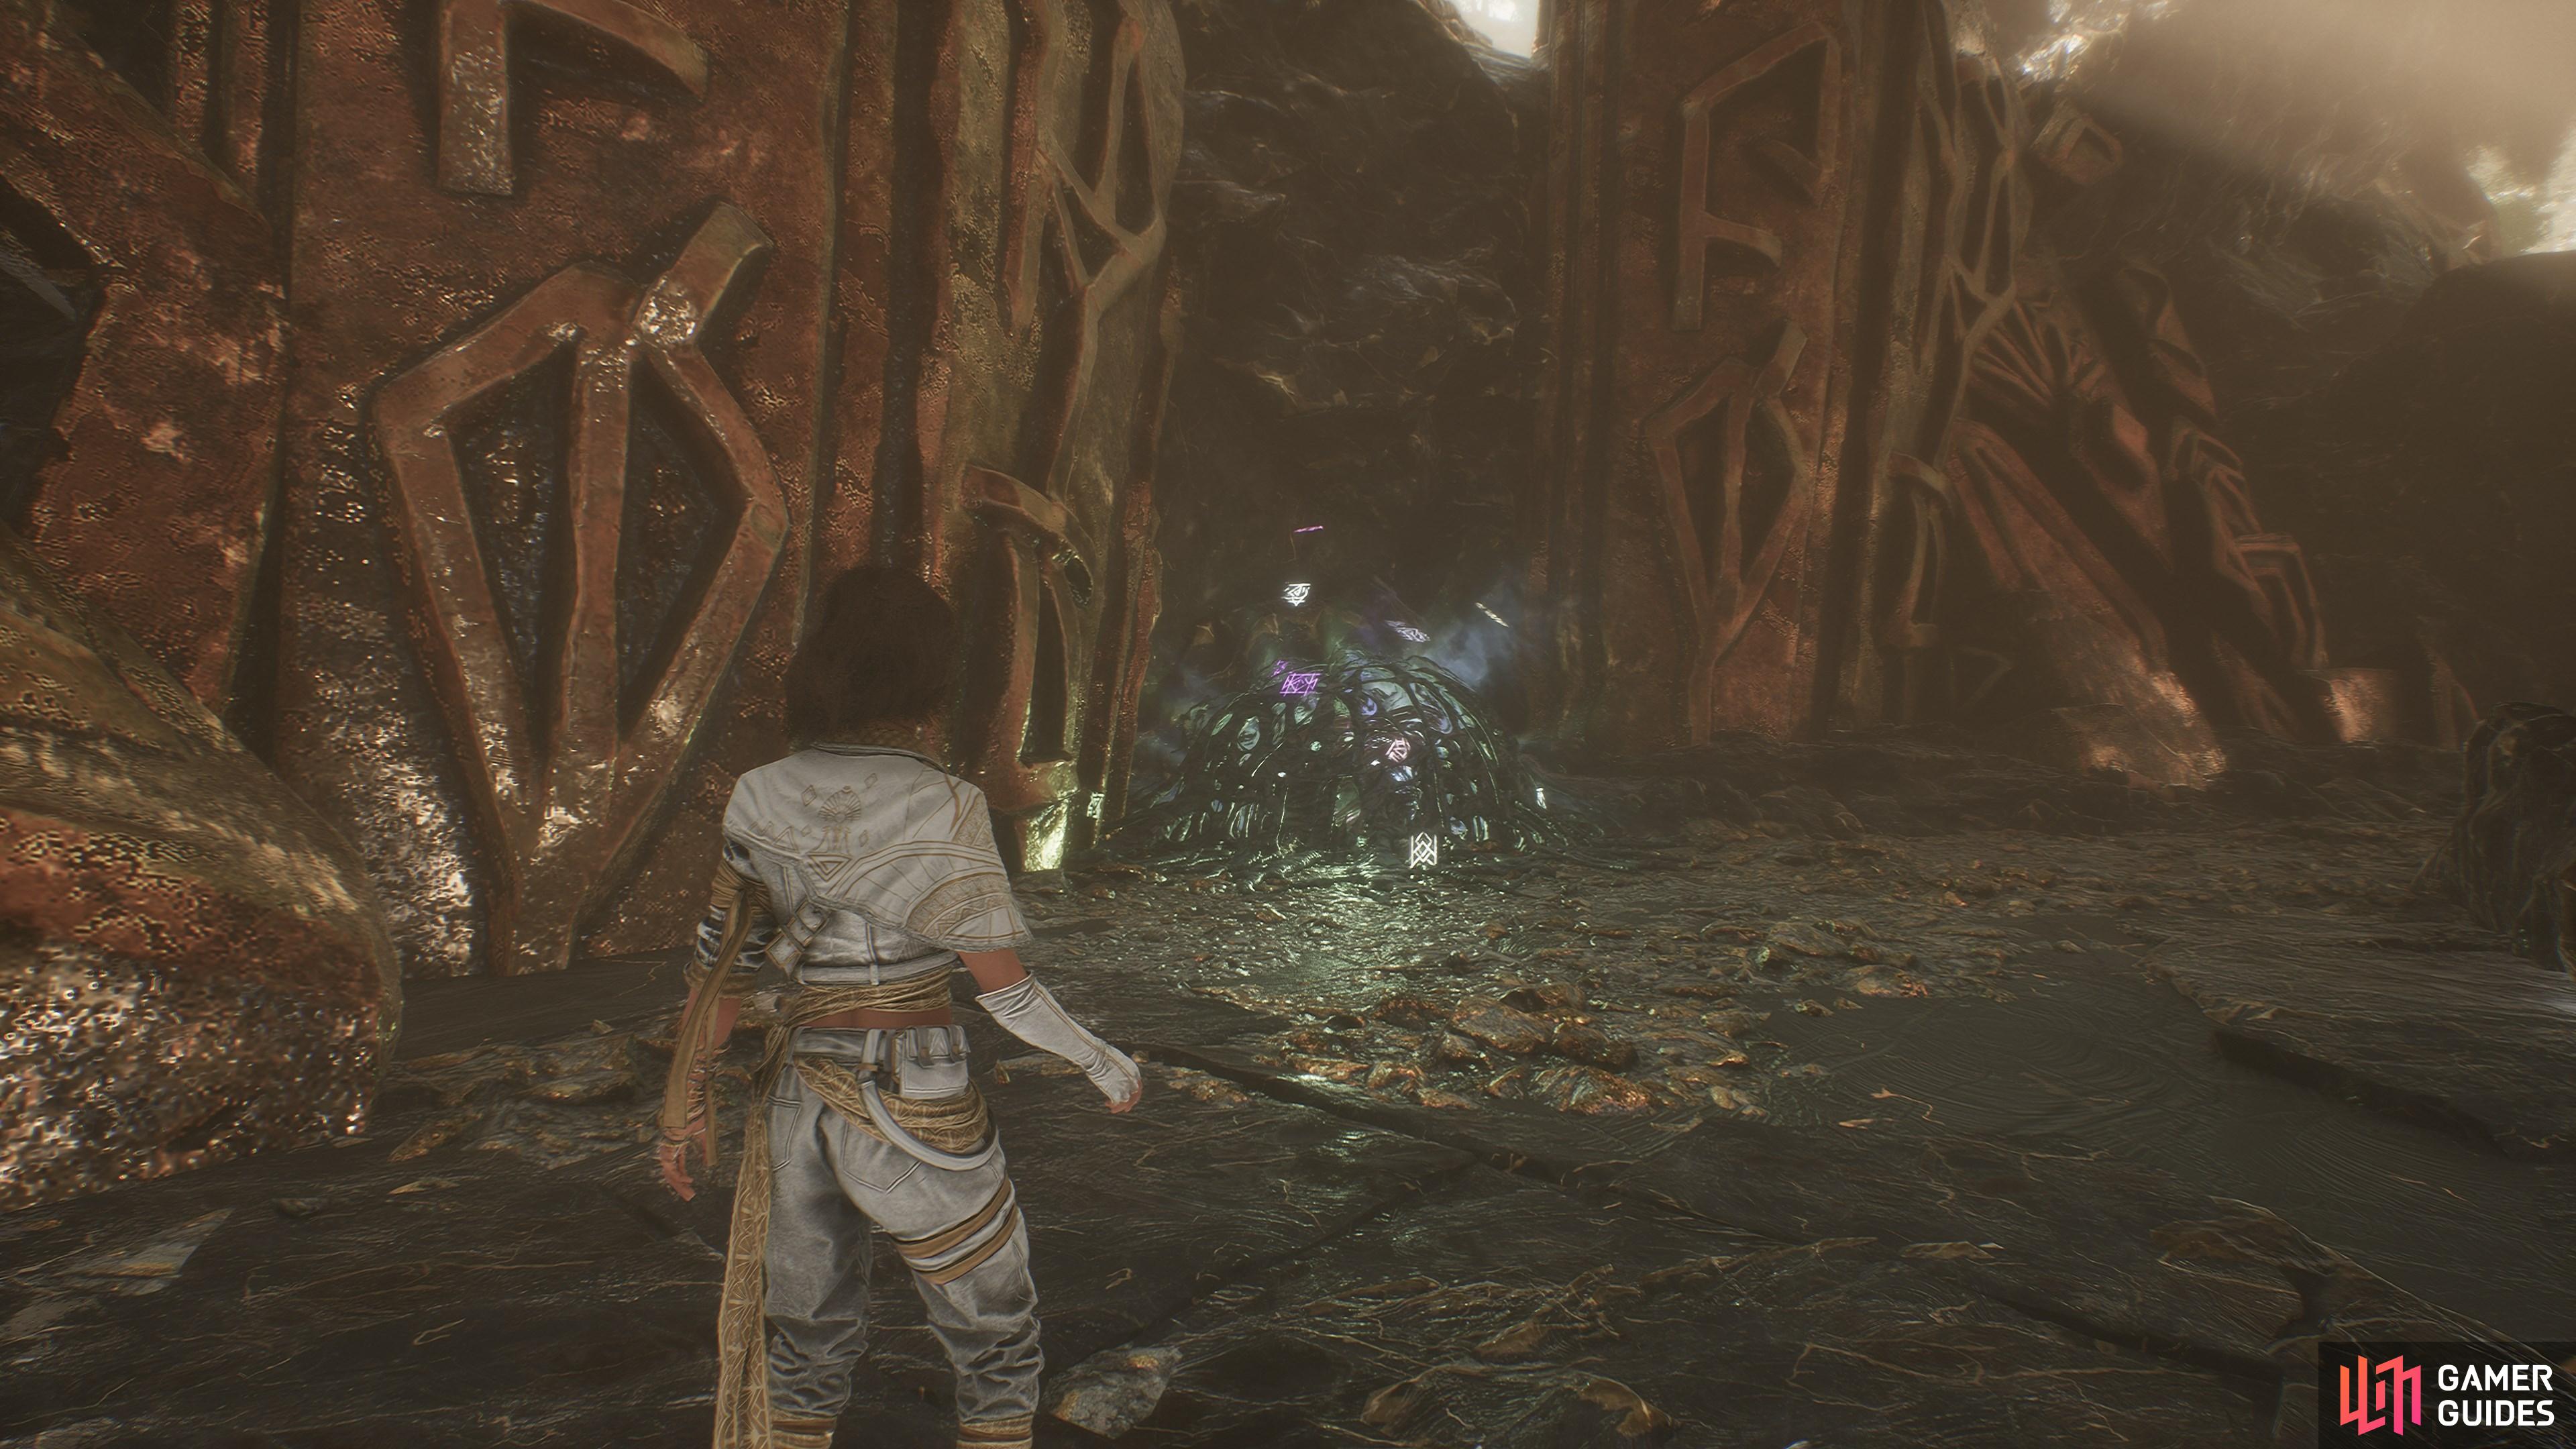
Just before you reach the ![]() Tainted Meadow flag, take a left and head down the rocky path. Climb down the ropes and you’ll find a paint cage at the bottom.
Tainted Meadow flag, take a left and head down the rocky path. Climb down the ropes and you’ll find a paint cage at the bottom.
Turn and look back at the rope and you’ll see the first lock on the wall to the right. The second is just around the corner to the right, on ground level. The third and final lock is behind the large rock in the middle of this little area. Destroy all three and claim the shard.
11. The Continent
In the paint cage to the left of the archway that leads into the station. You can see all three locks from where the cage is.
No Comments